



Shrimp want to curl as soon as they meet hot oil. A few cuts across the belly and a gentle press from tail to head straighten them out. When you feel the sinews release, there’s no need for a skewer.
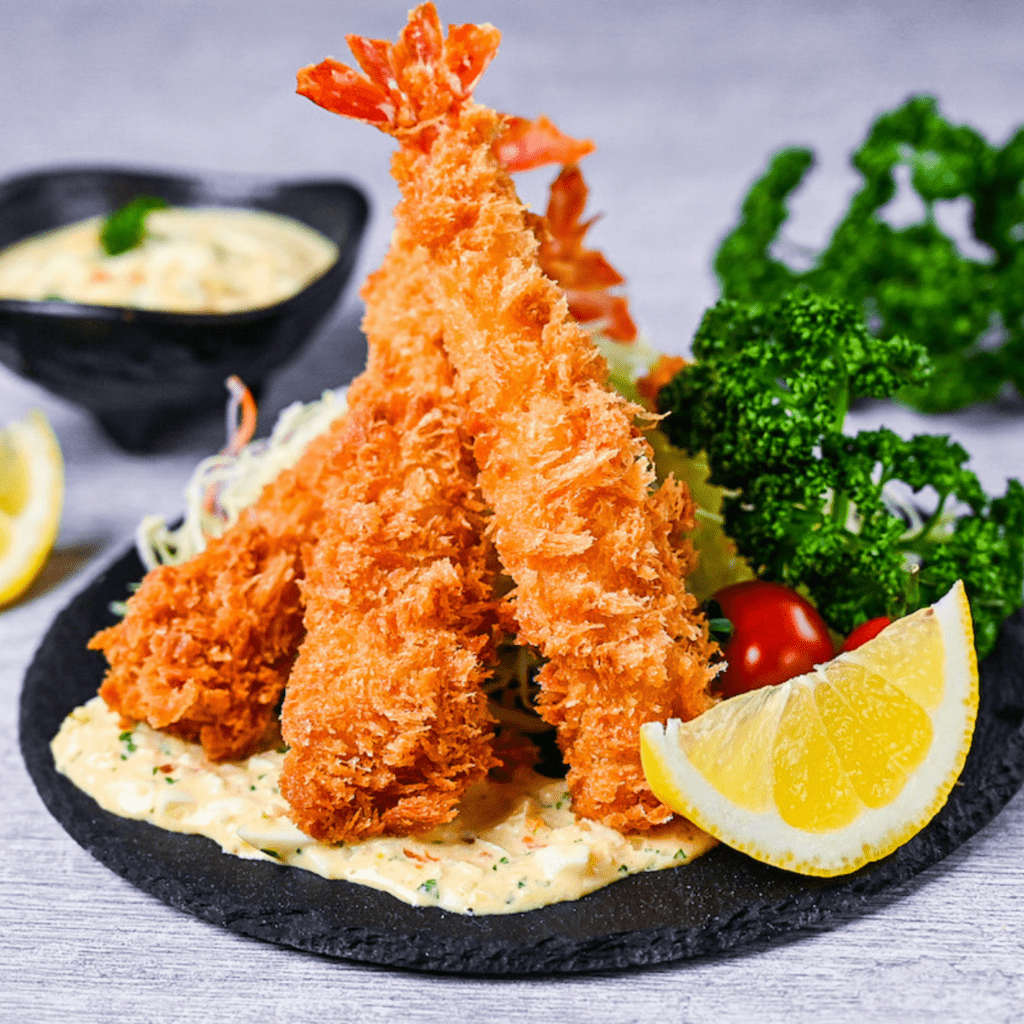
Lift one from the oil, long and straight, and bite through the crisp panko into plump, springy shrimp. Spoon on rich tartar sauce while it’s still crackling. I grew up in Aichi Prefecture, and to me no fried food matters more.
Ebi fry
Recipe Snapshot
- What is it? A classic of Japanese yoshoku cooking, ebi furai consists of large shrimp fried in a crisp panko coating and served with tartar sauce.
- Flavor profile: Each bite starts with a crunchy crust, gives way to plump, springy shrimp, and finishes with the creamy richness of tartar sauce.
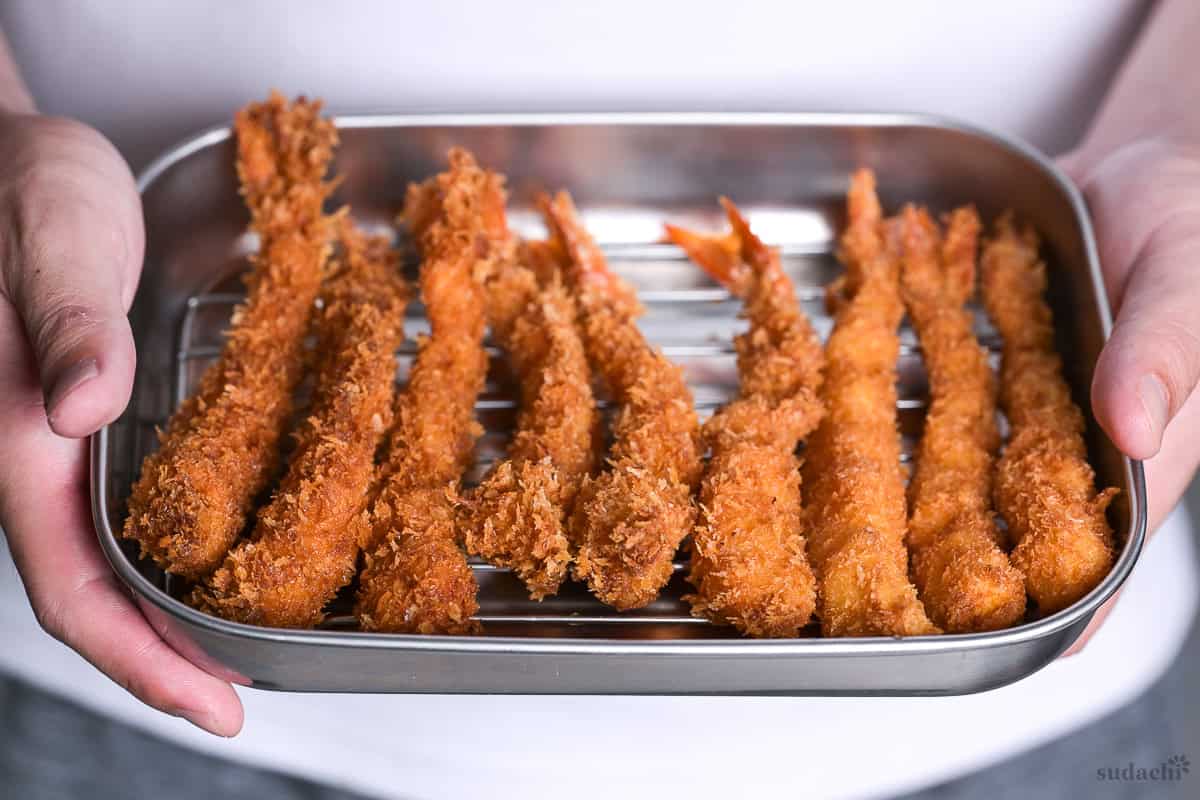
- Why this recipe works: Belly cuts followed by a tail-to-head press break the sinews, keeping the shrimp long and straight without skewers. A timed fry preserves their tenderness.
- How to make it: Clean, score, and stretch the shrimp, then bread them with flour, egg, and panko. Heat the oil to 180°C and fry briefly in batches of 3, with the tartar ready.
- What to expect: Allow about 40 minutes in total. Timing the fry is the main thing to watch, so don’t leave the shrimp in the oil beyond the stated time.
What Is Ebi Furai?
Ebi furai, also called ebi fry (エビフライ), belongs to yoshoku, Japan’s take on Western-style cooking, and is one of its great fried dishes. Large shrimp, tails on, are coated in flour, egg, and panko, then fried in hot oil. Often the centerpiece of a set meal with rice and soup, it’s widely linked to Nagoya. It didn’t originate there, though.
Ebi means shrimp in Japanese, while furai is the Japanese pronunciation of the English word fry. Unlike tempura, with its light, pale batter and salt or dipping sauce, ebi furai has a thick, crunchy coating and comes with tartar sauce.
The best-known story traces ebi furai to Rengatei, an established yoshoku restaurant in Ginza, Tokyo. A descendant of the family told it in a 2021 interview. After the restaurant’s pork cutlet proved popular, the kitchen began frying shrimp, oysters, and meatballs that preceded Japanese hamburg steak. Ebi furai is said to have emerged from those experiments. Rengatei puts the date at 1900, year 33 of the Meiji era, but its claim to being first remains unconfirmed, and the dish’s true inventor is unknown. The tartar sauce pairing has its own trail. When bottled tartar sauce first appeared in 1966, department store dining rooms apparently already served the familiar combination of ebi furai and tartar.
A television joke, rather than a cooking tradition, connected ebi furai with Nagoya. In the early 1980s, a comedian popularized the claim that Nagoya residents pronounced it “ebi furyaa.” Around 1980, people in Nagoya and elsewhere in Aichi Prefecture neither regarded the dish as a local specialty nor used that pronunciation in everyday conversation. Still, the misconception caught on, and restaurants made the most of it. More and more menus featured ebi furai, as jumbo fried shrimp, rice bowls topped with ebi furai and demi-glace sauce, and ebi furai sandwiches and hot dogs. Today, plenty of Nagoya restaurants present it as a local dish. The pronunciation is another matter. Locals almost never say ebi furyaa. I’ve never said it once in my life.
Nagoya meshi refers collectively to the dishes promoted as Nagoya’s own cuisine, such as tebasaki chicken wings, ankake spaghetti, hitsumabushi eel over rice, Taiwan ramen, miso katsu, and miso nikomi udon. These are bold, rich dishes, each with a distinct character. They’re my soul food. As a local, though, I find ebi furai’s claim to a spot on that list pretty shaky.
The easiest change to explain is why I stopped using bamboo skewers to straighten the shrimp. Sometimes the flesh would tighten around a skewer during frying and trap it there. Eventually, I decided the skewers were causing more trouble than they were worth. Since publishing my earlier recipe, I’ve also revised the cleaning and breading. I scrape the line where the legs attach to remove the residue that makes shrimp smell, then rub the shrimp with salt, potato starch, and water to wash them. That salt gets rinsed off, so I add salt and white pepper before breading. I now mix milk into the egg and let all the floured shrimp rest before moving on. The flour absorbs moisture from the surface and adheres, which helps the coating stay put. These are refinements, though. I never consider a recipe finished for good. Returning to a dish I loved years ago always reveals ways I could improve it.
Japanese Fried Shrimp Ingredients
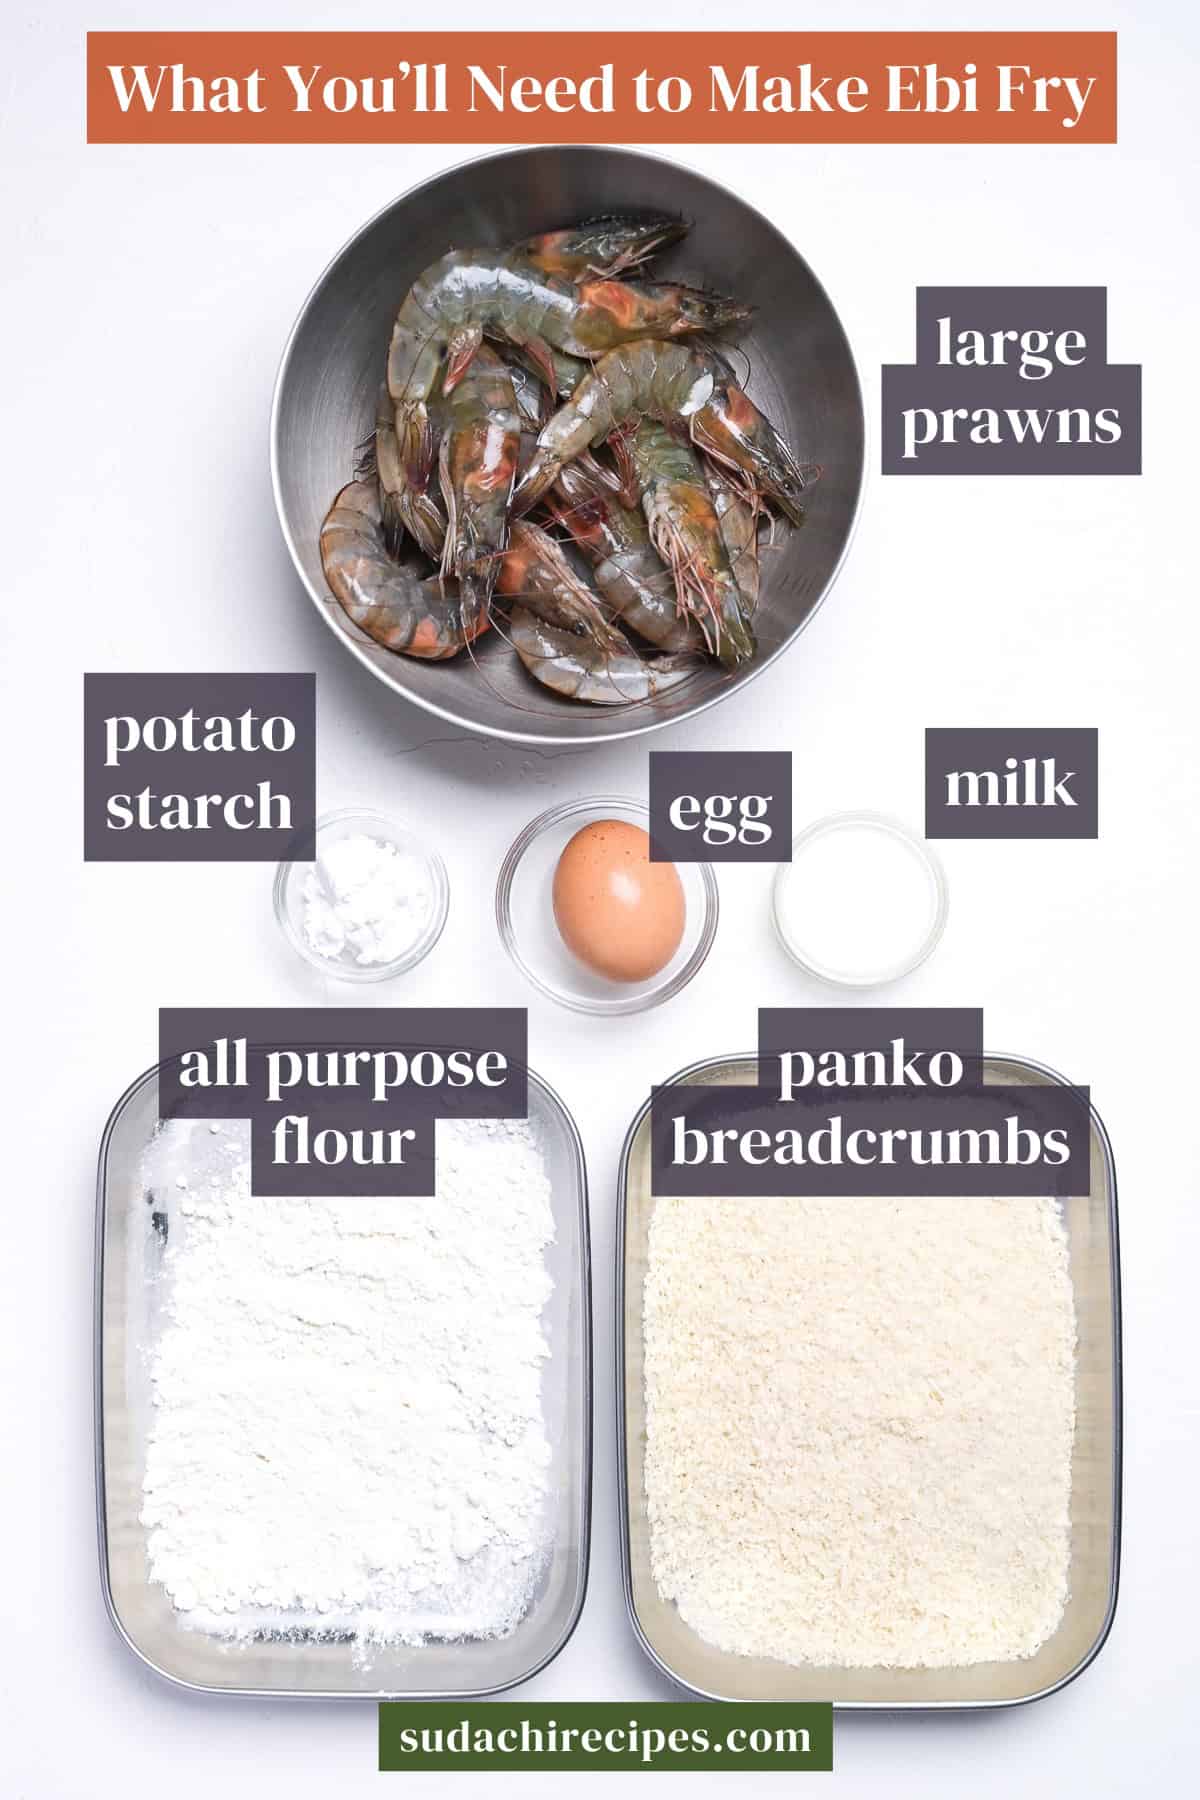
- Large shrimp: Choose a large variety such as black tiger shrimp for thick flesh with a springy bite. A bag marked 16/20 contains 16 to 20 shrimp per pound. Look for headless, shell-on shrimp labeled tiger shrimp or black tiger, including in the freezer section of an Asian grocery store.
- Panko: Ordinary packaged dry panko works well. Choose coarse flakes labeled simply panko, which are larger and lighter than regular breadcrumbs. For something a little more special, make fresh panko. Run whatever bread you have through a food processor, and it will be ready in less than a minute. If you give it a go, check out my homemade panko recipe.
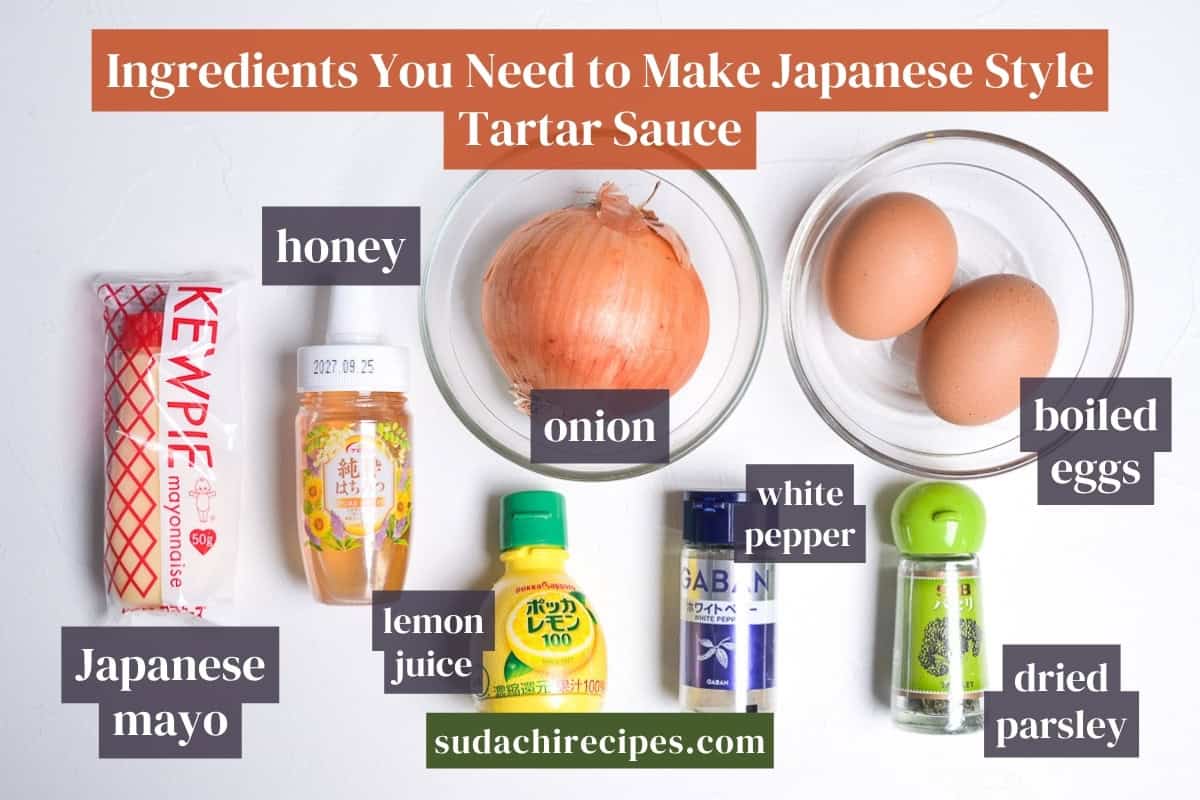
- Japanese mayonnaise: Kewpie is worth looking for. As the base of the tartar sauce, it supplies that rich egg-yolk flavor. The US bottles differ a little from those sold in Japan, but I’d still seek them out.
Building up your Japanese pantry? My Japanese pantry guide covers the brands I trust and the ones Japanese people living abroad swear by.
Substitution Ideas
- Black tiger shrimp → Kuruma or other large shrimp: Kuruma, or Japanese tiger prawn, and similar shrimp offer sweeter, springier flesh than black tiger shrimp, at a higher price.
- Black tiger shrimp → Whiteleg shrimp: These cost less and are more readily available, but their flesh is softer and thinner.
- Black tiger shrimp → Large local shrimp: Local varieties can stand in if they’re roughly the same size. In my experience, fresh ingredients sourced nearby often taste better anyway.
- Black tiger shrimp → Smaller shrimp: They cook faster, so watch the color and bubbles. For shrimp that still look substantial on the plate, I wouldn’t go smaller than 26/30. A 26/30 label means there are 26 to 30 shrimp per pound.
- Japanese mayonnaise → Homemade mayonnaise: If you have the time, making your own Japanese-style mayonnaise is an option.
- Homemade tartar sauce → Store-bought tartar sauce: You don’t have to make your own. Even in Japan, tartar sauce is sold ready-made, and if mixing up a batch feels like a chore, a store-bought jar is perfectly fine.
- Japanese Worcestershire sauce → Lea & Perrins: This is my first choice because it’s the easiest to find. It tastes sharper and more acidic than the Japanese kind, so soften it with a pinch of sugar or a little ketchup.
- Potato starch → Cornstarch: Use the same quantity as the potato starch it replaces.
- Milk → Water: If you have no milk, measure out the same, just as you would for the milk.
- White pepper → Black pepper: White pepper blends in without being visible. Black pepper works, but dark flecks will show in the tartar sauce.
Substitutions that I don’t recommend:
- Argentine red shrimp instead of black tiger shrimp: Cooking softens the flesh, which also tends to become watery.
- Powder-fine breadcrumbs instead of panko: Coarse panko is essential for ebi furai’s distinctive shaggy, flaky crust.
- Flour instead of panko: This would make an entirely different dish.
- Flour instead of potato starch: They work differently, so the result would change.
- Potato flour instead of potato starch: These are different products. Potato flour comes from whole potatoes that have been cooked and dried.
- Self-rising flour instead of all-purpose flour: Its added raising agent isn’t suitable for this coating. Some Japanese cooks living abroad avoid it in all flour-based cooking because it already contains both a raising agent and salt.
How to Make My Ebi Fry
Before you start (Mise en place):
- If the shrimp are frozen, thaw them in the refrigerator overnight or submerge their sealed bag in a bowl of cold water. Don’t thaw them at room temperature or in hot water.
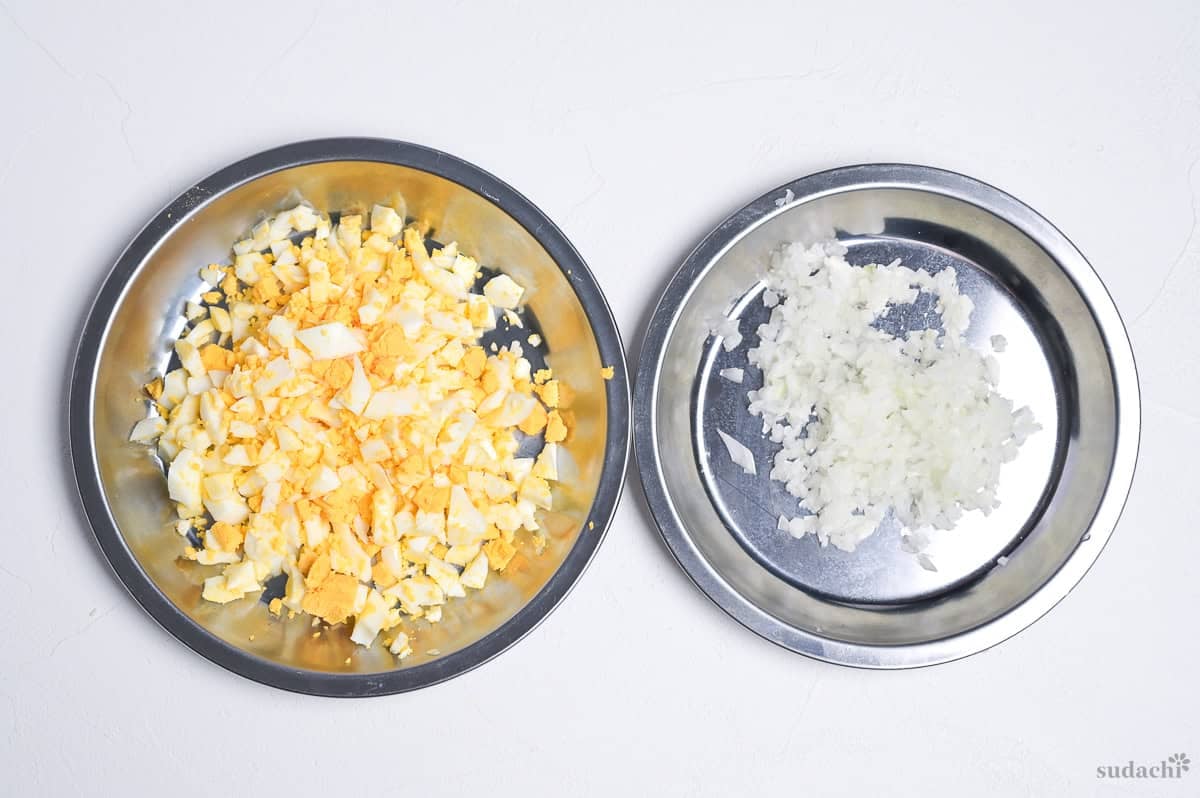
- If making your own tartar sauce, use a knife to finely dice the onion into 2 to 3 mm pieces.
- Again for the tartar sauce, cook the eggs until hard-boiled, then peel them. Skip if using store bought tartar sauce.
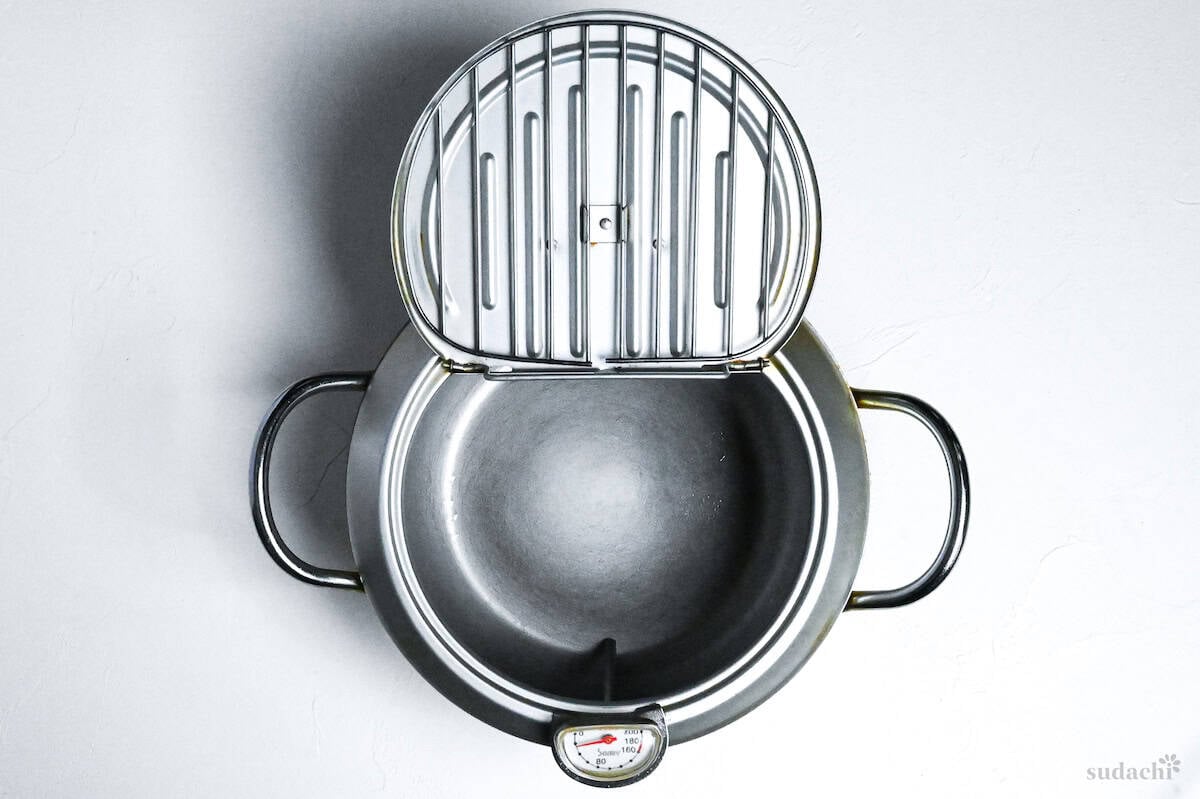
To develop this recipe, I used a 20 cm Yoshikawa tempura pot with a built-in thermometer and rack.
i. Combine the mayonnaise, lemon juice, honey, salt, white pepper, parsley, and onion in a bowl.
ii. Break the boiled eggs into rough pieces with your hands. Gently fold them into the sauce, leaving some chunks intact.
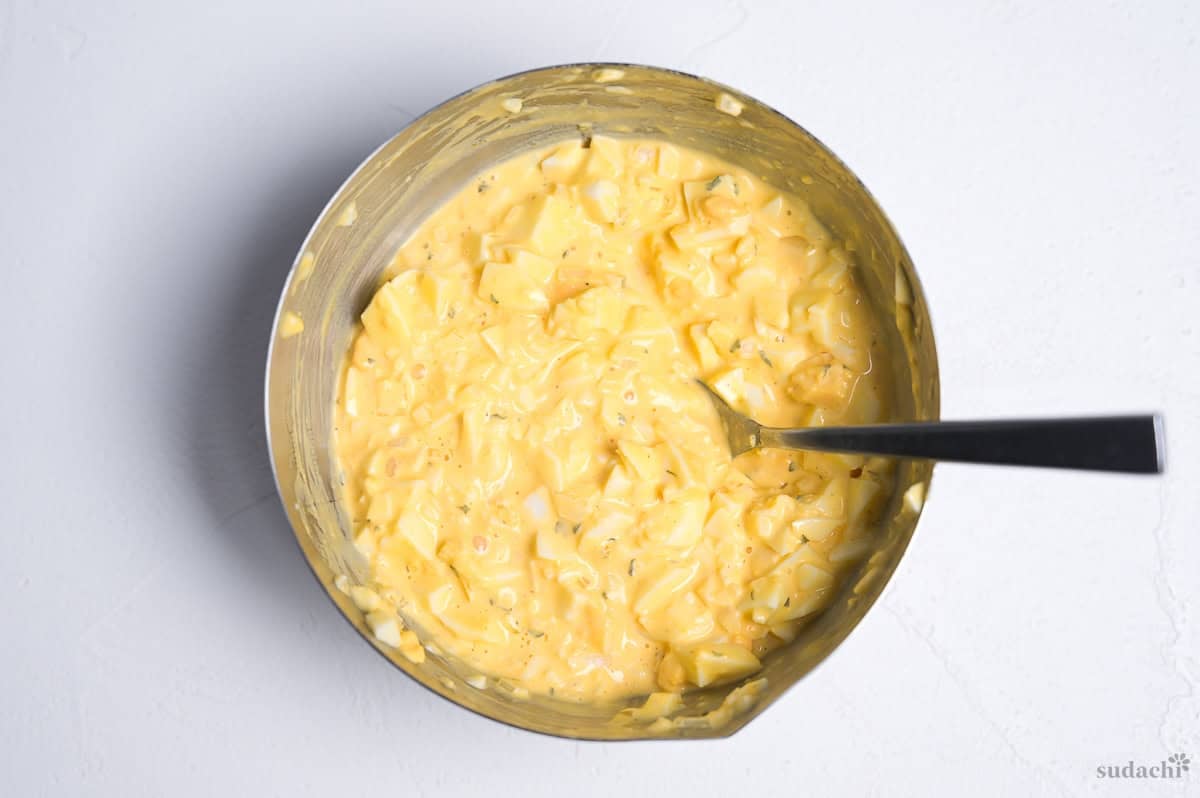
iii. Refrigerate the sauce until serving time.
Tip: When the flavor needs brightening, I add a few drops of lemon juice rather than more salt.
i. Remove the shells but keep the tails attached.
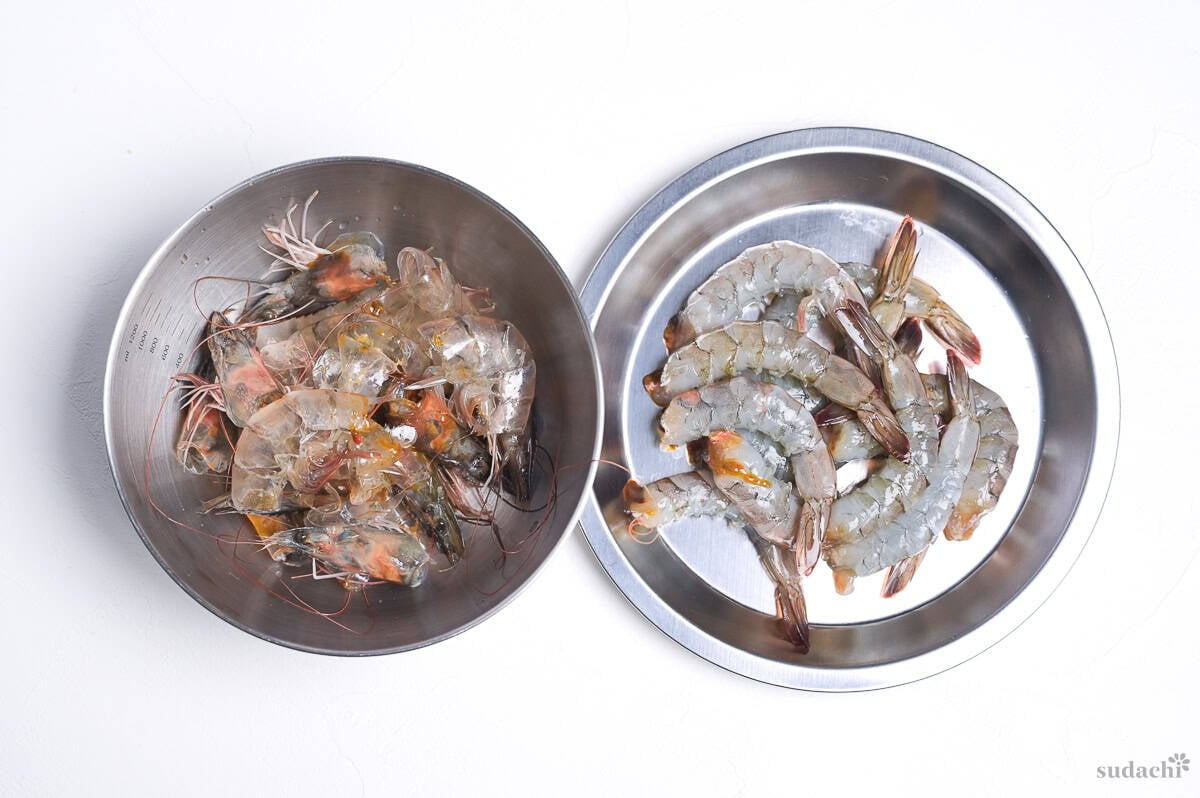
ii. Run the tip of a knife along the line where the legs were attached, scraping from the tail toward the head. I find that residue left along this line causes the shrimp to smell, so I take the time to remove it.
iii. Cut shallowly down the back and remove the dark vein.
Tip: Another way to remove the vein is to slide a bamboo skewer between the shell segments along the back and pull it out.
iv. Add the shrimp, salt, potato starch, and water to a bowl. Rub the mixture over the shrimp.
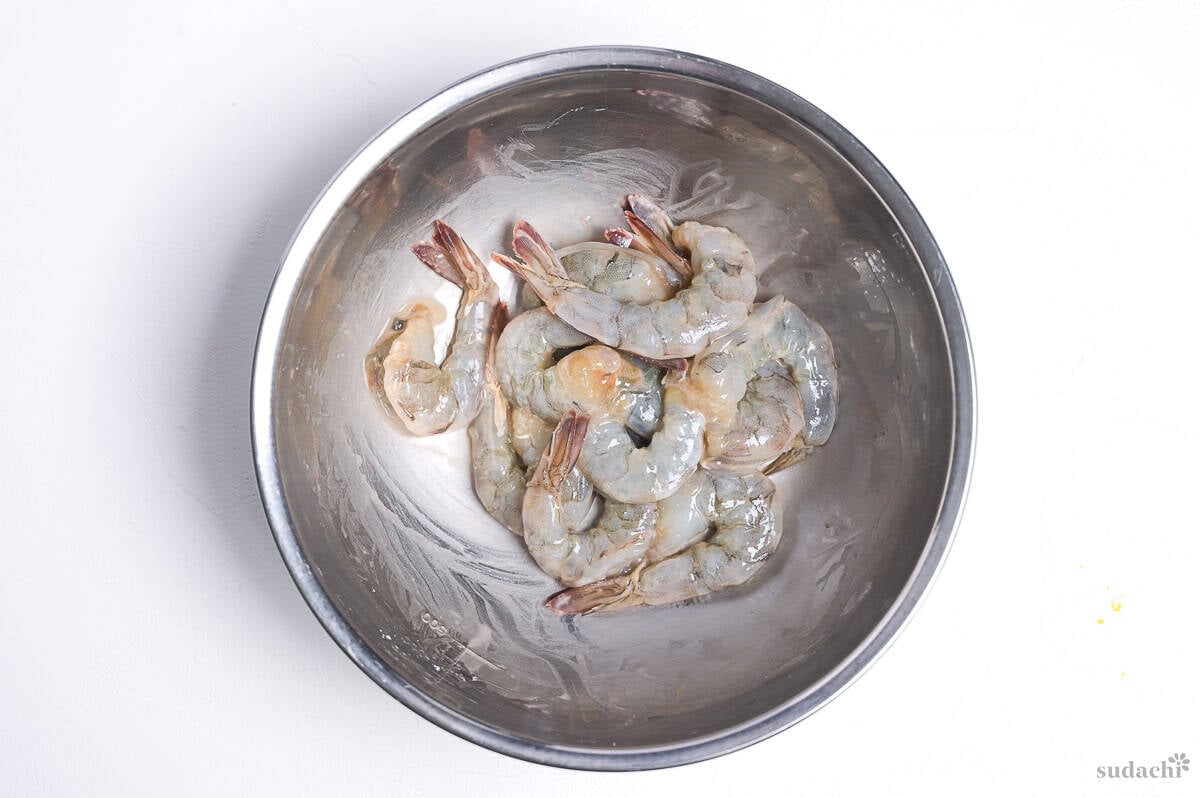
v. Wait a few minutes, then rinse the shrimp under water. Let them drain and dry them thoroughly with paper towels.
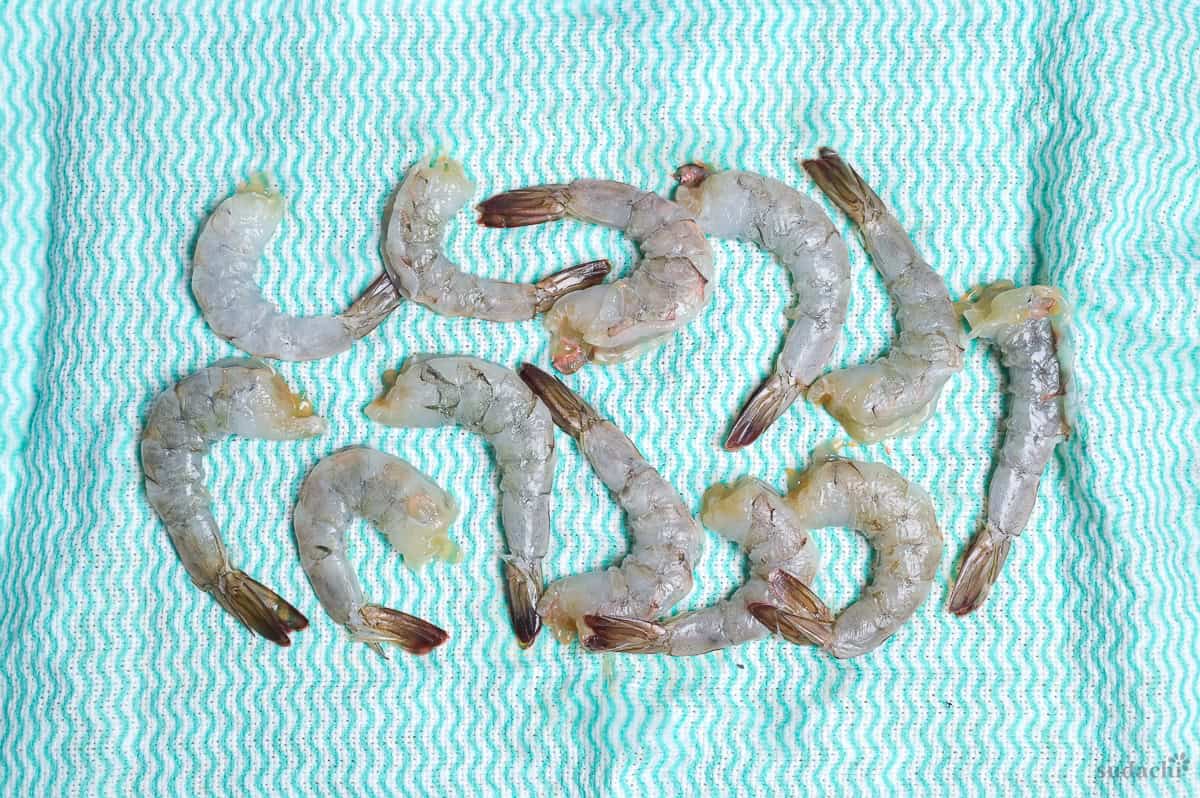
i. Place a shrimp on its side and fold its tail in half. Cut across the end on a slant, leaving the pointed side shorter. Repeat for each shrimp.
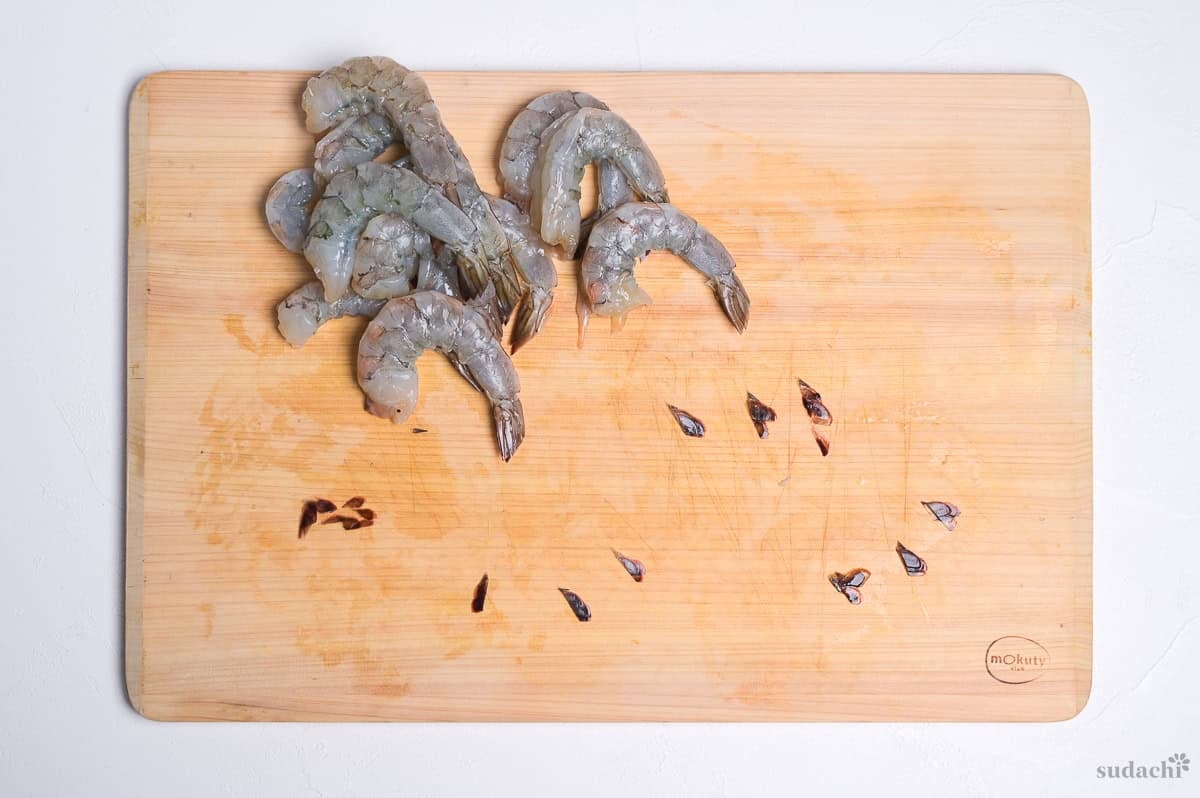
ii. Scrape through the opening with your knife to push out trapped water and dark residue. Any water remaining inside the tail turns to steam when it hits the oil, causing splatters.
iii. Cut away the tail’s hard, pointed spike as well.
i. With the belly facing upward, make 5 to 6 slanting cuts into each shrimp, reaching about halfway through the flesh.
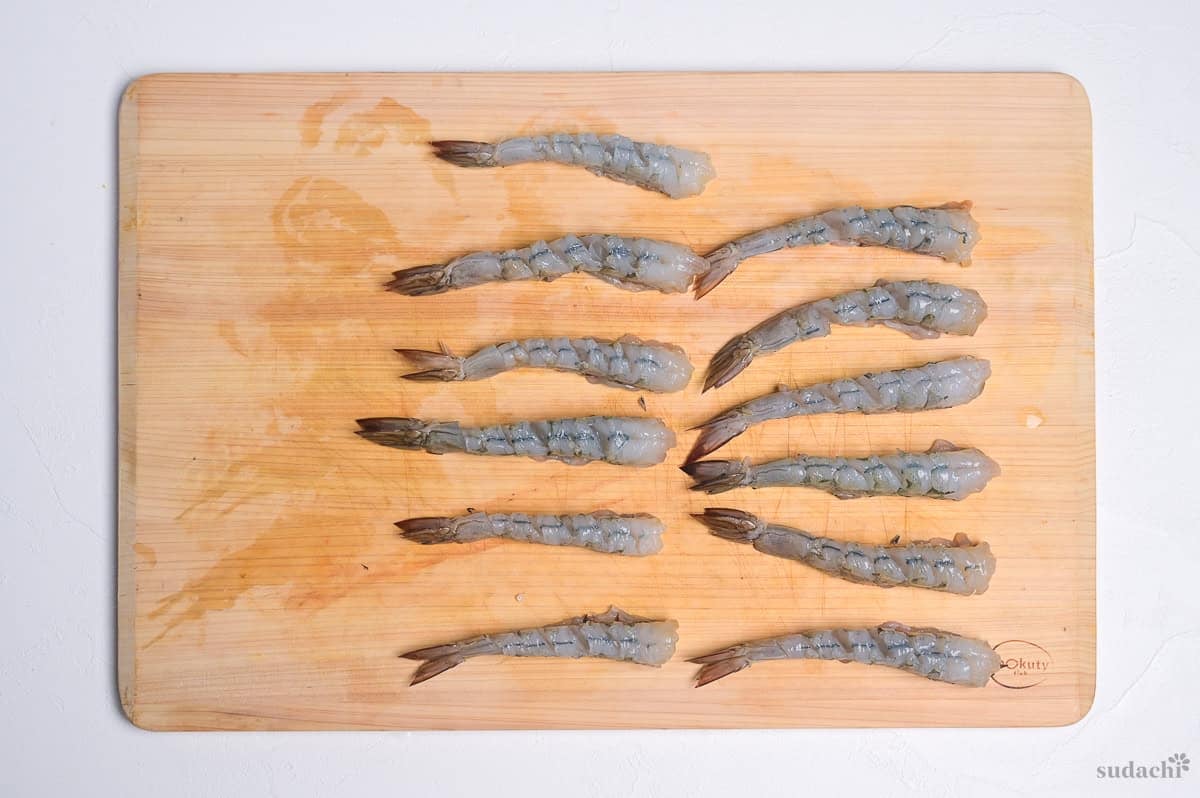
ii. Working from tail to head, gently press with your fingers to stretch the shrimp straight. Stop when you feel the sinews break beneath your fingers.
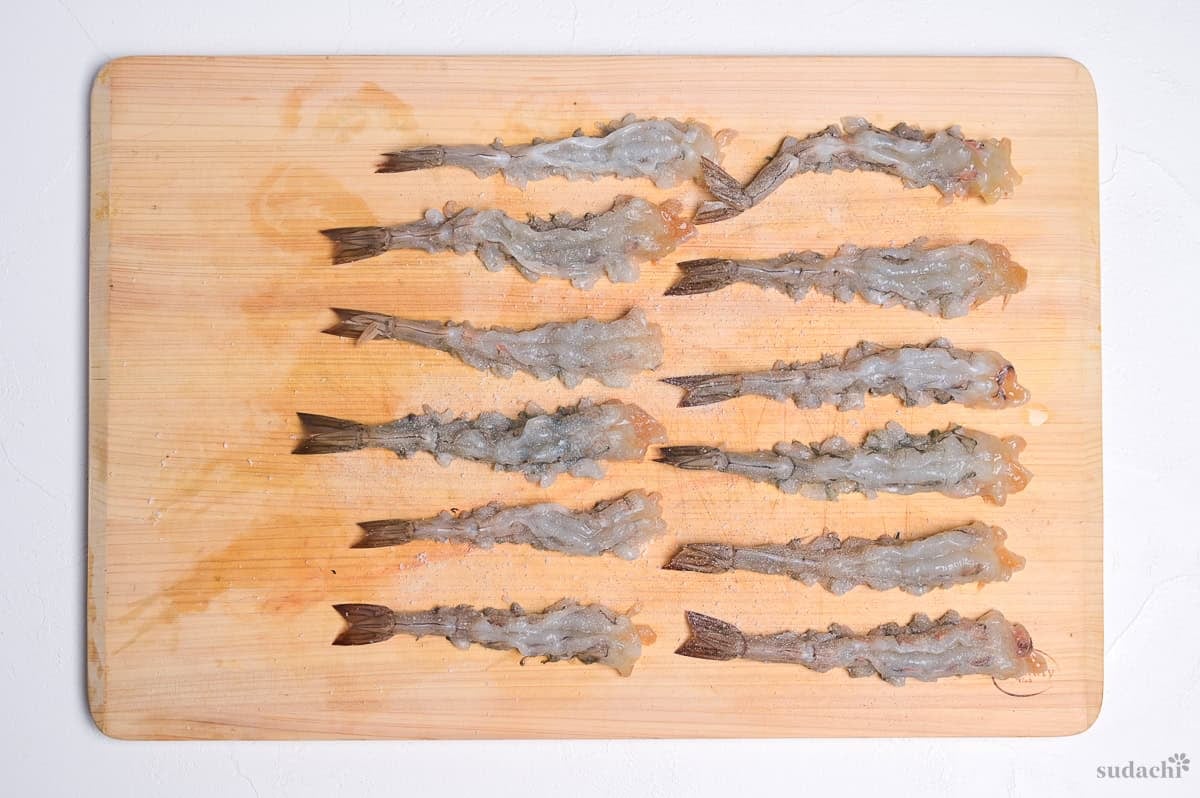
Note: Too much pressure will tear the flesh.
Heat contracts the muscle along a shrimp’s belly, pulling its body into a curve like a bag closing under a drawstring. Scoring cuts the fibers close to the surface, and pressing breaks those deeper in the flesh. With those pulling fibers severed, nothing curls the shrimp inward as it fries, so it comes out long and straight.
i. Lightly season both sides of the shrimp with salt and white pepper.
ii. Prepare 3 trays: flour in one, egg mixed with milk in another, and panko in the third. Stir the egg just enough to combine it, taking care not to beat in air.
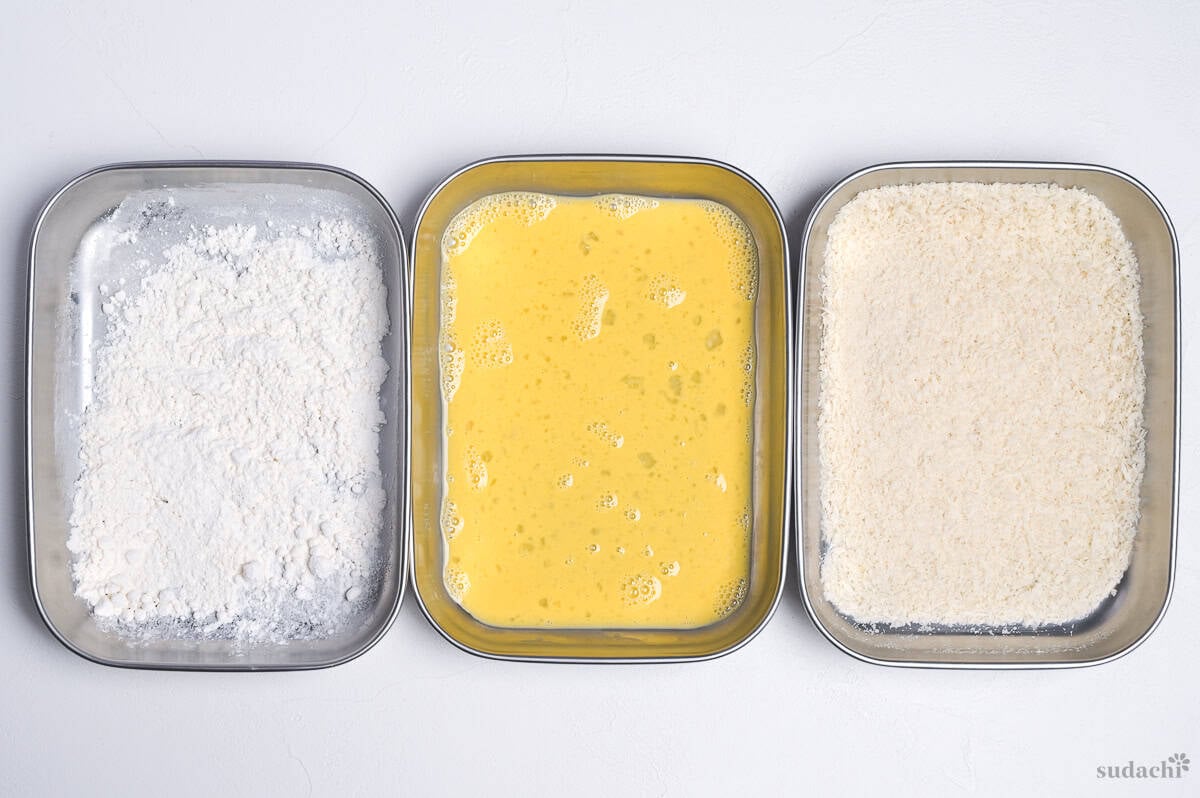
iii. Flour all the shrimp, getting into the slit along each back. Keep the layer on the tail shell very thin and pat away any excess flour. Leave the fully floured batch to rest for 2 minutes.
iv. Submerge a shrimp in the egg mixture to cover it completely, then roll it in panko. Press the crumbs firmly into place with your hands and continue with the remaining shrimp.
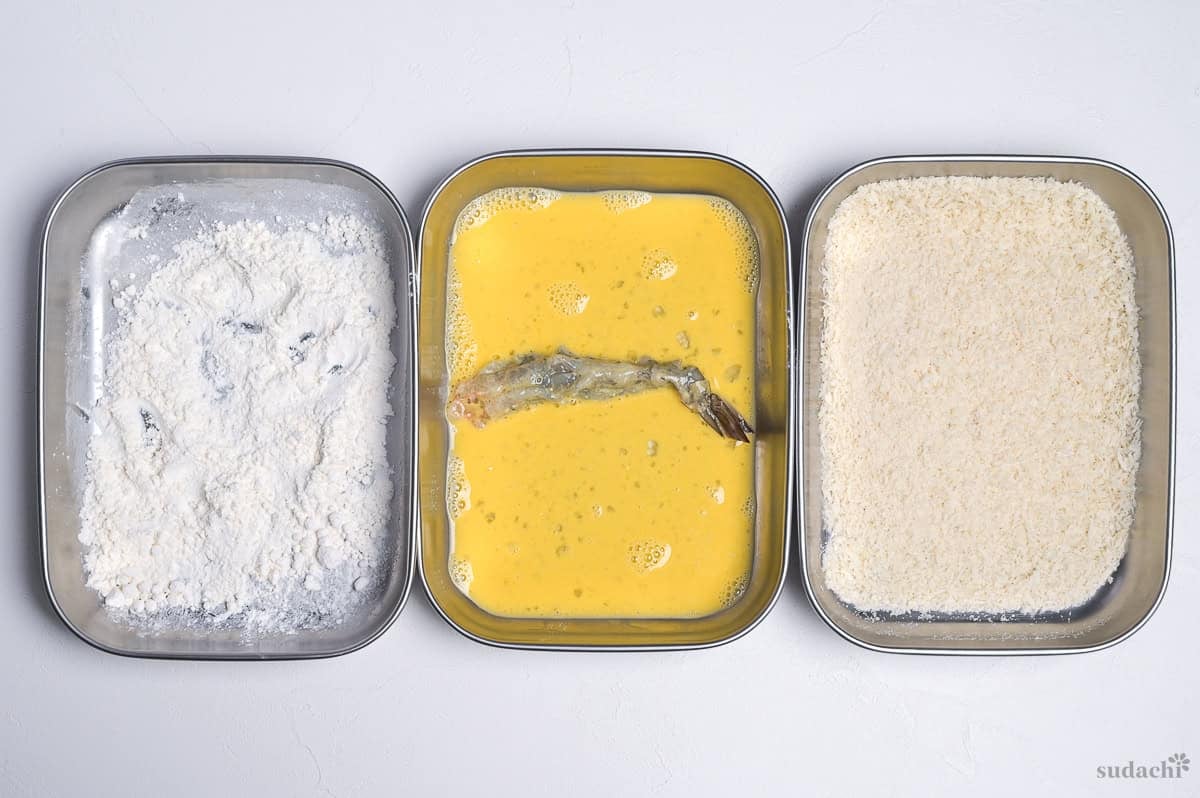
Tip: If you prefer a thicker coating, dip the shrimp in egg and panko once more, using a light layer of panko for this second coating.

i. Finish breading before you add oil to a deep, heavy pot about 20 cm wide. Use enough for the shrimp to swim in. I use a 20 cm iron tempura pot fitted with a draining rack and thermometer.
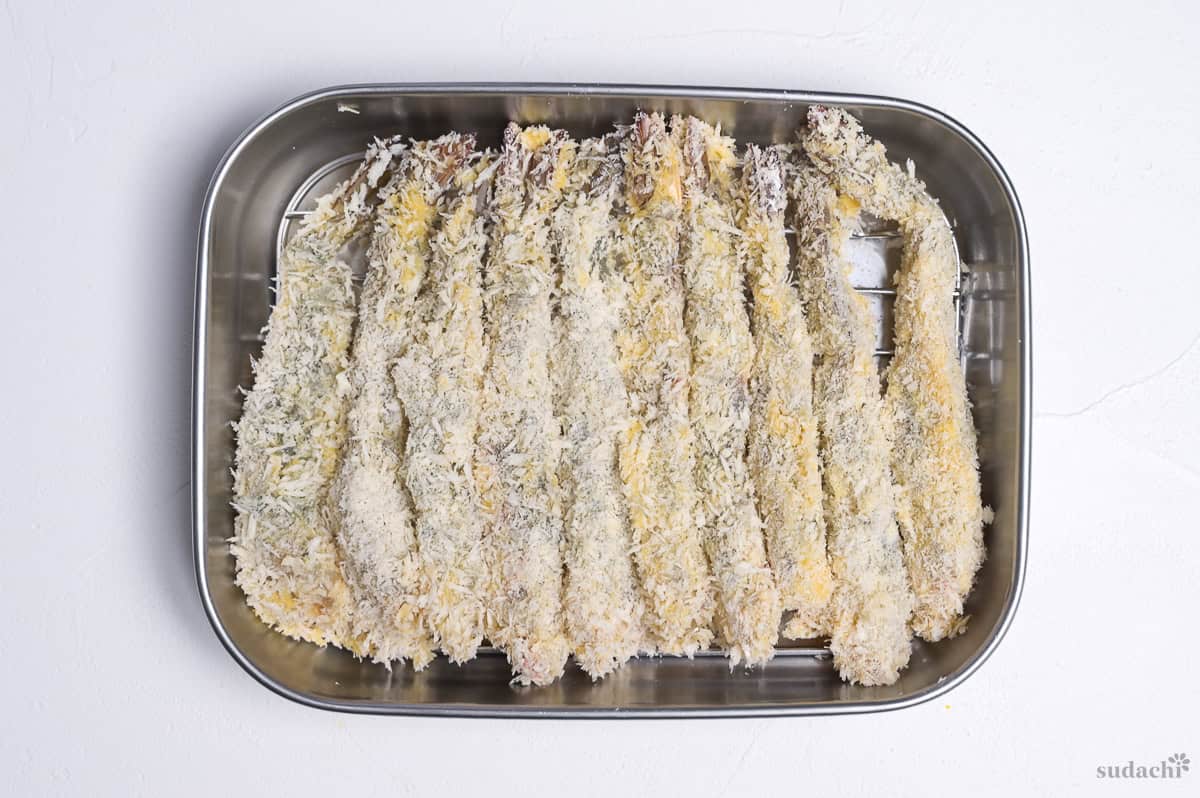
ii. Bring the oil to 180°C (356°F). Leave the breaded shrimp on their tray while it heats.
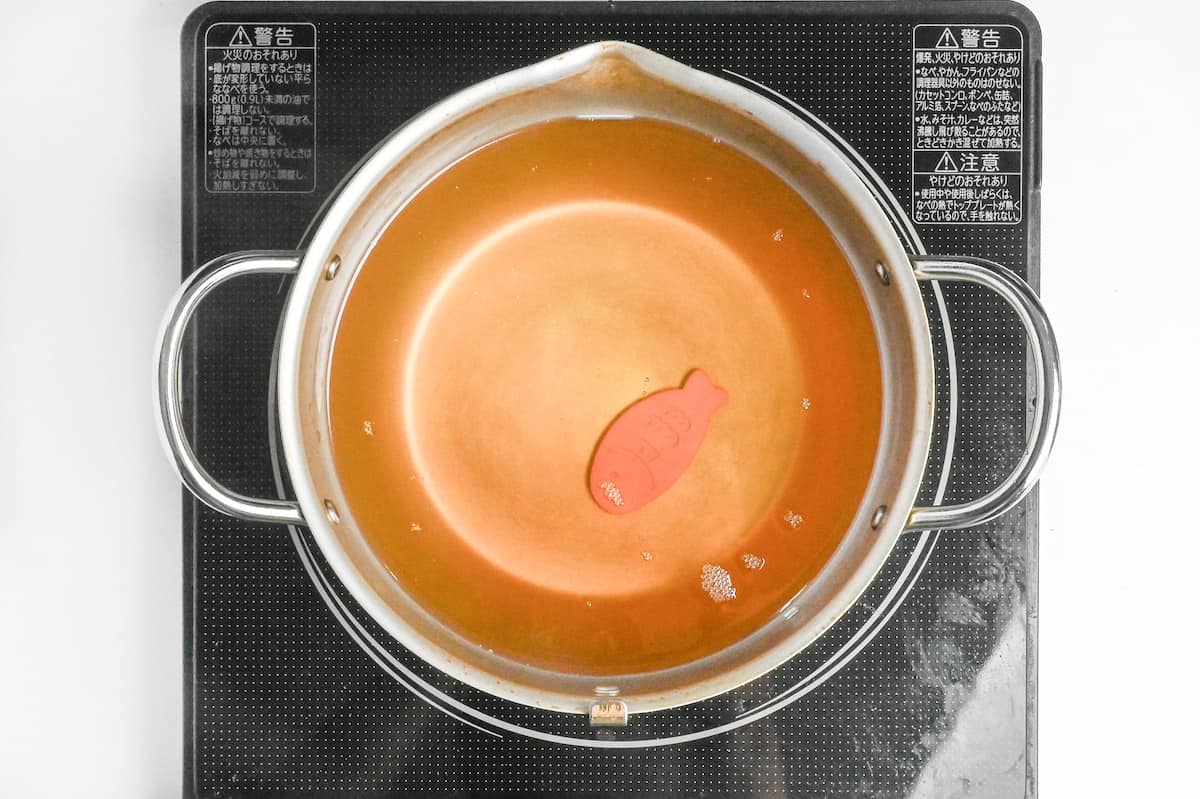
Tip: To check without a thermometer, sprinkle a pinch of panko into the oil. At 180°C, it stays on top and spreads over the surface. If it drops below the surface and immediately rises again, the oil isn’t hot enough yet.
i. Cook 3 shrimp per batch. Grasp each tail and ease the head end into the oil first. The shrimp should cover no more than one-third of the oil’s surface.
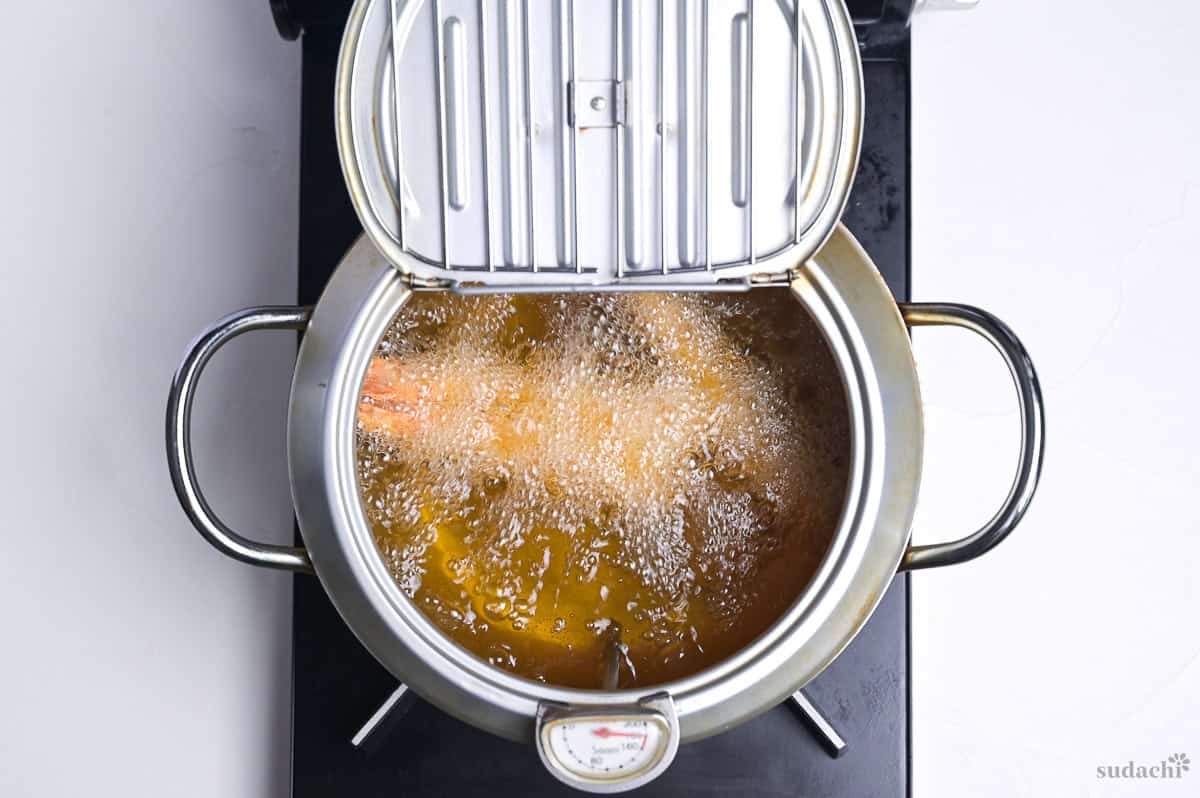
ii. Cook until golden brown, 2 minutes 30 seconds to 3 minutes. Give them a single turn after about 1 minute, then let them fry undisturbed.
Expect large bubbles and a loud rush of sound as the shrimp enter the oil. Fine, small bubbles and a quieter sound signal that they’re cooked through. Watch and listen as they fry, but let the clock have the final word. Shrimp cook quickly and turn tough and dry when overcooked, so keep their time in the oil short.
iii. Skim any loose panko out of the oil.
iv. Transfer the fried shrimp to a wire rack so the oil can drain off.
i. Time the frying for just before the meal and put the shrimp on plates as soon as they come out of the oil.

ii. Offer tartar sauce and Worcestershire sauce alongside.


Tips for the Best Ebi Furai
- Follow the cuts with a gentle press. Because the knife reaches only halfway through the shrimp, your fingers need to break the remaining sinews deeper in the flesh. Whether the shrimp fry straight is settled here, before they ever touch the oil.
- Don’t bread damp shrimp. Moisture on the flesh separates it from the coating, allowing the crust to peel off. Water inside the tail can also lift the coating where the tail meets the body. Pat the shrimp until they feel completely dry to the touch.
- Pull them out on time. Overcooking is the one thing ebi furai can’t forgive, so the frying time in the recipe is a hard ceiling. Watch the pot if you like, but keep your eyes on the clock.
Storage & Meal Prep
Fridge: Tartar, 2 to 3 days. Fried shrimp never, as I find the coating’s starch turns crumbly.
Freezer: I wrap each cooled fried shrimp within 2 hours. Up to 1 month. Never-frozen raw shrimp, wrapped unseasoned, fridge-thawed, never refrozen.
Meal prep: Prep tartar and shrimp ahead, fry to serve.
Reheating: Frozen, 5 to 7 minutes in a preheated toaster oven, until a briefly inserted skewer feels hot on your lip.
What to Serve With Fried Shrimp
- Crisp Shredded Cabbage
- Stovetop Japanese Rice
- Cucumber Sunomono (Vinegared Cucumber Salad)
- Red Miso Soup (Akadashi)
Ebi Furai Troubleshooting
The coating won’t adhere where the flesh is damp or there isn’t enough flour. You can repair bare areas before frying. Dab them with egg, sprinkle on panko, and press the crumbs into place by hand.
The oil is hotter than 180°C. With so little moisture in it, panko browns before the shrimp inside has time to cook. Lower the heat and remove the shrimp already frying when the bubbles become small and fine. Check that the thermometer has returned to 180°C before adding another batch of 3.
Adding shrimp cools the oil, and the crust won’t brown readily if the temperature stays low. Take this batch out without extending the frying time just to get more color. For the next 3 shrimp, wait until the oil is back at 180°C.

More Japanese Shrimp Recipes
Still have shrimp in the freezer bag? Turn them into your next dinner with my Japanese shrimp recipes.
Did You Try This Recipe?
I would love to hear your thoughts!
💬 Leave a review and ⭐️ rating in the comments below. 📷 I also love to see your photos – submit them here!

Ebi Furai (Japanese Deep-fried Shrimp with Panko)
Ingredients
Prep the Shrimp
- 10 black tiger shrimp 16/20, shell-on and headless, or similar large shrimp
- 1 pinch salt for cleaning the shrimp
- 1 tbsp potato starch (katakuriko) for cleaning the shrimp, or cornstarch
- 1 tbsp water for cleaning the shrimp
Tartar Sauce
- 4 tbsp Japanese mayonnaise Kewpie if you can find it
- 1 tbsp lemon juice
- 1 tsp honey
- 1 pinch salt
- 1 pinch ground white pepper
- 1 pinch dried parsley or fresh parsley
- 30 g onion finely diced by knife, 2 to 3 mm
- 2 hard-boiled eggs
Coating and Frying
- 1 pinch salt for seasoning
- 1 pinch ground white pepper for seasoning
- 30 g all-purpose flour plain flour in UK/AU
- 1 egg
- 2 tbsp milk or the same amount of water
- 50 g panko breadcrumbs
- cooking oil enough for the shrimp to swim in
- Worcestershire sauce
The ingredient brands and tools I trust are in my Japanese pantry guide and my cooking tools guide.
Can’t find certain Japanese ingredients? See my substitution guide here.
Instructions
Make tartar sauce
- Stir 4 tbsp Japanese mayonnaise, 1 tbsp lemon juice, 1 tsp honey, 1 pinch salt, 1 pinch ground white pepper, 1 pinch dried parsley, and 30 g onion together in a bowl. Break 2 hard-boiled eggs into rough pieces with your hands and fold them in gently, leaving chunks. Chill the tartar sauce until serving.

Prep the Shrimp
- Peel 10 black tiger shrimp, keeping the tails on. Make a shallow cut down each back and pull out the dark vein. Put the shrimp in a bowl with 1 pinch salt, 1 tbsp potato starch (katakuriko), and 1 tbsp water and massage them well. After a few minutes, rinse them clean with water, drain, and pat every shrimp thoroughly dry with paper towels.
- Lay a shrimp on its side, fold the tail in half, and trim the end on a diagonal so the pointed side ends up shorter. Scrape the water and dark residue out through the cut end with the knife, then snip off the hard spike in the tail. Repeat with the rest.
- Turn each shrimp belly up and score it with 5 to 6 diagonal cuts, each about half the depth of the flesh. Press gently with your fingers from tail to head, straightening the shrimp, until you feel the sinews give.
Coat and Fry
- Sprinkle both sides of the shrimp lightly with 1 pinch salt and 1 pinch ground white pepper. Put 30 g all-purpose flour, 1 egg beaten with 2 tbsp milk, and 50 g panko breadcrumbs in 3 separate trays. Beat the egg and milk only until blended, without frothing.
- Dust every shrimp with flour, working it into the cuts along the back, and give the tail shell only the thinnest coat. Pat off the excess. Once all the shrimp are floured, leave them for 2 minutes. Dip the shrimp one at a time in the egg until fully covered.
- Roll them in panko and press the crumbs on firmly with your hands. (For a thicker crust, dip in egg and panko once more, pressing the second layer of panko on lightly.)
- With every shrimp coated, heat cooking oil deep enough for them to swim in to 180 °C (355 °F) in a deep, heavy pot, leaving the shrimp on their tray.

- Fry in batches, sliding each in head first by the tail, filling no more than ⅓ of the surface. Turn once at about 1 minute, then leave them. Fry until golden with small, fine bubbles, 2½ to 3 minutes at most. Skim the panko and drain on a wire rack. Reheat the oil to 180°C between batches.
- Plate the shrimp straight from the oil and serve with the tartar sauce and Worcestershire sauce on the side. Enjoy!


Cornstarch or Baking Soda for “cleaning” the shrimp?
Thank you for your comment! We only use corn starch and salt for cleaning the shrimp, no baking soda.