What if the lightest gyoza didn’t use pork at all?
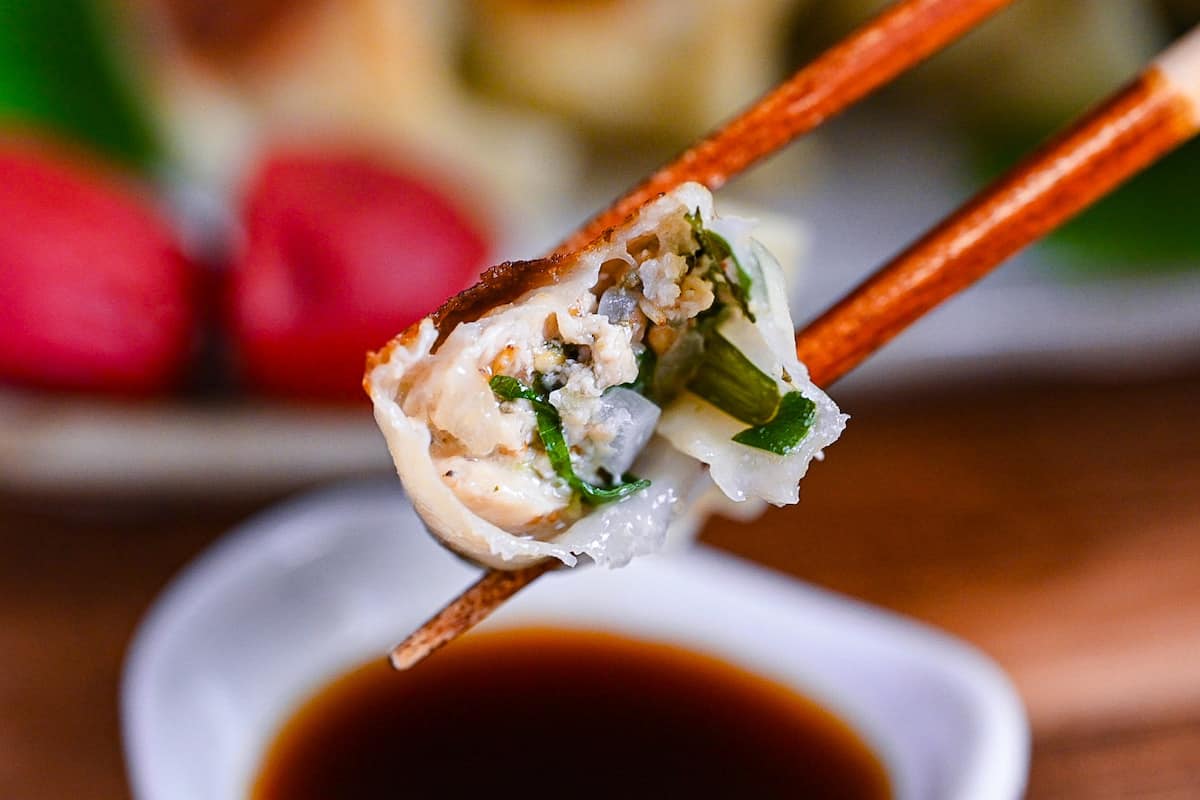
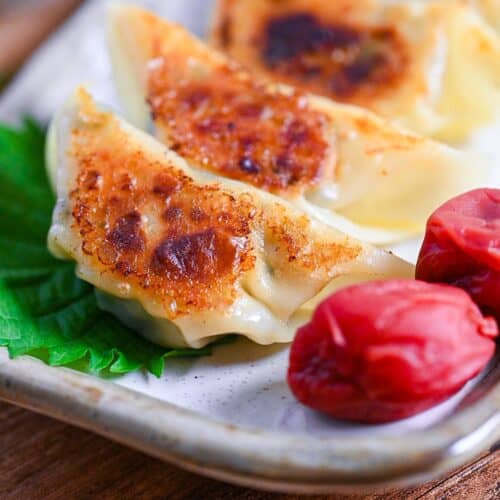
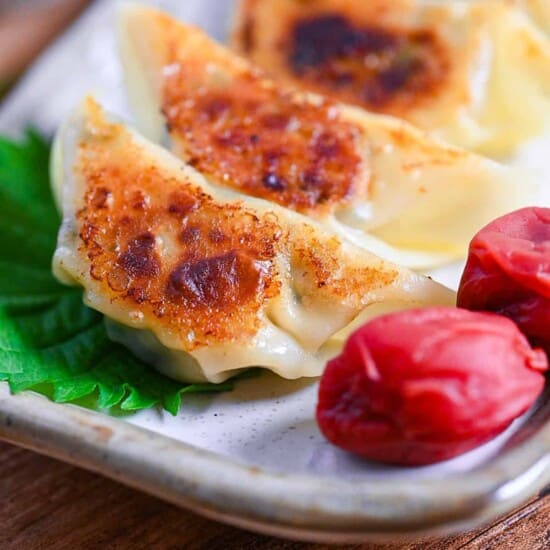
While pork gyoza dominate most gyoza in Japan, this chicken twist bursts with the tang of umeboshi and the green snap of shiso.
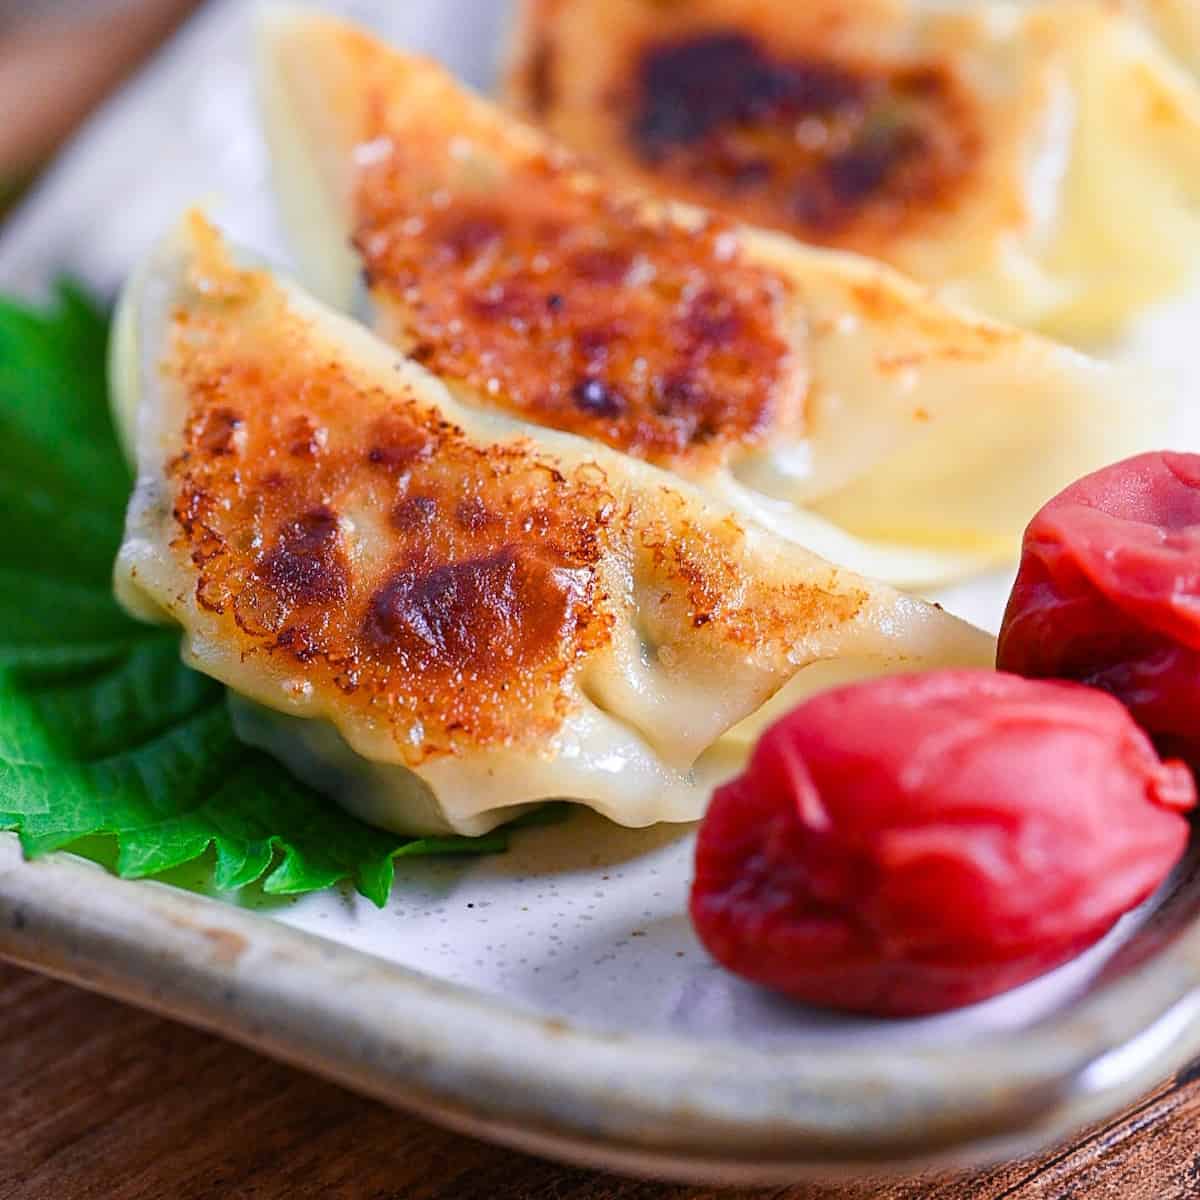
Chicken Gyoza
Recipe Snapshot
- What is it? Crispy-bottom chicken gyoza infused with tangy umeboshi and refreshing shiso.
- Flavor profile: Tangy, Fragrant, Light
- Why you’ll love this recipe: You’ll love how this chicken gyoza delivers all the crisp, juicy satisfaction of the classic gyoza, but with a lighter, cleaner balance.
- Must-haves: Umeboshi, Shiso leaves, Gyoza wrappers
- Skill Level: Medium
- Freezer Friendly? Yes!
- Suitable for Meal Prep? Yes!
Summarize & Save this content on:
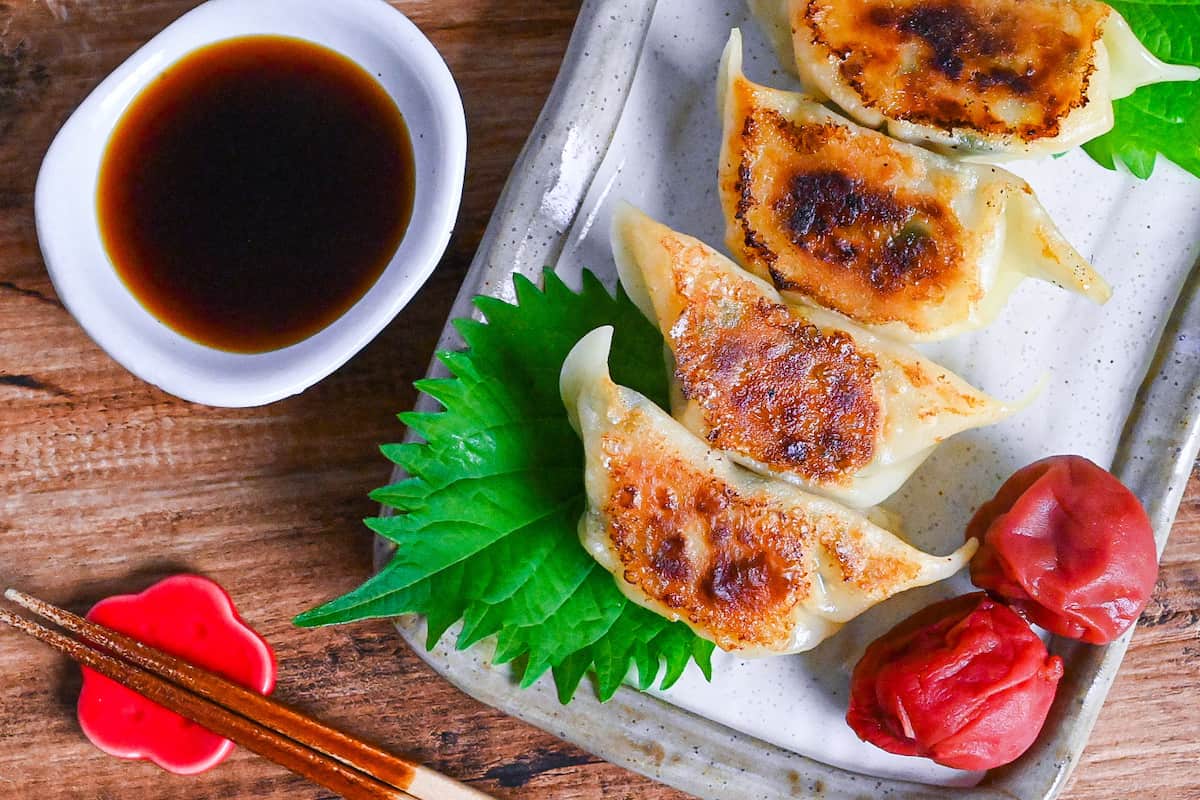
What is Chicken Gyoza?
Chicken gyoza is a lighter, refreshing take on Japan’s beloved pan-fried dumpling. Traditionally, gyoza fillings predominantly lean toward pork, whether pan-fried or deep-fried age gyoza. The runner-up is probably shrimp gyoza.
But that certainly does not mean other meats or no meat at all are off the table. I’ve made vegan gyoza and even spicy beef gyoza before, each with its own charm.
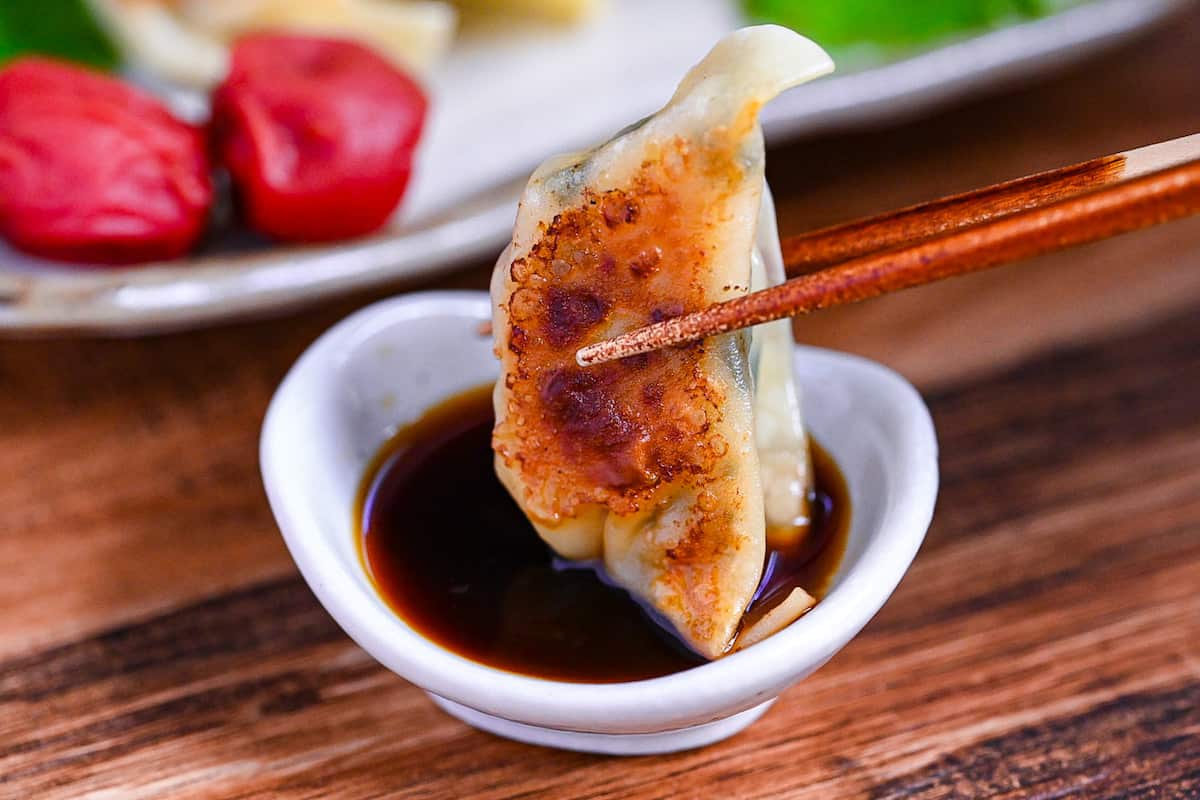
For this recipe, I wanted a version that feels lighter and cleaner. My chicken gyoza pairs perfectly with ponzu sauce or a simple gyoza sauce for a fresh, balanced finish.
Chicken Potstickers Ingredients

- Chicken: I mix ground chicken with finely chopped boneless chicken thighs for a juicy, springy filling. If you only have ground chicken, it still works great. Use all ground chicken for easier pleating, or ground turkey for a similar light flavor.
- Umeboshi: You’ll often find whole umeboshi or convenient ume paste (neri ume) at Japanese/Asian grocers. Paste is also available to buy online.
- Green cabbage: Regular green cabbage cooks down sweet and crisp-tender, giving gyoza that satisfying crunch without overpowering the filling. Napa cabbage is a good swap that’s often stocked at Asian markets.
How to Make My Chicken Gyoza
If you prefer to watch the process in action, check out my YouTube video of this chicken gyoza recipe!
Before you start (Mise en place):
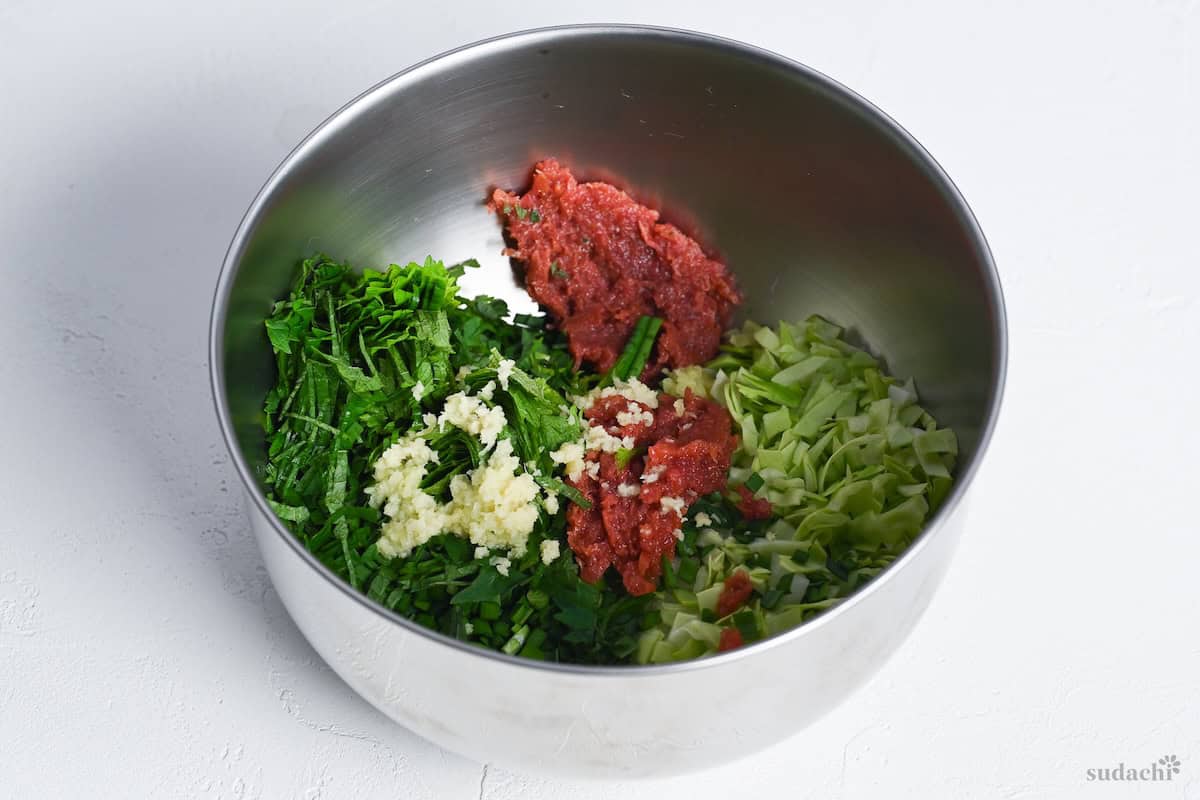
Finely chop the onion and cabbage. Slice the garlic chives, and shred the perilla leaves thinly. If using whole umeboshi, remove the pit and mash the flesh into a smooth paste, then grate the fresh ginger until juicy and fragrant.

Add them all to a bowl. Preparing these ahead sets you up for a seamless rhythm. Everything within reach, no pauses, no stress.
i. Finely chop boneless, skinless chicken thighs until the pieces are small but chunkier than ground meat. This gives the filling a juicier bite and prevents the dense texture you sometimes get with all-ground chicken.
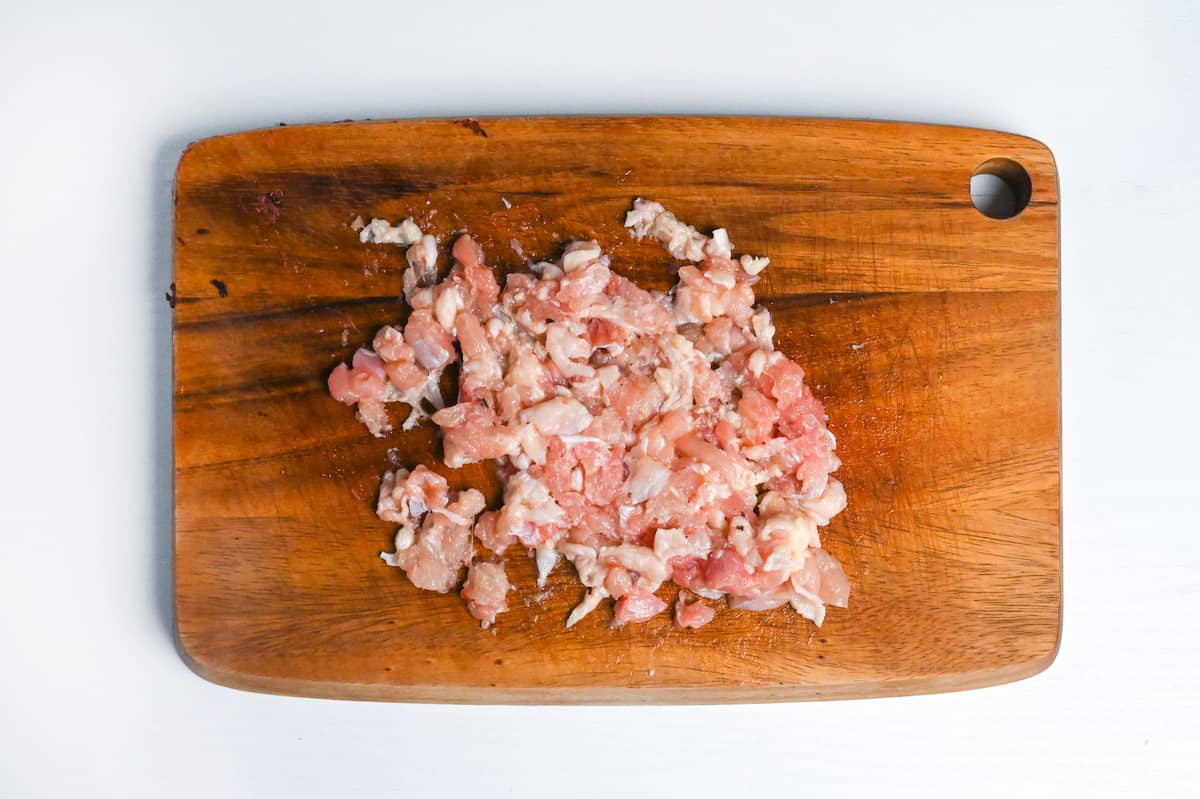
Hand-chopped chicken retains more moisture pockets than fully ground meat, so the cooked filling feels springy, not pasty.
i. In the same bowl as prep, combine the finely chopped chicken thigh, ground chicken, onion, green cabbage, garlic chives, perilla (shiso), umeboshi paste, sake, soy sauce, salt, black pepper, grated ginger, and toasted sesame seeds.
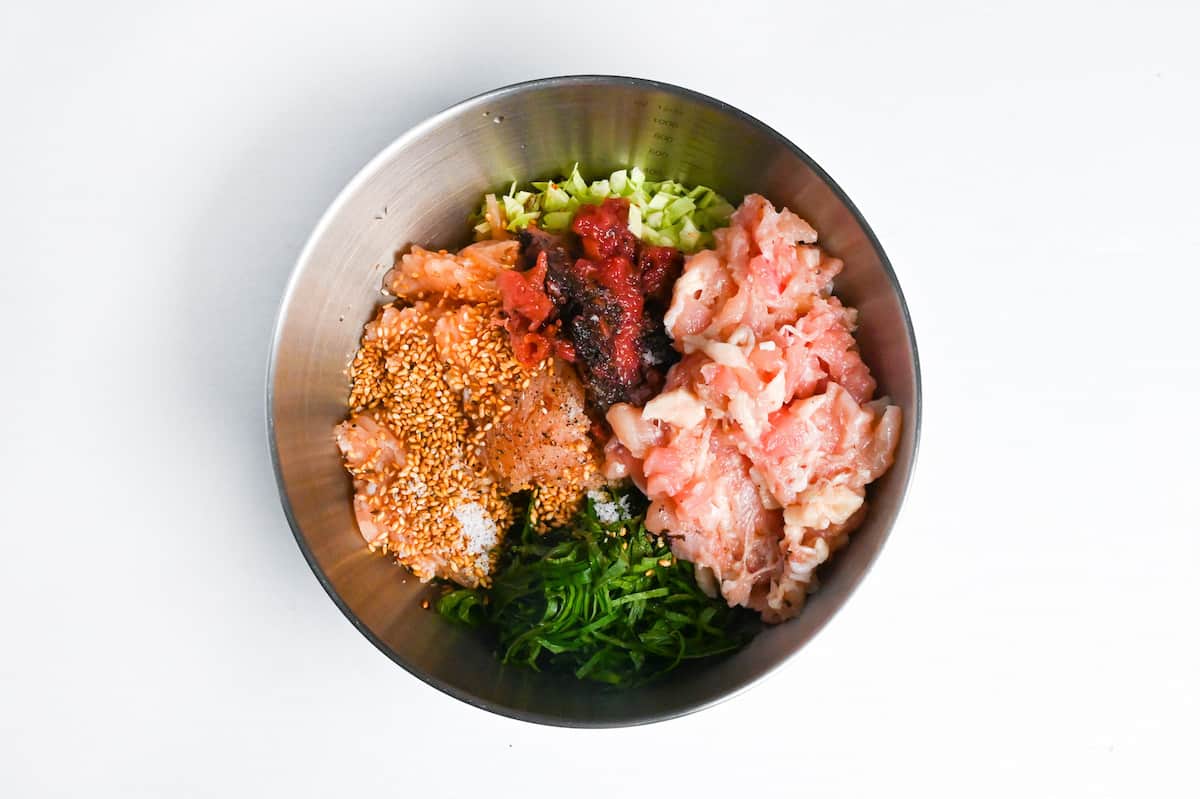
ii. Mix with your hands or a spoon until the mixture looks sticky and cohesive, about 1-2 minutes so the proteins bind and hold shape.
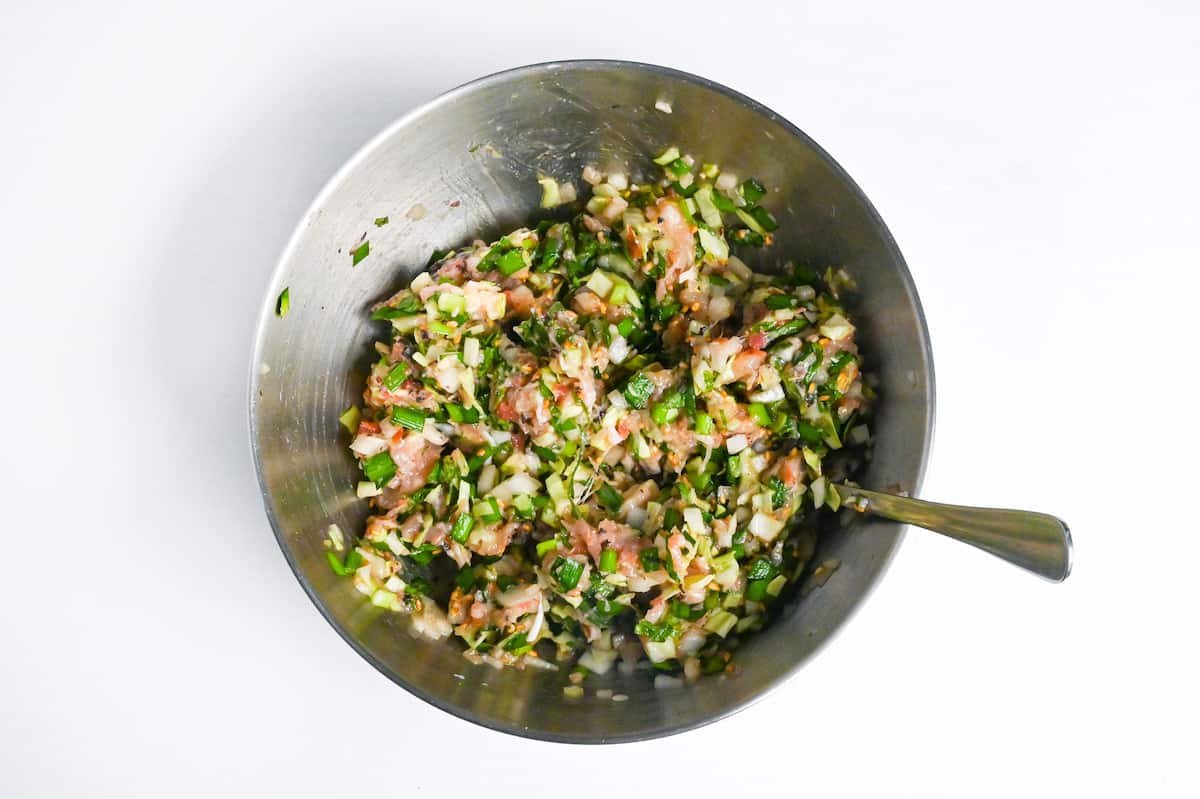
Umeboshi brings salinity and bright acidity that balances chicken’s sweetness, while shiso adds a peppery, herbaceous lift.
i. Prepare your work station with a stack of round gyoza wrappers, a small bowl of cold water, a clean towel, and a tray dusted with a little flour or lined with parchment.
ii. Place about 1 tablespoon of filling in the center of a wrapper, leaving a finger-width border and lightly wet the edge.
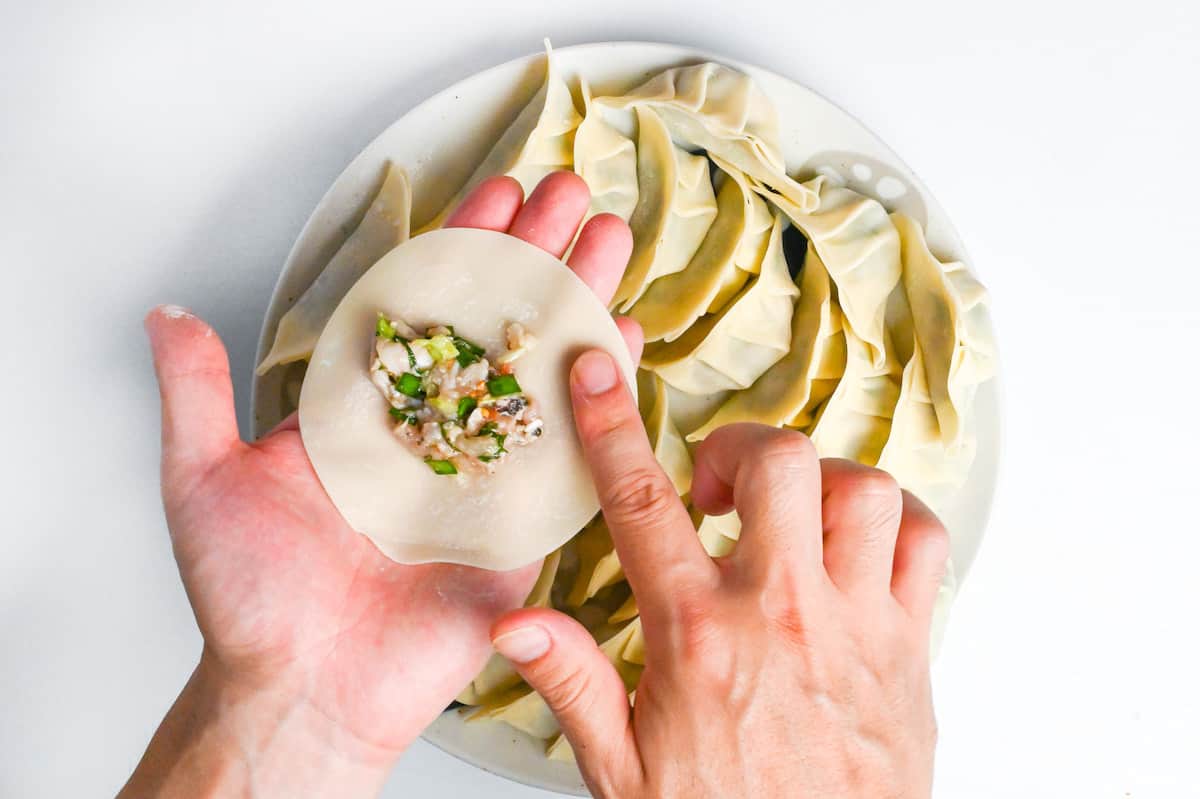
iii. Fold into a half-moon without sealing, pinch one corner.
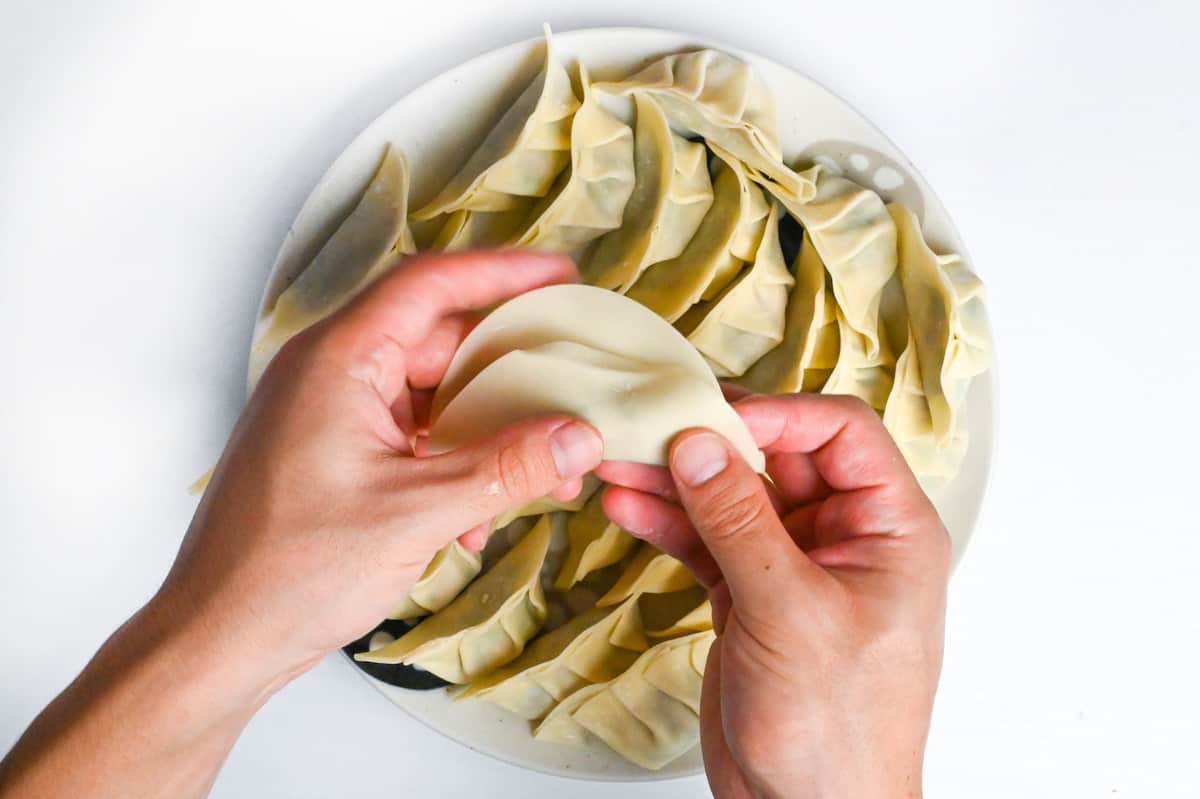
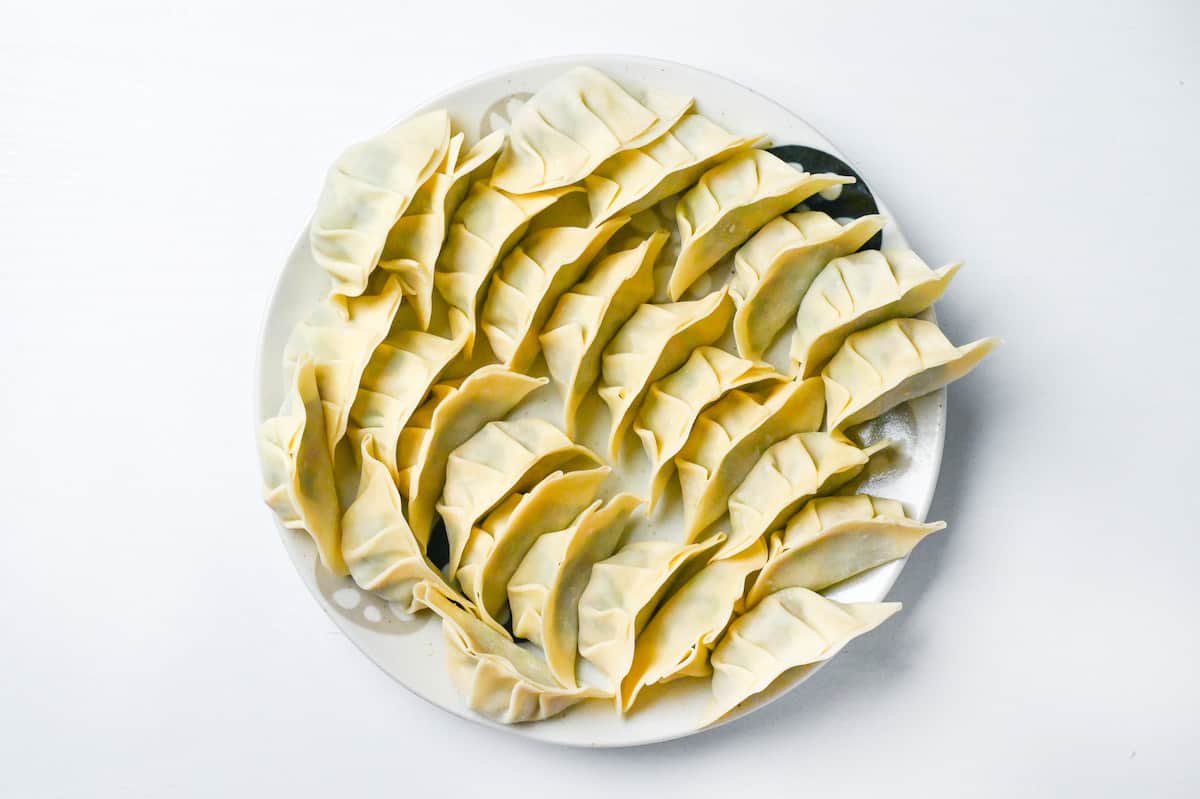
iv. Then make 4-6 small pleats on one side, pressing each pleat into the flat side to seal.
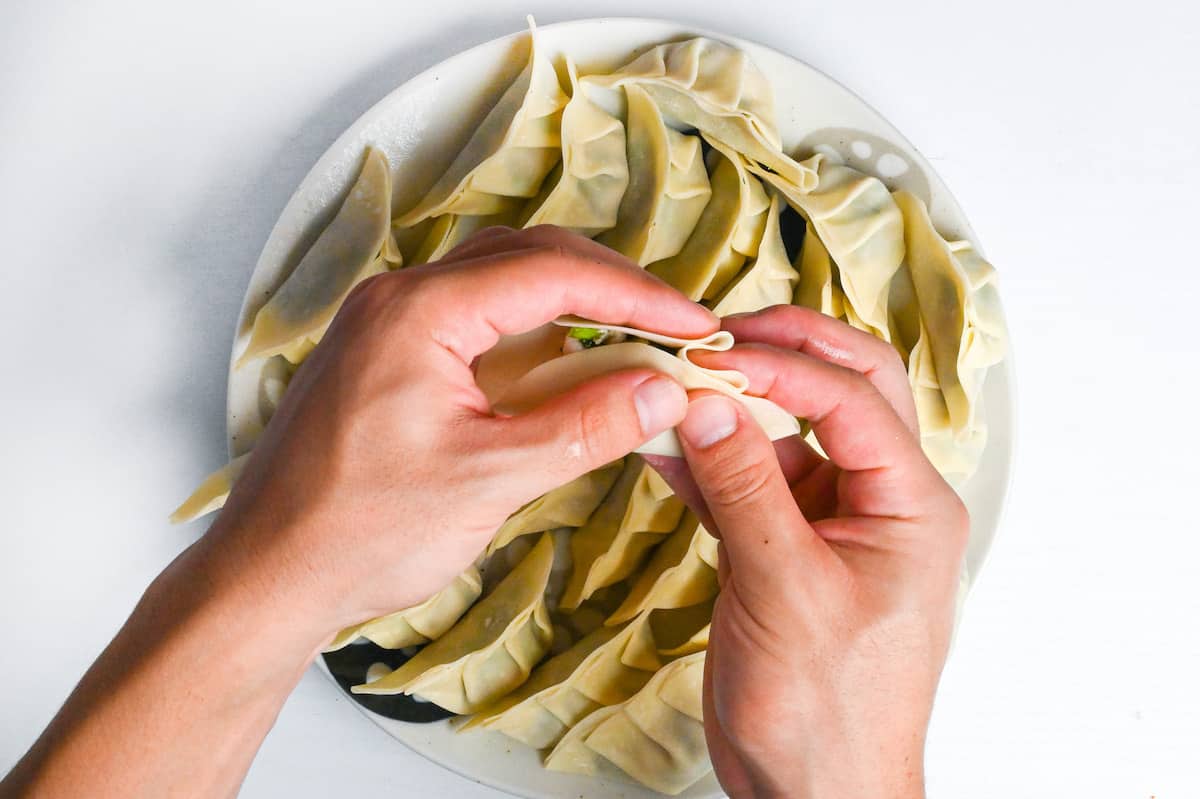
v. Finish by pressing along the seam to lock it in.
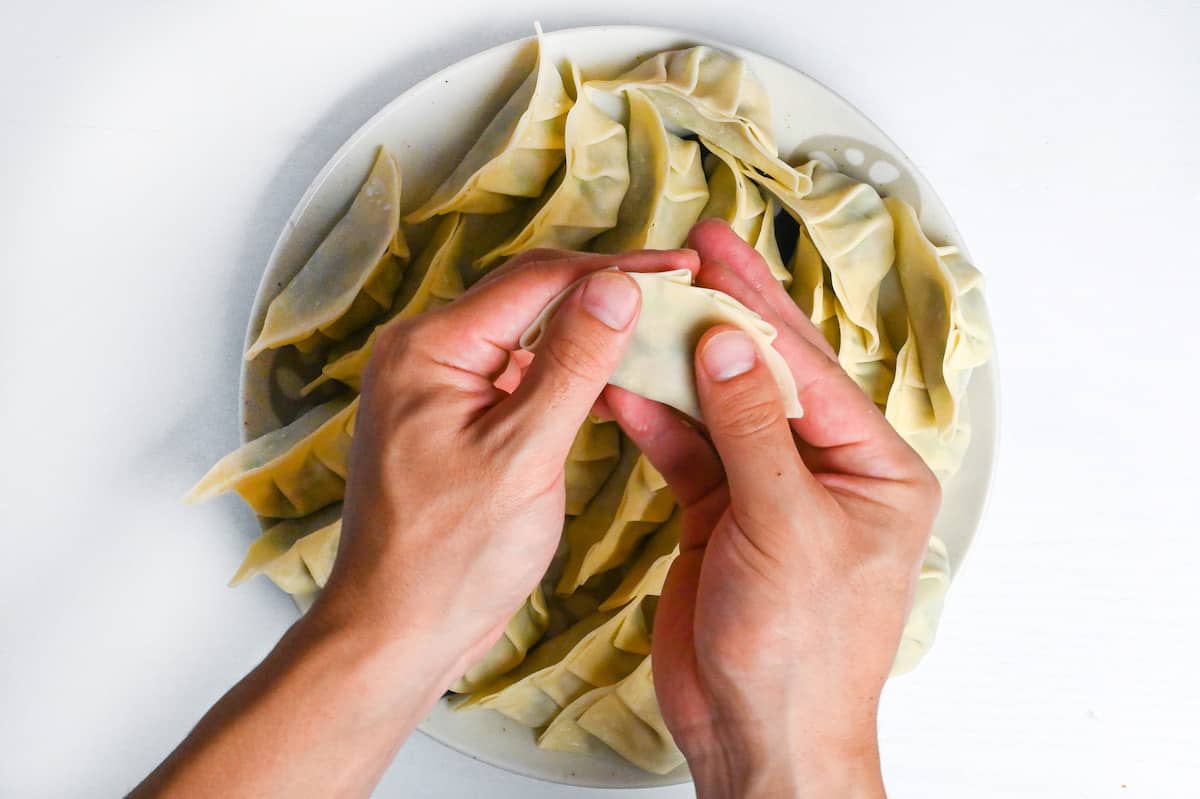
Use slightly less filling than you think, overstuffing causes tears and blowouts during steaming.
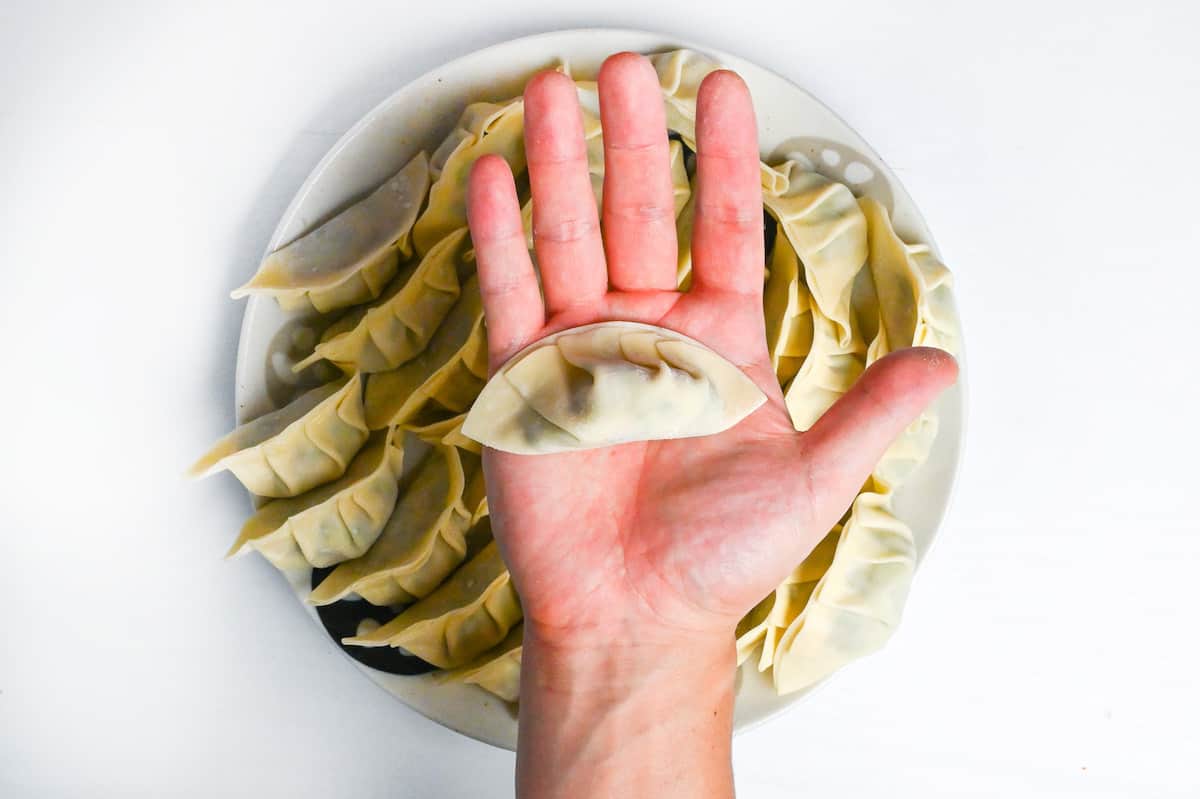
i. Film a nonstick or well-seasoned skillet with neutral oil and heat over medium until the oil shimmers (no smoke). Arrange gyoza snugly but not touching, flat-side down, and cook until the bottoms turn golden brown and audibly sizzle, 2-3 minutes.
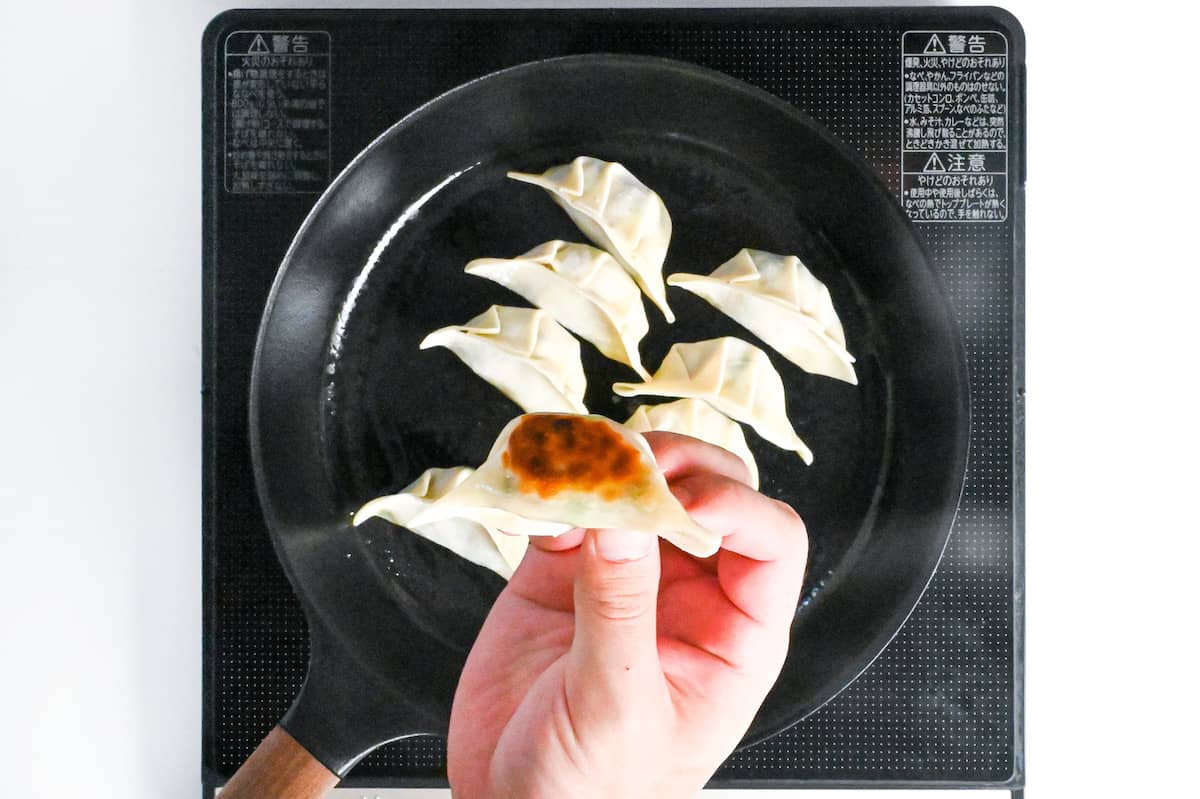
This first fry creates the signature crisp base that won’t get soggy during steaming.
If the oil smokes, lower the heat and give the pan 30 seconds off the burner. Smoking oil scorches the bottoms before the centers cook. A gentle, steady sizzle is your cue you’re in the sweet spot for even browning.
ii. Carefully pour in freshly boiled water around the dumplings.
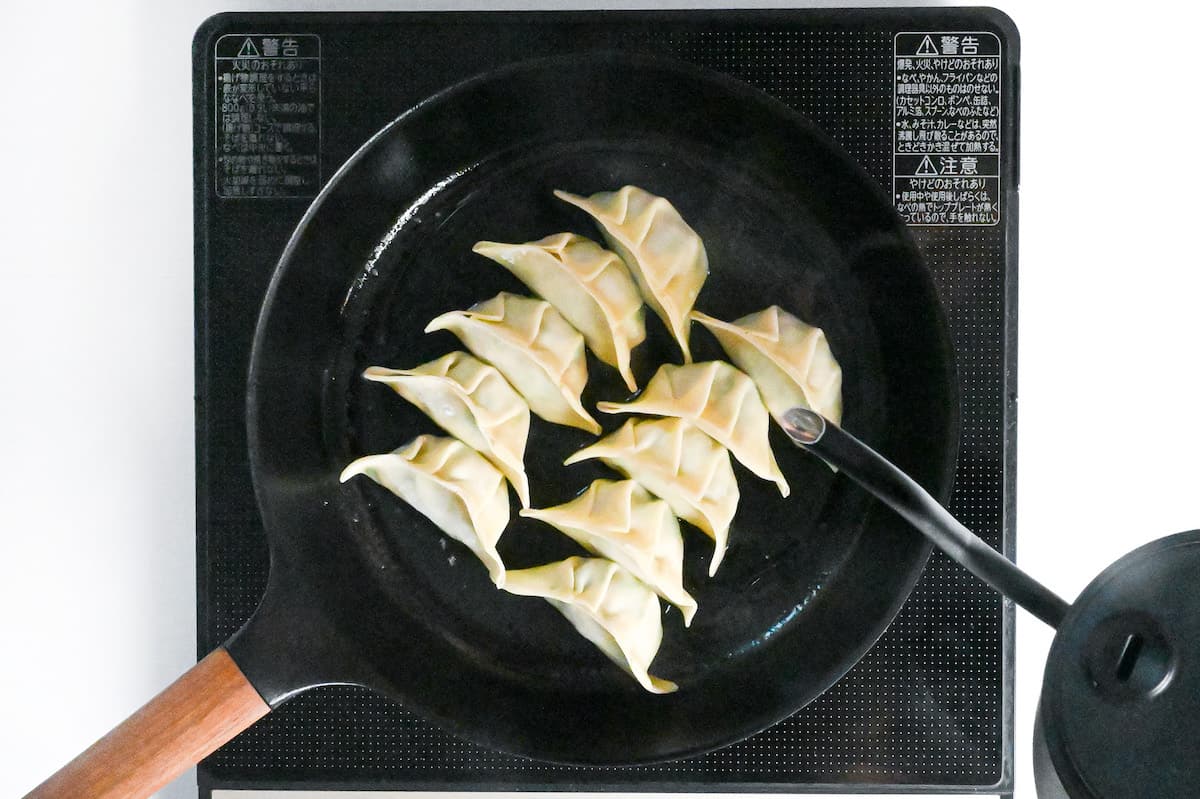
iii. Then cover immediately to trap steam. Cook over medium until most of the water is gone and the wrappers look glossy and tender on top, 3-4 minutes for fresh dumplings. The steam cooks the chicken safely while keeping the tops supple.
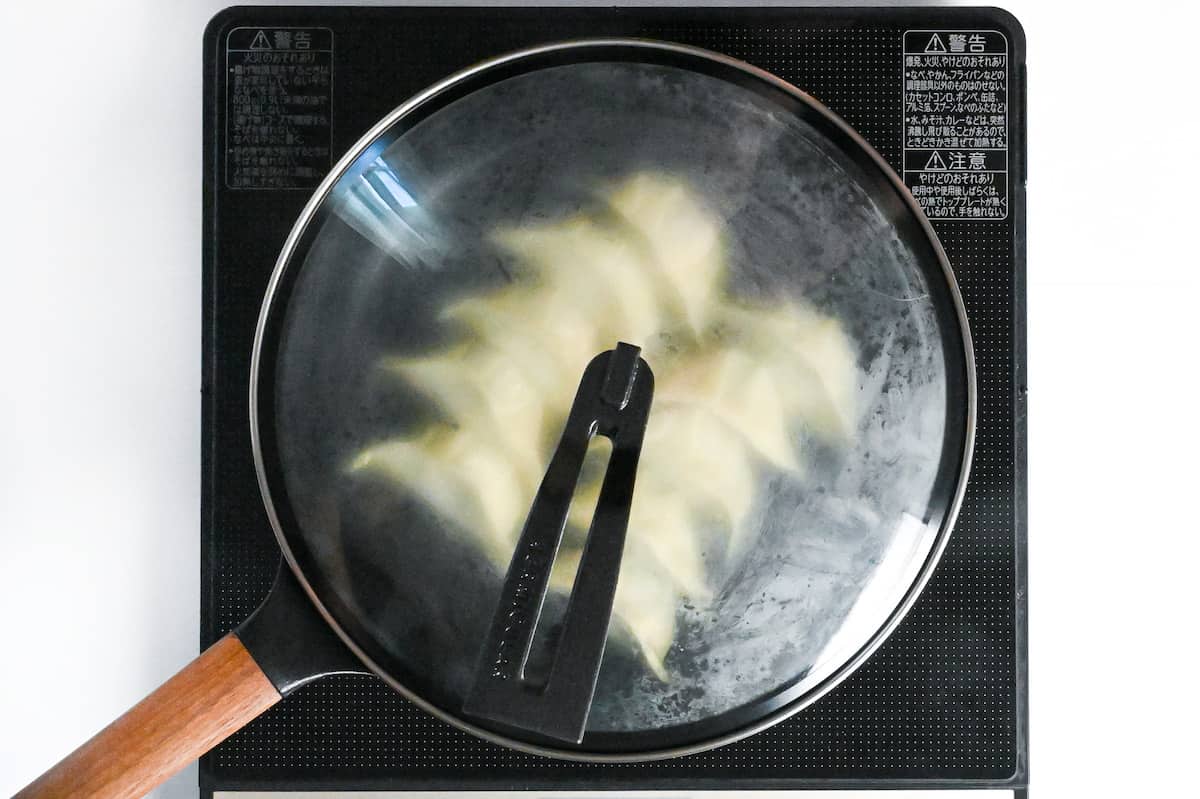
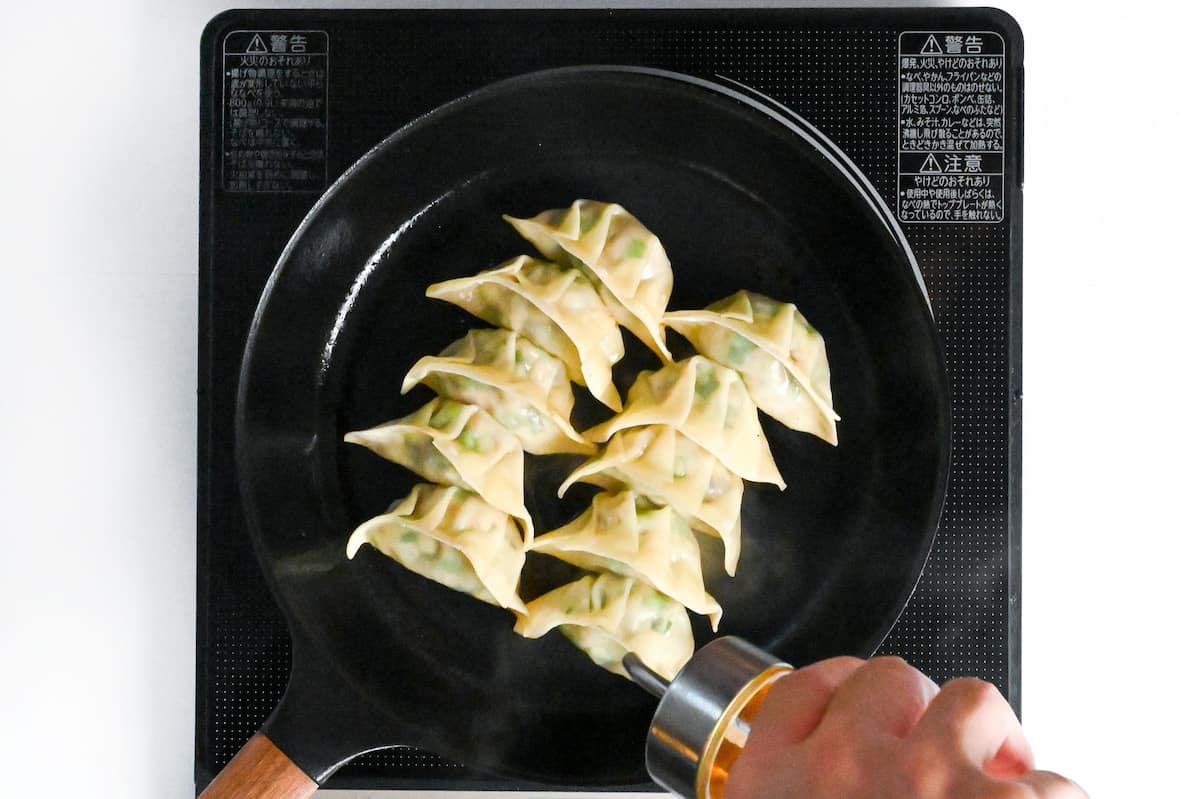
iv. Remove the lid and let the remaining moisture evaporate completely. Drizzle a little sesame oil around the edges and cook 30-60 seconds more until the bottoms audibly crackle and the pan smells toasty-nutty. This re-crisp locks in the contrast: soft top, glassy-crisp base.
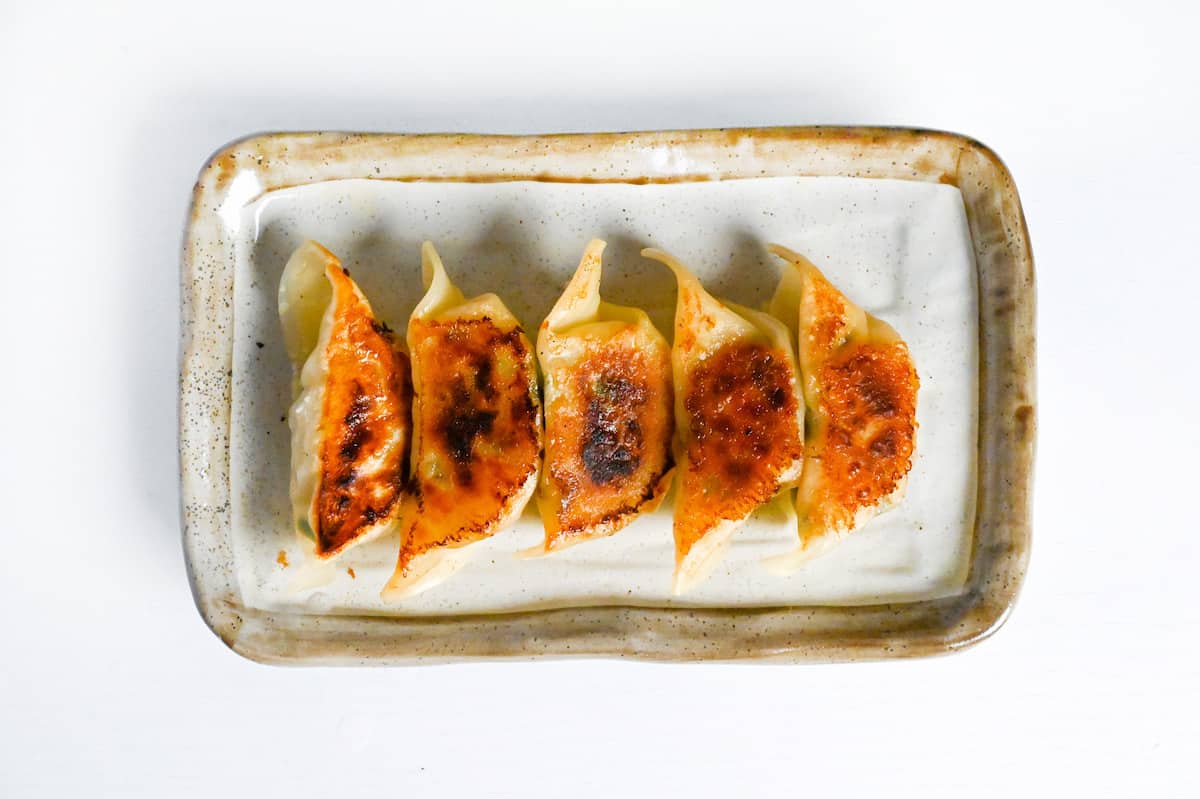
i. Invert the pan onto a platter to keep the crisp bottoms intact, or lift out gently with a thin spatula. Serve hot with ponzu sauce.

Essential Tips & Tricks
- Keep all ingredients prepped before mixing.
- Seal wrappers with just enough water. Too much makes them slippery and hard to pleat.
- Use freshly boiled water for steaming.
- Let all water evaporate before the final sesame-oil drizzle for perfect golden crispness.
With these simple tips in mind, you’re set for success every time you make chicken gyoza.
Storage & Meal Prep
Fridge: Cooked gyoza: store in an airtight container for 3-4 days, chill within 2 hours of cooking. Raw chicken filling: keep covered for 1-2 days and assemble right before frying. Assembled, uncooked dumplings are not recommended for longer fridge storage.
Freezer: Uncooked dumplings: freeze on a lined tray, then bag airtight. Cook from frozen without thawing. For best texture, use within 1-2 months. Cooked gyoza can also be frozen, but crispness will drop, so I don’t recommended it.
Meal Prep: Mix the chicken filling 12-24 hours ahead and refrigerate. If you want ready-to-cook dumplings, pleat and freeze immediately on a tray, then transfer to a sealable bag to save freezer space.
Reheating: From chilled, re-crisp in a skillet: a thin film of oil over medium heat, add gyoza flat-side down until warm, splash in 1-2 Tbsp water, cover to steam briefly, then uncover to let moisture evaporate and the bottoms re-crisp. From frozen (uncooked), use the standard steam-fry method with an extra minute or so of steaming. No need to thaw before cooking.
What to Serve With This Recipe
- Steamed white rice (gohan)
- Miso soup with tofu and wakame
- Wakame seaweed salad
- Japanese sesame spinach (goma-ae)
Chicken Gyoza Q&A
Don’t overfill (1 tablespoon max) and press firmly along the entire seam.
Listen and look: you’ll hear a sizzling sound intensify, and the bottoms will turn deep golden-brown (not pale tan). Peek underneath one gyoza occasionally.
Non-stick works great for beginners (less sticking risk). Cast iron or carbon steel gives better browning but requires more attention to detail.
More Japanese Chicken Recipes
From teriyaki to karaage and beyond, browse through these Japanese chicken dishes to plan your next meal.
Did You Try This Recipe?
I would love to hear your thoughts!
💬 Leave a review and ⭐️ rating in the comments below. 📷 I also love to see your photos – submit them here!
Chicken Yaki Gyoza with Umeboshi and Shiso
Ingredients
- 100 g boneless chicken thigh
- 100 g ground chicken
- 50 g onion finely diced
- 20 perilla leaves (shiso) shredded
- 3 pickled plums (umeboshi) or 2 tsp store-bought umeboshi paste per umeboshi
- 50 g green cabbage or Napa cabbage, finely diced
- 30 g garlic chive(s) finely chopped
- 1 tbsp sake or dry sherry/white wine
- 1 tsp Japanese soy sauce (koikuchi shoyu)
- ½ tsp salt
- 1 pinch ground black pepper or white pepper
- 1 tsp grated ginger root or ginger paste
- 1 tbsp toasted white sesame seeds
- 25 gyoza wrappers
- 1 tbsp cooking oil
- 125 ml freshly boiled water
- toasted sesame oil to drizzle
- ponzu sauce for dipping
My recommended brands of ingredients and seasonings can be found in my Japanese pantry guide.
Can’t find certain Japanese ingredients? See my substitution guide here.
Instructions
- Finely chop 100 g boneless chicken thigh until it's small and chunky with more texture than ground chicken.

- Place it in a large mixing bowl along with 100 g ground chicken, 50 g onion, 20 perilla leaves (shiso), 3 pickled plums (umeboshi), 50 g green cabbage, 30 g garlic chive(s), 1 tbsp sake, 1 tsp Japanese soy sauce (koikuchi shoyu), ½ tsp salt, 1 pinch ground black pepper, 1 tsp grated ginger root and 1 tbsp toasted white sesame seeds.

- Mix until everything is evenly distributed.

- Take a gyoza wrapper and add about 1 tbsp of the filling to the center, leaving a finger-width border around the edge. Rub a small amount of water around the edge.

- Fold the wrapper in half without letting the sides touch, then pinch one corner and start pleating.

- Fold and press to make the pleats until the gyoza is closed.

- Press the edges down firmly to tightly seal.

- Place on a flour dusted plate and repeat until all of the gyoza wrappers and filling are used up.

- Heat a frying pan on medium and add 1 tbsp cooking oil. Once hot, place the gyoza in the pan with the flat side facing down and fry until the bottoms are crispy and brown (approx 2-3 minutes). Check frequently to prevent burning.

- Pour 125 ml freshly boiled water around the pan. (Be careful of oil splashing.) If cooking the gyoza in smaller batches, reduce the water accordingly.

- Place a lid on top and cook until the liquid is almost gone and the tops of the gyoza are soft and supple.

- Remove the lid and continue to cook until the liquid is completely gone. Drizzle with toasted sesame oil and cook for 30-60 seconds before removing the pan from the heat.

- Serve with ponzu sauce and enjoy!



Leave a rating and a comment