Disclaimer: This post may contain Amazon affiliate links. Sudachi earns a small percentage from qualifying purchases at no extra cost to you. See disclaimer for more info.
What is Kabocha Korokke?
Korokke (コロッケ) is the Japanese loan word taken from either the French, ‘croquette’ or the Dutch “kroket”. Either way, Japanese korokke is considered a type of “yoshoku,” a Japanese dish with European influence.
It is said that France introduced croquettes to Japan in the late 1800’s. It was originally made using mashed potatoes that had been shaped, rolled in egg and panko breadcrumbs, and then deep fried.
Today, I’m going to teach you how to make korokke using Japanese winter squash called “kabocha” (かぼちゃ). The bright orange flesh has a sweet, almost buttery flavor and creamy texture similar to butternut squash. All these qualities make kabocha perfect for croquettes!
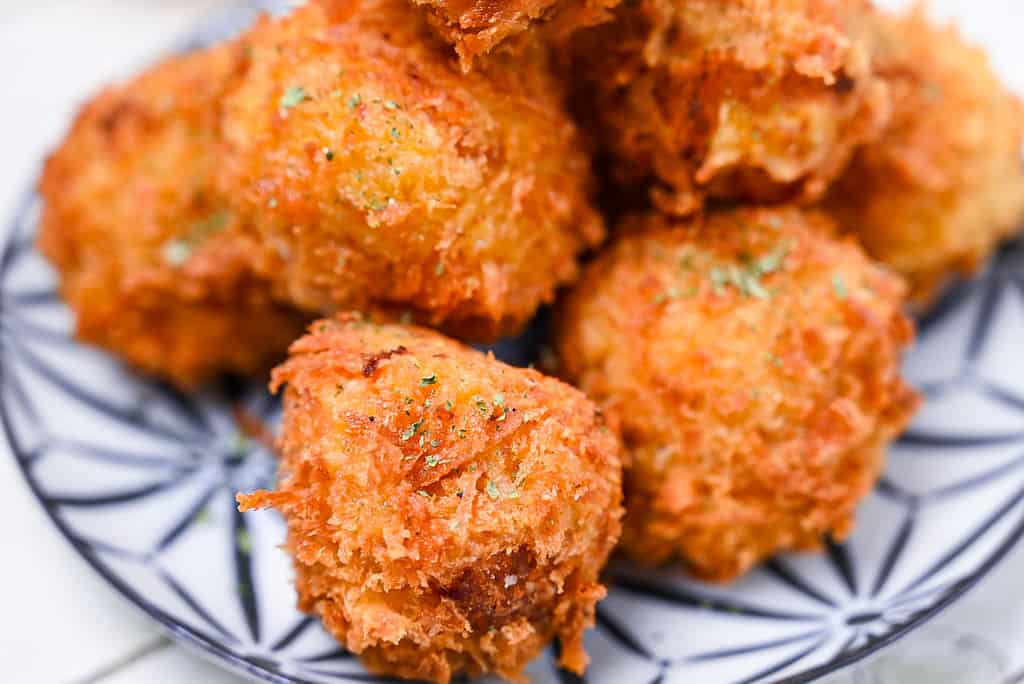

How I Developed This Recipe
Creating this pumpkin croquette recipe, I focused on highlighting the natural sweetness of the pumpkin, which sets it apart from traditional potato korokke. In my experience, the unique flavor of pumpkin deserves to be the star of the show.
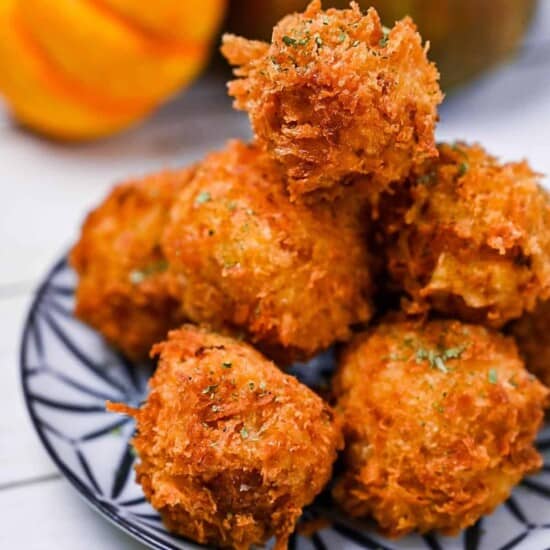
I chose ingredients that complement rather than overpower the pumpkin’s sweetness. The shape, too, has a twist – bite-sized rounds that are perfect for snacking or as a delightful side dish.
If you’re in the mood for a croquette that offers a different kind of sweetness, one that’s subtly earthy and wonderfully autumnal, I highly recommend these pumpkin croquettes!
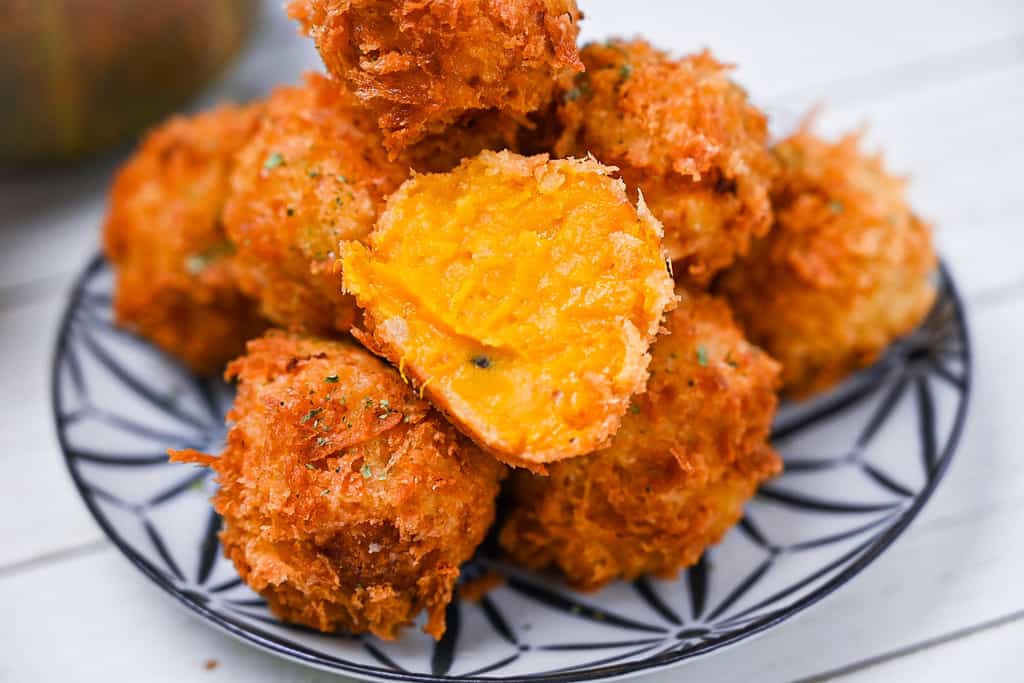
Ingredients & Substitution Ideas
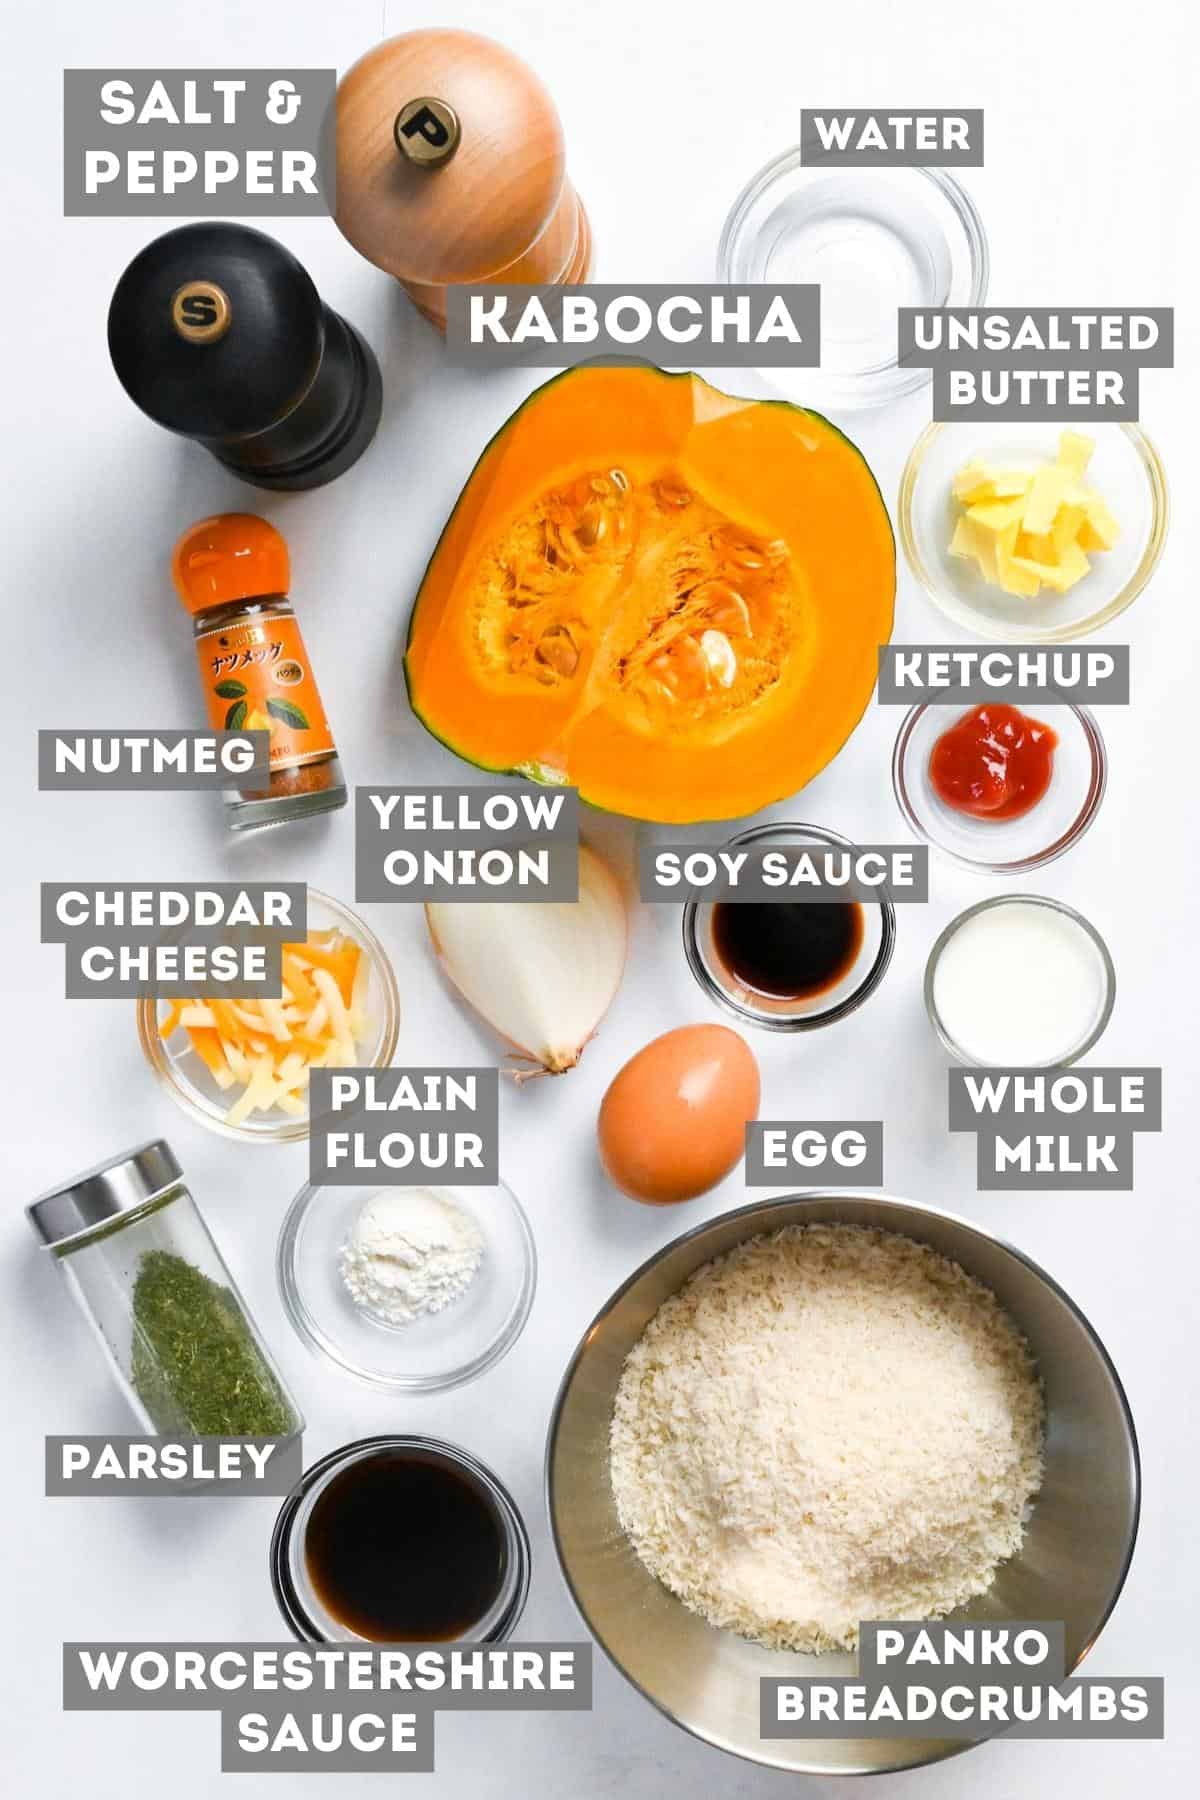
- Japanese Kabocha – The star of the dish is sweet and versatile kabocha! Since it’s the star, it shouldn’t be substituted. (However, this recipe also works well with butternut squash if you can’t find kabocha.)
- Seasonings, herbs and spices – White sea salt and freshly ground black pepper are used to season the filling while ground nutmeg adds a little depth. Dry parsley is an optional finishing touch to sprinkle at the end.
- Condiments – Soy sauce adds umami and depth, while ketchup is used to add a different kind of sweetness. Ketchup is also combined with Worcestershire sauce to make the classic korokke sauce.
- Grated cheese – A small amount of mild, meltable cheese (such as cheddar, gouda or mozzarella) add delicious flavor and improve the texture of the korokke’s filling.
- Yellow onion – Finely diced, sautéed onion add extra depth and sweetness to the filling.
- Dairy – Frying the onions in butter adds richness, while whole milk is used to make a roux. The roux helps thicken the filling.
- All-purpose flour – Used to thicken the roux and make a batter to help the panko stick to the surface of the shaped kabocha filling.
- Egg – Used to make a batter that helps the panko stick to the surface of the korokke.
- Panko breadcrumbs – I personally love using soft panko made with fresh bread for a light and crispy finish, but dry panko also works great. If you’re interested in making your own panko, check out my homemade panko recipe!
- Cooking oil – For shallow or deep-frying. Use a neutral flavored oil with a high smoke point such as canola, vegetable or peanut oil are good options.
Curious about the exact brands and products that bring my recipes to life? Discover the brands and ingredients behind my recipes at the Sudachi Amazon Storefront. Explore my handpicked pantry essentials and find your next kitchen favorites!
Jump to Full Recipe MeasurementsVisual Walkthrough & Tips
Here are my step-by-step instructions for how to make Crispy Kabocha Korokke at home. For ingredient quantities and simplified instructions, scroll down for the Printable Recipe Card below.
1. Prep
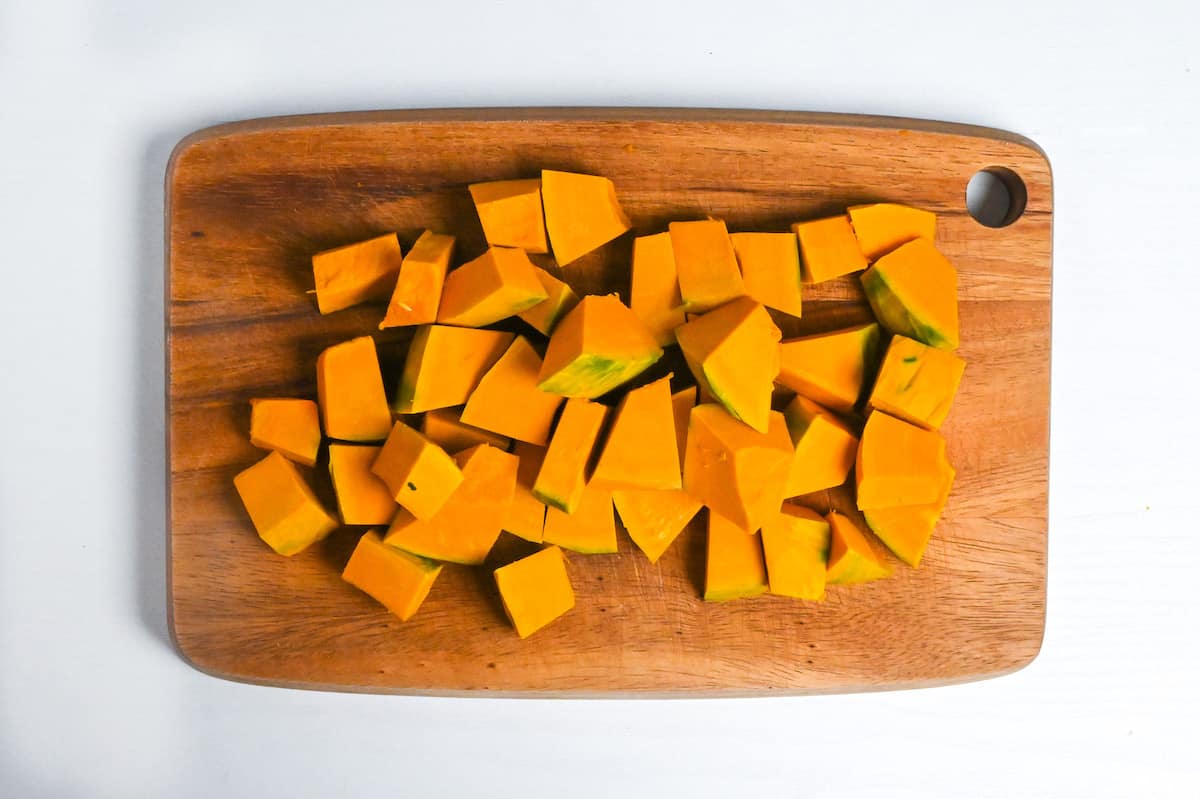
Start by removing the skin from the kabocha. Kabocha’s skin is quite thick and hard to peel. However, once it’s cooked, it’s edible, and it’s known for being very nutritious. Many people leave it on, however, I personally like my kabocha croquette to be very smooth so I peel off the skin using a strong potato peeler. Another option is to remove the skin after cooking.
Once peeled, cut into small cubes and place them into a microwavable bowl.
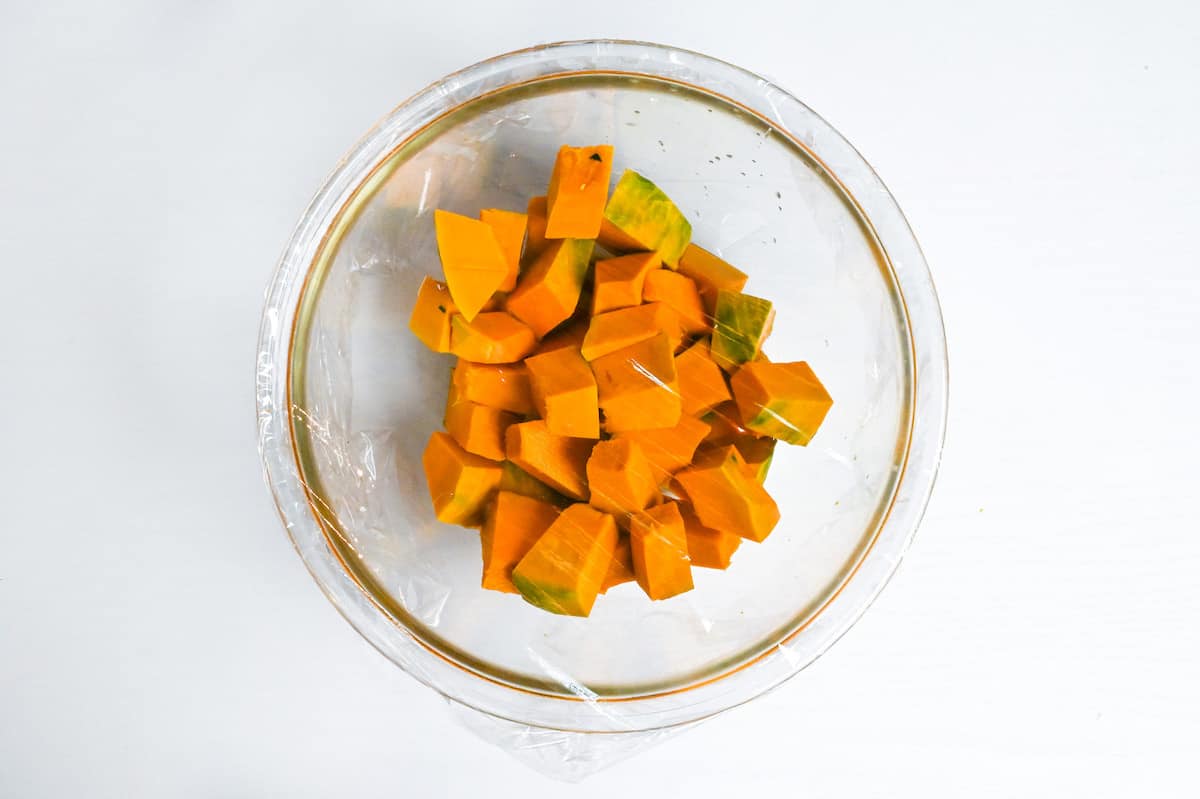
Sprinkle with 1-2 tsp of water and cover with plastic wrap, pierce a few times to avoid explosions but not so much that the steam can escape. Microwave for 5 minutes on 600W and then peel back the plastic wrap (be careful of the steam) and pierce with a fork to check if its soft.
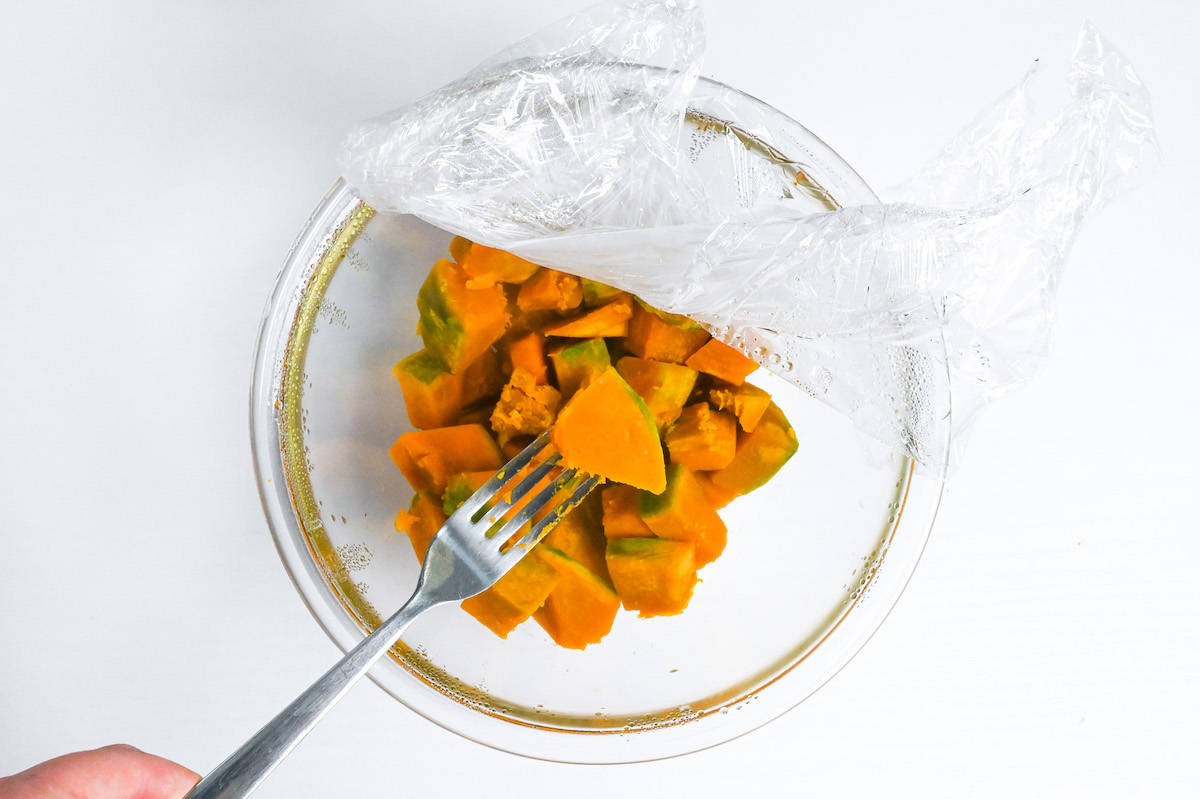
The kabocha should be soft enough to mash with ease, so if it’s still hard, mix and microwave again in 30 second intervals. Repeat until soft.
I choose to microwave the kabocha for convenience and to keep the cooking time down, but feel free to steam, boil or even bake your kabocha until soft enough to mash.
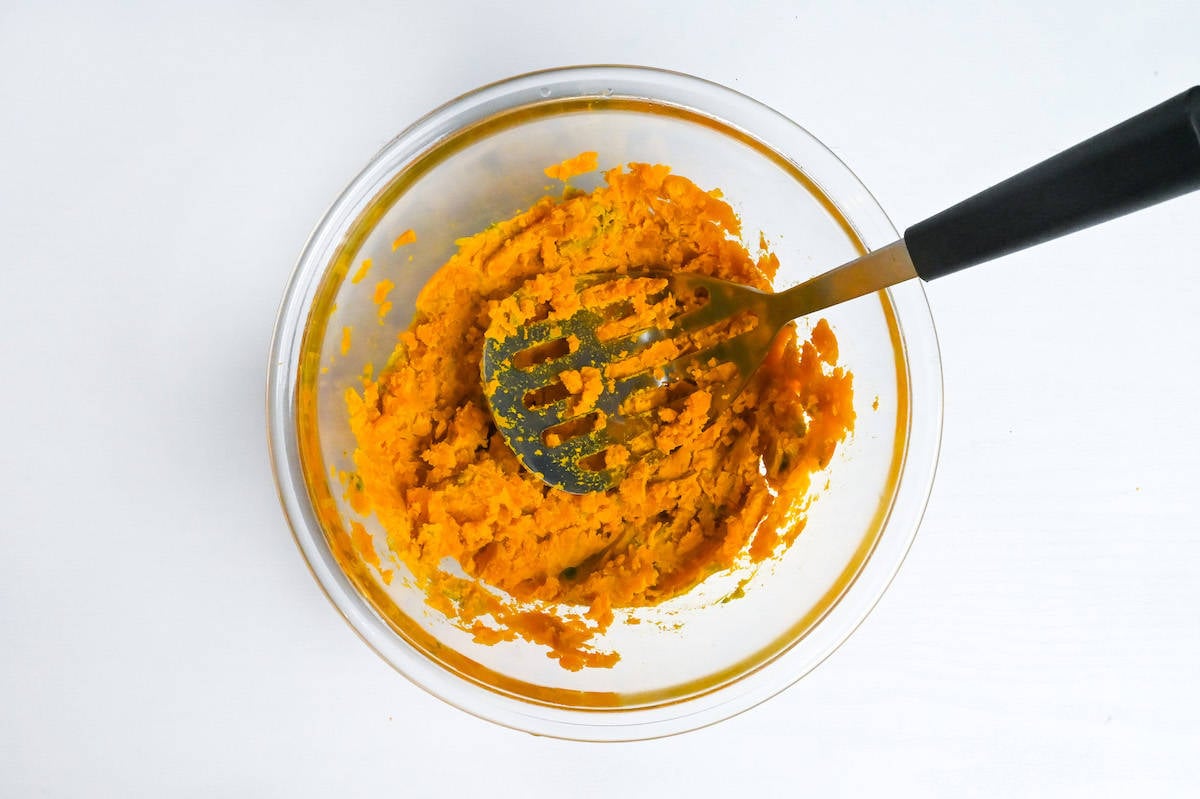
Use a potato masher to mash the kabocha until smooth and lump-free.
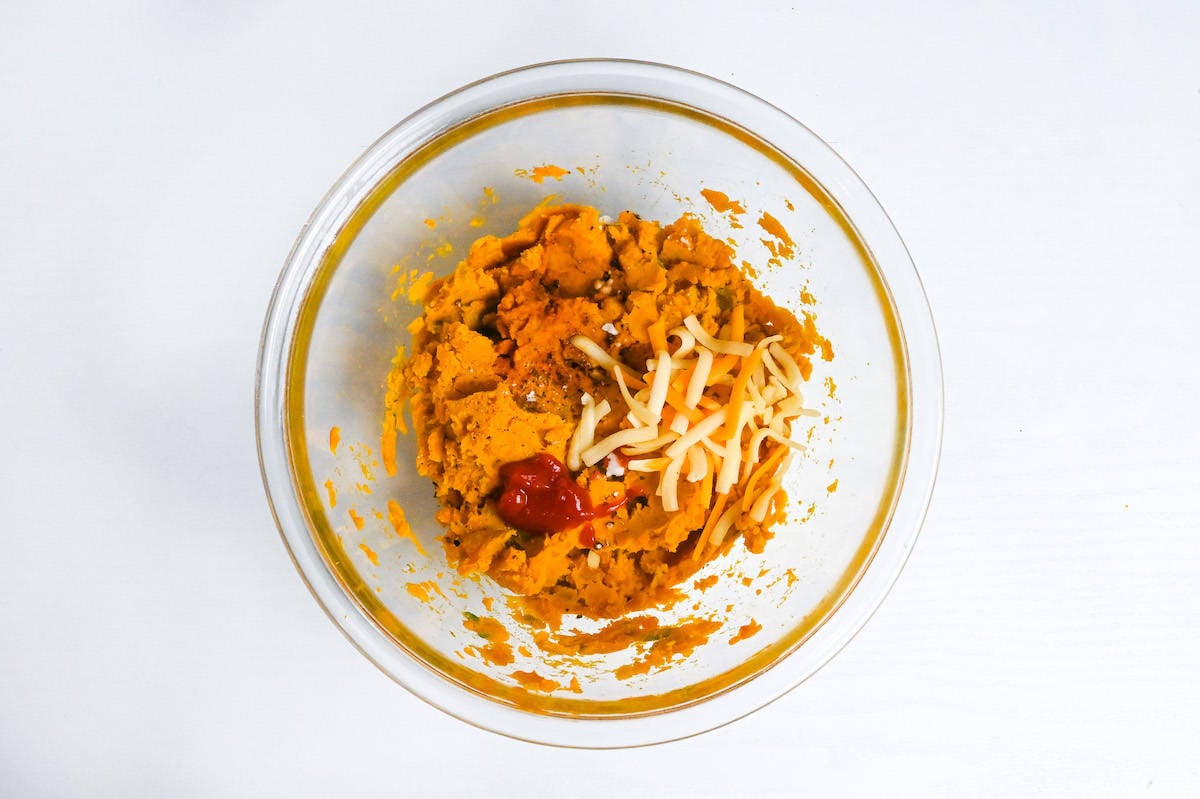
While it’s still warm, add the ketchup, soy sauce, nutmeg, salt, pepper and grated cheese.
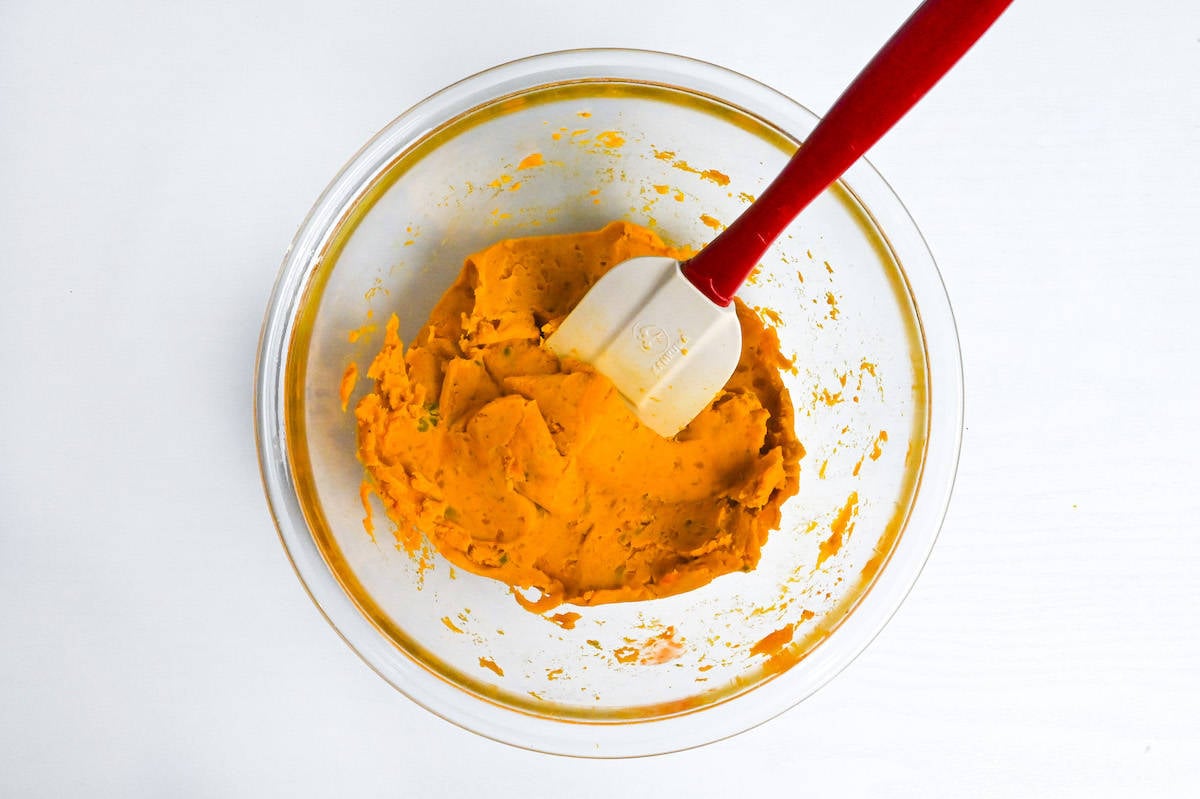
Mix until everything is evenly distributed and the cheese has melted into the mixture. Set aside for later.
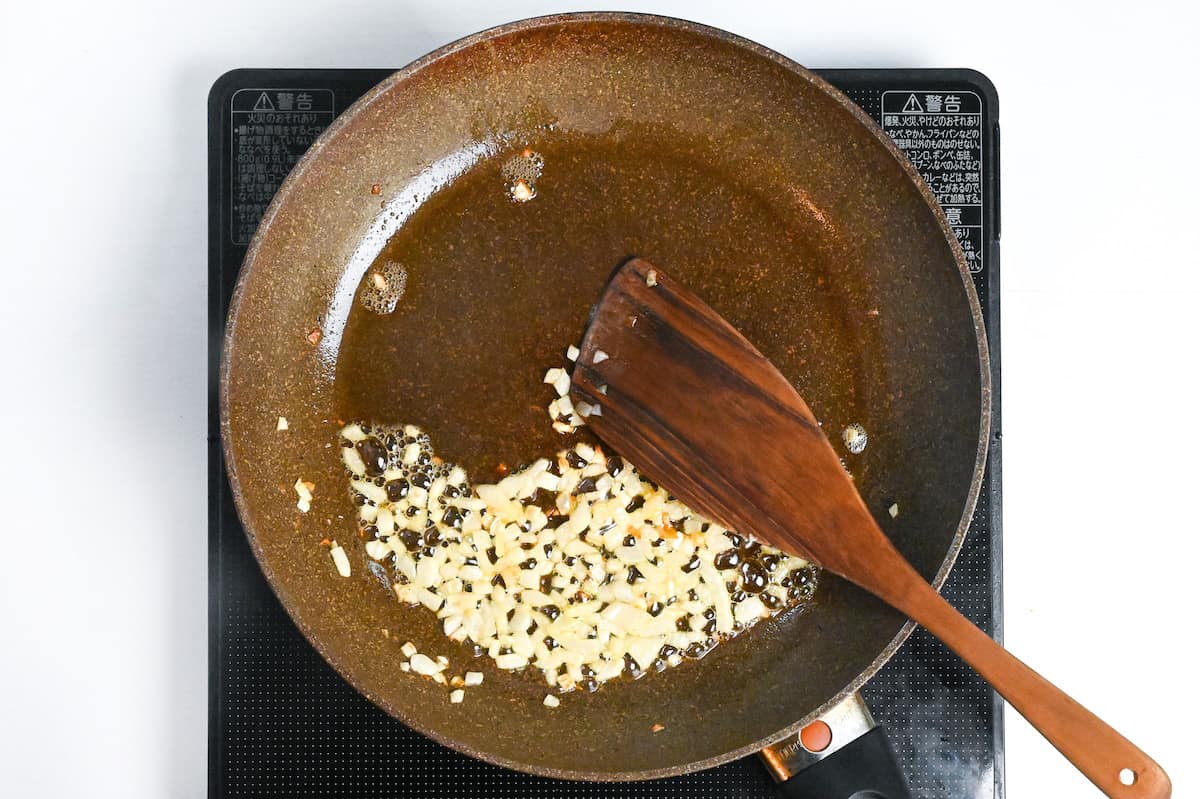
Heat a frying pan on medium-low and add unsalted butter. Fry the finely diced onion until soft and transparent (do not brown).
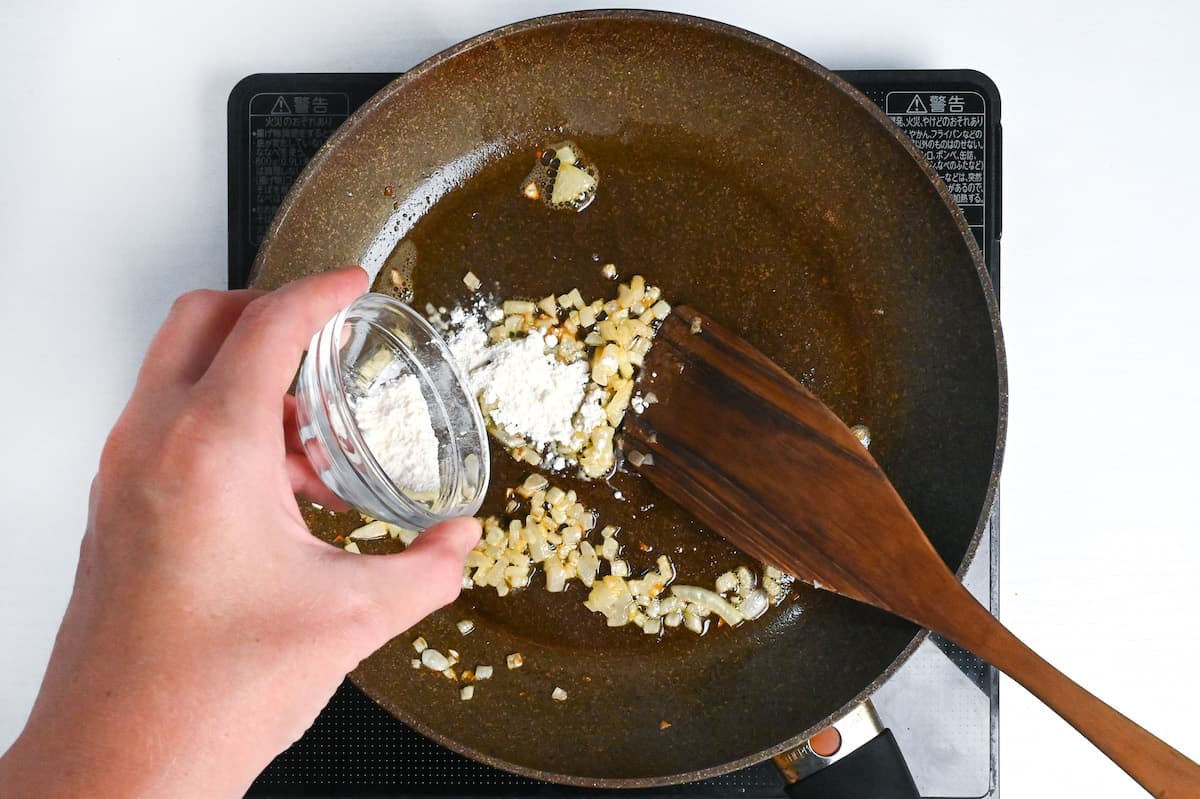
Once the onions are soft, sprinkle plain flour into the pan and mix thoroughly.
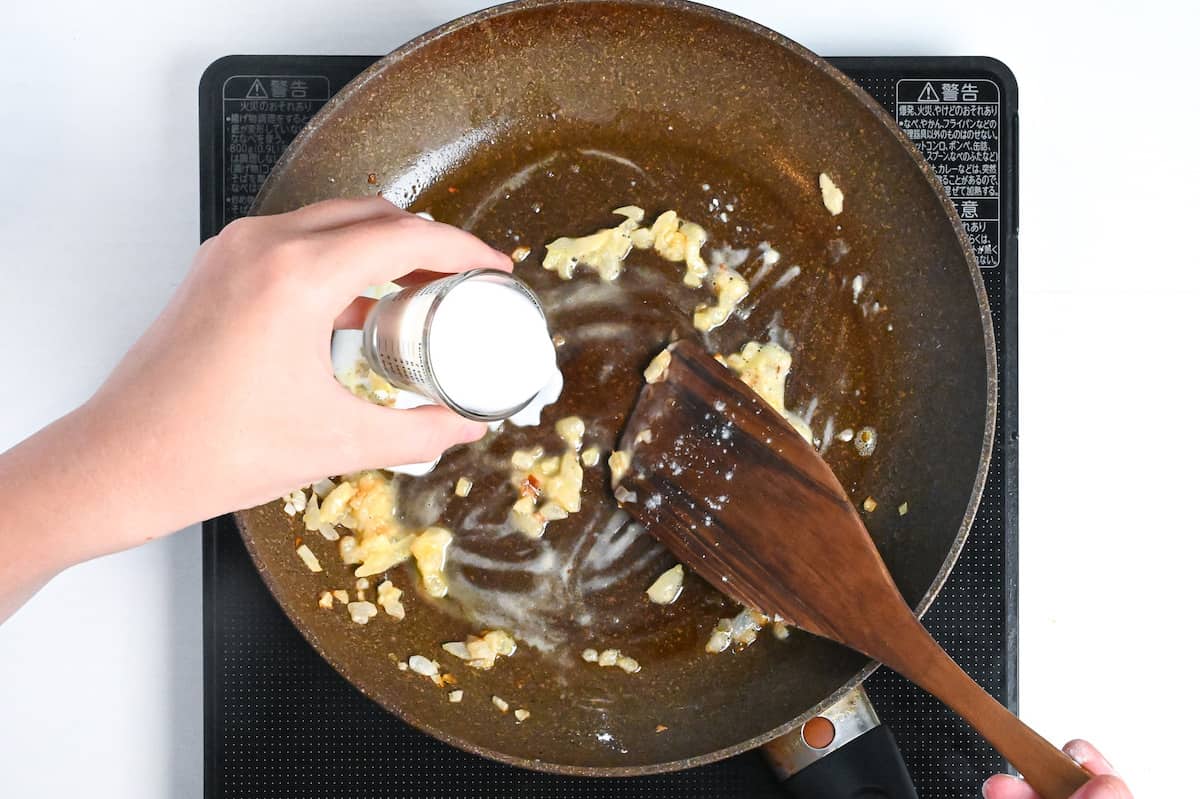
Gradually pour in the milk while stirring continuously.
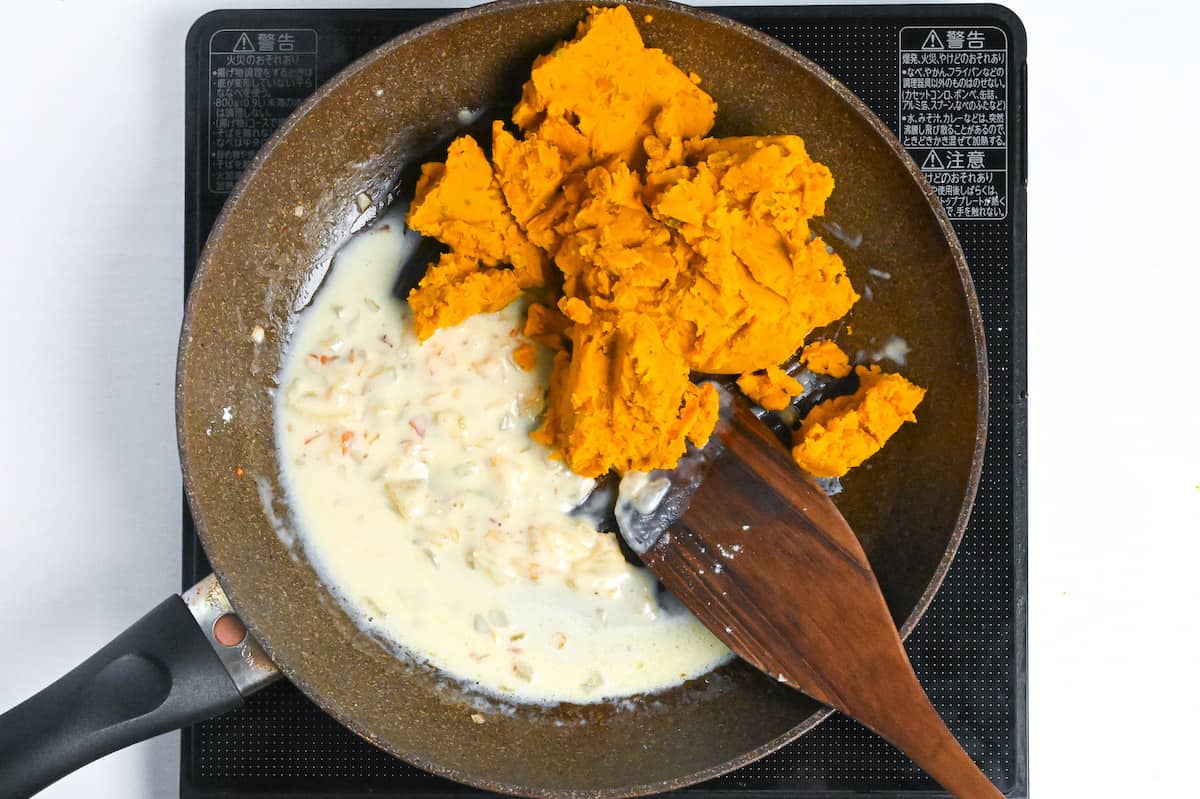
Once the roux starts to thicken, add the mashed kabocha mixture to the pan.
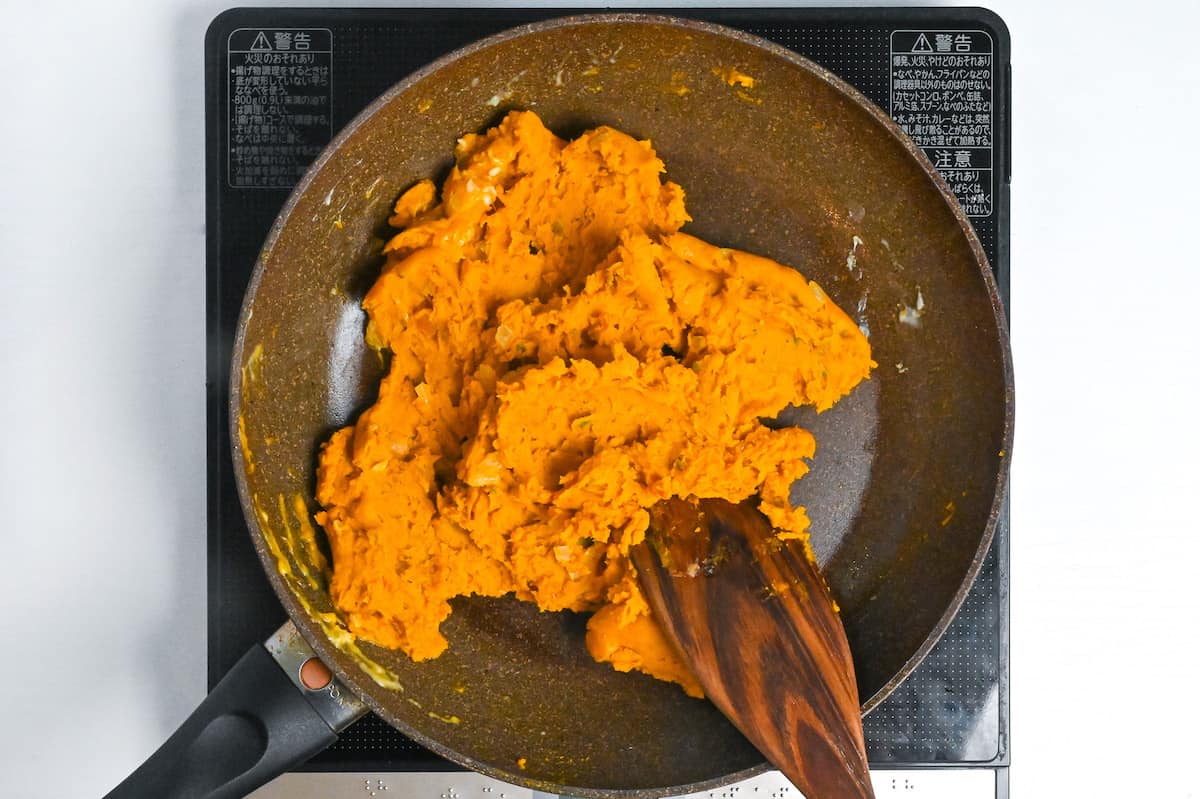
Mix until combined and then remove from the heat.
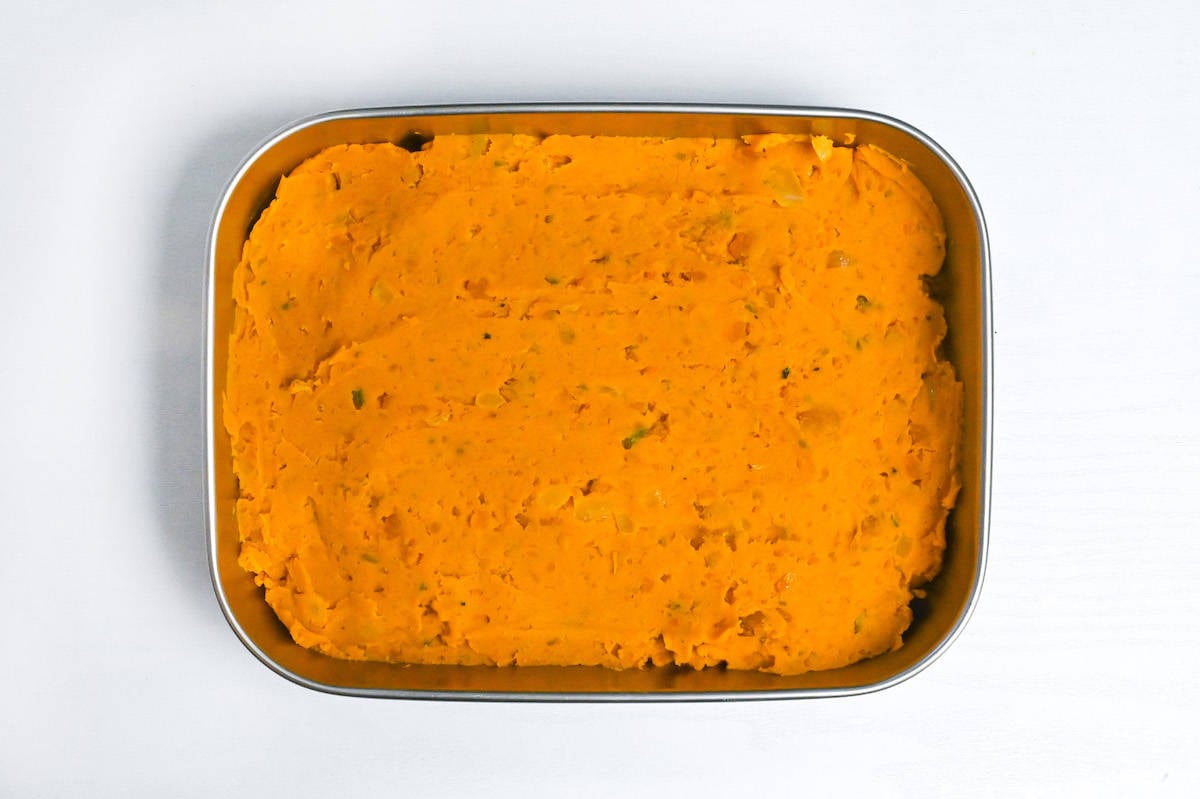
Transfer to a wide container and leave to cool. Once cool to the touch, cover and chill in the fridge for 20-30 minutes.
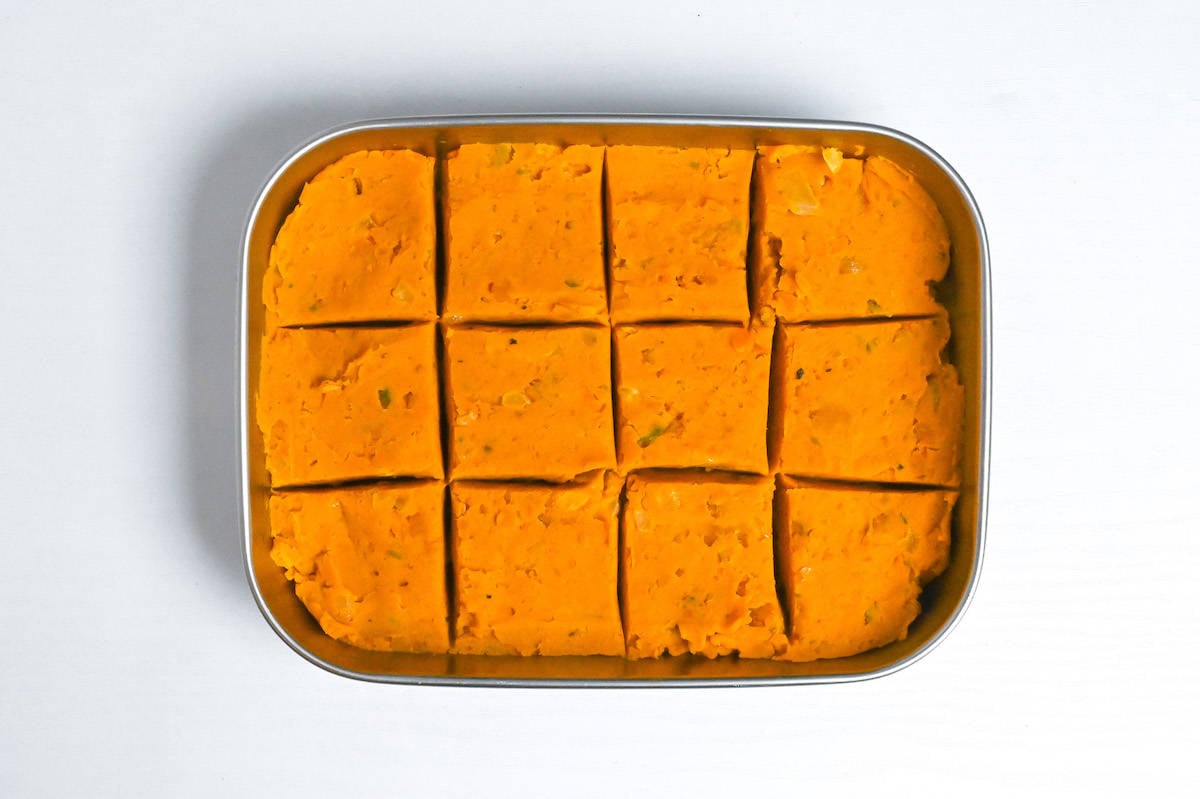
Once chilled, divide the kabocha into equal portions (the size is up to you). I opted for 12 pieces.
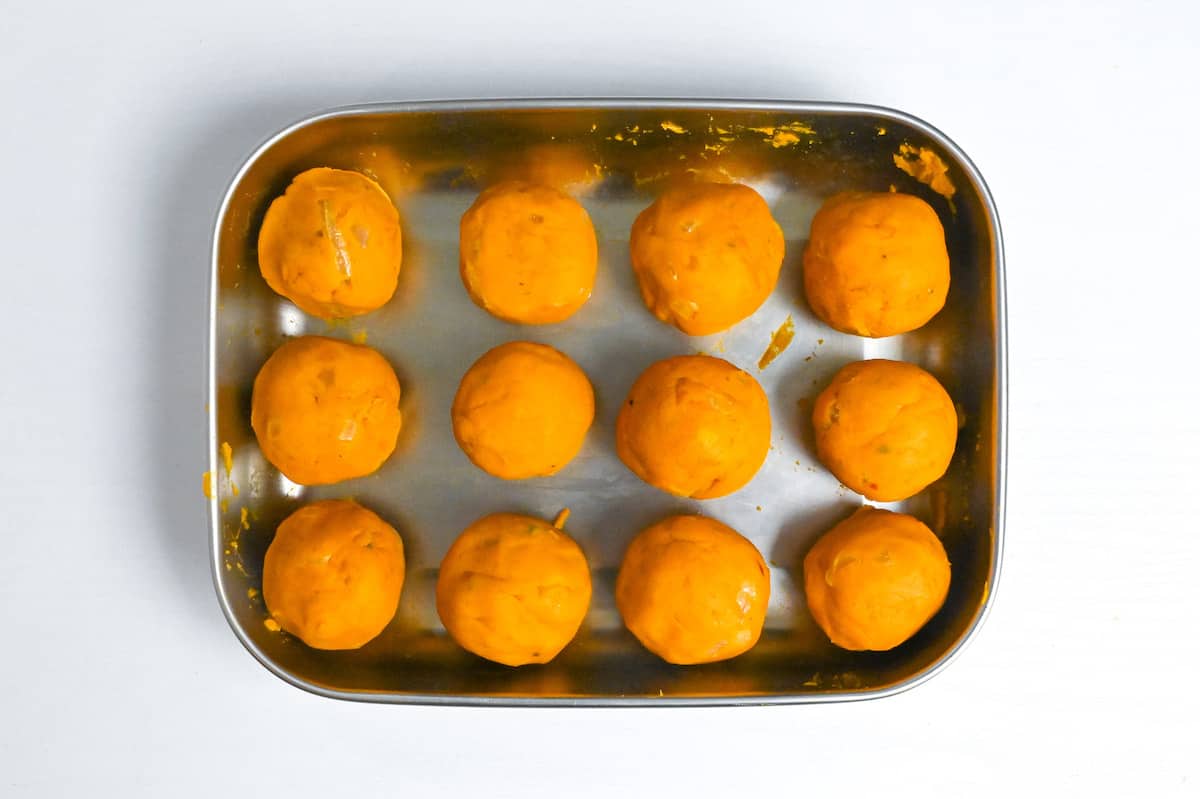
Shape the korokke however you like! I rolled them into balls, but you could also make cylinders, discs or even shape them using an ice cube tray!
Once shaped, place in the freezer while you prepare the other ingredients.
2. Deep-fry
Preheat your cooking oil to 170°C – 180°C (338°F – 356°F). It’s up to you whether you shallow-fry or deep-fry. I generally try to shallow-fry where possible to save oil, but if you’re making kabocha korokke balls then deep-frying works better.
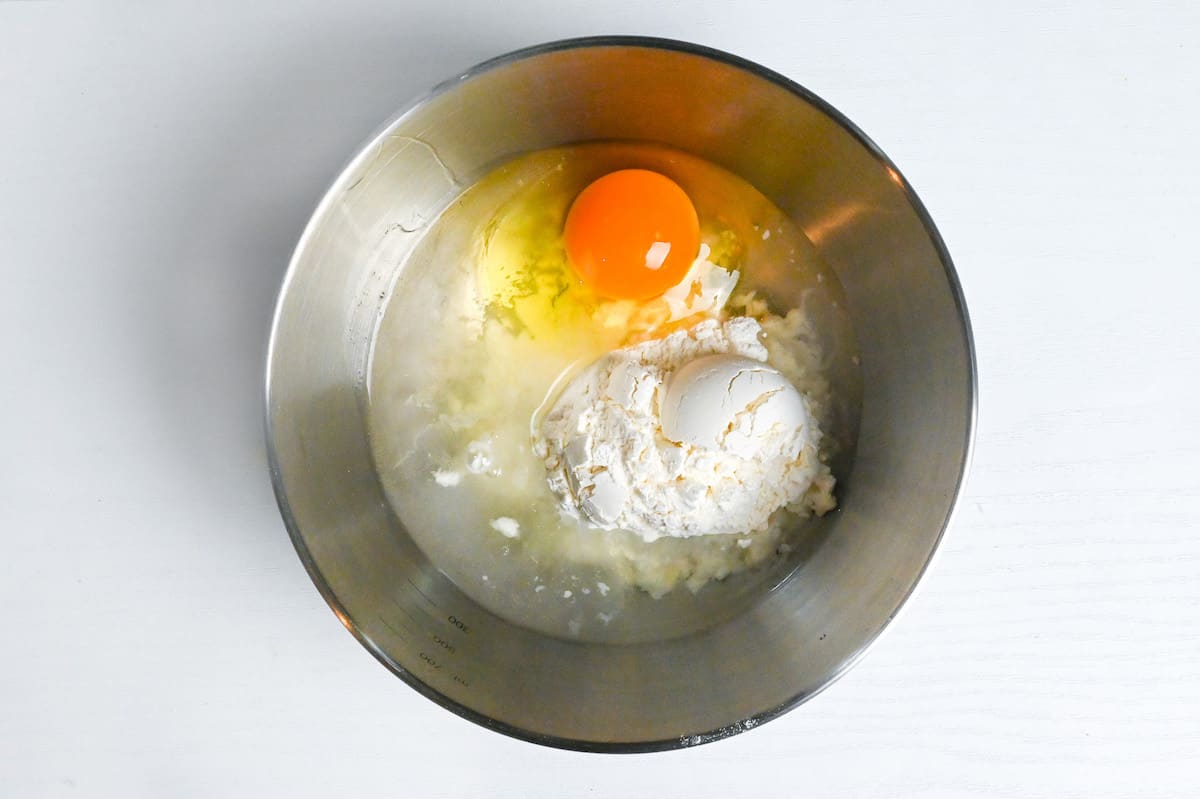
While you wait for the oil to heat up, mix a batter by whisking egg, flour and cold water in a bowl.
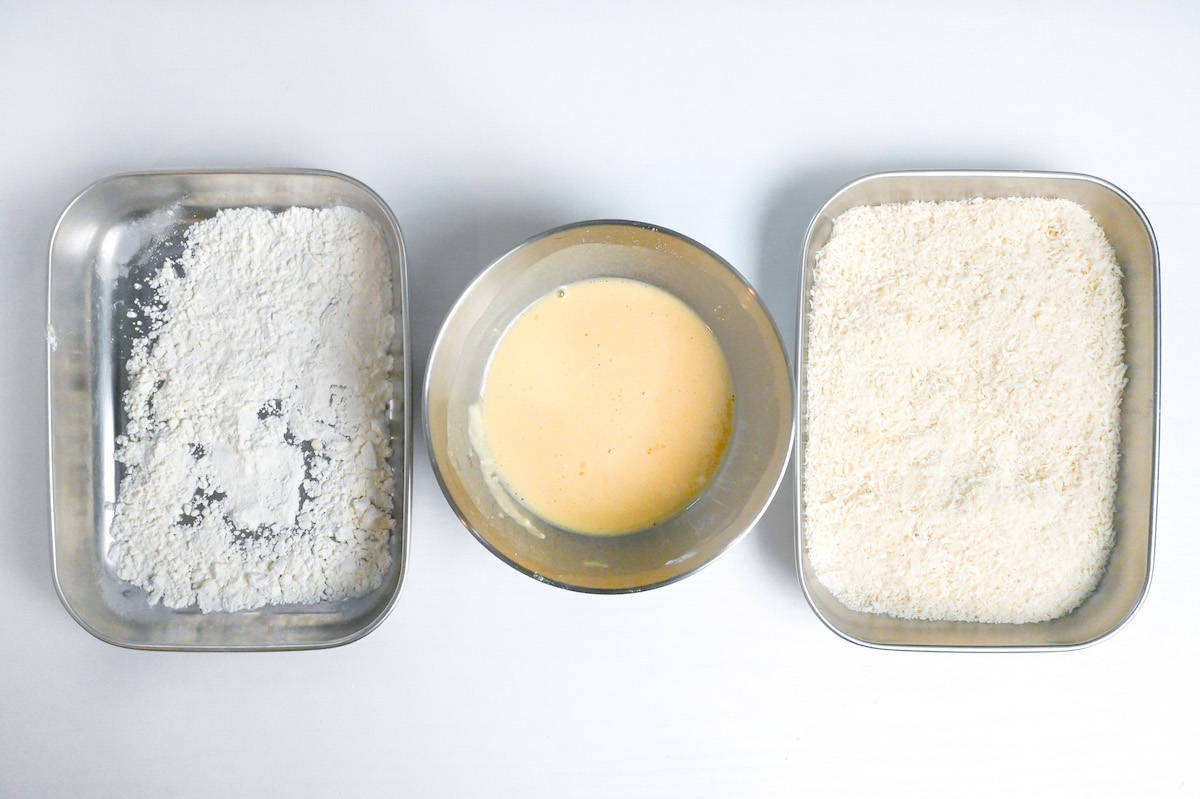
Set up a “coating station” with a plate of flour and a plate of panko breadcrumbs.
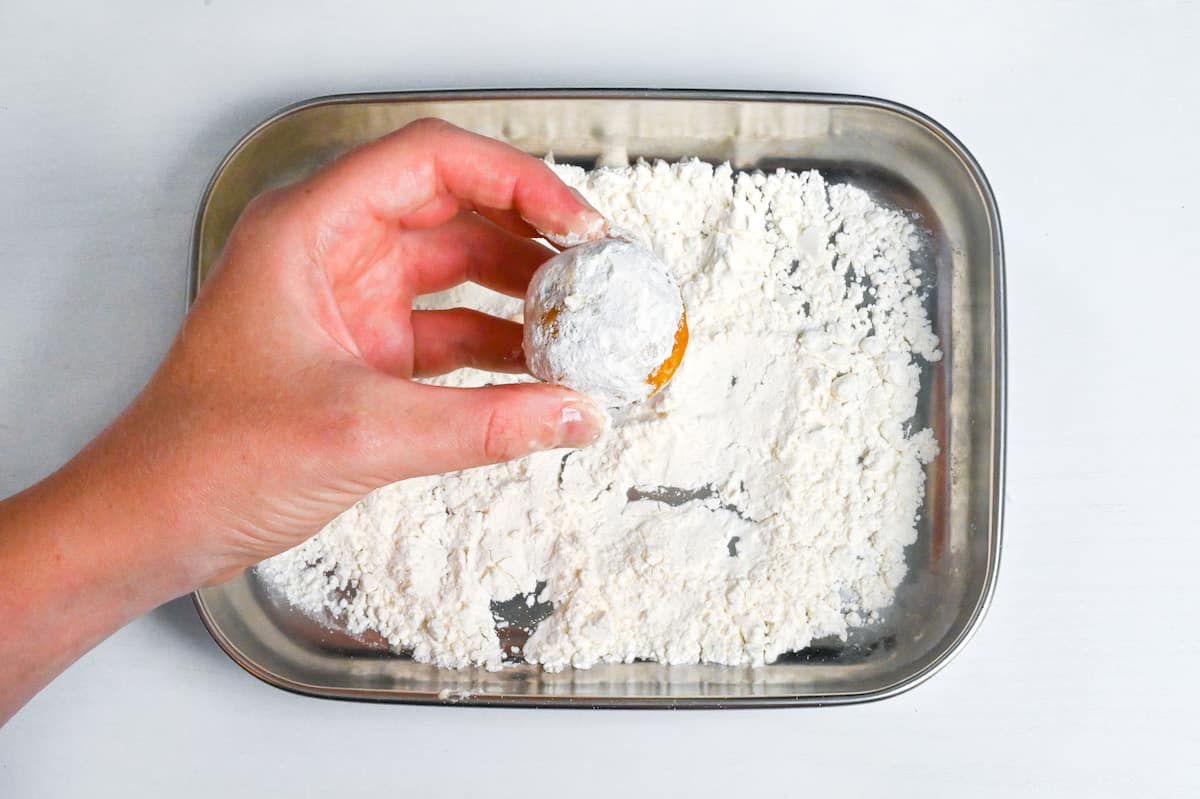
Take the kabocha from the freezer and roll in the flour until evenly coated. Brush off any excess and then roll in the batter.
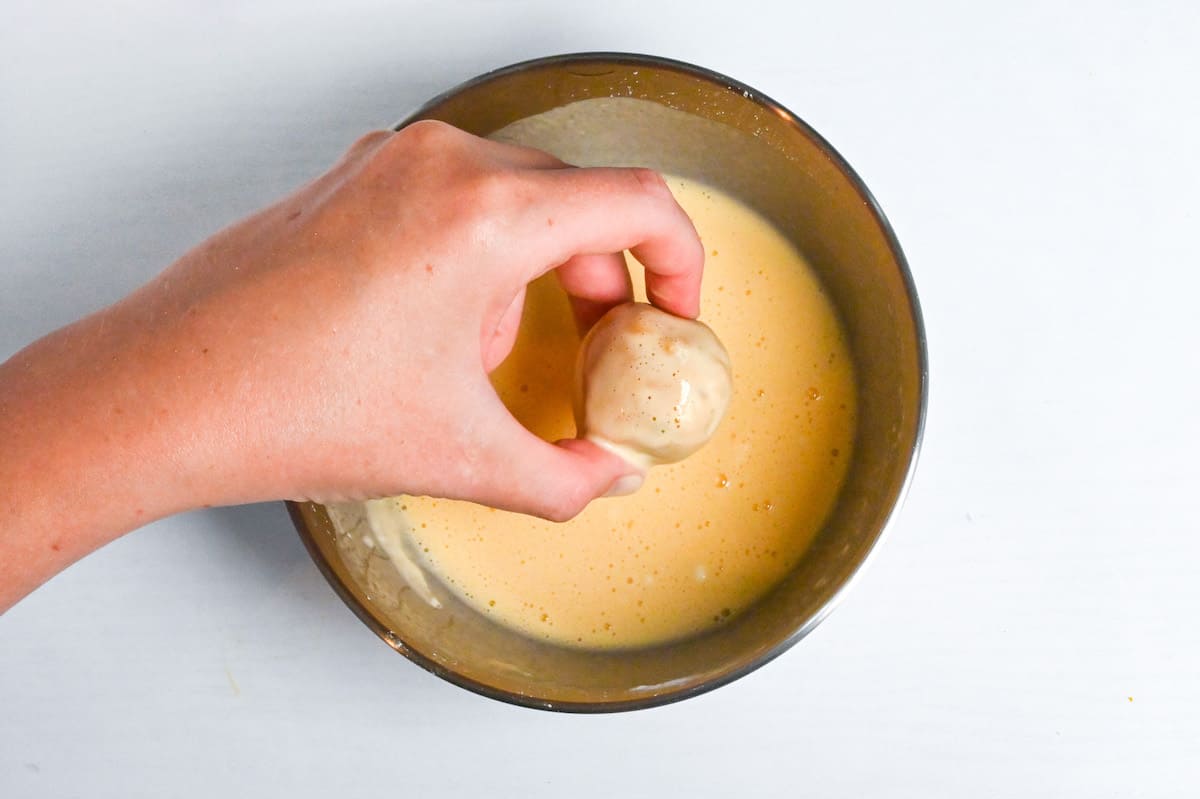
Finally, roll the korokke in the panko breadcrumbs and gently press them down to secure.
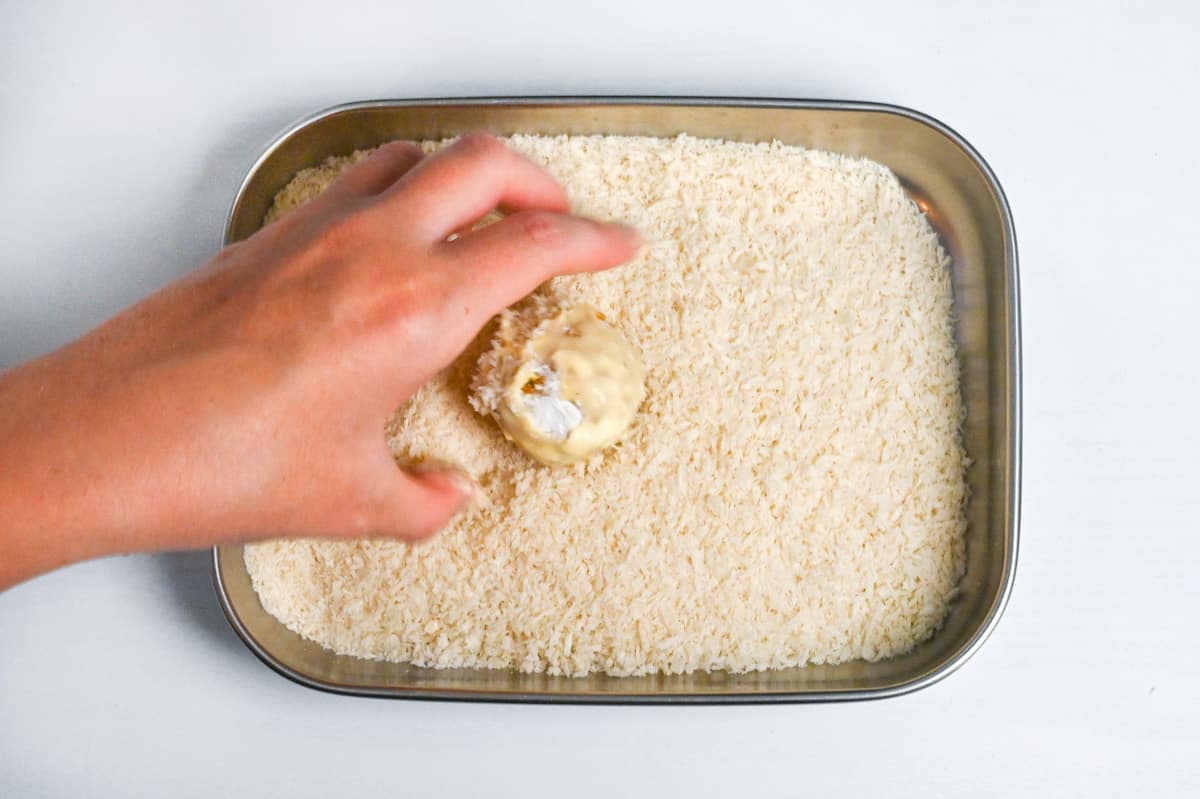
Repeat until all of the korokke are coated.
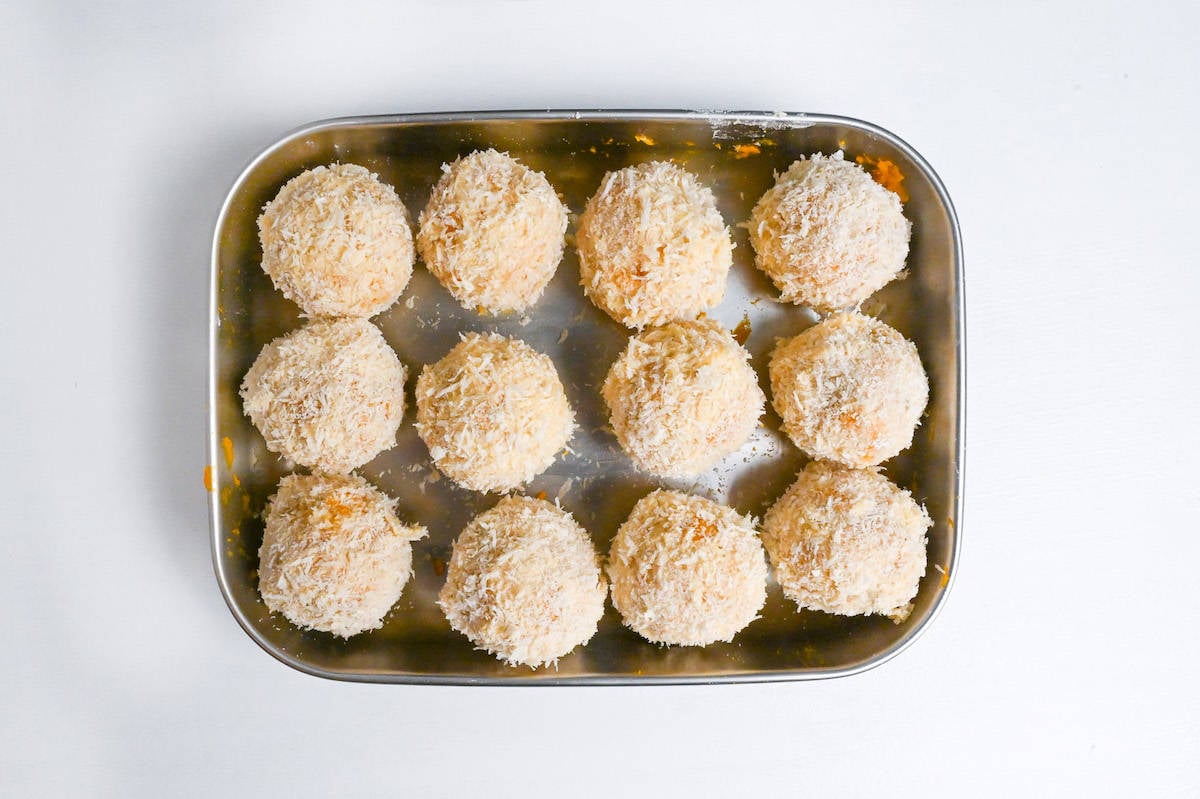
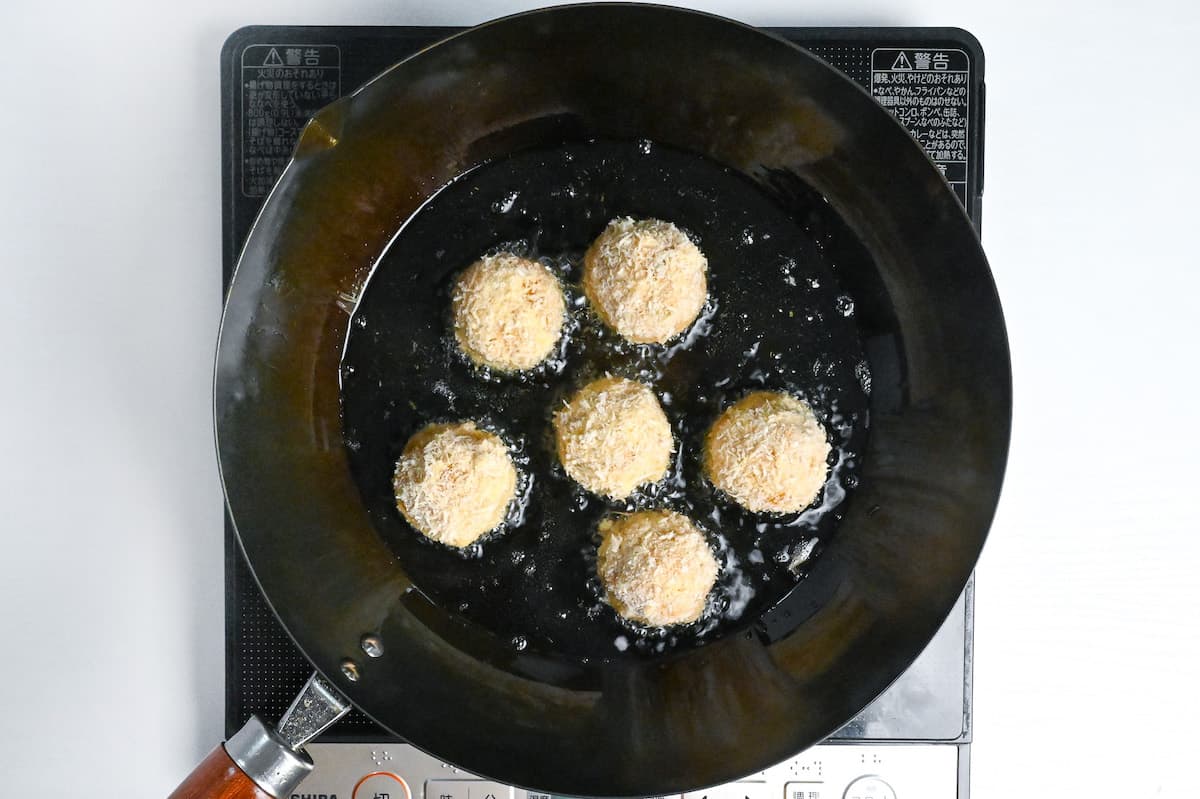
Once hot, carefully place the korokke in the oil and fry for a few minutes until golden all over. Frying time depends on the shape and size of each kabocha.
Make sure not to overcrowd the pan as it will bring down the temperature of the oil too quickly and could cause the surface to become too oily or soggy. I recommend frying in batches of 4-6 depending on the size of your pan.
Avoid touching the korokke in the first 1-2 minutes as this can cause the panko to fall off. After 1-2 minutes, turn carefully to ensure an even color all over.
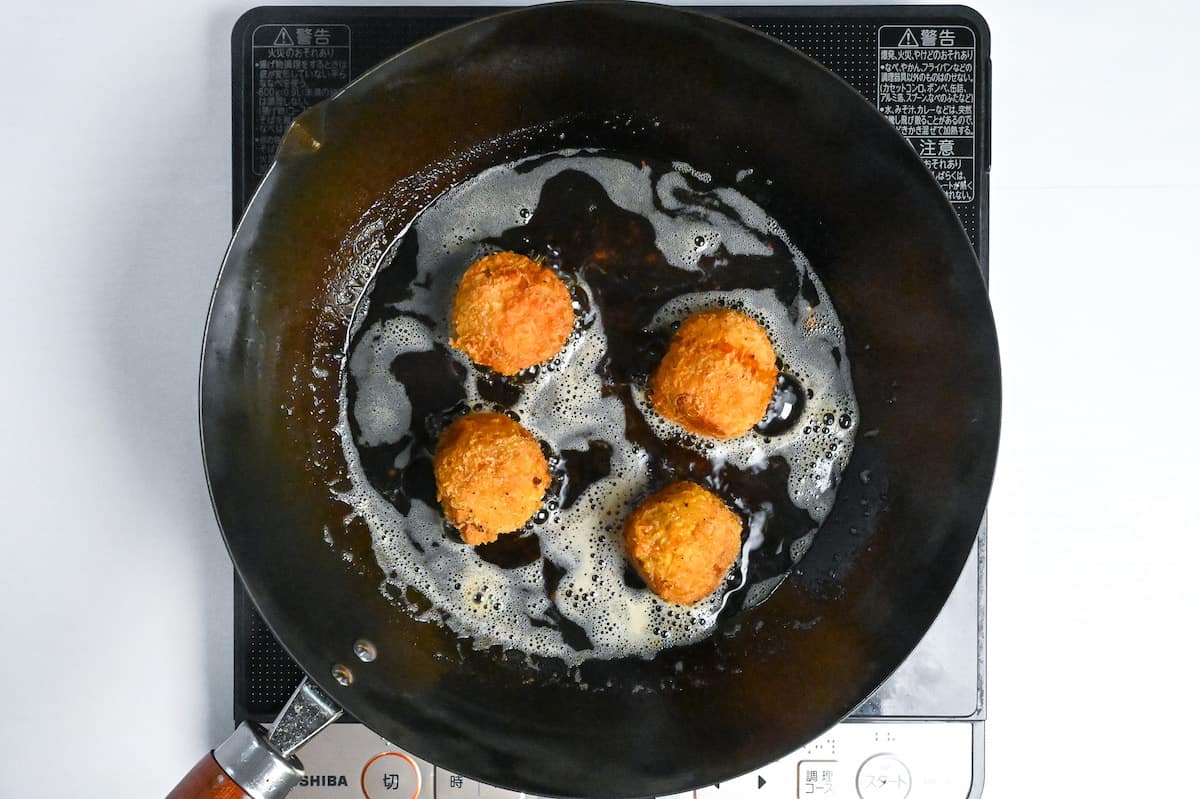
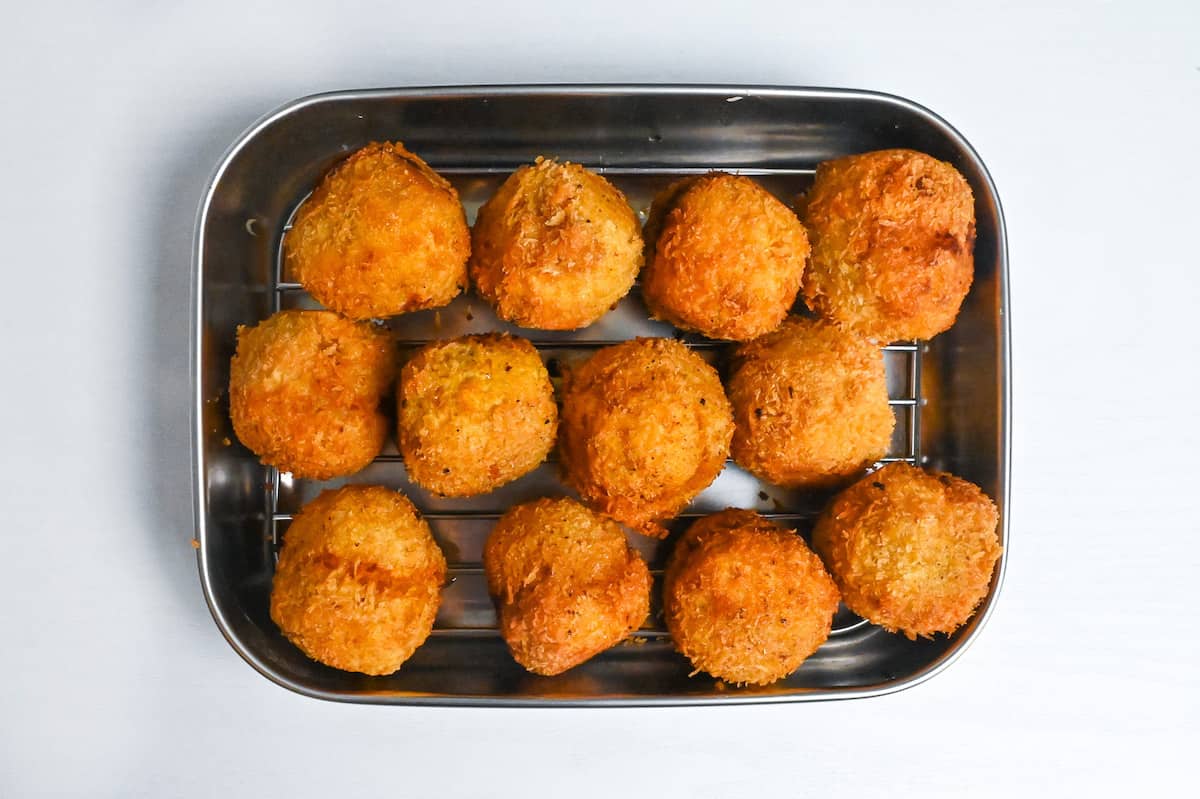
Once golden all over, transfer to a wire rack to drain the excess oil.
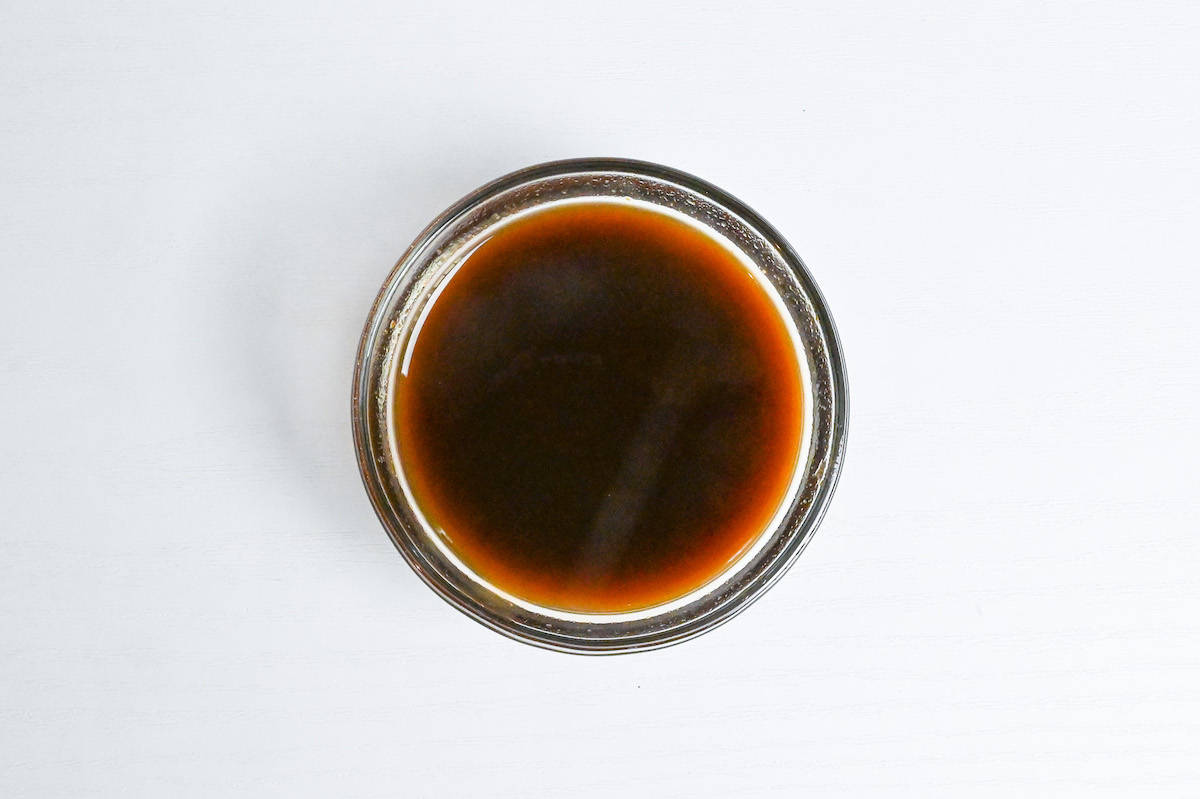
Take a small bowl and mix Worcestershire sauce and ketchup until well combined.
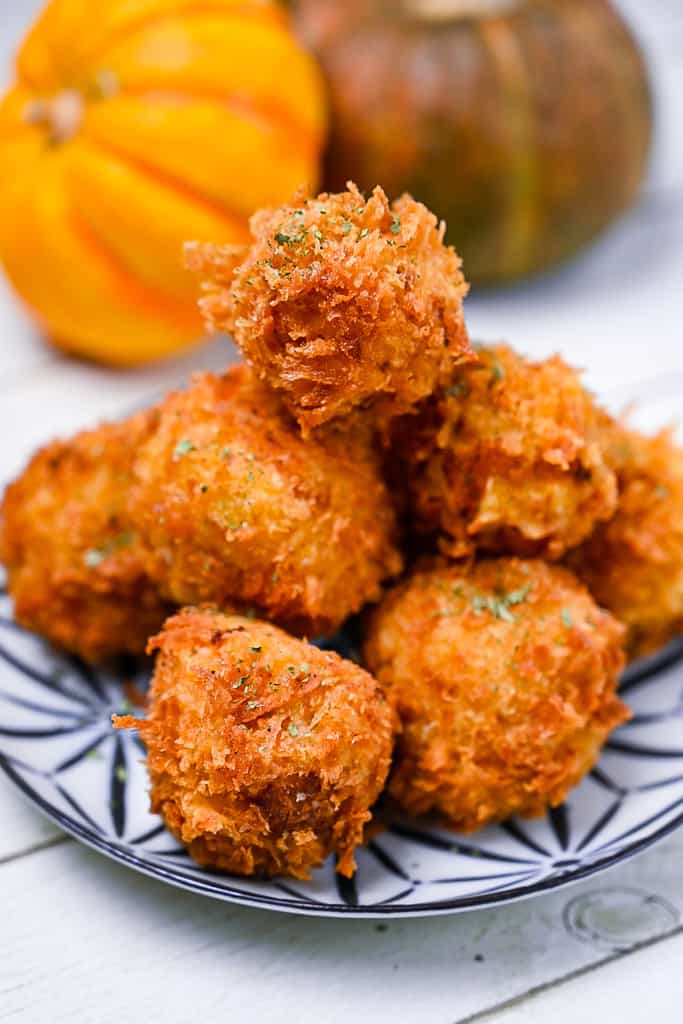
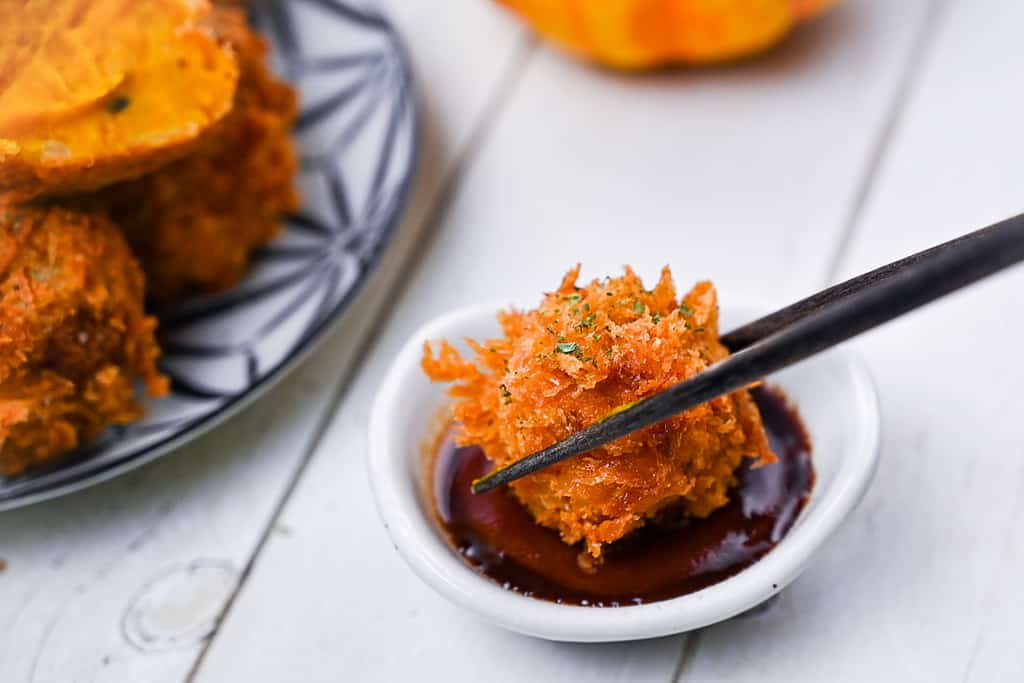
Serve your homemade kabocha korokke with the simple sauce and a sprinkle of dry parsley (optional).
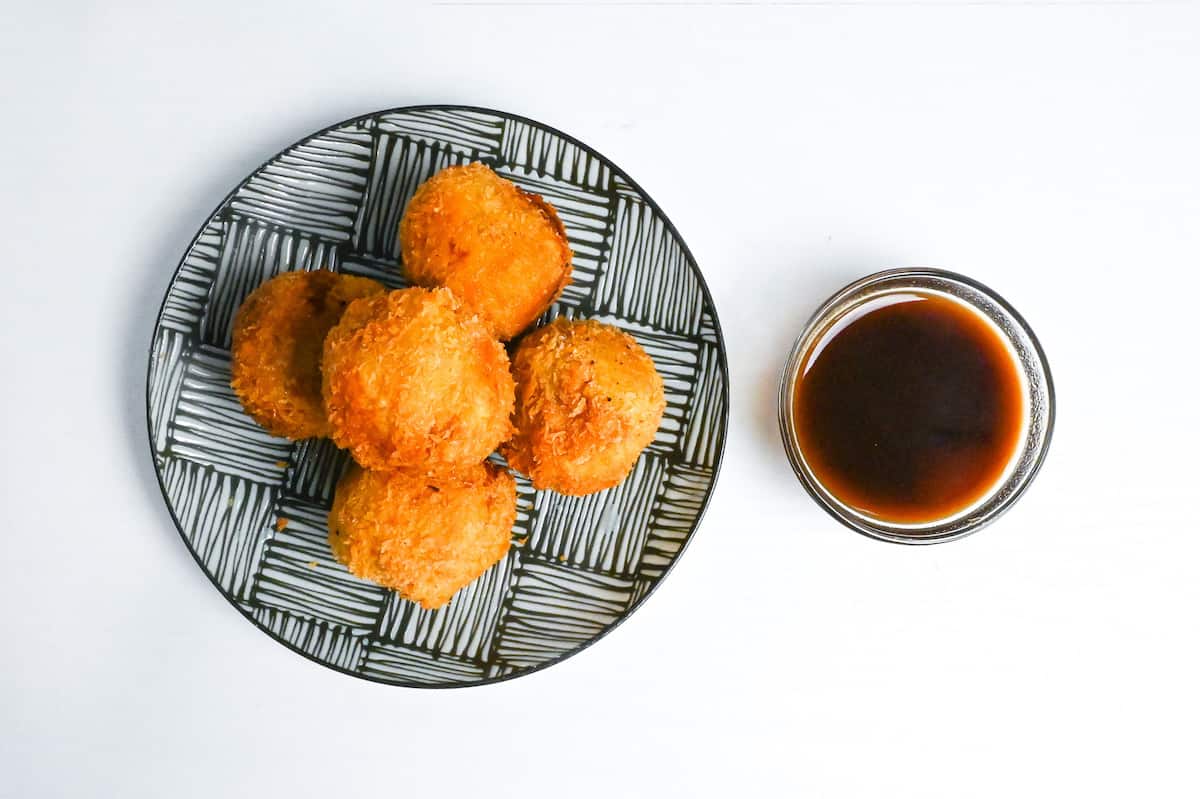
Enjoy!
Jump to Full Recipe Measurements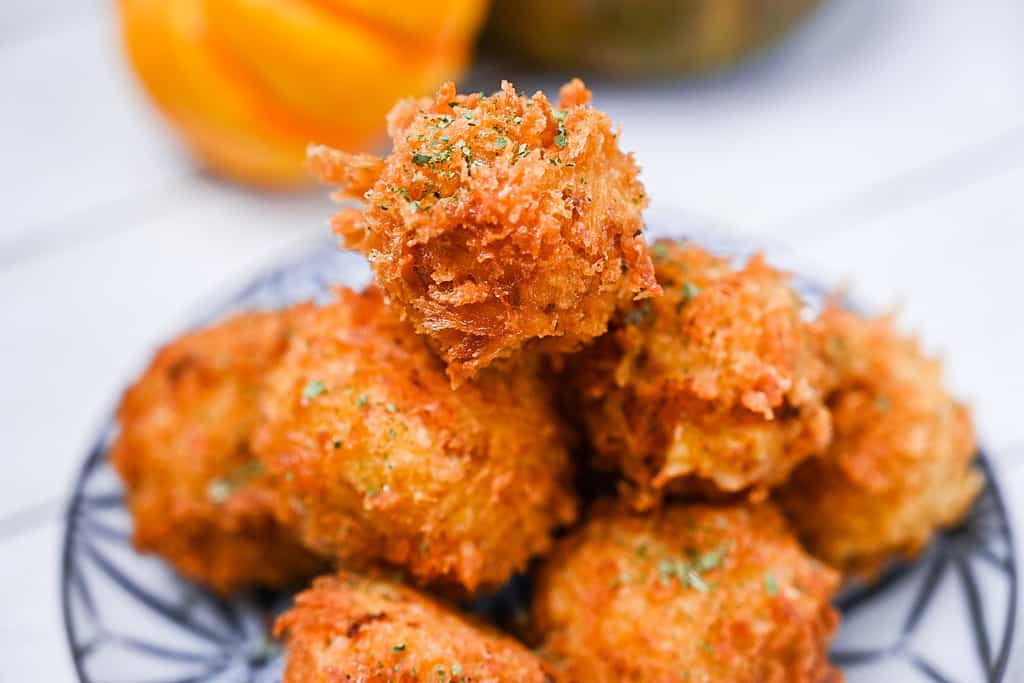
How to Store
Kabocha korokke keeps very well in the freezer. Whether it’s before or after frying, you can keep them in the freezer for about 1 month.
You can defrost in the microwave and then crisp them up in the oven or under the grill or broiler.
I don’t recommend refrigeration since it can cause the outside to become soggy. If you don’t want to freeze them, then try to them on the day that they’re made to avoid deteriorating texture.
Storage summary
Room temperature – A few hours (often used in bento).
Refrigerated – Not recommended.
Frozen – Up to 1 month.
FAQ
One thing that sets Japanese korokke apart from regular croquette, is the use of panko breadcrumbs.
Panko breadcrumbs are light and large in size, they crisp up more than your regular breadcrumb. They don’t absorb too much oil either, resulting in a perfectly crispy croquette that isn’t too oily.
If you have bread at home, panko is super easy to make from scratch! Check out my homemade panko recipe here. Alternatively you can use store-bought soft panko or dry panko.
Japanese korokke is also typically served with a Worcestershire sauce-based sauce. I’ve included a super easy, 2 ingredient sauce in the recipe!
Kabocha is the Japanese term for pumpkin. However, it has a different taste and texture compared to Western pumpkins. Kabocha is less sweet, has a lighter flavor, and a stickier texture. The name “kabocha” is believed to have originated from Portuguese and is said to be a transcription of “Camboja.” This vegetable was brought from Cambodia, a port of call when Portuguese ships arrived in Kyushu in the 16th century.
I hope you enjoy this Kabocha Korokke recipe! If you try it out, I’d really appreciate it if you could spare a moment to let me know what you thought by giving a review and star rating in the comments below. It’s also helpful to share any adjustments you made to the recipe with our other readers. Thank you!
More Japanese Deep-fried Recipes
Kabocha Korokke (Japanese Pumpkin Croquettes)
Equipment
- Mesh spoon
Ingredients
- 400 g kabocha squash (before peeling)
- 1-2 tbsp water
- 1 tsp tomato ketchup
- 1 tsp soy sauce
- ¼ tsp salt
- ¼ tsp ground black pepper
- 1 pinch nutmeg powder
- 2 tbsp preferred shredded melting cheese meltable kind such as cheddar, gouda etc
- 50 g yellow onion finely diced
- 15 g unsalted butter
- ½ tbsp all-purpose flour
- 50 ml whole milk
Coating
- 50 ml cold water
- 1 egg
- 5 tbsp all-purpose flour for batter
- 3 tbsp all-purpose flour for coating
- 75 g panko breadcrumbs
- cooking oil for deep frying
- dried parsley optional garnish
For the sauce
- 2 tbsp Worcestershire sauce
- 1 tbsp tomato ketchup
Instructions
- First peel 400 g kabocha squash and cut it roughly into chunks.

- Place them in a microwavable bowl, sprinkle with 1-2 tbsp water and cover with plastic wrap. Pierce the plastic wrap a few times and microwave for 5 minutes on 600w.

- The kabocha is cooked enough when you can easily pierce it with a fork. If it's too hard, microwave again in 30 second intervals. Be careful of steam when removing the plastic wrap.

- Mash the kabocha with a potato masher until smooth and lump-free.

- While the kabocha is still warm, add 1 tsp tomato ketchup, 1 tsp soy sauce, 1 pinch nutmeg powder, ¼ tsp salt, ¼ tsp ground black pepper and 2 tbsp preferred shredded melting cheese to the bowl. Mix well until the condiments are well incorporated, the cheese should melt into the mixture.

- Take a pan and melt 15 g unsalted butter butter on a medium-low heat. Once melted, add 50 g yellow onion and sauté until the onion is softened and transparent. (Don't let it brown.)

- Add ½ tbsp all-purpose flour and mix well. Once incorporated, reduce the heat to low and add 50 ml whole milk while stirring continuously.

- When the mixture starts to thicken, add the seasoned kabocha and mix everything together in the pan.

- Remove the pan from the heat and transfer the filling to a wide container. Leave to cool and once cool to the touch, cover and store in the refrigerator for 20-30 mins.

- Once chilled, divide the mixture into equal pieces (I divided into 12) and shape as you like. Korokke can be round, oval or cylindrical.

- Once shaped, place them in the freezer for 5-10 minutes while you heat your oil and prepare the coating stations.

Coating and frying
- Preheat your cooking oil to 170 °C (338 °F) – 180 °C (356 °F).
- Take a bowl and add 50 ml cold water, 1 egg and 5 tbsp all-purpose flour. Whisk together to make a smooth batter.

- Prepare two plates, one with 3 tbsp all-purpose flour and one with 75 g panko breadcrumbs.

- Remove the shaped korokke from the freezer and coat each one in plain flour, then egg batter, then a generous coating of panko breadcrumbs. Press down the panko to secure it.

- Once hot, place the korokke in the oil. Be careful not to overcrowd the pan, I recommend frying in batches of 4-6 depending on the size of your pan.

- Fry for a few minutes on each side or until golden all over.

- Once golden, transfer to a wire rack to allow the excess oil to drip off.

- Take a small bowl and mix 2 tbsp Worcestershire sauce and 1 tbsp tomato ketchup sauce together.

- Sprinkle the korokke with dried parsley and serve with the sauce.

- Enjoy!


Leave a rating and a comment