What is Tekkadon?
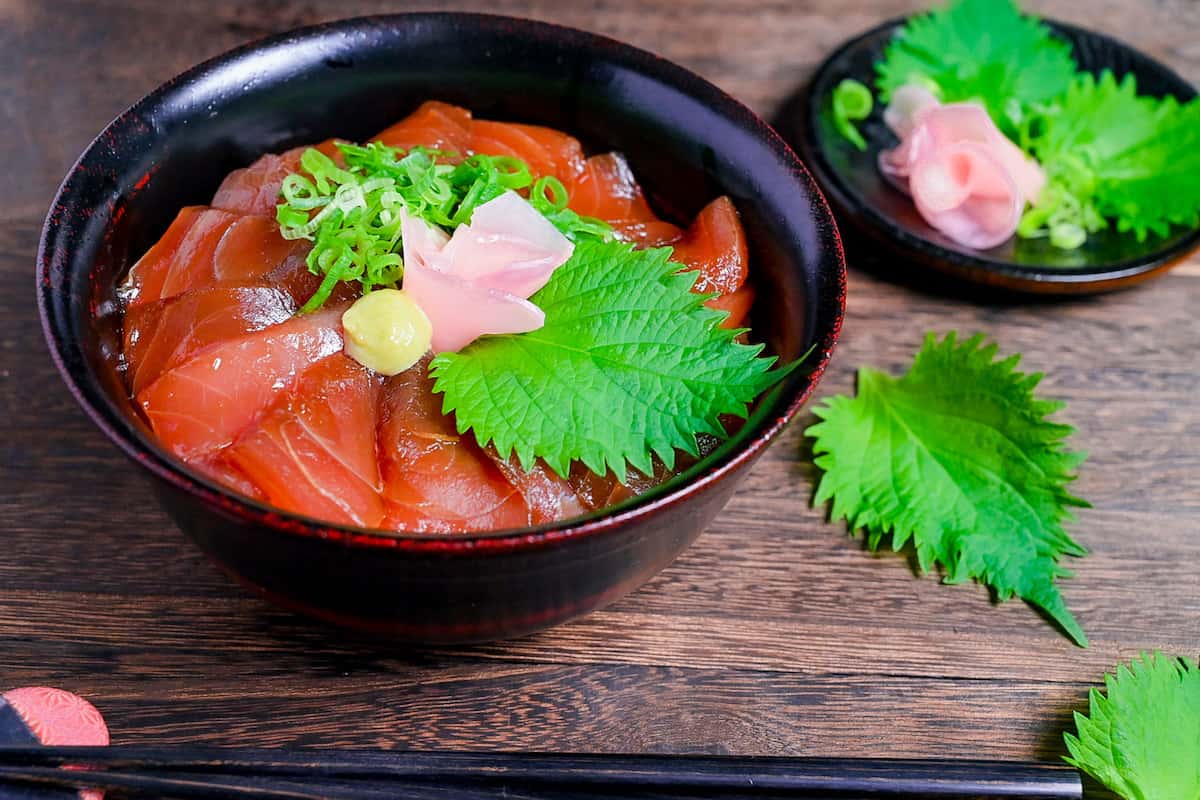
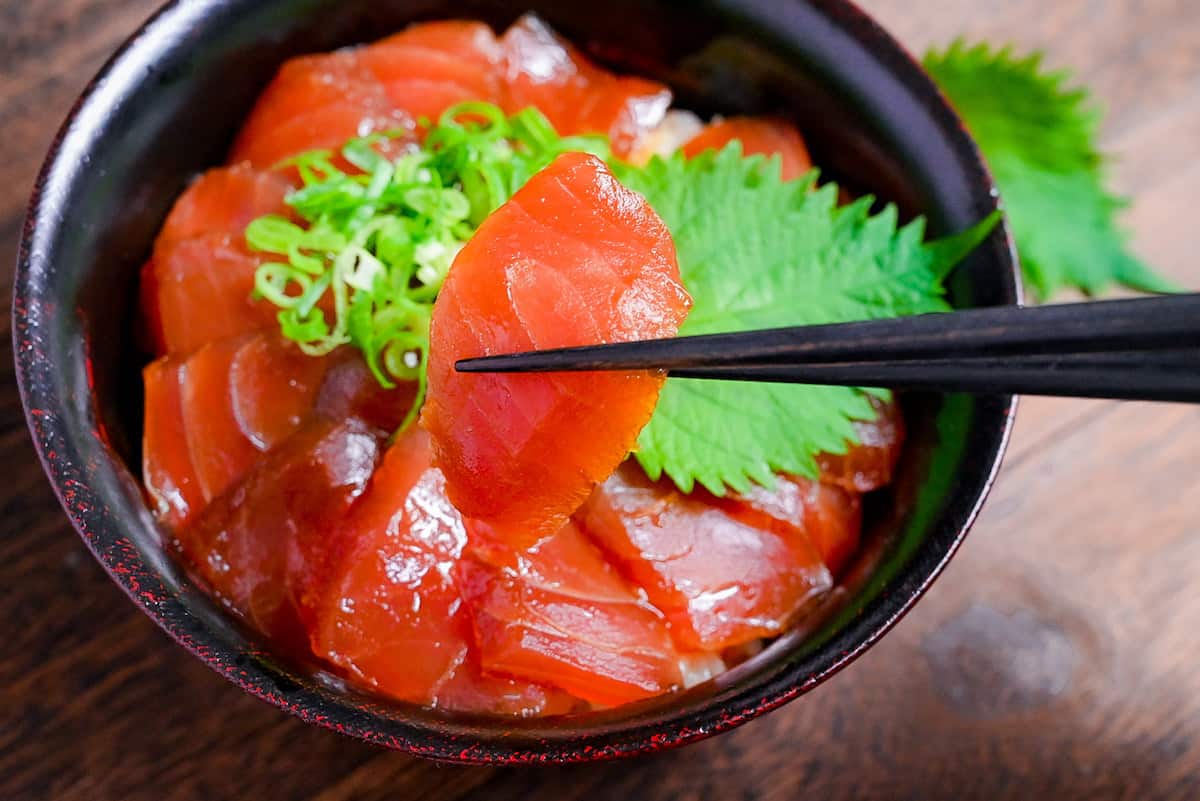
Tekka-don (鉄火丼) is a delicious bowl of sushi rice (vinegared rice) topped with slices of tuna sashimi, grated wasabi and other tasty toppings like shiso leaves, ginger, and grilled seaweed.
You can simply place the tuna on top of the rice and drizzle soy sauce over it, but my recipe includes a homemade marinade to make it extra special.
Kind of Tuna to Use
When making tekka don with raw tuna, the key is to use fresh, “sashimi-grade” or “sushi-grade” tuna. This type of fish is prepared and stored so it’s safe to eat raw at home.
As for which part of the tuna to use, tekka don is typically made with the lean red part. While you can use other parts, akami is the most affordable, so I recommend using it for tekka don.
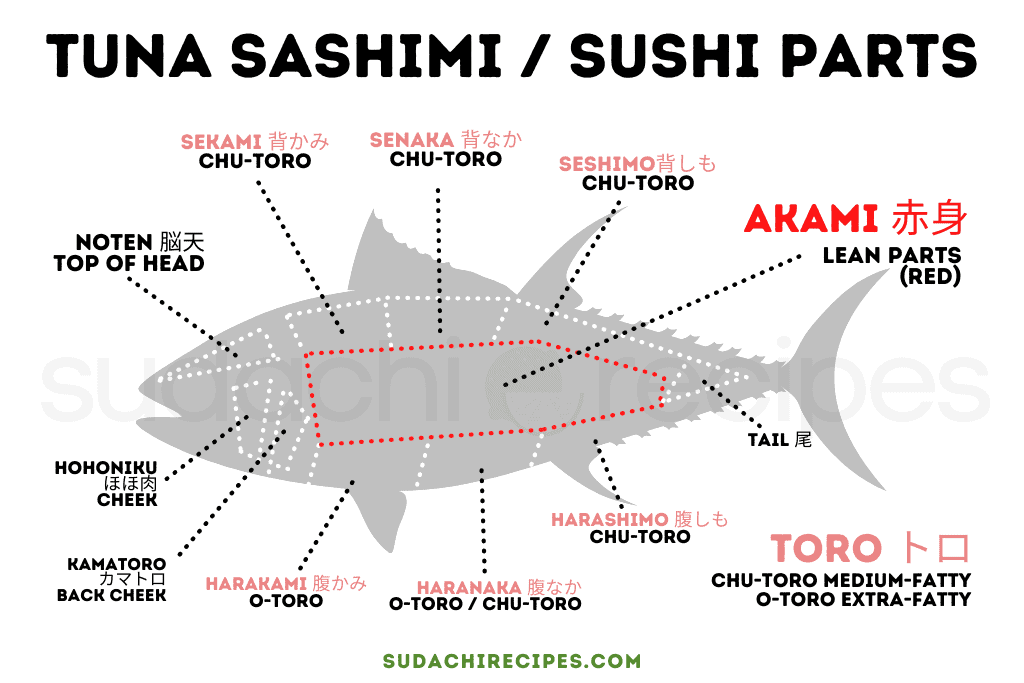
The tuna’s lean and meaty red parts are called “akami” (赤身). It’s a popular cut due to its abundance and affordability compared to other parts.
The more decadent and fatty parts are called “toro,” with a melt-in-the-mouth texture. “Chutoro” (中トロ) represents the medium-fatty part, while “o-toro” (大トロ) is the extra-fatty part found in the front of the belly. These parts have a pinker hue, are considered premium, and have a higher price tag.
Visual Walkthrough & Tips
Here are my step-by-step instructions for how to make Tekkadon at home. For ingredient quantities and simplified instructions, scroll down for the Printable Recipe Card below.
1. How to Make Sushi Rice (Small Batch)
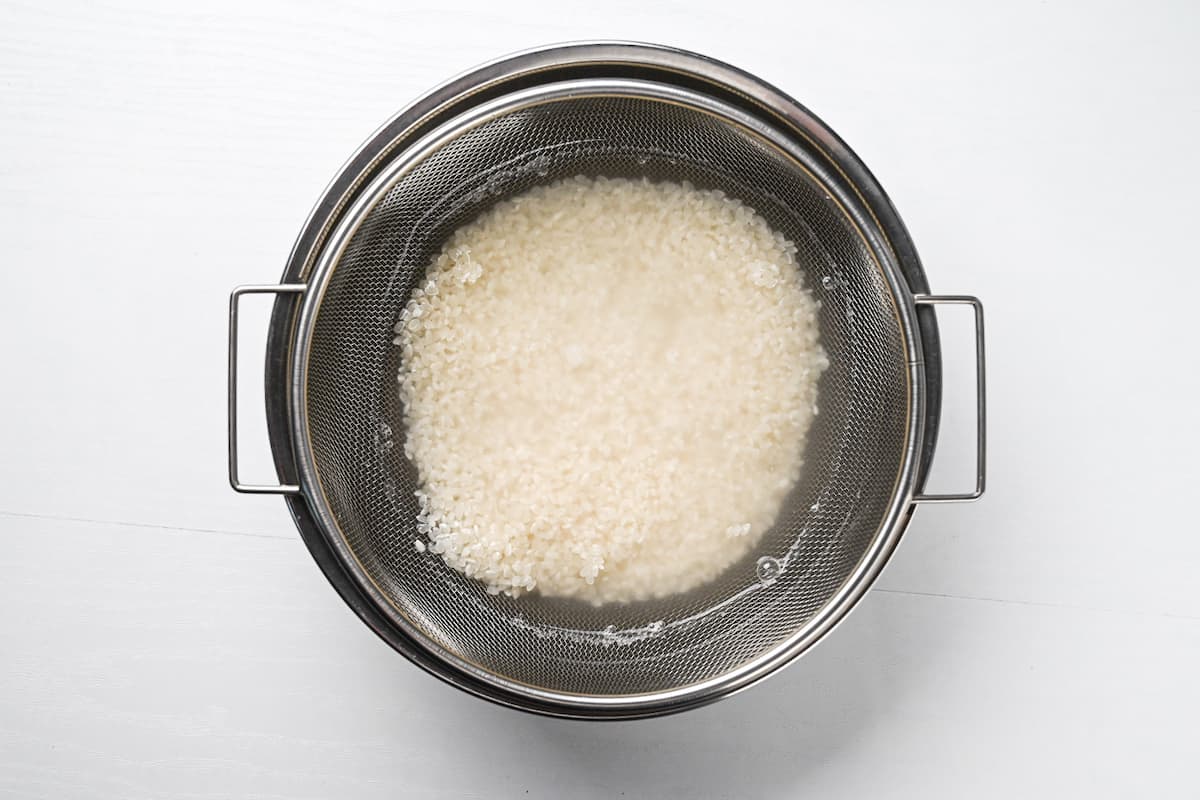
Start by measuring the rice and placing it in a sieve over a mixing bowl. Fill with water, swish and drain. Repeat this 3 times in total to wash the rice.
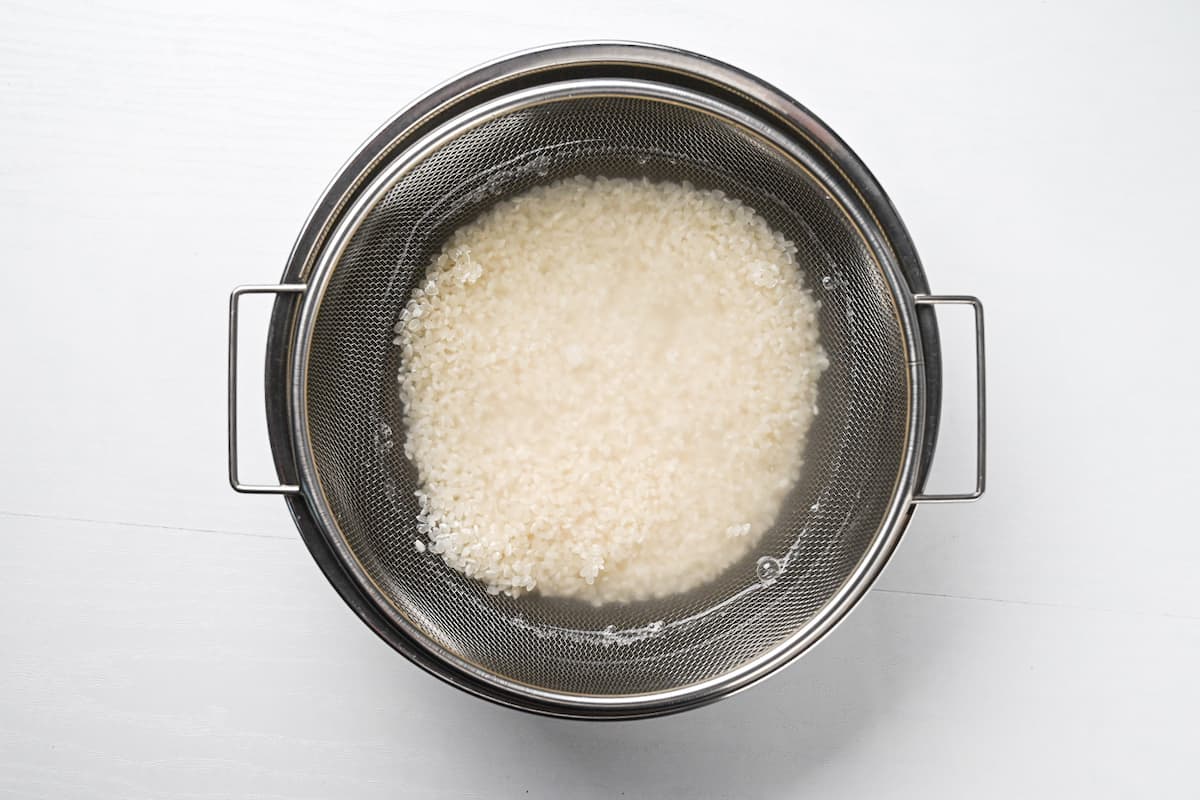
Transfer the rice to your cooking pot (or rice cooker) with a small piece of kombu and add an equal amount of cold water (1 cup of cold water for each cup of rice). The kombu will add depth of flavor to the sushi rice. Soak them together with a lid on for 30 minutes (1 hour if the environment is cold).
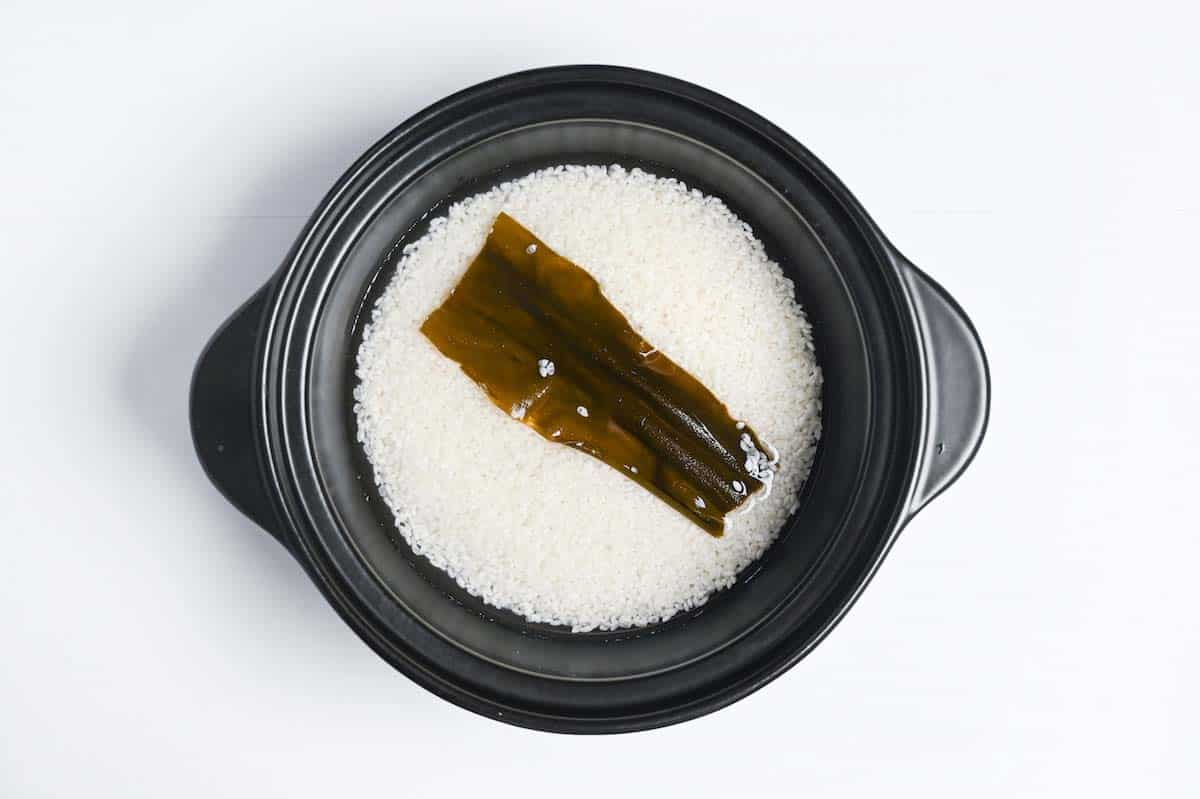
This step is optional, but adding a small amount of sake to the cooking water will improve the flavor and give the rice a shiny quality. I usually add the sake right before cooking.
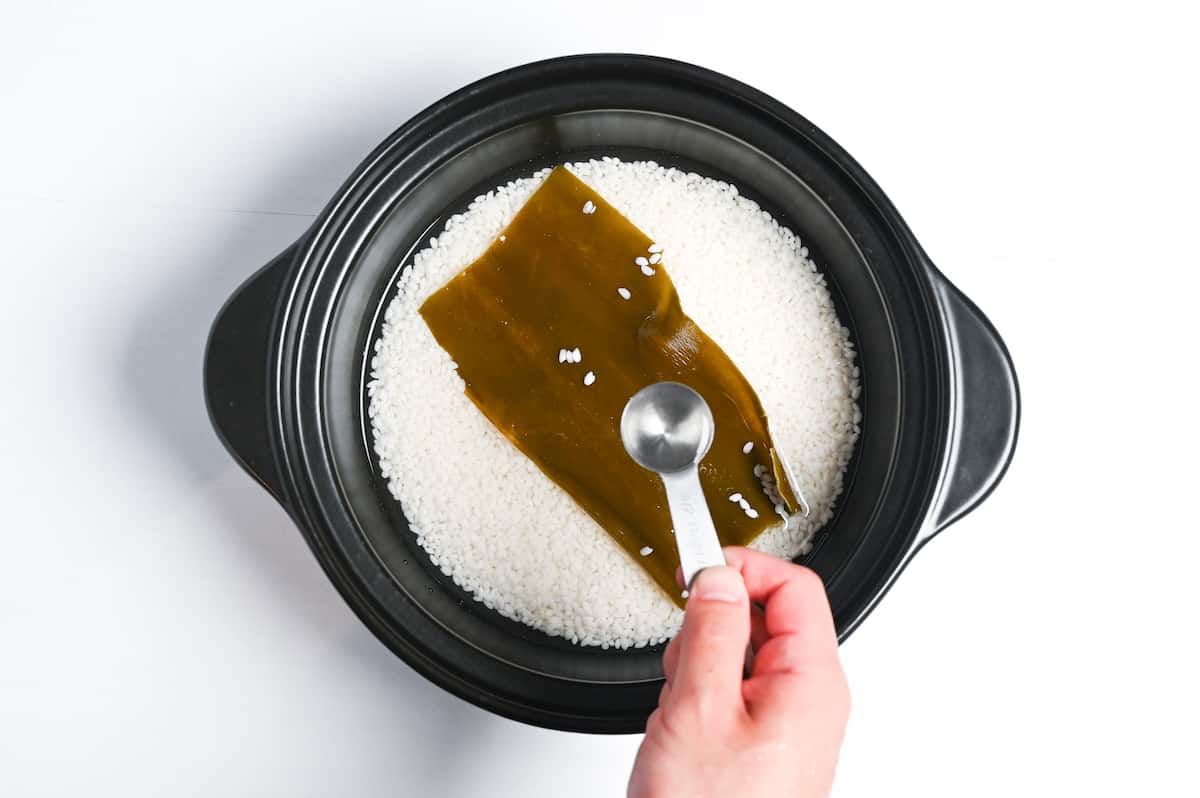
Once the rice and kombu have finished soaking, place the pot on the stove and bring it to a boil over medium heat. Make sure to stay close to the stove and listen for when it starts to boil (do not remove the lid).
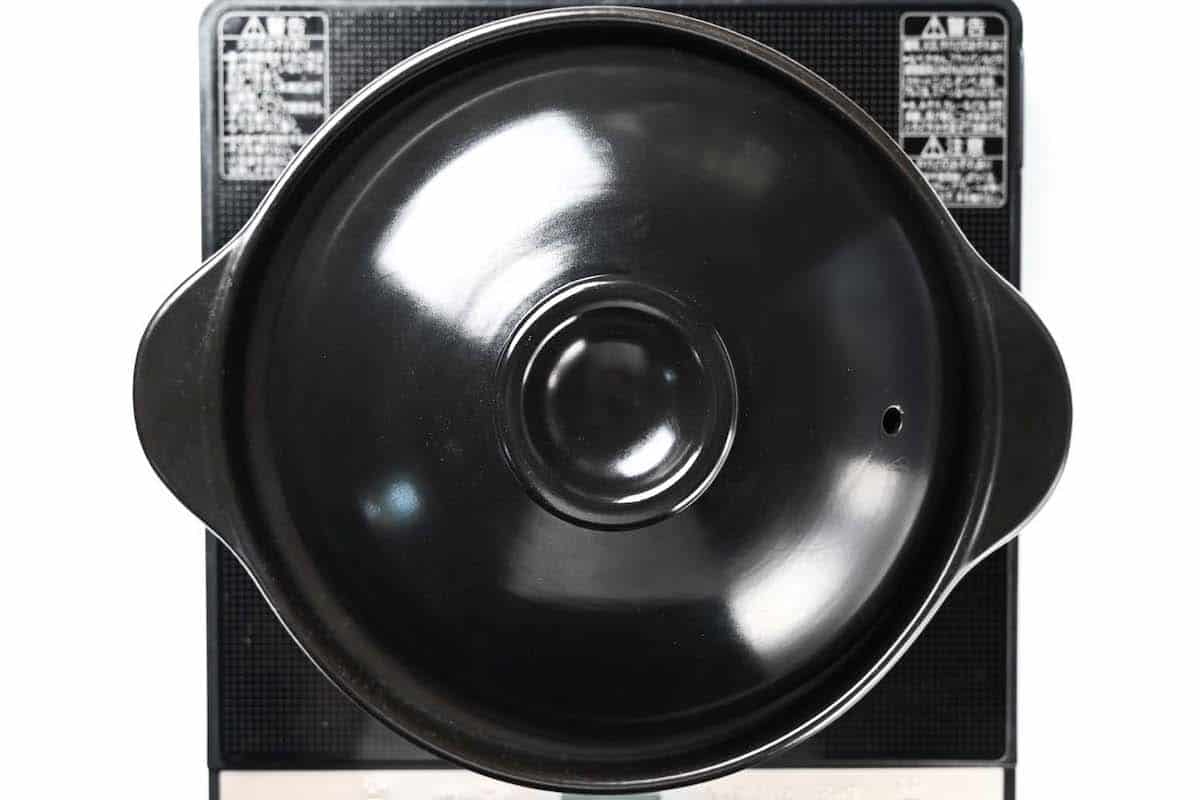
Cook the rice on the following heat settings and set a timer accordiningly:
- Boiling on medium – 30 seconds
- Simmering on medium-low – 2 minutes
- Simmering on low – 5 minutes
- Highest heat – 10 seconds
- Turn off the heat and leave the pot on the stove with the lid on – 10 minutes
The final 10 minutes allow the rice to continue cooking in the steam, so it’s important not to remove the lid or interfere with the rice.
Jump to Full Recipe Measurements2. Marinate the tuna
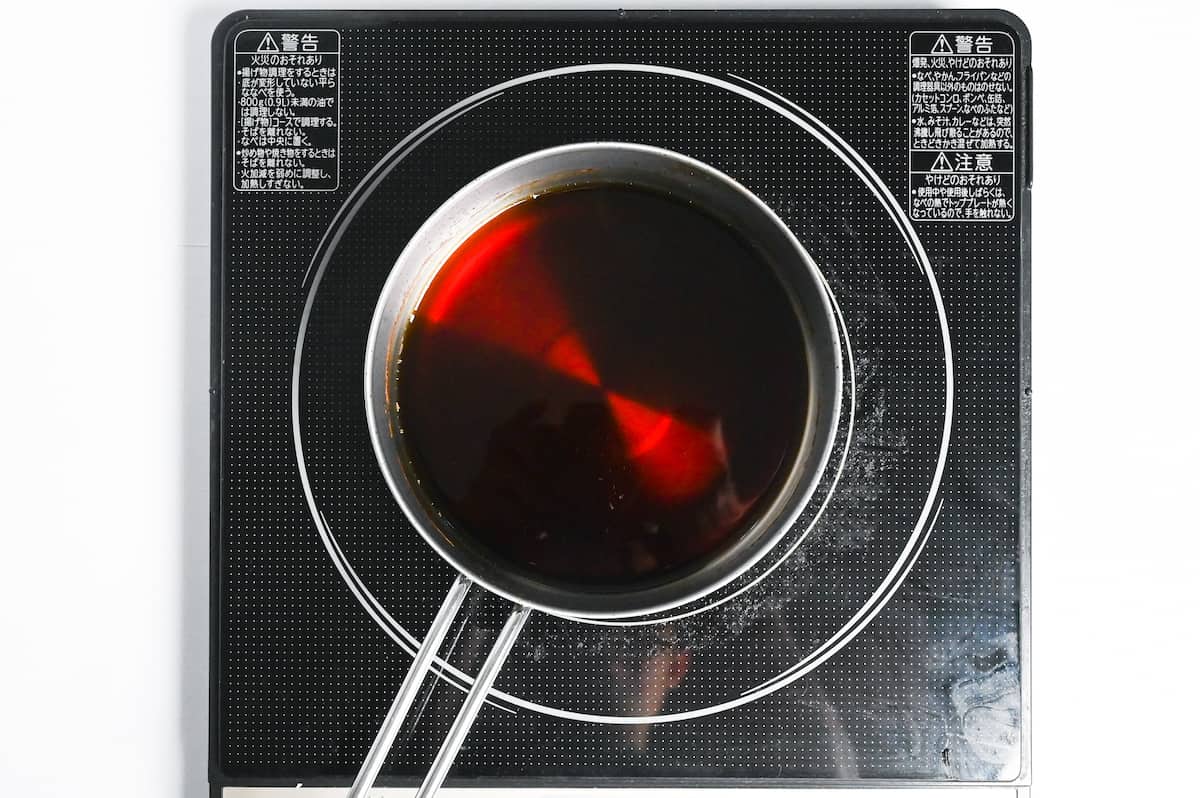
Pour the mirin and sake into a small saucepan and boil for 1 minute.
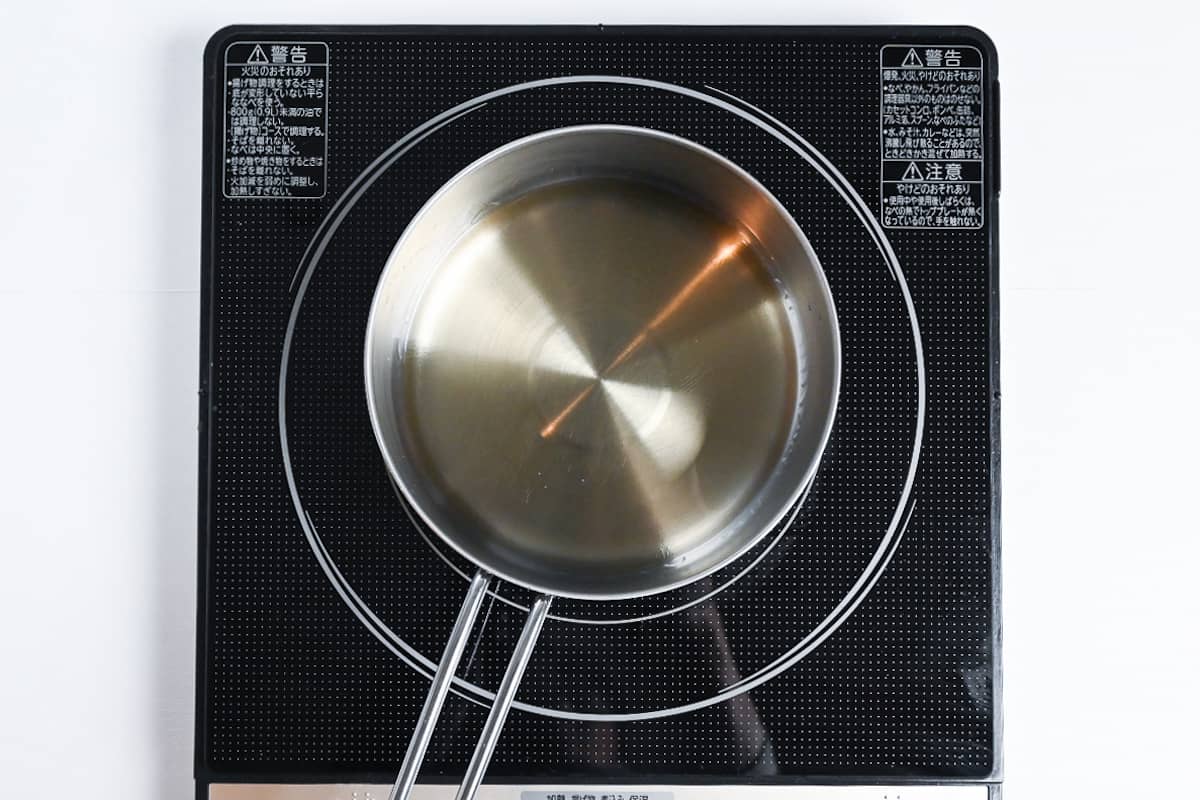
Turn off the heat and add the soy sauce to the pan.
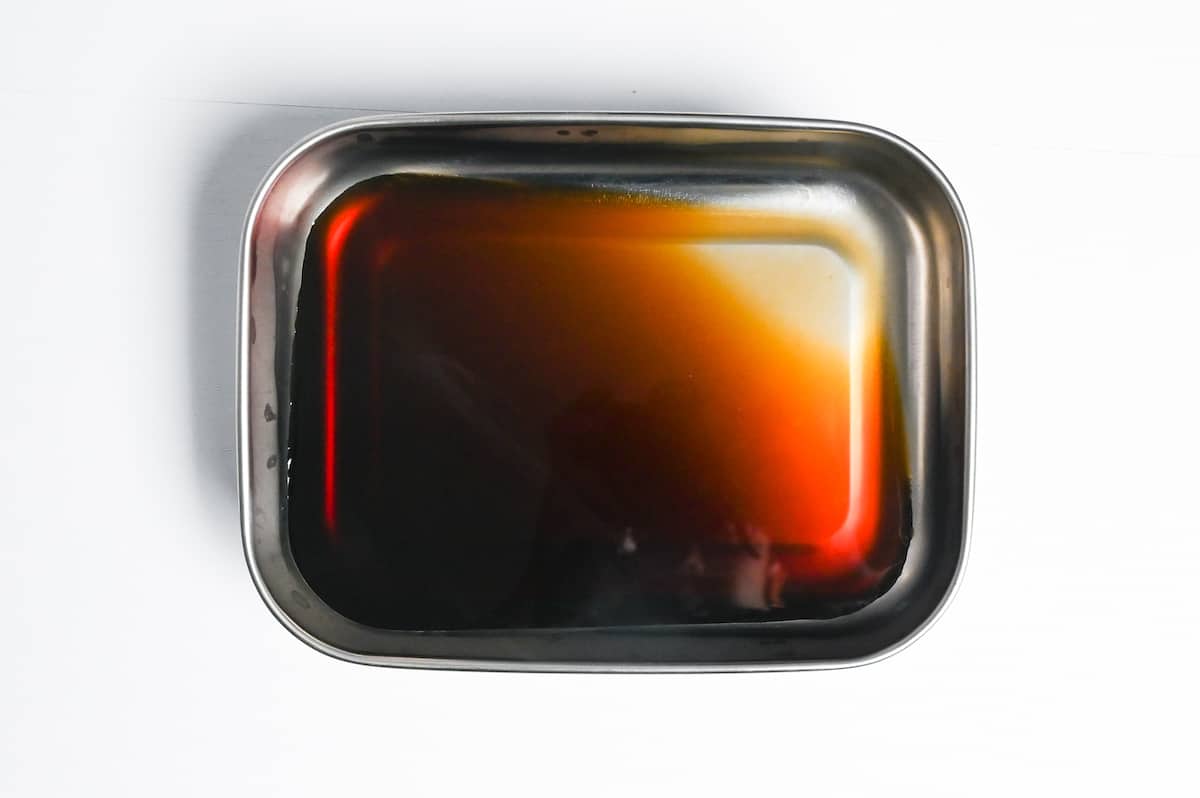
Pour the sauce into a wide container big enough to lay out the tuna in one layer. Allow the sauce to cool down, it should be cool enough to touch before adding the tuna. (You can speed up the cooling process by placing the container in an ice bath.)
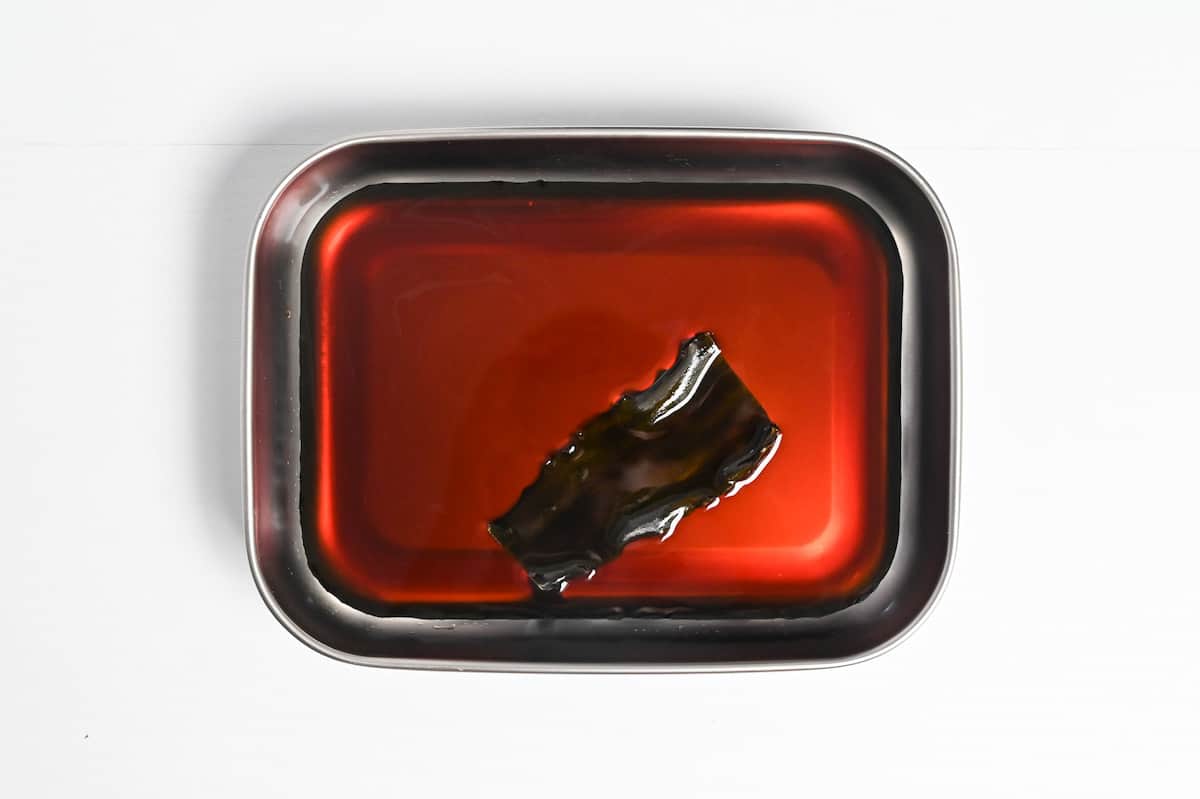
Place a small piece of kombu in the sauce.
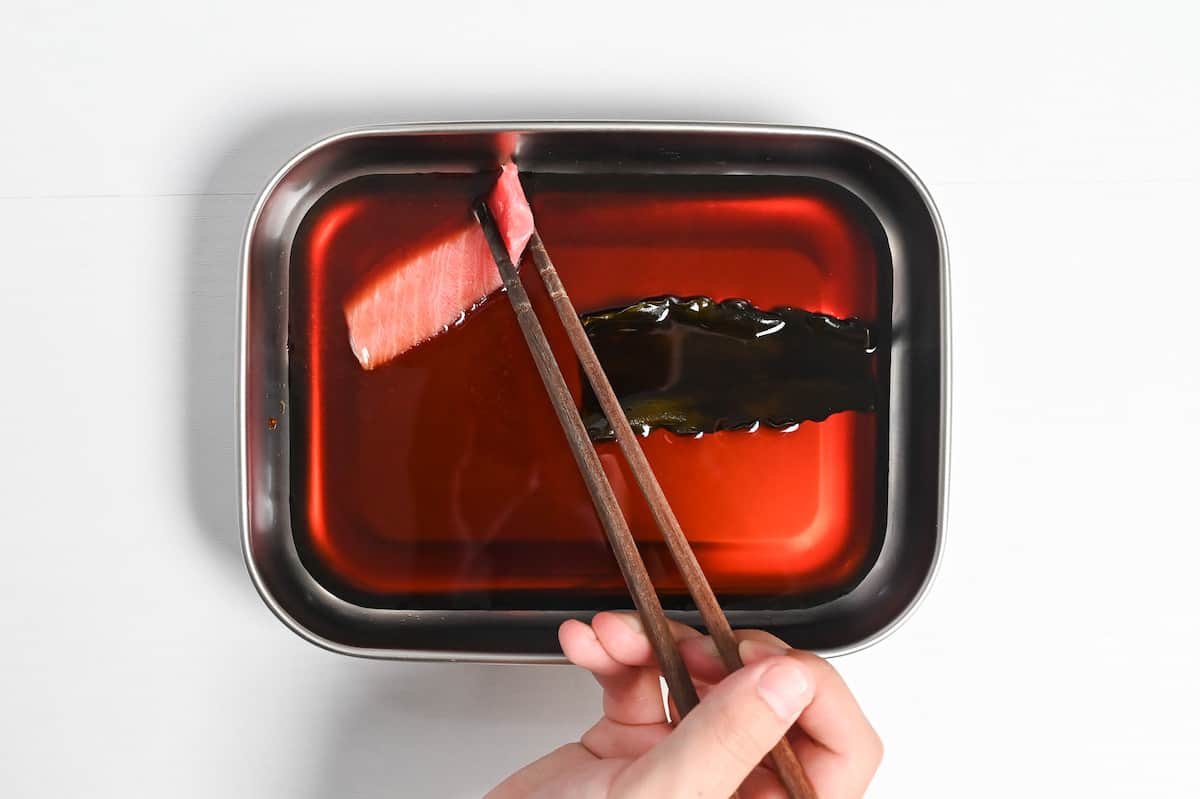
Once cool to the touch, dip each piece of tuna in the marinade so that both sides are coated.
Lay out the tuna slices in the container so that every piece is in contact with the marinade, then cover with plastic wrap touching the surface of the tuna.
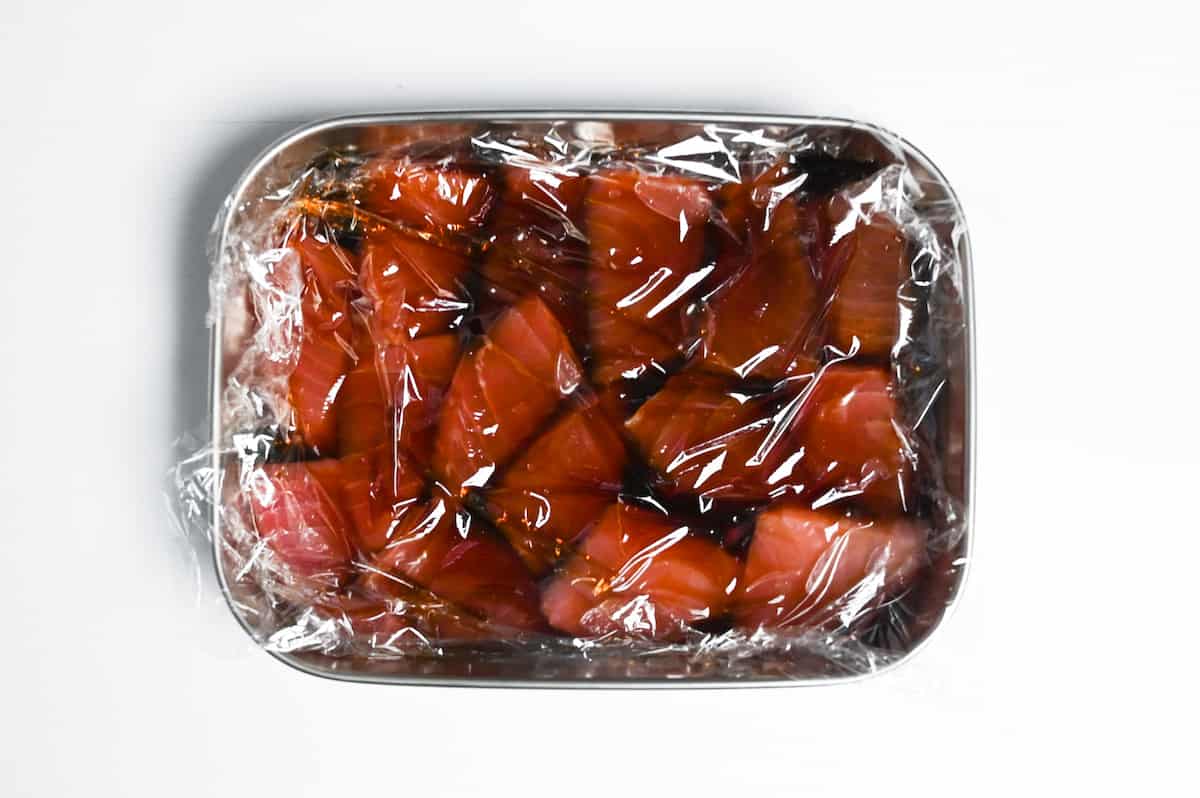
Marinate in the refrigerator for 30 minutes.
Jump to Full Recipe Measurements3. Assembling
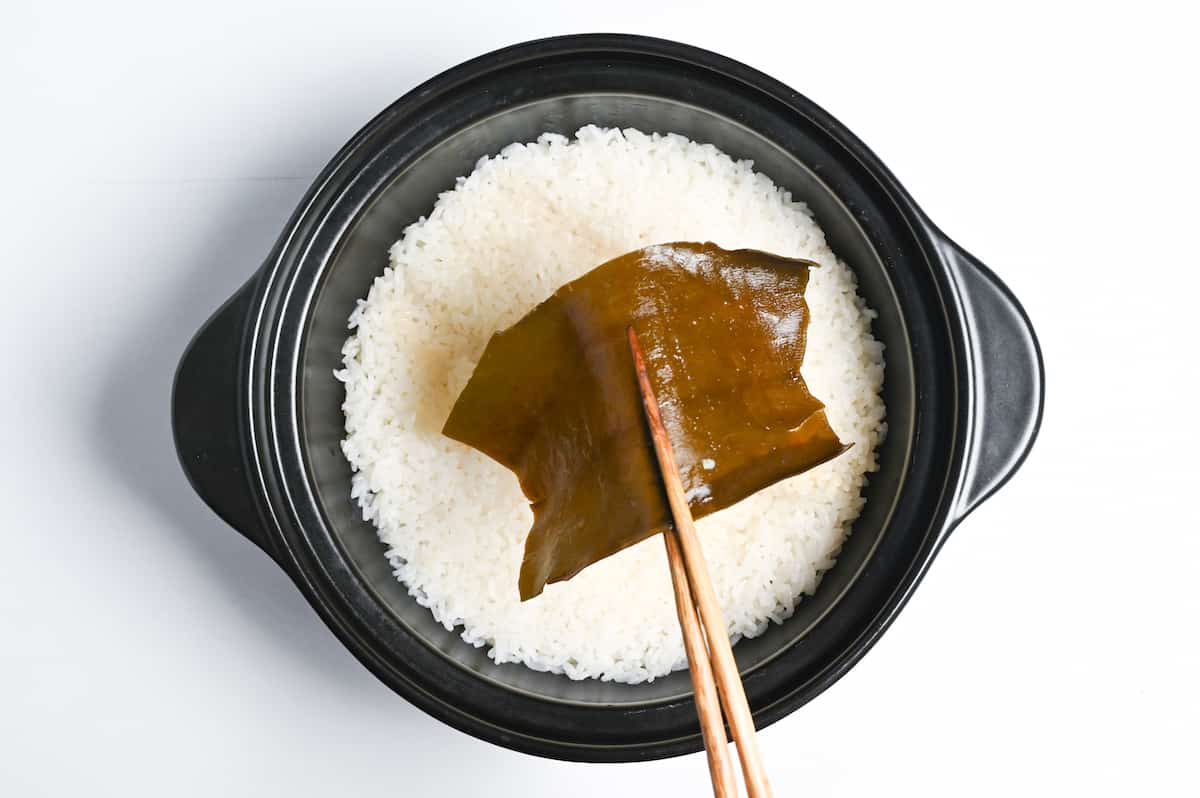
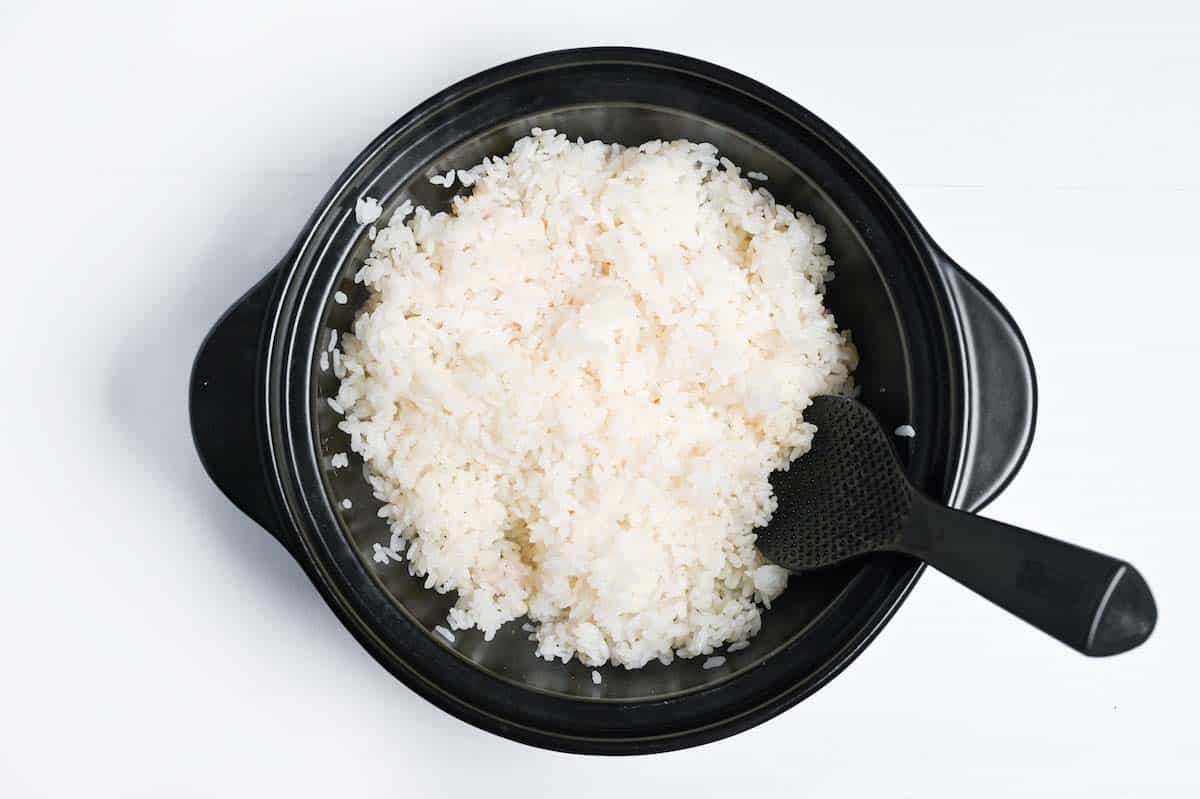
Once the rice has finished steaming, remove the kombu and mix it gently.
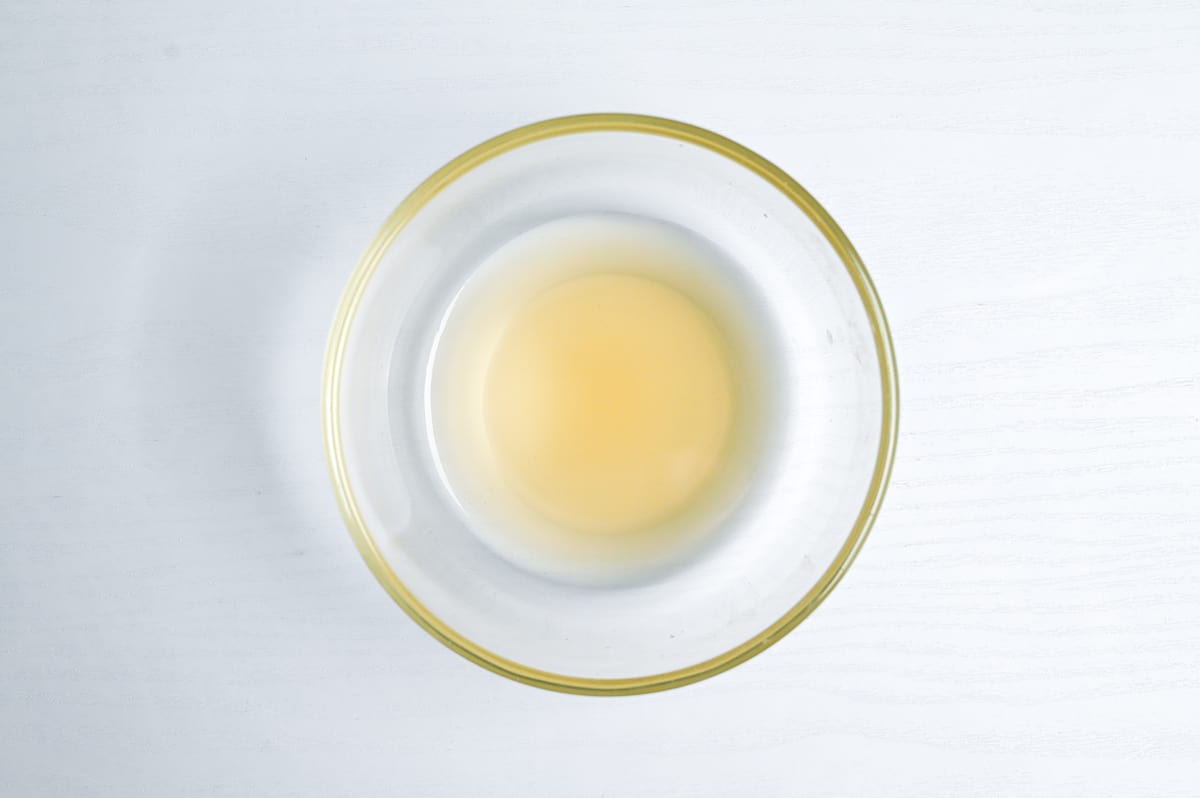
Mix rice vinegar, sugar, and salt in a small bowl until dissolved.
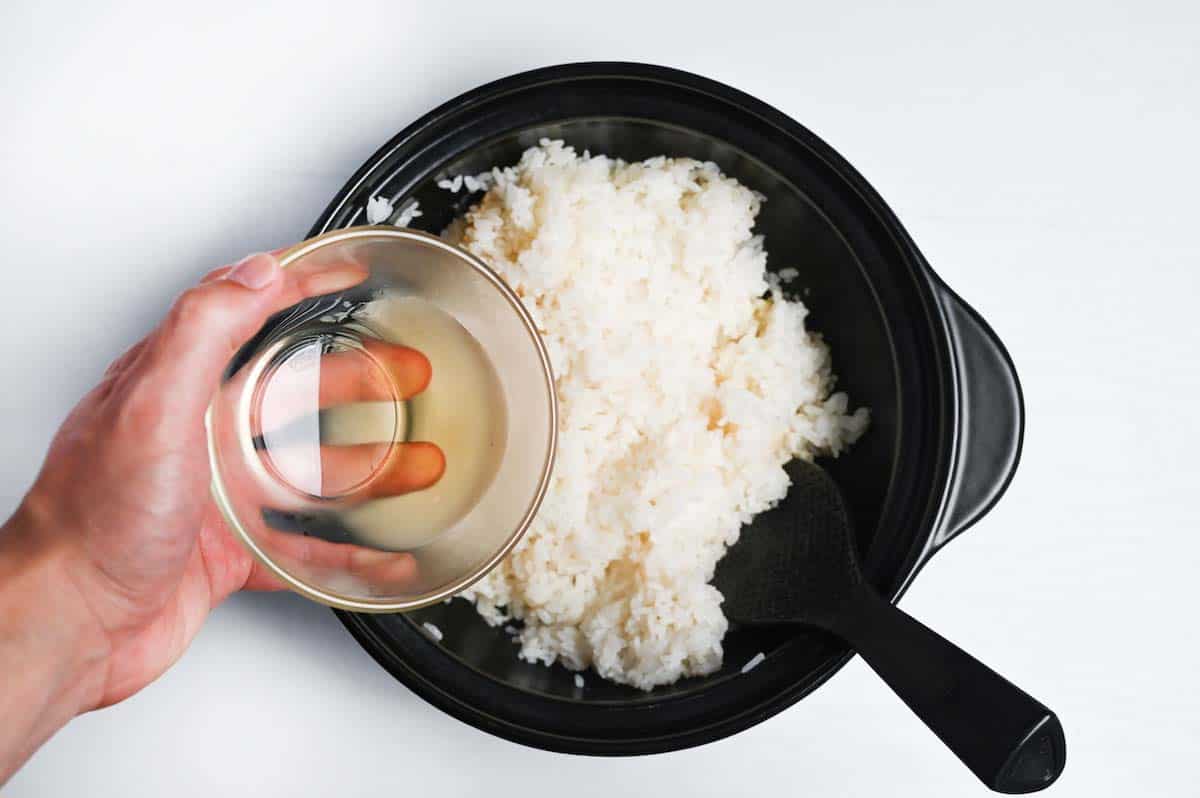
Pour the sushi vinegar into the warm rice and mix until well distributed.
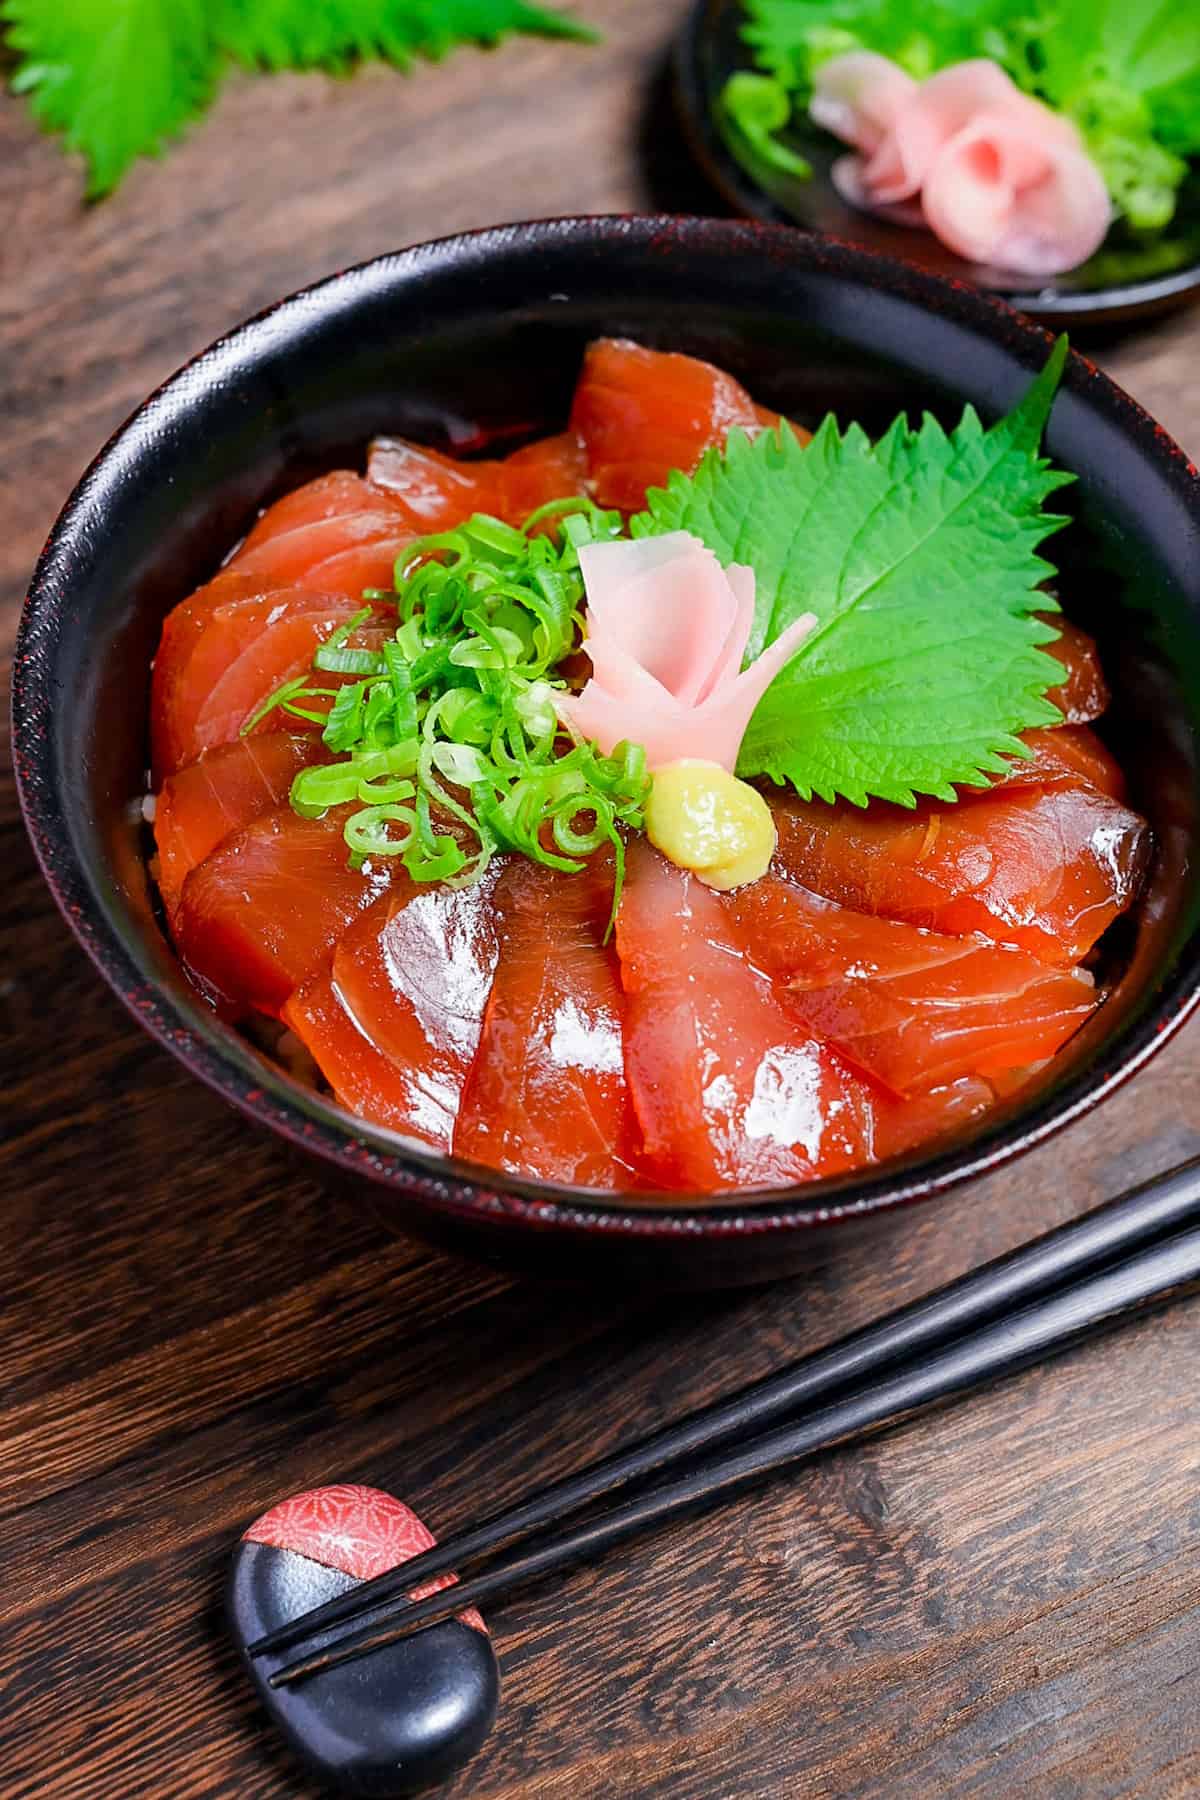
Divide the rice into bowls and arrange the marinated tuna on top. Garnish with pickled ginger (gari), chopped spring onion, wasabi, and a shiso leaf.
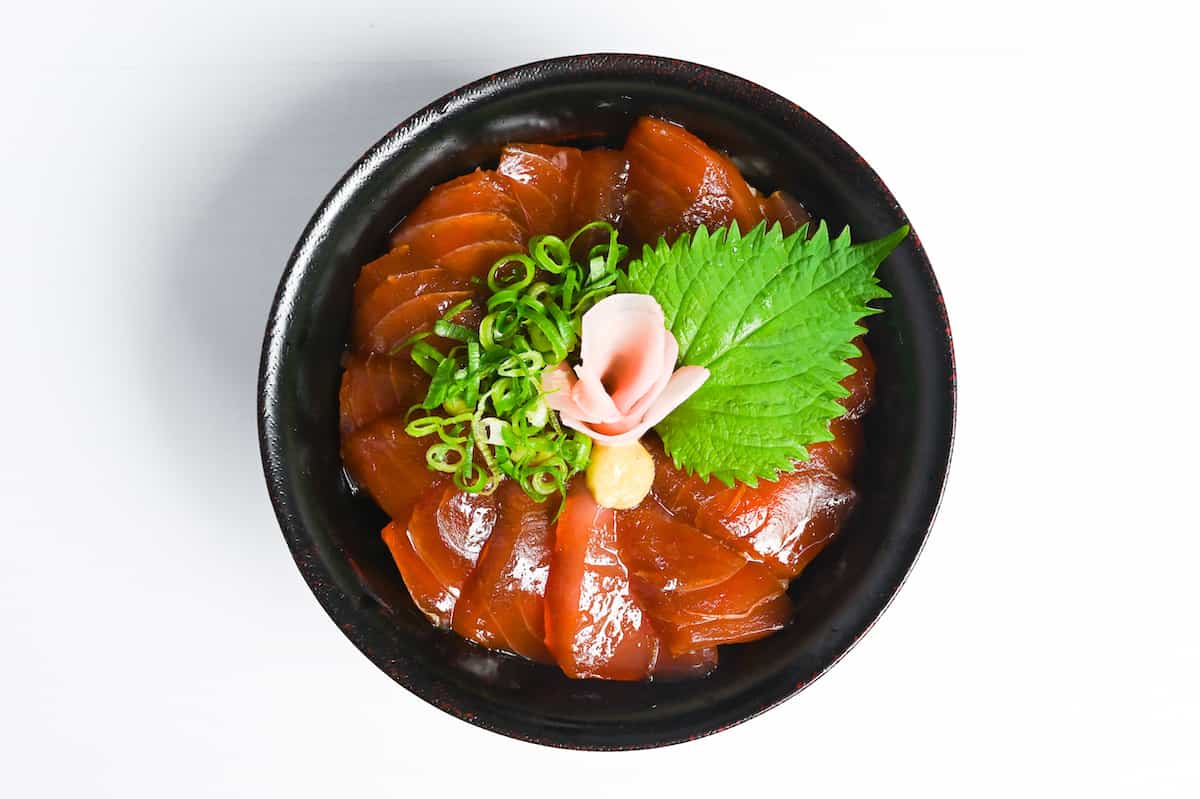
Pour 1/2 tbsp of leftover marinade over each bowl and enjoy!
Jump to Full Recipe MeasurementsFAQ
You might be surprised to learn that the name “Tekka-don,” a bowl of tuna over rice, is pretty strange even for us Japanese. When we hear “tekka (鉄火),” we think of iron (鉄) and fire (火), which brings to mind something hot, but of course, sashimi is served chilled.
The name actually dates back to the Edo period (1603-1867), when betting halls were called “tekkaba (鉄火場).” The first Tekka-don was a bowl of rice topped with shiba shrimp (a type of shrimp seen in East Asia, particularly around Tokyo) on vinegared rice, eaten while betting in these halls.
Later, the main ingredient changed to tuna, creating the modern Tekka-don as we know it today. It’s fascinating to discover that this now-common Japanese dish has such a unique origin story!
There are two types of tuna donburi (rice bowl) dishes: tekka-don and maguro-don. Even many Japanese people can’t tell the difference because they look so similar. Some even think they’re the same dish!
But in fact, if we look closely, there are differences. One of the biggest differences is whether regular white rice or sushi rice (vinegared rice) is used.
I hope you enjoy this Tekka Don recipe! If you try it out, I’d really appreciate it if you could spare a moment to let me know what you thought by giving a review and star rating in the comments below. It’s also helpful to share any adjustments you made to the recipe with our other readers. Thank you!
More Donburi Recipes
- Marinated Salmon Sashimi Bowl (Salmon Don)
- Kaisen Donburi (Seafood Rice Bowl)
- Negitoro Don (Mashed Tuna Sashimi Bowl)
- Unagi Donburi (Japanese Grilled Eel Rice Bowl)
Want more inspiration? Explore my Donburi Recipe Roundup Post for a carefully selected collection of tasty udon recipe ideas to spark your next meal!
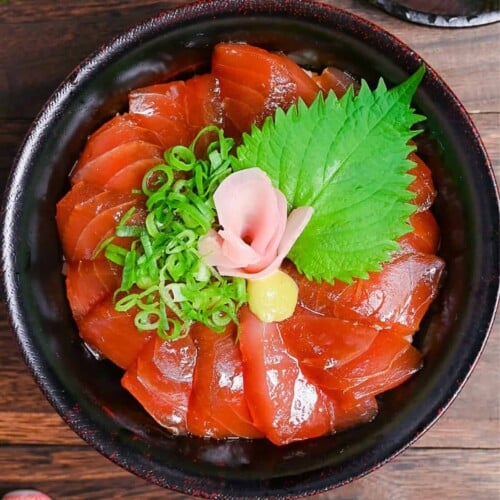
Tekka Don (Japanese Tuna Sashimi Bowl)
Equipment
- Zojirushi Rice Cooker
Ingredients
Sushi Rice (small batch)
- 150 g uncooked Japanese rice
- 150 ml cold water
- 3 g dried kelp (kombu) kombu
- ½ tbsp sake
- 1 tbsp rice vinegar
- ¼ tsp sugar
- ½ tsp salt
Tuna and Marinade
- 200 g sashimi grade tuna sliced
- 50 ml Japanese soy sauce (koikuchi shoyu)
- 50 ml mirin
- 50 ml sake
- 2-3 g dried kelp (kombu)
- 1 tsp wasabi paste
- 1 tbsp pickled sushi ginger (gari)
- 2-4 perilla leaves (shiso)
- 2 tbsp finely chopped green onions
My recommended brands of ingredients and seasonings can be found in my Japanese pantry guide.
Can’t find certain Japanese ingredients? See my substitution guide here.
Instructions
Sushi Rice (small batch)
- Measure out the rice and pour it into a sieve. Place the sieve over a mixing bowl, fill it with cold water and swish the rice around. Pour the cloudy water out and repeat two more times to wash the rice.

- Transfer 150 g uncooked Japanese rice to a rice cooker (or pot with lid) and add 150 ml cold water and 3 g dried kelp (kombu). Leave to soak for 30 minutes.

- After 30 minutes, add ½ tbsp sake and mix. Set the rice cooker to cook the rice. (If cooking on the stove, follow my instructions in the post or check out my sushi rice post.

- Mix 1 tbsp rice vinegar, ¼ tsp sugar and ½ tsp salt in a small bowl until the granules have dissolved. Set aside for later.

Marinating
- Pour 50 ml mirin and 50 ml sake into a small pan and boil on a medium-high heat for 1 minute to burn off the alcohol.

- Turn off the heat and add 50 ml Japanese soy sauce (koikuchi shoyu), then leave to cool. (You can speed up the cooling process by transferring the sauce to a heatproof bowl and placing over a bowl of ice.) It must be fully cooled before adding the tuna.

- Pour the cooled marinade into a wide container and add 2-3 g dried kelp (kombu).

- Coat 200 g sashimi grade tuna in the marinade and then lay them flat in the container. Try to keep it to one layer.

- Cover the tuna with plastic wrap so that its in direct contact with the surface of the tuna. If the container has a lid, place it on top. If not, add another piece of plastic wrap over the top. Marinate in the refrigerator for 30 minutes.

Assembling
- Once the rice has cooked, remove the kombu and break it up using a rice paddle.

- Add the rice vinegar mixture to the rice and mix until evenly distributed.

- Divide it into serving bowls and then arrange the slices of marinated tuna on top. Pour about ½ tbsp of the leftover marinade over each bowl and top with 1 tsp wasabi paste, 2-4 perilla leaves (shiso), 1 tbsp pickled sushi ginger (gari) and 2 tbsp finely chopped green onions.

- Enjoy!


Leave a rating and a comment