What is Sushi Ginger?
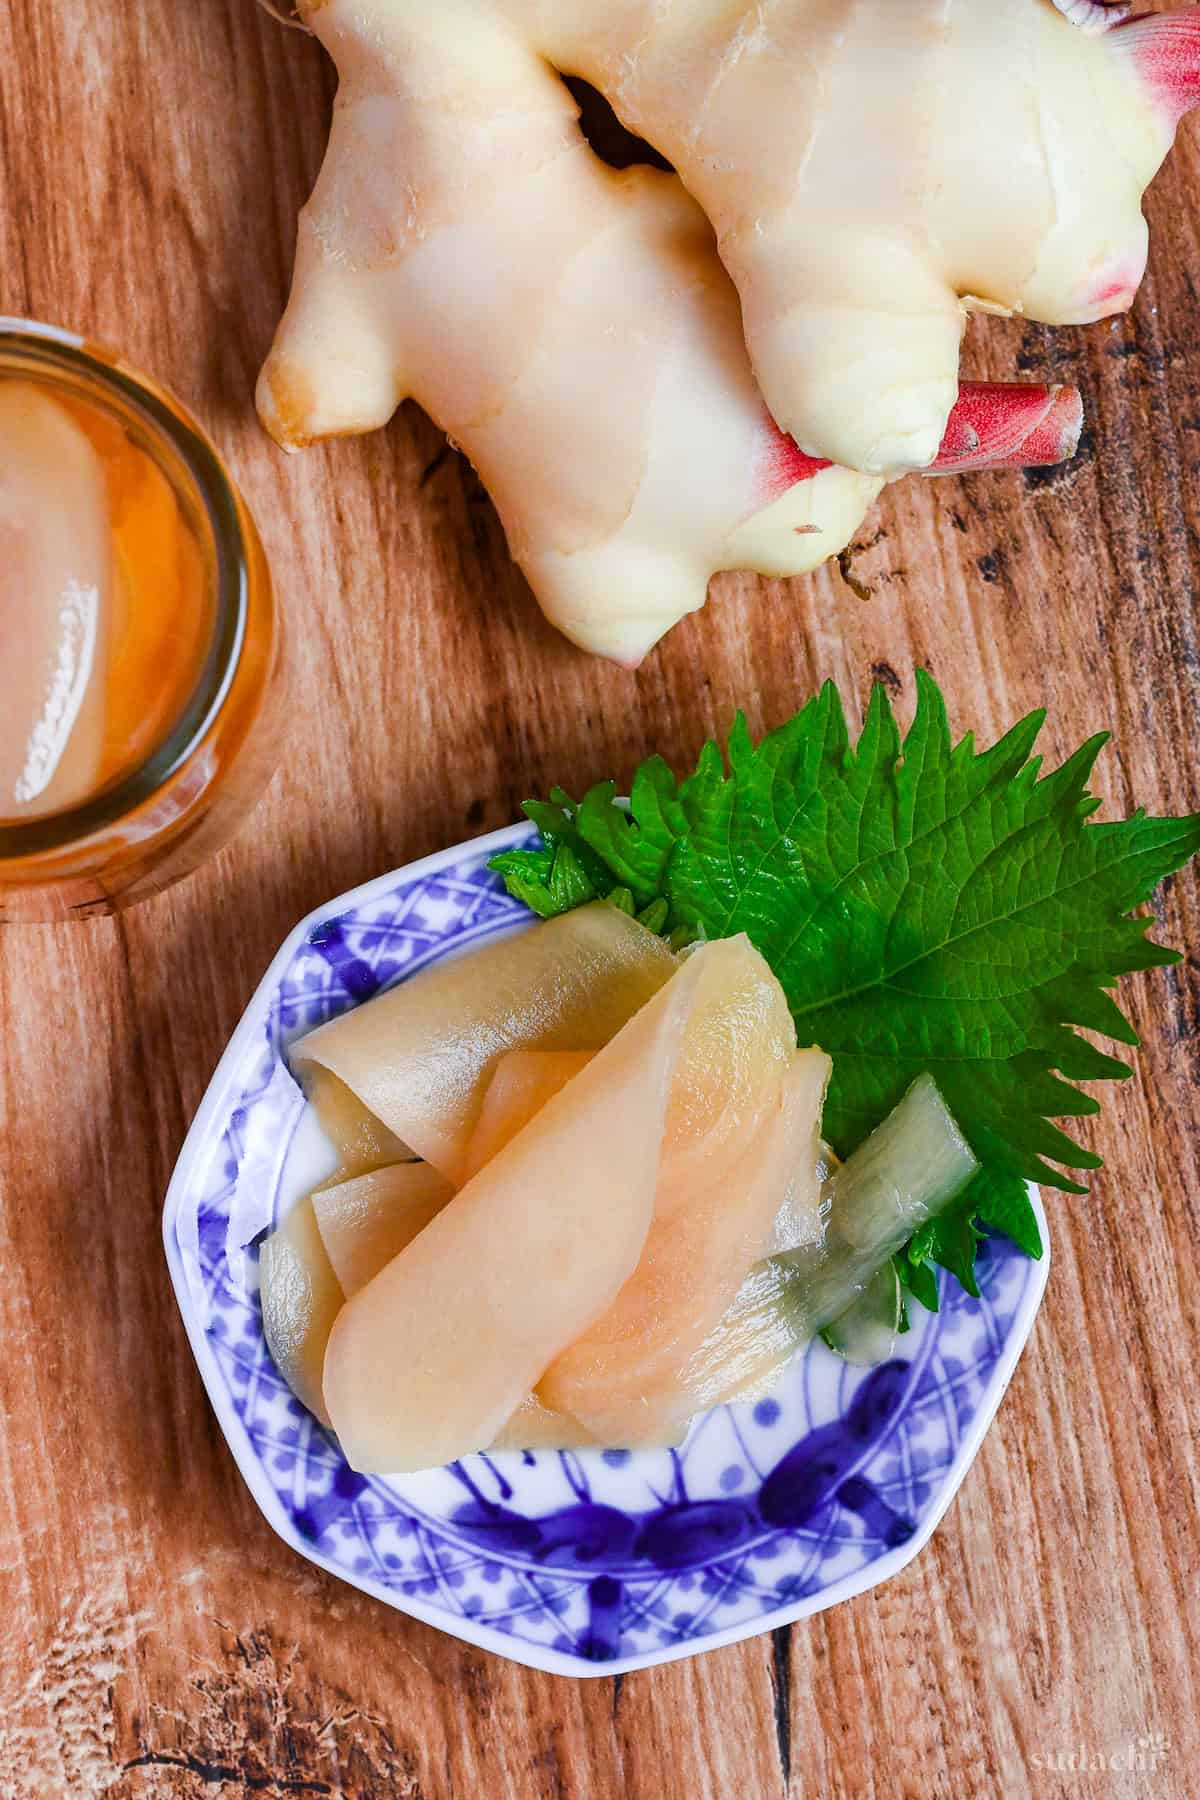
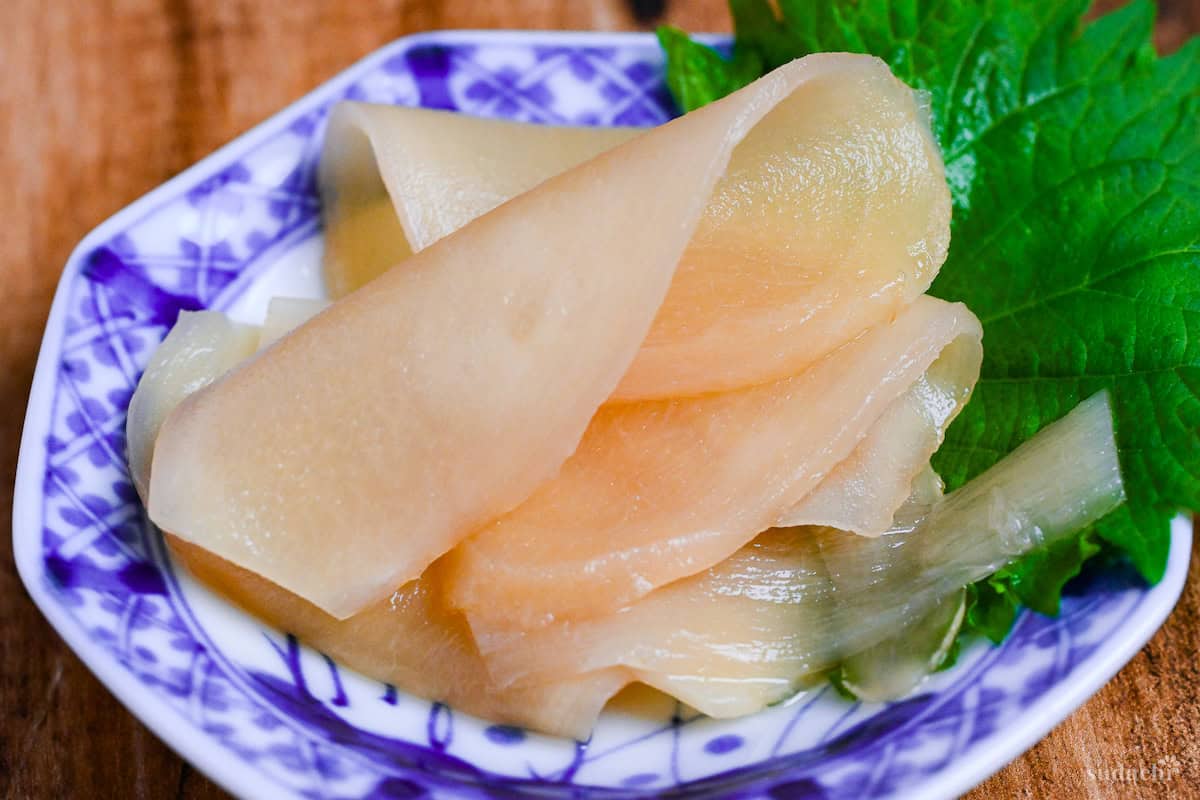
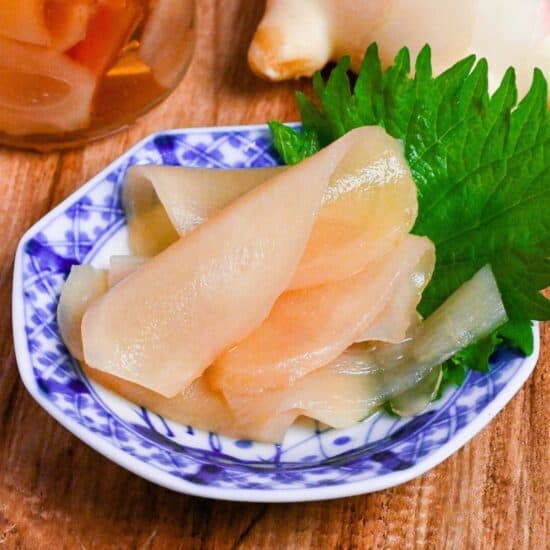
Sushi ginger, known as “gari (ガリ)” in Japanese, is a pickle made from thinly sliced young ginger marinated in sweet vinegar marinade. Despite their occasional confusion, gari is entirely different from benishoga (red pickled ginger).
The nickname “gari” is believed to originate from the onomatopoeic “garigari (ガリガリ)” sound made when chewing the pickle or when the ginger is being thinly sliced with a blade.
Gari is an essential part of the sushi-eating experience! It’s consumed between different types of sushi to refresh the taste buds, preparing them for the next flavor. This practice is particularly important when transitioning from rich, bold-flavored sushi (e.g., ikura) to a more delicate one (e.g., white fish).
It also has a practical use in sushi etiquette. For certain types of sushi, such as gunkanmaki (battleship roll) or sushi topped with condiments, it can be challenging to apply soy sauce directly. In these cases, gari can be used as a vehicle for soy sauce, allowing diners to add the condiment to the sushi rice without disturbing the topping.
In Japan, the best time to enjoy homemade gari is in June and July, when young ginger is in season. This period offers an opportunity to savor gari at its peak.
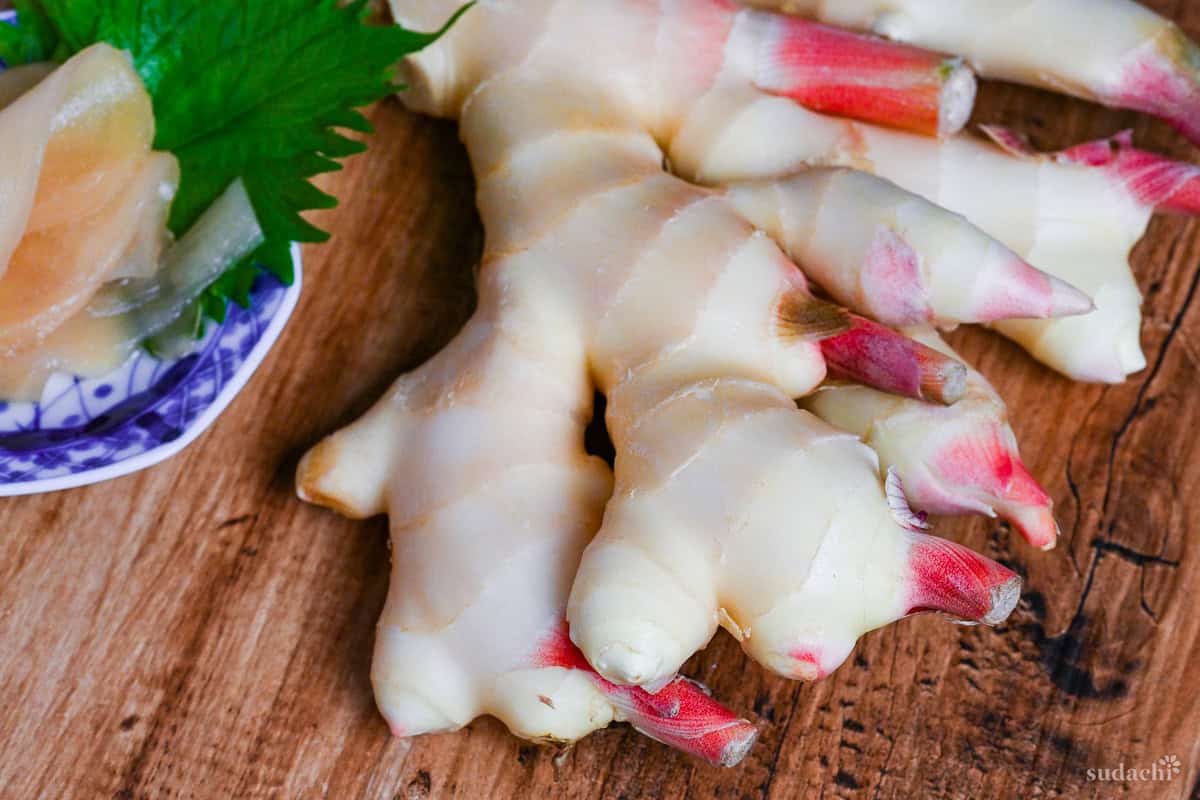
By the way, gari must be made with young ginger, not the more commonly found regular ginger root.

How I Developed This Recipe
I’ve recently become obsessed with making sushi at home. Rolling out the rice and placing each ingredient carefully makes me crave the perfect palate cleanser – gari, or sushi ginger.
At first, I thought making it myself would be difficult, but I was pleasantly surprised! When I finally gave it a shot, I couldn’t believe how easy it was. The process is so simple! Watching the ginger pickle and gradually take on that signature blush pink color is fascinating.
If you have access to young ginger and love making sushi like me, you should definitely try this recipe!
Key Ingredients & Substitution Ideas
- Young ginger: For this recipe, you need young ginger (also called new ginger). It’s the fresh part of the ginger plant that grows in spring and gets picked in summer. This is different from the regular ginger you see in stores all year round. That’s called root ginger, and it’s picked later when it’s harder and the skin is thicker. The ginger we need for sushi ginger is the young kind. New ginger is easily damaged, so buy the freshest ginger possible, avoiding those with dry or browned tips or surfaces.
- Rice vinegar: I like to use rice vinegar, but if you can’t, use grain vinegar or white vinegar instead. They work fine too.
- Light brown sugar: I think light brown sugar tastes best in this recipe. It adds a nice rich flavor. But if you only have white sugar, that’s okay to use too.
- Extras: In my recipe, I add kombu (dried kelp) and light soy sauce to make the flavor deeper and add a hint of umami. It might seem like a small addition, but it really makes a difference in my opinion!
Visual Walkthrough & Tips
Here are my step-by-step instructions for how to make Sushi Ginger at home. For ingredient quantities and simplified instructions, scroll down for the Printable Recipe Card below.
This section aims to provide a comprehensive overview of the cooking steps and techniques with visuals. It also includes more in-depth tips and tricks and explains why I do what I do.
First, let’s make this delicious pickling liquid! Combine water, rice vinegar, light brown sugar, soy sauce, and kombu in a saucepan.
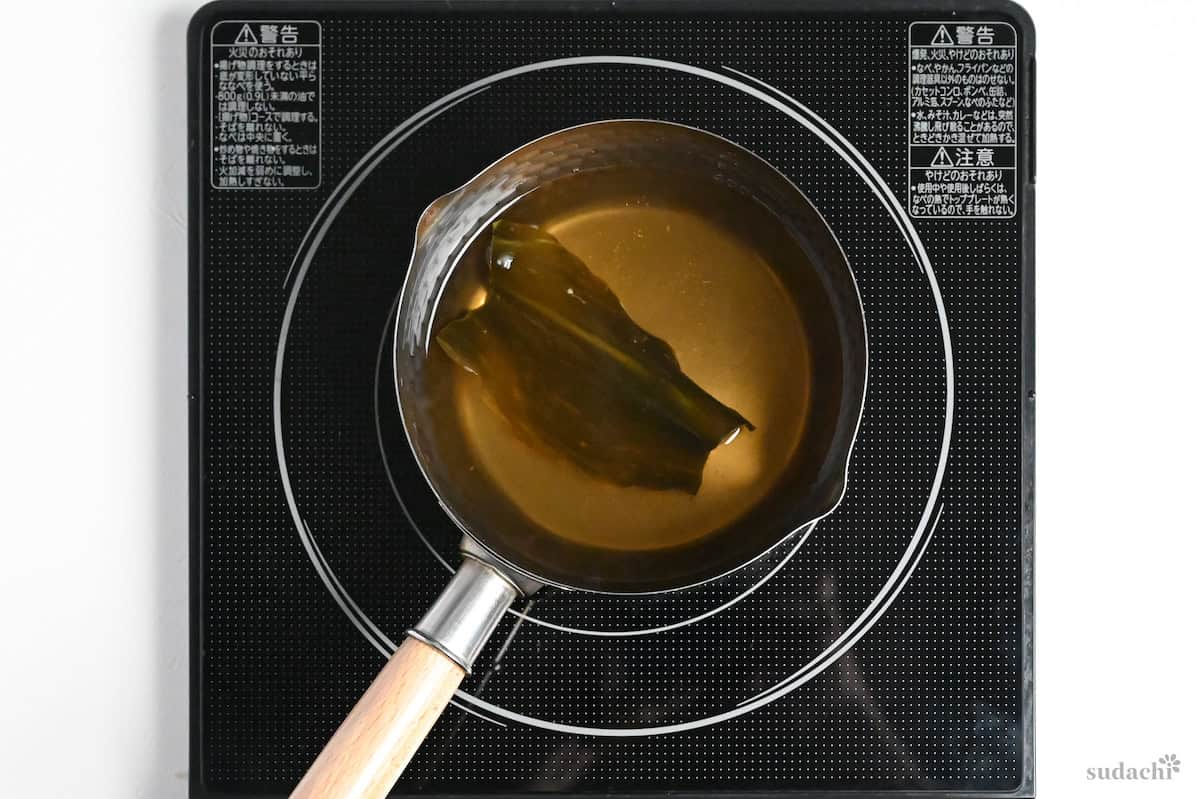
Heat the mixture over medium heat until it’s just about to boil. Then, turn off the heat and let the pickling liquid cool to room temperature.
While you wait for the liquid to cool, cut the young ginger body into blocks about 5 cm (2 inches) long and place them in a bowl of water. Thoroughly rub the surface to remove any dirt or debris. Cutting it before washing makes it easier to get into all the crevices.
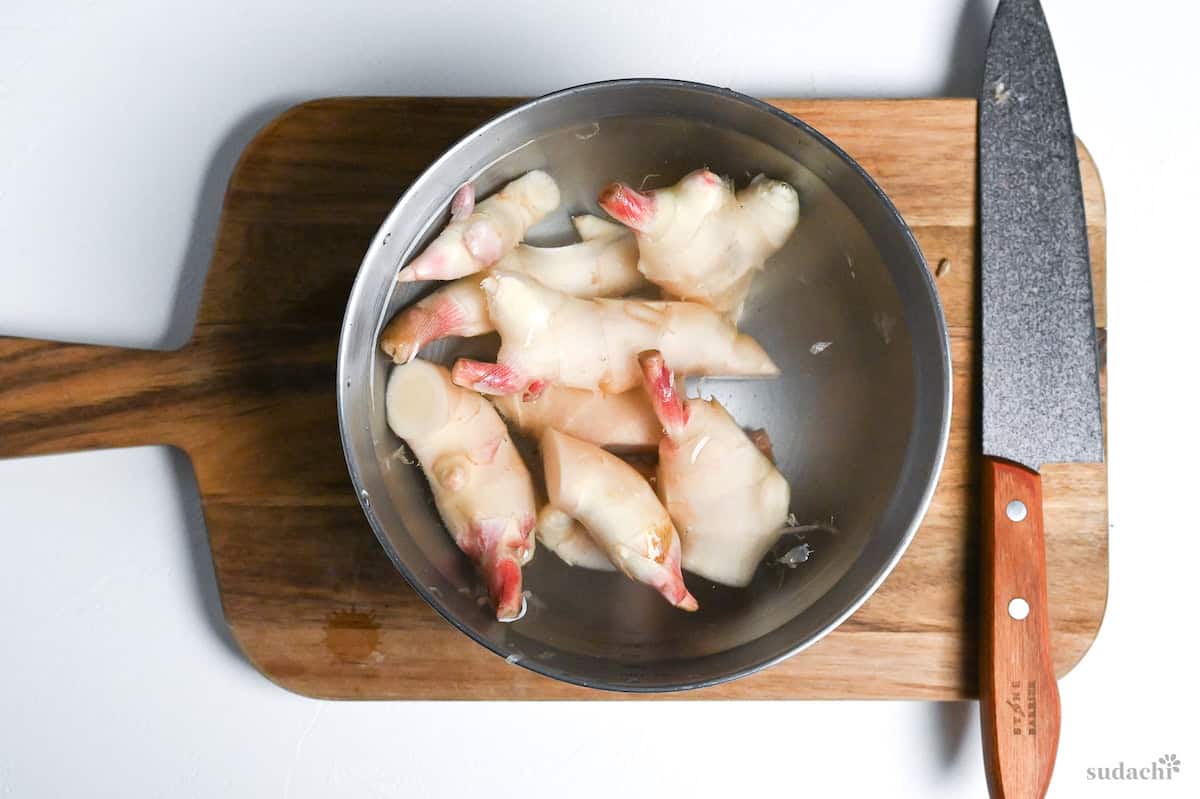
Scrape off any browned or dirty skin with a spoon.
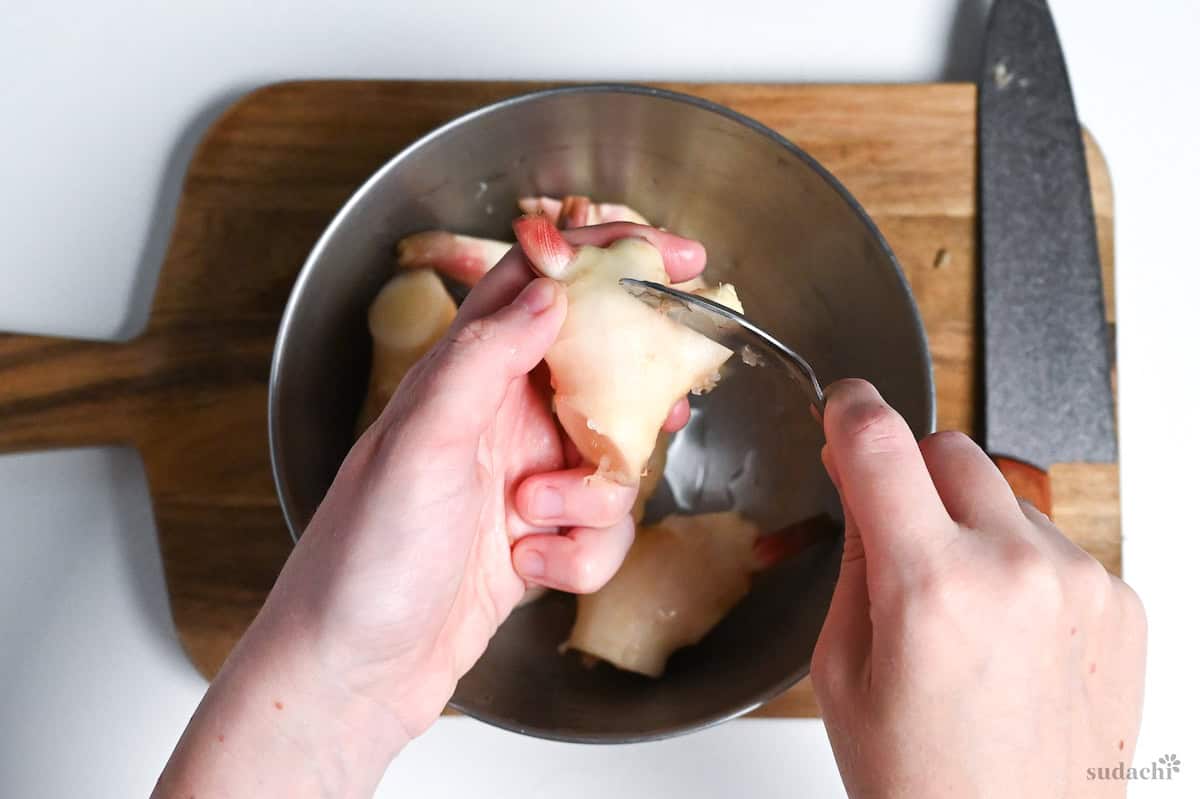
Then, cut off the pink part of the ginger and set it aside before thinly slicing each piece.
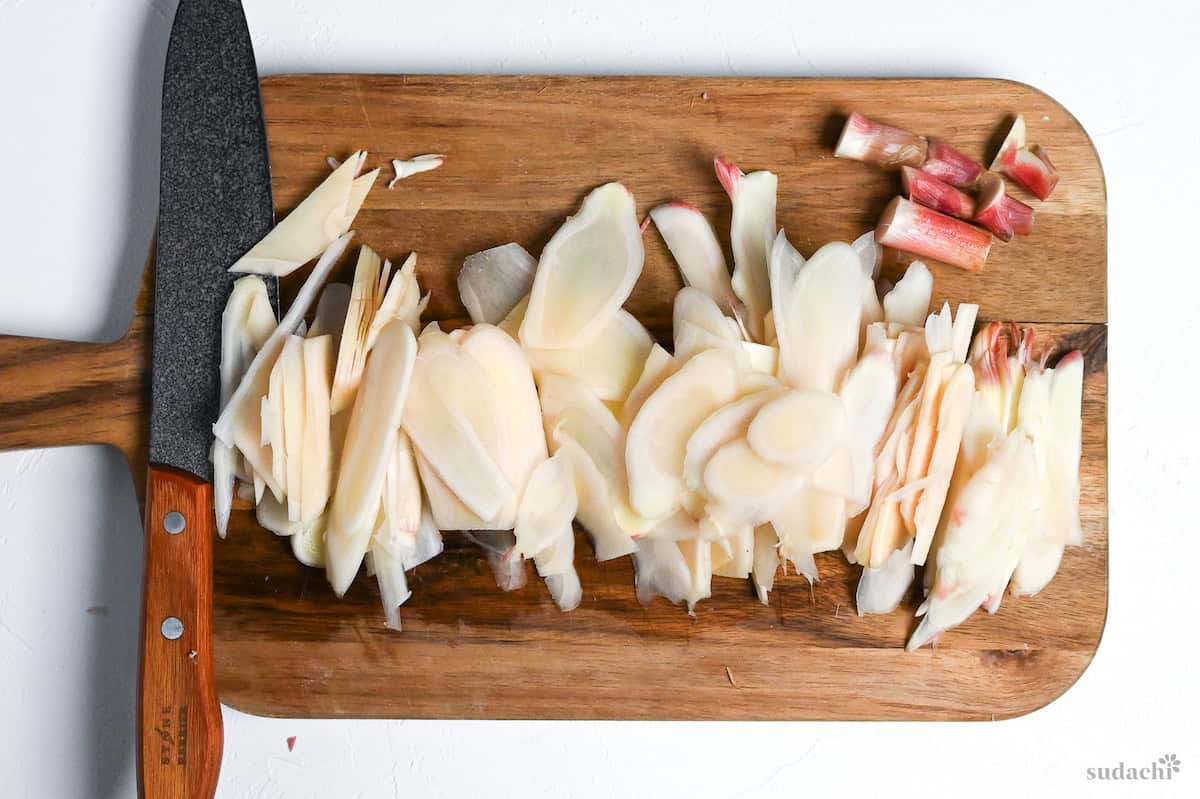
This red part is the key to producing the light pink color of the gari.
In a separate pot, bring water to a boil. Add the sliced ginger and red parts to the boiling water and blanch for 1 minute. Blanching will soften the flavor of the ginger.

Drain the ginger in a colander and sprinkle salt over it. Set aside to cool.

Once cool enough to handle, squeeze out excess water from the ginger to remove as much moisture as possible.

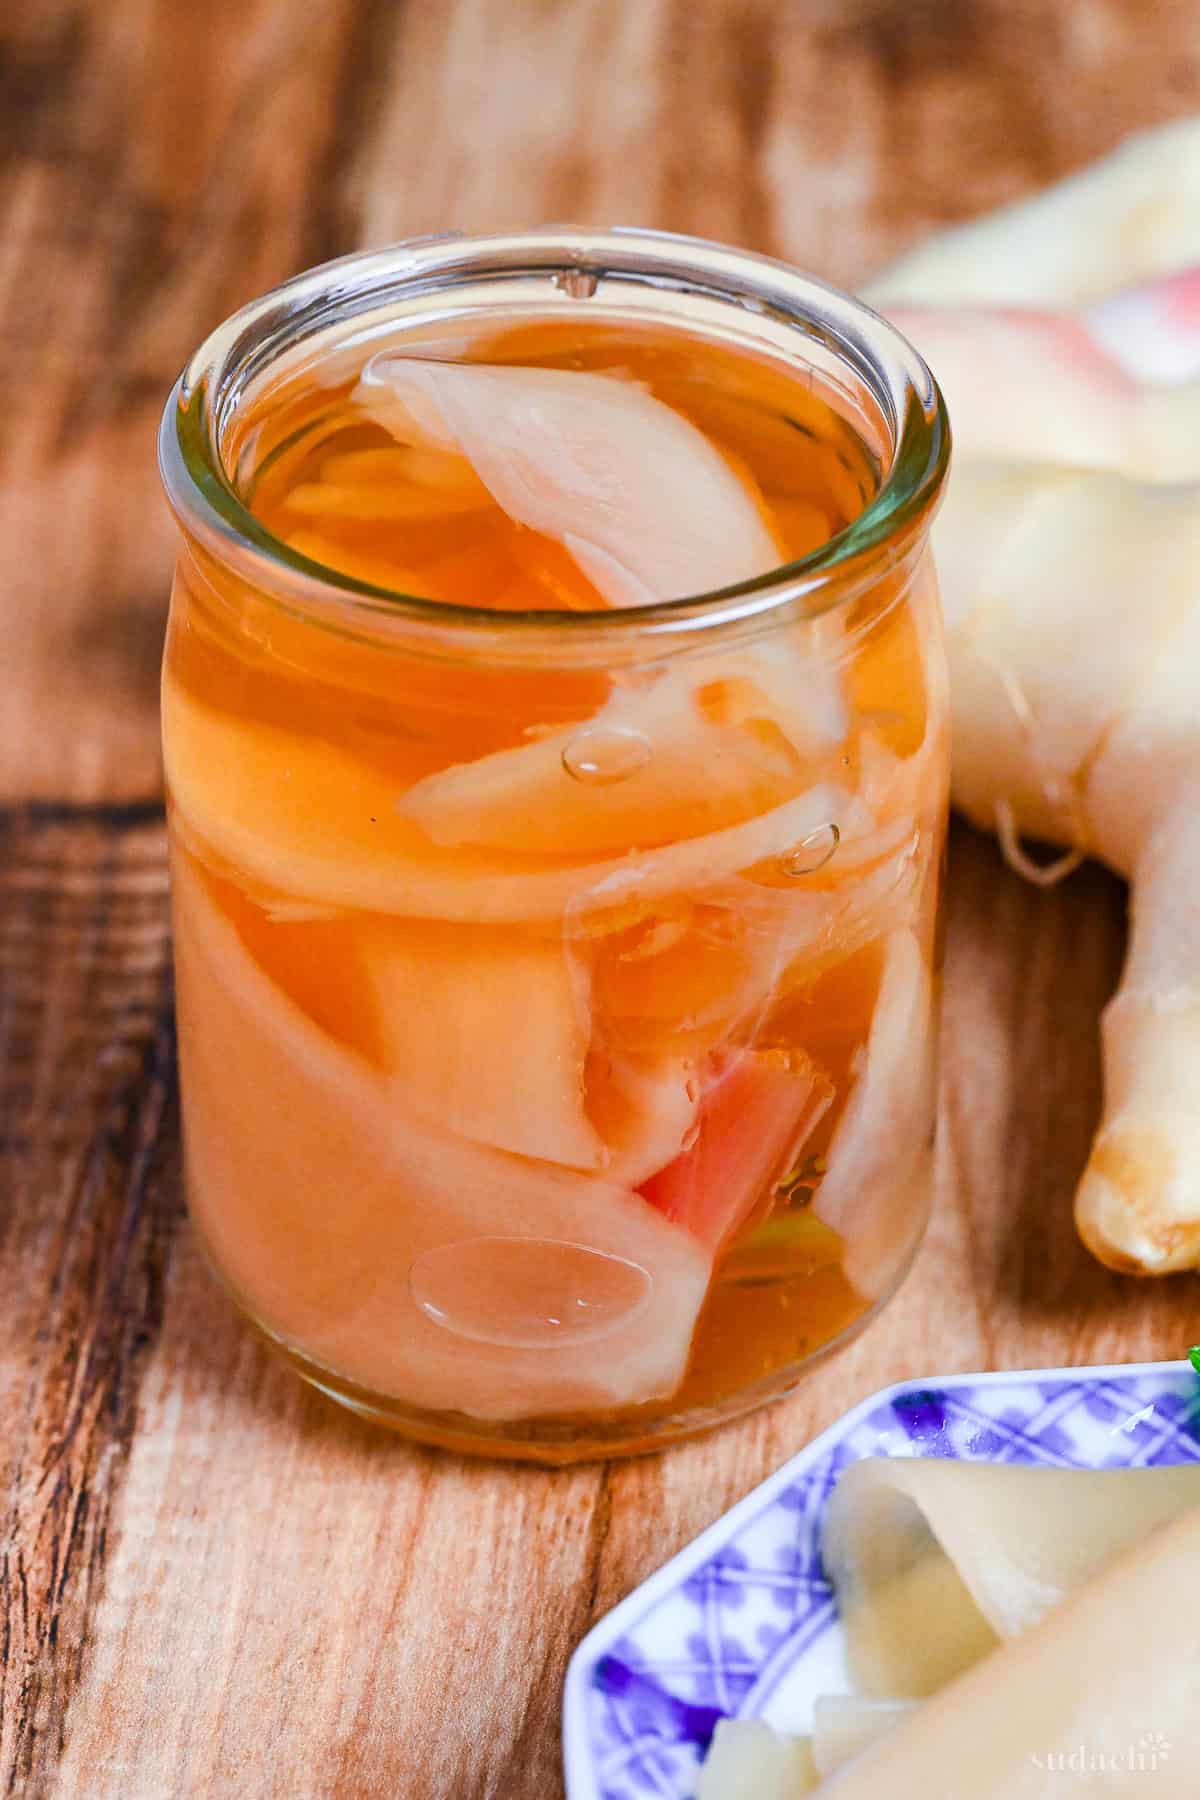
Remove the kombu from the cooled pickling liquid. Combine the squeezed ginger, red parts, and pickling liquid in a large, lidded container, making sure the ginger is fully submerged.

Cover with a tight-fitting lid and refrigerate.

Allow the ginger to pickle in the refrigerator for at least 24 hours before using.
Jump to Full Recipe MeasurementsHow to Store
Make homemade sushi ginger last for one to two months by storing it in a sealed container or a jar in the refrigerator. Avoid storing it in the freezer or at room temperature.
After preparing it, watch out for changes in smell and color. If the sour smell becomes stronger or the liquid becomes cloudy, it’s a sign that the ginger is spoiled.

I hope you enjoy this Sushi Ginger recipe! If you try it out, I’d really appreciate it if you could spare a moment to let me know what you thought by giving a review and star rating in the comments below. It’s also helpful to share any adjustments you made to the recipe with our other readers. Thank you!

More Japanese Pickles Recipes

Pickled Sushi Ginger (Homemade Gari)
Ingredients
- 250 ml water
- 125 ml rice vinegar
- 80 g light brown sugar
- 1 tsp light soy sauce (usukuchi shoyu)
- 1 small piece dried kelp (kombu)
- 340 g young ginger root (shin shoga)
- 1 tsp salt
Instructions
- Take a saucepan and add 250 ml water, 125 ml rice vinegar, 80 g light brown sugar, 1 tsp light soy sauce (usukuchi shoyu) and 1 small piece dried kelp (kombu). Heat the mixture until almost boiling, then remove from the stove and leave to cool.

- Take 340 g young ginger root (shin shoga) and cut into 5cm pieces. Place the pieces in a bowl of water and gently clean the surface by rubbing it with your fingers. Cutting before cleaning will allow you to get into the crevices.

- Use the edges of a spoon to scrape off the outer skin and any discolored parts.

- Cut off the pink parts and set them aside for later. With a sharp knife, slice each piece of ginger as thinly as possible.

- Bring a pot of water to a rolling boil, then add the ginger slices (including the pink parts) and blanch for 1 minute.

- Drain in a colander and sprinkle with 1 tsp salt. Rest until cool enough to touch.

- Once cooled, squeeze out the excess liquid.

- When the pickling liquid is cool, transfer it to a sealable container and remove the kombu. Add the blanched ginger. Don't forget to add the pink parts as these will add color to your gari.

- Cover and rest in the refrigerator for at least 24 hours.

- Enjoy!



Leave a rating and a comment