

Disclaimer: This post may contain Amazon affiliate links. Sudachi earns a small percentage from qualifying purchases at no extra cost to you. See disclaimer for more info.
Featured Comment:
“Wow! I have got your rice cooking absolutely 100% perfect. Now I want to make nigiri sushi like it tastes in Japan. (I visited Japan 75 times so I know good taste).”
– @barrygreen9918 (from YouTube)
“For 25 years I have been making sushi rice….. wrong. This is THE PERFECT, PERFECT! way to make it! Thank you for sharing!”
– Vineta
I realize the term “sushi rice” is often used for “Japanese style rice” in general, but this article is all about how to make rice specifically for sushi (a.k.a vinegared rice). If you want to know how to cook Japanese-style short-grain rice without vinegar and seasonings, please see my “How to Make Japanese Rice (without a rice cooker)” article instead.
What is Sushi Rice? (Sumeshi/Vinegared Rice)
You might be wondering what makes sushi rice different from regular rice. Meet Su-meshi (酢飯) or Sushi-meshi (寿司飯) – the flavored rice that is a hidden star in sushi making!
It’s not just rice; it’s cooked and then flavored with vinegar, salt, and sugar. You’ll find it in traditional Tokyo sushi or Edo-mae sushi. When you hear “shari (シャリ)” in sushi restaurants, it’s this special rice!
And it’s not simply a ball of rice placed under fish; it’s, in fact, as important as the sushi ingredients themselves. Each sushi chef adds their own unique touch, making their sushi rice as distinctive as the sushi as a whole.

How I Developed This Recipe
Sushi rice, or vinegared rice, is indeed the cornerstone of various sushi forms like nigiri, temaki, and temari. It’s essential to get it right, as it’s not just about the rice but the delicate balance of vinegar, sugar, and salt that gives sushi its distinctive taste.
When I developed this recipe, my goal was to create a go-to formula that would be reliable and delicious every time. It’s designed to be straightforward enough but also to deliver the quality and flavor that everyone is looking for.
This recipe is something I refer back to every time I make sushi rice. It’s a tried and tested method that ensures the rice has just the right texture and flavor balance. Not too overpowering but enough to complement the fish or other toppings!
What Kind of Rice Is Used?
Let’s start with the most important element first, the rice. Sushi is always made with Japanese short-grain white rice. That’s why uncooked Japanese rice is sometimes also called “sushi rice” in some countries.
The key feature of Japanese rice is that it is sticky, which allows it to hold its shape when molded. We can use this rice to make things like sushi and onigiri because they don’t fall apart. But we don’t only use it for shaped rice. We eat this rice with pretty much everything because the texture is firm and mildly sticky, it’s easy to pick up with chopsticks.
Before you ask, you can’t substitute Japanese short-grain white rice for anything else when it comes to making sushi. Using Jasmine rice, brown rice, etc will not work and will fall apart, unfortunately. I have heard of people having some success with making sushi with risotto rice, but I haven’t tried it myself, so I can’t recommend it.
Recommended Rice Brands
There are all kinds of rice varieties in Japan. In 2019, it was recorded that there were 900 types available all across Japan, and each variation has its own unique characteristics. In other words, some varieties have certain qualities that are preferable for sushi rice.
In general, rice with the following characteristics is considered suitable for sushi.
- Small, hard, round, and uniform grains.
- White in color, transparent, and shiny.
- Weight (fullness)
- The germ should be small.
- Good dryness
Below is a list of recommended types of rice for making sushi rice:
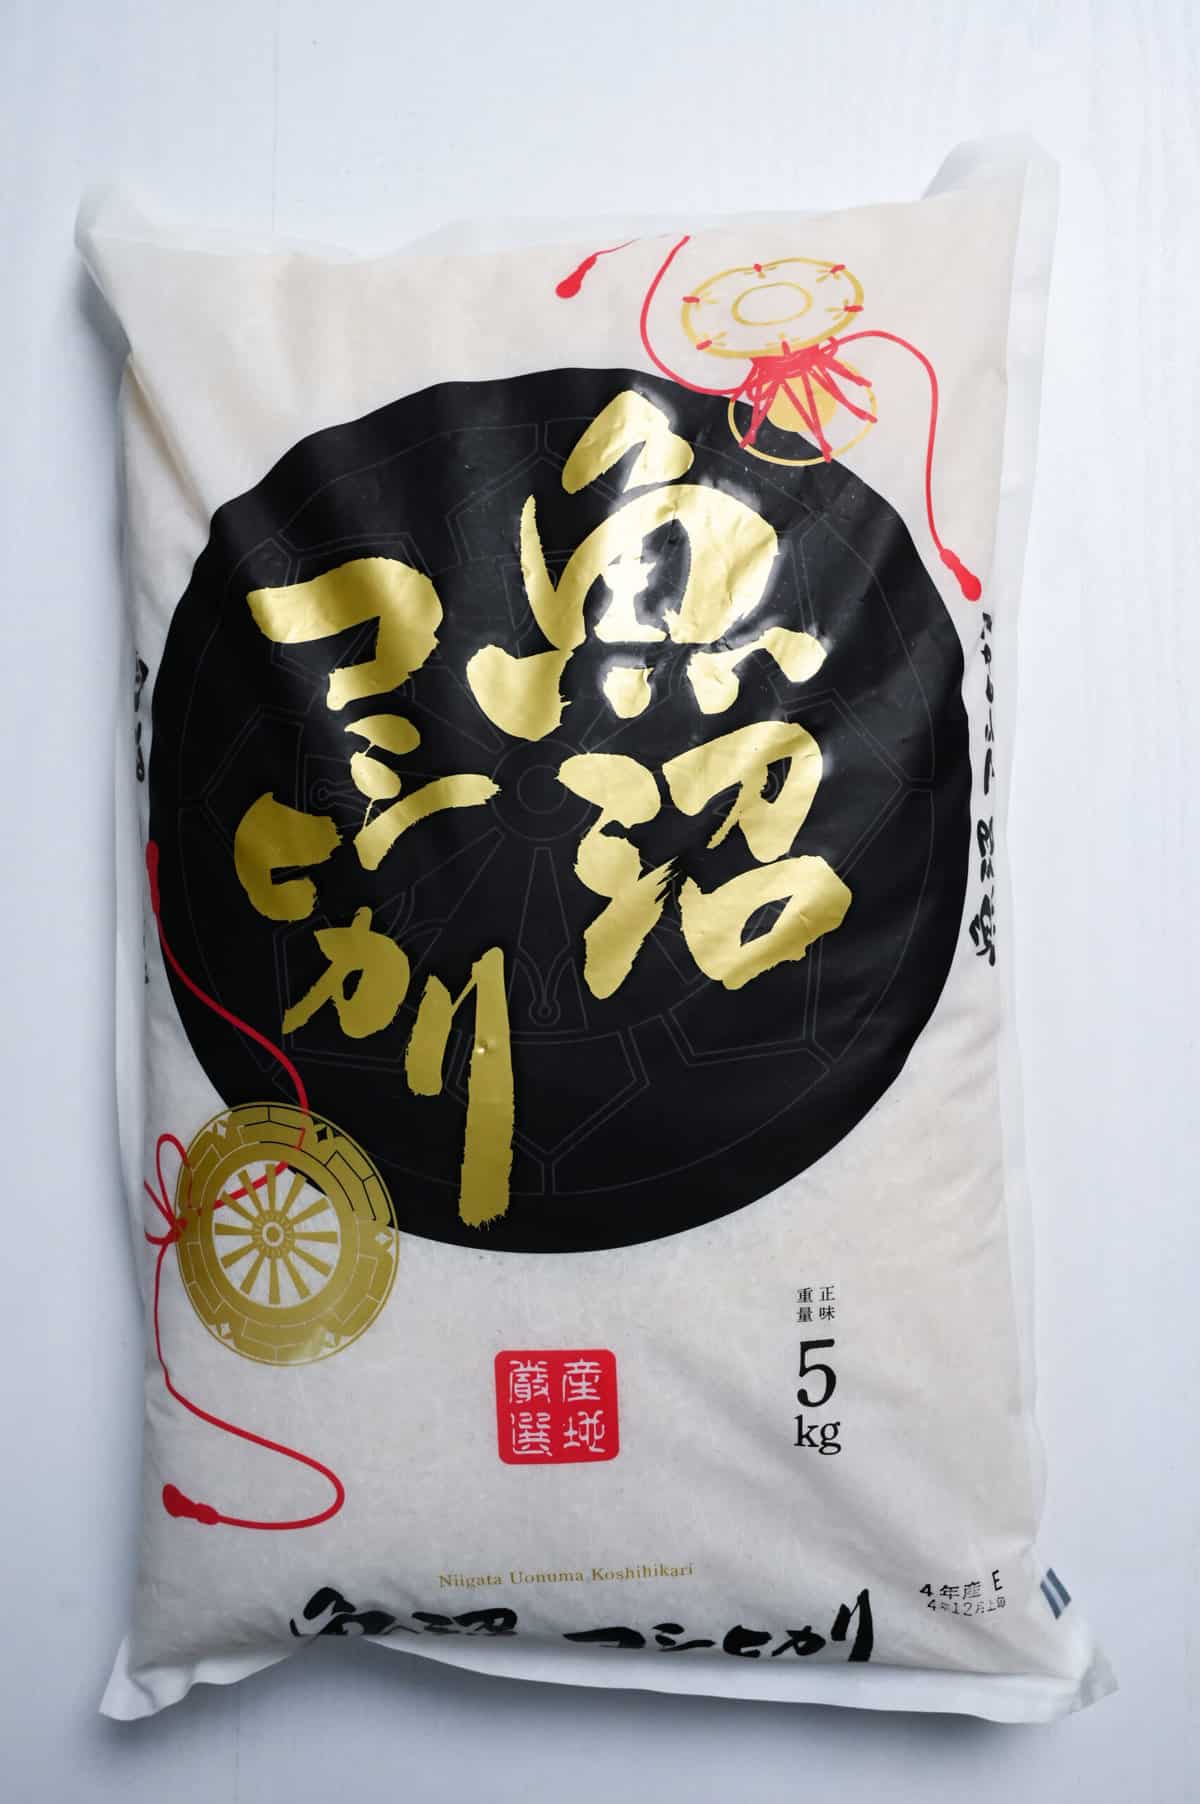
- Koshihikari (コシヒカリ) – Some might say this is the king of Japanese rice brand in general. Since the rice is served either cold or at body temperature for sushi, many sushi restaurants consider Koshihikari rice, which has the characteristic of being delicious even when cold, to be appropriate.
- Sasanishiki (ササニシキ) – Sasanishiki has a higher amylose content than Koshihikari, so it is relatively light and does not become sticky even when sushi vinegar is added. Some sushi restaurants advertise using Sasanishiki as a selling point because of the good sensation of each grain of rice falling apart in your mouth.
- Akita-Komachi (あきたこまち) – It is known as an all-around brand that is easy to pair with any dish and goes well with sushi. The rice grains are large and round, with an excellent aroma, slightly less stickiness, and a fresh texture. It does not harden easily when cold and goes well with sushi and rice bowl dishes.
I have listed three types here, but many other varieties of rice are available in Japan that go well with sushi. Also, names like Koshihikari or Akita-Komachi are varieties of rice rather than a single brand, so farmers in different regions grow the same types in different ways and environments.
Although not one of the above brands, there is also a Japanese-style rice grown in California called Nishiki, which can also be used to make sushi rice.
Tools & Equipment
To make delicious sushi rice at home, you will need some equipment. In this section, we will discuss some of the most important ones.
Pot
Need to cook rice but don’t have a rice cooker? No worries, a pot will do. But what kind is optimal for cooking rice? There are many to choose from hagama, earthen, aluminum, enamel, stainless steel, and ceramic. Traditionally, Japanese people used to cook rice on a wooden stove called a kamado, and they used hagama pots. Hagama pots are made with cast iron and have a wooden lid. However, these aren’t practical for home use in modern days.
Earthen pots are one of the best choices. They heat up gently, help the rice cook evenly create a fluffy texture, and can make your rice taste and smell even better.
Enamel pots are another good choice. They have a tight seal on the lid, which keeps the steam in and helps the rice stay fresh. Plus, they look great!
Aluminum and stainless steel pots are lightweight and easy to use. They heat up quickly, so your rice cooks relatively faster. Plus, they’re pretty inexpensive. Finally, ceramic-type pots are characterized by their water absorbency.
I used an earthen pot with metal in it to make this sushi rice post.
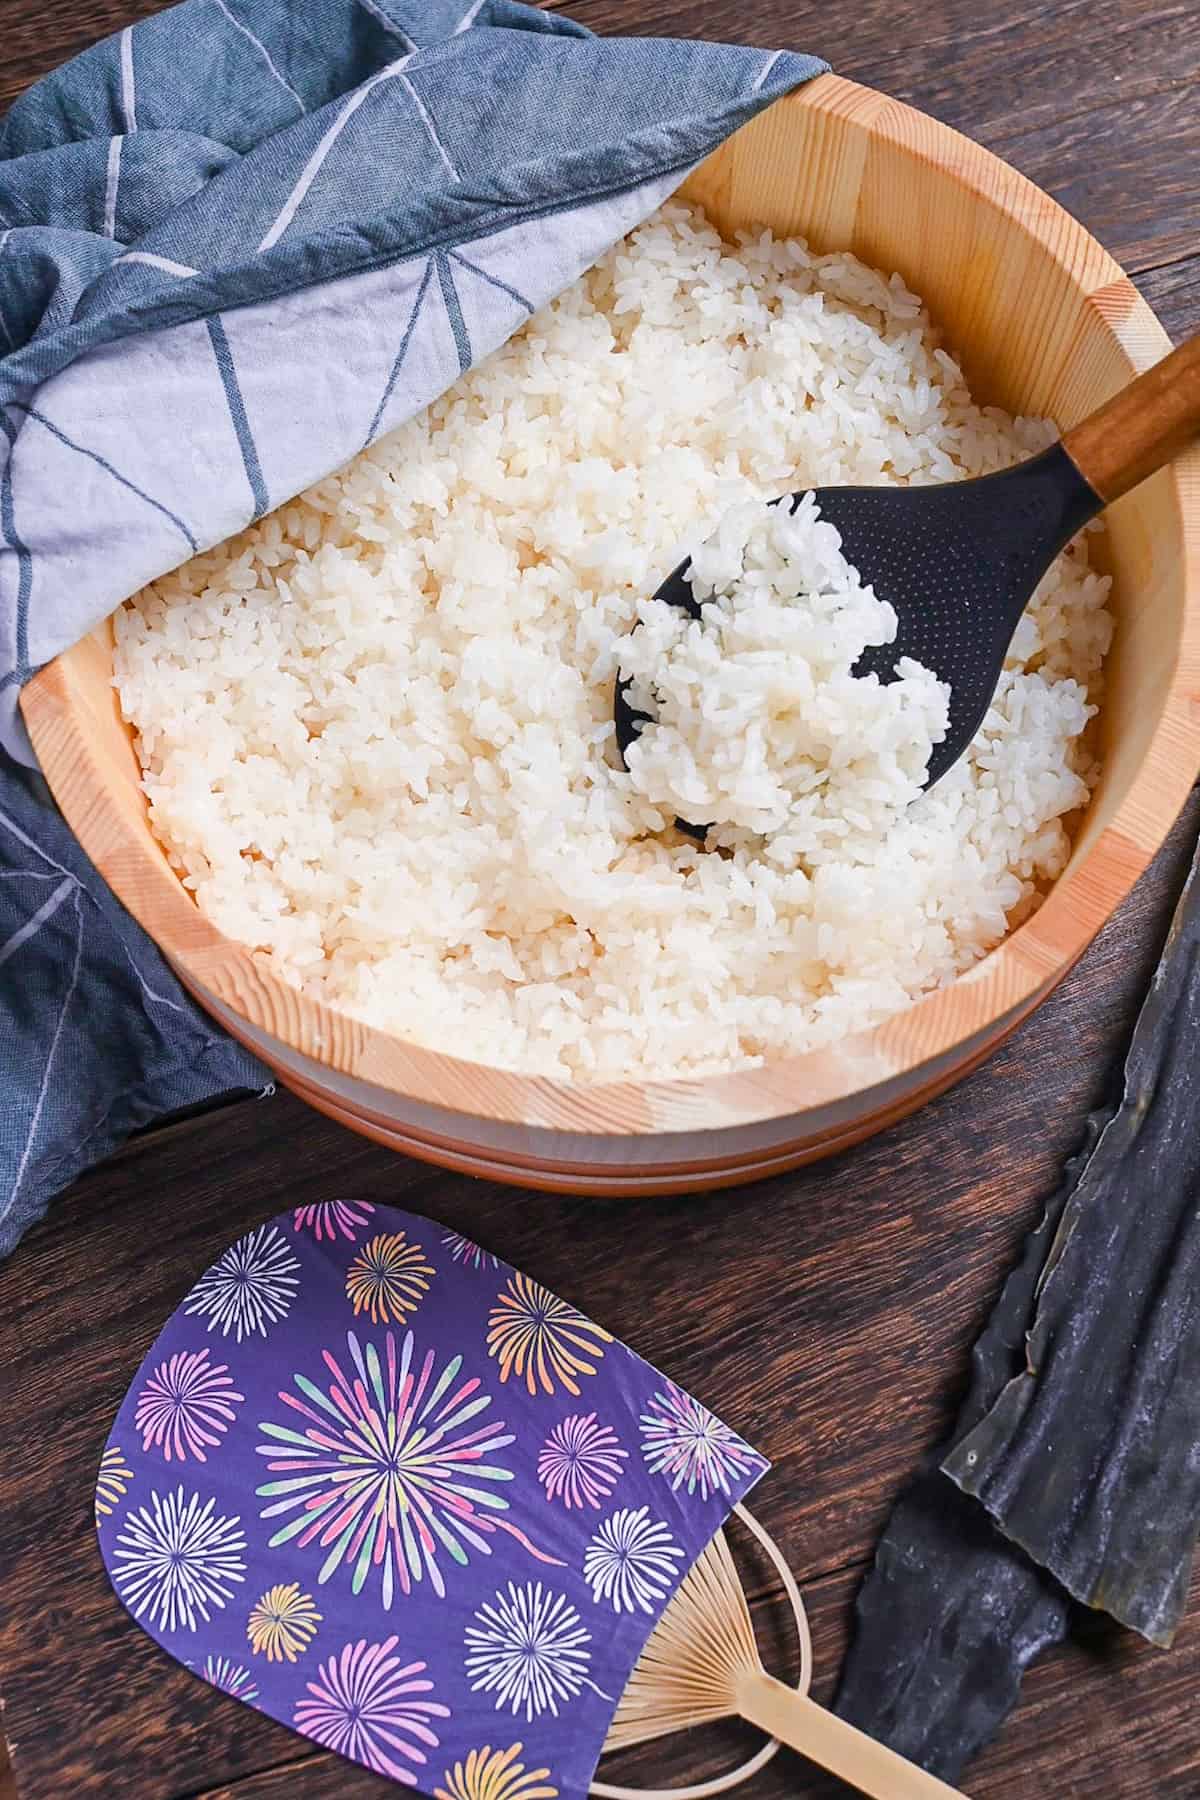
Sushi Oke / Hagiri
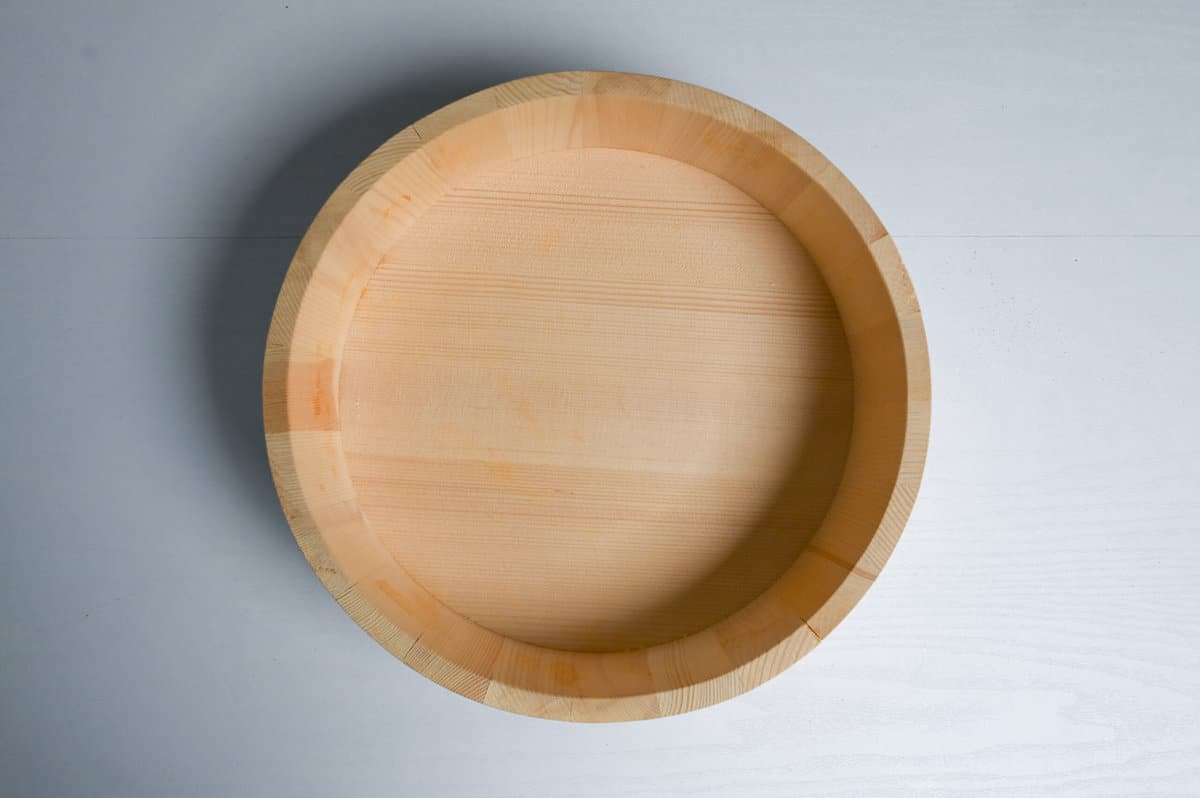
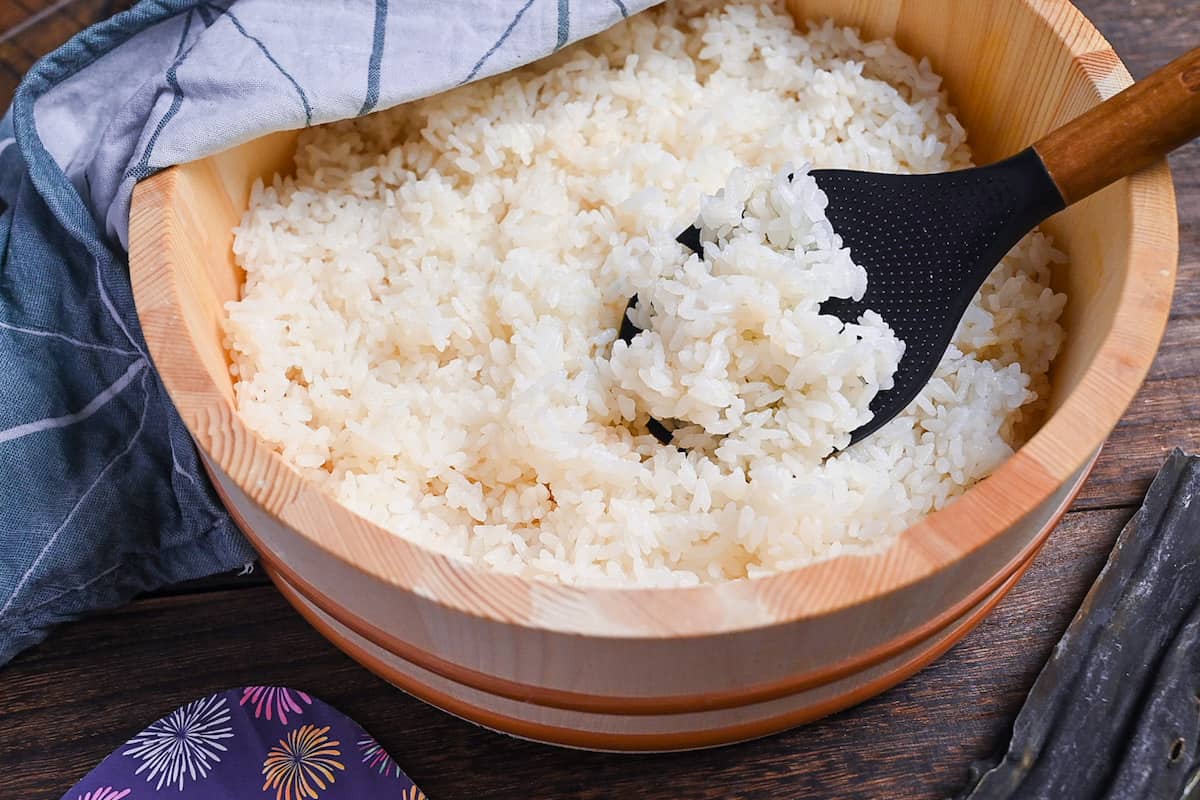
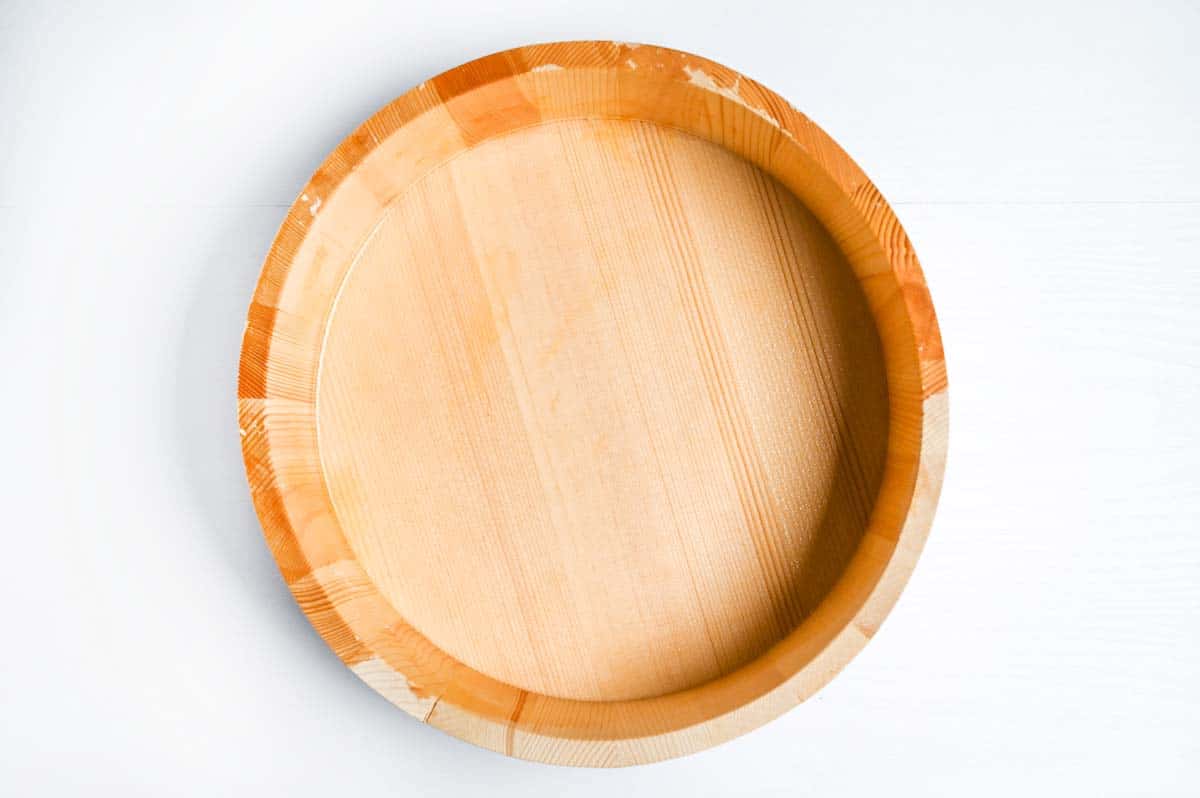
A “sushi oke” (すし桶) or hangiri (飯切) is a large wooden container that is used to cool sushi rice. They’re very big so that you can spread a thin layer of rice, and it will cool down very quickly, saving you time once again! (You can find it here on Amazon.)
Because it’s wooden, you need to wet the surface to stop the rice from sticking to the container. I usually add a little water, swill it around, then pour the excess away.
I don’t expect many people to have a sushi oke at home, so using a large bowl or plate is also okay. Wooden is ideal so you can dampen it without water droplets touching the rice, but not essential.
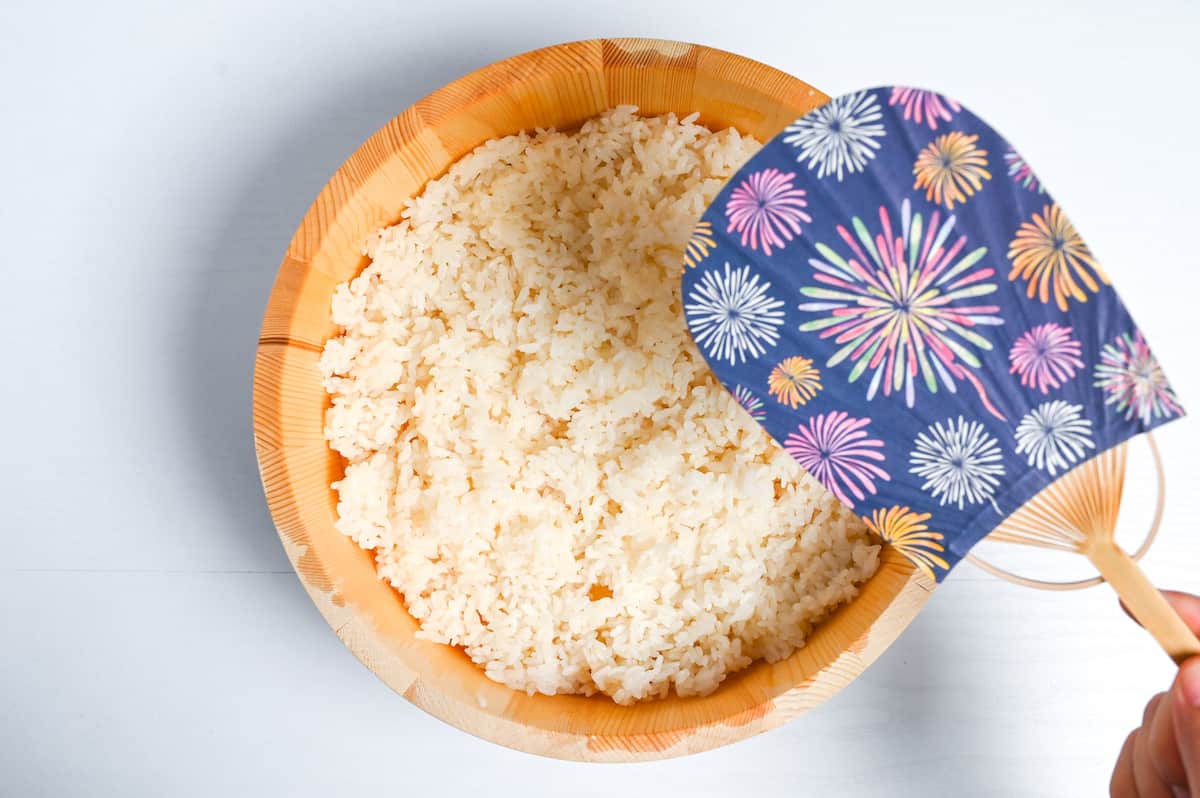
Uchiwa (fan)
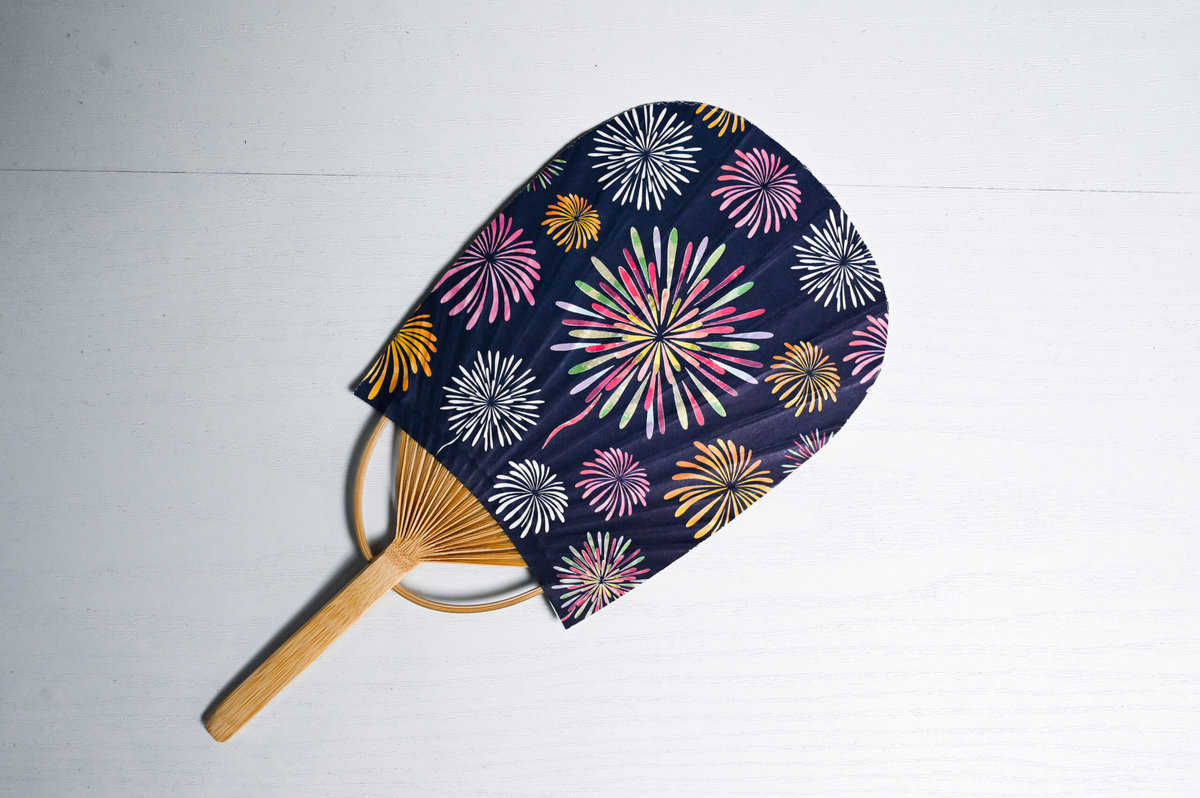
Making sushi rice involves a unique step – mixing in sushi vinegar while the rice is hot and fanning it with an uchiwa.
Why do this? First, to keep it from sticking together. The vinegar mixes with the water in the rice; if we don’t fan it, the rice becomes too sticky. Second, to keep the vinegar flavor. Cooling the rice quickly to our body temperature is crucial – too cool and the flavor falls flat.
You may ask, why not cool the rice before adding the vinegar? Without heat, the vinegar won’t soak into the rice well, leaving it dull, and not shiny. While any fan will work, if you’re looking for authenticity, try the Japanese uchiwa!
Bamboo Rolling Mat
Sushi can be made by simply forming the shape with your hands, but if you want to make beautiful makizushi (巻きずし) or “rolled sushi” then you should get a bamboo rolling mat. They’re cheap to buy, easy to keep clean, and reusable!
If you don’t have a bamboo mat, you can also roll sushi using clingfilm (plastic wrap), but it’s a bit more difficult to get a consistent shape.
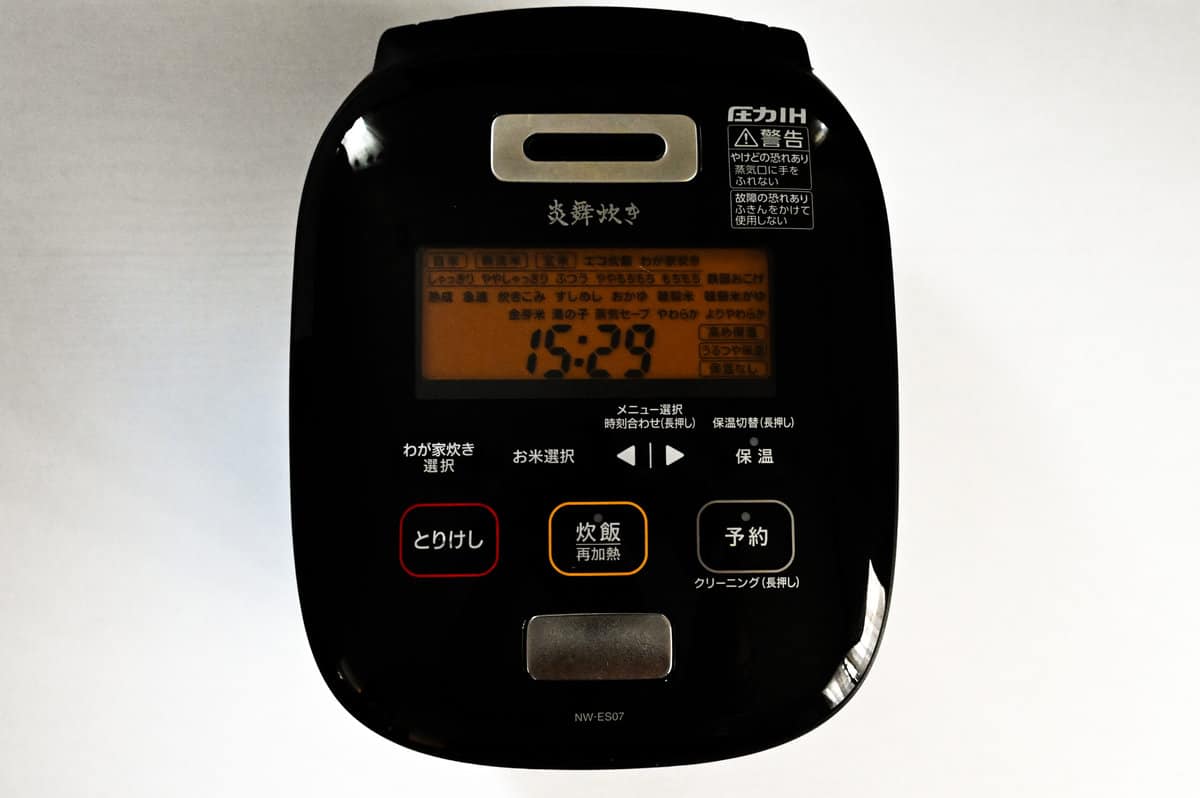
Rice Cooker (if you want to invest)
If you plan to make sushi regularly, I recommend investing in a rice cooker. Making rice on the stove is not difficult, but you need to keep an eye on it and change the temperature manually.
With a rice cooker, you can make perfect sushi rice with a single button and then do something else. It’s a great time saver and ensures the perfect texture if you add the right amount of water.
I’m currently using Zojirushi’s rice cooker, which can be purchased on Amazon US for the English version of the same model. This is a higher-end model with many features since I cook rice nearly every day, so be sure to research rice cookers and find one to suit your needs.
Rice cookers also come with a rice cup that makes it easy to measure out, and then the inside of the pot is usually marked with water indicators so there’s less chance of error. Generally, Japanese rice cups will hold 150g of rice equivalent to 3/4 US cup or about 175ml of liquid.
Finally, they have other nifty features such as timers and warming functions so you can set your rice to be cooked and ready for when you get home from work or school, and it will still be warm!
Ingredients & Substitution Ideas
- Japanese short-grain white rice – As mentioned above, koshihikari, sasanishiki, or akita-komachi would be good options. As for the easy option available abroad, nishiki is one choice (I used to use this brand when I lived in England).
- Cold water – Used to wash and cook rice. It is recommended to use soft water whenever possible. If hard water is used, the minerals in the water will adhere to the surface of the rice and inhibit water absorption, which may result in dry rice. If you live in a hard water area, you can soften water by boiling it first, but it will need to be completely cool before adding it to the rice.
- Vinegar – Rice vinegar (unseasoned) is most recommended; other options are grain vinegar and red vinegar (reddish-colored vinegar made from sake lees). I do not recommend using other vinegar to make this recipe. If you would like to know the recommended rice vinegar brands, please see my “20 Most Useful Condiments and Seasonings for Japanese Cooking” article.
- Sugar – White sugar or light brown sugar; a little sweetness helps create a balanced flavor.
- Salt – Sea salt is recommended over rock salt as it will distribute more evenly through the rice.
- Kombu – Kombu is a type of edible dried kelp. Adding kombu to the rice helps give it a deeper flavor and hint of umami; it’s common for sushi restaurants to use kombu when cooking sushi rice. However, this is optional and can be omitted.
- Sake – Another optional addition, but adding a touch of sake will help make the rice shiny and give it a hint of flavor.
Curious about the exact brands and products that bring my recipes to life? Discover the brands and ingredients behind my recipes at the Sudachi Amazon Storefront. Explore my handpicked pantry essentials and find your next kitchen favorites!
Jump to Full Recipe Measurements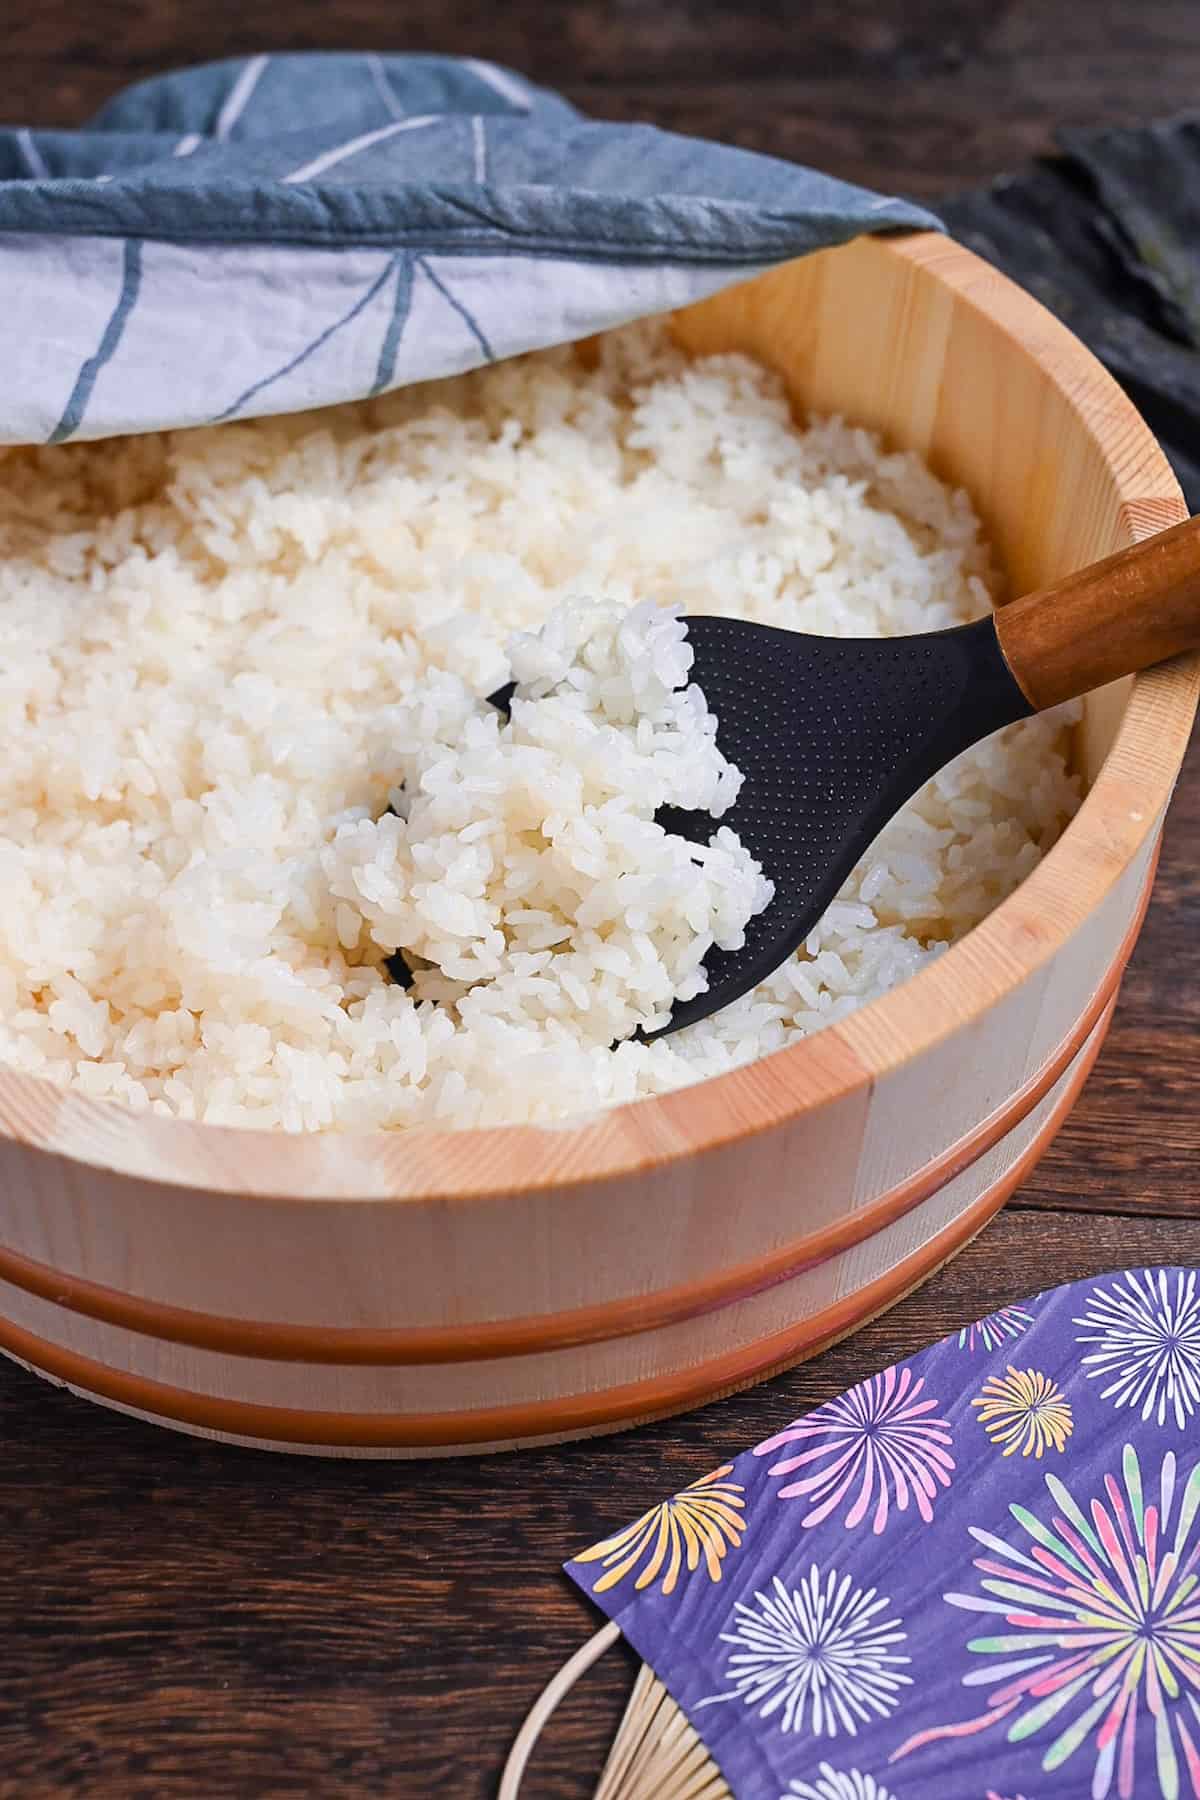
Visual Walkthrough & Tips
Here are my step-by-step instructions for how to make Perfect Sushi Rice Sauce at home. For ingredient quantities and simplified instructions, scroll down for the Printable Recipe Card below.
If you prefer to watch the process in action, check out my YouTube video of this recipe for a complete visual walkthrough!

Start by measuring your rice and pouring it into a fine mesh sieve. Place the sieve over a mixing bowl and fill it with cold water. Swish the rice around until the water becomes cloudy, then pour it away and repeat 2 more times to wash the rice.
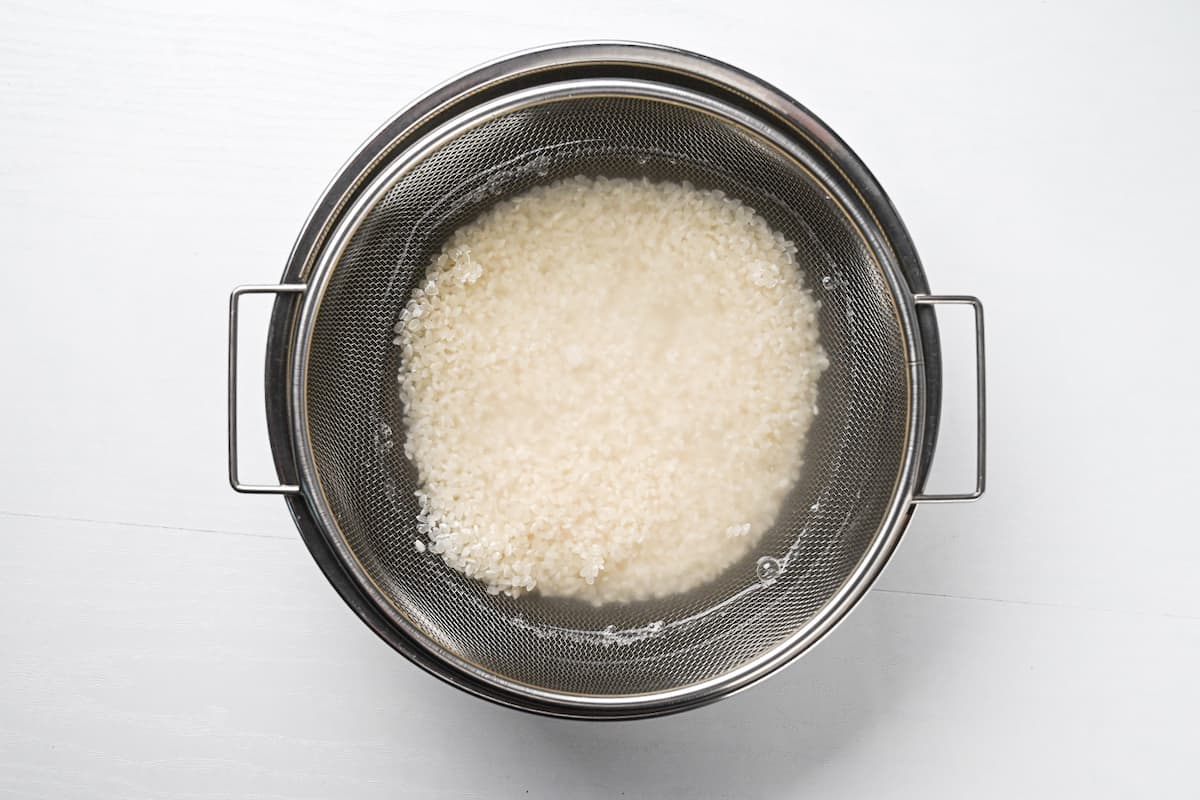
It is important to wash the rice to remove the excess starch and any dust or debris. If it’s not washed, not only is it not very clean, but the rice can also become gummy with an unpleasant texture.
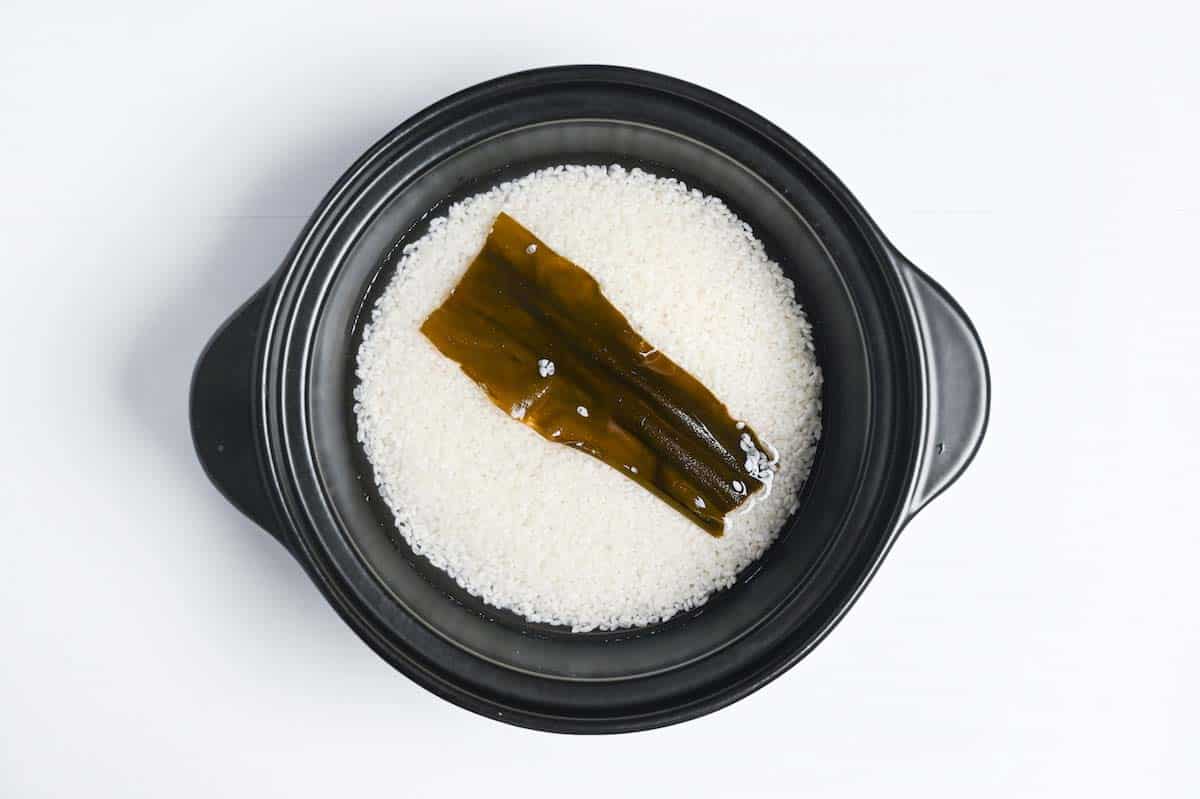
The next important step is to soak the rice. Place it in the cooking pot or rice cooker and add the cold water and kombu (dried kelp). Sushi rice is cooked with a ratio of 1:1 water to rice. A 150g rice cup is equal to about 175ml of water.
Soak for at least 30 minutes. If it’s a cold environment, it will need 1 hour (in winter, for example).
By hydrating the grains before cooking, the rice will cook quicker and more evenly.
This step is optional, but adding a small amount of sake to the water helps improve the appearance and texture of the rice, making it slightly shiny. It also adds a hint of flavor, which adds depth to the rice.
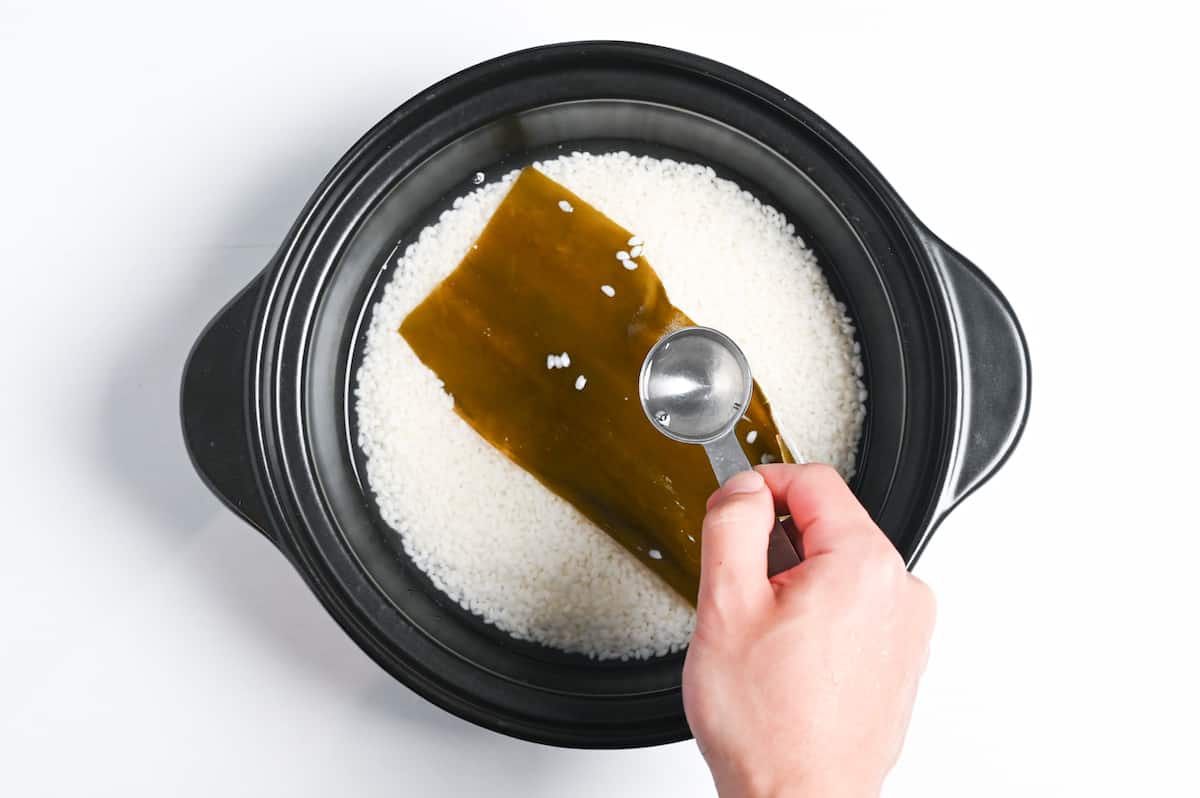
I add the sake right before putting the pot on the stove. Make sure to mix it so that it’s evenly distributed through the water.

If you have a rice cooker, this step is a convenient one-step process of pressing a button. However, if you’re cooking the rice in a pot, you will need to pay close attention to the cooking time and temperature. Start by placing the pot on the stove with the lid on.
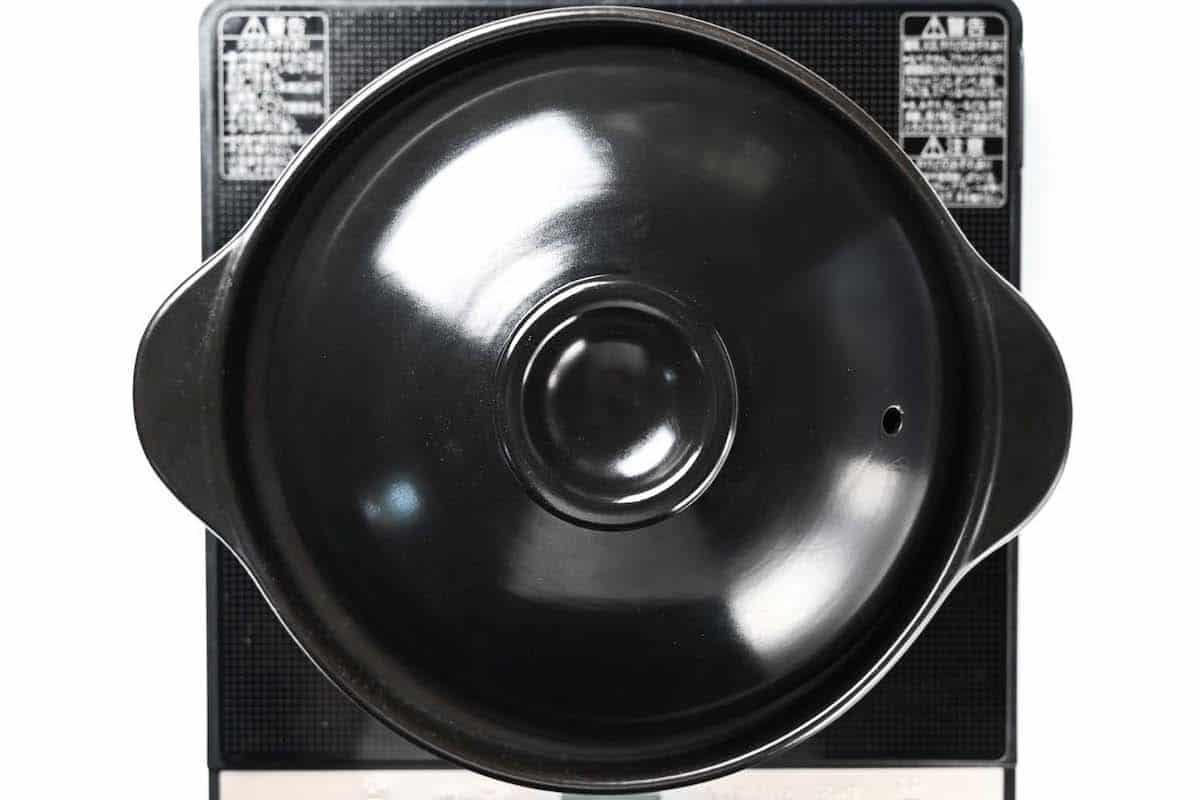
Start by bringing the water to a boil over a medium heat. You will need to stay close by and set a timer for 30 seconds as soon as it starts to boil. Do not lift the lid at any point; otherwise, the steam will escape. Listen out for the boiling and use a timer for accurate cooking.
After 30 seconds of boiling, adjust the temperature and set the timer according to the list below:
- Medium-low – 2 minutes
- Low – 5 minutes
- High – 10 seconds
- Turn off the heat (but leave the pot on the stove) – steam for 10 minutes
Steam is vital in cooking the perfect sushi rice; if you remove the lid, the steam will escape. This will mess up the cooking time, and the rice will be undercooked. Don’t be tempted to lift the lid to check it. Rely on your ears to listen for boiling and a timer to change the heat settings at the correct times.
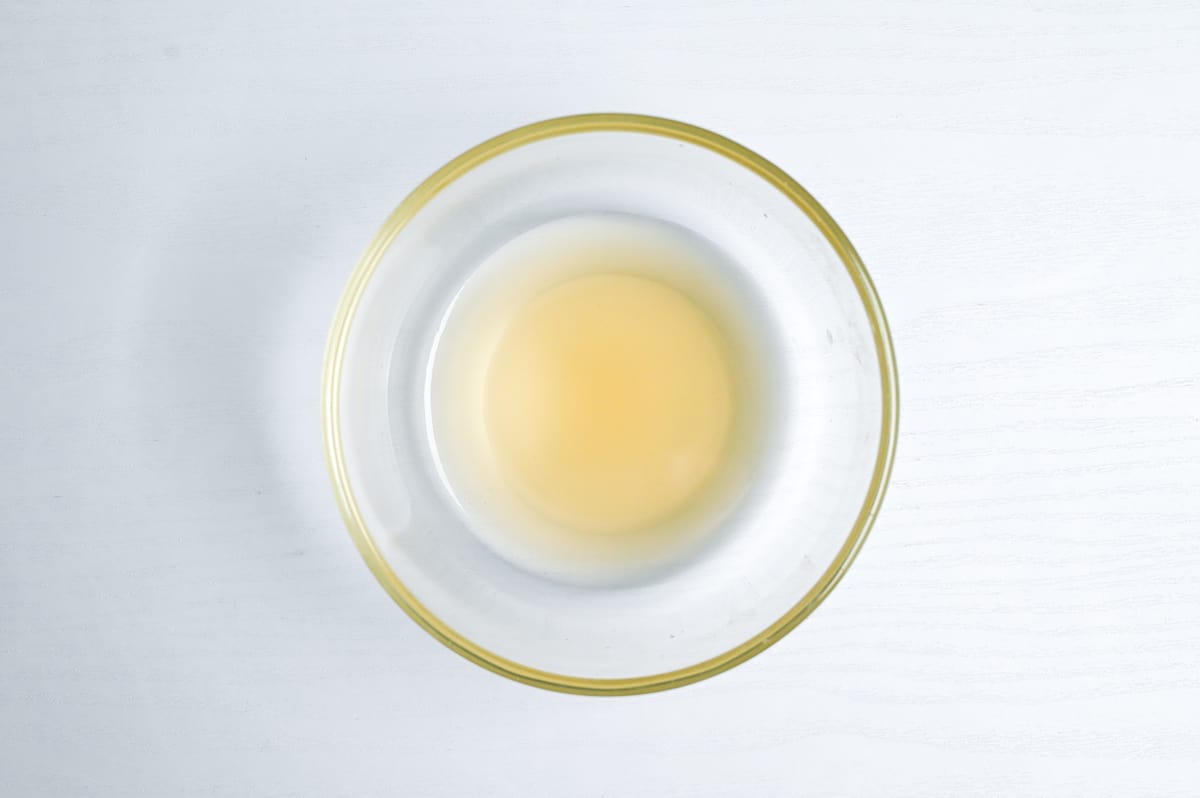
While the rice is cooking in the residual steam, make the sushi vinegar by mixing rice vinegar, sugar and salt in a small bowl. Mix until the sugar has dissolved.
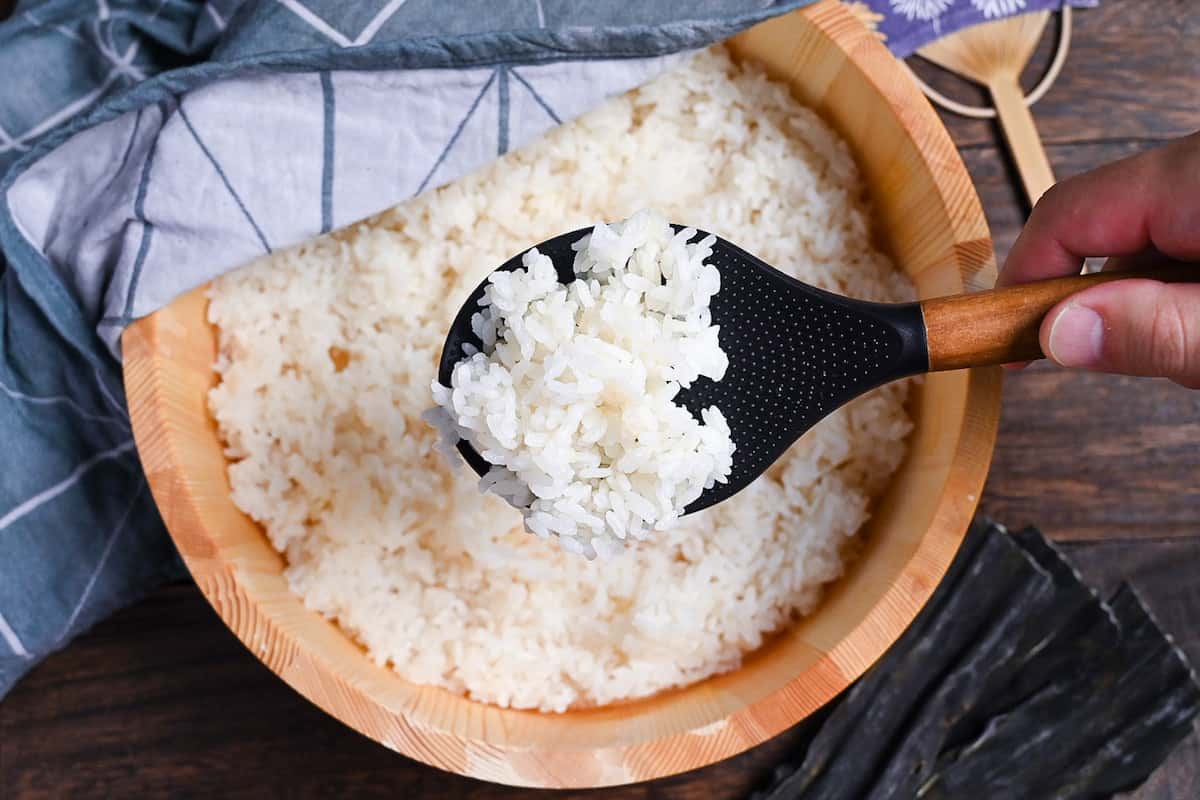
Sushi rice needs to be cooled quickly; use a container with a large surface area for best results. I recommend wooden or bamboo containers that can be dampened with water since this stops the rice from sticking to the surface.
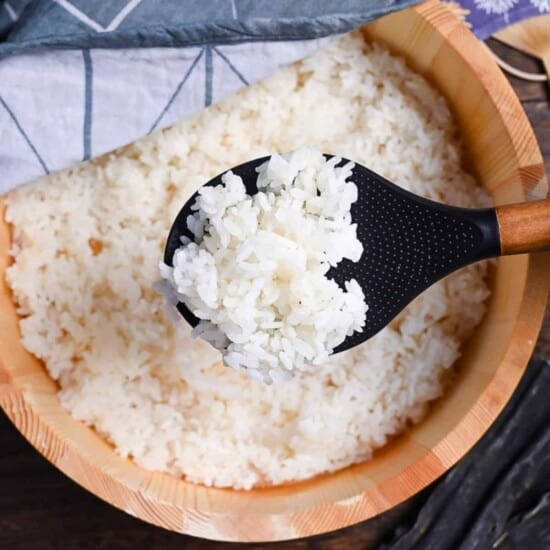
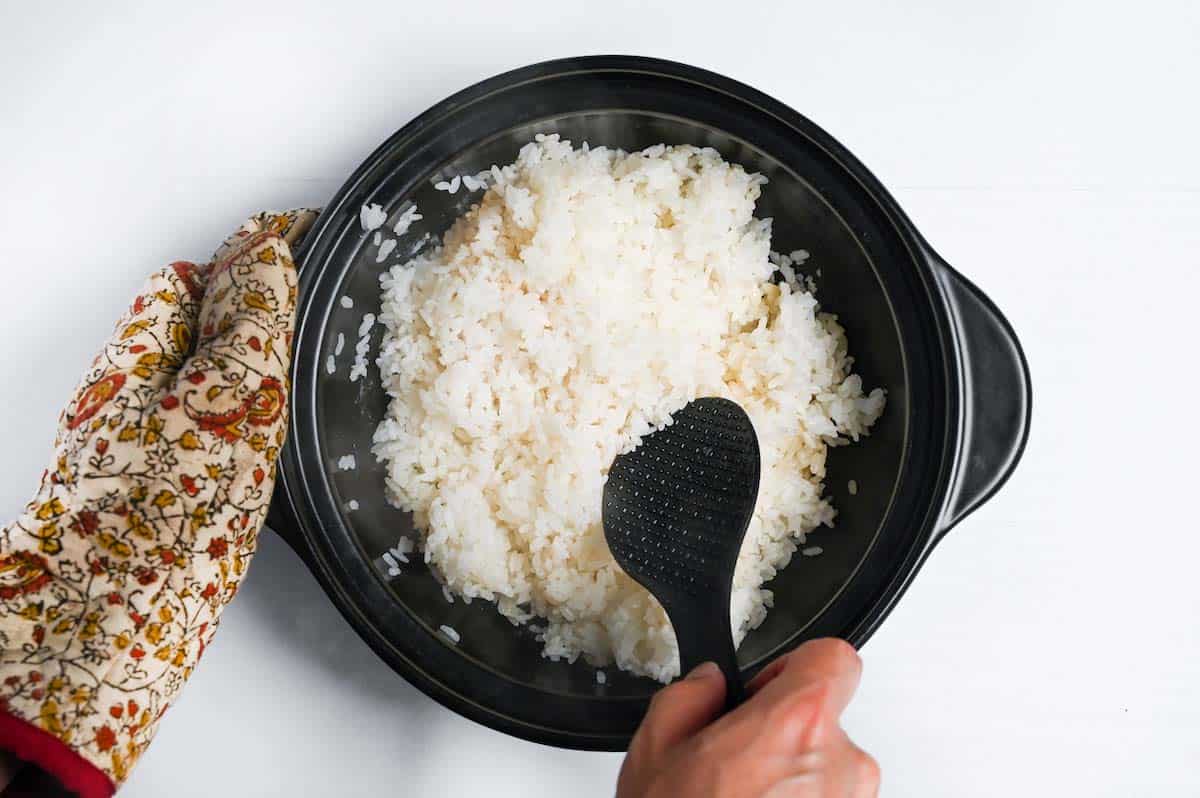
Once the rice has finished steaming, remove the lid and discard the kombu.

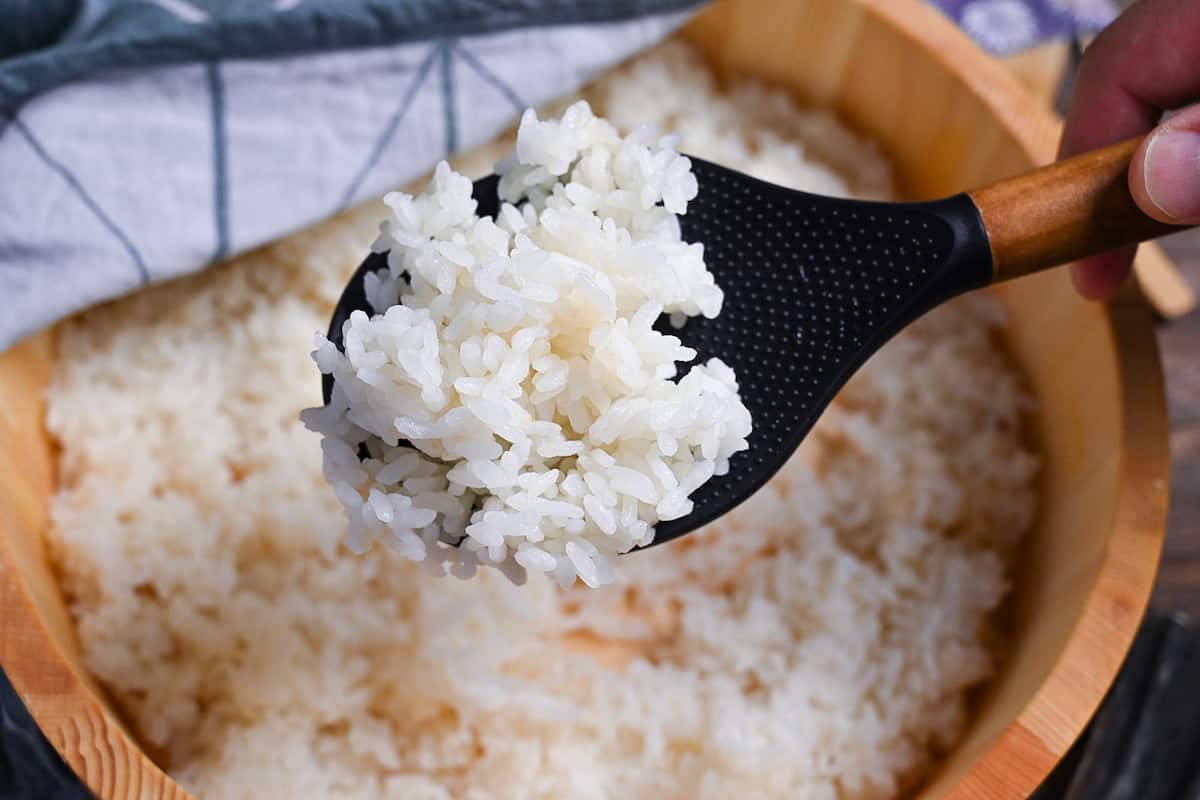
Mix the rice using a rice paddle; be careful not to scrape the bottom.
When cooking rice on a stove instead of a rice cooker, you’ll likely get crispy rice at the bottom of the pot. In restaurants, this crispy part isn’t used for sushi and is repurposed for something else.
But if you’re making it at home, you don’t want to be left with a small amount of crispy rice. So, for example, if you’re using the rice for a forgiving dish like chirashizushi, I would personally mix it in. However, if you’re using it for delicate nigiri, I wouldn’t because the texture will be very noticeable.
So, think about what to do with the bottom of the rice according to your preference and the purpose.
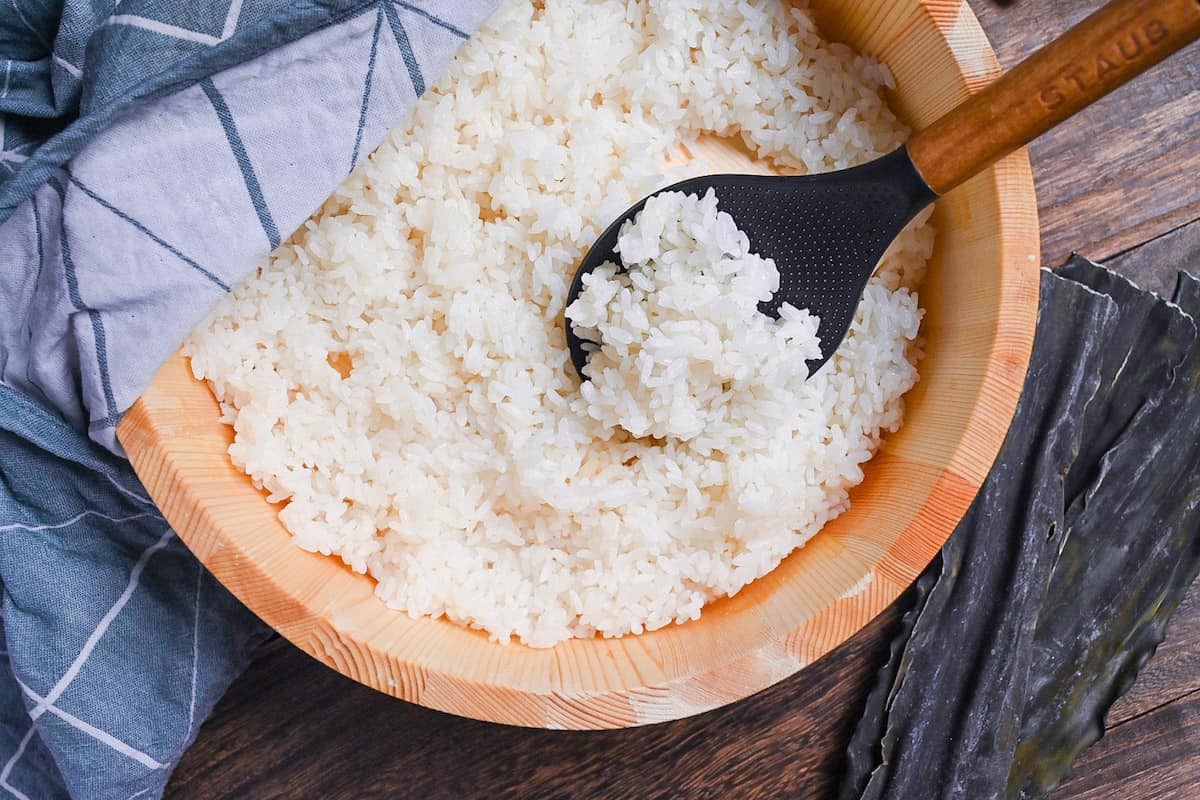
Transfer the cooked rice to the cooling container and add the vinegar mixture while still warm.

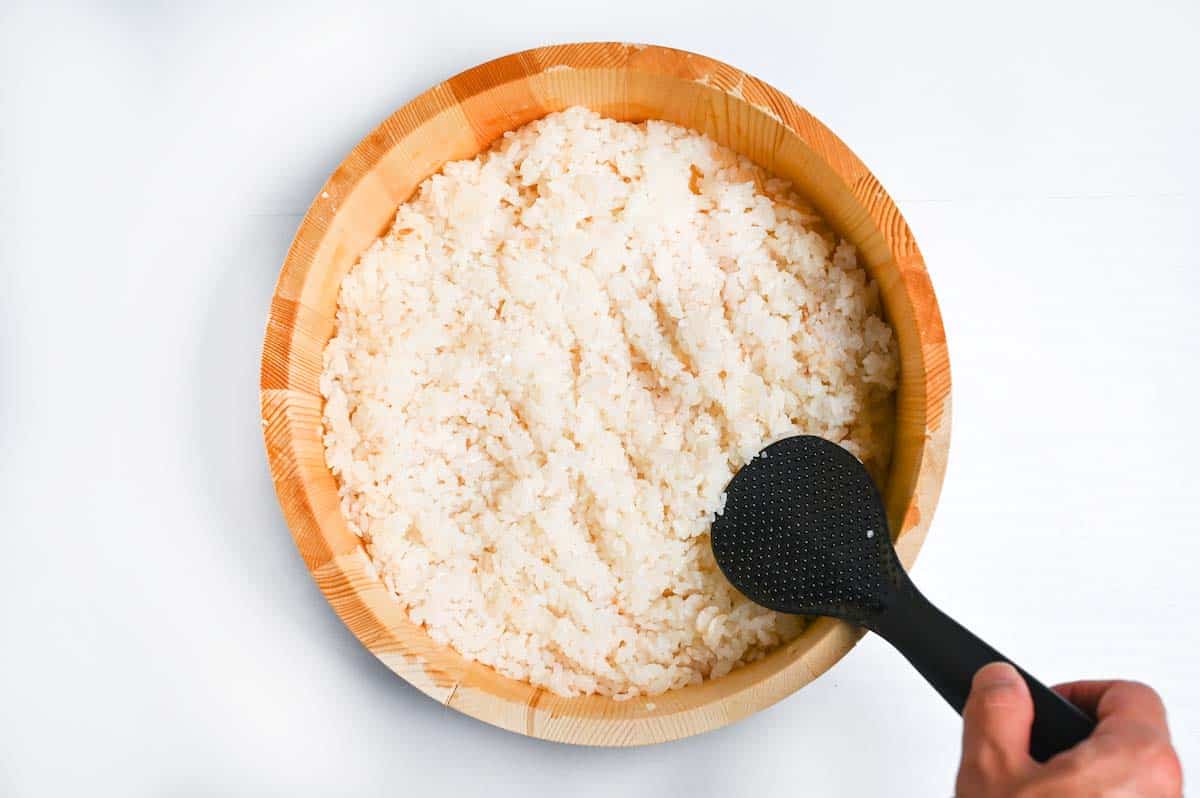
Mix the rice thoroughly to distribute the sushi vinegar evenly, but gently so you don’t crush the grains. While you mix the rice, fan it to help it cool down.
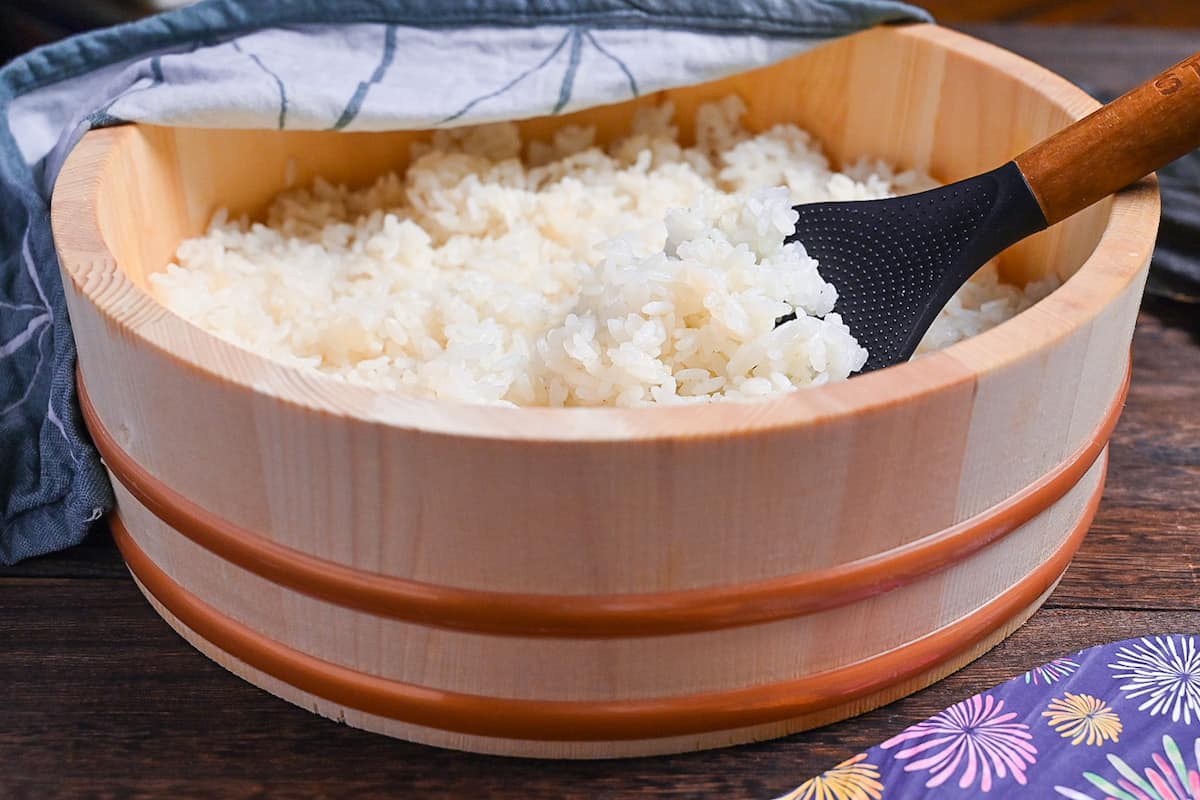
Spread thinly to speed up the cooling process.
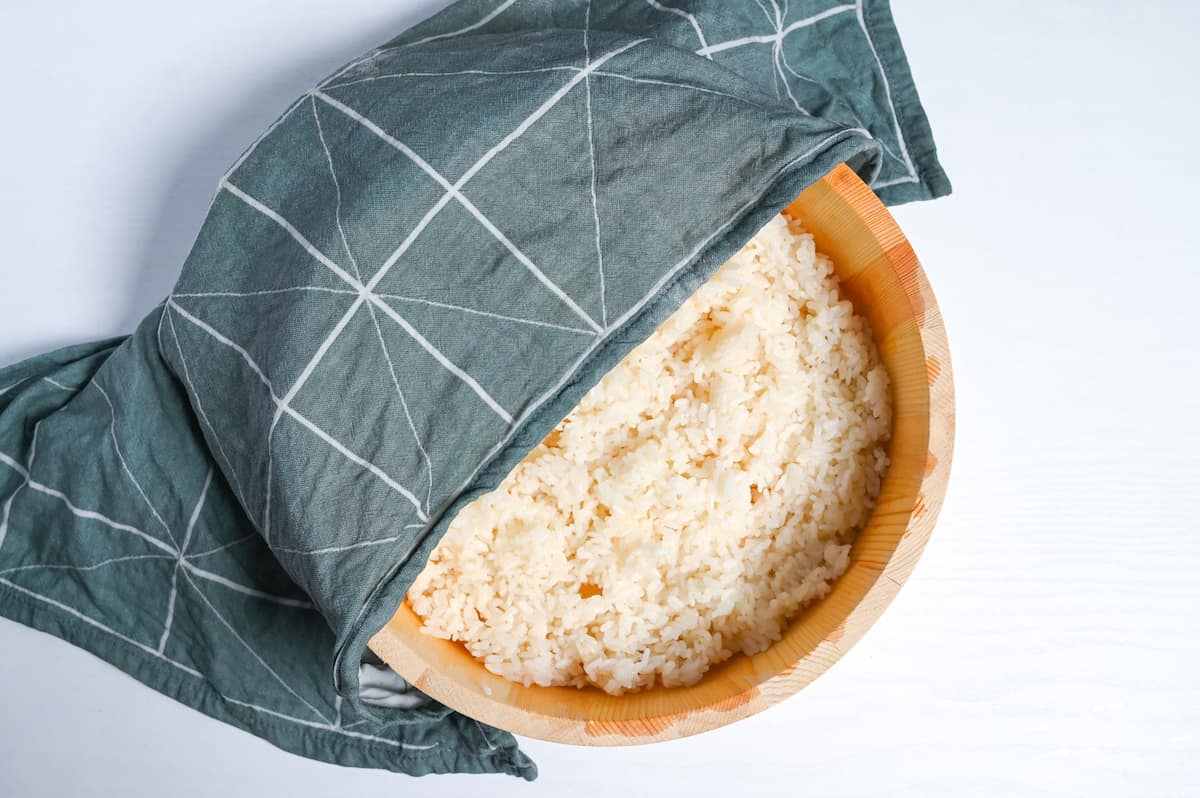
Cover the container with a damp tea towel until it’s cool enough to handle. The ideal temperature for making sushi is around body temperature (approx 98.6°F or 37°C). Use it within 2 hours or store it using the storage information below.
Enjoy making delicious sushi with this restaurant-style sushi rice!
Jump to Full Recipe MeasurementsTips & Tricks
- Make sure to use the right type of rice, short-grain Japanese white rice.
- Wash the rice for the best texture. (Wash it in a sieve, not your cooking pot! Washing rice in cooking pots will scratch the bottom and ruin them.)
- Sushi rice should be cooked at a water ratio of 1:1. 1 rice cup is equal to 3/4 US cup.
- Soak the rice for at least 30 minutes (1 hour in winter) to ensure even cooking.
- Don’t remove the lid while the rice is cooking.
- Leave the rice to cook in the steam for 10 minutes after turning off the heat.
- Mix gently to avoid crushing the rice.
- Add the vinegar while it’s still warm to allow the grains to absorb the flavor.
- Spread the rice thin in a large container to cool it quickly.
- Cover with a damp tea towel to stop the rice from drying out.
- Shape the sushi once the rice reaches body temperature.
How to Store
Have you ever asked yourself, “How long can I keep my sushi rice? Let’s talk about sushi rice storage and shelf life.
While vinegar has a sterilizing effect, it doesn’t necessarily extend the life of sushi rice beyond that of regular rice. The key? Don’t store it at room temperature or it will have a risk of spoiling. Store it properly and you’ll always have perfect sushi rice ready to roll! Let’s look at the best ways to store cooked sushi rice.
Refrigerate it if you plan to eat it the next day
Got leftover sushi rice? Put it in the fridge, but eat it the next day. Why? Sushi rice can lose its moisture and become hard. This happens because the starch in the rice ages. To keep it fresh, put it in a container, cover it with damp paper towel, and seal it.
However, because sushi rice contains sugar, which prevents the starch from aging to some extent, it is said to be less likely to become hard over time than plain white rice. Nevertheless, it does not keep for very long, so if you keep it in the refrigerator, it is best to eat it by the next day.
Freeze it if you don’t use it the next day
If you want to store your sushi rice for longer than 24 hours, then freezing it is the best method. Divide it into portions and lightly pack it into a Ziploc bag or sealable container, alternatively, you could also wrap each portion with plastic wrap, just like white rice.
But beware if it has raw ingredients like in chirashi-sushi. Don’t freeze sushi rice with raw fish. It won’t have a pleasant texture when defrosted. Take the fish out first. Frozen sushi rice can last for about a month.
However, when freezing sushi rice, the flavor of vinegar will fade, and it’ll taste like regular rice. To enjoy it as sushi rice again, warm it in a microwave and mix in some extra vinegar.
Nevertheless, the best solution is to make sushi rice by calculating the amount that can be used up on the same day, since the taste and texture will be significantly deteriorated when refrigerated or frozen.
FAQ
Sushi might still be quite new to the Western world, but it’s been around in Japan for over a thousand years. The earliest written record of sushi goes back as far as 718!
Originally, seasoned rice was wrapped around the fish and allowed to ferment to preserve it. The fermented rice would pickle the fish, allowing it to still be edible months later, and once it was time to eat, the rice would be thrown away.
Over time, this dish developed into fresh fish served on lightly seasoned rice that could be eaten and enjoyed together. So, this is how sushi became a dish that we know and love today!
When cooking a recipe that calls for “sake,” it’s important to know that “sake” on Sudachi refers to pure sake without any added salt. If you use cooking sake containing salt, adjust the recipe’s salt content accordingly. All dishes on Sudachi are made using drinking sake. For more information on sake in Japanese cooking, check out the Sake 101 post by a professional chef with 30+ years of experience.
Sushi rice requires a specific texture and has to be made with sticky short-grain rice, preferably Japanese short-grain rice or sushi rice in some countries because it has the right level of stickiness and flavor for sushi. Just remember, long-grain rice such as jasmine rice or basmati does not work for sushi.
Yes, to create the distinctive flavor of rice for sushi, vinegar (more specifically rice vinegar) is a must item.
Since day-old rice has usually dried out a little, it’s not recommended to use it to make sushi rice or sushi.
It is best to let the whole rice cool until it is about the body temperature.
The point of washing the rice is to remove excess bran, starch dust, and any impurities on the surface of the grains. The stickiness of Japanese rice comes primarily from its amylopectin content (a type of starch), which remains intact even after washing. Unwashed rice can have potential drawbacks: it may retain a rice bran odor, develop a yellowish tint, and absorb water more slowly during cooking, potentially affecting texture in a negative way, especially with rice that hasn’t been polished with high-precision technology.
I hope you enjoy this Sushi Rice recipe! If you try it out, I’d really appreciate it if you could spare a moment to let me know what you thought by giving a review and star rating in the comments below. It’s also helpful to share any adjustments you made to the recipe with our other readers. Thank you!
Recipes Using Sushi Rice

How to Make Perfect Sushi Rice

Equipment
Ingredients
Rice
- 300 g uncooked Japanese rice I used koshihikari
- 350 ml cold water
- 5 g dried kelp (kombu) optional
- 1 tbsp sake optional
Seasoning
- 2 tbsp unseasoned rice vinegar (komezu)
- 1 tbsp sugar
- ½ tbsp salt
The ingredient brands and tools I trust are in my Japanese pantry guide and my cooking tools guide.
Can’t find certain Japanese ingredients? See my substitution guide here.
Instructions
- Pour 300 g uncooked Japanese rice into a sieve and place the sieve over a large bowl. Fill the bowl with cold water and swish the rice around until the water becomes cloudy. Drain and repeat 2 more times (3 times in total) to wash the rice. The water doesn't need to be clear by the end.

- Transfer the rice to a rice cooker or a pot with a lid and add 350 ml cold water and 5 g dried kelp (kombu). Leave it to soak for 30 minutes. (If it's winter, extend soaking time to 1 hour.)

- Once the soaking time is up, add 1 tbsp sake and mix. Start your rice cooker on the best setting for sushi rice or follow the steps below.

Cooking sushi rice on the stove
- Place the pot on the stove with the lid on and bring to a boil over a medium heat. Stay close and listen for when it starts to boil (don’t remove the lid). Once you hear it boiling, set a timer for 30 seconds.
- After 30 seconds, lower the heat to medium-low and set a timer for 2 minutes.Lower the heat again to low and set a timer for 5 minutes.After 5 minutes, turn up the heat to the highest setting for 10 seconds and then turn it off.
- Leave the pot on the stove with the lid on for 10 minutes, the rice will continue to cook in the steam.
Seasoning
- While the rice is steaming, mix 1 tbsp sugar and ½ tbsp salt with 2 tbsp unseasoned rice vinegar (komezu) until dissolved.
- Wet the surface of a sushi oke or wide container, this will be used to cool the sushi rice and a damp surface stops the rice from sticking.
- Once 10 minutes of steaming time is up, mix the rice gently and transfer it to the container. Don’t scrape the bottom of the cooking pot, since these grains are usually a bit crispy they’re not suitable for sushi. (They can be eaten separately.)
- Pour the vinegar mixture into the rice and mix gently with a rice paddle while fanning.
- Spread the rice into a thin layer to help it cool quickly.
- Use immediately or place a damp tea towel over the top to stop it from drying out. (Use within 2 hours) It’s recommended to roll sushi once the rice reaches around body temperature.
- Enjoy!
This is great, worked perfectly but I need to understand is it the same method to cook as fluffy rice in the rice page? I’m sure I’m missing something obvious
Hi Esca, glad to hear you enjoyed the recipe! Yes, the rice cooking method is the same but the timing is slightly different because sushi rice is cooked with less water. Thank you for your question!
Dear Yuto, there’s quite a discrepancy between metric and US customary volumes for seasoning: salt and sugar. Tablespoons Vs teaspoons.
Hi Matt,
Thank you so much for pointing that out! I recently changed the vinegar mixture ratio, and it seems like it wasn’t reflected on the US customary conversion! I’ve fixed it now. Thank you again for flagging it!
Yuto
For 25 years I have been making sushi rice….. wrong.
This is THE PERFECT, PERFECT! way to make it!
Thank you for sharing!
Hi Vineta,
Thank you so much for your comment! Hearing that from someone with 25 years of sushi rice experience truly means a lot, thank you! I’m really glad this worked so well for you 😊
Yuto
Your expertise in parting knowledge is amazing! I am 69 years old and have never been able to cook anything. I have tried Indian cuisine and Greek cuisine in the last 12 months as I look to retire from teaching. My poor family… I wish you had been around 50 years ago. Thank you… I have made sushi, miso, and teriyaki chicken and beef. This may seem so simple to you all but OMG I have actually enjoyed cooking for the first time in my 69 years. Thank you… Never too old to learn and would never have thought I could 😀
I love your recipes…they work!
Hi Val,
Thank you so much for your wonderful message and for sharing your story with me.
I’m truly touched to hear that you’ve discovered the joy of cooking. It’s inspiring to know that you’re enjoying cooking for the first time in your life. Words like yours are exactly what motivate me to keep creating and sharing recipes, and I’m very grateful for your kind words. I’m so glad to hear that the recipes have worked well for you. If you continue trying new dishes, I would love to hear your thoughts and experiences! 🙂
Thank you again for your warm and encouraging message.
Yuto
Went down an absolute treat with my daughter, though I didn’t read things probably and used dark brown sugar instead of light, still, she loved it, and so did I (wife, not so much, she doesn’t like the seaweed, but said the rice was great).
Daughter even wants sushi for her packed lunches at school next week, so hopefully with all the practice I’ll be getting, my presentation might improve.
Thanks so much for this recipe, it’s going to save me a fortune because my daughter is a fiend for vegetable sushi. And I’ll get great use out of my rice cooker now.
I really look forward to trying your recipes for other meals once I get more ingredients, though my next purchase will definitely be a hangiri so I’m not having to use plates.
Hi Doug,
Thank you so much for sharing this, it really made my day! Your sushi looks great, and honestly, dark brown sugar works just fine, so no worries there. I love that your daughter is already requesting sushi for her school lunches! Your presentation honestly looks good already though! I really hope you and your family enjoy trying more recipes! 🙂
Yuto
Perfect sushi rice. Followed recipe exactly. Froze leftovers for next sushi dinner thank you !
Hi Joan,
Thank you for cooking this recipe! Glad it came out well, and nice that you’re already set for the next sushi night! 🙂
Yuto