

The scent of blooming curry spices hits you after a long workday. This under 30 mins recipe saves your wilting vegetables and your sanity.
You’ll unlock an incredible umami depth using one common condiment you’d never expect in rice. Join the club of effortless, happy home cooks by following these steps.

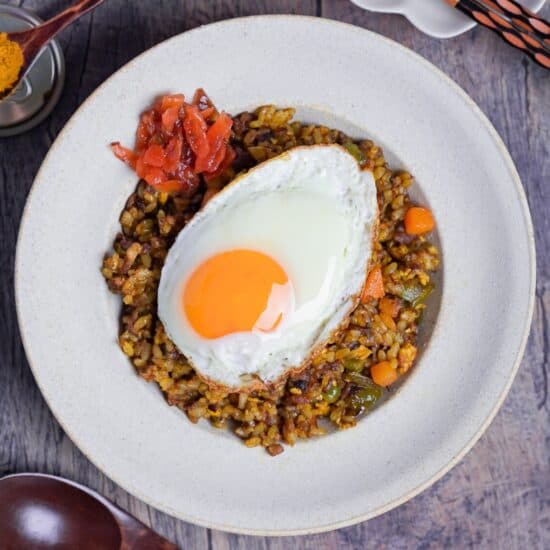
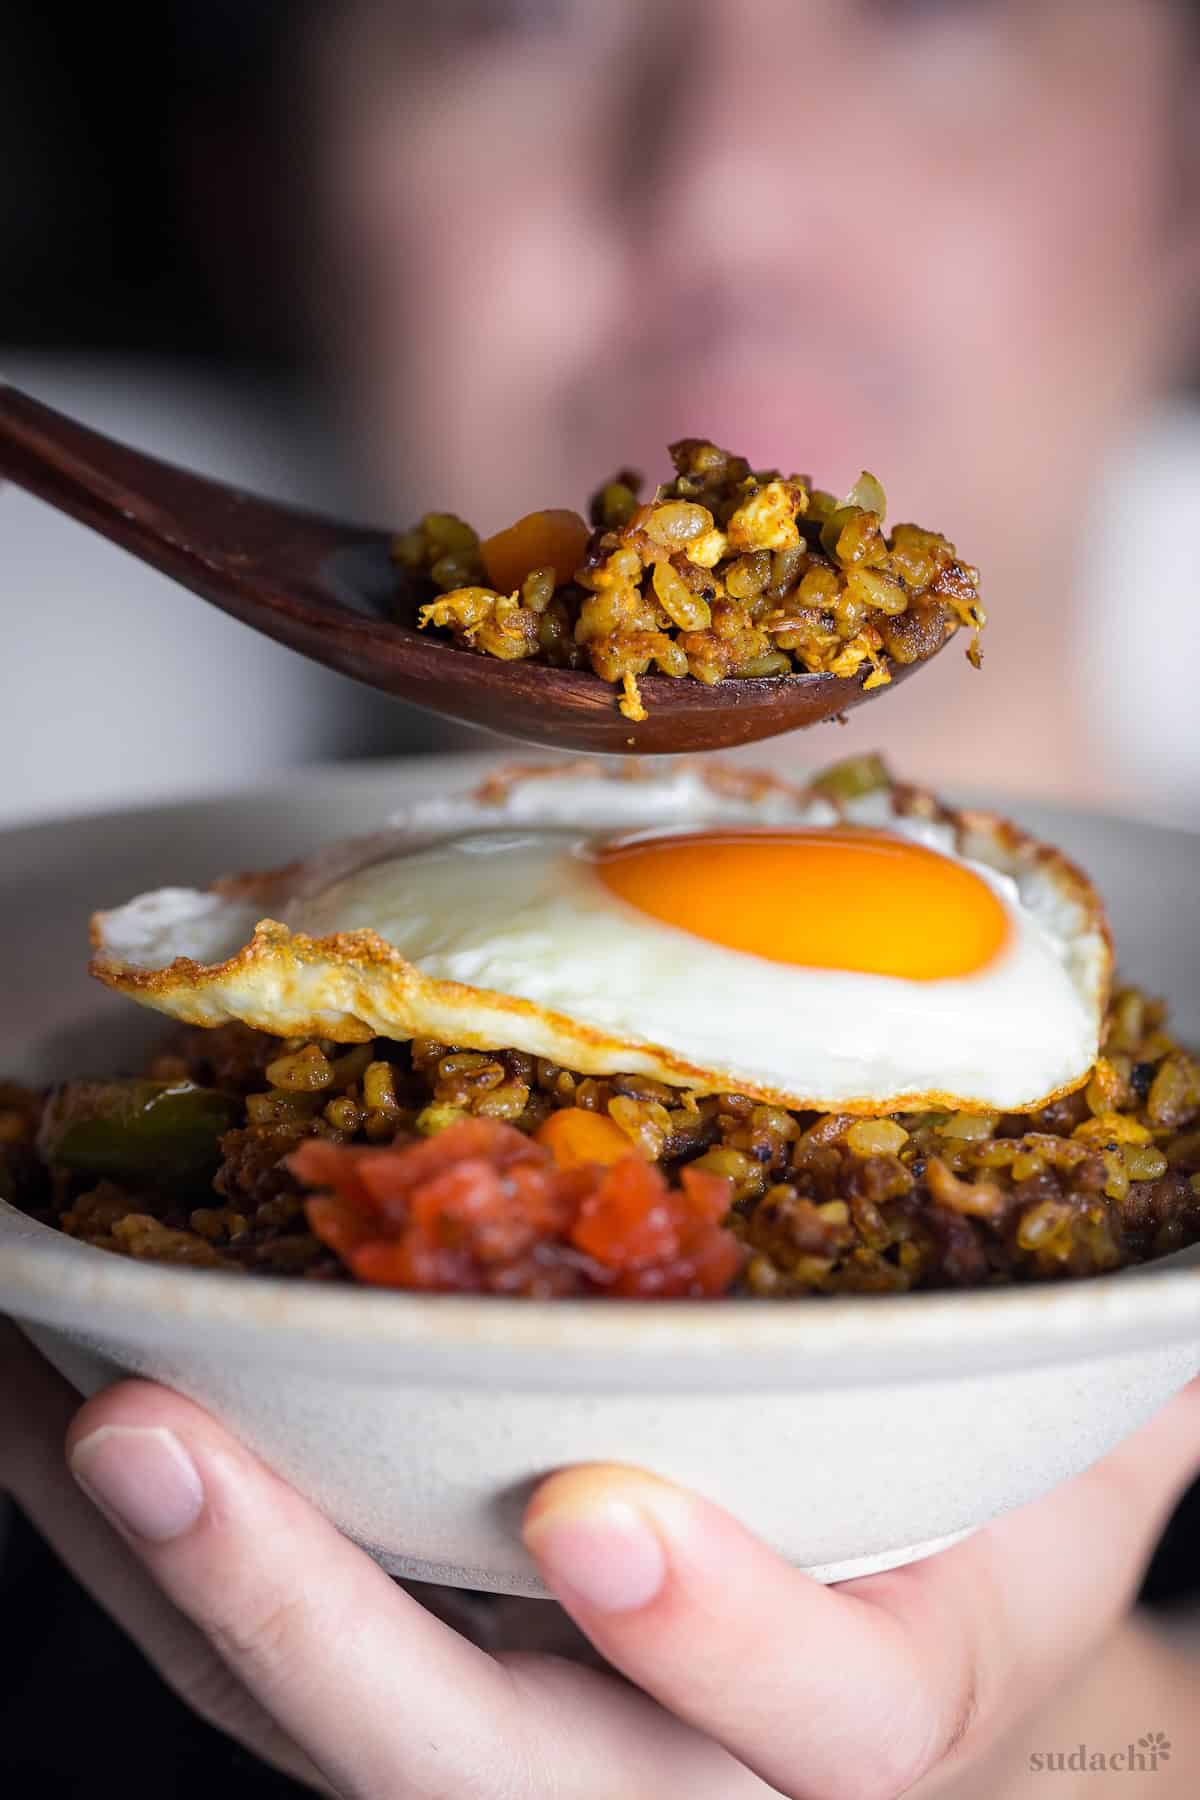
Japanese curry fried rice
Recipe Snapshot
- What is it? Japanese-style curry fried rice (kare chāhan): dry, golden grains stir-fried fast, then finished with charred soy sauce + butter for smoky depth.
- Flavor profile: Robust and sophisticated, features volatile spice aromatics extracted in lipids, balanced by deep umami and a velvet-like butter glaze
- Why you’ll love this recipe: This streamlined technique achieves restaurant-grade complexity in under 25 minutes, repurposing leftover rice to eliminate waste
- Must-haves: Cold cooked rice, wok or heavy skillet, curry powder mix
- Skill Level: Easy: prep first, then cook fast, the pan does the work
- Freezer Friendly? Yes! Retains its aromatic profile well when reheated.
Summarize & Save this content on:
What is Japanese Curry Fried Rice?
Curry fried rice (カレーチャーハン) is a popular variety of chahan (Japanese-style fried rice) seasoned with curry powder. It’s a katei ryori (home-style Japanese dishes) staple and is often grouped with dry curry-style meals because it’s made “dry,” unlike the famous Japanese curry rice.
While it shares the similar spice profile as kare raisu, the texture is entirely different due to the lack of a roux-based curry sauce.
Cooked rice is stir-fried quickly over high heat with oil (often with egg, onion, and simple proteins/vegetables), while curry aroma is boosted by blooming curry powder in fat and lightly browning the rice for a drier, separate-grain finish.
Curry Fried Rice Ingredients

- Day-old rice (or cooled leftover rice): This is pre-cooked short-grain Japanese rice, ideally chilled in the fridge overnight to firm up the grains. That drier grain structure is what lets you get separate, glossy grains while the curry-spice oil and savory pork cling to each bite. You can find high-quality bags at Asian markets or the international aisles.
- Curry powder: If possible, look for Japanese-style curry powder (the red S&B tin is the gold standard) at Asian markets or well-stocked grocery stores. It’s milder and more balanced than Indian-style curry powder mix.
- Ground pork (pork mince): It brings savory depth and just enough fat to keep everything juicy without being greasy. As the pork browns, it releases rich fats and umami that fuse with the curry spices to create a professional-grade depth and a luscious “glaze” that coats every single grain of rice.
Substitution Ideas
- Calrose rice (California medium-grain) works great as a Japanese rice substitute. It’s slightly less sticky than short-grain but still gives you that familiar texture without being too dry.
- Indian-style curry powder (any grocery store blend) works perfectly fine. The aroma and heat can be a little sharper, so start light and adjust.
- Ground chicken is the easiest swap for ground pork. It tastes lighter and lets the curry spice pop, so a little more butter helps it feel satisfying. Ground beef also works, but it can dry out as the fat sets. I prefer chicken as an alternative.
- Shrimp (peeled, deveined) cooks in under 2 minutes and adds sweet, delicate flavor. Just toss them in at the very end so they stay juicy and tender.
- Hotdog sausage is another classic choice for curry fried rice in Japan!
- Frozen mixed vegetables are the ultimate stress-free swap for the fresh vegetables.
Have trouble finding Japanese ingredients? Check out my ultimate guide to Japanese ingredient substitutes!
How to Make My Curry Chahan
Set Up Your Mise en Place: Once heat hits the pan, you won’t have time to chop, measure, or hunt for ingredients. Everything should be prepped and positioned before you turn on the burner.
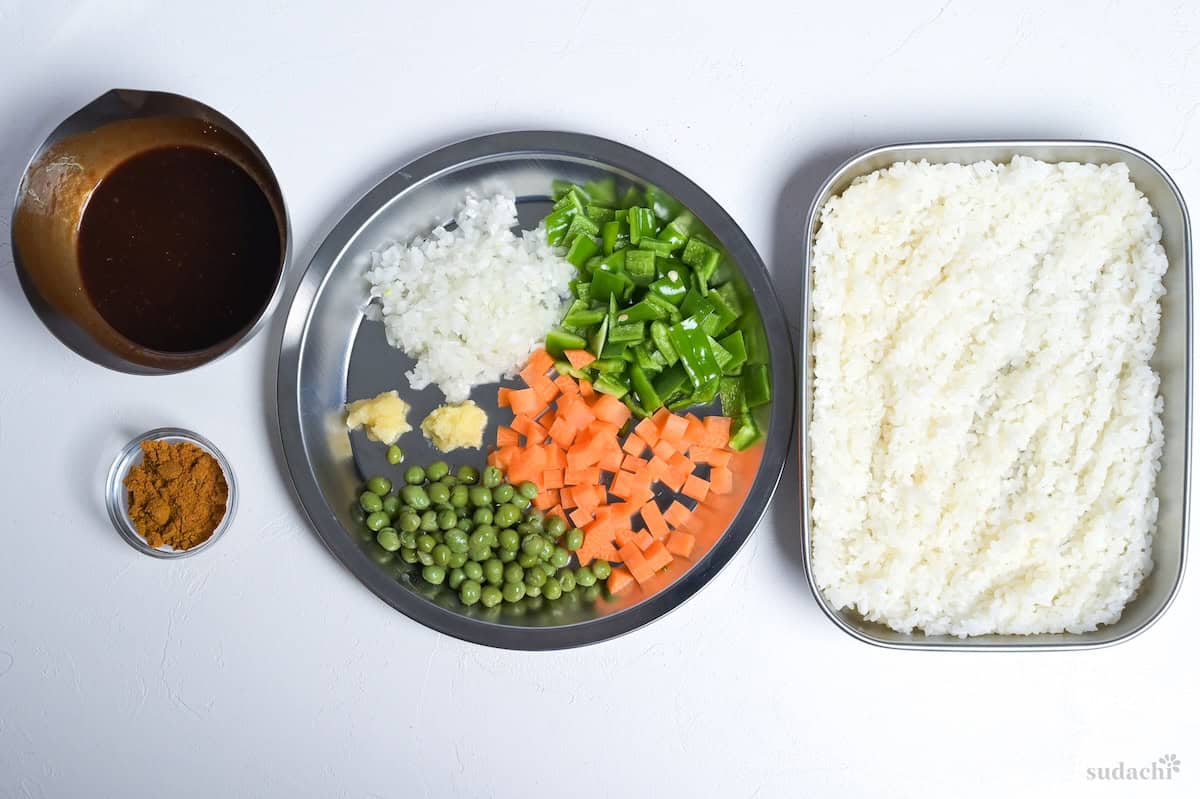
- Dice the onion, cut the bell pepper and carrot into small cubes (smaller than dice, think confetti-sized)
- Grate your garlic and ginger fresh.
- In one bowl, whisk together the ketchup, Chinese chicken bouillon granules, Worcestershire sauce, and red wine until smooth.
- Measure your curry powder into a separate small dish within arm’s reach.
- Use cold, day-old rice. Optionally microwave chilled rice for 20 seconds to make de-clumping easier without creating sticky steam. If you’re using freshly cooked rice, put it in a shallow container, spread it out flat, and leave it uncovered for about 10 minutes.
To develop this curry fried rice recipe, I used a 30cm carbon steel wok.
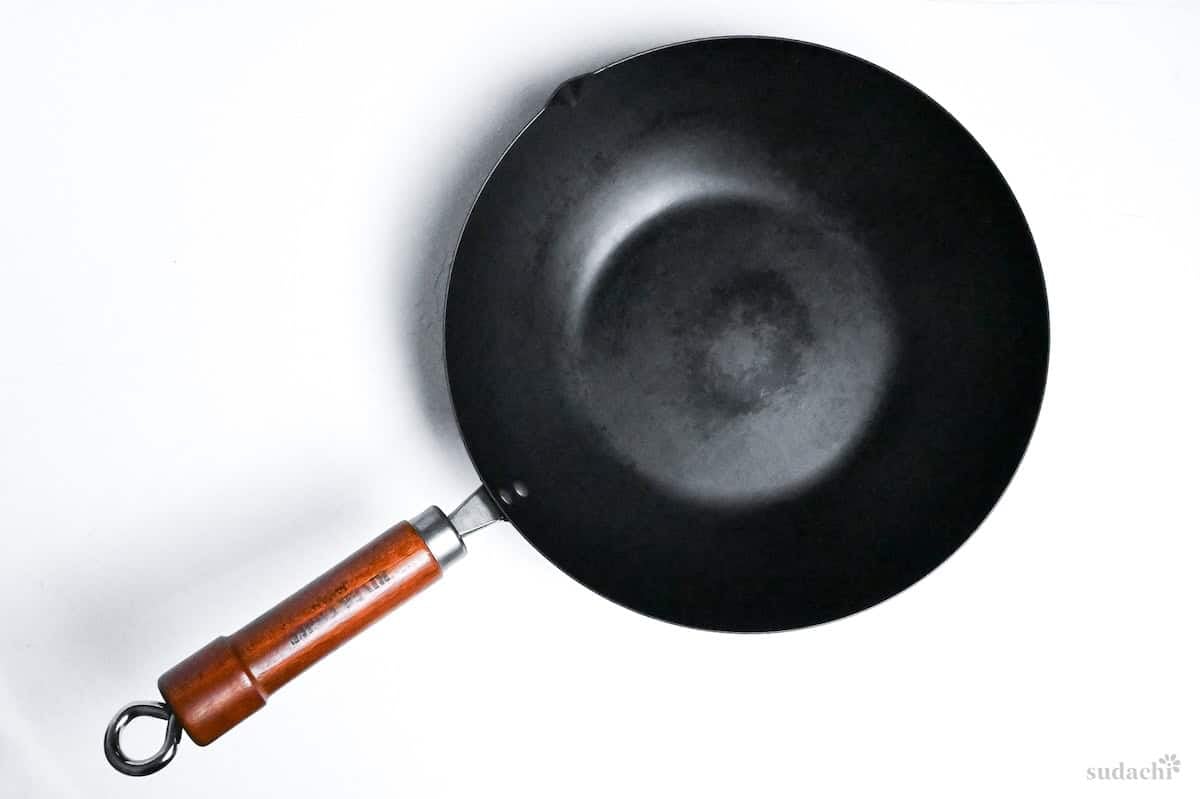
A wok is the best option, but a large skillet works beautifully too. The key is surface area: fried rice needs room to breathe, not steam. Crowding makes it soggy, and nobody wants that.
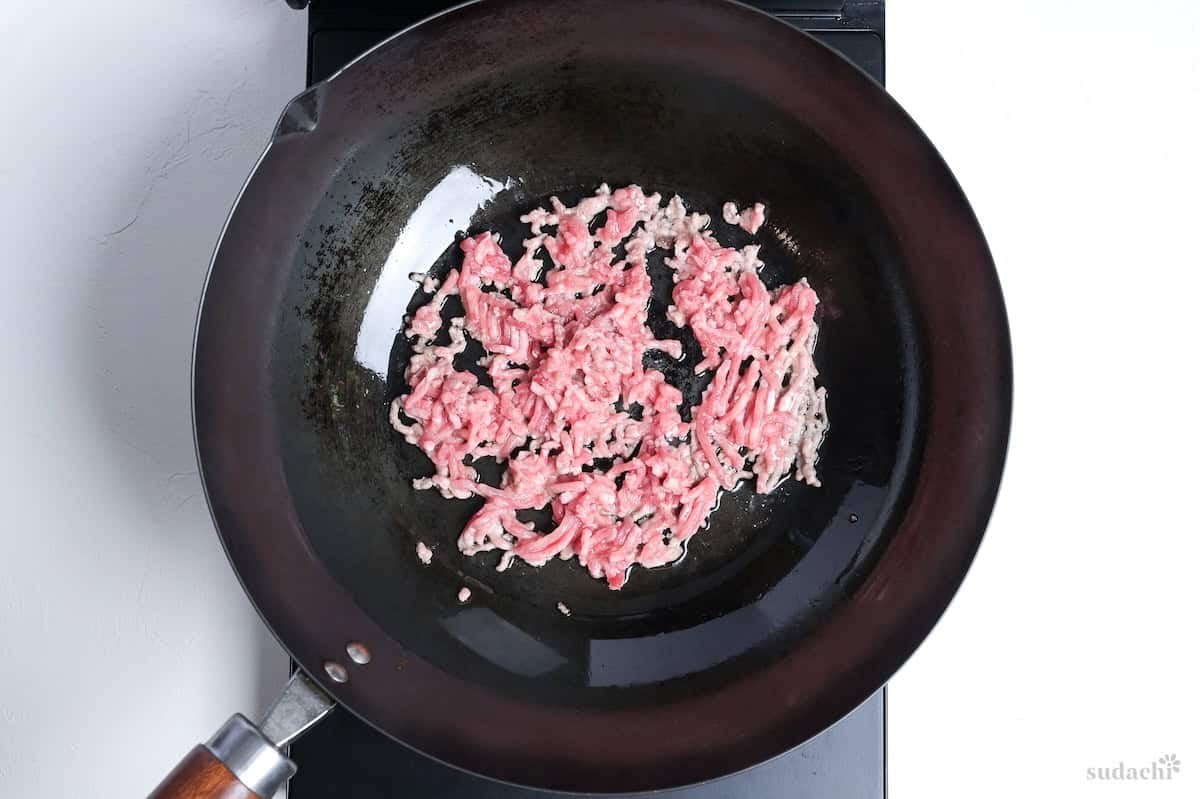
i. Heat your pan over medium-high, then add lard or a drizzle of neutral oil. Scatter the ground pork across the pan in an even layer.
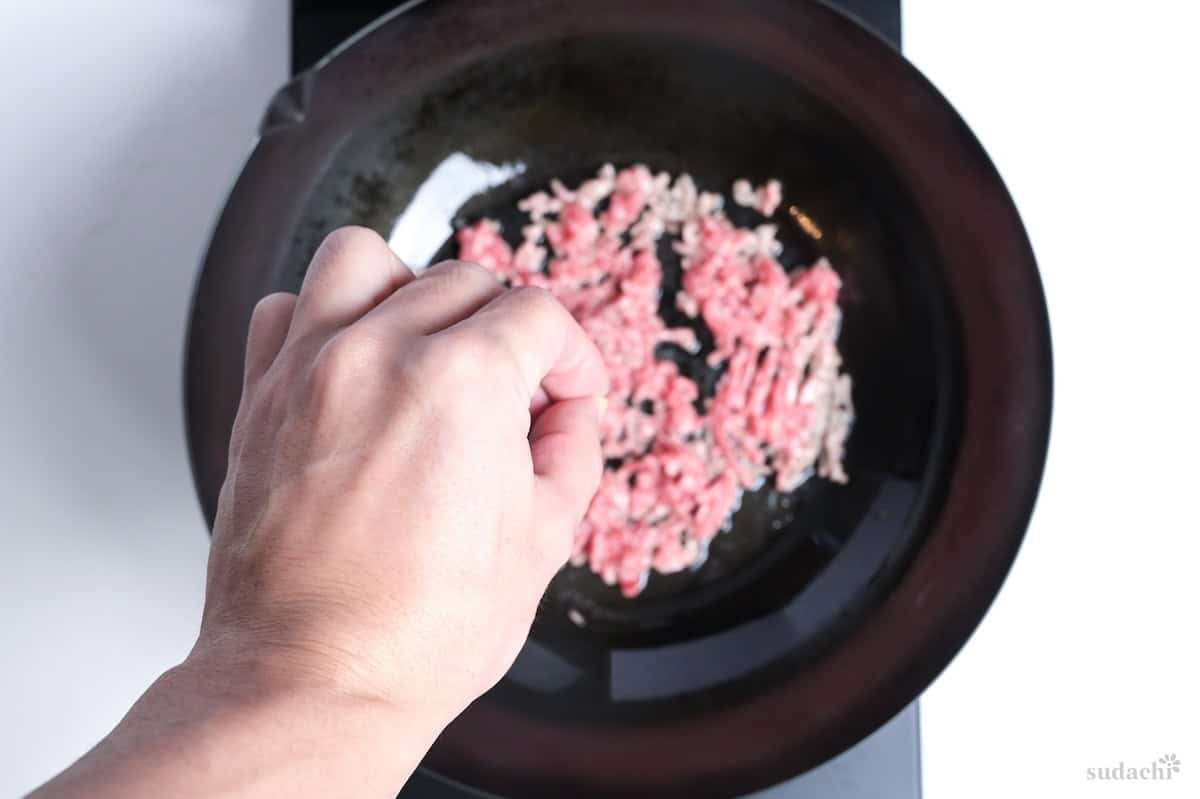
ii. Sprinkle with a pinch of salt and sugar, then let it sit undisturbed for 2 minutes. You’ll hear a steady, confident hiss as the meat browns.
iii. When the edges turn deep caramel and release easily from the pan, flip and sear the other side for another minute.
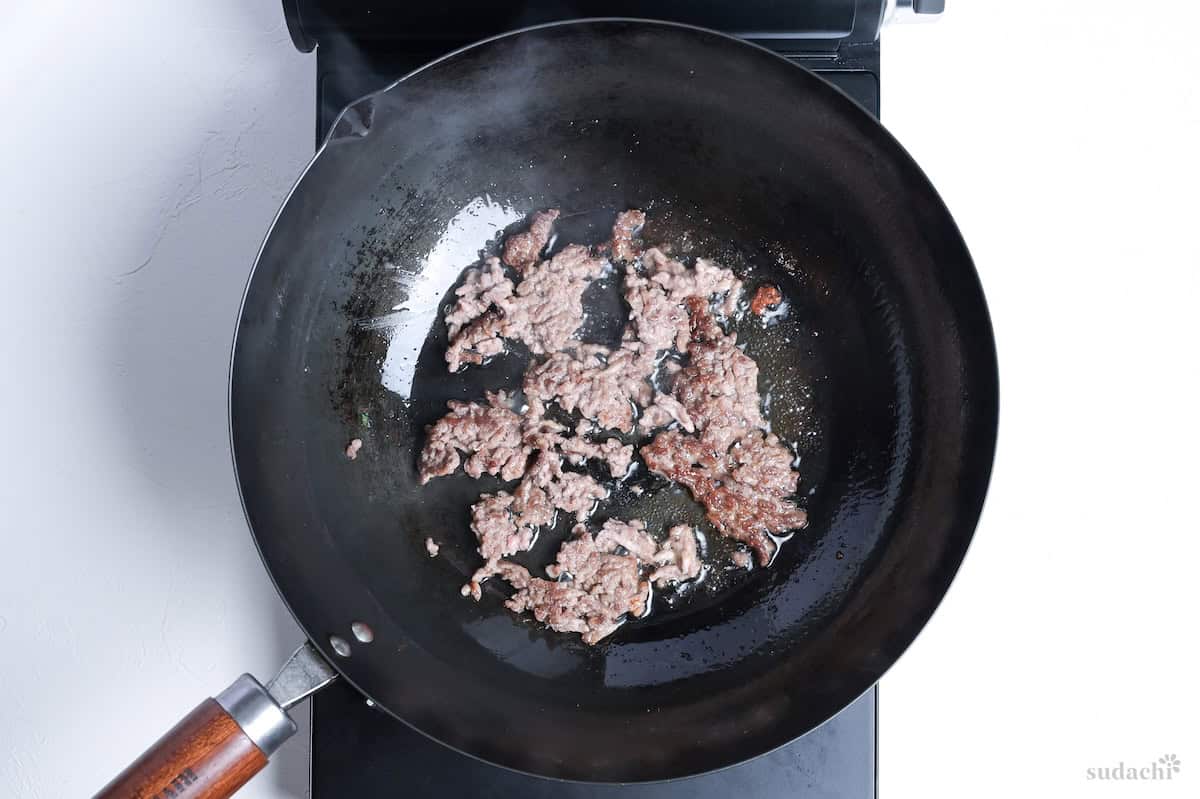
This creates those crispy, savory nuggets that make each bite memorable.
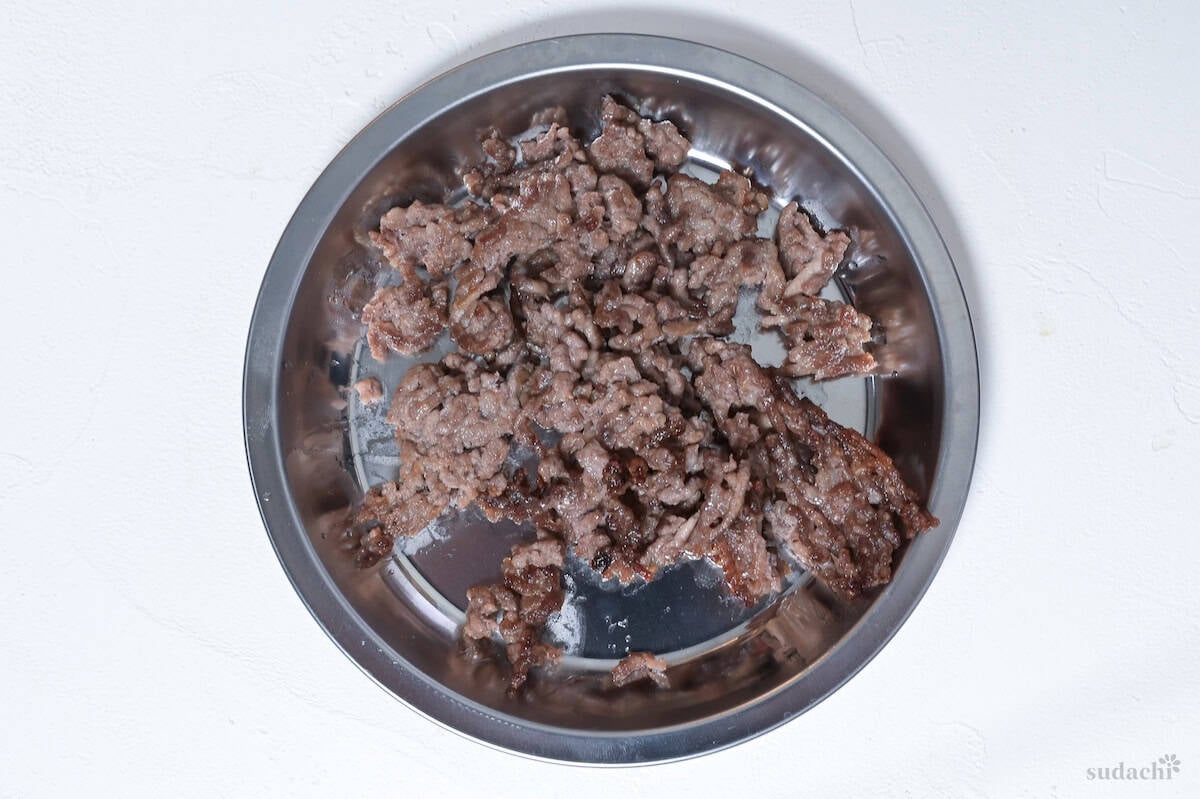
iv. Transfer the pork to a plate.
i. Add minced onion plus diced bell pepper, carrot, and peas, and stir-fry until the onion turns translucent and the carrot is barely tender, about 2-3 minutes.
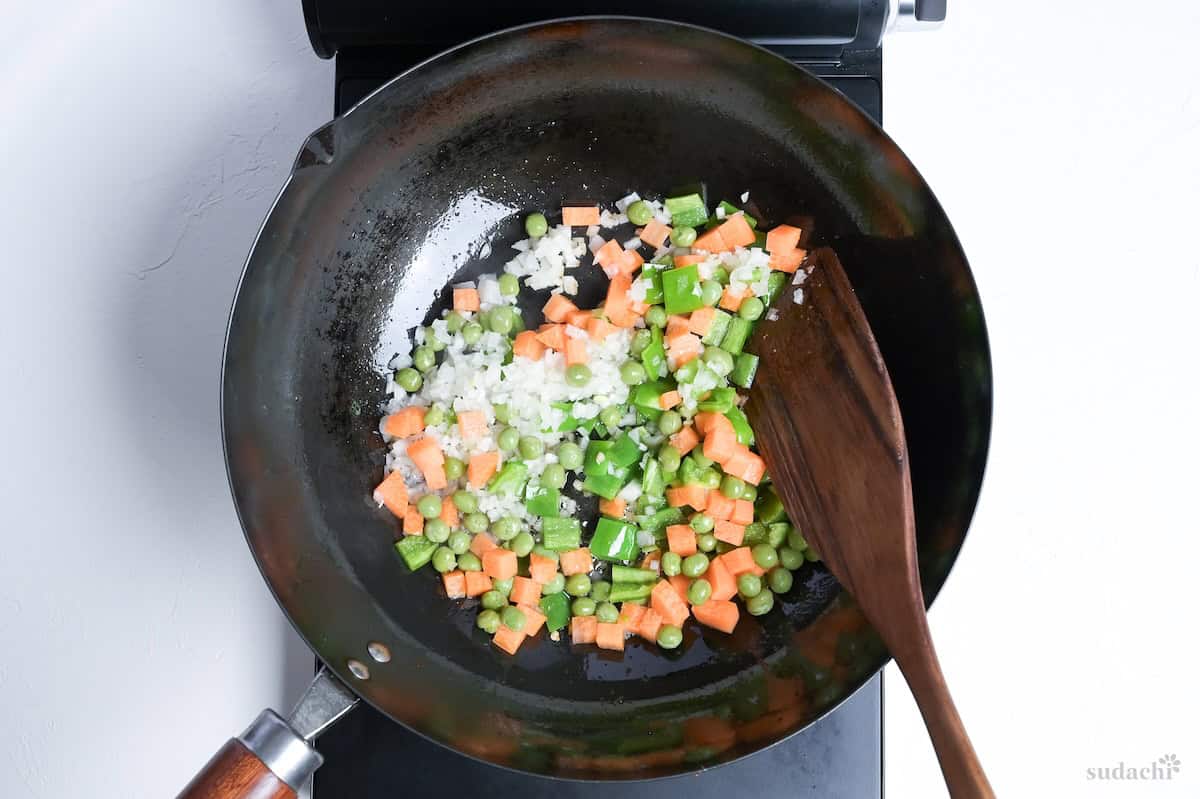
ii. Driving off moisture now keeps curry fried rice fluffy and lets the curry-umami sauce coat each grain. If liquid collects, spread everything out and keep stir-frying until it has evaporated.

i. Push the vegetables to one side, creating a clear space in the pan.
ii. Add a drizzle of neutral oil to that empty zone, then sprinkle in your curry powder, grated garlic, and grated ginger. Stir this aromatic trio in the hot oil for just 15 seconds.
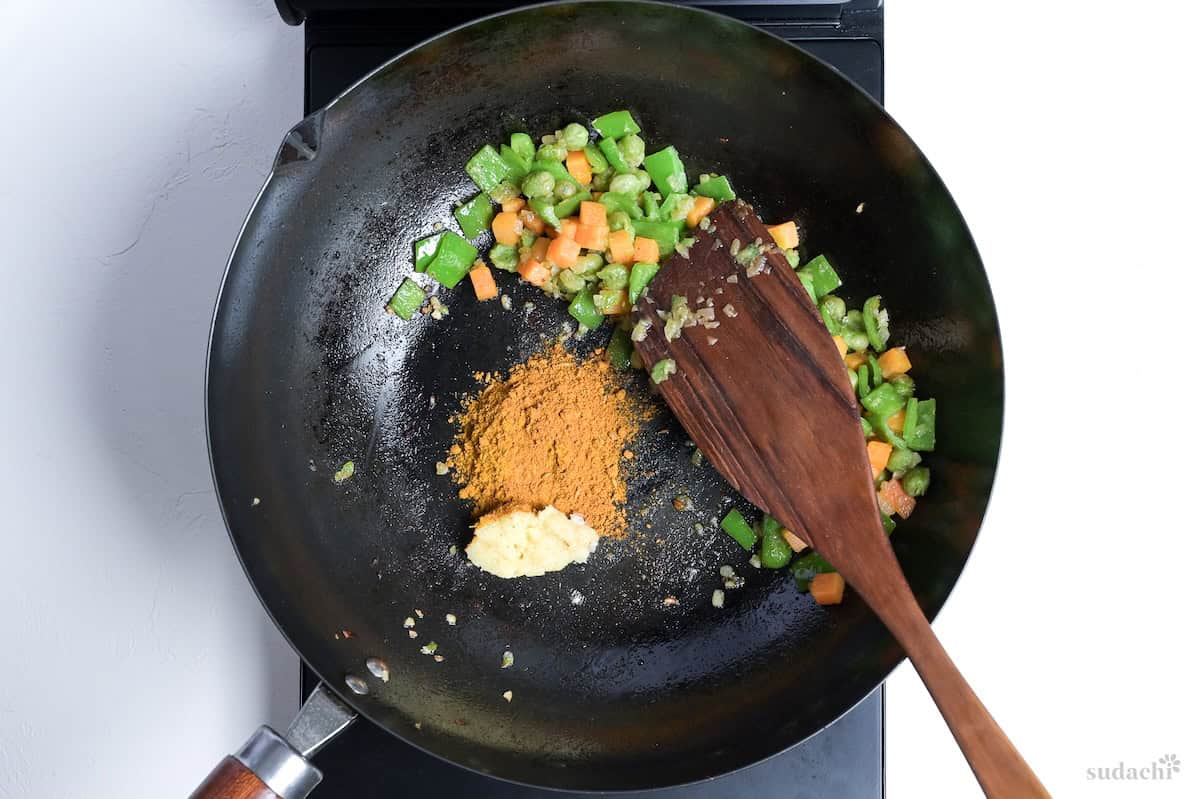
iii. You’ll know it’s ready when the curry’s earthy perfume blooms into something warm and rounded, almost sweet.
I once left curry powder heating for a full minute as I didn’t set up mise en place, it turned acrid and dusty, ruining an otherwise perfect batch. Now I set a timer: 15 seconds of stirring, then immediately move to the next step. The aroma shift is dramatic and instant.
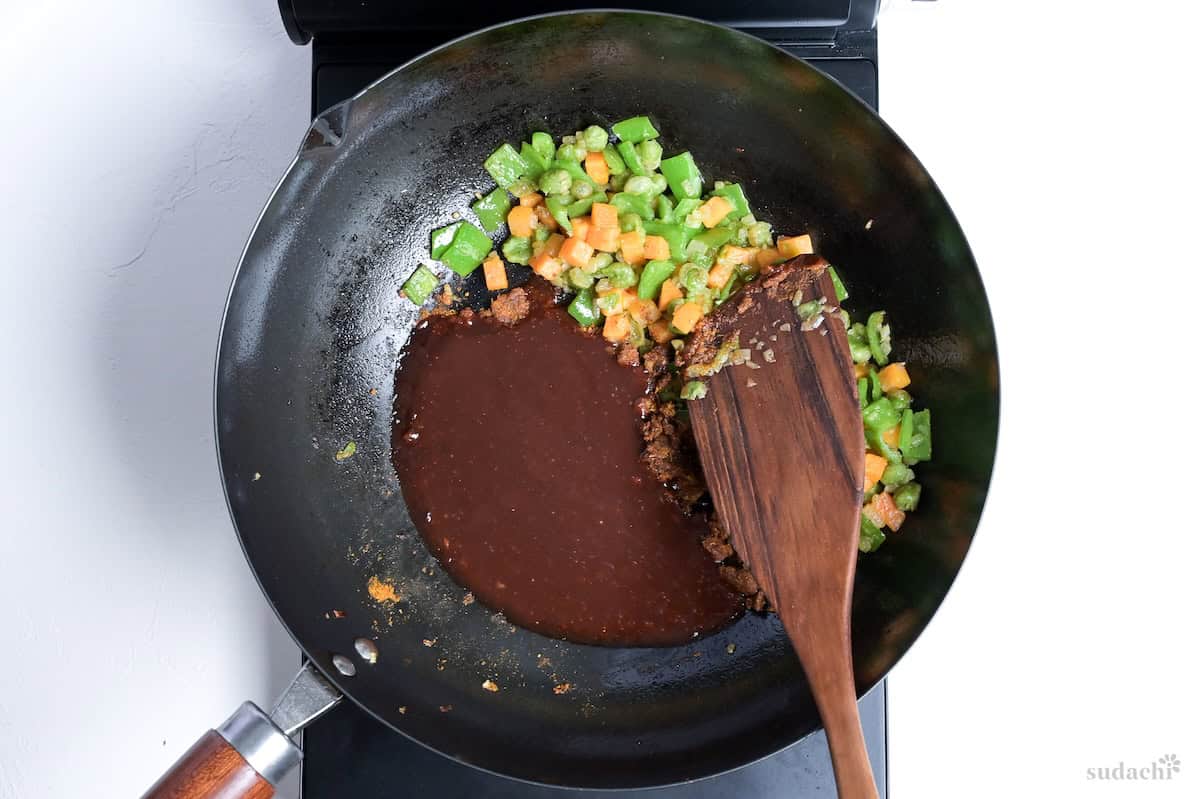
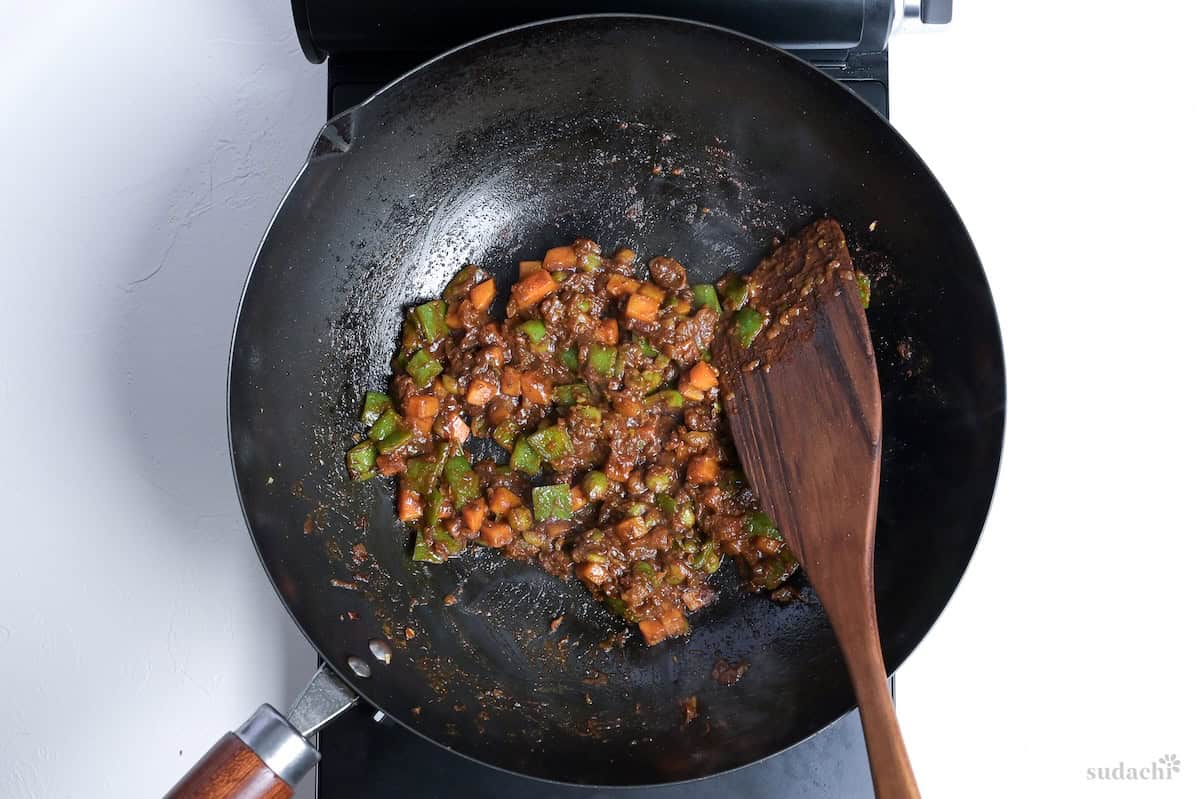
iv. Add the sauce from earlier and stir-fry until almost dry and glossy while scraping up any browned bits stuck to the pan (that’s umami gold). Reduction locks in flavor and umami and prevents the rice from becoming soggy.
i. Push everything to one side, crack in the eggs.
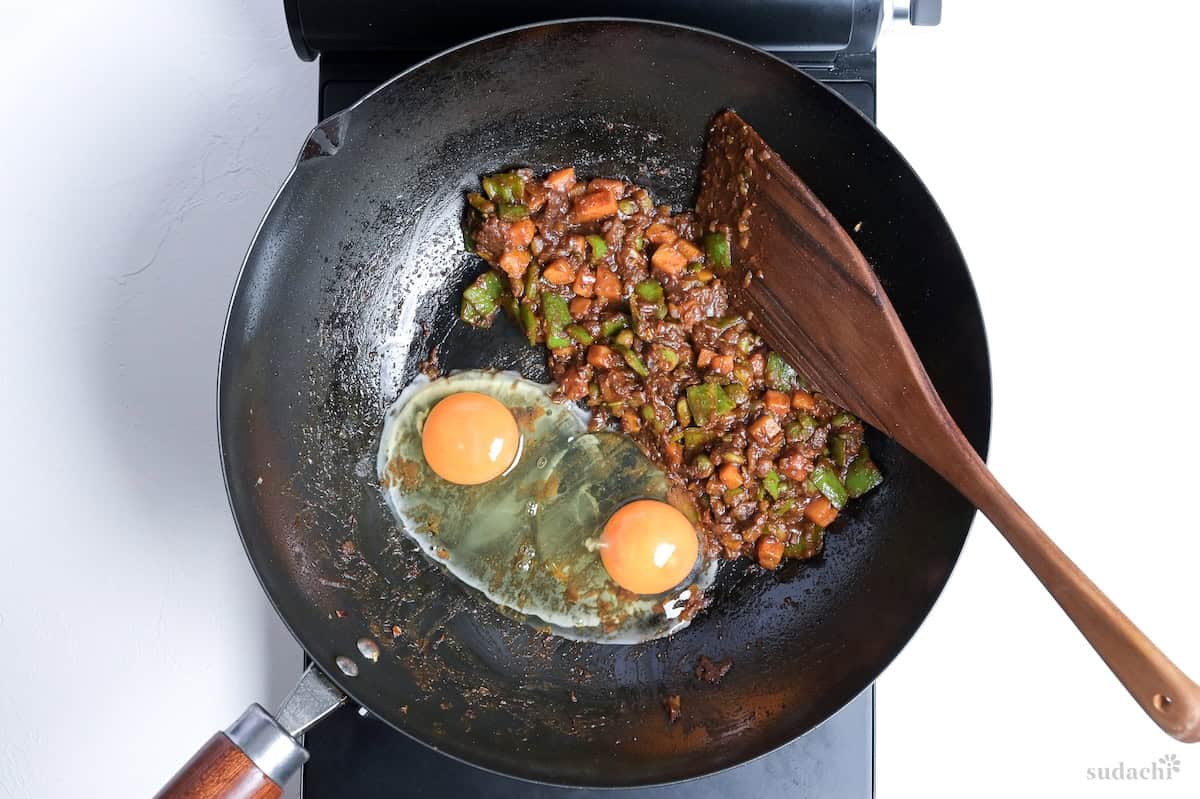
ii. Scramble until about 80% cooked and glossy.
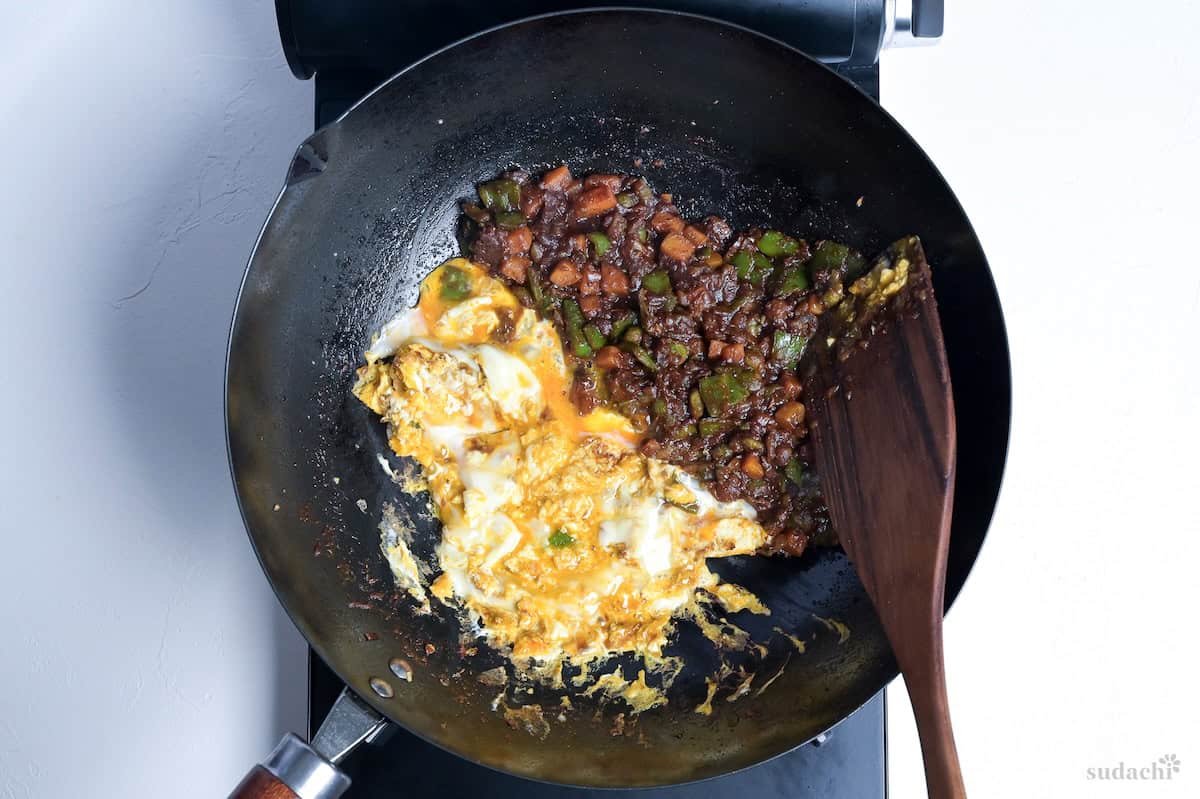
Slightly underdone is perfect because the eggs will finish cooking with the rice’s residual heat. These creamy pockets will melt into the rice, binding everything with richness.
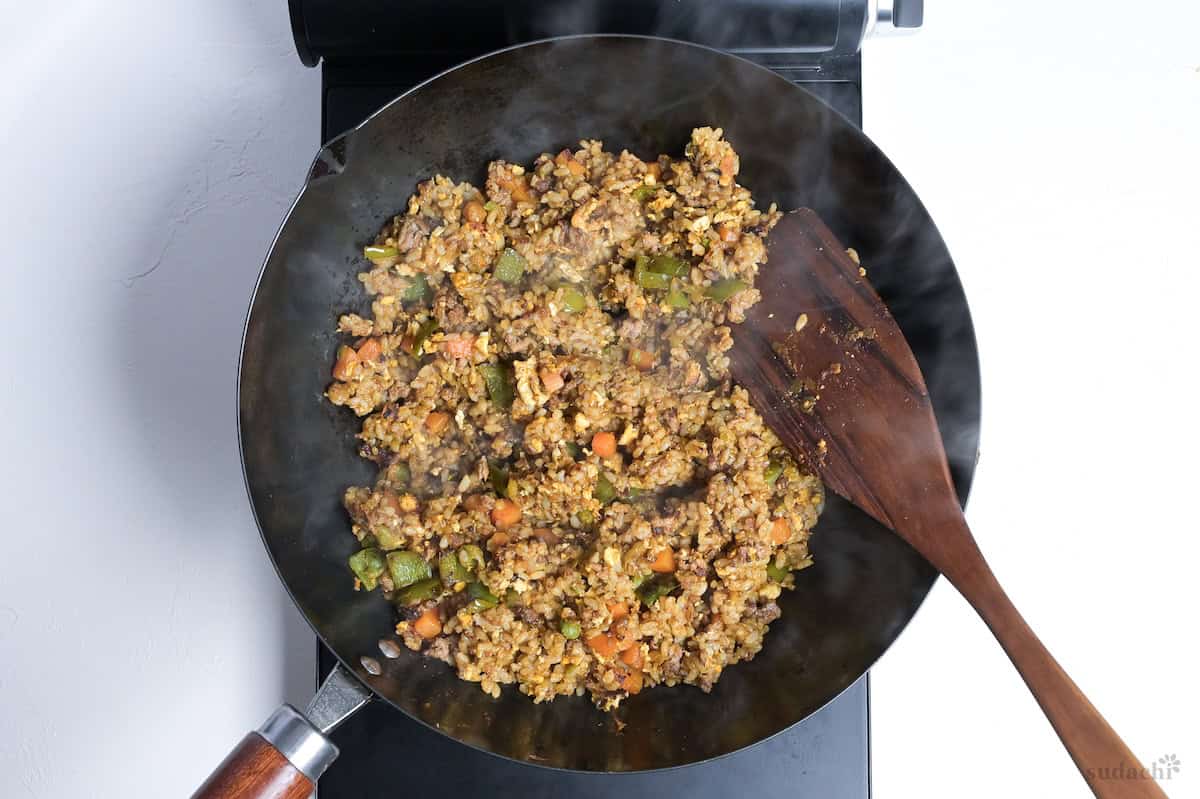
iii. Add rice and pork, then fold and cut through until grains separate and you hear sizzling. This keeps the curry coating even. If clumps won’t break, spread the rice out 20 seconds, then tap them apart with the spatula edge.
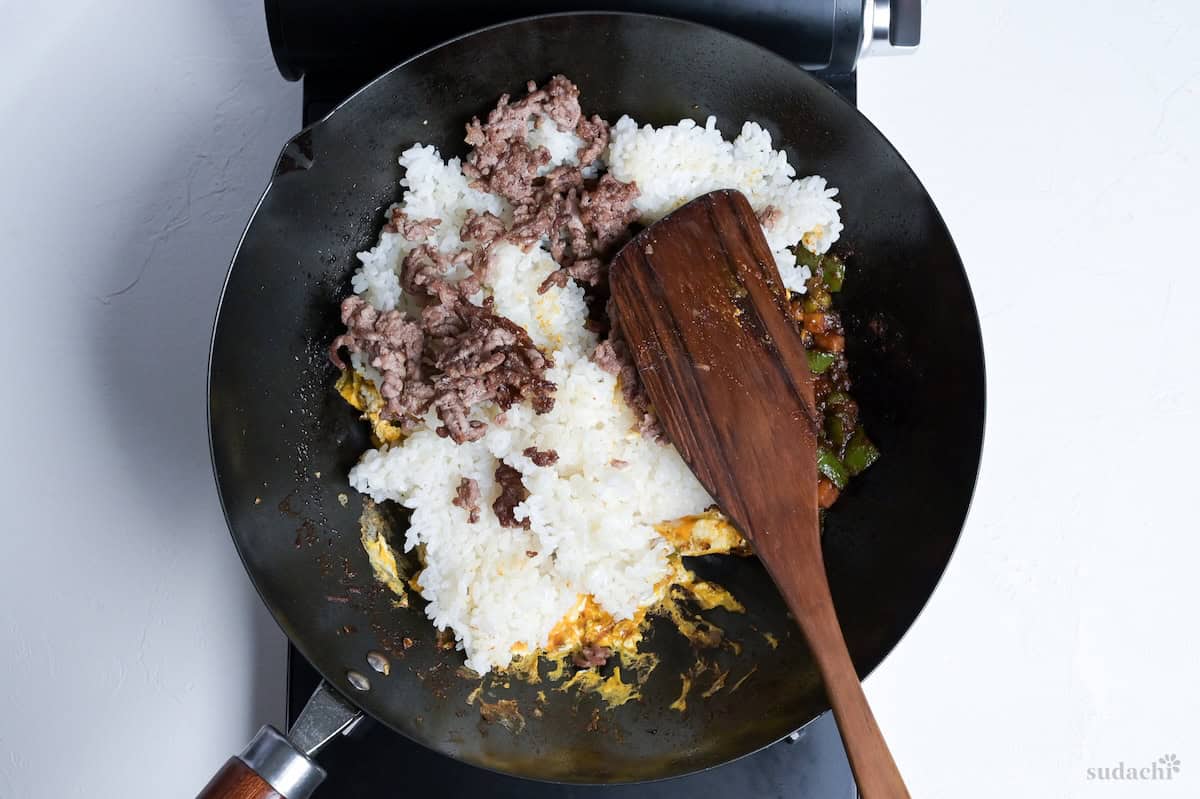
iv. Keep the heat steady and your hands moving.
i. Clear a small spot on the wok surface and pour in the soy sauce (or simply drizzle on the wok wall). It’ll sizzle and caramelize instantly, sending up a toasted, almost smoky aroma.
ii. Immediately fold that charred soy essence through the rice before it burns. This technique adds a subtle roasted depth that plain stirred-in soy sauce can’t match.
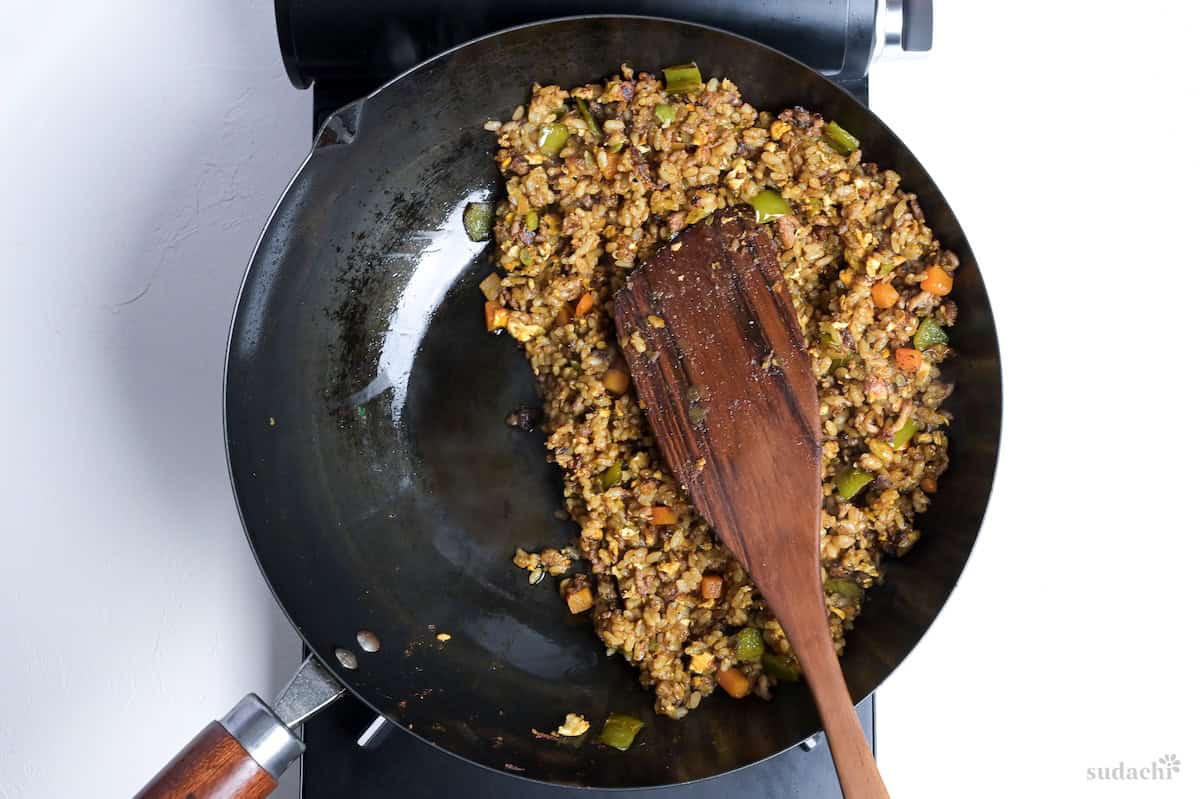
i. Turn off the heat and drop in cold butter and a generous pinch of garam masala. Stir quickly as the butter melts into glossy pools, coating the rice with richness and amplifying the curry’s warmth.
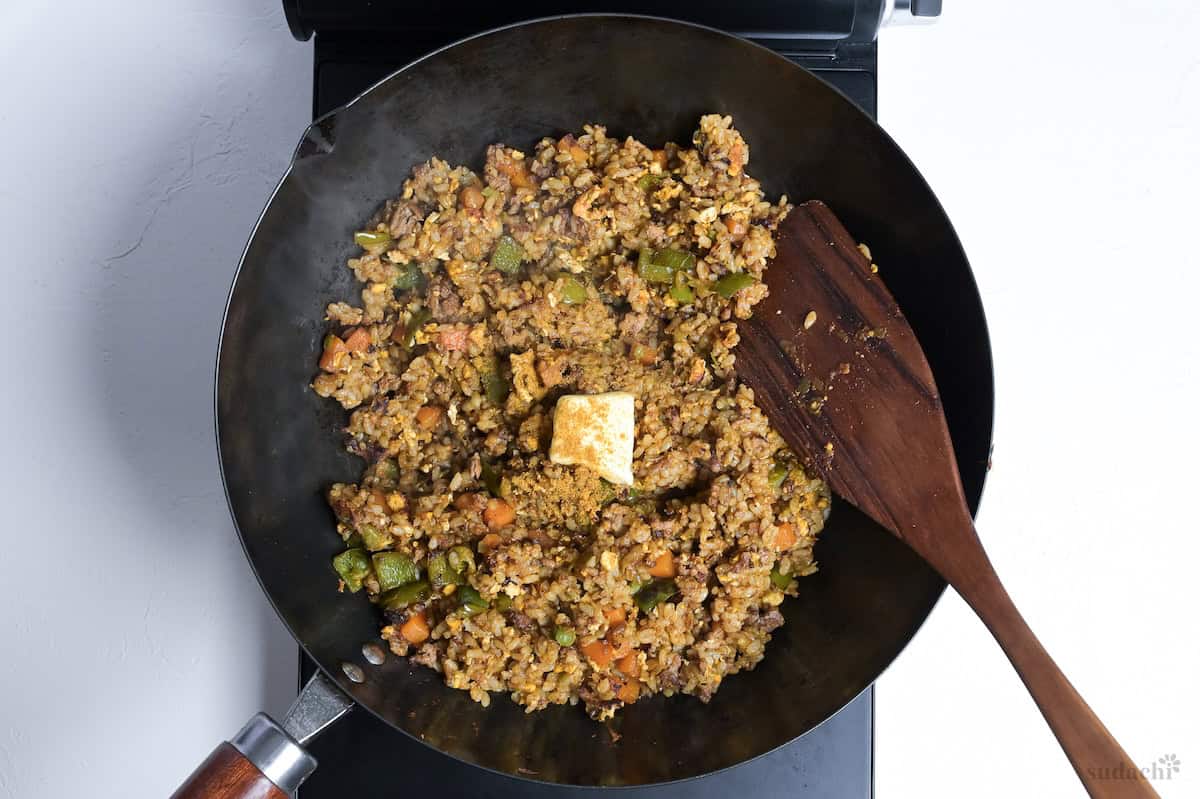
Adding the garam masala off-heat preserves its delicate, volatile top notes, which would otherwise be lost to the high-heat stir-frying process.
If you find it under-salted, either fold in salt/soy sauce, pinch by pinch to meet your perfect balance. If too savory, balance it out with a touch of sugar.
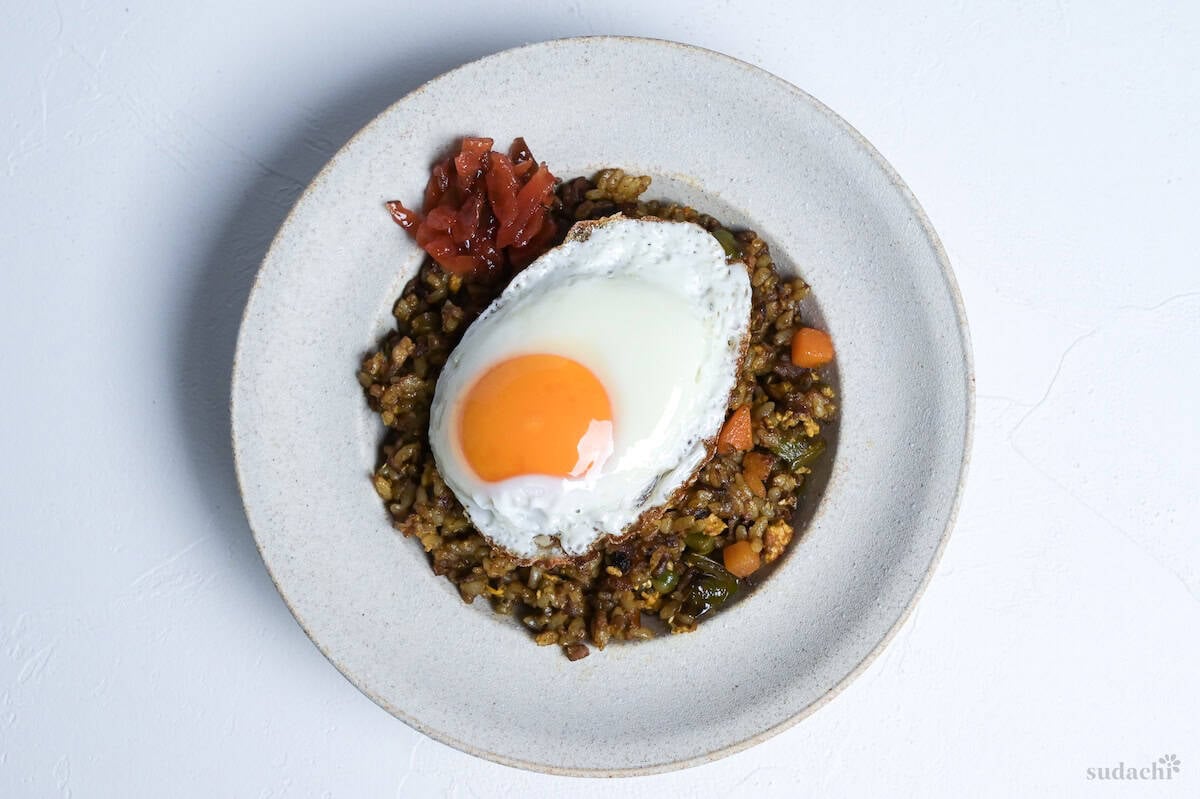
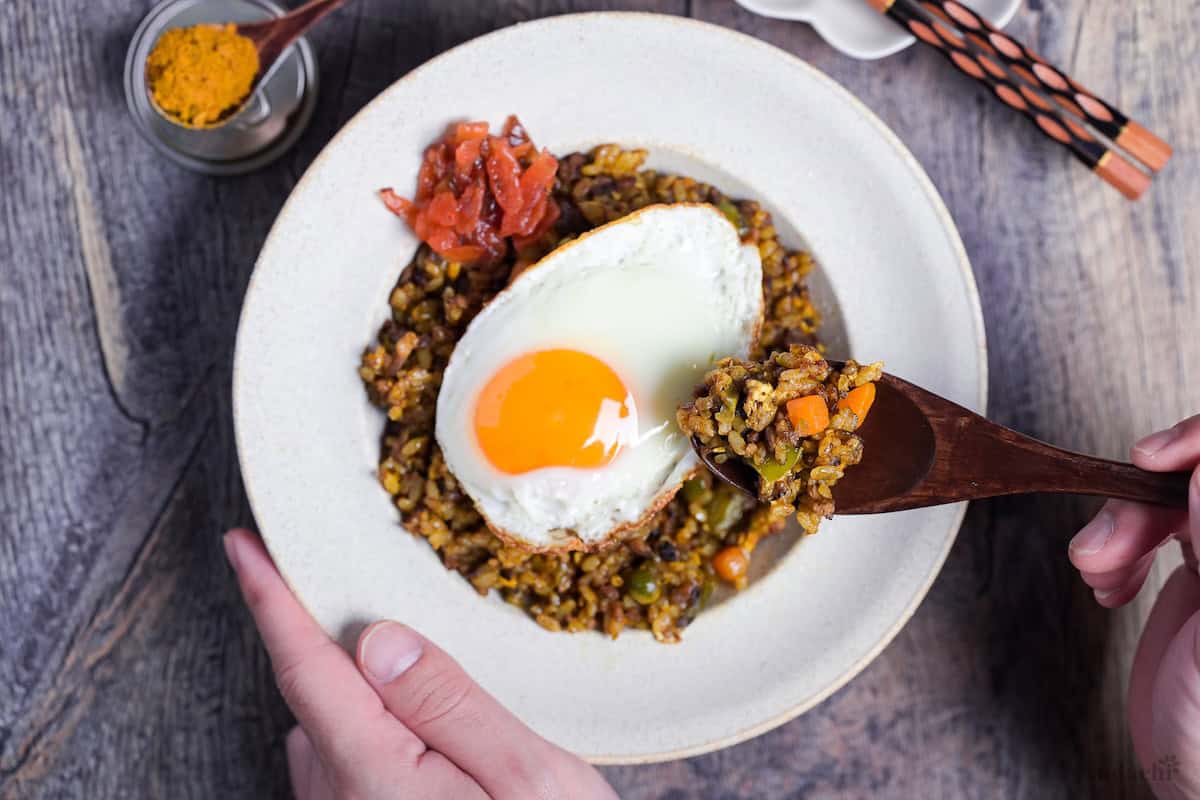
ii. Mound the rice onto warmed plates. Optionally, nestle a small pile of fukujinzuke (sweet-tangy Japanese curry pickles) on top or alongside and sunny-side-up eggs.
If you follow the default recipe, it will yields 2-3 main servings, or 4-5 side servings.

Essential Tips & Tricks
- Finish all chopping and pre-mix the sauces before you turn on the heat so stir-frying stays hot and fast (no pausing = no steam), otherwise hesitation drops the pan temp and your curry fried rice turns wet and uneven.
- Use day-old refrigerated rice warmed to body temperature (20 seconds in microwave, no lid) because cold starch molecules resist clumping through retrogradation, while ice-cold rice kills your pan’s heat instantly and creates steam pockets that turn grains mushy.
- Bloom the curry powder in hot oil for exactly 15 seconds until fragrant but not smoking.
- Scramble eggs to soft curds, then fold (don’t stir) rice using a cutting motion to coat each grain with egg’s natural lecithin, preventing clumps.
- Drizzle soy sauce along the pan’s hottest edge (or center for induction) to instantly caramelize it into concentrated umami before folding through.
With these simple tips in mind, you’re set for success every time you make ultimate curry fried rice.
Storage & Meal Prep
Fridge: Store in an airtight container for up to 2 days, and cool fast in a shallow layer before sealing to limit condensation (which makes rice go soggy). Expect the grains to firm up and the curry aroma to dull a bit.
Freezer: Freezing is recommended for up to 1 month when stored in single-portion airtight bags to prevent freezer burn. Crisp edges won’t survive freezing, but you can re-crisp with a quick pan finish.
Meal Prep: Prep ahead by chopping the vegetables, mixing the sauce, and chilling measured cooked rice in advance (day-old rice = easier separation).
Reheating: Microwave refrigerated or frozen portions until steaming (1-2 minutes per serving, stirring halfway), then transfer to a hot skillet for 60 seconds to drive off moisture and restore slight crispness. Skip the skillet step only if you’re pressed for time. You’ll sacrifice those toasted edges but the curry flavor holds.
What to Serve With This Recipe
Curry Fried Rice FAQ
Day-old rice is easiest because starch retrogradation makes the grains firmer and less sticky, so they “fry” instead of steaming. If you only have fresh rice, spread it in a shallow container, let steam escape, and cool until it feels dry on the surface, then de-clump before stir-frying.
You can’t for this recipe, since roux blocks contain flour and thickeners, they can make the rice “saucy” rather than “fried.” It also contains salty ingredients, so it will break the flavor profile and salt content massively.
Sogginess is usually caused by crowding the pan, which drops the temperature and traps steam. If this happens, immediately turn the heat to maximum and spread the rice thin to force rapid moisture evaporation. Stop stirring for a minute to allow the bottom to sear and dry out. If it’s still too wet, adding a tiny bit of extra oil can sometimes help the grains separate, but batching your portions according to your pan size is the best long-term fix.
More Japanese Curry Recipes
- Chicken Katsu Curry and Rice
- Japanese Style Dark Seafood Curry
- Curry Udon
- Curry Flavor Age Gyoza (Deep-Fried)
Hungry for more? Explore my Japanese curry recipe collection to find your next favorite dishes!
Did You Try This Recipe?
I would love to hear your thoughts!
💬 Leave a review and ⭐️ rating in the comments below. 📷 I also love to see your photos – submit them here!

Curry Fried Rice (Japanese-Style)
Ingredients
- 350 g cooked Japanese short-grain rice or Calrose, leftover rice or firm rice recommended
- ¼ onion medium, finely diced
- ¼ bell peppers cubed
- ¼ carrot medium, small cubes
- 2 tbsp green peas
- 1 tsp lard or neutral oil
- 100 g ground pork or ground chicken
- 1 pinch salt
- 1 pinch sugar
- 1 tbsp Japanese style curry powder or regular curry powder mix
- 1 tsp grated ginger root or ginger paste
- 1 tsp grated garlic or garlic paste
- 2 eggs room temp
- 2 tsp Japanese soy sauce (koikuchi shoyu)
- 1 pinch garam masala
- 1 tsp unsalted butter cold
- fukujinzuke pickles optional topping
- sunny-side-up eggs optional topping
Sauce
- 1 ½ tbsp tomato ketchup
- 1 tsp Chinese-style chicken bouillon powder based on 1 tsp = 200ml soup ratio, scale to your brand's strength
- 1 tbsp Worcestershire sauce
- 1 tbsp red wine
My recommended brands of ingredients and seasonings can be found in my Japanese pantry guide.
Can’t find certain Japanese ingredients? See my substitution guide here.
Instructions
- Prepare all of your ingredients before you start. All vegetables should be washed, peeled and finely diced. Spread 350 g cooked Japanese short-grain rice out in a wide container, measure out 1 tbsp Japanese style curry powder and grate the aromatics. Mix the sauce in a small bowl (1 ½ tbsp tomato ketchup, 1 tsp Chinese-style chicken bouillon powder, 1 tbsp Worcestershire sauce, 1 tbsp red wine) and set everything within arms reach.

- Heat a wok or large deep pan on medium high and grease with 1 tsp lard (or neutral oil). Once hot, add 100 g ground pork and sprinkle with 1 pinch salt and 1 pinch sugar. Cook undisturbed for 2 minutes or until browned underneath, then flip and cook the other side for 1 minute.
- Transfer the pork to a plate and return the wok to the stove. Add ¼ onion, ¼ bell peppers, ¼ carrot , and 2 tbsp green peas . Stir fry until the onions turn translucent and the carrot is tender crisp (about 2-3 minutes).
- Push the vegetables to one side, and drizzle a touch of oil in the empty space. Add 1 tsp grated ginger root, 1 tsp grated garlic and the measured curry powder to the pan, and mix with the oil for 15 seconds.
- Add the bowl of sauce from earlier and mix everything together. Reduce the sauce until thickened and coats the vegetables.
- Push everything to one side one more and crack in 2 eggs. Scramble until about 80% cookied.
- Add the rice and cooked pork mince to the wok and mix everything together using a cut and fold motion with a spatula.
- Push the fried rice to one side again, and pour 2 tsp Japanese soy sauce (koikuchi shoyu) directly onto the wok. Let it sizzle, then push the rice back into the space and toss a few times to incorporate the charred soy flavor.
- Turn off the heat and stir in 1 pinch garam masala and 1 tsp unsalted butter.
- Serve with fukujinzuke pickles and sunny-side-up eggs. Enjoy!
What type of red wine would you recommend to substitute the one in the picture (unavailable where I am)? Would sake work just as well?
Hi AMC,
Thanks for asking! As long as it’s not a heavy, full-bodied red, you can use pretty much any red wine in your pantry. Sake can also be used. The taste will change a bit, but it’d still work well.
Yuto
good job
Thank you! 🙂