
Featured Comment:
“A new favorite. great recipe. I used sliced pork butt instead, what i had in my fridge. A drizzled of chili oil went perfect.”
– Edith (from Pinterest)
What is Yakimeshi (Japanese Fried Rice)?
In Japan, Yakimeshi (焼き飯) can simply be translated to “pan-fried rice”. It can be enjoyed at ramen, teppanyaki, and Chinese restaurants, as well as at home.
Essentially, yakimeshi is a variation of fried rice, similar to other Asian countries. The word “yaki” means “fried” just like Yaki udon and Yakisoba, and “meshi” means “rice” in Japanese. You might also know that fried rice is commonly called “Chahan” in Japan, but this term is more commonly used in Eastern Japan, while “Yakimeshi” is more commonly used in Western Japan.
Some people say that Yakimeshi is more like home-style fried rice with ingredients like cabbage, fish sausage, and chikuwa, while Chahan is the fried rice served in Chinese restaurants.
However, there’s no concrete answer to distinguish between the two. It’s important to understand that both Yakimeshi and Chahan mean fried rice, and there’s no right or wrong way to make it.
Visual Walkthrough & Tips
Here are my step-by-step instructions for how to make Miso Flavored Yakimeshi at home. For ingredient quantities and simplified instructions, scroll down for the Printable Recipe Card below.
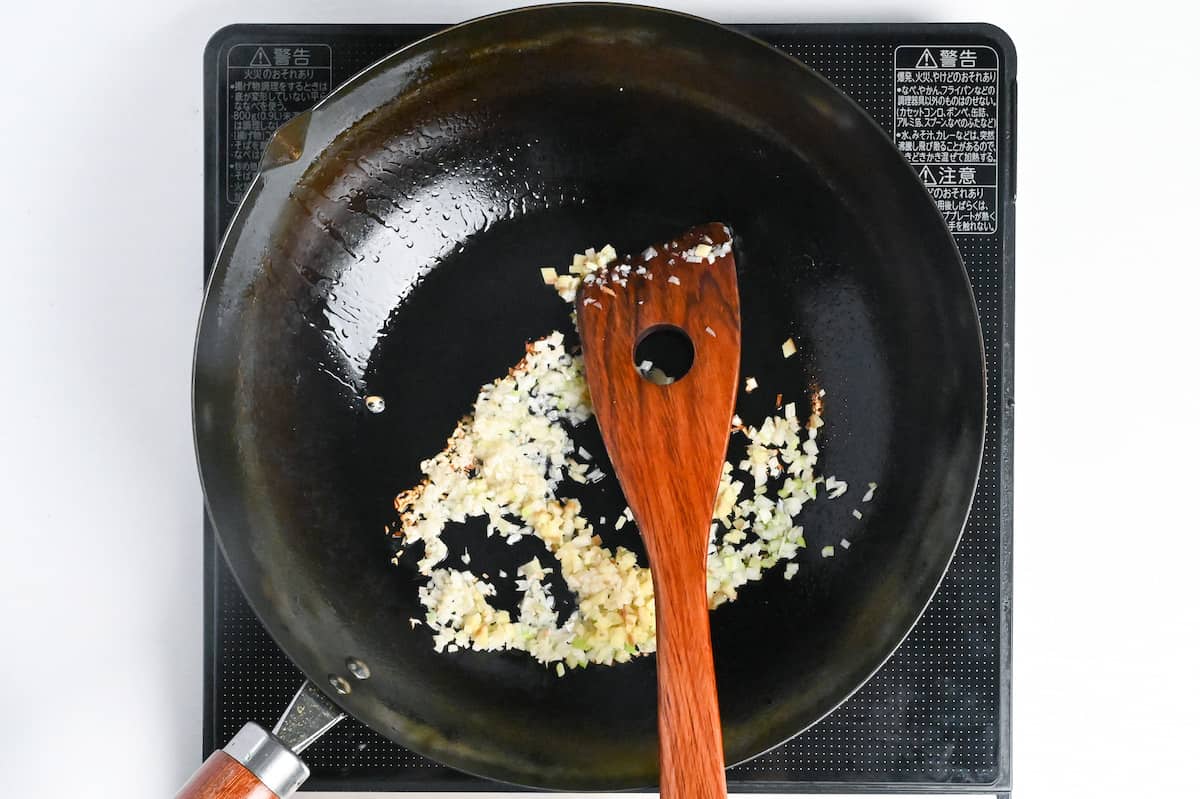
Heat a wok on medium-high and add the lard or your choice of cooking fat. Once melted, add finely chopped green onions (white part), fresh ginger, and garlic. Stir fry until fragrant, and be careful not to let it brown too much, as this will add a bitter flavor to the dish.
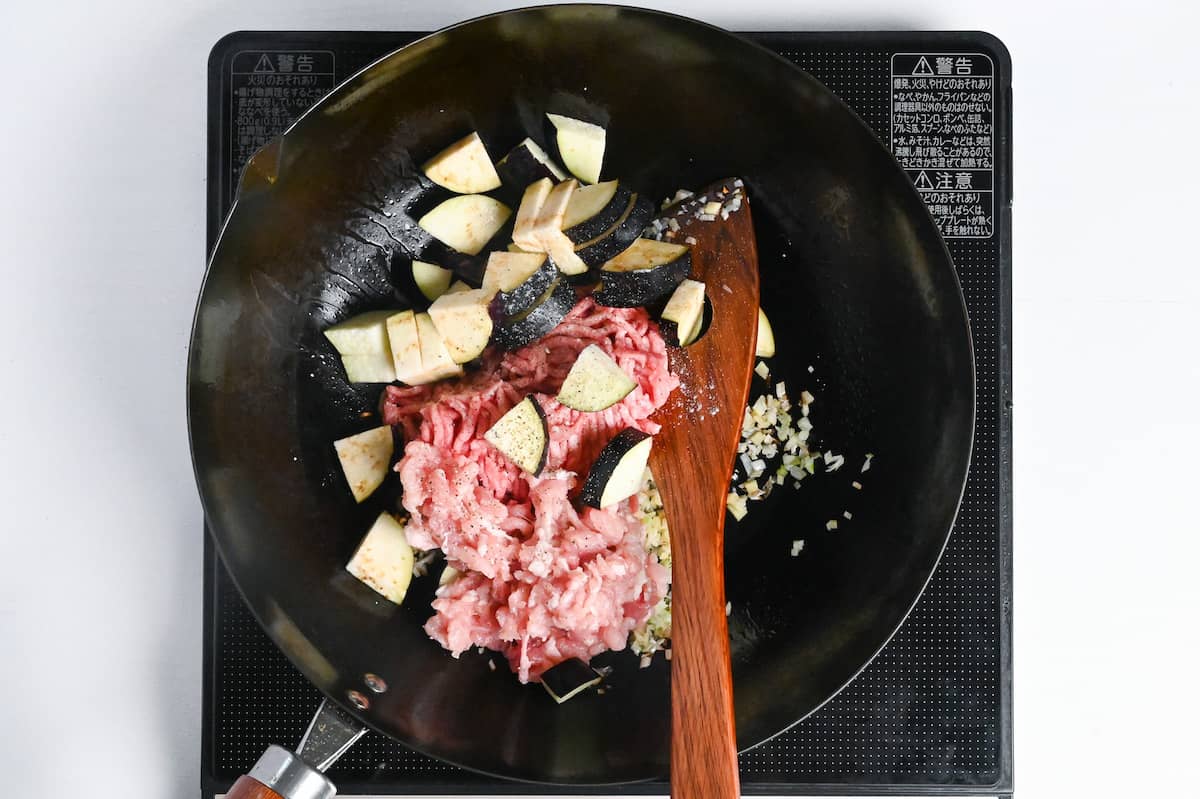
Add the ground pork, finely diced pork belly, and roughly chopped eggplant, and stir-fry everything together until the meat is sealed.
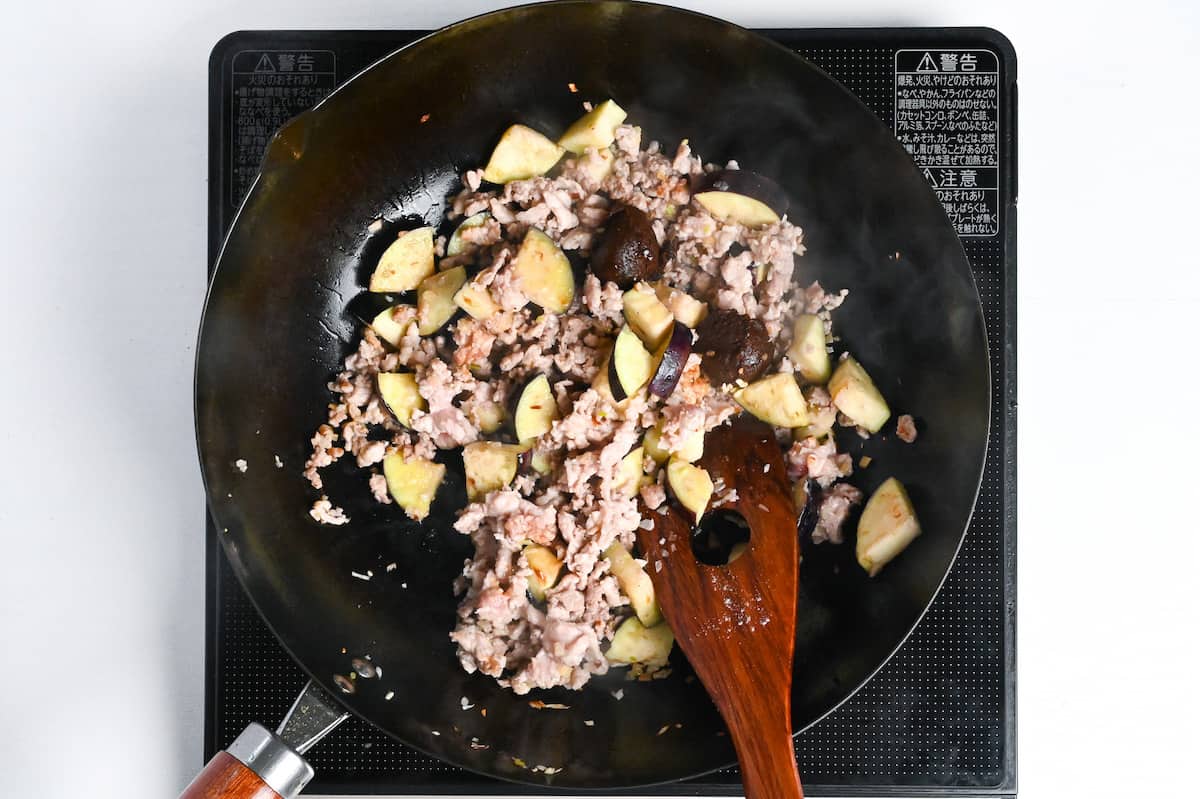
Once sealed, add the miso paste, soy sauce, oyster sauce, and chicken bouillon powder. Mix thoroughly until the condiments are evenly distributed.
Chicken bouillon powder varies by brand. My brand is 1 tsp per 200 ml, so if yours is more concentrated (e.g., 1 tsp per 300 ml or 1 cup), use touch less to avoid oversalting, and if it’s less concentrated, use a little more (and adjust to taste).
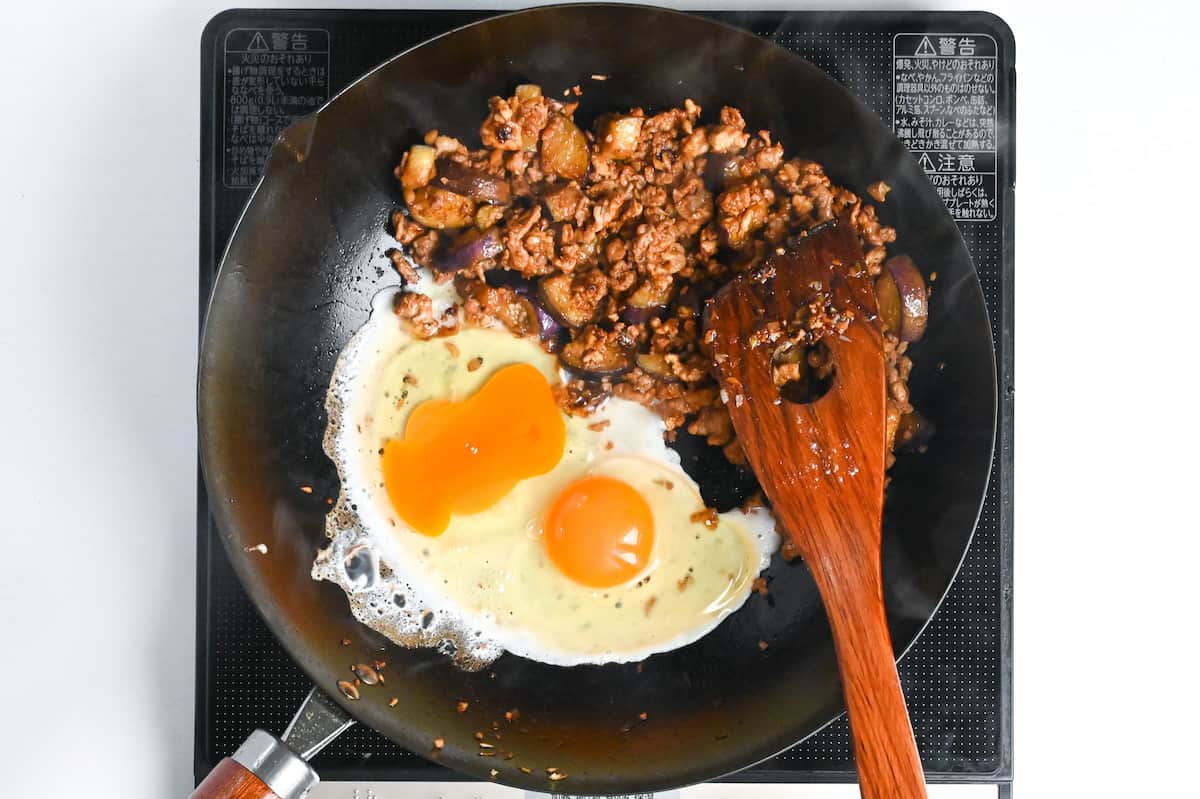
Push the seasoned meat and vegetables to one side and crack two eggs into the empty space.
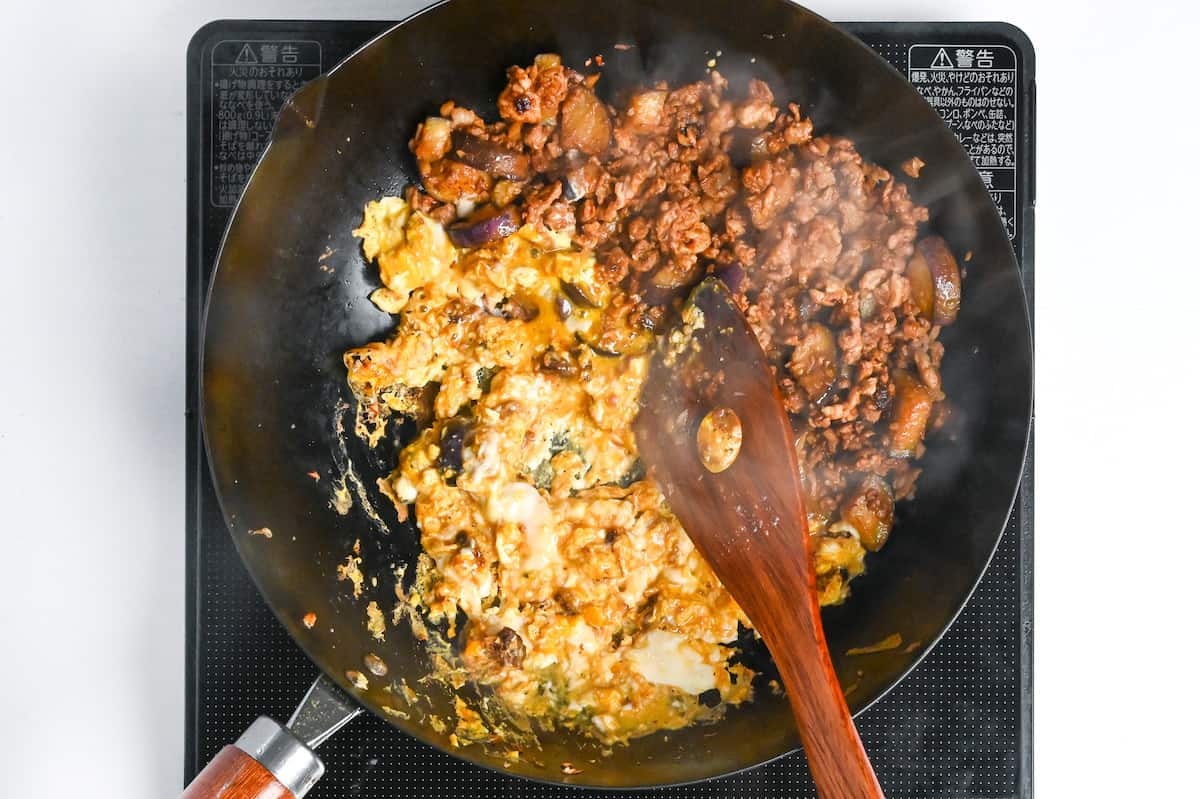
Let them firm up a bit before mixing to create a scrambled texture. If you do this too early, the egg pieces will be too small. Fry until the egg is half cooked to prevent it from becoming rubbery.
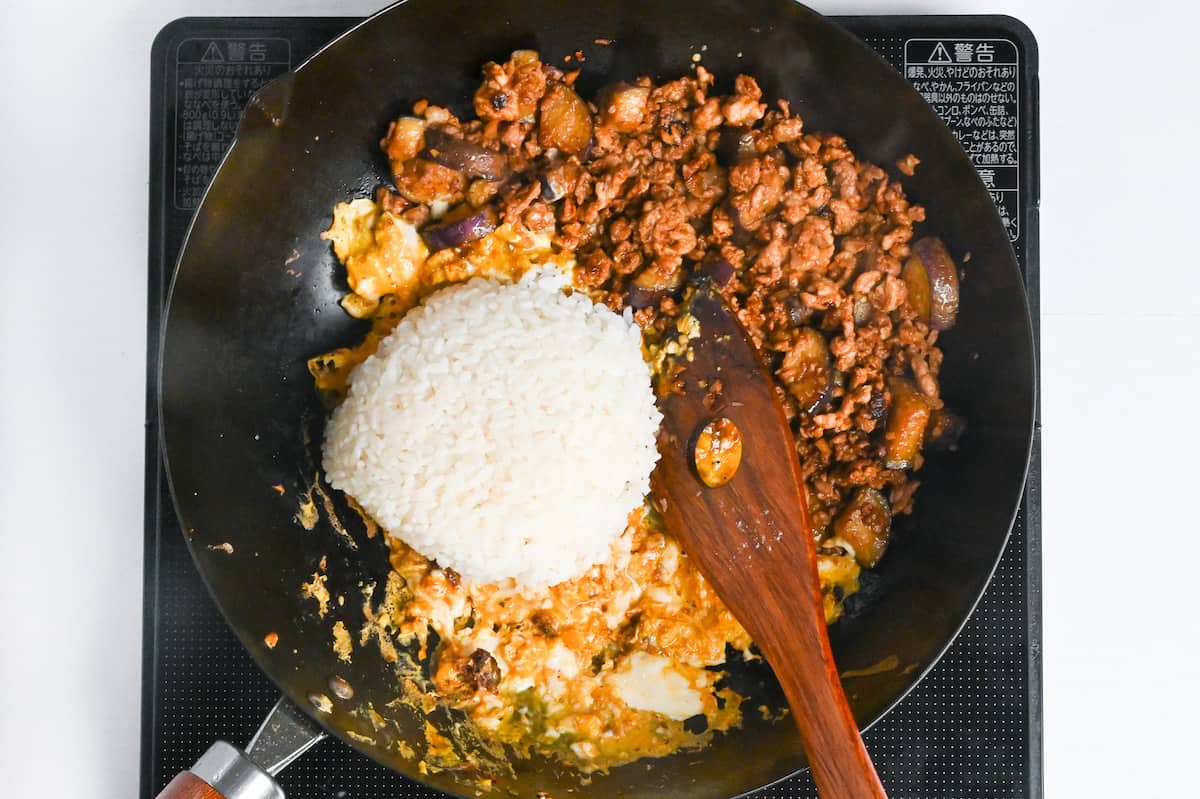
Add the cooked rice and stir fry until the rice is evenly distributed.
Tip: Use cooled rice to prevent it from becoming broken and mushy. The moisture from freshly cooked rice creates steam, whereas cooled rice is slightly dry and has a better texture when fried.
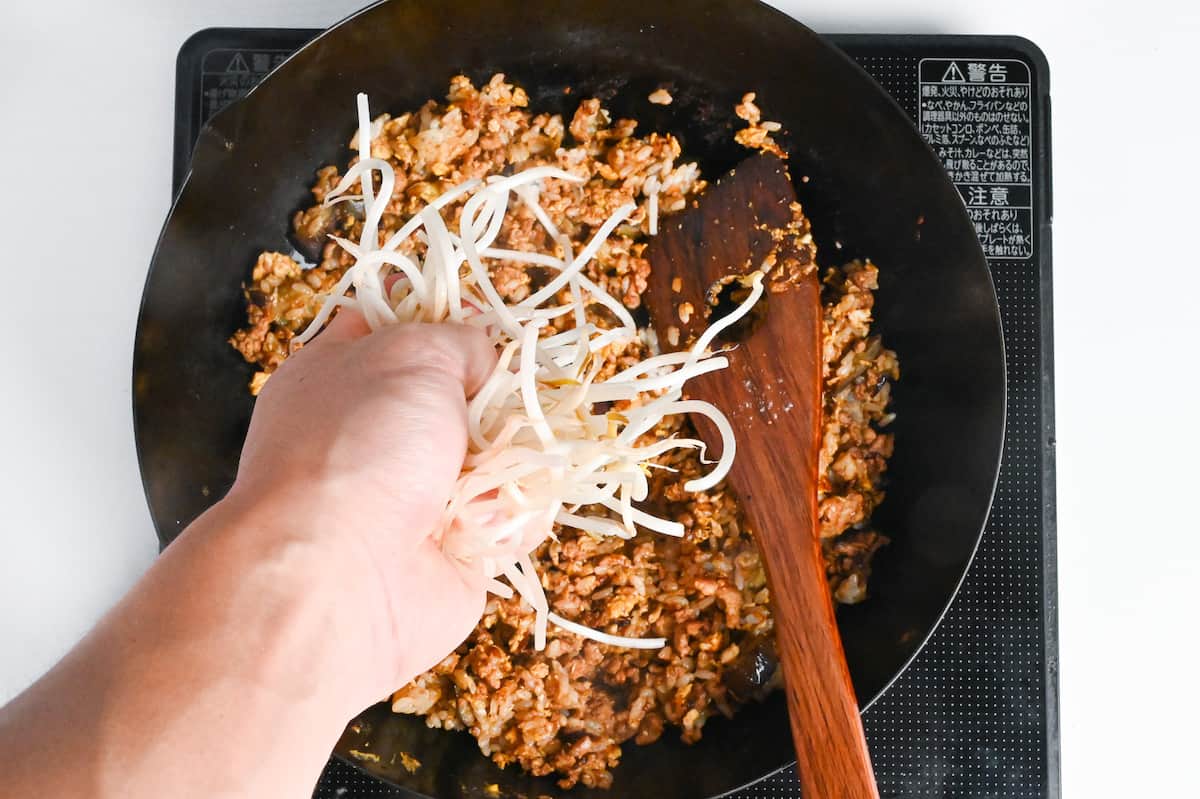
Crush the bean sprouts and add them to the pan. Stir fry for 1-2 minutes before removing the wok from the stove.
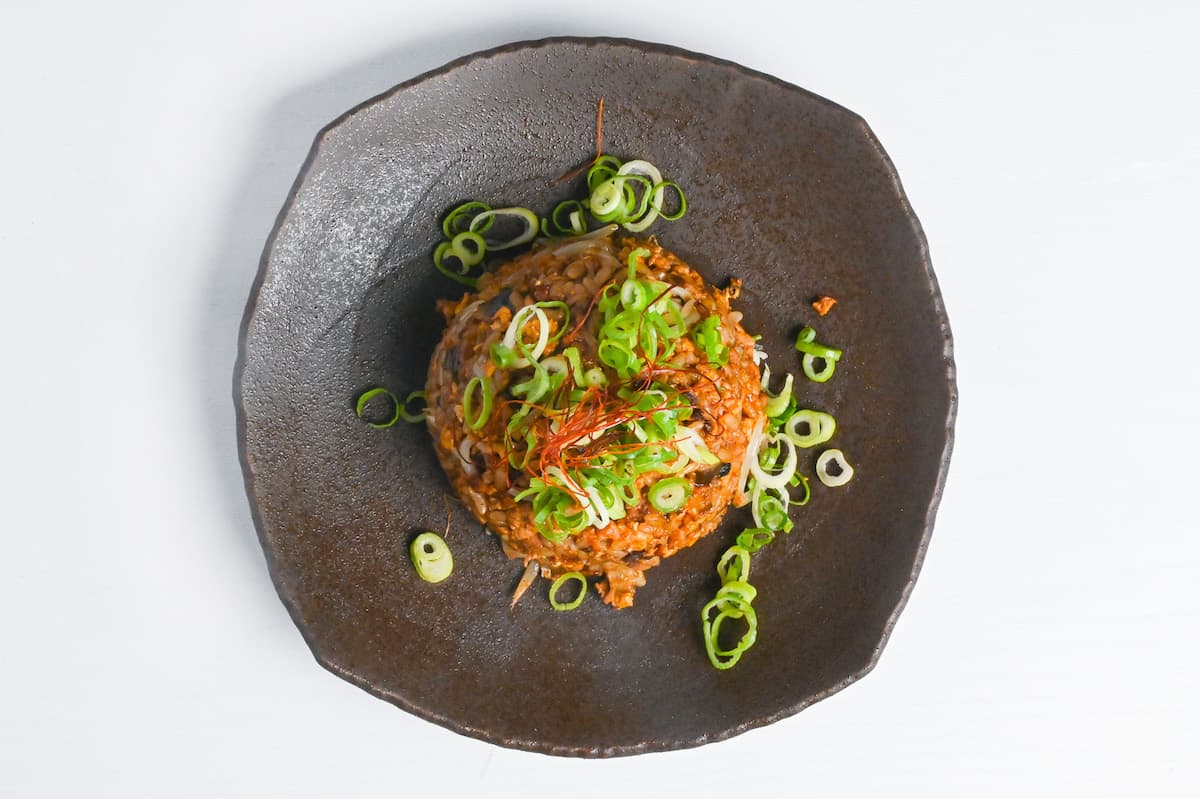
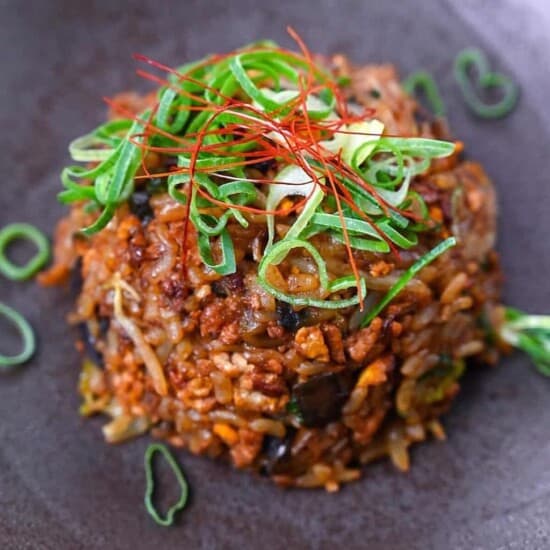
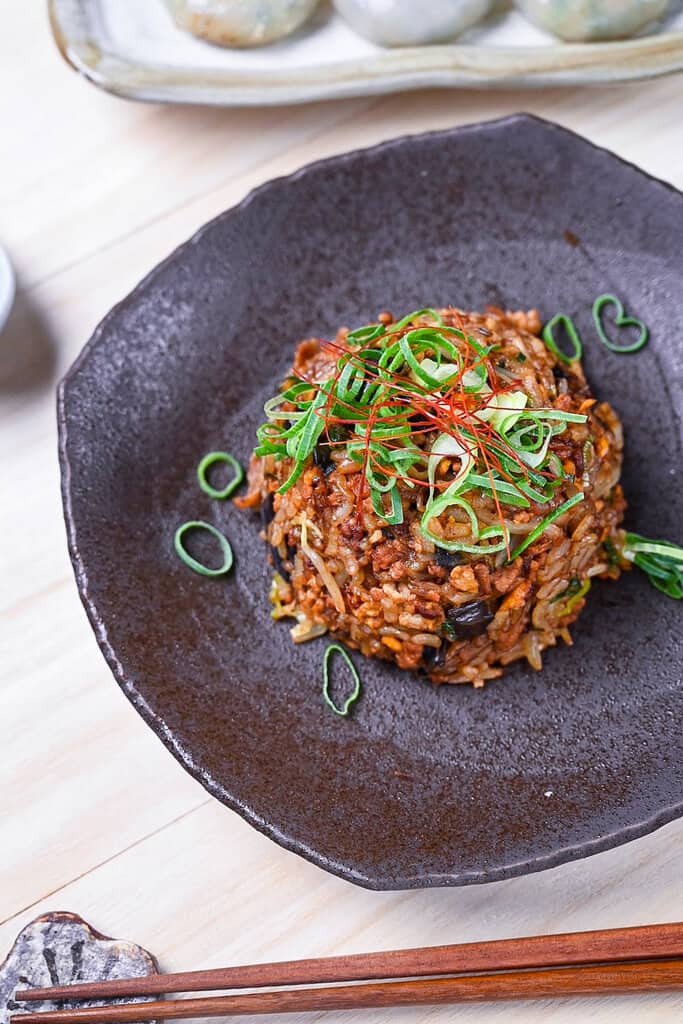
Plate up and garnish with chopped green onions, chili threads, and a drizzle of chili oil.
Enjoy!
Jump to Full Recipe Measurements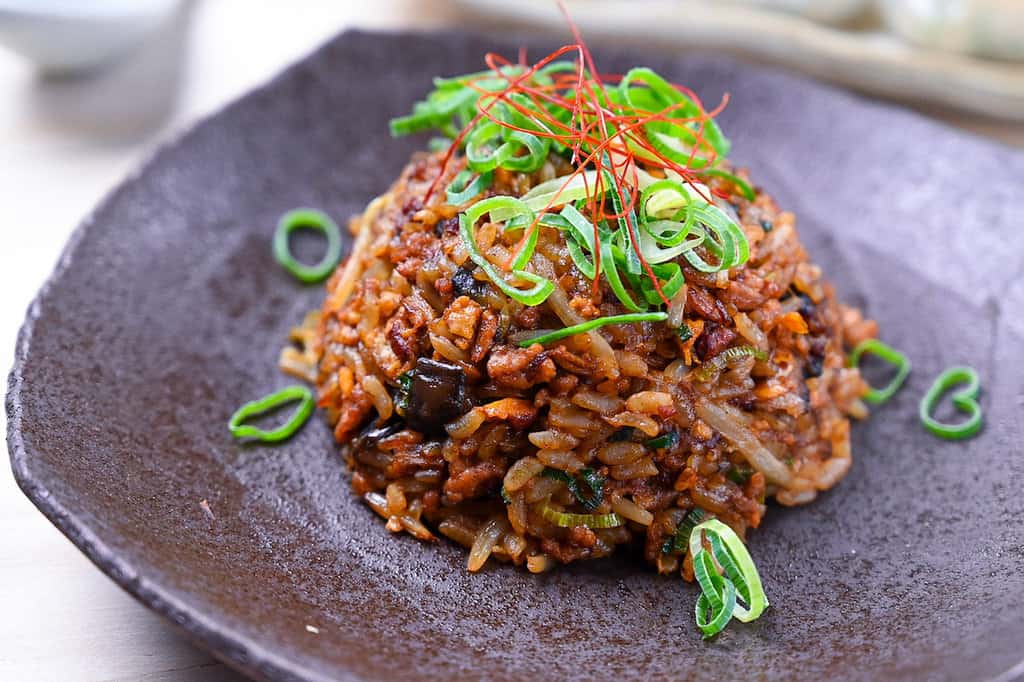
Tips & Tricks
- Cool the rice – This is essential for ensuring there isn’t too much moisture when adding it to the pan. Moisture makes the rice sticky, mushy, and soft, which is not a pleasant texture for fried rice. Many people recommend day-old rice, but as long as it is properly cooled and slightly dry, it doesn’t need to be a day old. If you’ve just cooked the rice, spread it out in a wide container and mix occasionally to cool it faster (make sure it’s covered so it doesn’t become too dry!).
- Don’t overcrowd the pan – Make sure to use a pan big enough for the number of portions you want to cook. Overcrowding the pan will cause uneven cooking and make it difficult to mix. I recommend cooking in batches if your pan is small.
- Preparation is key – If you measure out all of your ingredients and cut everything before you start to cook, the actual cooking process will be a breeze! This is also great for meal prep if you want to make it even quicker next time.
- Use plenty of oil – Since I use lard and pork, I find the wok stays evenly greased throughout the cooking process. However, if you use a different cooking fat or meat, you might find the wok drying as you cook. Be sure to add more oil if it starts to stick, especially before you add the eggs.
- Cooking the eggs – Push the other ingredients to one side of the pan and ensure the eggs make contact with the pan’s surface when adding them. Let them cook a little before mixing. This will ensure you have nice chunks of egg in your fried rice without it becoming lost. I also add the rice once they’re half-cooked to avoid overcooking them and making them rubbery.
- Don’t cook for too long – Take it off the heat once the rice is heated. Cooking for too long will result in dry fried rice.
How to Store
To keep yakimeshi fresh and tasty, avoid leaving it at room temperature. Instead, refrigerate it for up to two days or freeze it for up to a month.
Before refrigerating, let the rice cool and store it in a sealed container. It’s best to reheat using a pan or wok.
If freezing, wrap each serving tightly to prevent air exposure. Use a microwave oven for thawing and reheating.
Storage summary
Room temperature – Not recommended.
Refrigerated -Up to 2 days.
Frozen – Up to a month.

I hope you enjoy this Miso-flavored Yakimeshi recipe! If you try it out, I’d really appreciate it if you could spare a moment to let me know what you thought by giving a review and star rating in the comments below. It’s also helpful to share any adjustments you made to the recipe with our other readers. Thank you!
More Japanese Rice Recipes
- Chahan (Ramen Restaurant Style Fried Rice)
- Takikomi Gohan (Japanese Seasoned Rice)
- How to Cook Perfect Japanese Rice on the Stove

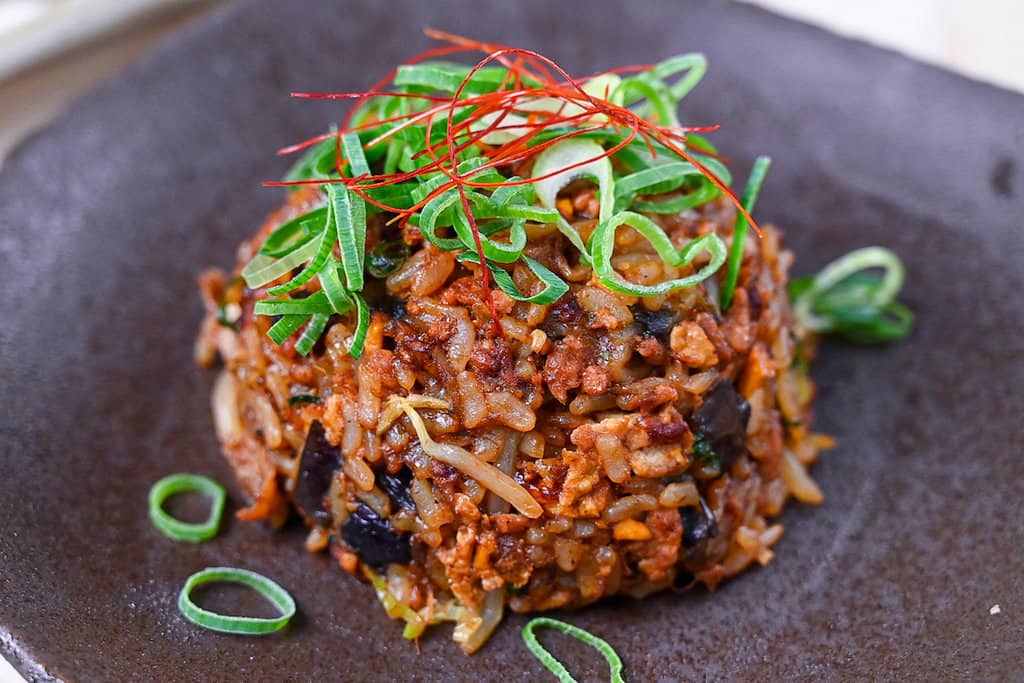
Yakimeshi (Japanese Fried Rice) with Pork and Miso

Ingredients
- 1 tsp lard
- 1 tbsp Japanese leek (naganegi) white part, finely diced
- 1 tsp ginger root finely diced
- 2 garlic clove finely diced
- 100 g ground pork
- 50 g slab skinless pork belly finely diced
- 60 g eggplant cubed
- 1 pinch salt and pepper
- 1 tbsp red miso paste
- ½ tsp Japanese soy sauce (koikuchi shoyu)
- ½ tsp oyster sauce
- 1 tsp Chinese-style chicken bouillon powder
- 2 egg
- 200 g cooked Japanese short-grain rice
- 100 g bean sprouts
- finely chopped green onions garnish
- chili oil (rayu) optional
- chili threads optional
My recommended brands of ingredients and seasonings can be found in my Japanese pantry guide.
Can’t find certain Japanese ingredients? See my substitution guide here.
Instructions
- Heat a wok on medium-high and melt 1 tsp lard. Once melted, add 1 tbsp Japanese leek (naganegi), 1 tsp ginger root and 2 garlic clove (finely diced). Stir fry until fragrant.

- Next, add 100 g ground pork, 50 g slab skinless pork belly and 60 g eggplant (cubed) with 1 pinch salt and pepper. Stir fry everything together until the meat is sealed.
- Add 1 tbsp red miso paste, ½ tsp Japanese soy sauce (koikuchi shoyu), ½ tsp oyster sauce and 1 tsp Chinese-style chicken bouillon powder, mix until everything is well incorporated.
- Once mixed, push the contents of the wok to one side and crack 2 egg into the empty space.
- Scramble the egg and fry until half cooked.
- Add 200 g cooked Japanese short-grain rice and stir fry until all the ingredients are evenly distributed.
- Crush 100 g bean sprouts in your hands and add them to the wok. Stir fry for 1-2 minutes.
- Remove the wok from heat and dish up. Top with finely chopped green onions, chili oil (rayu) and chili threads.
- Enjoy!
Made this tonight and the whole family loved it. The combination of pork, miso and egg is incredible. Will be making this regularly!
Hi Brunella,
Thank you for trying this recipe! So great to know it was a hit with everyone! 🙂
Yuto
Hello, can II use pork loin instead of pork belly , I hate fat very much . So would loin work as well?
Hi Carole,
Of course you can! Just keep in mind pork loin won’t release much fat as it cooks, so I’d add a splash of neutral oil to the pan to make up for it. That’ll keep everything balanced and stop it from drying out. 🙂
Yuto