
Picture one plate doing two opposite things at once. Skin so crisp it cracks under the fork like glass. A rich Japanese-style onion sauce built on garlic infused oil and rendered chicken fat. Then chilled grated daikon cutting through all that richness. Crackle against sauce, warm against cold.
This is the recipe where the small things matter, building layers of flavor in every step. What lands on the plate might look modest, but when it hits your palate, it’s not.

Chicken Steak
Recipe Snapshot
- What is it? A skin-on chicken thigh pan-seared until the skin shatters, a Japanese home and yoshoku staple that prizes crisp skin and juicy meat. This is my version, finished with a rich onion pan sauce and cold grated daikon.
- Flavor profile: Crackling skin against tender thigh, a deep savory sauce that leans Western with red wine and Worcestershire, then a cold radish bite that cuts the richness.
- Why you will love this recipe: 2 contrasts carry the plate, crisp skin against glossy sauce and hot rich sauce against cold refreshing daikon, and a starch dusting plus a weighted sear make restaurant-worthy results repeatable in a home pan.
- Must-haves: Boneless skin-on chicken thigh, a thin dusting of potato starch on the skin, and a flat heavy weight to press it into full pan contact.
- Skill level: Medium. The cooking is one-pan and quick, but crisp skin rewards watching the heat and lifting the foil to check by eye rather than the timer.
Summarize & Save this content on:
What Is Japanese Chicken Steak?
Chicken steak (チキンステーキ) in Japan is less a fixed recipe than a state a piece of chicken can be in. It is a single skin-on chicken thigh, seasoned and seared whole until the skin goes crisp, and it turns up all over Japan, on family restaurant menus, in old-school yoshoku spots, on the teppan at an izakaya. Walk into 10 places that serve it and you get 10 versions, because there is no correct one to chase.
For your information, this one has nothing to do with chicken-fried steak. They just share the word steak. And it is not teriyaki chicken either. Teriyaki lives by its glossy soy glaze, and once that glaze coats the skin, the crisp is gone. Chicken steak as we know in Japan is literally just any pan seared/sautéed chicken thighs with some kind of sauce.
Since there is no canonical version, this one is mine. I wanted crisp skin on a juicy thigh with a rich pan sauce, so I pulled the sauce toward red wine, Worcestershire sauce, and oyster sauce, a Western lean that gives the dish its steak backbone.
Pan Seared Chicken Thighs Ingredients
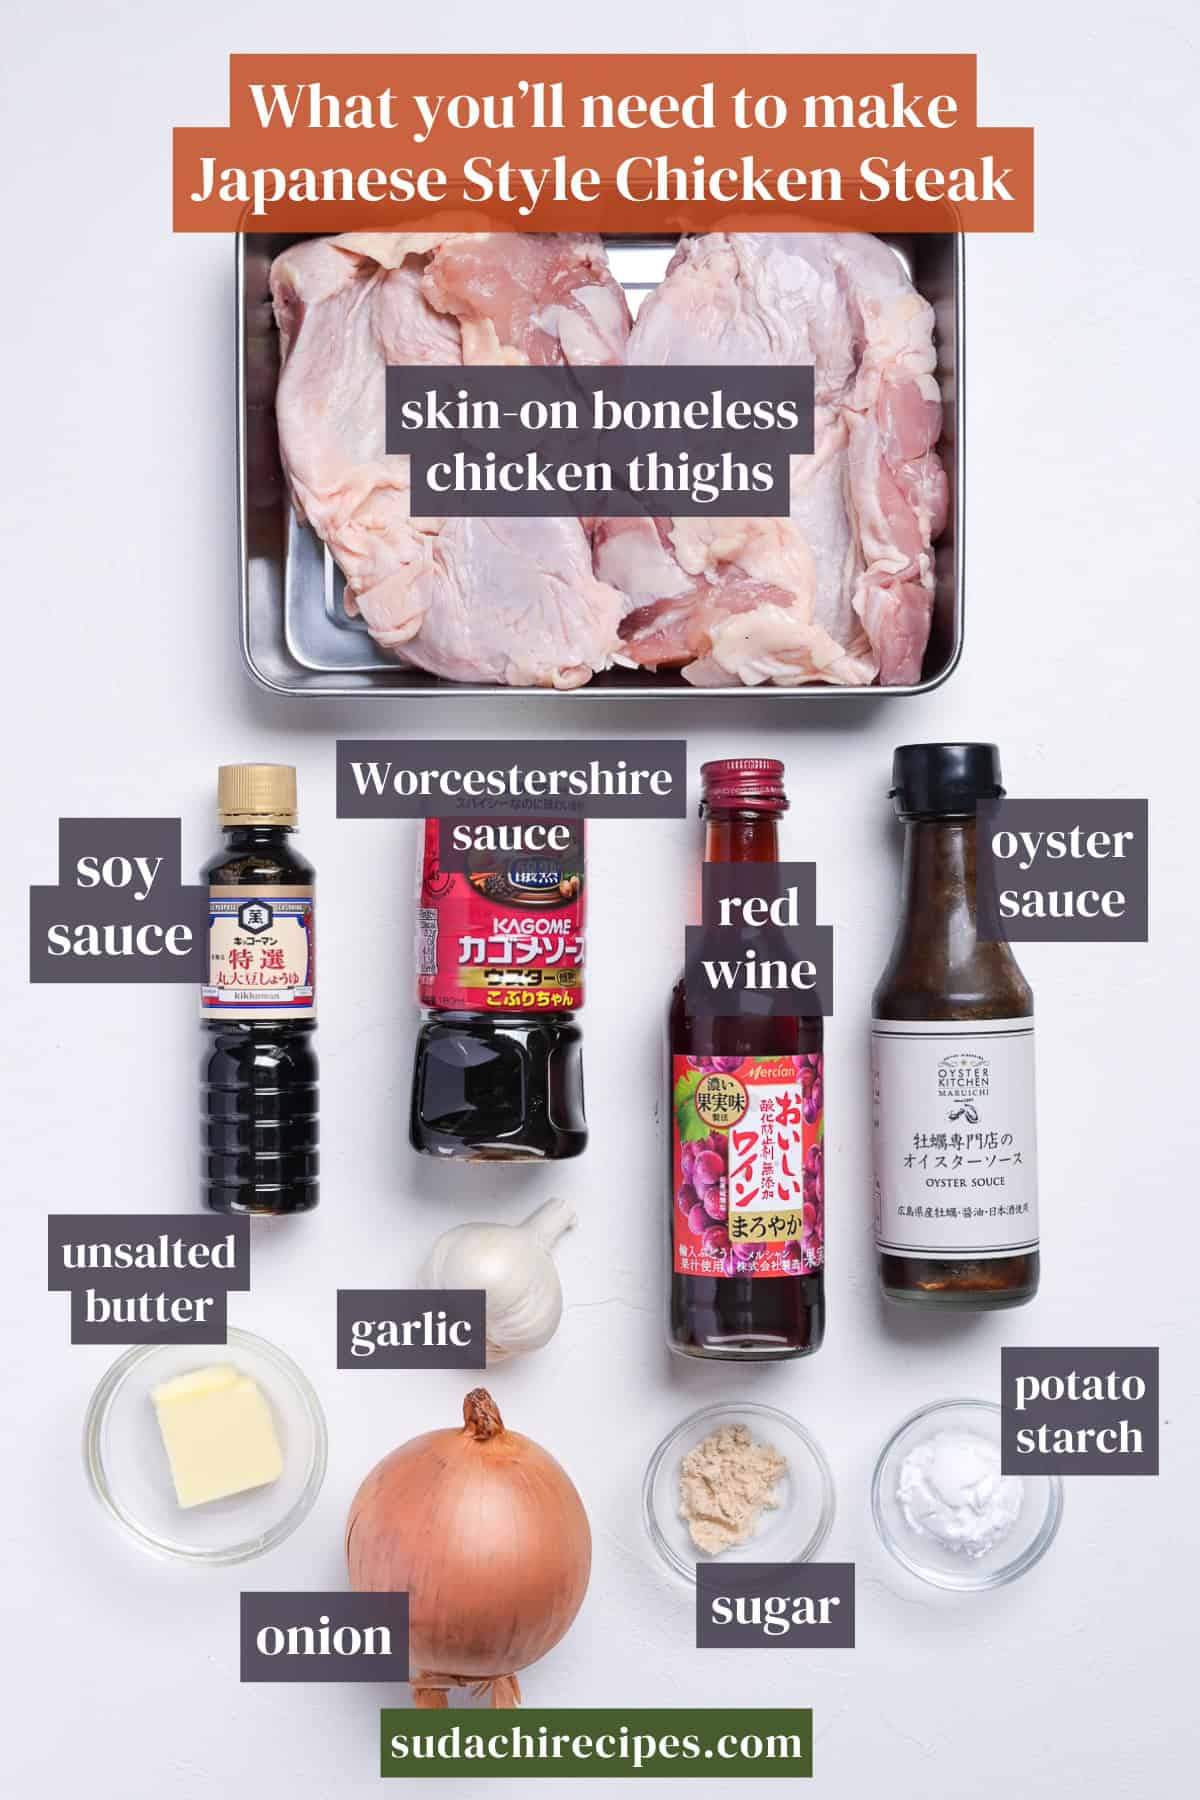
- Chicken thigh: The whole appeal here is a thigh’s juiciness under high heat, and breast loses the forgiveness that makes this work at home. Buy boneless skin-on if you can find it, and if your meat case only carries bone-in, grab that and debone it yourself with a knife or shears, keeping the skin intact.
- Potato starch (katakuriko): A thin dusting on the skin side is what gives you that brittle, glassy crust. The rule that matters most is thin. A light film right before the chicken hits the pan, on the skin side alone. Pile it on thick and you get a gummy, pasty layer that never sets.
- Red wine: This is part of what pulls the sauce away from teriyaki. It brings a deep, slightly tannic edge that mirin and sake cannot give you. Anything dry that you would happily drink works fine.
Substitution Ideas
- Red wine → dry white wine: White wine works. The sauce comes out lighter, without the dark backbone, but the steak character still lands. Reach for red if you have it, go white if that is what you have.
- Potato starch (katakuriko) → cornstarch: A clean one-to-one swap on the skin. Cornstarch crisps a touch less shattery than katakuriko, but the difference is small. The rule that does not change is dust it thin and dust it late.
- Boneless skin-on thigh → bone-in skin-on thigh: If your store only carries bone-in, that is fine, you just do the deboning yourself with a knife or shears. Keep the skin attached and intact, since that unbroken skin is the entire reason this dish exists.
Have trouble finding Japanese ingredients? Check out my ultimate guide to Japanese ingredient substitutes!
How to Make My Pan Seared Chicken Thighs
Before you start (Mise en place):
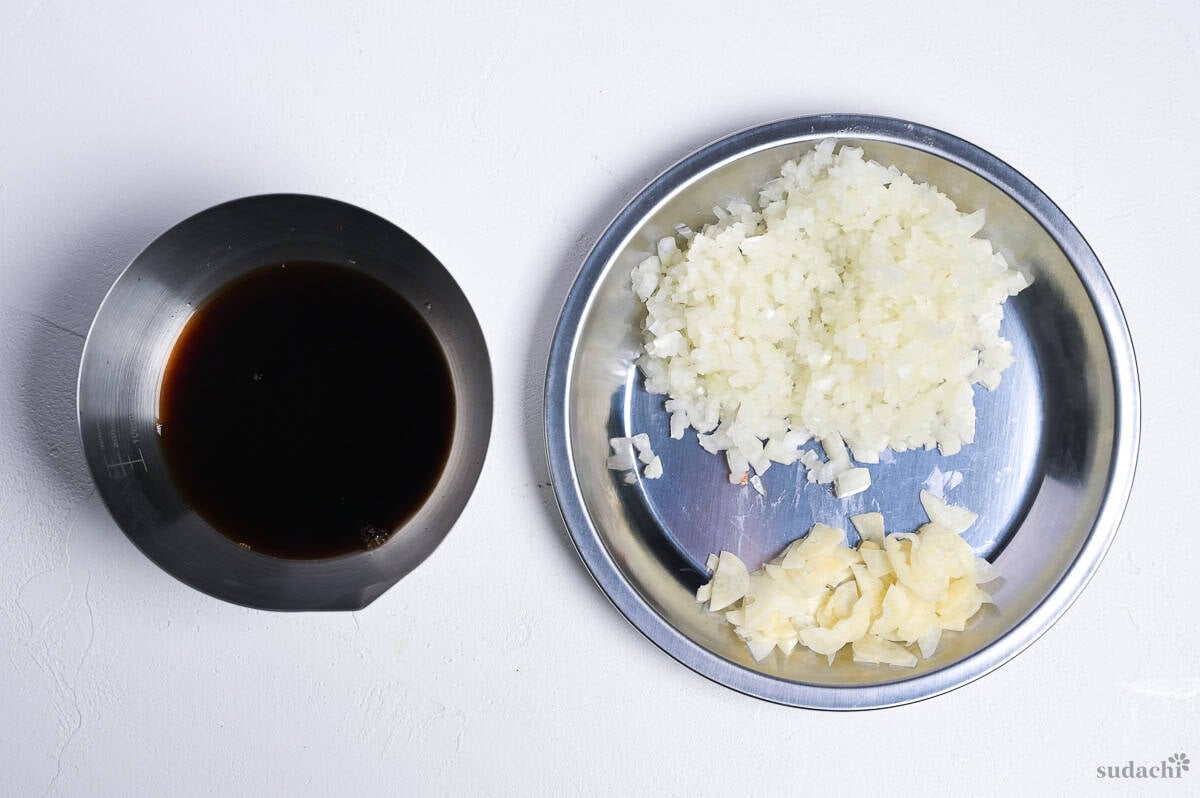
- Slice garlic cloves thin and pull out the green germ in the center.
- Finely chop half an onion and set it aside on its own.
- Mix together all the sauce ingredients except the onion. That is soy sauce, oyster sauce, red wine, sugar, and Worcestershire sauce, stirred together in a small bowl so it is ready to pour.
- Pull your chicken thigh (about 2 thighs) out of the fridge 30 minutes ahead if you can.
If you are cooking 2 thighs, use a pan at least 26 to 28cm across. I like stainless or carbon steel, but nonstick is fine too. The amount of skin that actually touches the pan is directly tied to how crisp it gets, so bigger is better.
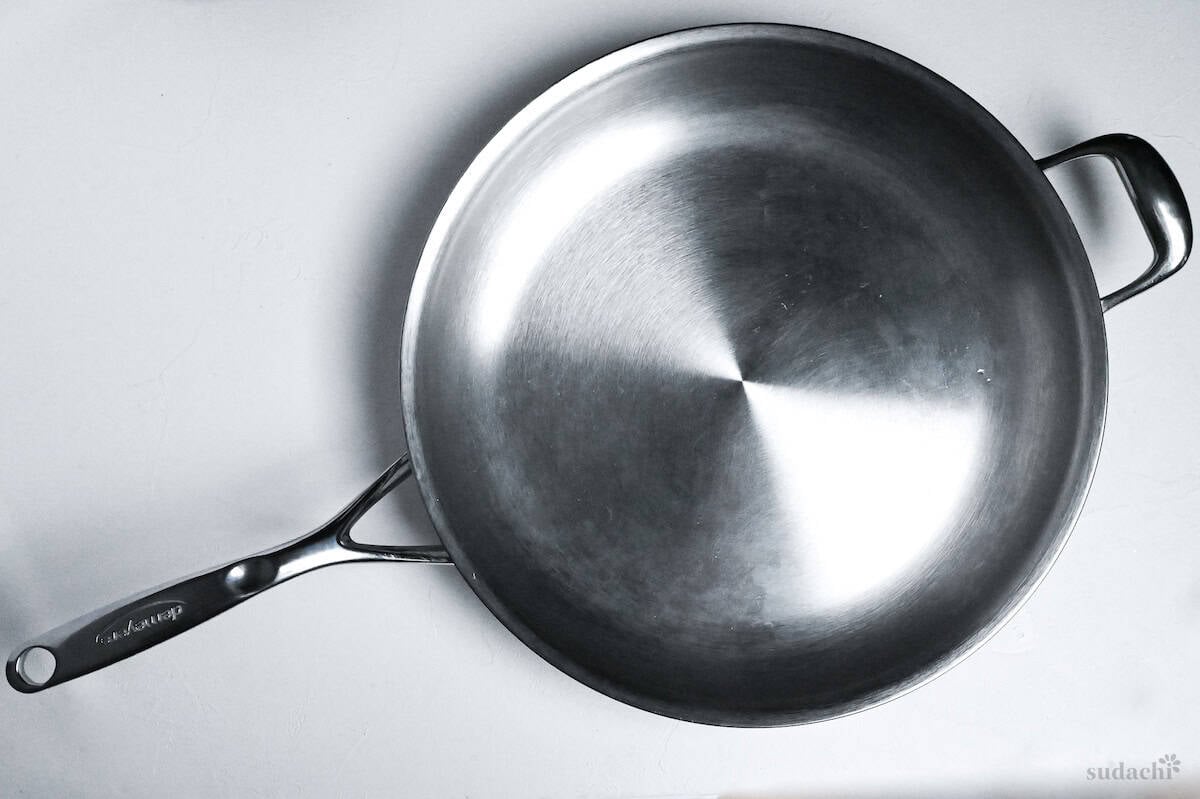
The pan I used developing this recipe was a 32cm stainless pan.
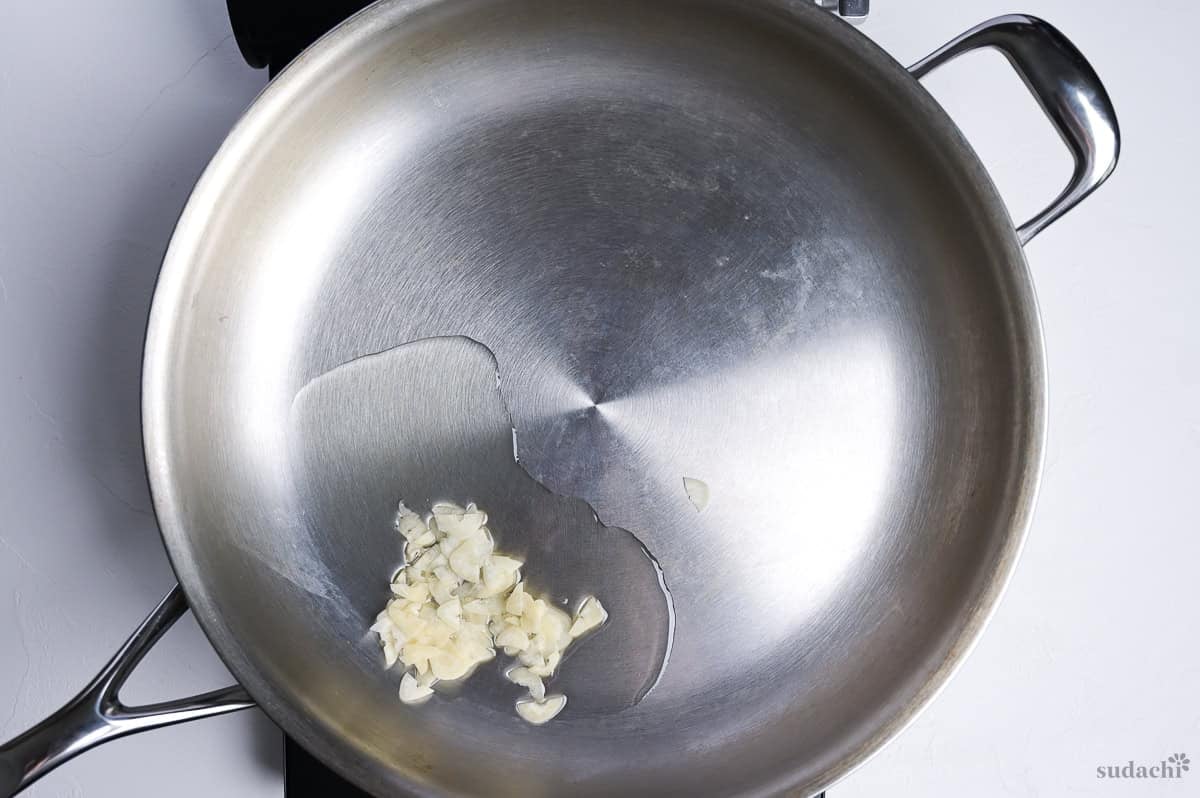
i. Add cooking oil to the cold pan, drop in the garlic slices while it is still cold, and set the heat to low. Fry gently for about 5 minutes until the garlic turns a light golden, a pale caramel color, and pull it out well before it goes dark brown.
ii. While the garlic fries, open up the meat side of each thigh with a knife or shears, butterflying the thickest part so the whole thing lies as flat as you can get it.
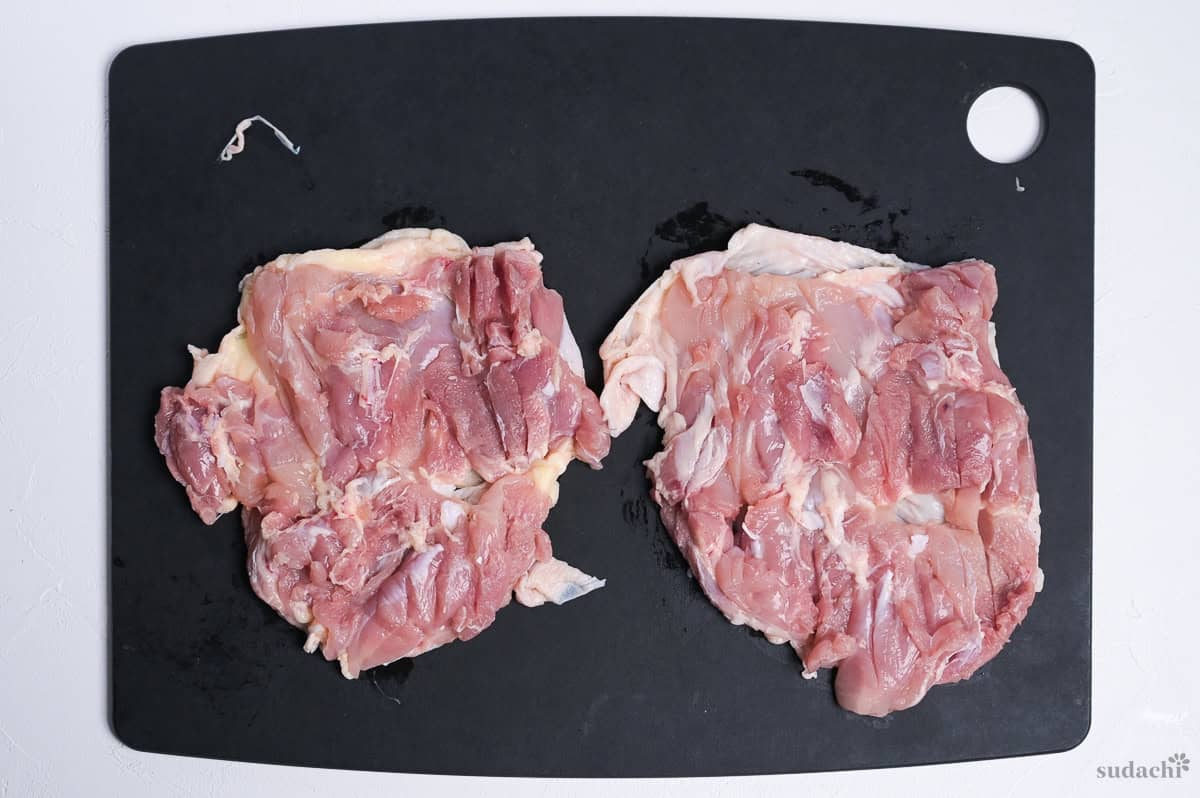
iii. Then poke holes all over the skin with a fork.
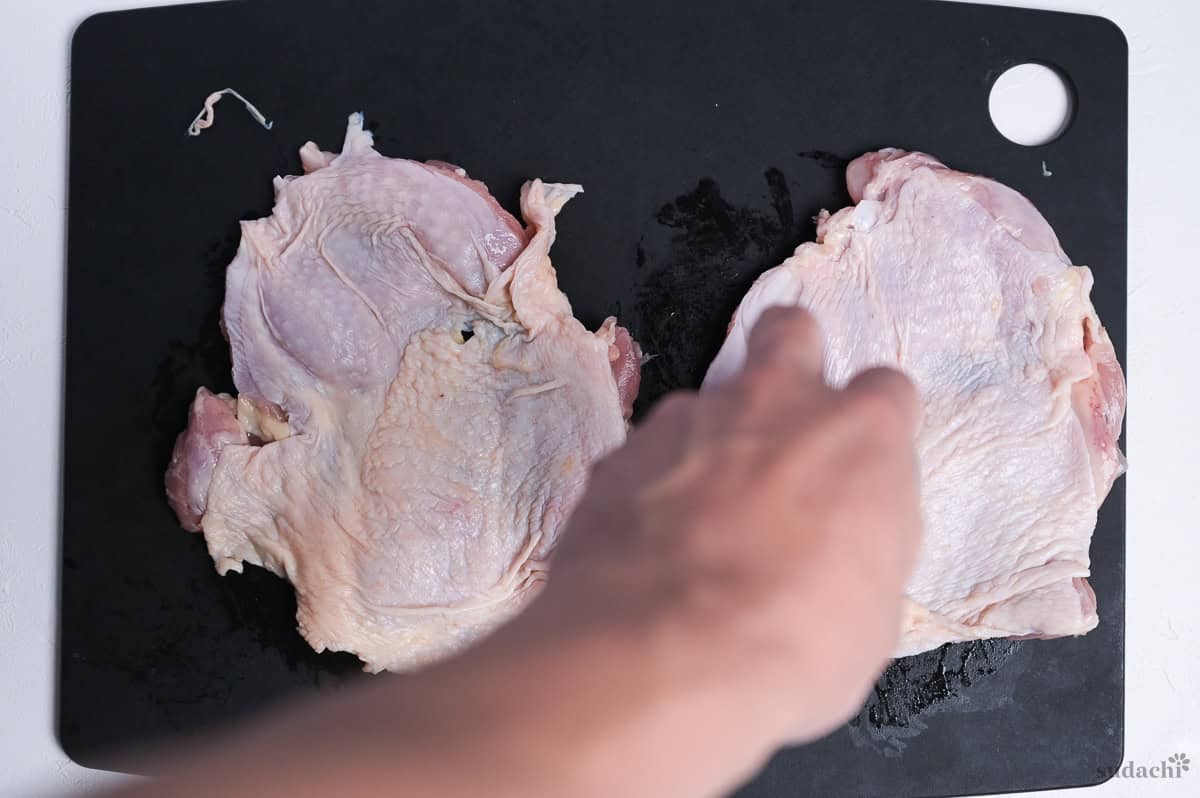
The main reason is to make it easier for the fat to render out of the skin. Once that fat starts flowing, the skin fries in its own oil, almost as if it were being deep-fried, and that is what gives you crisp skin. It is a small step that does a lot of work.
iv. Pat the chicken dry with paper towels, then season both sides with a a few pinches of salt.
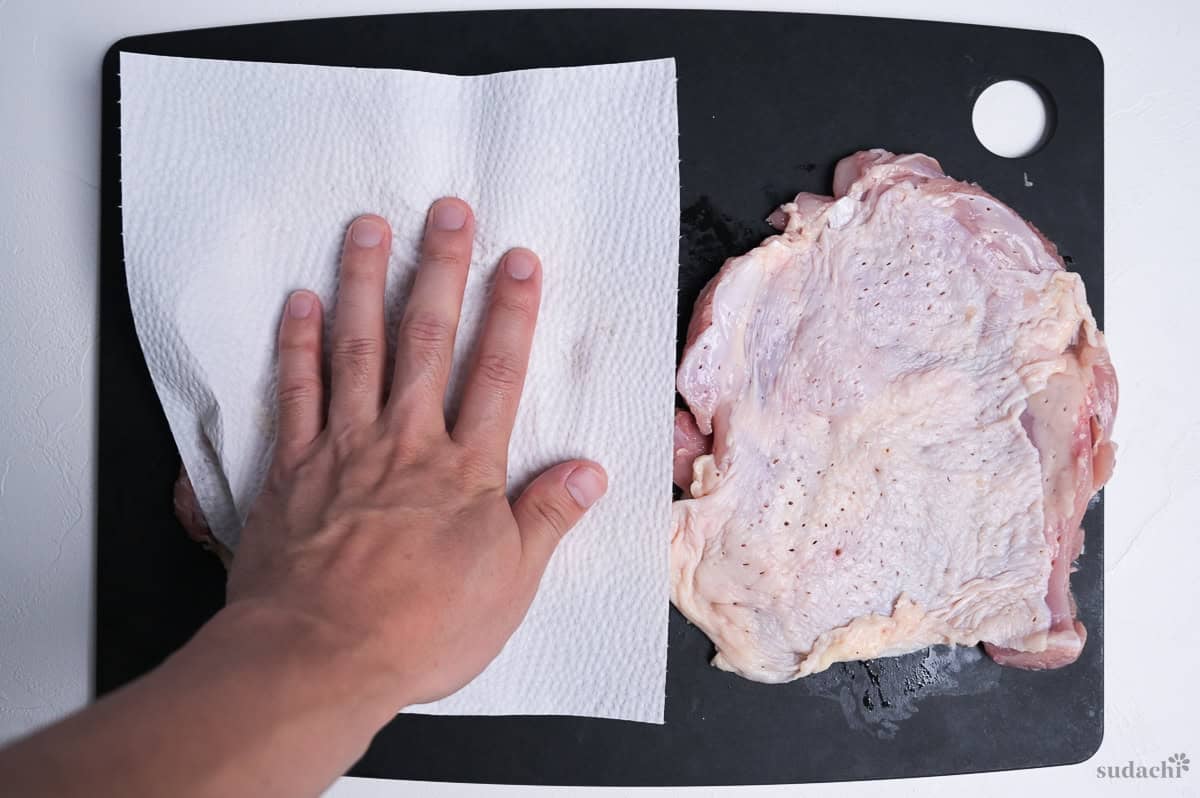
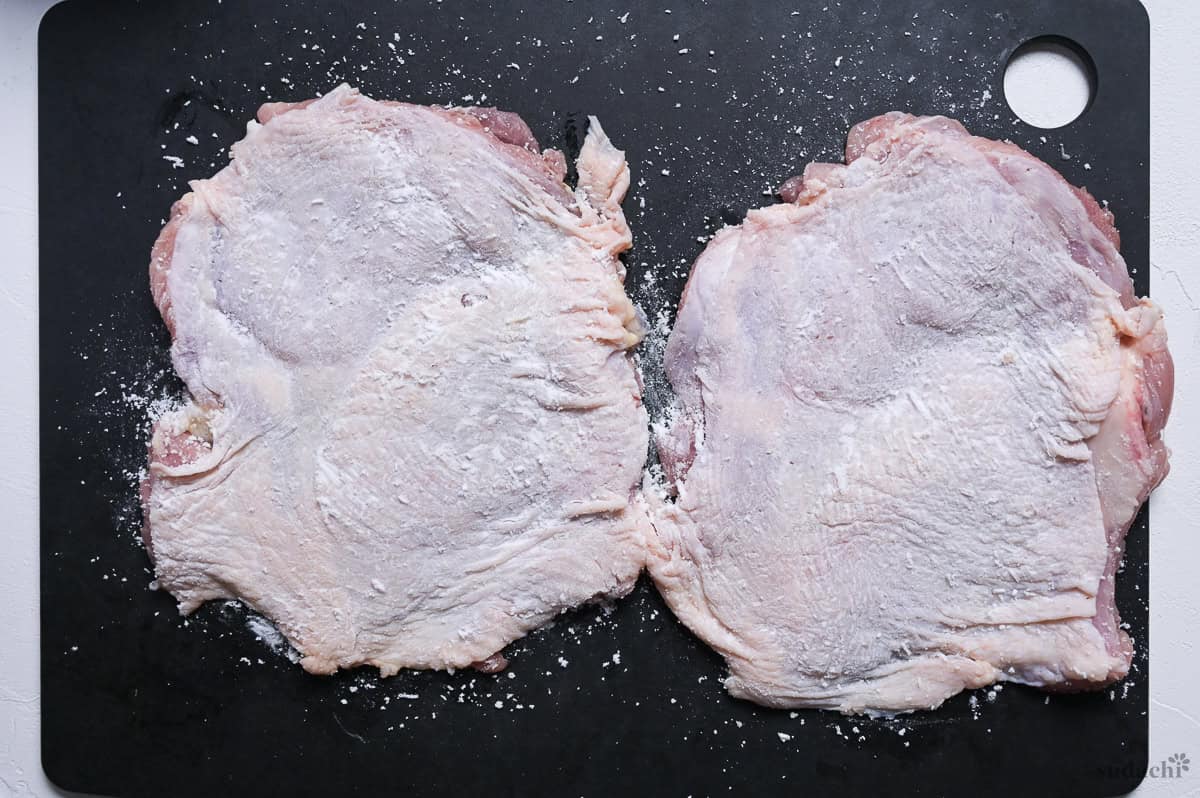
v. Dust the skin side alone with a thin layer of potato starch, and do this right before you cook, not earlier. A light film, never a thick coat.
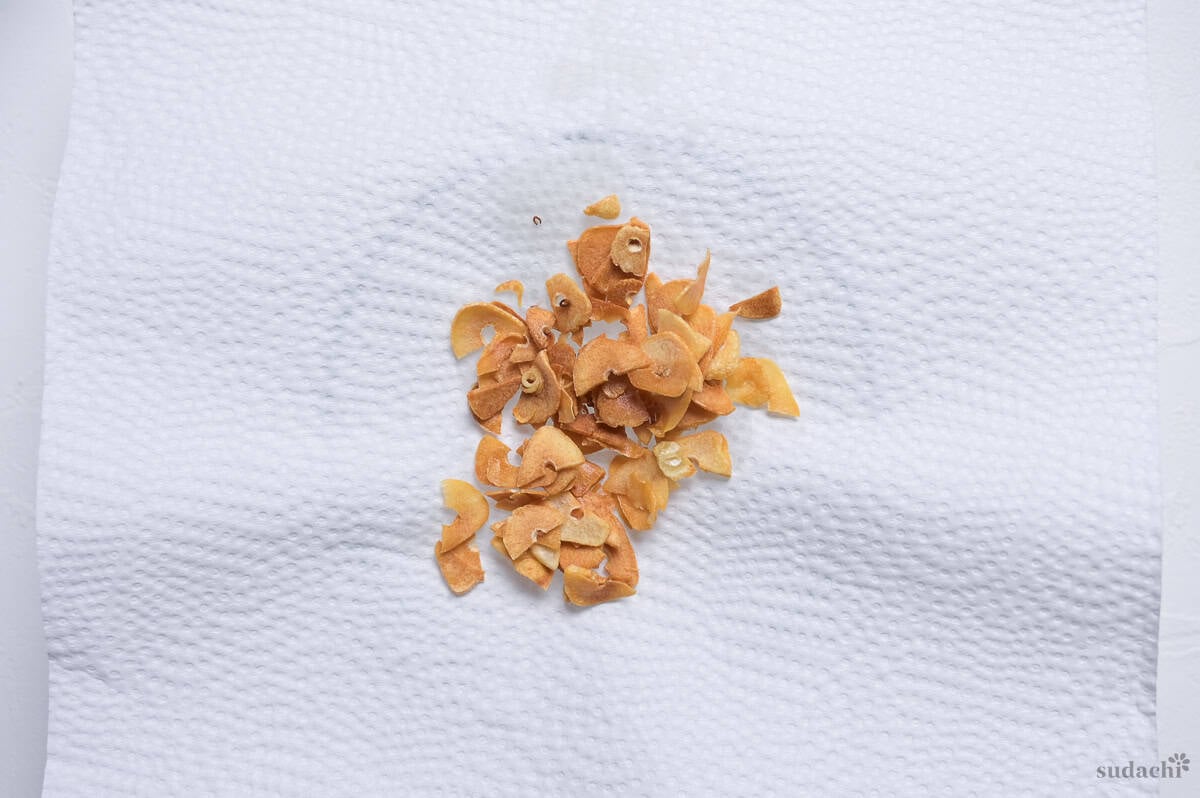
vi. Once the garlic chips are golden, lift just the garlic out and leave that infused oil behind in the pan. I place them on a piece of kitchen paper to absorb the excess oil and prevent the garlic chips from turning soggy.
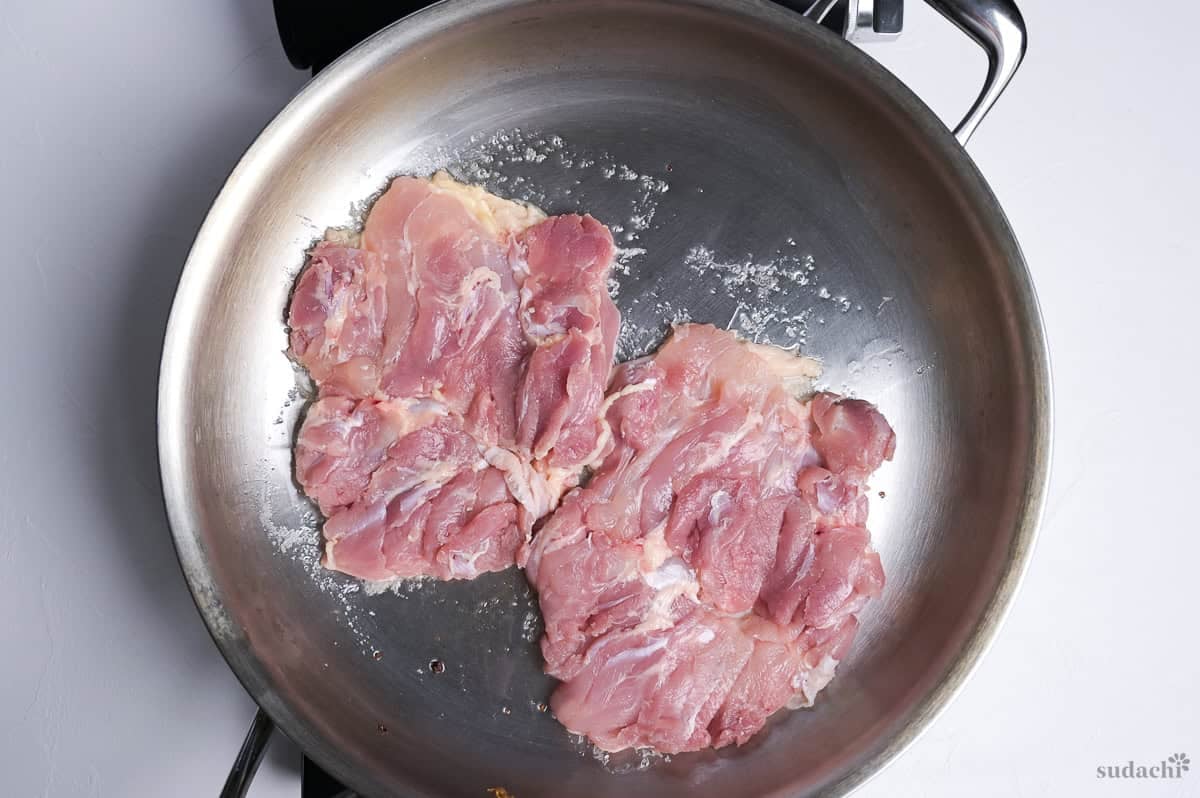
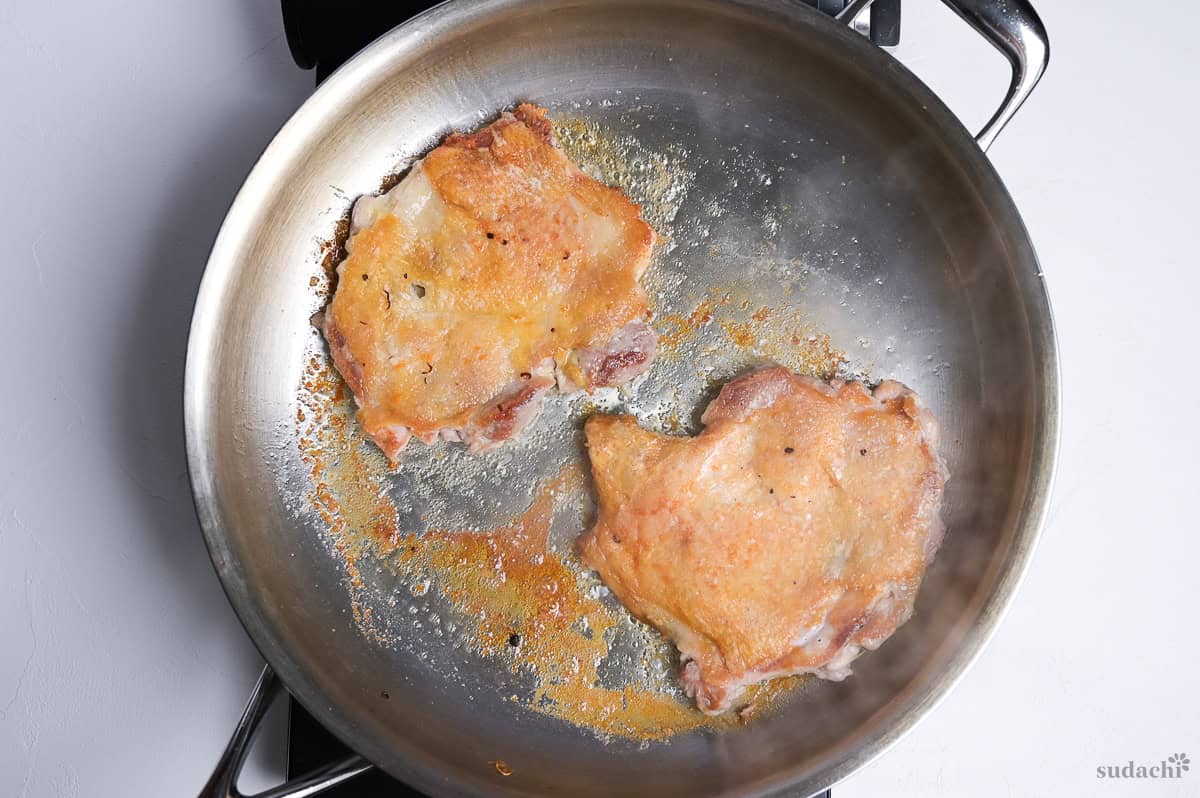
i. Turn the heat up to medium and lay the chicken in skin-side down.
ii. Drape a single sheet of aluminum foil over the chicken.

iii. Then set something flat and moderately heavy on top, like another pan with a little water in it.
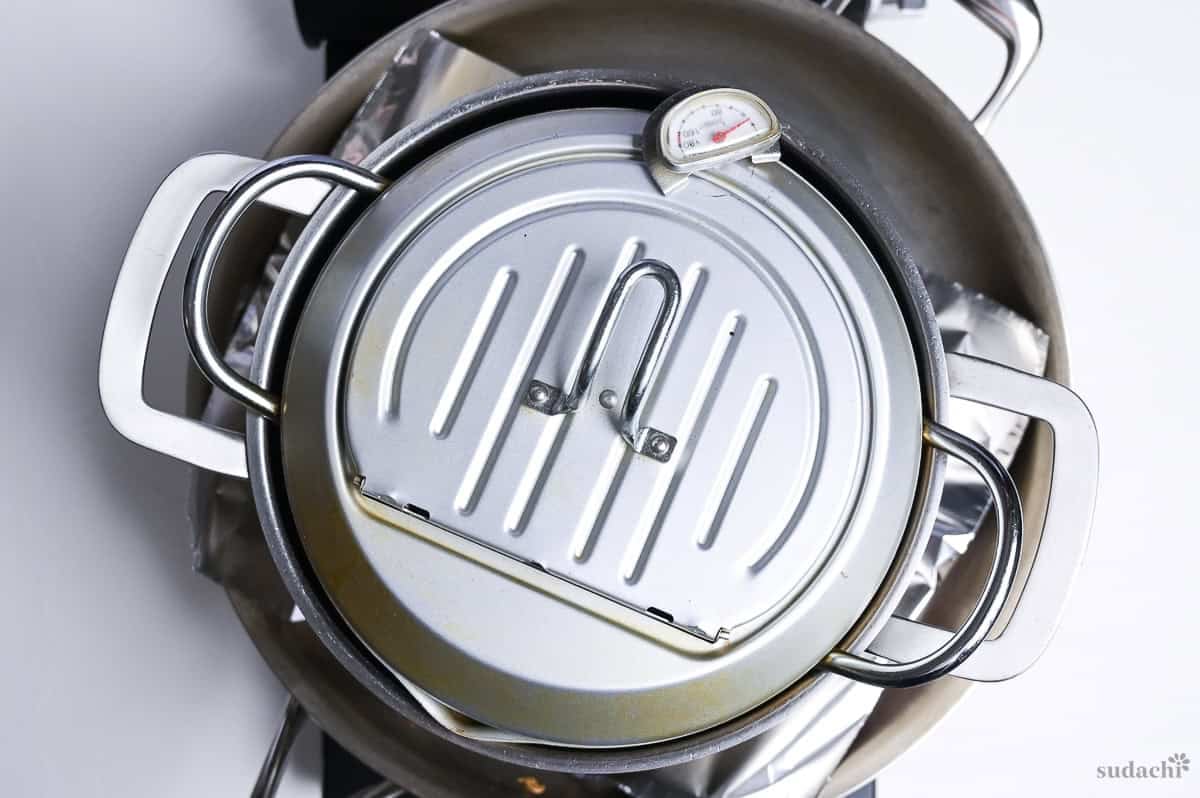
iv. Cook for 7 minutes, until the skin is deep brown and you can see it has turned crisp. Give it another minute or 2 if it needs it.
Anything with some heft that presses the skin flat and maximizes how much of it touches the pan. That full, even contact is what completes that fry-in-its-own-oil effect, since curled or lifted skin only fries where it happens to touch. A second pan with a bit of water in it is the easy home version.
v. The line between crisp and burnt is thin here, so lift the foil now and then and look. You cannot judge it through the foil, so check with your eyes, not just the timer.
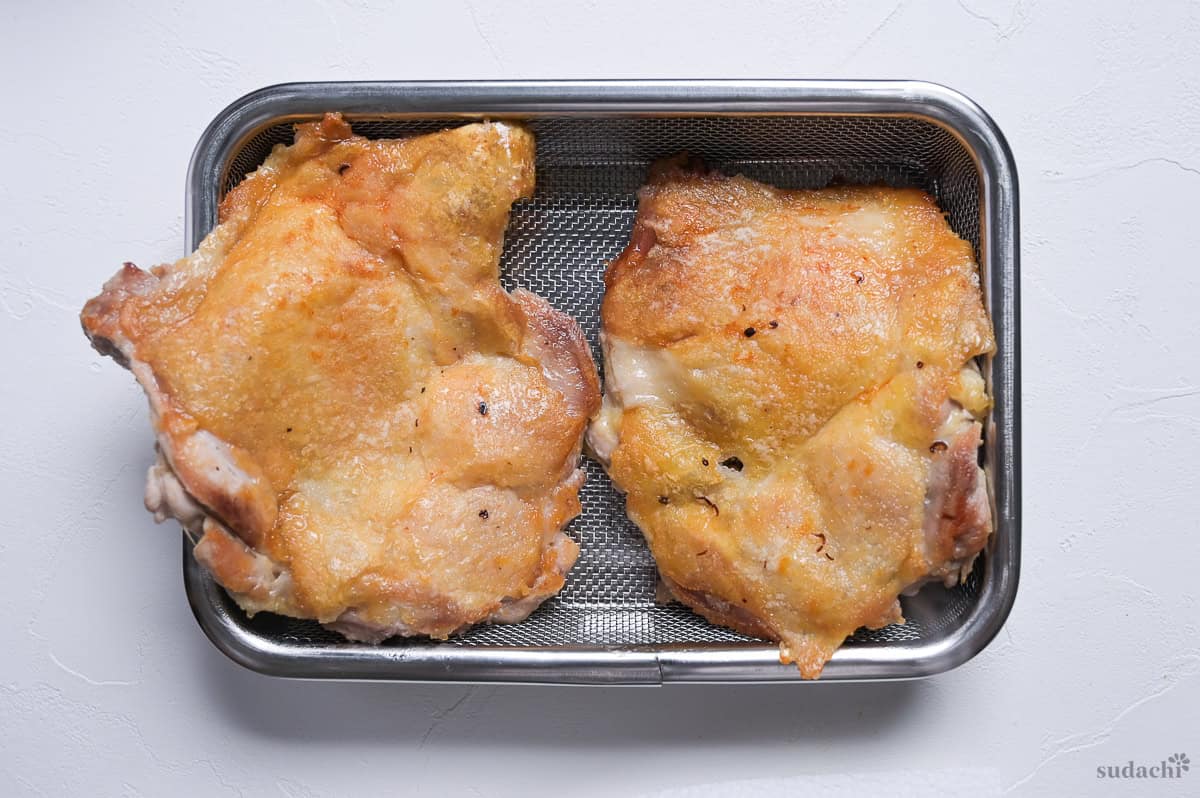
vi. Flip the chicken and cook the other side for 2 minutes, then move it to a plate to rest.
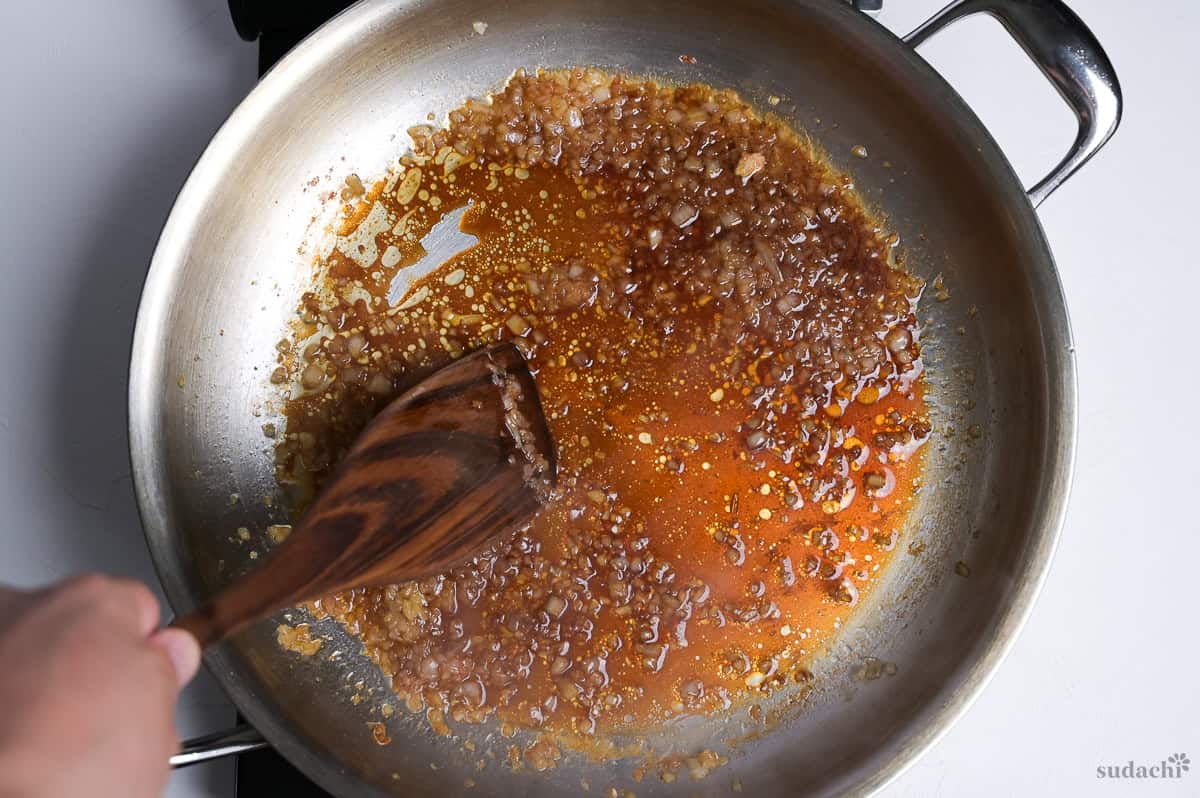
i. Drop the chopped onion into the same pan and cook for 3 to 5 minutes until soft. As it goes, use the moisture the onion releases to deglaze and scrape up the browned bits stuck to the pan.
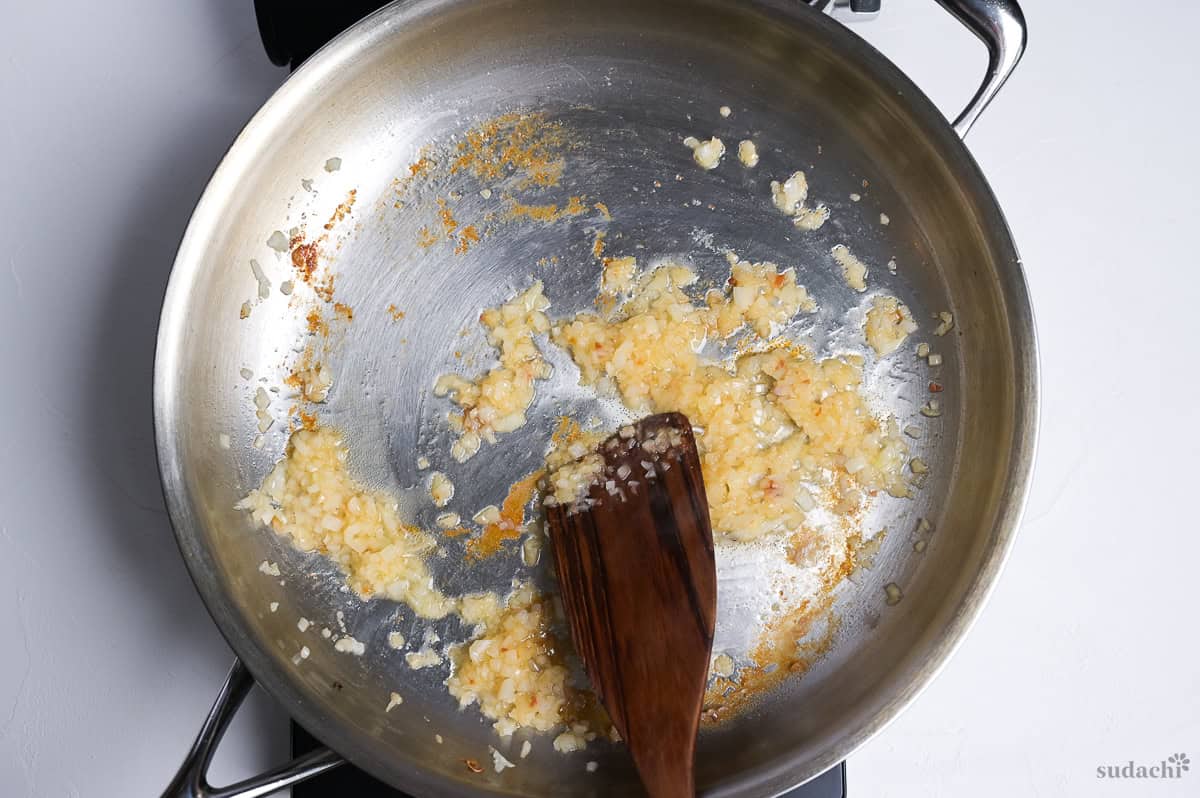
You are cooking the onion in the rendered chicken oil, which pours all that chicken flavor straight into the sauce. The fat, the juices, the fond, everything the chicken left behind moves into the onion. You pull it out of the chicken, then send it back into the dish as a whole. It is a little perpetual motion machine.
ii. Pour in the mixed sauce, along with any juices that pooled under the resting chicken, and cook about 1 minute while you deglaze. Let the alcohol cook off, until the sharp smell is gone and the sauce starts to thicken and trail along the bottom of the pan.
iii. Turn off the heat, add unsalted butter, and swirl the pan to emulsify.
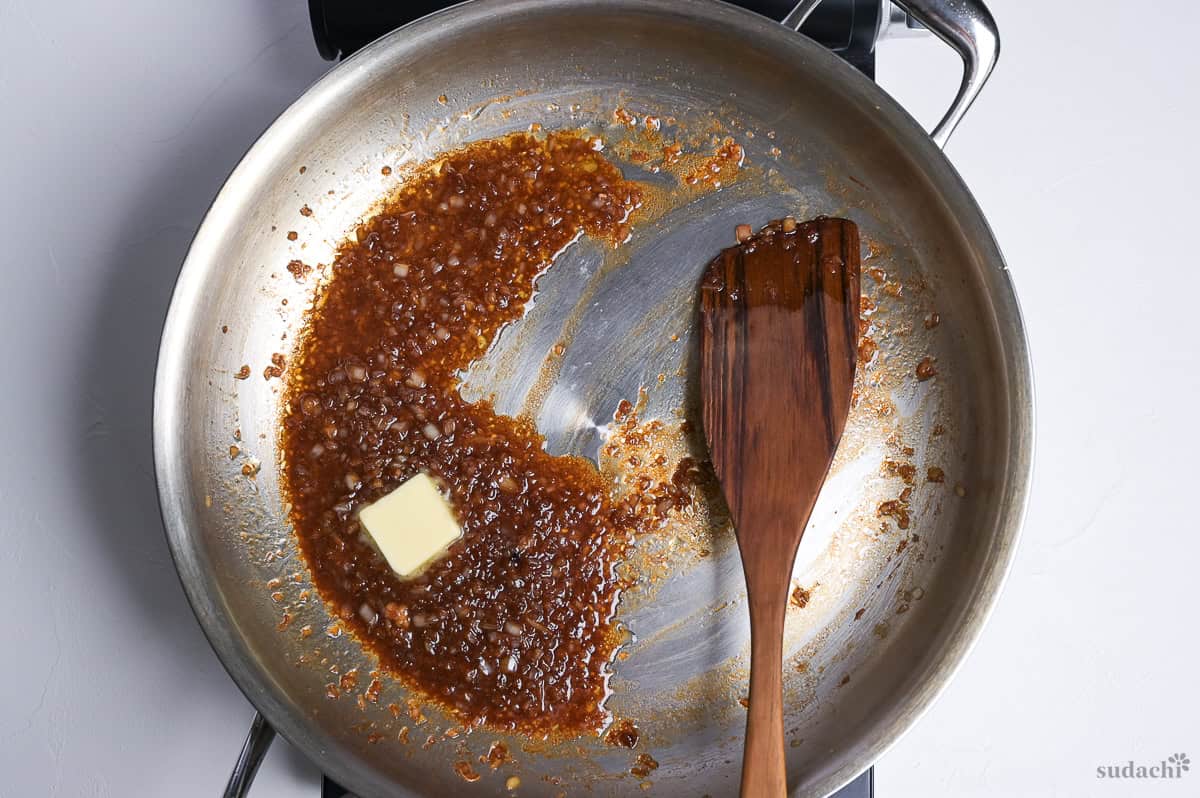
For me, yes. Part of it is the round flavor only butter brings. The bigger part is that by this point the sauce has probably split into chicken fat and seasonings sitting apart from each other. Killing the heat and swirling in butter mounts it back together into a glossy, cohesive sauce instead of a broken one.
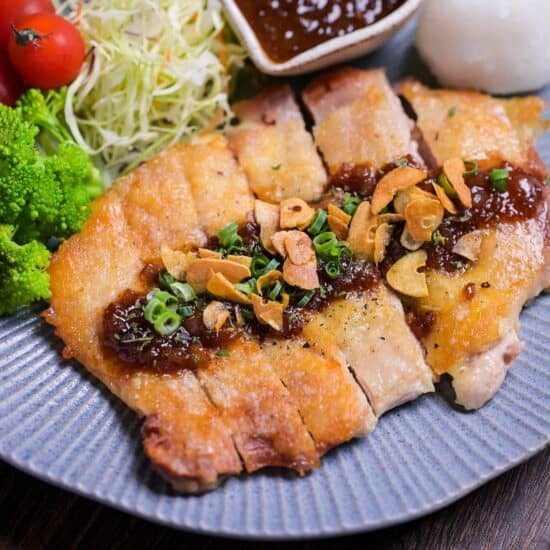
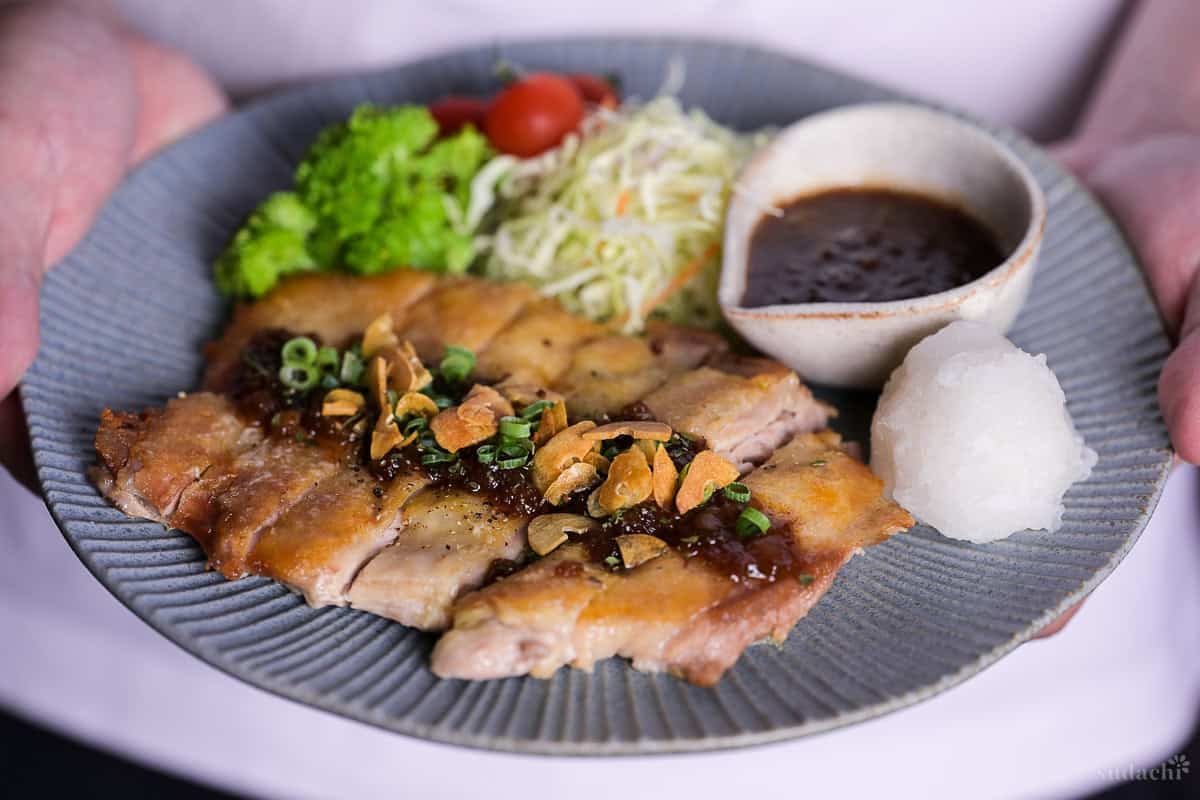
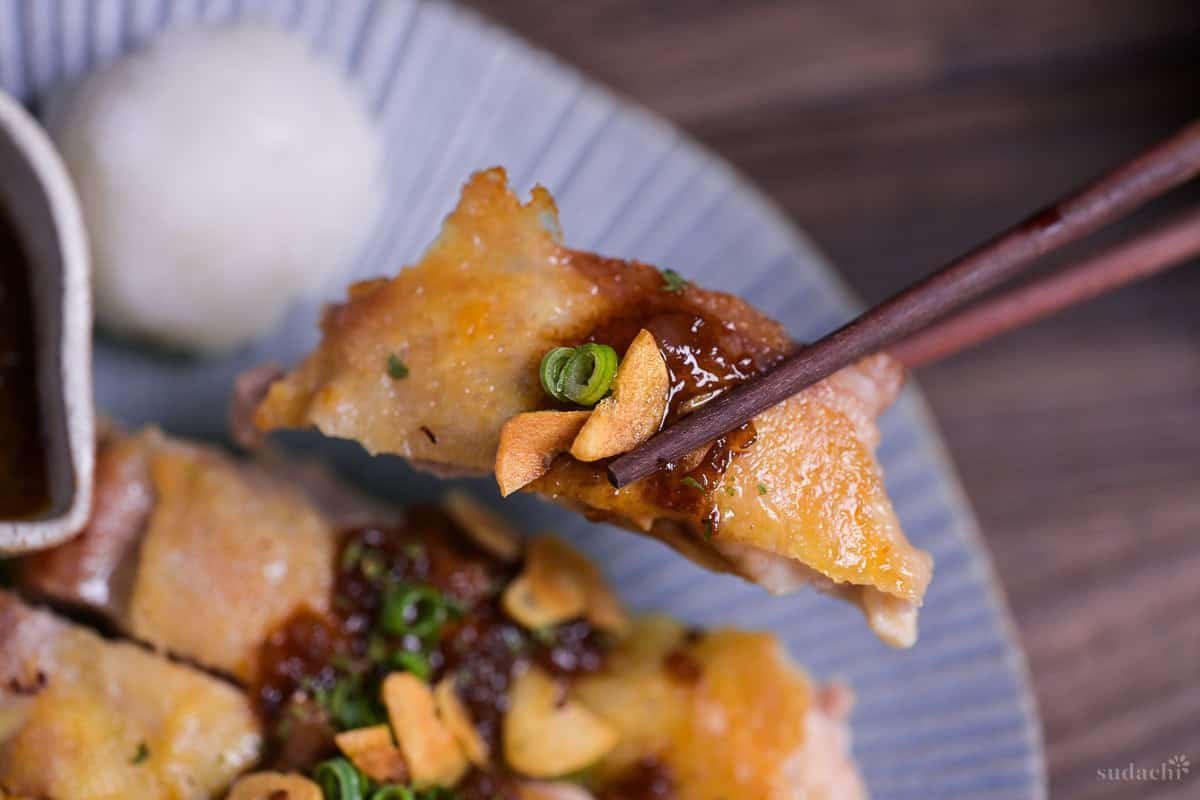
i. Set the chicken steak on a plate and spoon the onion sauce over the top or the side.
ii. Scatter on black pepper, parsley, chopped green onion, and the reserved garlic chips, then add a mound of cold grated daikon to the side.

It is optional, so if you live somewhere daikon is hard to get, do not feel like you cannot make this. It is delicious without it. But if you can get it, I push for it, because the cold radish against the warm rich sauce resets your palate and makes a more balanced dining experience.
iii. The sauce comes out a little generous on purpose. Serve it with plain steamed white rice and some plain vegetables, and it works almost like a dressing across the plate for a complete meal. I went with shredded cabbage, cherry tomatoes, and steamed broccoli.

Essential Tips & Tricks
- Read the skin, not the timer. The 7 minutes under the weight is a starting point, not a finish line. Around the 7-minute mark, lift the foil and the weight off, look at the color, and touch the skin to feel whether it has gone properly crisp. Then you decide how much longer it needs. Eyes and fingers, not the clock.
- Pick your weight for flat contact, not for heaviness. What you want is something that presses the whole thigh down evenly so every bit of skin meets the pan. That is why a second pan with a little water in it works so well. It sits flat. A heavy thing that only touches in a single spot leaves the rest of the skin lifted and pale, so even pressure beats raw weight every time.
- Save the rendered chicken fat, do not bin it. This recipe pulls the rendered fat back into the dish on purpose, so the instinct to wipe the pan clean works against you here. If a real pool builds up while the skin sears, spoon a little off so the sauce later does not split, but keep what you remove. Pour it into a small jar and it is gold for a bowl of shoyu ramen or a plate of chahan fried rice later in the week.
- Dust the starch thin and dust it late. A barely-there film on the skin side, applied right before the chicken hits the pan, is what sets into a glassy crust.
- Medium heat is the whole game. Too high and the skin scorches before the fat finishes rendering. Too low and the skin dries out before it ever crisps. Medium is the setting that lets the fat render, the skin brown, and the meat cook through without you fighting any of it.
Get these right and the hard part of this dish is already behind you.
Storage & Meal Prep
This dish is best enjoyed straight away and is not suitable for storage. Leftover sauce can be kept in the fridge for 3-4 days.
If there is leftover chicken, you can store it in the fridge and safely eat it within 2-3 days, but keep in mind that the crisp skin will not survive storage.
Meal prep: This is not a make-ahead recipe, but there are a few elements you can prepare in advance such as the knife work, slicing the garlic, chopping the onion, and mixing the sauce ingredients in a small bowl. Store everything separately in the fridge until it’s time to cook.
What to Serve With This Recipe
Chicken Steak Troubleshooting
Three things usually cause this, and they all happen at the pan. The skin went in wet, the heat was too low, or you moved the chicken around too soon. Make sure to pat it dry, dust with a thin layer of starch and cook over a medium heat with a weight pressing it against the surface of the pan.
That curl is the meat and connective tissue contracting unevenly and pulling the skin off the pan, so only the part still touching gets color. The fix happens before the sear. Butterfly the thickest part of the thigh so it lies as flat as you can get it, then weight it down with something that presses the whole surface evenly. A flat pan with a little water in it does the job. Without that even pressure, the edges lift and stay pale.
The skin and the meat finish on different clocks, and chasing maximum crisp can push the thigh too far. Remember the meat only gets 2 minutes on the flesh side after the long skin sear, so it does most of its cooking from the skin side while the fat renders. If your thighs are very thick, butterfly them flatter so they cook through in step with the skin rather than needing extra time that overcooks the outside.
More Japanese Chicken Recipes
Hungry for more? Explore my Japanese chicken recipe collection to find your next favorite dish!
Did You Try This Recipe?
I would love to hear your thoughts!
💬 Leave a review and ⭐️ rating in the comments below. 📷 I also love to see your photos – submit them here!

Pan Seared Chicken Thighs with Japanese-Style Onion Sauce

Ingredients
For the chicken
- 2 garlic clove sliced thin, green germ removed
- 1½ tbsp cooking oil neutral
- 450 g boneless chicken thigh about 2 thighs, skin on
- salt
- ½ tbsp potato starch (katakuriko) cornstarch swaps in one-to-one
For the sauce
- ½ onion finely chopped
- 1 tbsp Japanese soy sauce (koikuchi shoyu)
- ½ tsp oyster sauce
- 1 tbsp red wine or dry white works for a lighter version
- ¼ tsp sugar
- 1 tsp Worcestershire sauce
For finishing
- ½ tbsp unsalted butter
- ground black pepper
- dried parsley
- finely chopped green onions
- 30 g grated daikon radish (daikon oroshi) cold, on the side, optional but recommended
My recommended brands of ingredients and seasonings can be found in my Japanese pantry guide.
Can’t find certain Japanese ingredients? See my substitution guide here.
Instructions
- Mix 1 tbsp Japanese soy sauce (koikuchi shoyu), ½ tsp oyster sauce, 1 tbsp red wine, ¼ tsp sugar, and 1 tsp Worcestershire sauce in a bowl to make your sauce. Finely dice ½ onion and thinly slice 2 garlic clove. Set everything by the stove for later.

- Pour 1½ tbsp cooking oil into a large cold pan and add the garlic slices. Heat on low and gently fry until they turn golden and crispy. Check regularly and remove them as they turn, do not let them get too dark.
- Butterfly the meat side of 450 g boneless chicken thigh so that it's an even thickness all over, and poke holes in the skin with a fork.
- Pat it dry all over with kitchen paper, then sprinkle with salt on both sides.
- Place the golden garlic chips on a piece of kitchen paper to absorb excess oil.
- Once the garlic is out of the pan, dust the skin side of the chicken thigh with ½ tbsp potato starch (katakuriko) and pat off any excess.
- Lay the chicken in the pan in a single layer with the skin side facing down. Increase the heat to medium.
- Cover with foil and a flat-based weight like a smaller pan filled with water. Cook for 7 minutes or until the skin is deeply golden and has turned crisp.
- Remove the weight and foil, flip the chicken over and fry the meat side for 2 minutes. After 2 minutes, move it to a wire rack to rest.
- In the same pan, add the finely chopped onion and fry gently for 3-5 minutes until softened. Reduce the heat if needed.
- Once the onion is translucent, pour in the prepared sauce. Some juices will have pooled out of the chicken by now, so pour that in too. Cook over medium heat and let it bubble for about 1 minute while mixing continuously and scraping the bottom of the pan.
- Turn off the heat and stir in ½ tbsp unsalted butter.
- Cut the chicken into strips and arrange them on serving plates. Drizzle with the sauce, and sprinkle with ground black pepper, dried parsley, finely chopped green onions, and the crispy garlic chips. Serve with a mound of grated daikon radish on the side, and enjoy!
Leave a rating and a comment