What is Japanese Pickled Daikon Radish (Bettarazuke)?
Bettarazuke (べったら漬け) is a type of Japanese pickle made from daikon radish. This dish is unique because the main pickling ingredient is a sweet rice drink called “amazake” which is made by mixing rice malt with white rice porridge and fermenting it. Because of this, bettarazuke is sweet and mild compared to other pickles. It’s delicious!
The history of bettarazuke dates back to the mid-Edo period when a farmer sold daikon pickled with candy and rice malt at a market. Even the 15th shogun, Yoshinobu Tokugawa, enjoyed bettarazuke, particularly the thick-cut ones.
Bettara-zuke’s unique quality is its sweetness, attributed to the use of fermented amazake in the pickling bed.
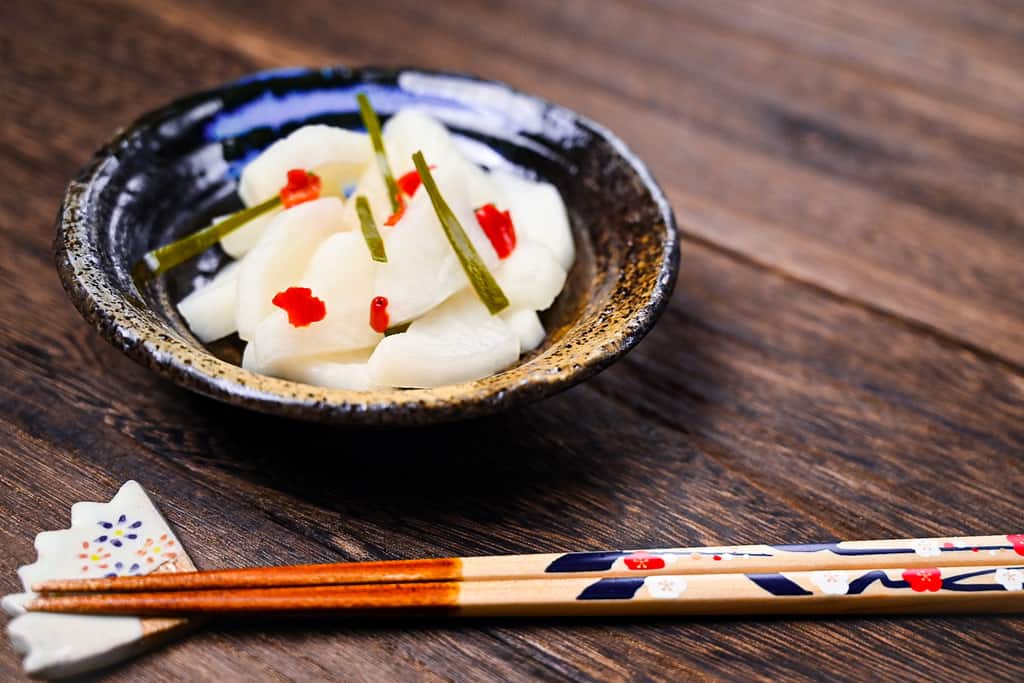
Ingredients & Substitution Ideas
- Daikon radish: The cornerstone of this dish. While fibrous, firm radishes are ideal, any daikon radish will suffice.
- Salt: Employed both to extract moisture and to season the dish.
- Amazake: A distinctive ingredient for bettarazuke and cannot be substituted. Amazake is a sweet beverage produced by converting starch to sugar through the enzymatic activity of rice malt.
- Sugar: While regular sugar is acceptable, I often use light brown cane sugar in many recipes.
- Dried red chili pepper: This is optional, but a hint of spiciness complements the dish well.
- Dried kelp (kombu): Another optional ingredient, but it imparts a boost of umami when included.
Visual Walkthrough & Tips
Here are my step-by-step instructions for how to make Bettarazuke at home. For ingredient quantities and simplified instructions, scroll down for the Printable Recipe Card below.
If you prefer to watch the process in action, check out my YouTube video of this recipe for a complete visual walkthrough!
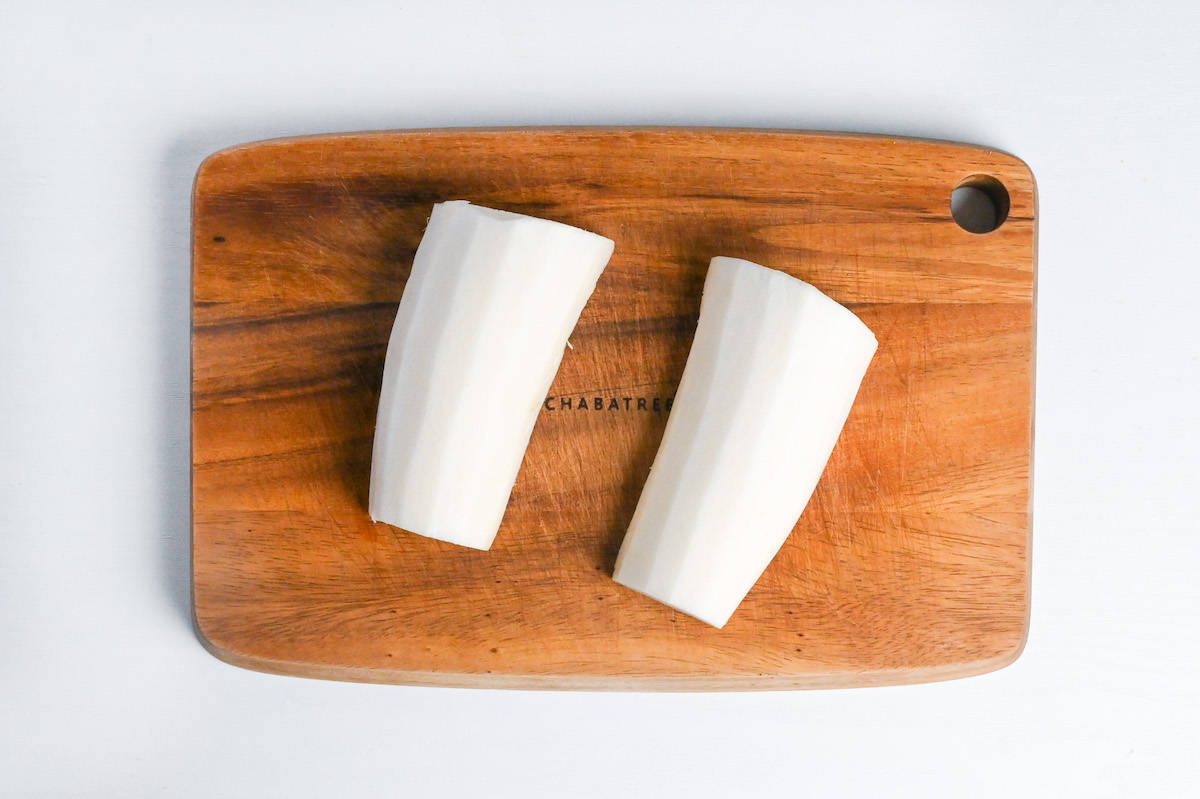
When we make pickles, we tend to cut daikon by the method called “icho-giri (いちょう切り).” This is a three-step method of peeling, cutting lengthways into quarters (or halves), and then cutting each length into thick slices.
My daikon wasn’t so thick, so I chose halves this time, but you can decide on halves or quarters depending on the size of your daikon or your shape preference for the final result.
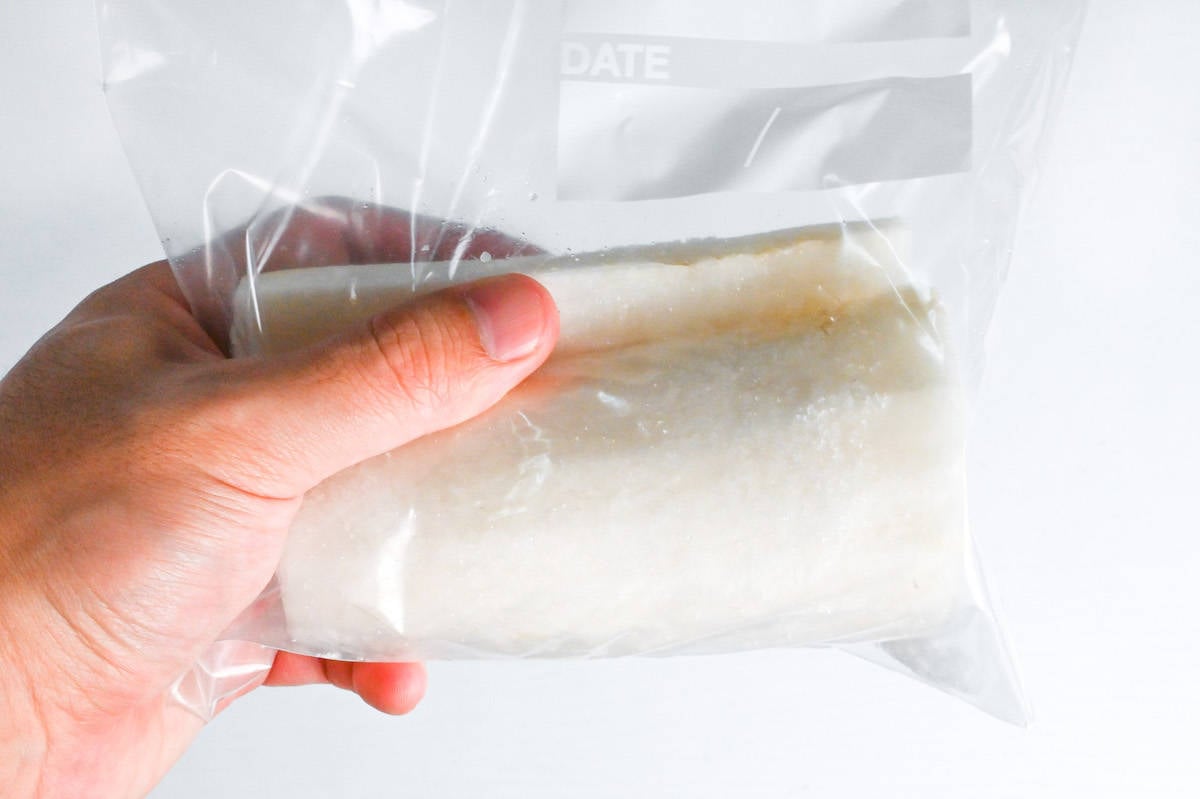
To draw out the excess moisture in the daikon, we need to rest it in salt overnight. Place the daikon in a sealable freezer bag and add the salt. The quantity of the salt should be 5% of the weight of the daikon, so essentially 5g of salt for every 100g of daikon.
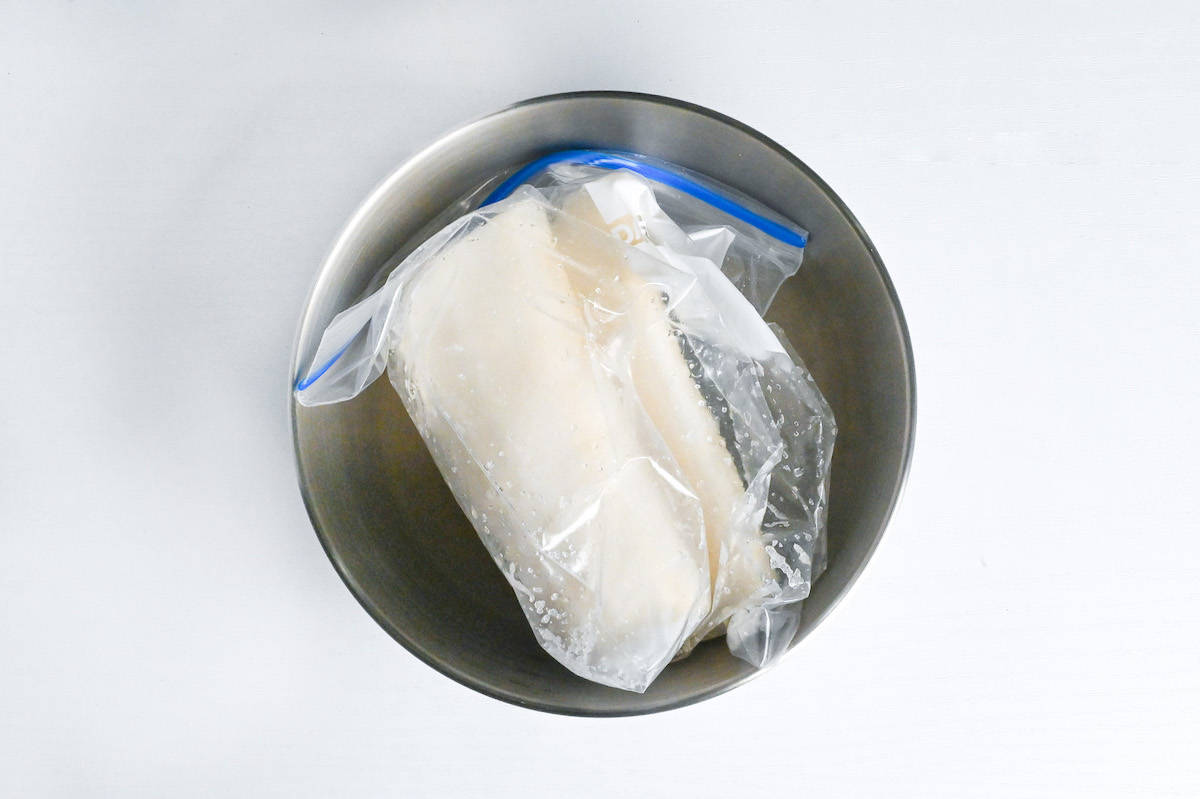
Massage the salt over the surface from the outside of the bag (no need to get your hands dirty!), then push out the air and seal it up. Store in the fridge overnight.
Tip: Place the bag in a bowl or on a deep plate to catch any leaks!
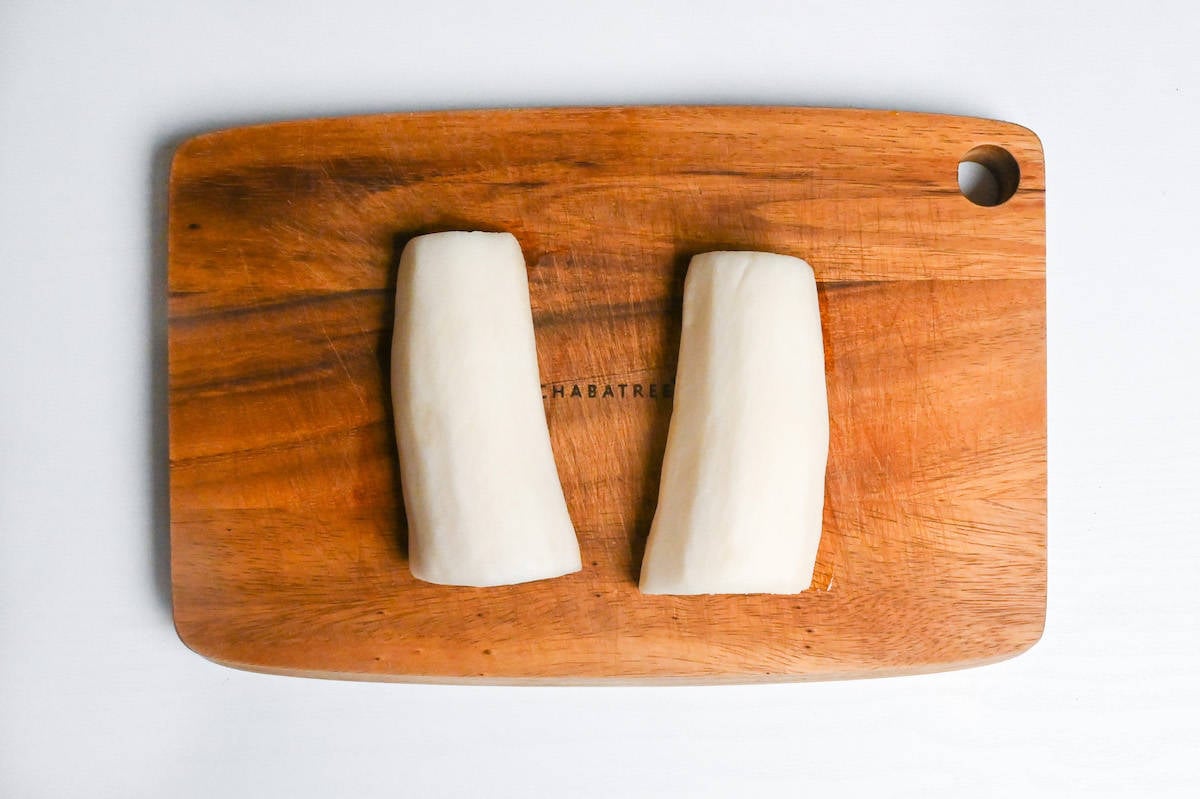
After resting, you will find that liquid has accumulated in the bag. Discard this, remove the daikon, and wash out the bag ready to reuse later.
Pat the surface of the daikon dry with kitchen paper (this is to avoid any excess water mixing into the pickling liquid).
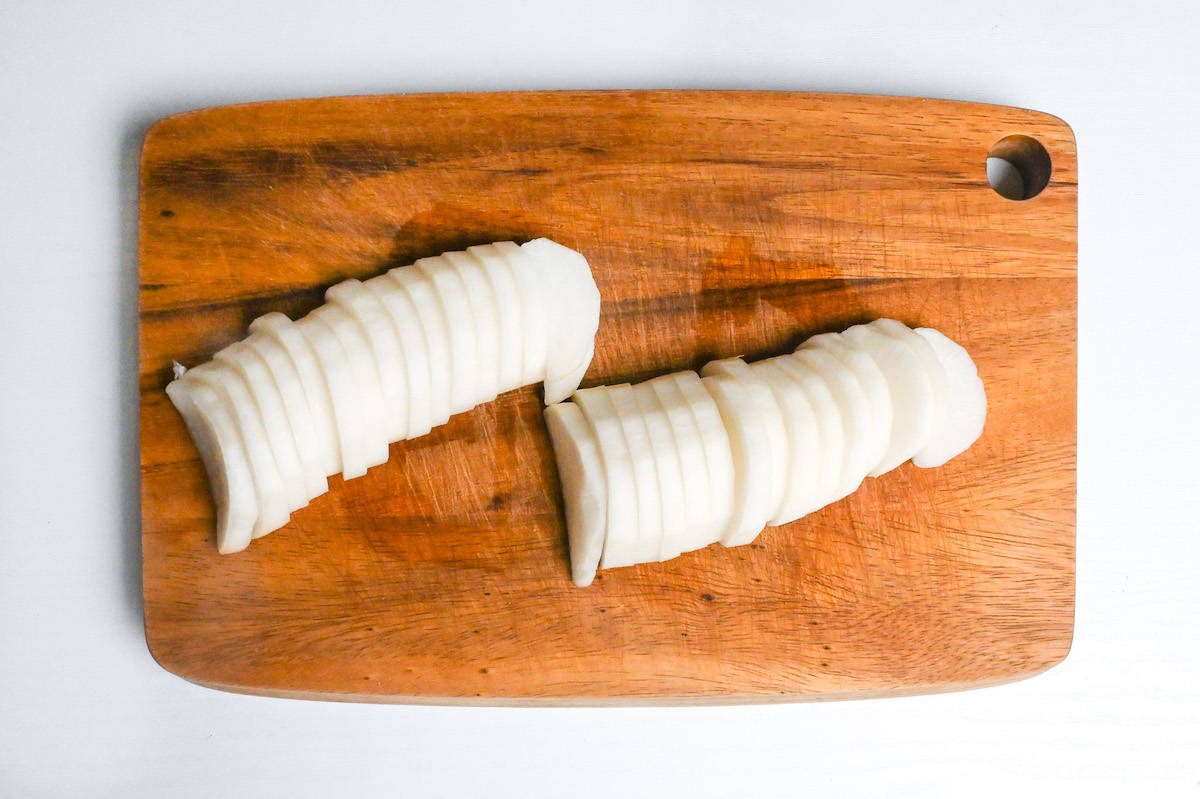
Thickly slice the daikon; I recommend about 0.5-1cm in thickness, approximately ¼ inch. Avoid thin slicing since we want to make the most of Daikon’s beautiful crunchy texture.
Place them back in the clean, sealable freezer bag.
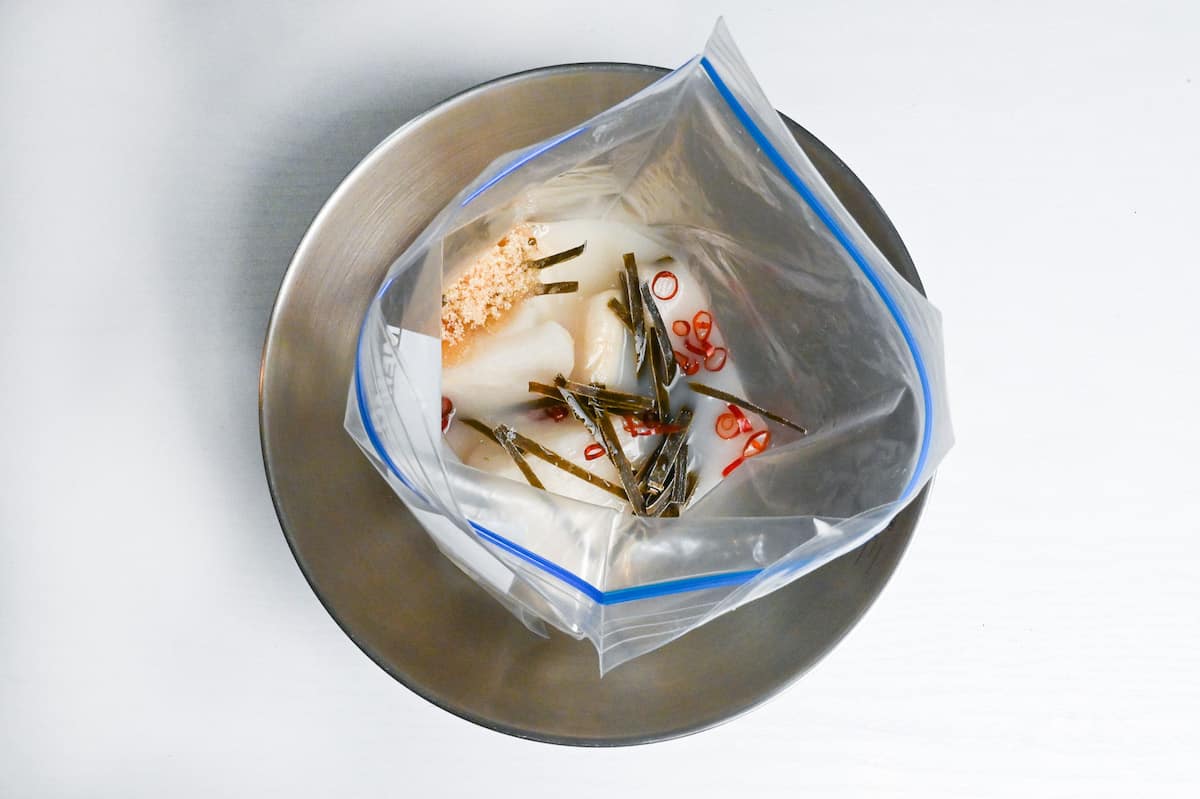
Deseed the dry chili and thinly slice it. Cut some dry kombu (kelp) into thin strips using scissors. These ingredients will add a touch of heat and a burst of umami to the pickling liquid.
Place them in the bag with the daikon and add amazake, salt and sugar.
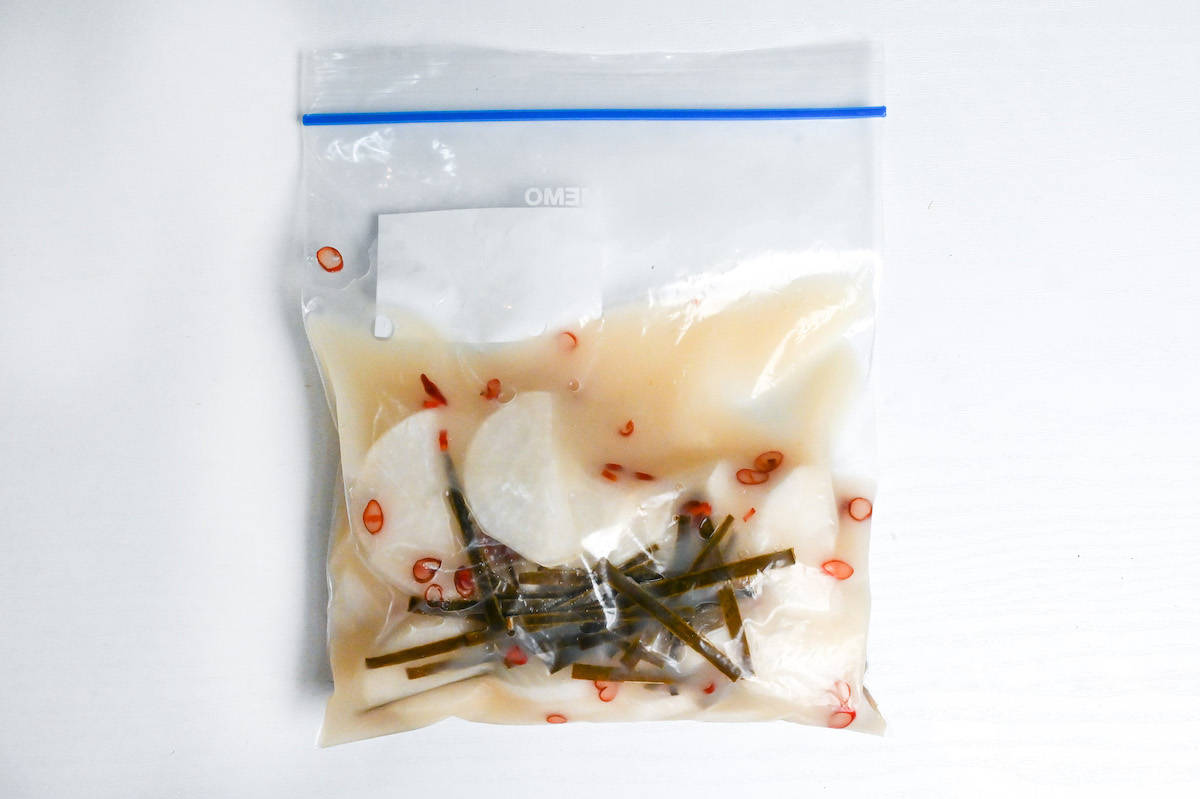
Massage all the ingredients over the daikon until evenly distributed, then push the air out of the bag and seal. Store in the fridge overnight.
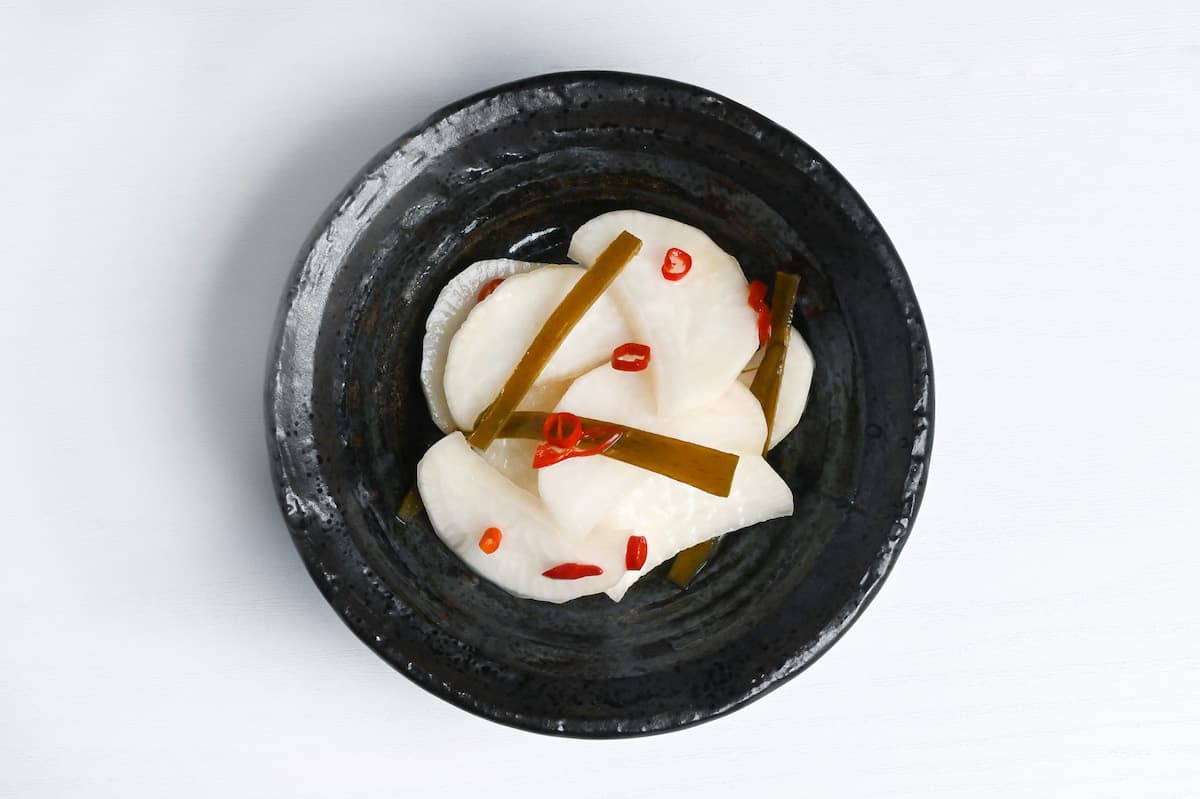
Remove the slices from the liquid before serving and decorate with the slices of chili and kombu (optional).
Enjoy as a snack or side!
Jump to Full Recipe MeasurementsHow to Store
Bettarazuke demands some care in its storage. Post-pickling, it’s important to nestle it in the coolest part of your refrigerator. House the Bettarazuke in a container or sealable freezer bag, submerging it in liquid for optimal preservation.
It’s essential to note that, despite its pickled nature, this particular recipe crafts a quick version of bettarazuke, characterized by its brief pickling duration.
As such, its prime freshness is best enjoyed within approximately three days.
Storage summary
Room temperature – Not recommended.
Refrigerated – About 3 days.
Frozen – Not recommended.
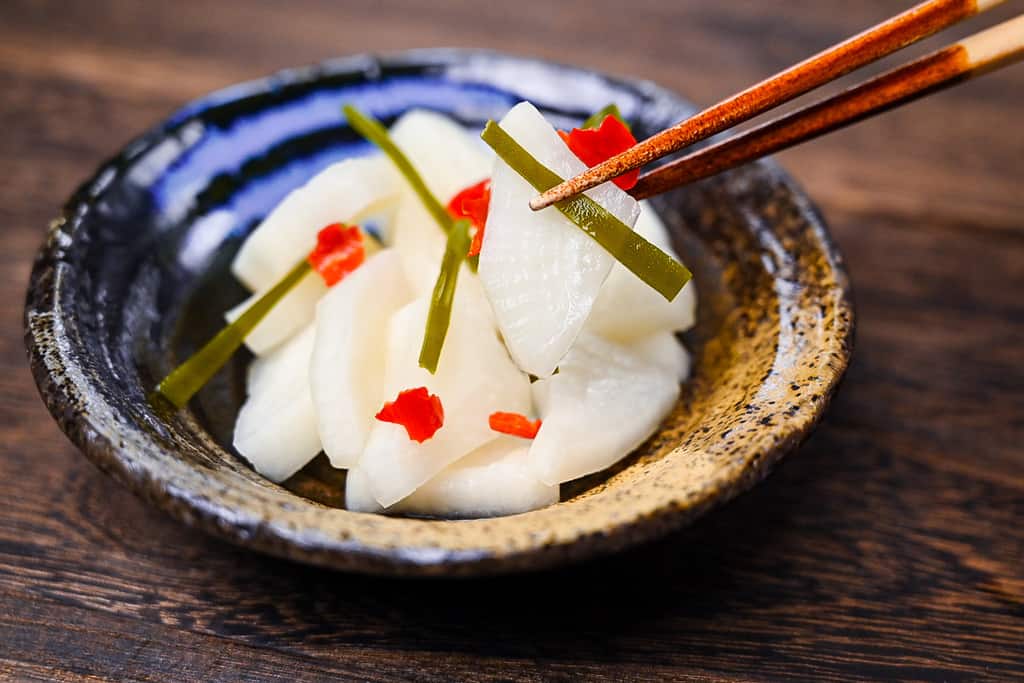
I hope you enjoy this Bettarazuke recipe! If you try it out, I’d really appreciate it if you could spare a moment to let me know what you thought by giving a review and star rating in the comments below. It’s also helpful to share any adjustments you made to the recipe with our other readers. Thank you!
More Japanese Pickles Recipes
- Ginger and Chili Pickled Cucumbers
- Wasabi Pickled Cucumbers
- Kohaku Namasu (Pickled Carrot and Daikon Salad with Yuzu)
- Japanese Pickled Napa Cabbage (Hakusai no Asazuke)
Japanese Pickled Daikon Radish (Bettarazuke)
Ingredients
Day 1
- 300 g daikon radish
- 15 g salt 5% of the weight of the daikon
Day 2
- 125 ml amazake (sweet fermented rice drink) (fermented rice drink)
- 10 g salt
- 20 g sugar
- 1 dried red chili pepper
- 5 g dried kelp (kombu) (kombu) optional for added umami
My recommended brands of ingredients and seasonings can be found in my Japanese pantry guide.
Can’t find certain Japanese ingredients? See my substitution guide here.
Instructions
Day 1
- Peel 300 g daikon radish and cut in half lengthways. (If it's a particularly thick daikon, cut into quarters lengthways.)

- Place it in a ziplock bag and add 15 g salt.

- Massage the salt over the daikon, then seal the ziplock bag and place it in the fridge overnight. Tip: Store the ziplock bag in a bowl or on a plate to prevent leaks.

Day 2
- Remove the daikon from the bag and dry it thoroughly. Discard the accumulated liquid and rinse out the bag.

- Cut the daikon into 0.5-1cm thick slices. (Approx 1/4 inch)

- Deseed 1 dried red chili pepper and break it into small pieces, and use scissors to cut 5 g dried kelp (kombu) into thin strips. Place them in the ziplock bag along with the daikon slices and add 125 ml amazake (sweet fermented rice drink), 10 g salt and 20 g sugar.

- Push the air out and seal the ziplock bag. Massage the ingredients together and place in the fridge overnight.

- Enjoy as a snack or side!

Video
Notes
- Store in the refrigerator and consume within about 3 days.
- Note: The nutritional information includes the pickling liquid.


Leave a rating and a comment