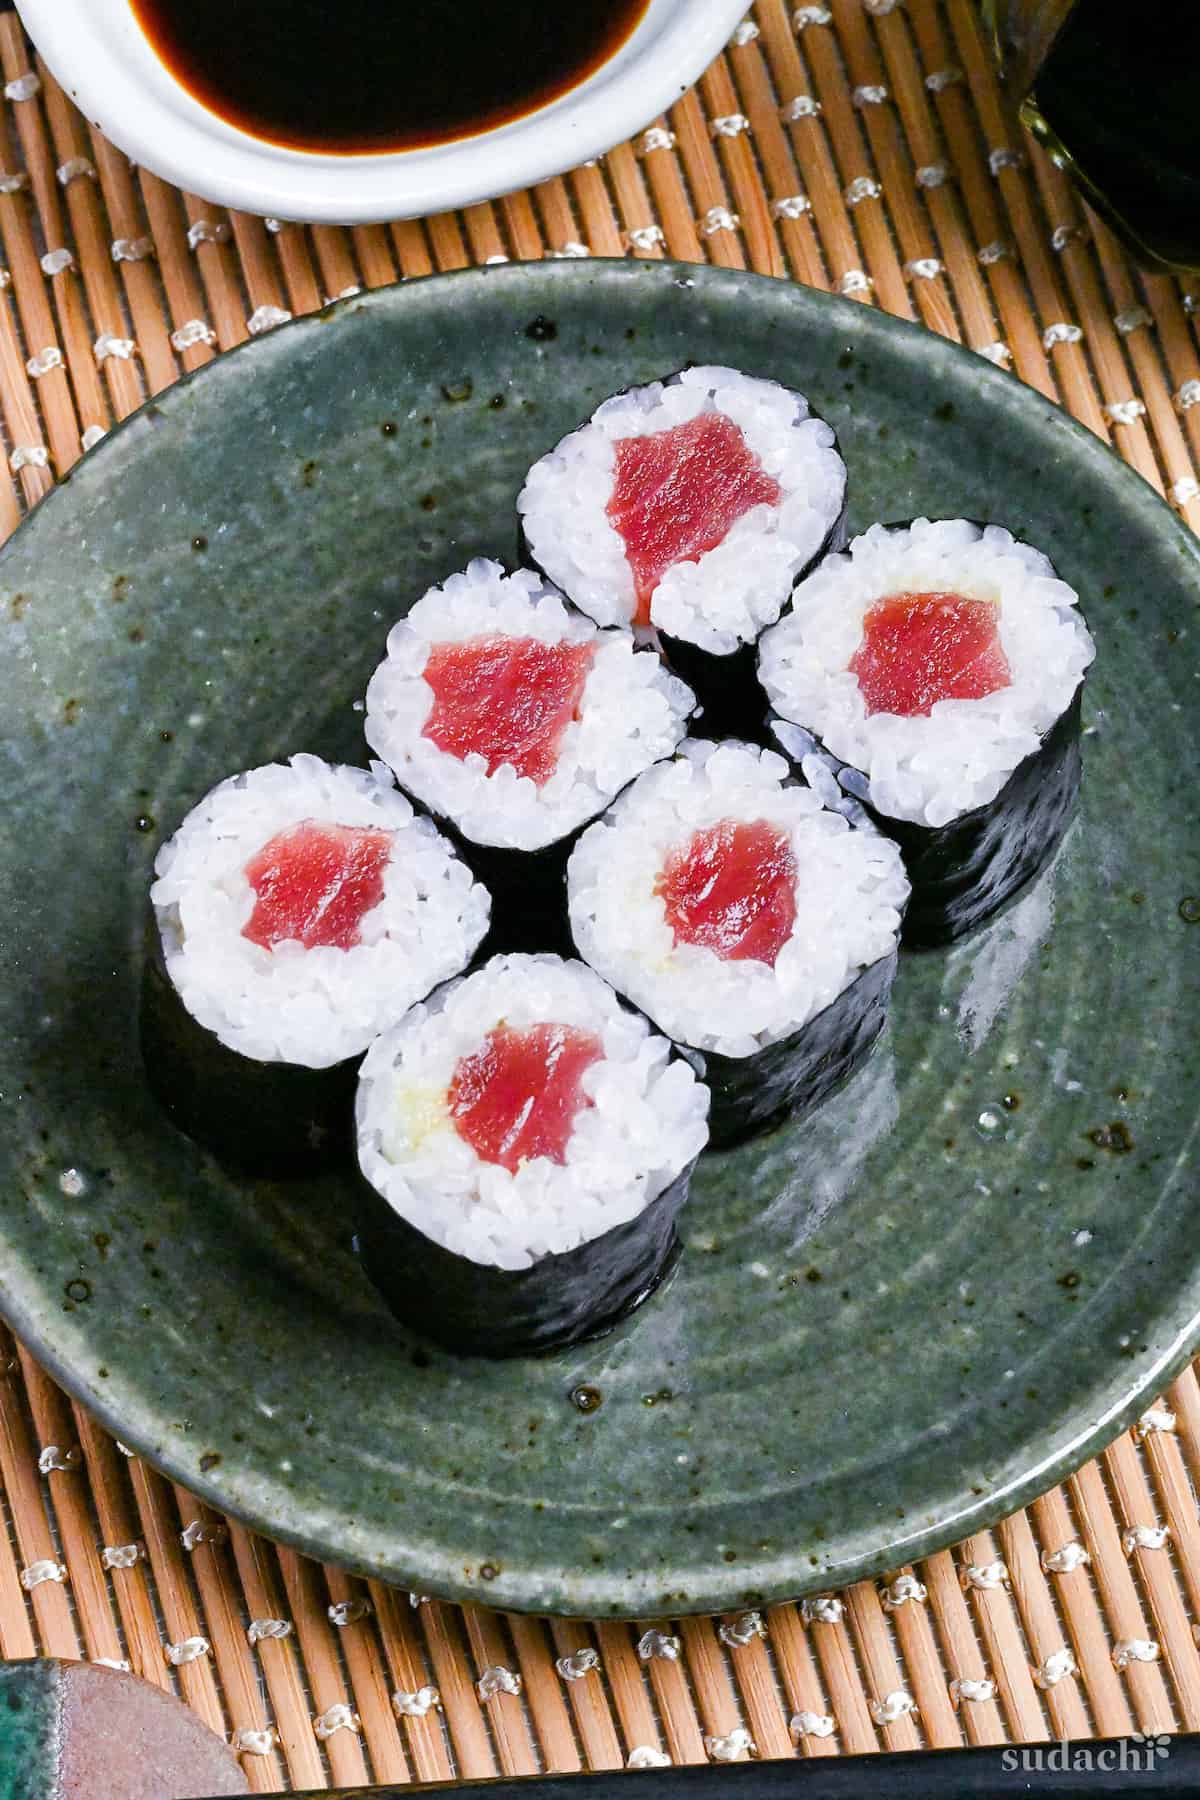
What is Tekka Maki?
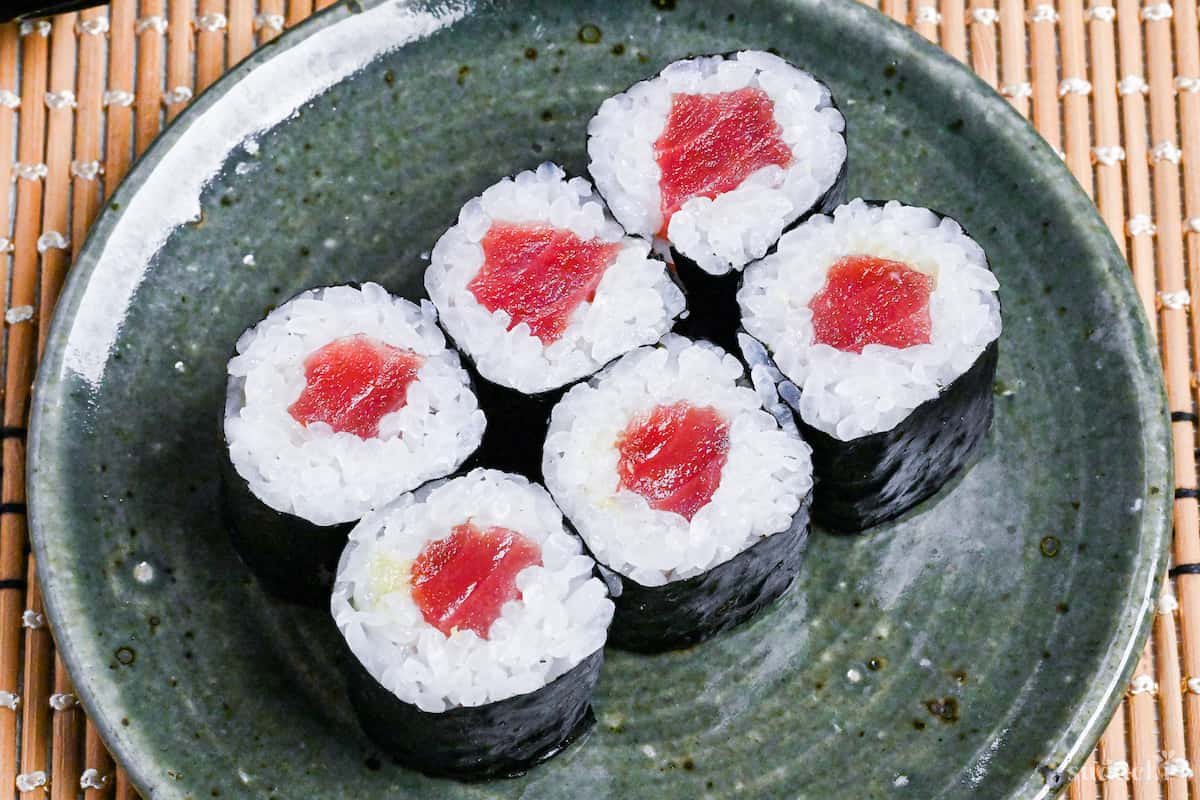
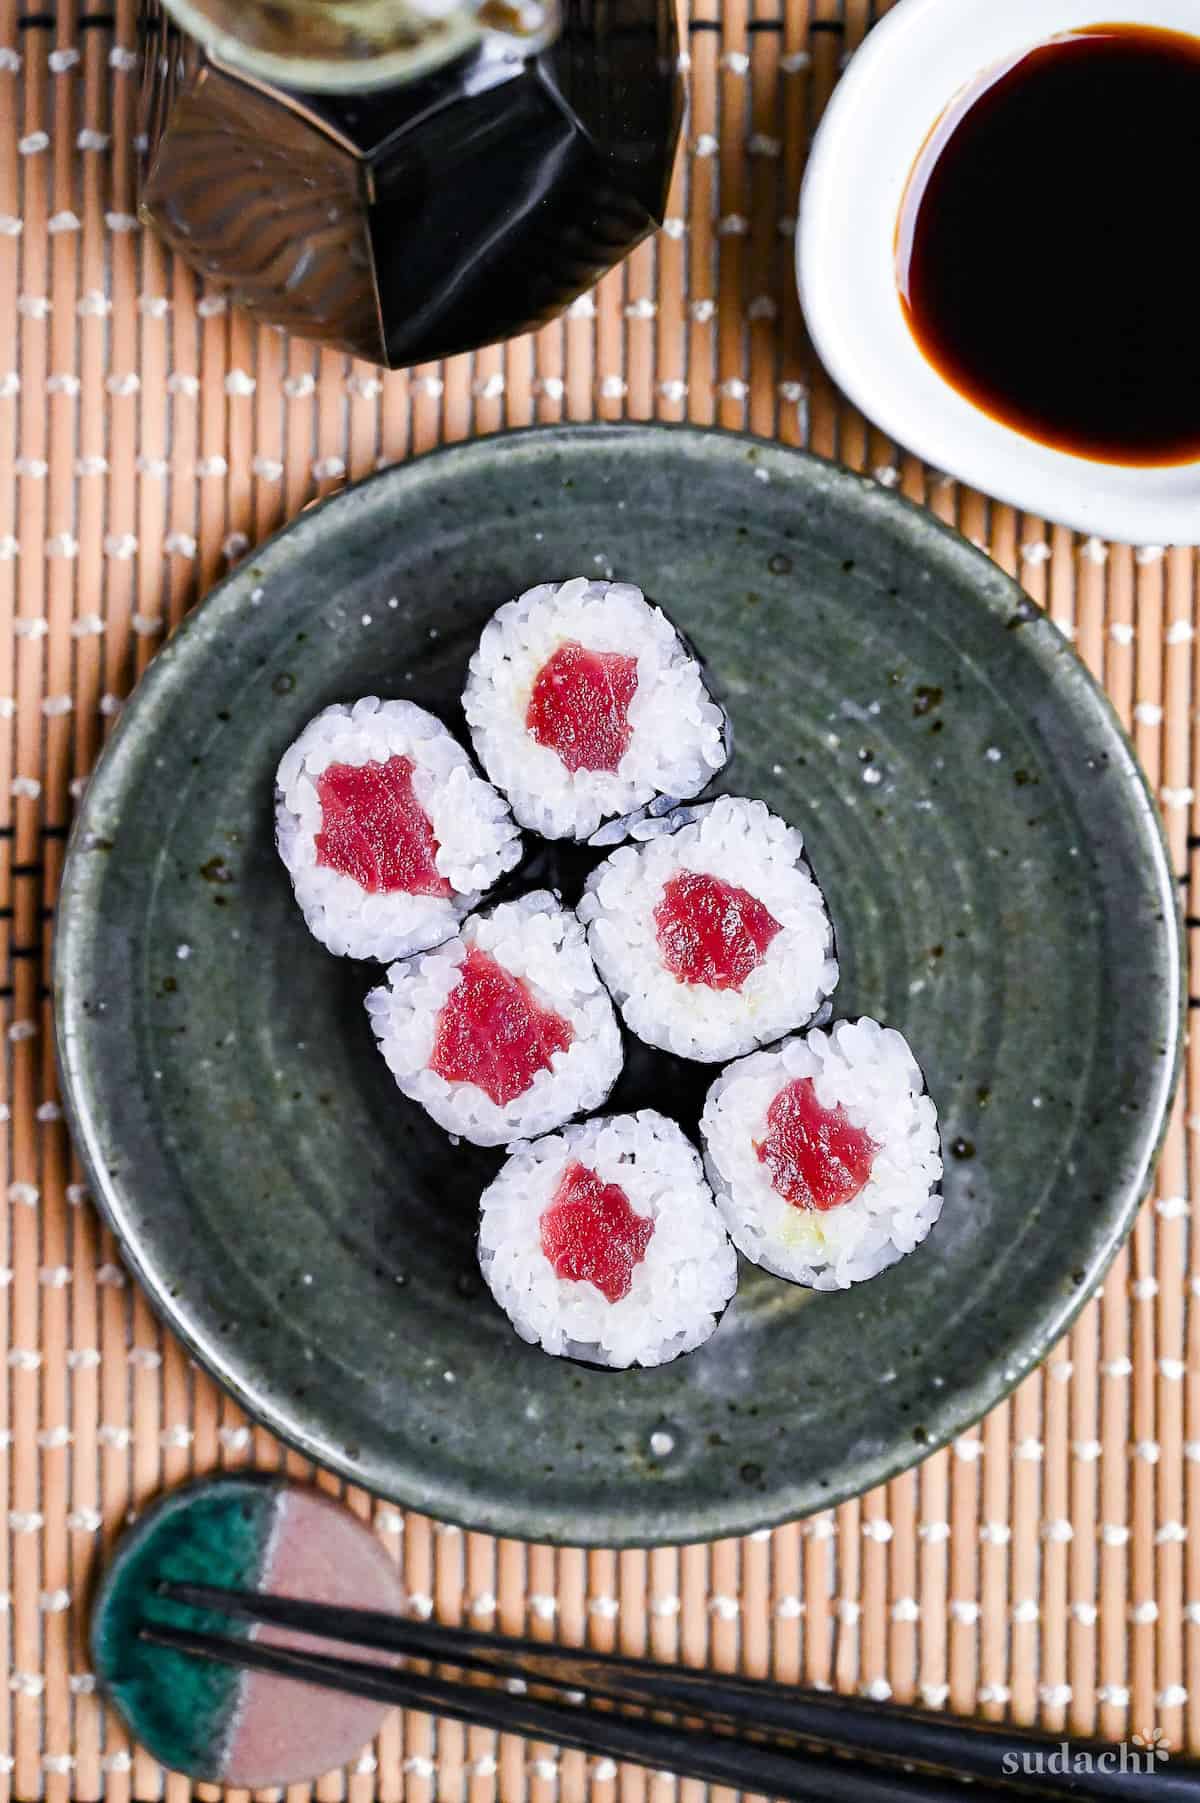
Tekka Maki (鉄火巻き) is a type of wrapped sushi (nori-maki) that uses tuna’s red meat as the core. It’s a thin roll variation (hosomaki) that includes vinegared sushi rice, nori, and wasabi. The word “tekka (鉄火)” means Iron Fire in Japanese if translated directly, but the origin of this dish is quite interesting.
During the early Meiji era (1868-1912), the only type of norimaki was the kanpyomaki (dried gourd roll). Gambling was popular among the general public at that time, and players would often eat kanpyomaki when they were hungry, as sushi rolls were easy to munch while playing.
One of the gambling players, tired of this, thought of something else to serve. Tuna was the perfect choice, and this “tuna roll” rapidly became popular among gamblers and then spread to the general public as well.
It is said that tuna rolls came to be called “tekka maki” because the common people called gambling halls “tekkaba (鉄火場).” However, there are various other theories, such as the red color of the tuna meat resembling the cross-section of a heated iron or that the tuna rolls are made to resemble the fire from a gun barrel. Nevertheless, I believe the gambling theory is the most interesting.
Incidentally, a bowl of rice topped with tuna is also called Tekka Don.

How I Developed This Recipe
I have mostly been a self-taught cook, and the only thing I have had hands-on experience with is sushi. For a short period of time, I was strictly taught by a retired 80+-year-old sushi chef in Tokyo. The professional work (what they call “shigoto”) I saw up close was delicate and amazing, and I thought he was not only a chef but an artist.
Although I am nowhere near like them, I would love to share what I have learned, along with my findings in my own way.
To help others make sushi at home, I will introduce many tips and tricks, which are even more detailed than my usual recipe articles. I hope you will take a look at the “Visual Walkthrough” section before jumping to the recipe card for this.
Key Ingredients & Equipment
- Vinegared Sushi Rice: It’s important to note that any sushi dishes specifically require “vinegared rice (sumeshi),” which is Japanese rice seasoned with a mix of vinegar, sugar, and salt rather than using plain white rice. For a comprehensive guide on how to prepare vinegared sushi rice correctly, see my designated sushi rice recipe.
- Sashimi-Grade Tuna: Tekka Maki almost always uses the red part of tuna. It is recommended to get it in block form to achieve a beautiful finish on the sushi roll. However, if pre-sliced tuna is what’s available, it can be used without any issues. The key is to ensure the tuna is sashimi-grade for safe-eating and quality.
- Sushi Nori Seaweed: For sushi, a square piece of nori seaweed is used. Given that the Tekka Maki being prepared is hosomaki (thin sushi rolls), the square piece of nori should be cut in half to create a rectangle shape before use.
- Wasabi: While fresh wasabi is the best, using a store-bought wasabi paste is completely fine when making sushi at home.
- Soy Sauce: A fundamental component for Tekka Maki. Opt for Japanese dark soy sauce to achieve the authentic flavor essential for sushi
Tools Needed for Tekka Maki:
- Bamboo Sushi Rolling Mat: This tool is for crafting beautiful, tight sushi rolls. For those without access to one, a practical workaround involves laying plastic wrap over a dry tea towel to mimic the mat’s function.
- Sharp Knife: A freshly sharpened knife is crucial for cutting the sushi rolls into individual pieces cleanly.
- Damp Cloth: Keeping a damp cloth handy to wipe the knife blade after each cut helps to prevent rice from sticking to the blade and ensures clean cuts. This practice also facilitates easy cleaning between cuts, maintaining the aesthetics of each sushi piece.
Visual Walkthrough & Lots of Tips
Here are my step-by-step instructions for how to make Tekka Maki at home. For ingredient quantities and simplified instructions, scroll down for the Printable Recipe Card below.
To prepare vinegared sushi rice, add a mixture of vinegar, sugar, and water to the cooked rice. Blend the mixture until rice becomes shiny and the sushi vinegar is well distributed. Use a rice scoop to cut the mixture when it is blended.
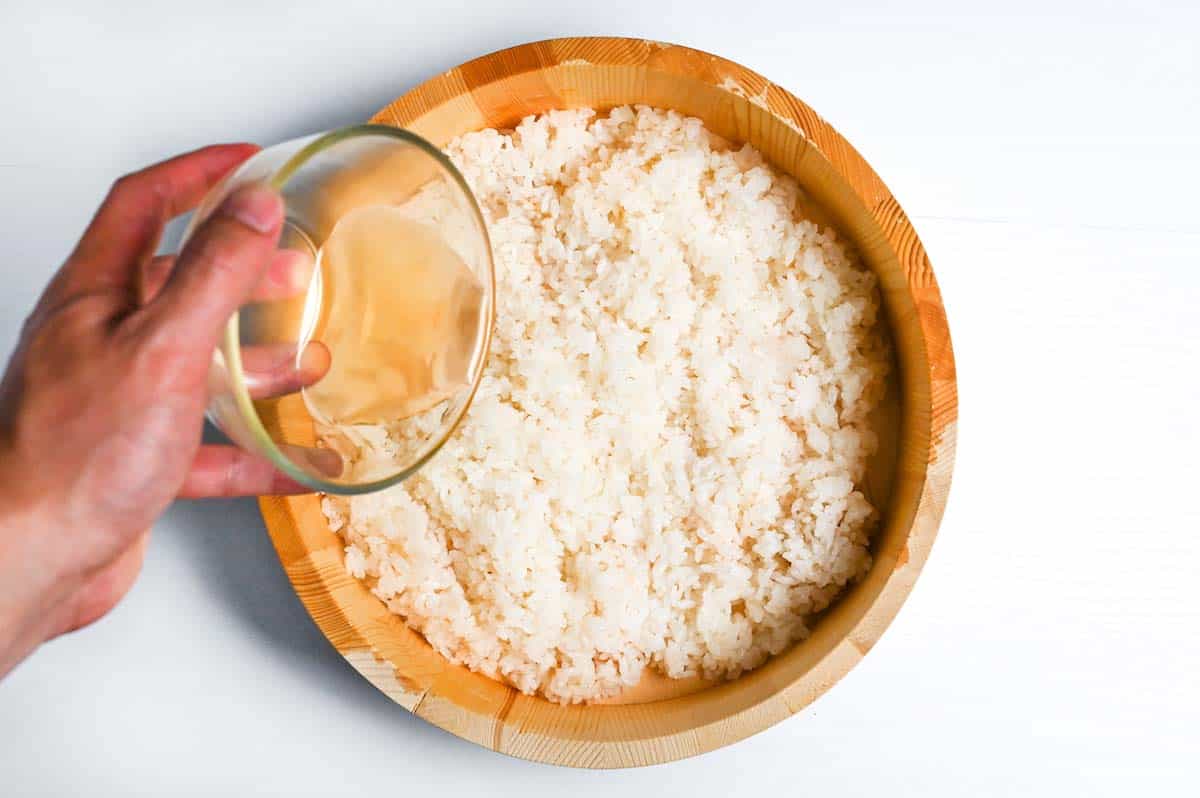
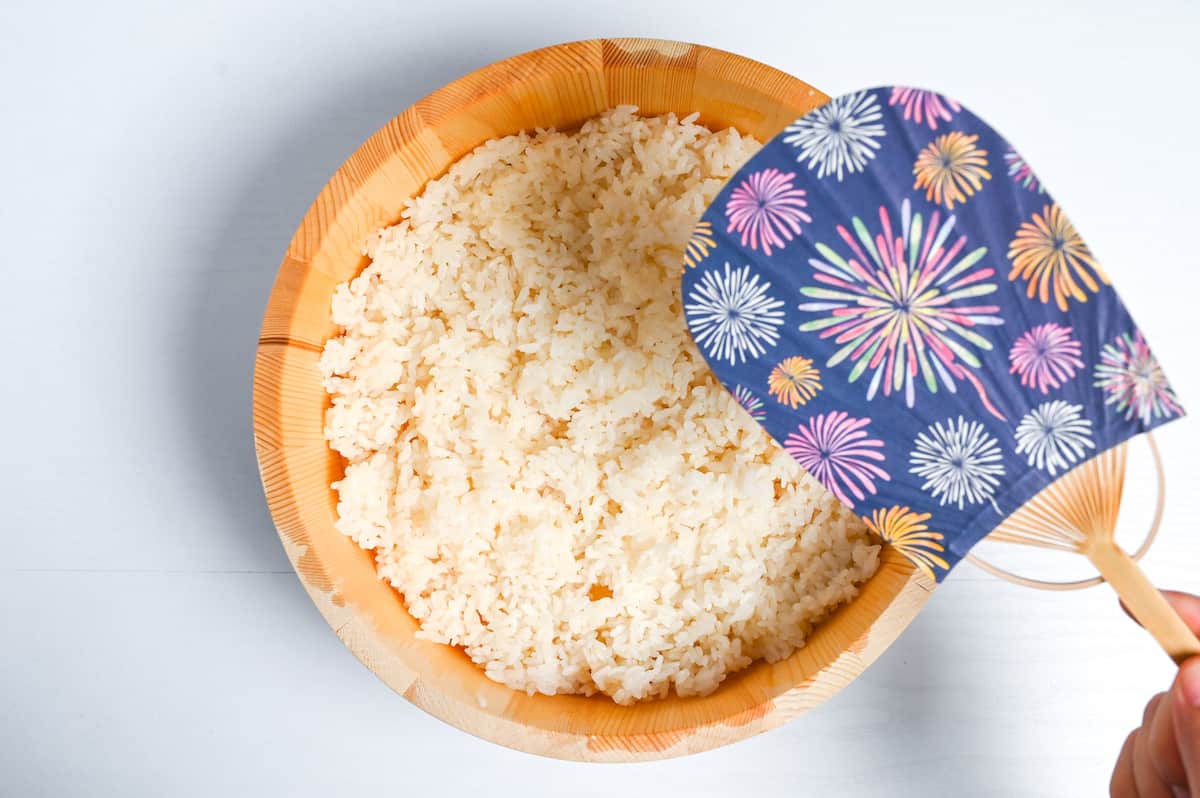
Once done, cool the rice using a fan until it reaches the human temperature.
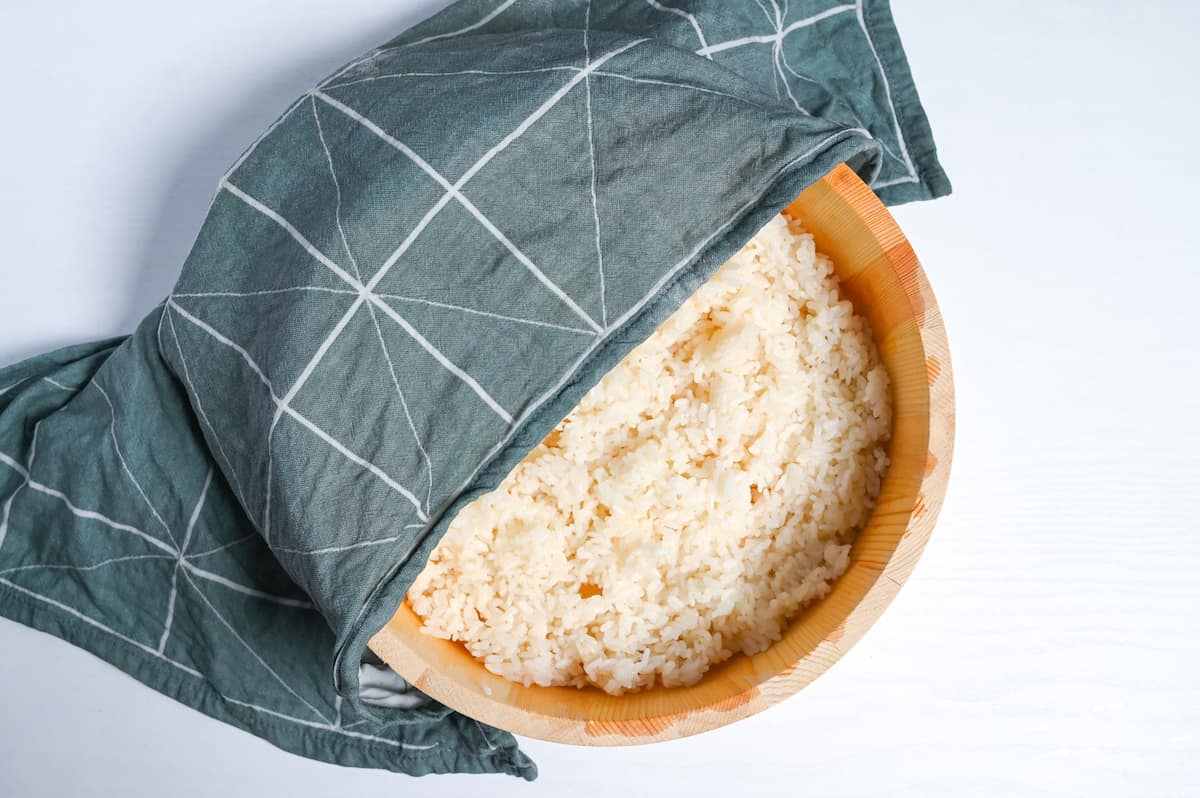
After cooling, cover the sushi rice with a damp cloth. This will stop it from drying out while you prepare the filling.
For more detailed instructions, please refer to my sushi rice recipe.
Rinse the tuna block under cold water, then pat the tuna dry with paper towels.
Lightly sprinkle the tuna with a small amount of salt. This process, known as “shiojime,” is a trendy Japanese technique that enhances the flavor of inexpensive sashimi-grade fish. The salt works to tighten the fish’s flesh by drawing out excess water through osmotic pressure. This not only concentrates the flavor components, making the tuna taste richer, but also helps to reduce any fishy odor.
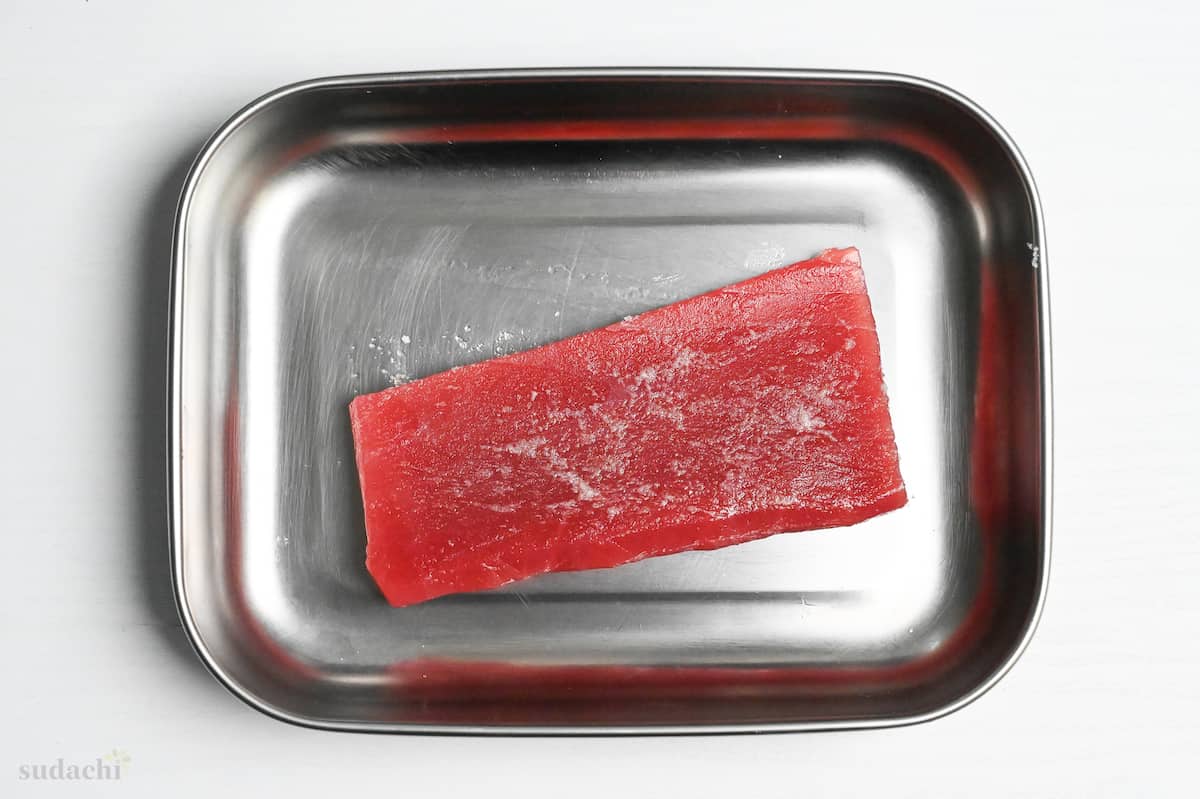
Place the salted tuna in a container and prop up one side (I used my rolled up sushi mat for this). The elevation will allow any extracted water to drip off easily. Let it stand for 10 to 15 minutes.
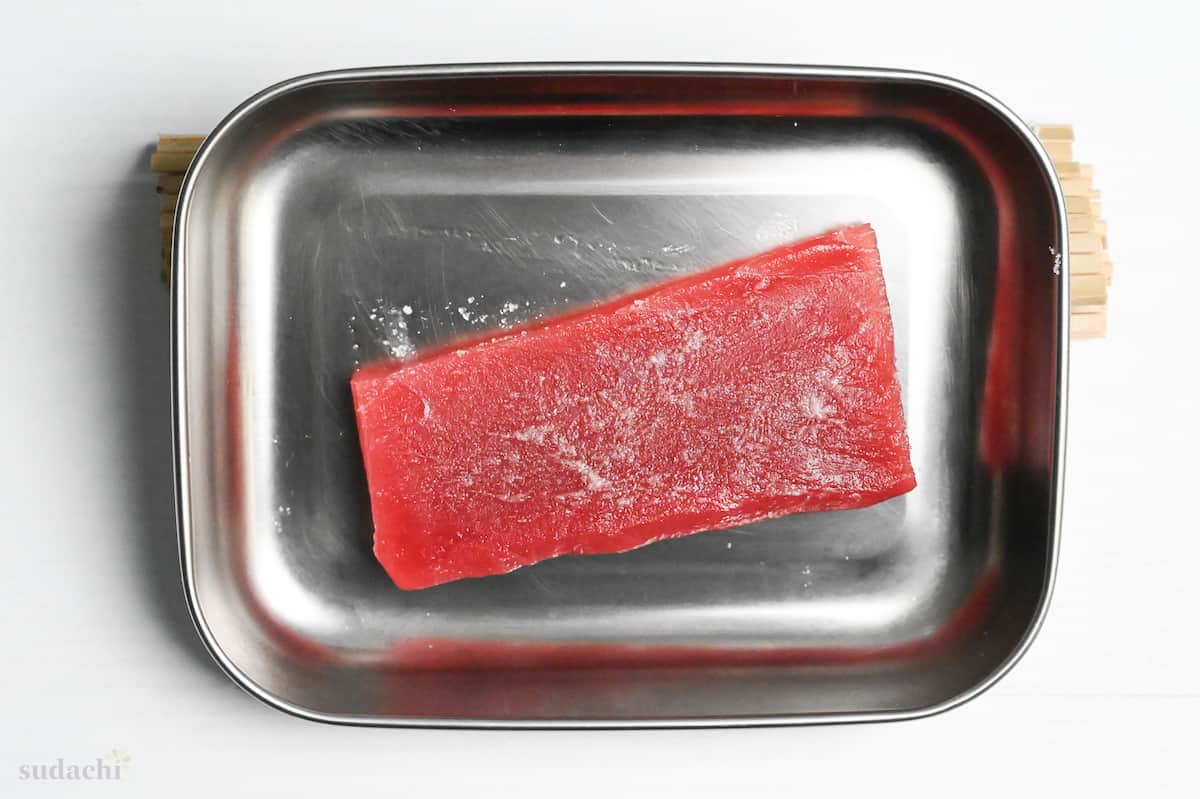
After the resting period, use a clean paper towel to gently wipe off any moisture that has surfaced on the tuna.
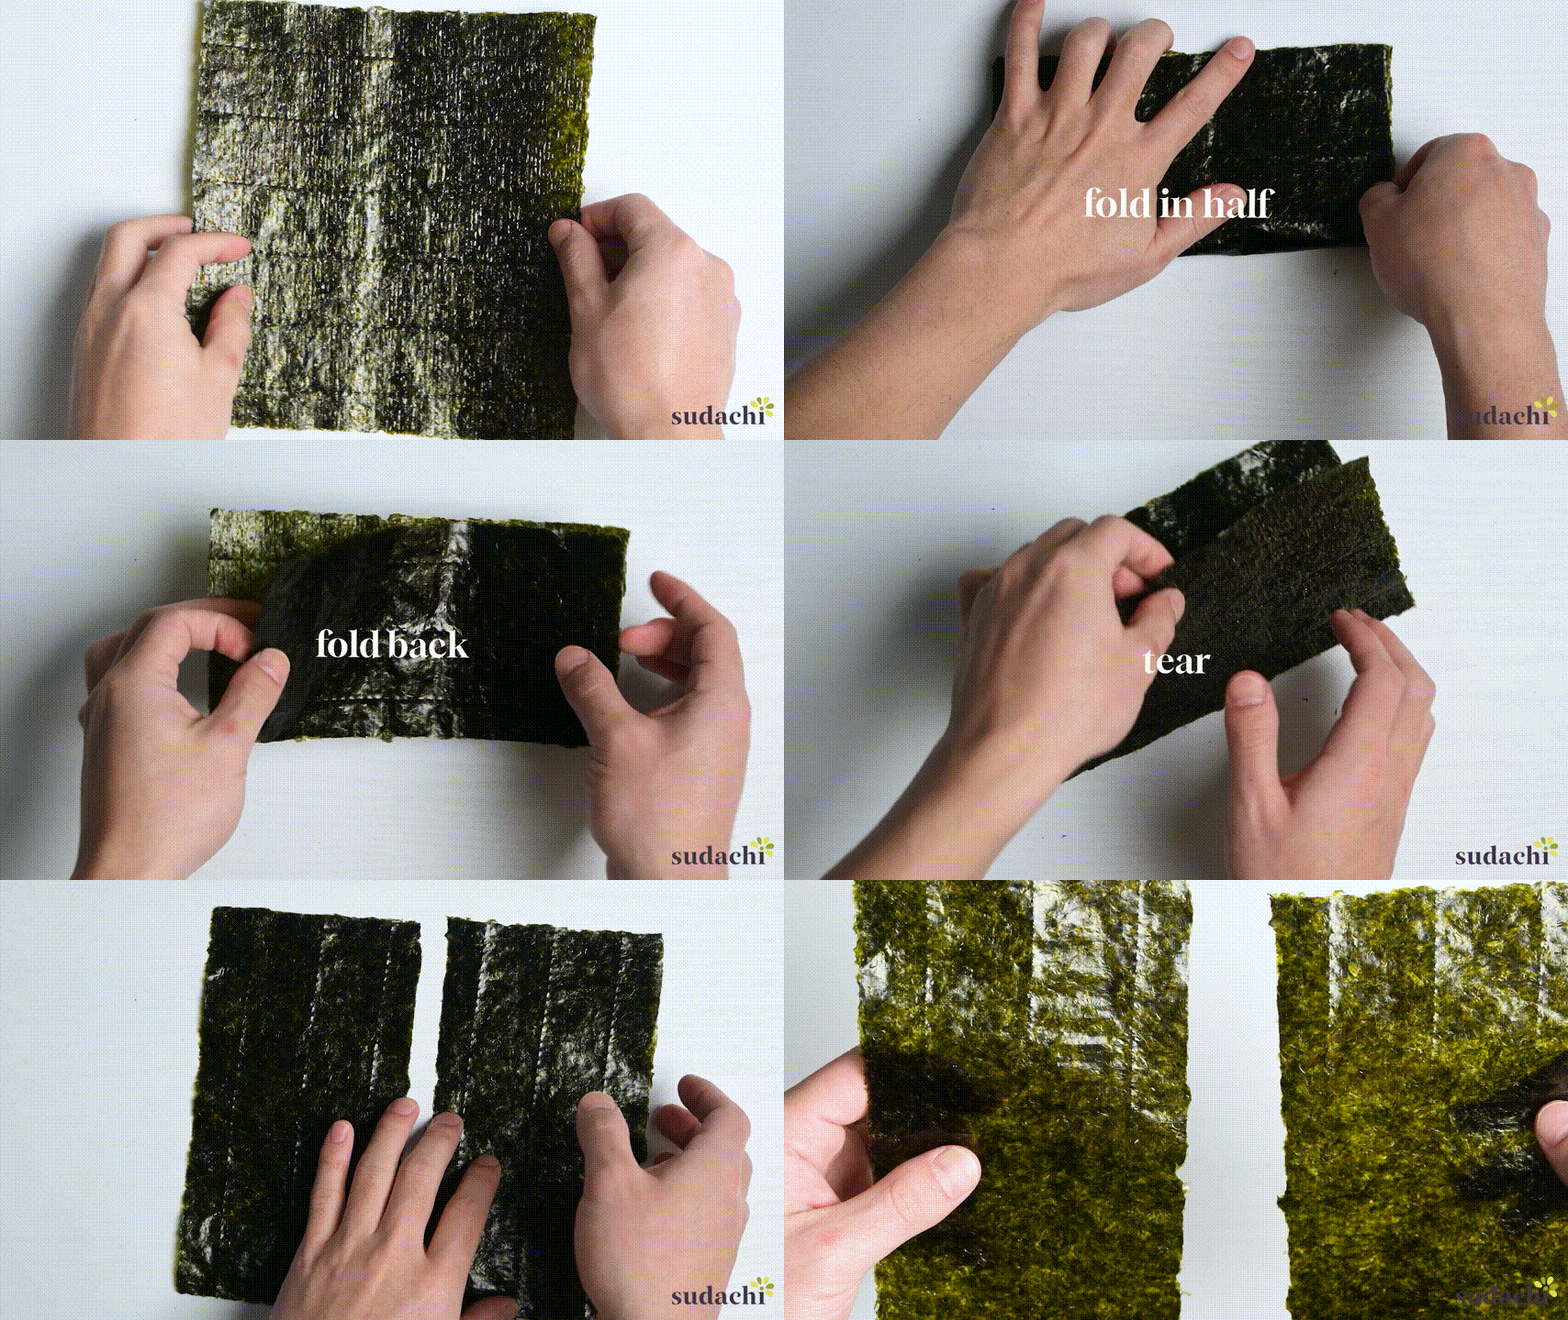
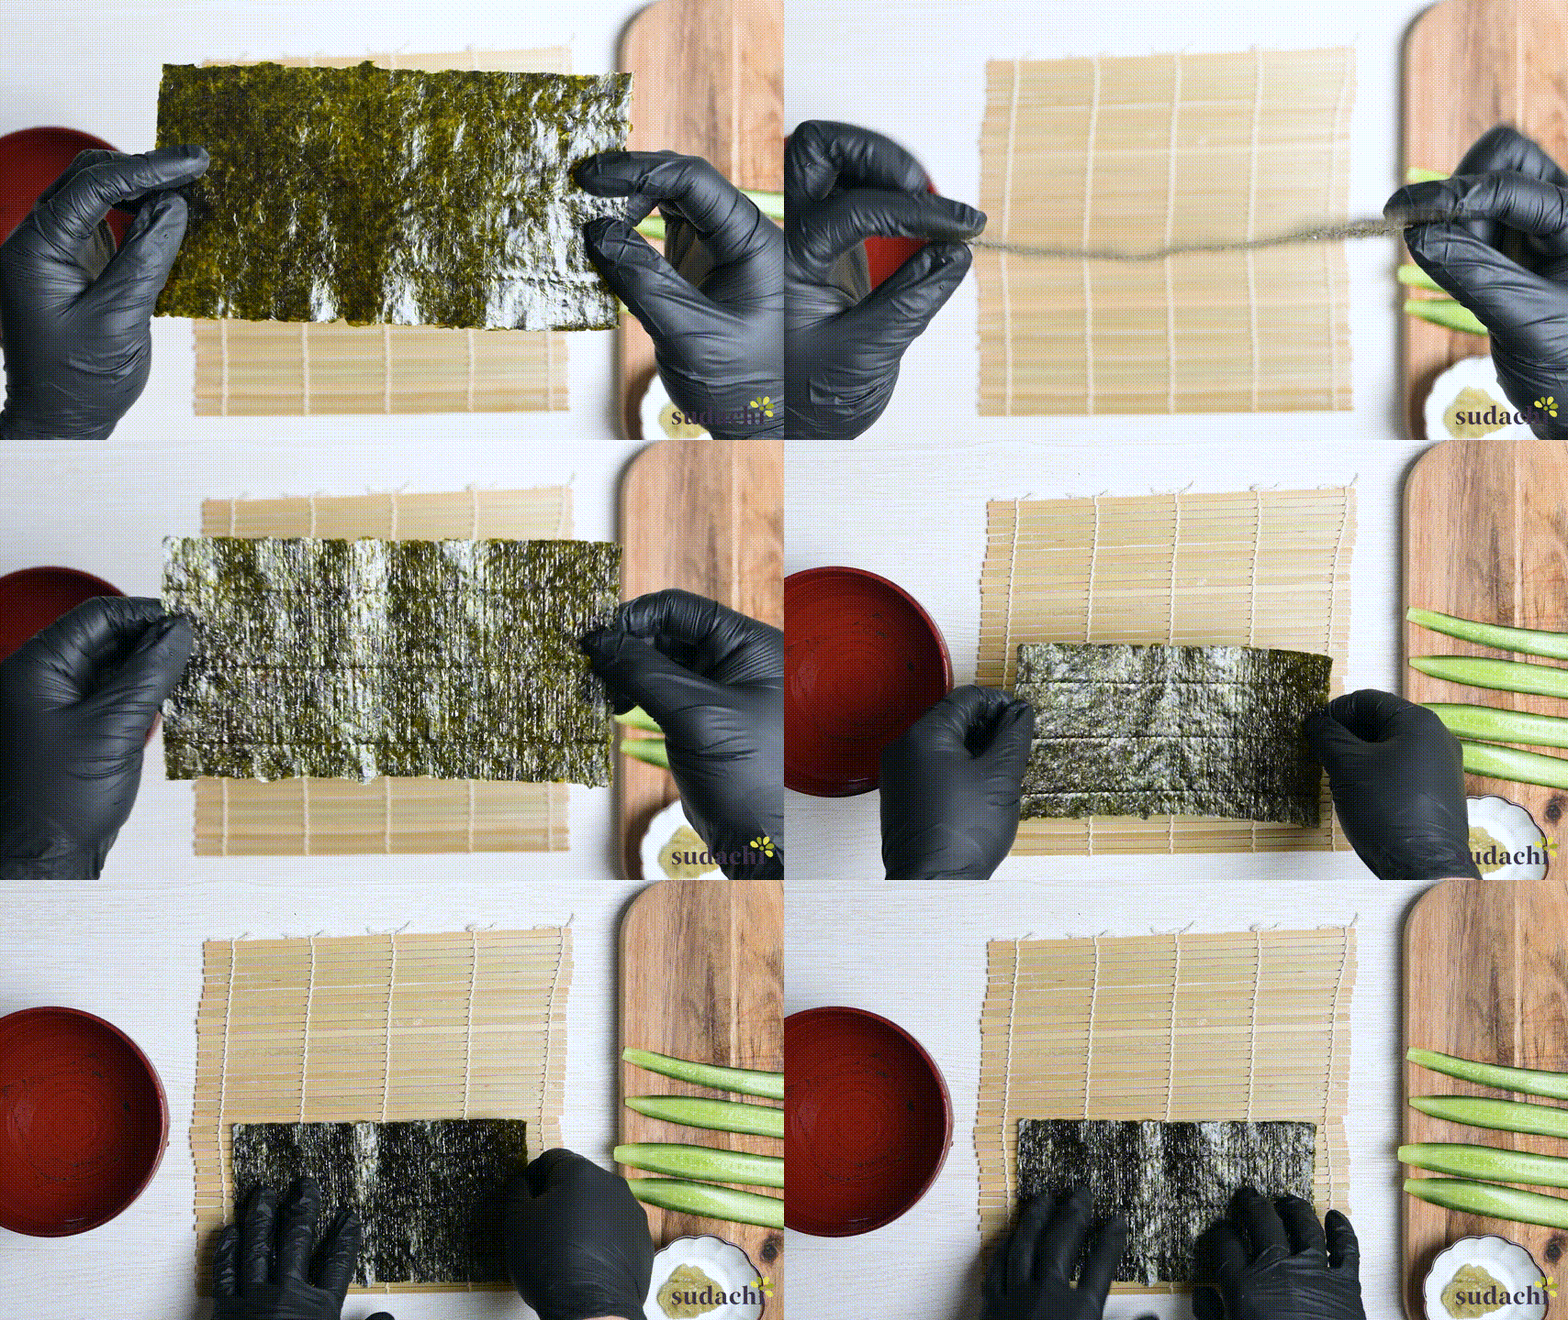
As I mentioned, you will need half a square of nori when making hosomaki. If you’re not confident to draw straight lines, like me, you can fold and cut the nori by hand or use kitchen shears or a knife to cut it in half.
For the tuna, it’s best to cut it into sticks about 7-8mm or roughly 1/3 of an inch thick.
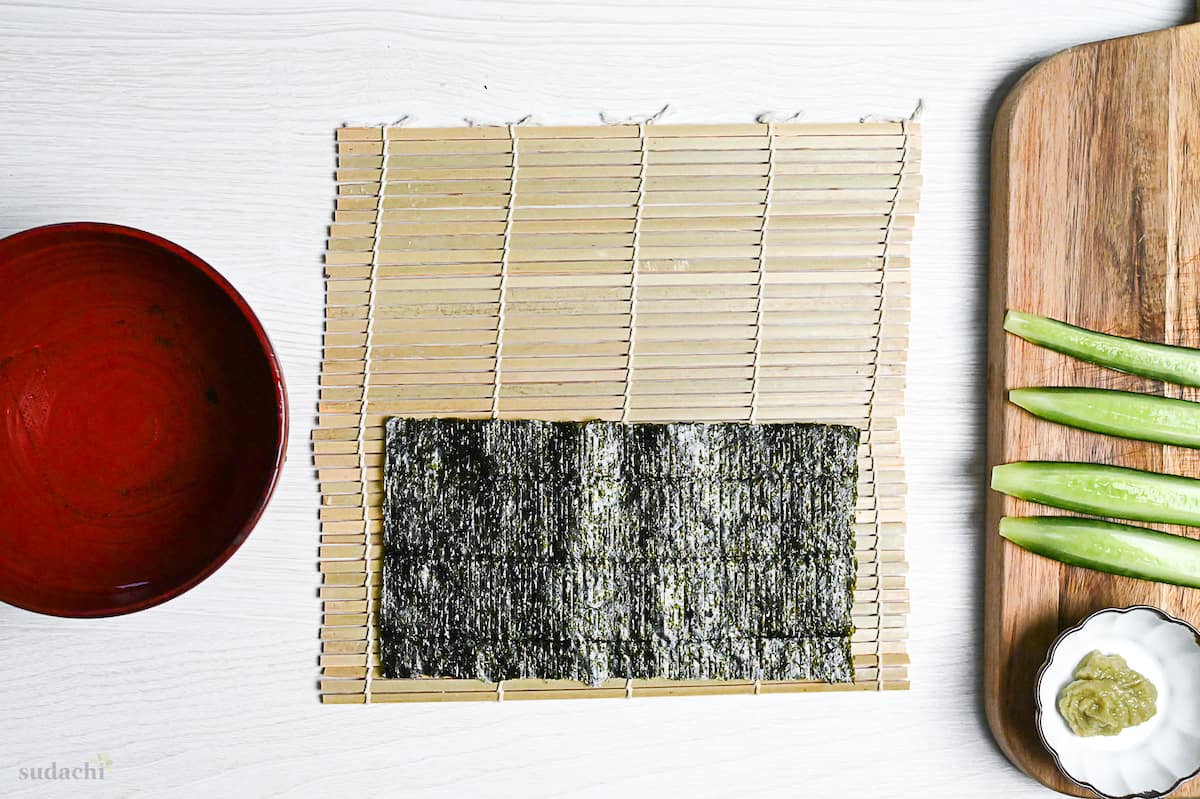
Then, prepare a bowl of cold water, a small dish of wasabi, and the bamboo rolling mat for your sushi station.
The rolling mat should be turned up on the flat side, and the knot in the knitting yarn should be at the top.
Place the nori on the mat with the rough side facing up and align it with the bottom edge.
Wet your hands and take a ball of rice weighing around 80g (a little less than 3oz). Wetting your hands will prevent the rice from sticking, and I recommend using a pair of cooking gloves to prevent the rice from sticking to your hands too much.
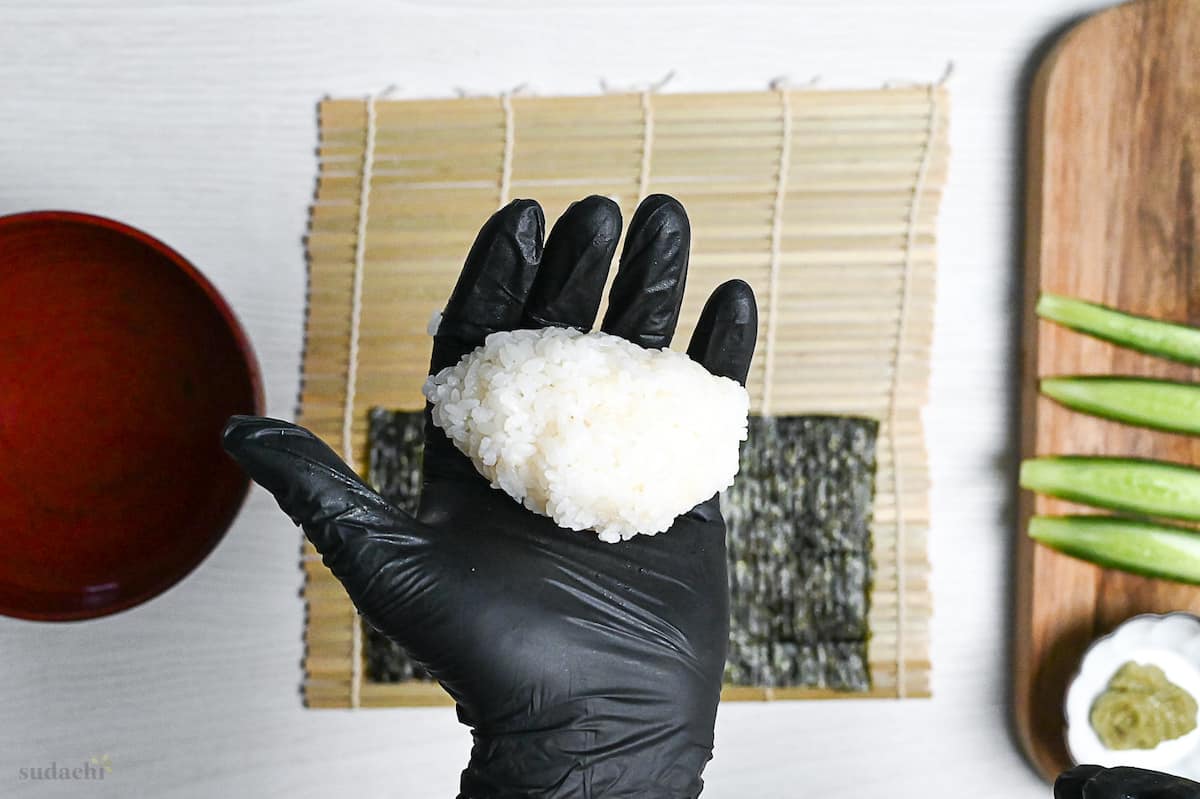
But be careful not to apply too much water to your hands, as it can cause water to drop down onto the nori, resulting in damp and wrinkled nori that becomes difficult to roll.
Shape the rice into a rough cylinder.
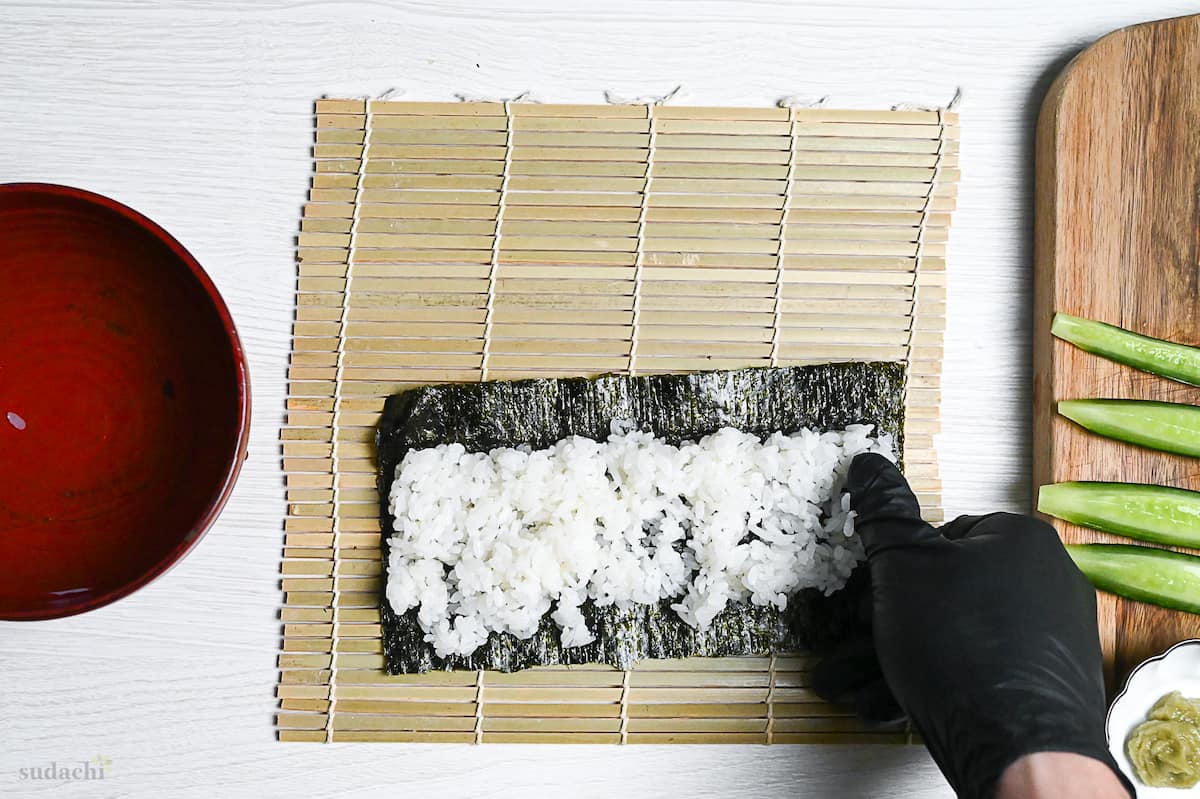
First, place the rice on the top left corner of the nori sheet and spread it evenly across to the opposite side, leaving a finger-width border along the top.
However, do not press the rice too hard to prevent it from being mushed.
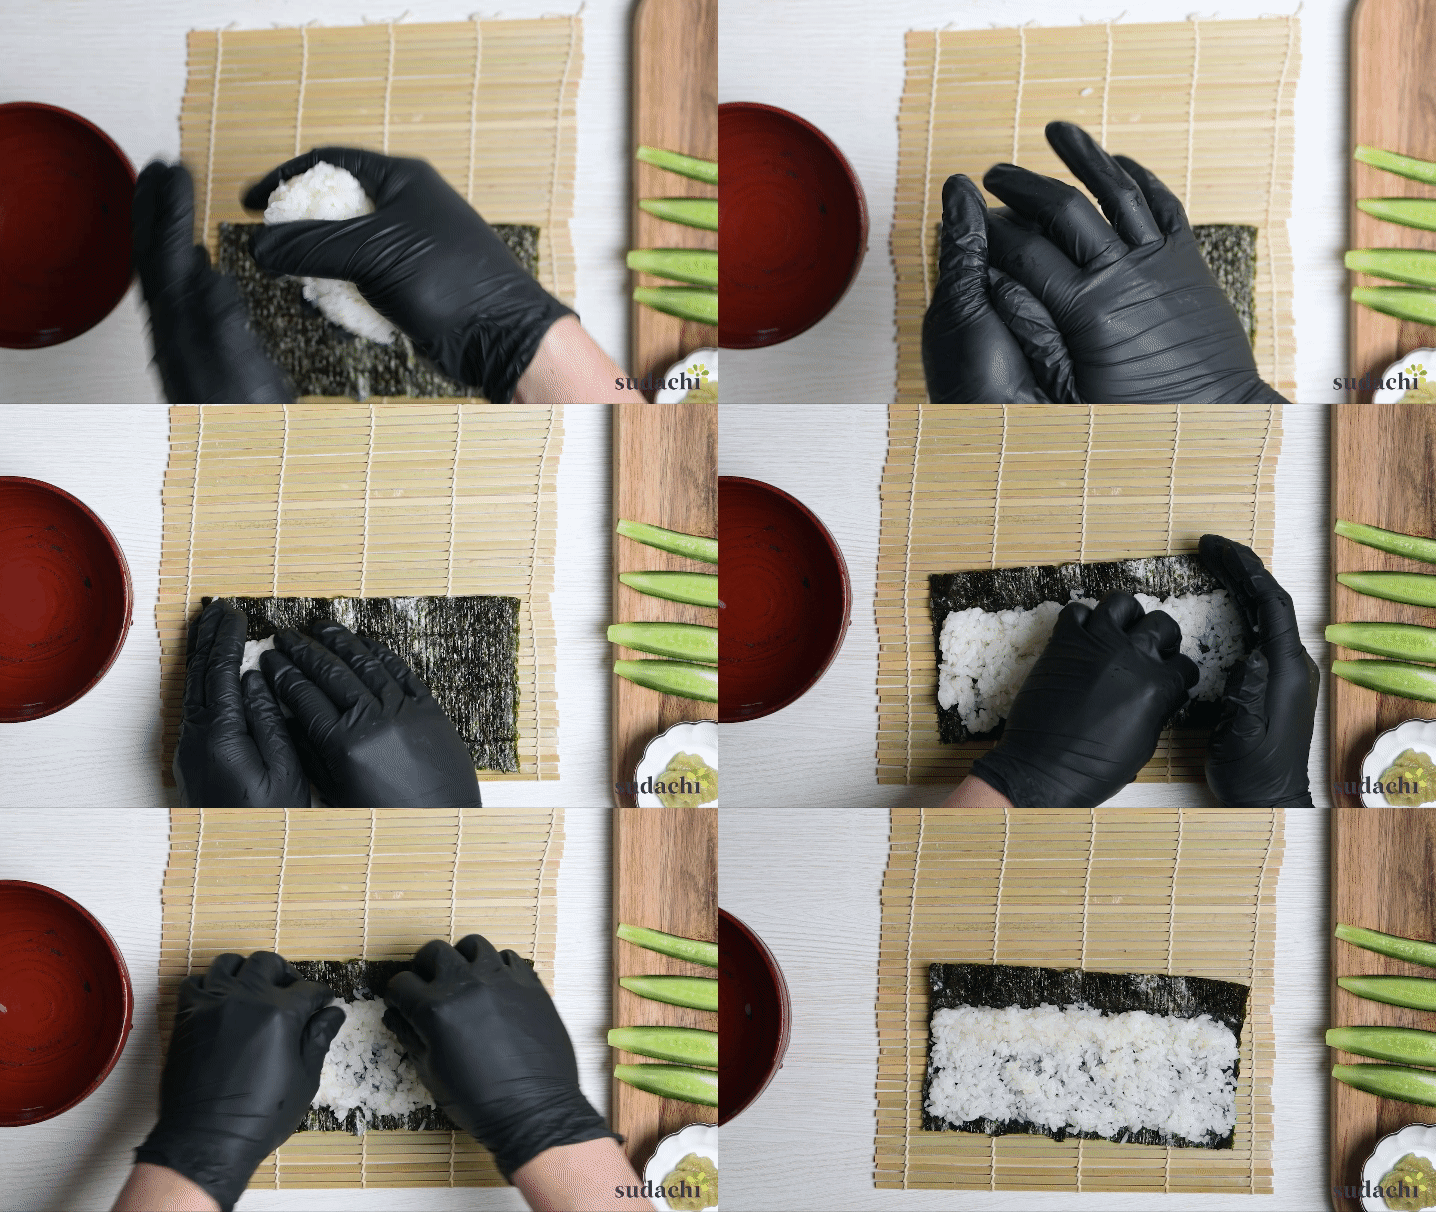
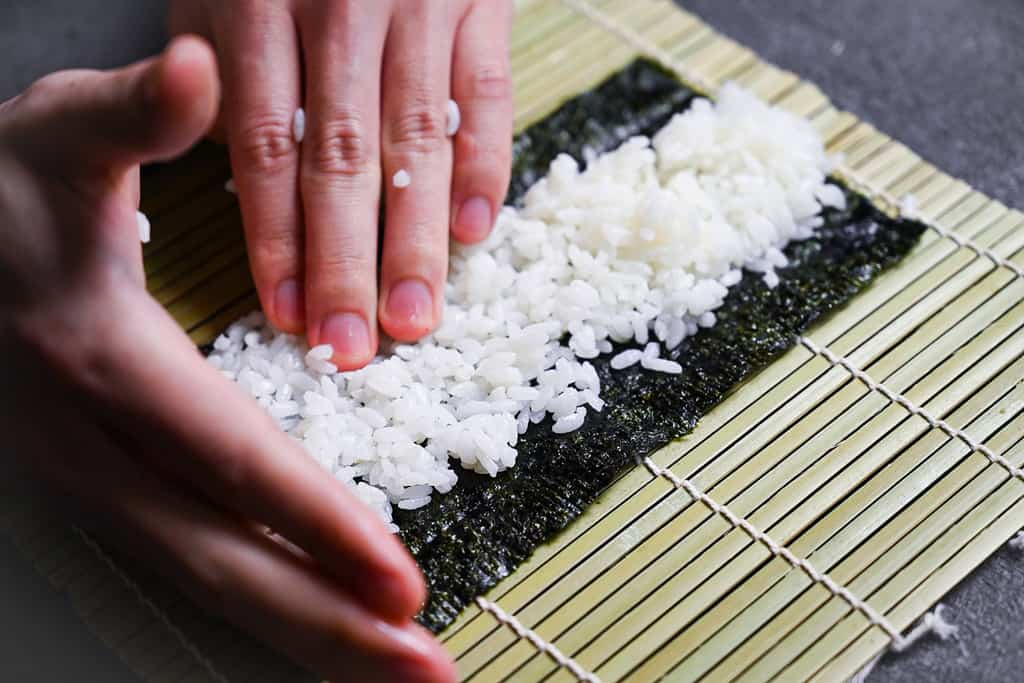
To make a well-formed hosomaki sushi roll, it’s important to use one hand to create a wall on the opposite side of the rice when spreading. This ensures that the rice is evenly distributed on the edges. Typically, hosomaki contains fewer ingredients and less rice on the edges, which can lead to unevenness in the roll. By creating a hand wall and spreading the rice well, you are likely to achieve a uniform roll throughout.
Next, spread the rice from top to bottom of the nori sheet, making sure that it is evenly aligned in height. If some areas are shorter, use rice from another location and fill in the gaps.
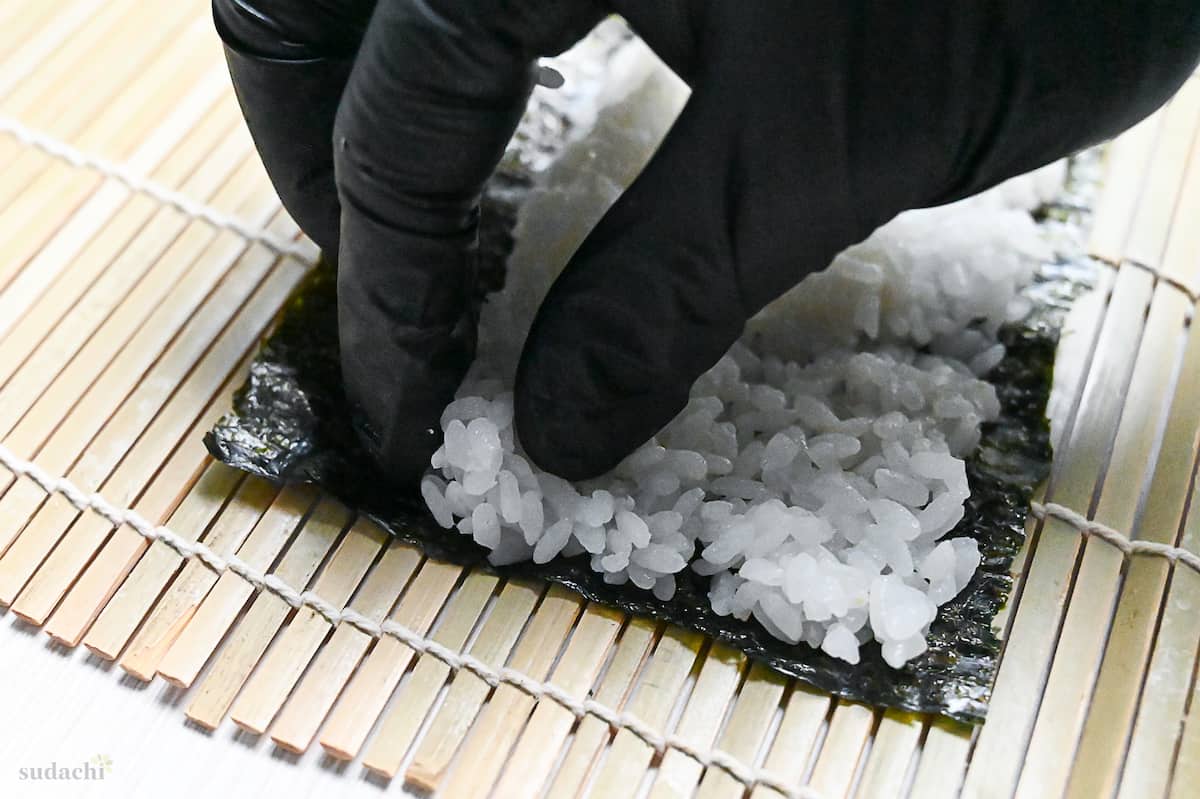
Finally, pinch the top edge of the rice to create a ridge along the border of the nori.
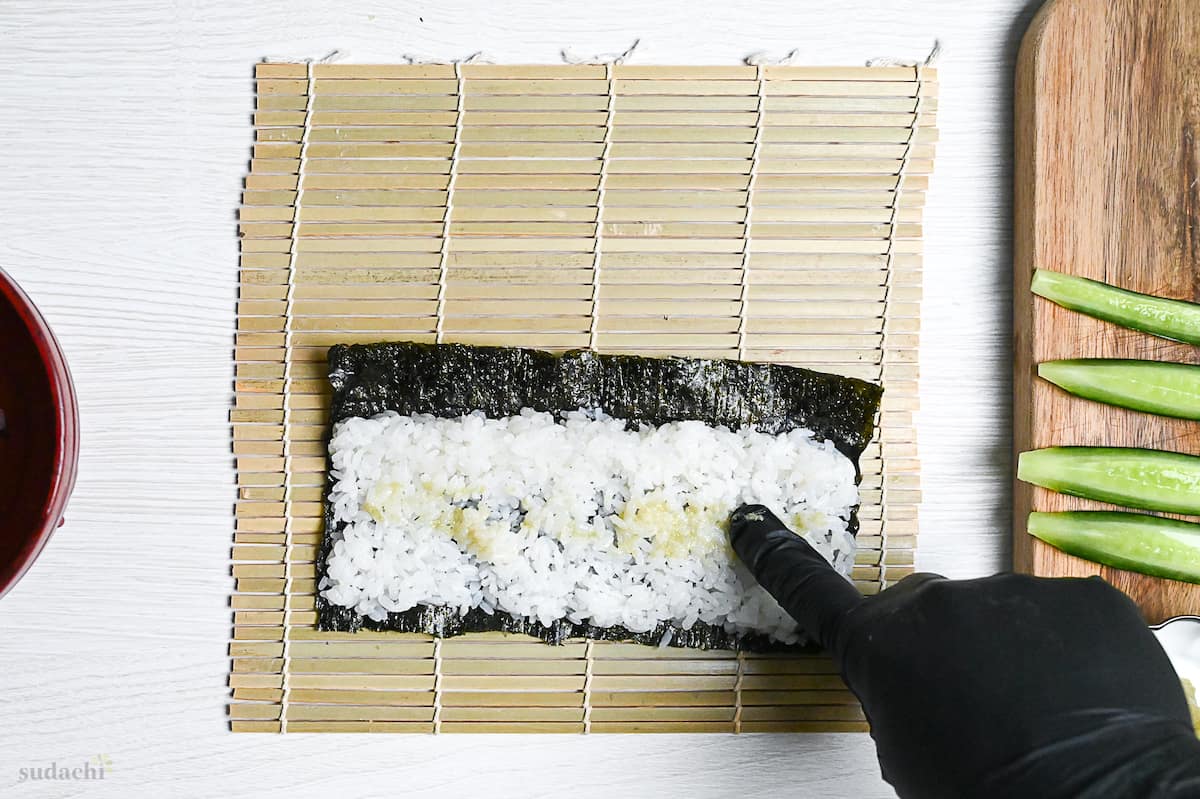
If you want to use wasabi, spread it in the center.
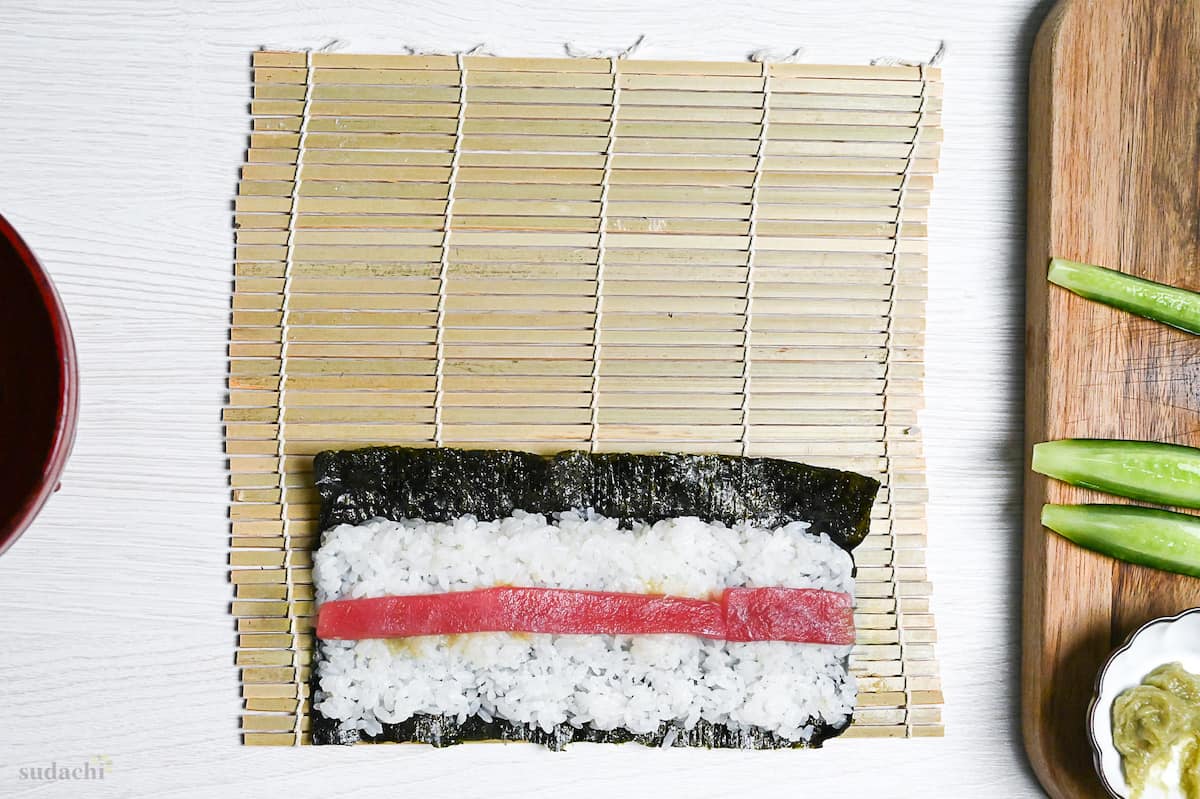
Place the tuna on top of the rice. The tuna should be placed in the middle of the rice (not the middle of the nori) and then gently pressed down to prevent it from shifting when rolled.
If your tuna is too short to reach the entire length of the nori, trim another piece and add it to the end.
Before you start rolling, make sure the bottom edge of the nori is aligned with the edge of the rolling mat. This will prevent rice grains from sticking to the mat and ensure a tight, neat roll.
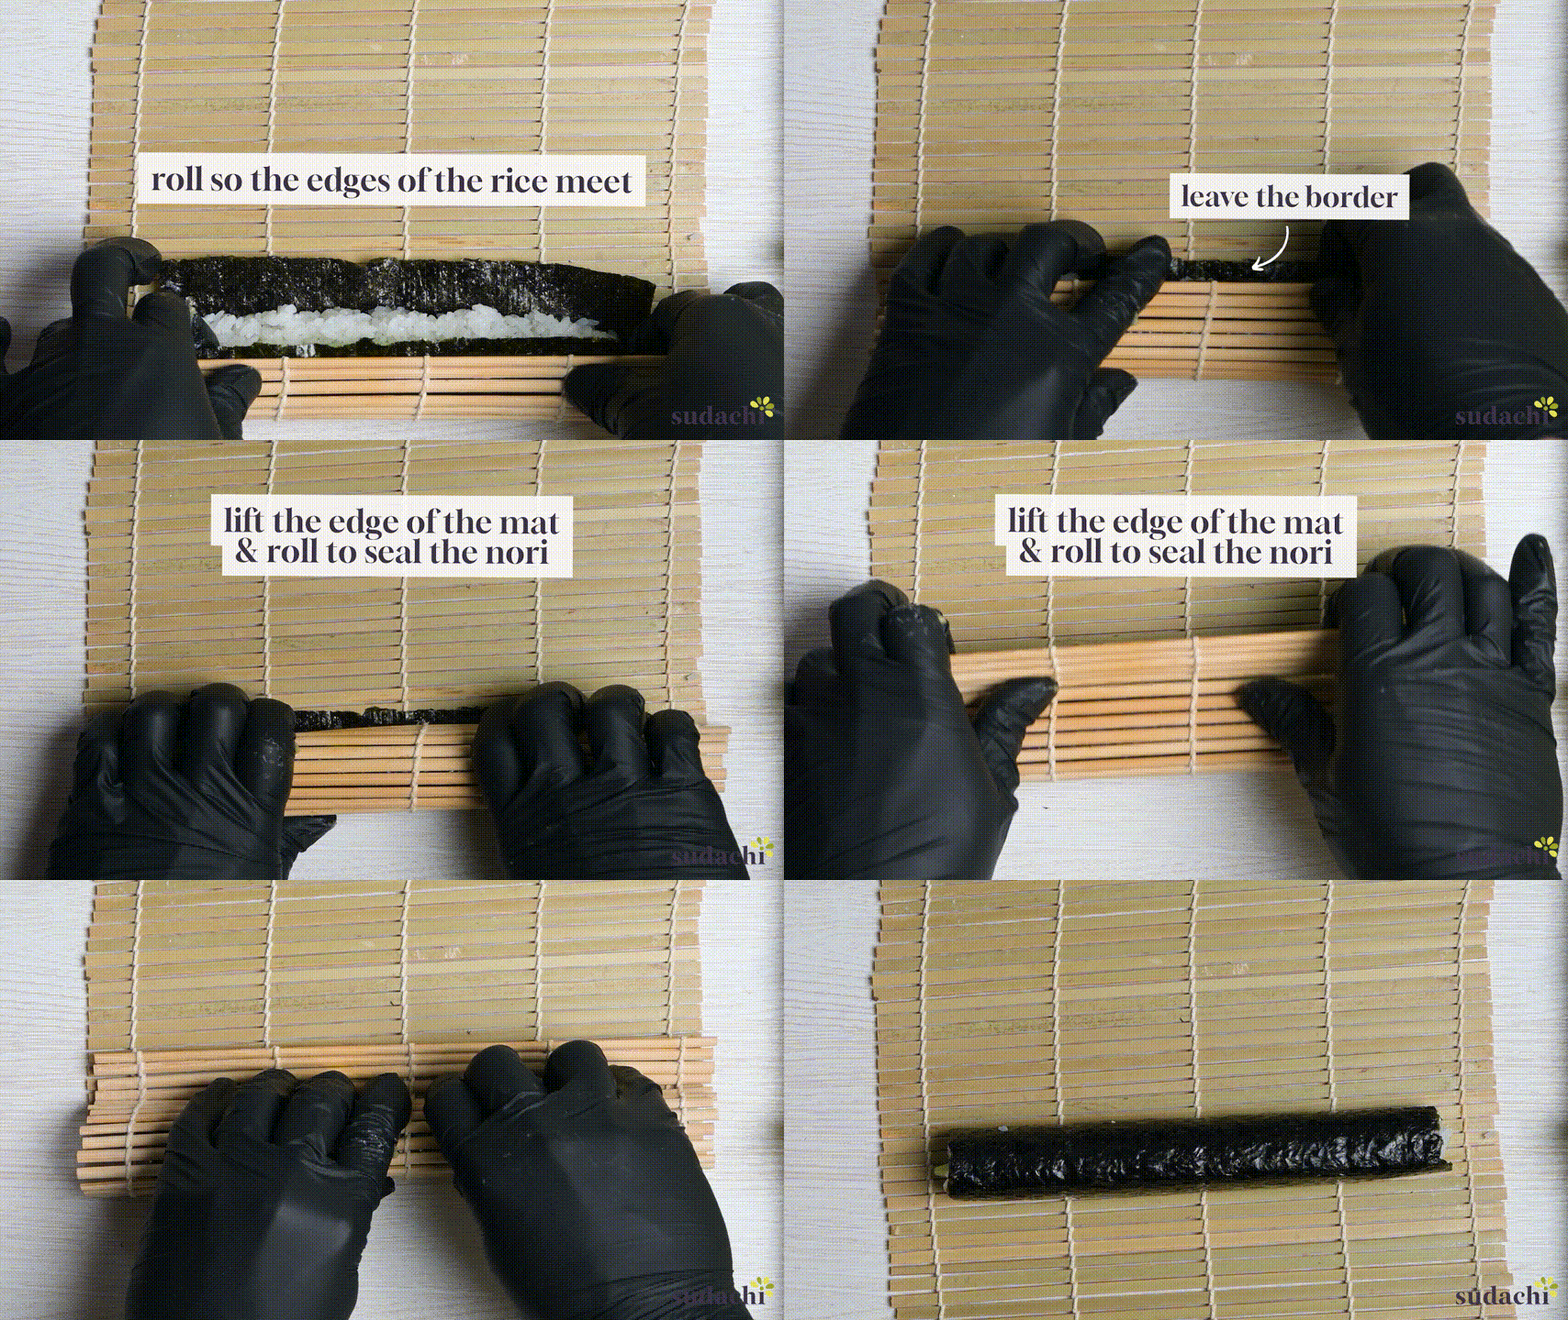
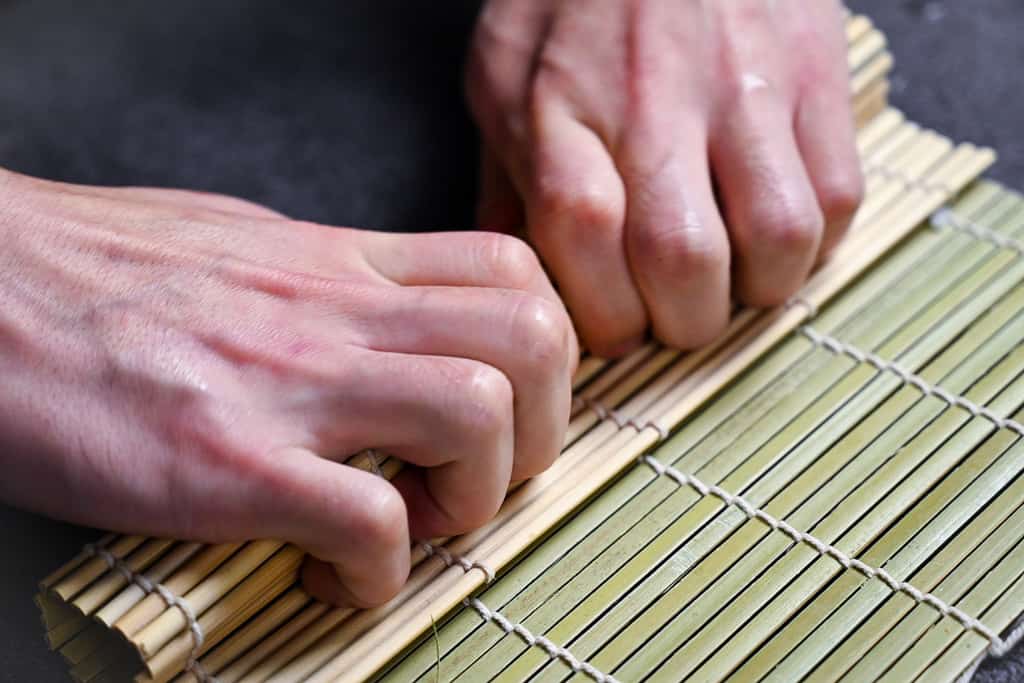
Then, roll the nori in the front as if to wrap around the raised ridge on the other side. To stabilize the ingredients, raise the sushi mat with your thumbs and lightly press down on the tuna with your remaining fingers. This will prevent the ingredients from falling apart or spilling out.
Press to secure, then lift the edge of the bamboo mat up and continue rolling so that the empty border wraps around the roll and seals it.
Finally, press down on the front with your thumb, the back with your middle finger, and the top with your index finger to create a square shape.
To prevent rice from sticking to the knife, it is recommended to wipe the knife lightly with a damp towel before cutting. I recommended cutting in a small and sharp sawing motion, pushing the knife forwards first, then back and forth until it’s cut all the way through.
You can also clean up the cross-section by cutting a little off the edge to improve its appearance.
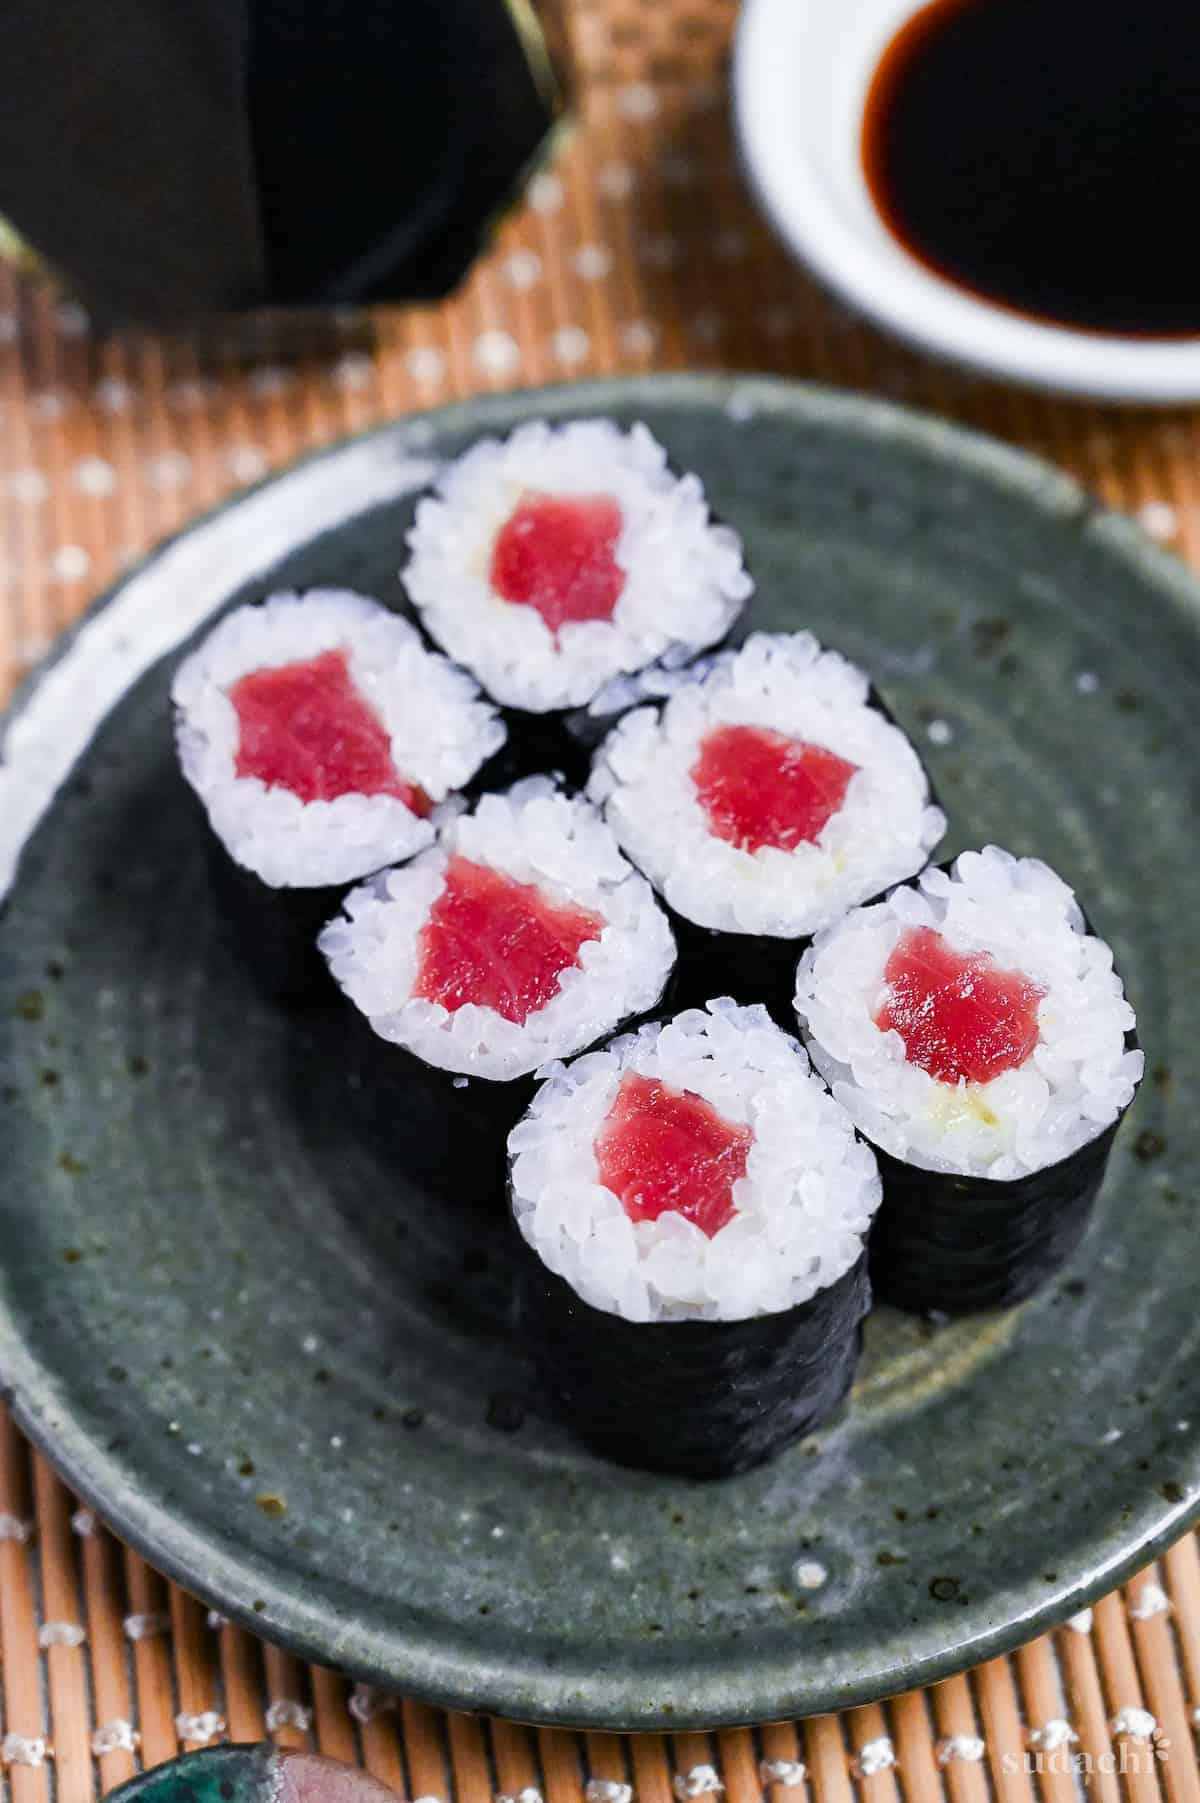
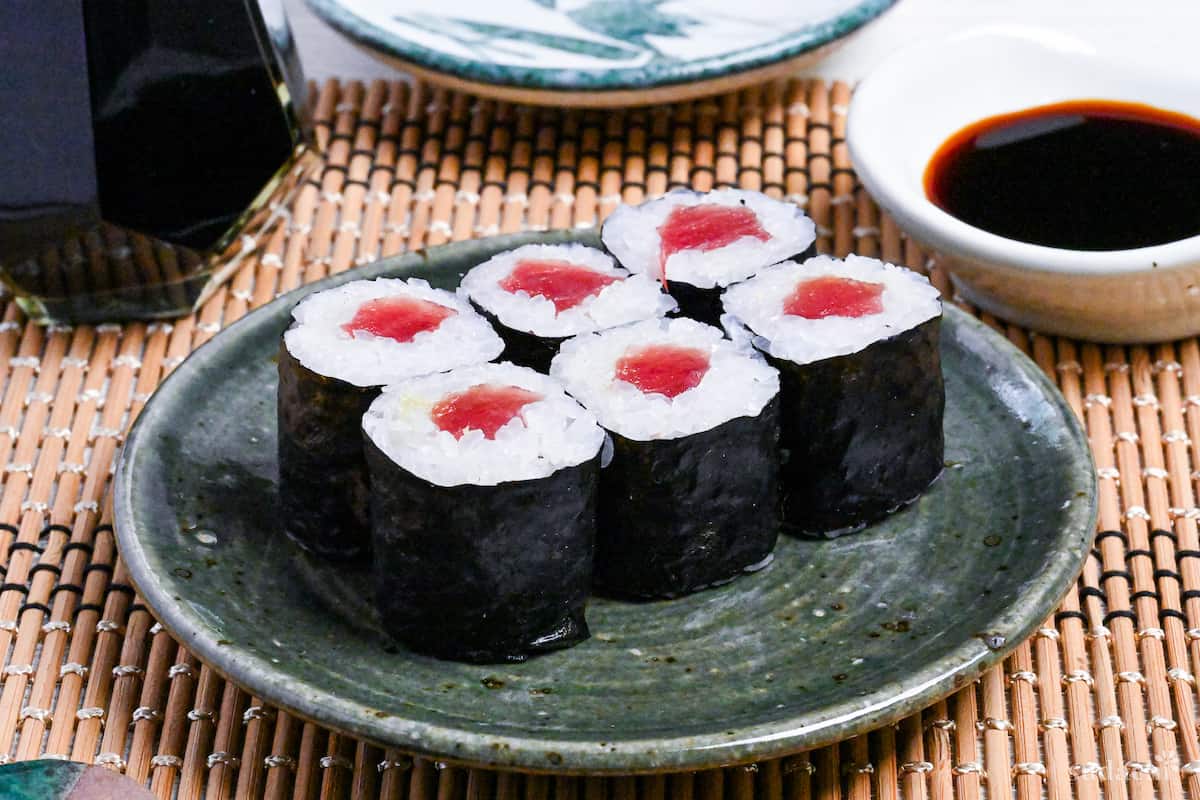
Hosomaki is usually divided into six equal rolls. To do this, first cut the roll in half and then each half into three equal pieces.
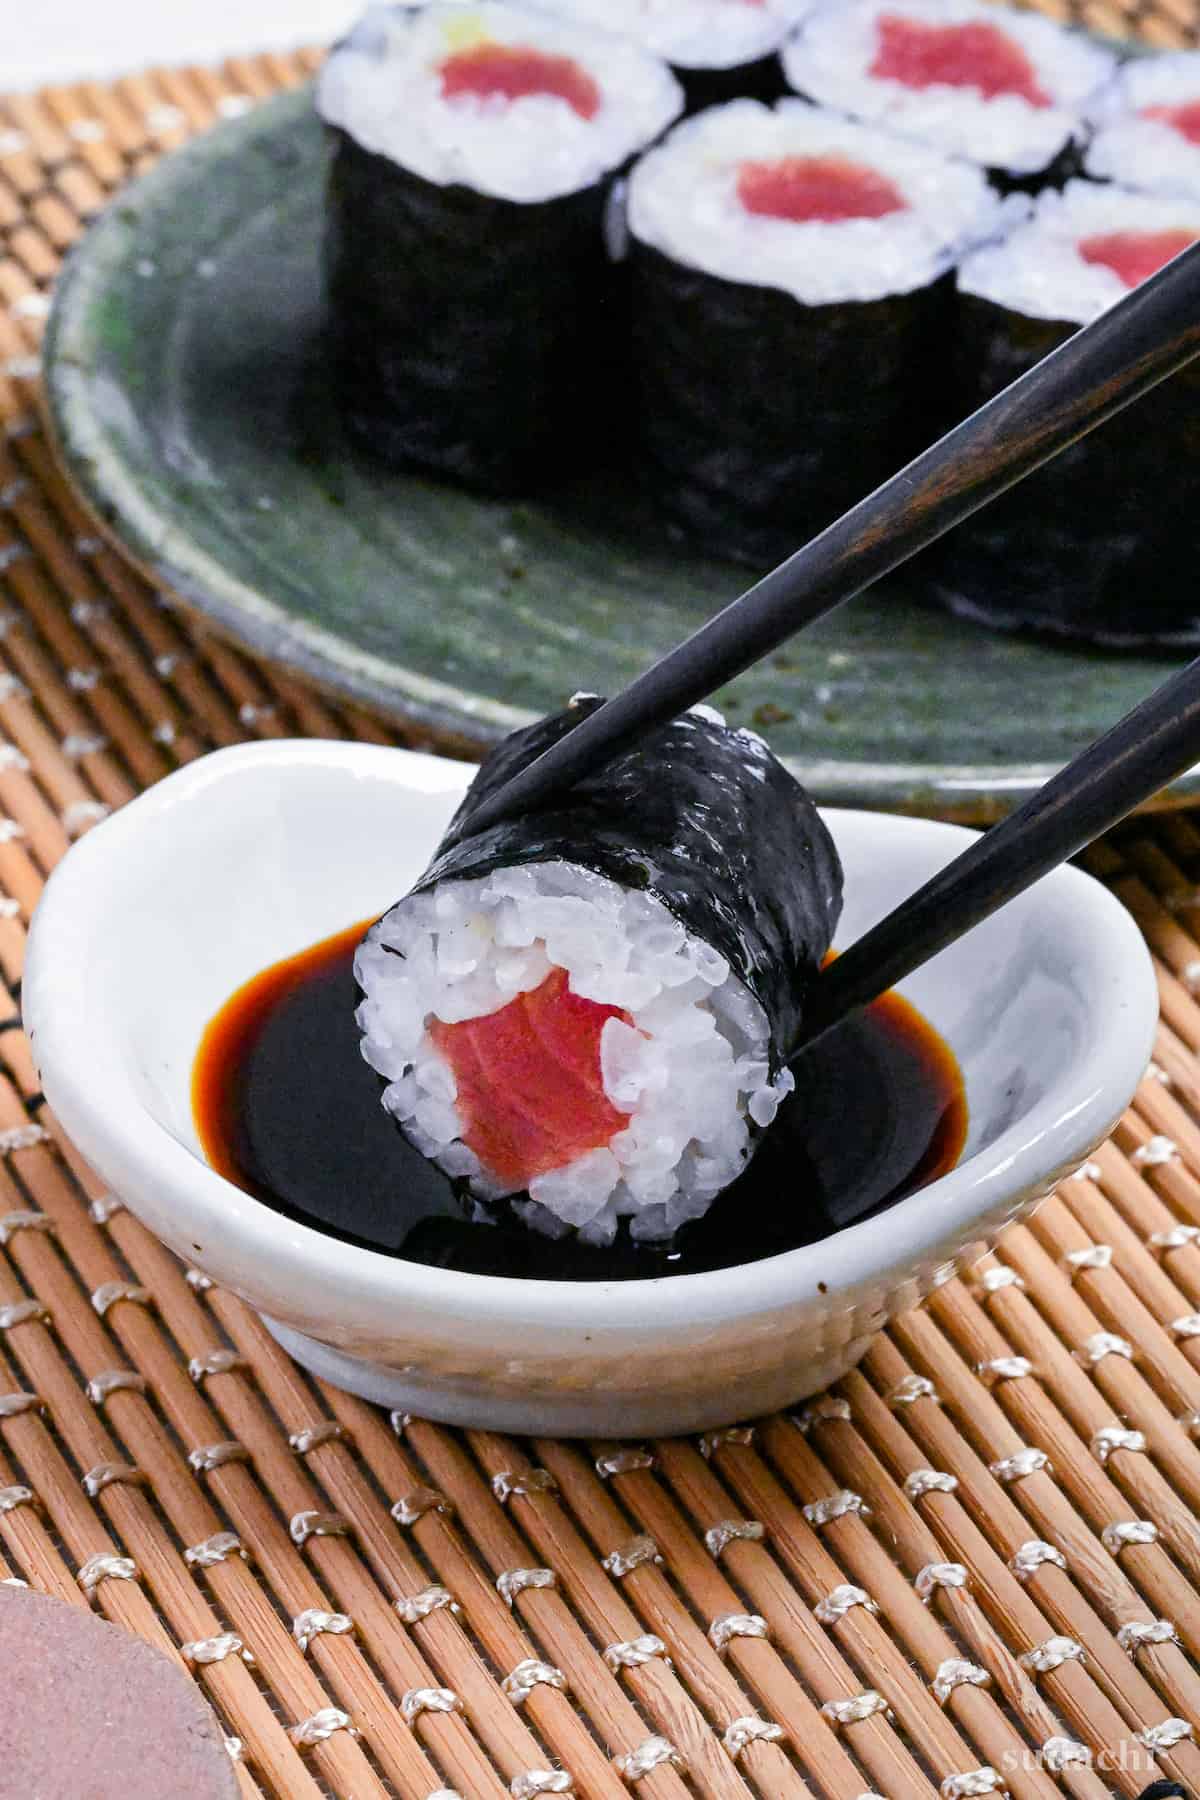
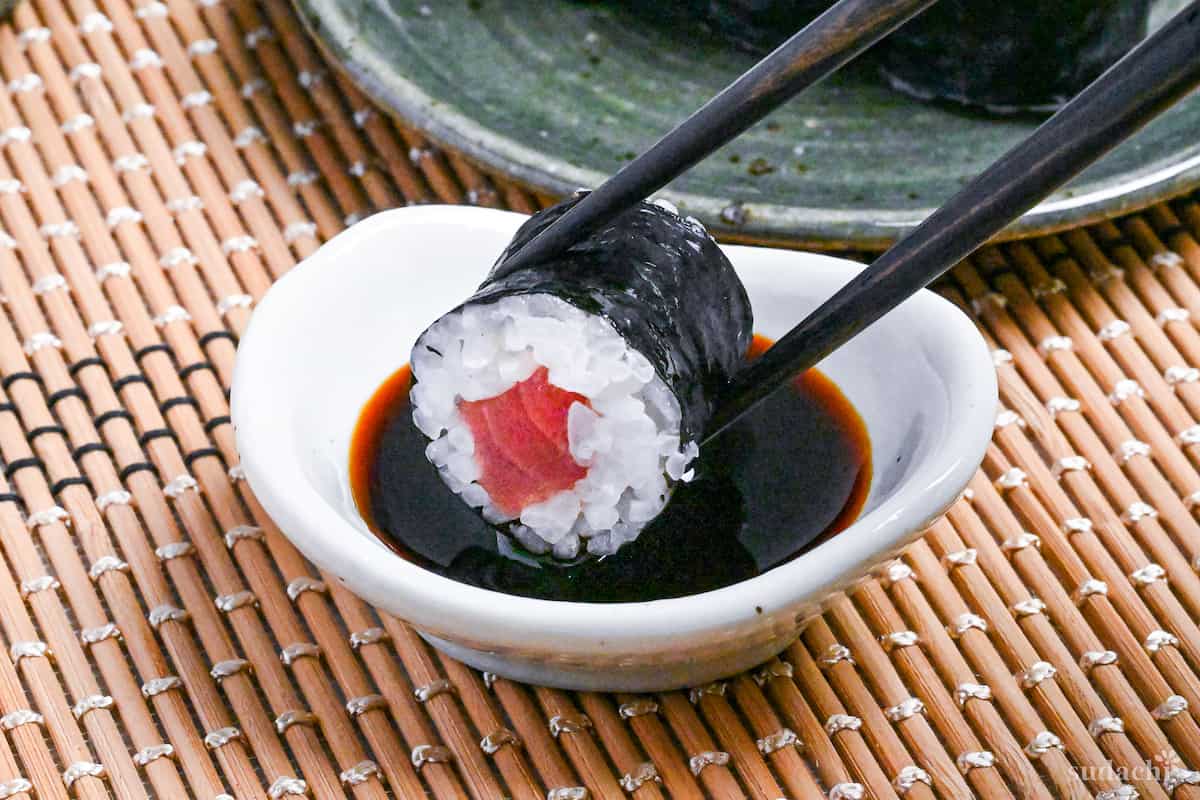
Continue the same process over and over until your ingredients are gone, then enjoy your hosomaki by lightly dipping it in dark soy sauce.
FAQ
Storing Tekkamaki or any form of sushi is not recommended as it can severely impact the taste and texture of the sushi rice. If you really need to, store rice and tuna separately before you roll.
Make sure to prepare an amount that you can consume.
Some people might mistakenly believe that tuna is called tekka, but there is a clear difference between the two. For example, Tekka Don and Maguro Don are both donburi dishes made with tuna, but Tekka Don mainly uses the red part of the tuna known as “akami.” Maguro Don, on the other hand, is not limited to red meat, and other parts of the tuna, such as toro, are sometimes used.
In conclusion, the word “tekka” is only used to describe the red meat of tuna.
I hope you enjoy this Tekka Maki recipe! If you try it out, I’d really appreciate it if you could spare a moment to let me know what you thought by giving a review and star rating in the comments below. It’s also helpful to share any adjustments you made to the recipe with our other readers. Thank you!
More Sushi Recipes
- Kappa Maki (Cucumber Sushi Rolls)
- Ehomaki (Lucky Direction Sushi Rolls)
- Temaki Sushi (Hand Roll Sushi)
- Temari Sushi (Decorative Sushi Balls)
Tekka Maki (Tuna Sushi Rolls)
Equipment
Ingredients
Sushi Rice
- 1 tbsp rice vinegar
- 1 tsp sugar
- ½ tsp salt
- 320 g cooked Japanese short-grain rice
Tekka Maki
- ¼ tsp salt
- 100 g sashimi-grade tuna
- wasabi paste optional
- 2 sheets roasted seaweed for sushi (nori)
- 1 bowl cold water
- 2 tbsp Japanese soy sauce (koikuchi shoyu) for dipping
My recommended brands of ingredients and seasonings can be found in my Japanese pantry guide.
Can’t find certain Japanese ingredients? See my substitution guide here.
Instructions
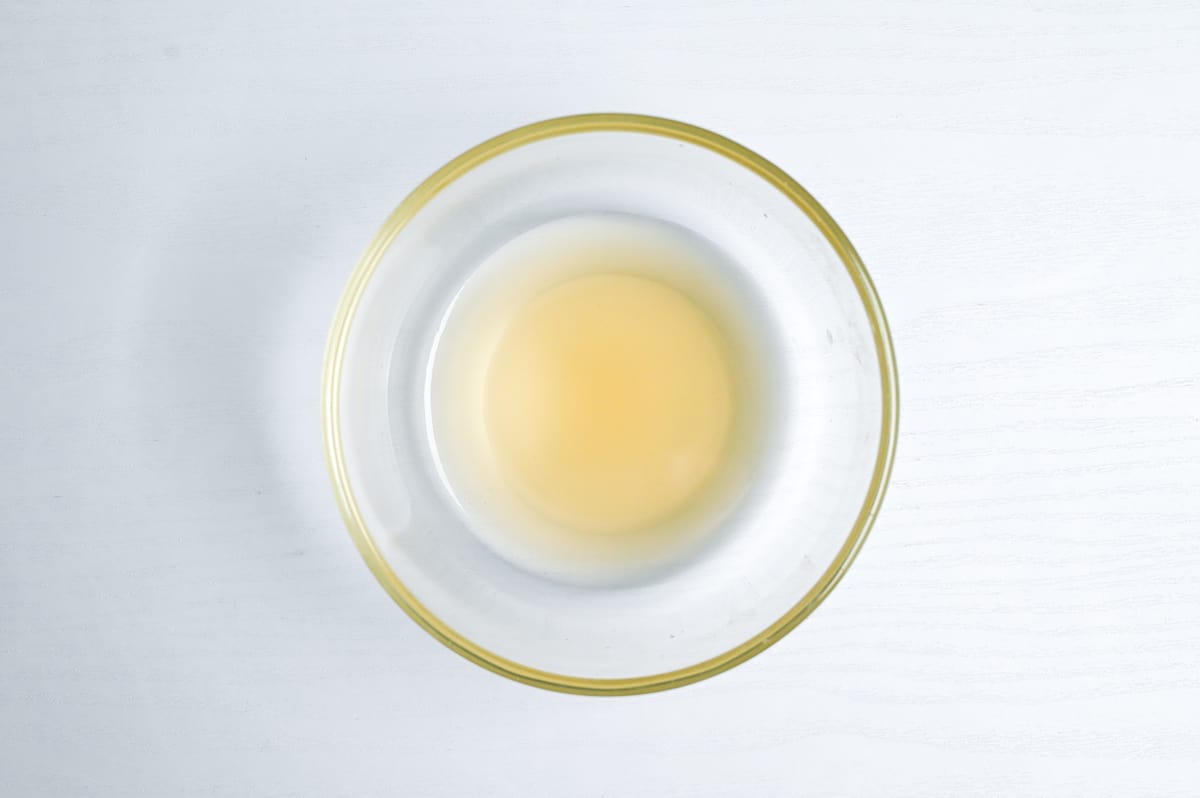
- In a small bowl, mix 1 tbsp rice vinegar, 1 tsp sugar and ½ tsp salt until dissolved.

- Mix the seasoned vinegar into 320 g cooked Japanese short-grain rice while it's still warm. Gently fan to cool and cover with a clean damp tea towel until it's time to use.

- Next, pat 100 g sashimi-grade tuna dry with kitchen paper and sprinkle with ¼ tsp salt. Rub over both sides then place it in a container propped up on one side to allow any excess liquid to drain to the bottom. Rest in the refrigerator for 10 to 15 minutes. After the tuna has finished resting, wipe off any moisture with kitchen paper and cut it into sticks about 7-8mm (1/3 inch) thick.

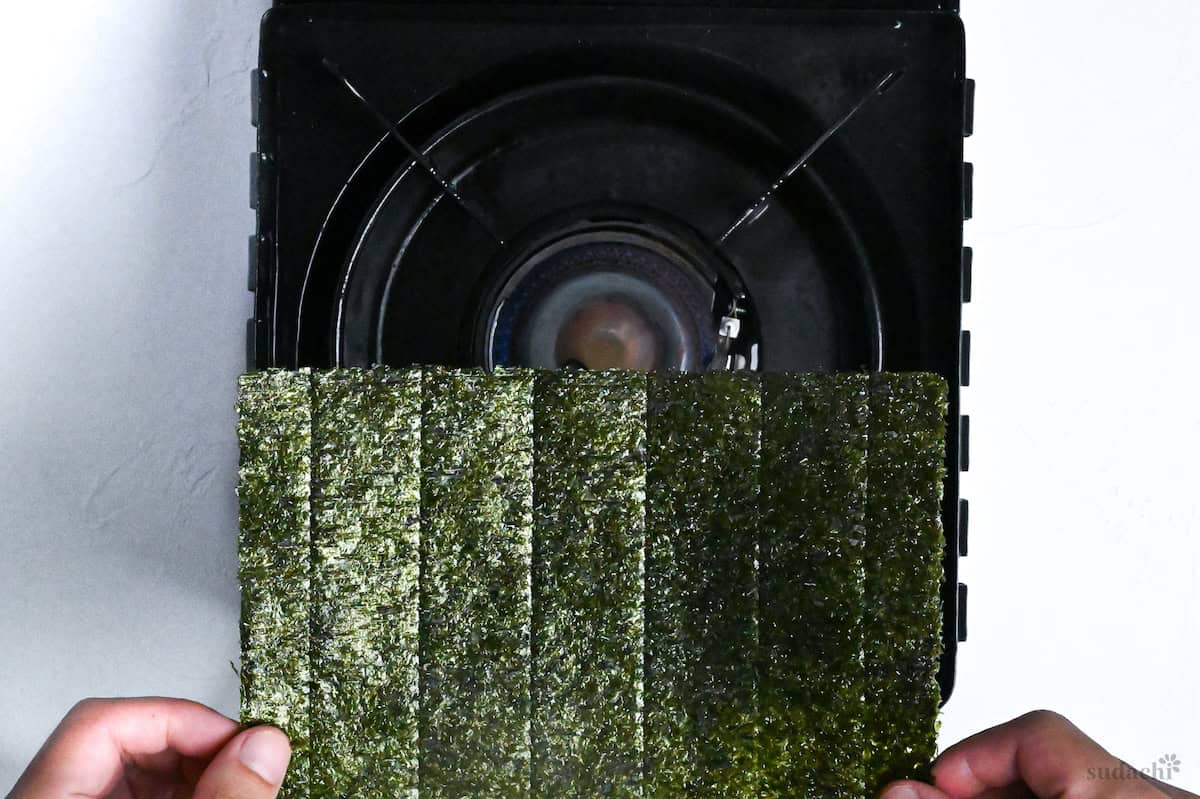
- Optional: Turn your gas burner on low and carefully fan 2 sheets roasted seaweed for sushi (nori) over the fire to improve the texture and aroma of the nori.

- Fold the nori in half and pinch along the crease so that you can neatly tear them in half. (You can use scissors if you prefer.)

- Set the rolling mat in front of you with the bamboo laying horizontally. Place the nori down with the rough side facing up, line up the bottom edge with the bottom of the sushi mat.

- Wet your hands with cold water. Keep a bowl of cold water nearby to use when necessary. (This helps stop rice sticking to your hands.) Take a handful of sushi rice (approx 80g) and shape it into a rough cylinder.

- Leaving a finger-width border along the top of the nori, place the rice on one side and gently spread it to the other side. (You can use a rice paddle to spread it if you prefer.)

- Use your hand to make a wall and push the rice right up to the edges of the nori. Make sure to leave the border at the top clear.

- Make a ridge with the top edge of the rice (next to the border).

- Add a small blob of wasabi and spread it down the middle of the rice. Then, place a strip of tuna on top and gently press it into the rice to prevent it from shifting when rolled.

- Lift the edge of the bamboo mat closest to you (the bottom edge) and carefully roll it over so that the two edges of the rice meet. (Make sure it's tight!) Lift the bamboo mat slightly and roll over the flap of nori to close the sushi. You don't need to wet it down, the moisture from the rice will help the nori stick together.

- Once you have completed the sushi roll, use the bamboo mat to press the edges and seal. Repeat until you have 4 rolls.

- Wipe a sharp knife with a damp cloth. Cut each sushi roll in half, then cut each half into thirds, creating 6 pieces per roll. Cut using a short, sharp sawing motion, wiping your knife between each cut.

- Enjoy your homemade tekka maki with a small bowl of soy sauce for dipping!



Leave a rating and a comment