Disclaimer: This post may contain Amazon affiliate links. Sudachi earns a small percentage from qualifying purchases at no extra cost to you. See disclaimer for more info.
What is Tsukimi Udon?
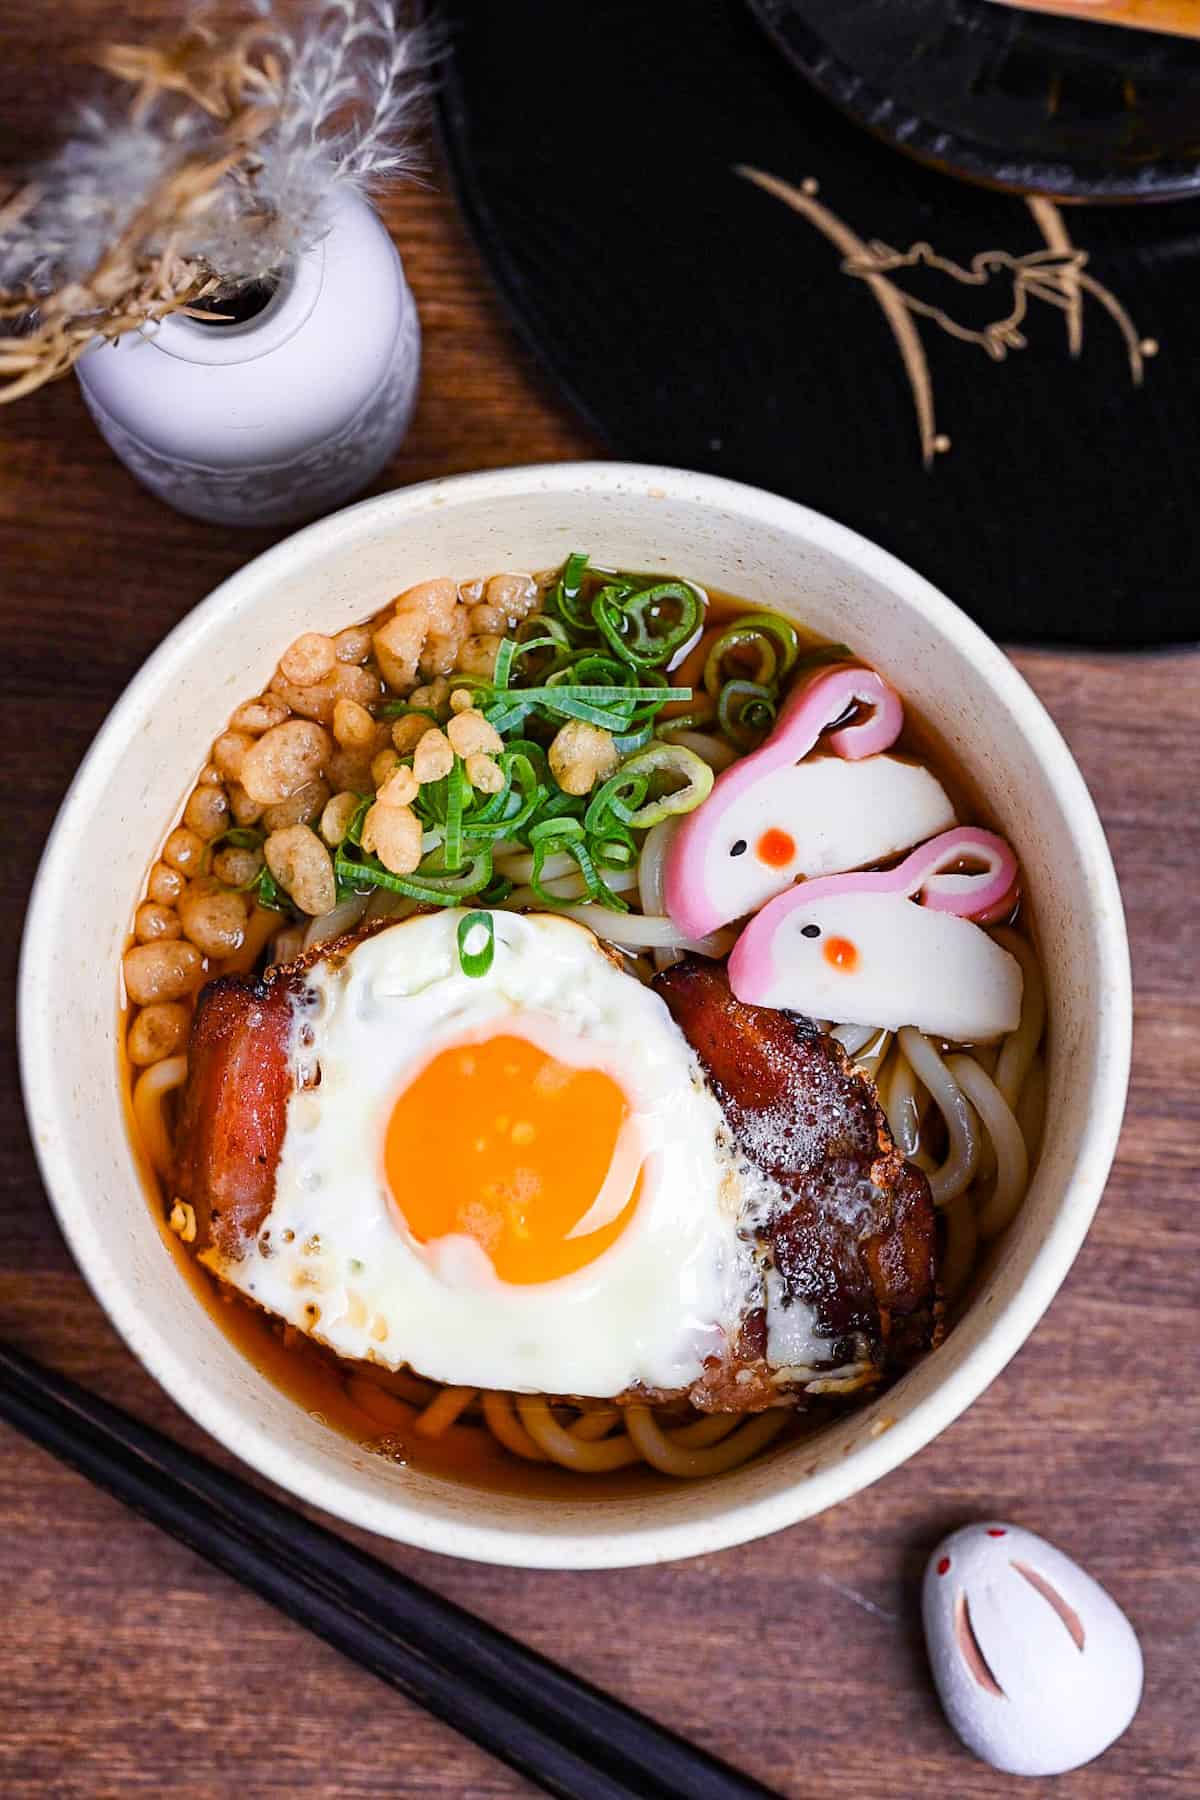
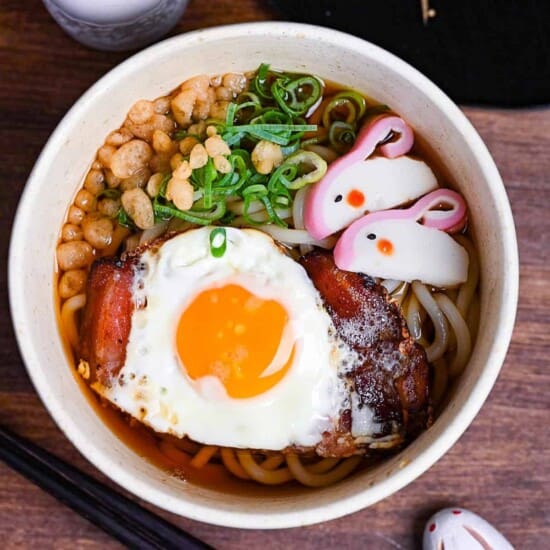
Tsukimi Udon (月見うどん) is an udon dish where an egg is added to Kake Udon, drawing its name “Tsukimi” or “moon-gazing” from the egg’s resemblance to a full moon surrounded by clouds.
Tsukimi is an ancient custom, introduced from China in the Heian period (794-1185), to celebrate the autumn harvest by appreciating the season’s stunning moon, considered the most beautiful time of the year to view it.
It is often thought to be eaten only during the moon viewing season in autumn in Japan, but many udon restaurants serve it all year round.
The egg’s preparation varies. While most just drop in a raw egg, others use an onsen tamago, and some use a fried egg.


How I Developed This Recipe
Developing this Tsukimi Udon recipe was a bit of an exploration for me. I didn’t want to settle for a simple Kake Udon with just a raw egg on top.
After some brainstorming, an idea popped into my mind: why not fry the egg and pair them with their good friend bacon? When I actually made it, the flavors of bacon and egg went surprisingly well with the udon and broth!
For a touch of playful creativity, I’ve also included a fun twist: crafting a rabbit from kamaboko (Japanese fish cake). It’s a nod to the Japanese moon-gazing folklore where a rabbit is believed to reside on the moon!
Ingredients & Substitution Ideas
- Udon Noodles: These thick wheat noodles have a wonderful chewy texture and are one of the most important elements of the dish. You can go for pre-boiled udon, dried udon, or frozen udon.
- Dashi Broth: This is the heart of our soup. Choose from my favorite dashi, simple awase dashi, or vegan dashi recipes. If you’re in a hurry, instant dashi granules or dashi packets work just fine.
- Soy Sauce: I’ve tried many, but for those looking for a reasonable option, Kikkoman soy sauce never disappoints. If you’re curious about choosing the right soy sauce, check out my comprehensive soy sauce guide.
- Mirin: When shopping, look for “hon mirin” for the best taste. I recommend Hinode Hon Mirin as a high-quality and affordable option. For more on Japanese condiments, you might like my post on the top 20 essentials.
- Salt: Regular sea salt works perfectly here.
- Egg: I usually use medium-sized eggs, but if you have small or large ones work too.
- Bacon: Fatty bacon from pork belly is my favorite. It adds that extra texture to the dish. I recommend unsmoked bacon so that the flavor is not too overpowering.
- Toppings: I used chopped green onions, kamaboko (Japanese fish cakes), and tenkasu (tempura flakes). Other topping ideas include shiitake mushrooms and mitsuba leaves to create a pine tree for a lookout or nori and wakame seaweed to create the night sky and mountains.
Curious about the exact brands and products that bring my recipes to life? Discover the brands and ingredients behind my recipes at the Sudachi Amazon Storefront. Explore my handpicked pantry essentials and find your next kitchen favorites!
Jump to Full Recipe Measurements
Visual Walkthrough & Tips
Here are my step-by-step instructions for how to make Tsukimi Udon at home. For ingredient quantities and simplified instructions, scroll down for the Printable Recipe Card below.
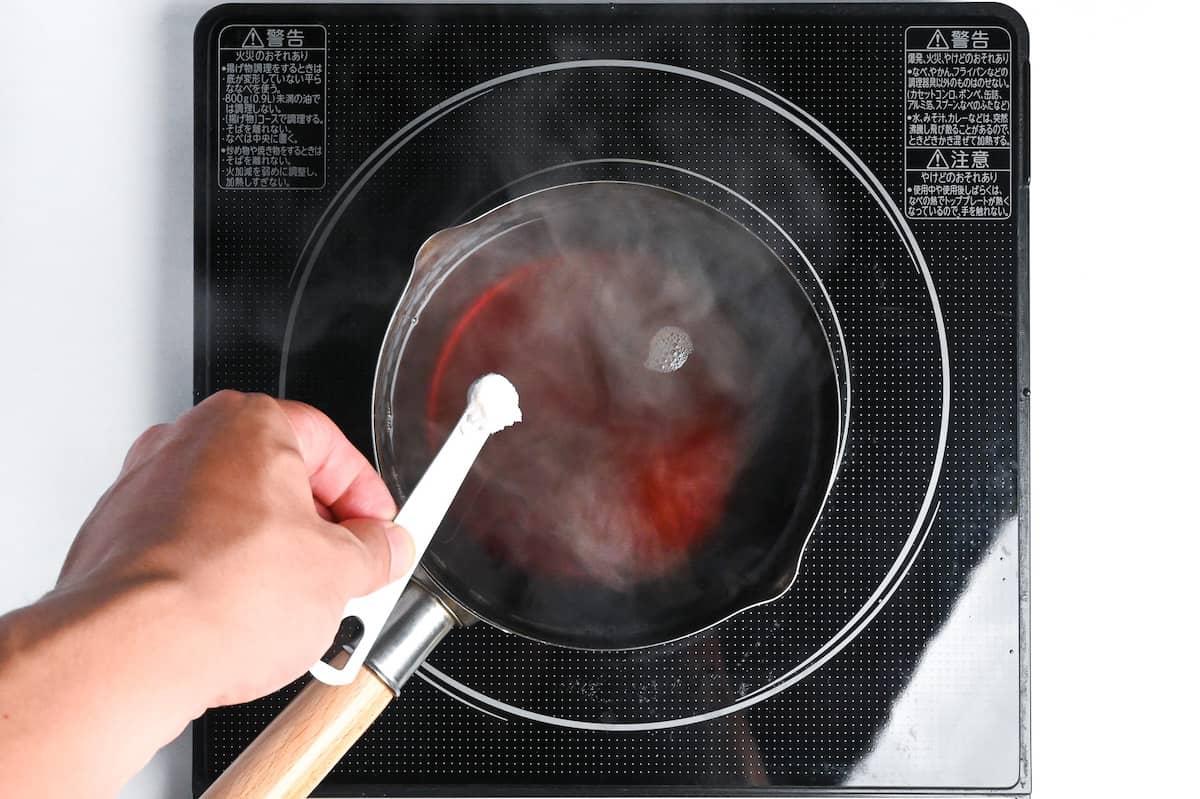
Add dashi, soy sauce and mirin to a saucepan and boil over a high heat for 1-2 minutes to burn off the alcohol in the mirin.
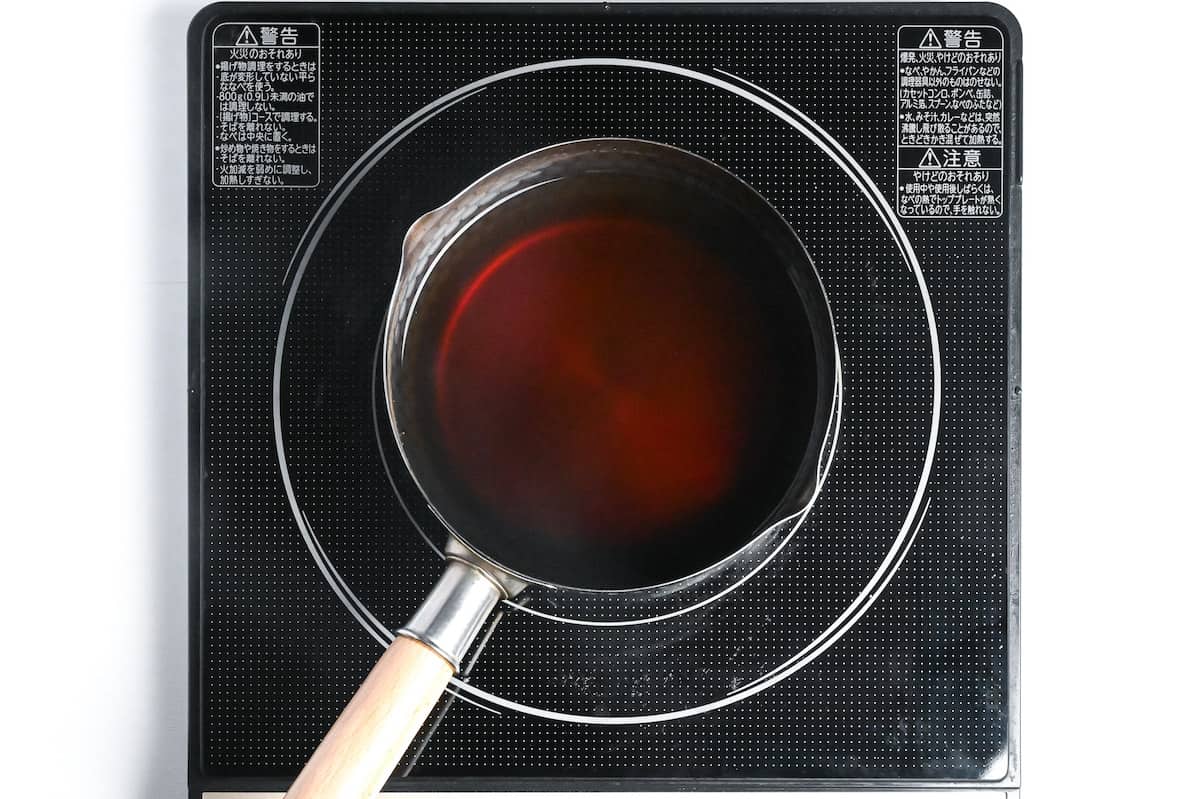
Turn off the heat and add salt. Mix until dissolved and leave on the warm stove for later. Reheat right before serving if necessary.

Heat a pan on medium and add the bacon. Fry until crispy on both sides.

Crack the eggs into the pan and fry sunny-side up style until cooked to your liking. If you don’t want the bacon to be cooked in the eggs, feel free to remove it from the pan before you add the eggs.

Once cooked, turn off the heat.
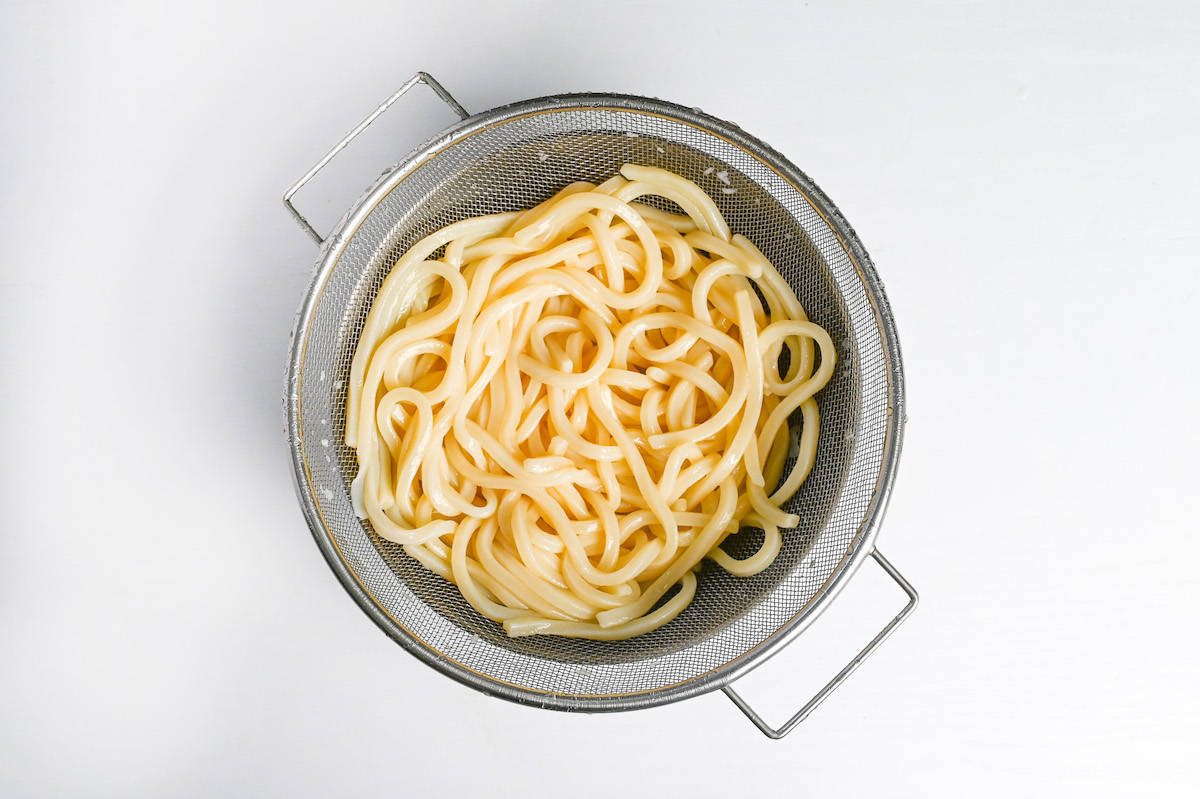
Cook the udon noodles according to the instructions on the packaging. Once cooked, pour through a sieve or colander to drain and rinse with fresh hot water to remove the excess starch.
Cut two slices of kamaboko per portion and cut along the bottom of the pink edge until the knife meets the center.

Place the flap down on the chopping board and cut it in half.

Fold them under so the edge is wedged in the middle.

Place a black sesame seed to make an eye, then dip a chopstick in ketchup and dab it under the eye to make a blushing cheek design.


Divide the udon and broth evenly into serving bowls and top with two pieces of bacon, one egg, two kamaboko rabbits, chopped green onion and tenkasu.

Enjoy!
Jump to Full Recipe Measurements
How to Store
It is not advisable to keep Tsukimi Udon after preparation, as leaving the noodles in the soup for too long can cause them to become soft and mushy.
However, it is possible to make the broth ahead of time and store it in the refrigerator for a week or freeze it for up to a month. If you choose to freeze it, it is recommended to divide it into smaller portions for easy thawing.
For the best texture, it is recommended to eat udon noodles immediately after cooking.
Storage summary
Room temperature – Not recommended.
Refrigerated – Up to a week (broth only).
Frozen – Up to a month (broth only).

I hope you enjoy this Tsukimi Udon recipe! If you try it out, I’d really appreciate it if you could spare a moment to let me know what you thought by giving a review and star rating in the comments below. It’s also helpful to share any adjustments you made to the recipe with our other readers. Thank you!
More Udon Recipes
- Kake Udon (Simple Udon Noodle Soup)
- Oyako Udon (Chicken and Egg Udon Noodle Soup)
- Kitsune Udon (Udon Noodle Soup with Deep Fried Tofu Pouch)
Want more inspiration? Explore my Udon Roundup Post for a carefully selected collection of tasty udon recipe ideas to spark your next meal!
Tsukimi Udon (Moon Gazing Udon with Egg)
Ingredients
Broth
- 500 ml dashi stock for plant-based dashi, check out my kombu and shiitake dashi recipe
- 2½ tbsp soy sauce
- 1 tbsp mirin
- ¼ tsp salt
Noodles and Toppings
- 4 rashers bacon
- 2 medium egg(s)
- 4 slices kamaboko fish cake
- 2 portions udon noodles
- finely chopped green onions
- tempura flakes (tenkasu) (tenkasu or agedama)
Instructions
- Pour 500 ml dashi stock into a saucepan and add 2½ tbsp soy sauce, 1 tbsp mirin and bring to boil over a high heat. Let it boil for 1-2 minutes.

- Turn off the heat and add ¼ tsp salt. Mix well. Reheat before serving if necessary.

- Add 4 rashers bacon to a frying pan heated on medium and fry until crispy on both sides.

- Crack 2 medium egg(s) into the pan and fry sunny side up until cooked to your liking. (If you prefer the yolk cooked, flip or steam with a lid.)

- Boil 2 portions udon noodles according to the instructions on the packaging. Once cooked, drain and rinse with fresh hot water to remove the excess starch.

- Take 4 slices kamaboko fish cake and cut along the bottom of the pink line until halfway.

- Place the flap flat on the chopping board and cut through the middle.

- Fold them under so the edge is in the middle.

- Give the rabbit a face by placing one sesame seed for the eye. Dip a chopstick into ketchup and dab it under the eye to create rosy cheeks.

- Divide the noodles and broth evenly into serving bowls and top each portion with 2 slices of bacon, one fried egg, 2 kamaboko rabbits, finely chopped green onions and tempura flakes (tenkasu).

- Enjoy!


Leave a rating and a comment