Featured Comment:
“Made my first ehomaki and celebrated setsubun – throwing soybeans and all. The detailed instructions for making the roll were very helpful. I used ebi furai, kampyo, homemade dembu, cucumber, and tamago. I would suggest preparing ingredients ahead of time as making it all took hours – but it was delicious to eat.”
– Christine
What is Ehomaki?
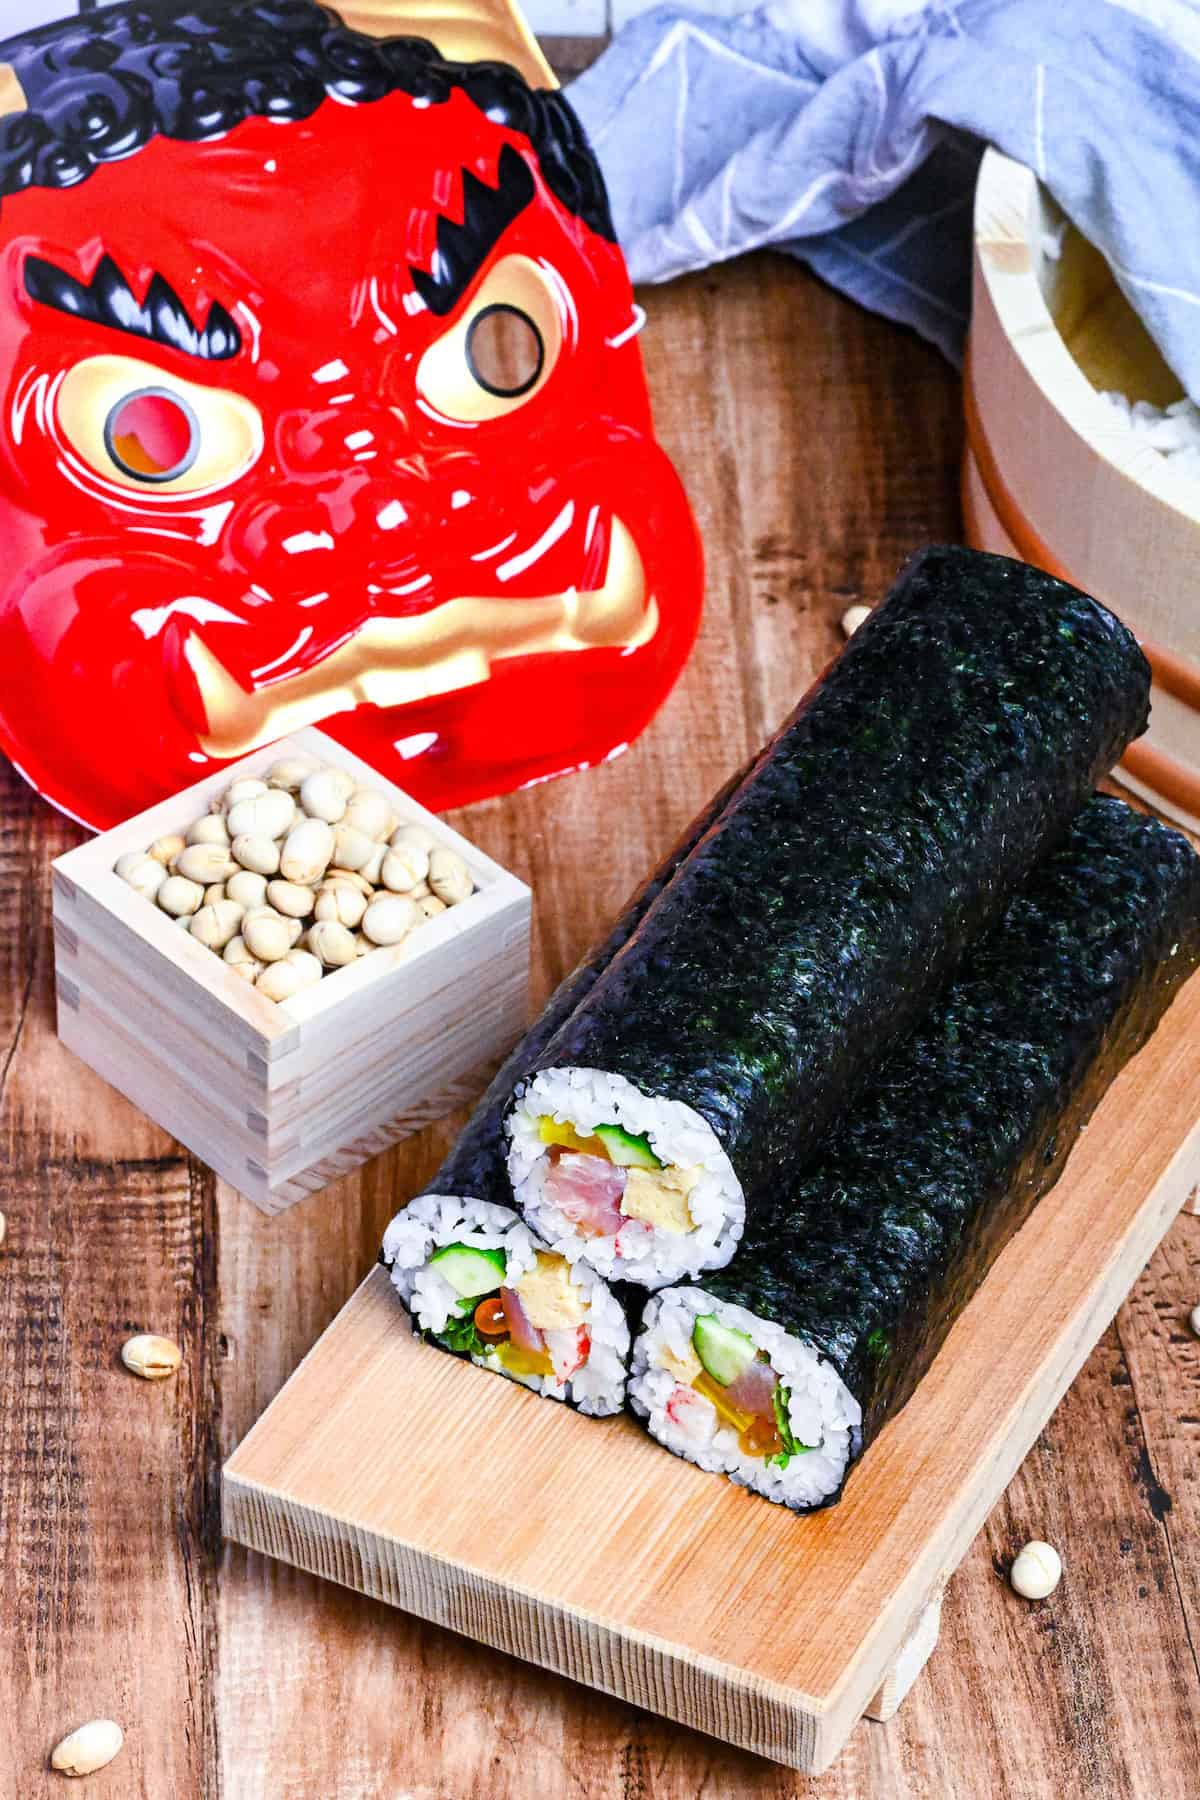
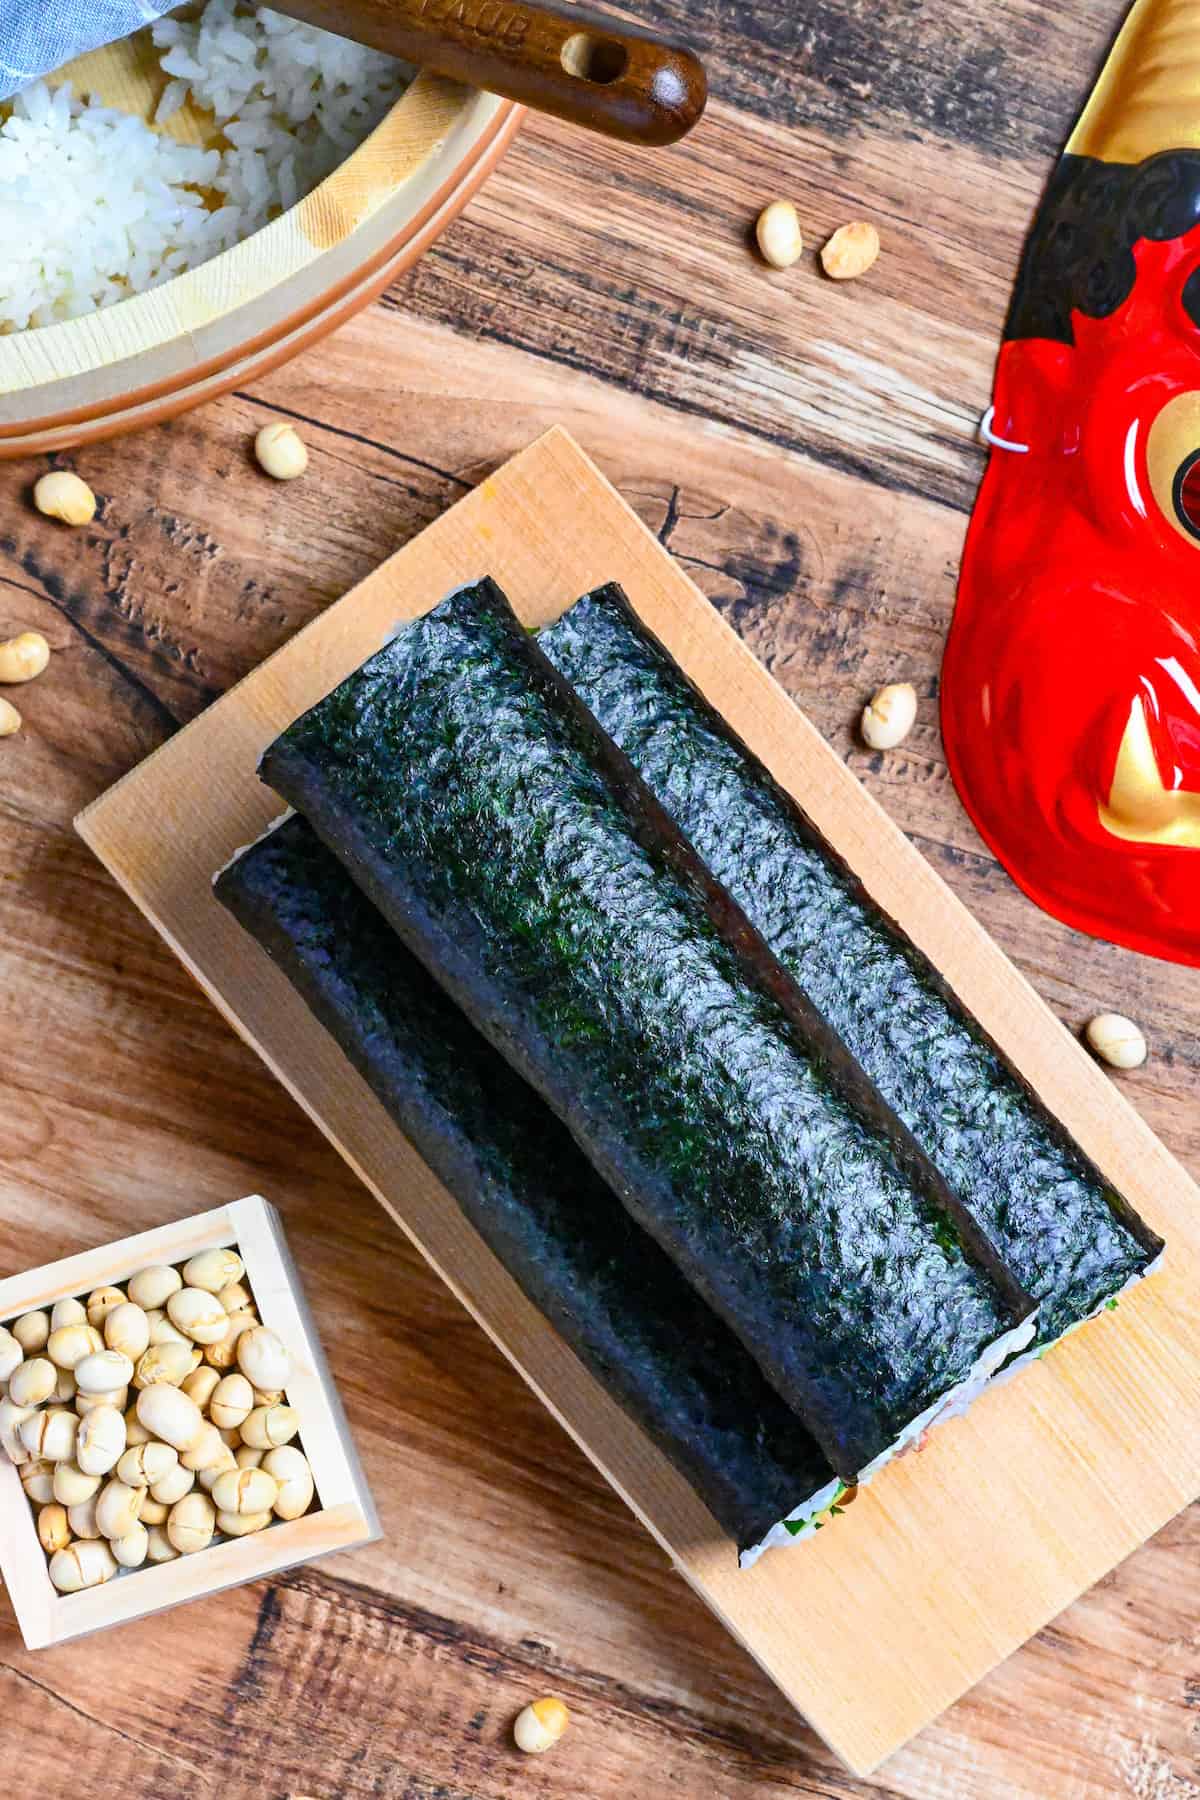
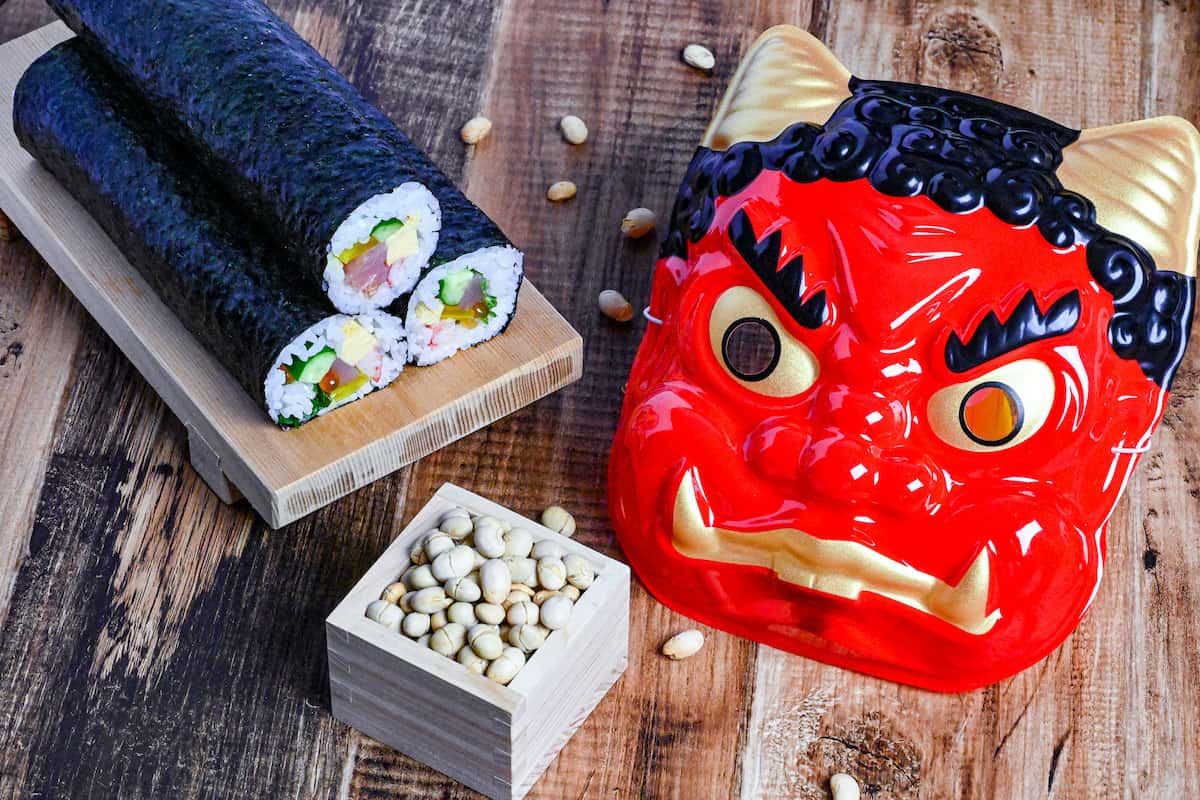
Ehomaki (恵方巻き) is a type of makizushi (sushi roll) eaten on the Japanese holiday “Setsubun” held on February 3rd.
The word “eho” (恵方) means “lucky direction” and “maki” (巻き) means roll. The name “ehomaki” supposedly came from Hiroshima Prefecture.
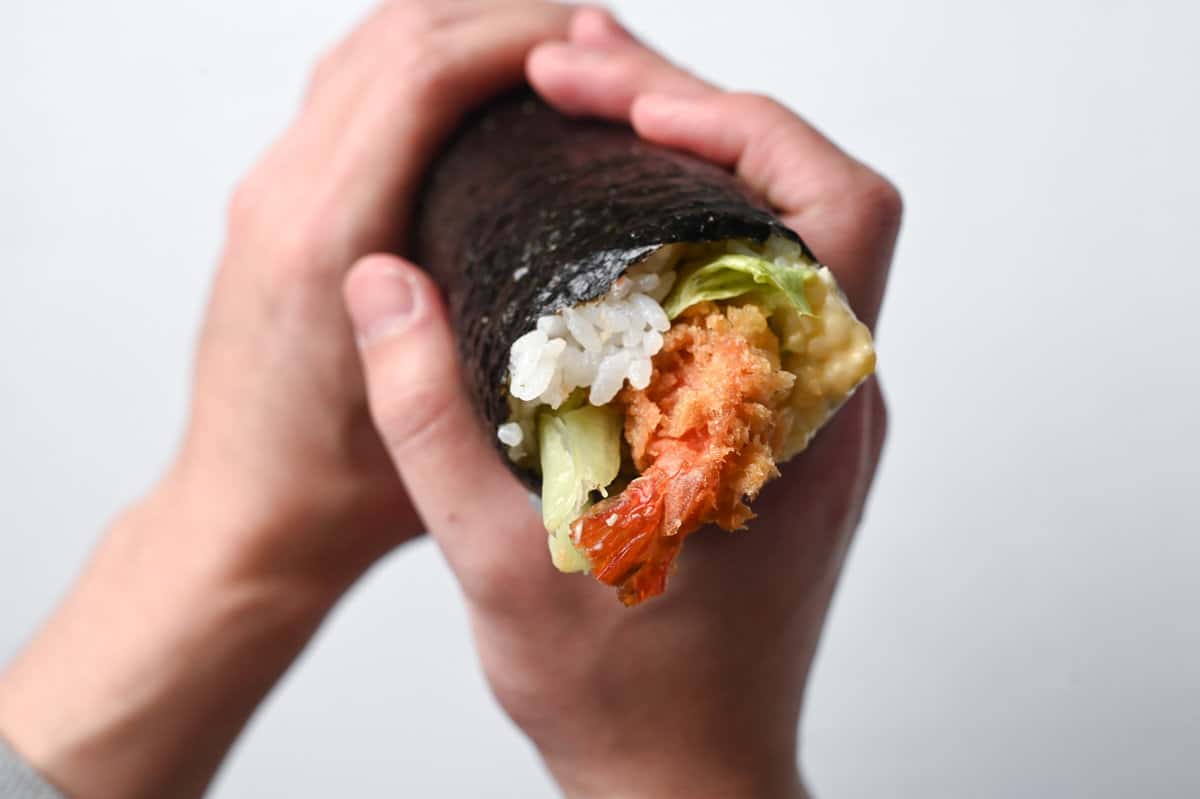
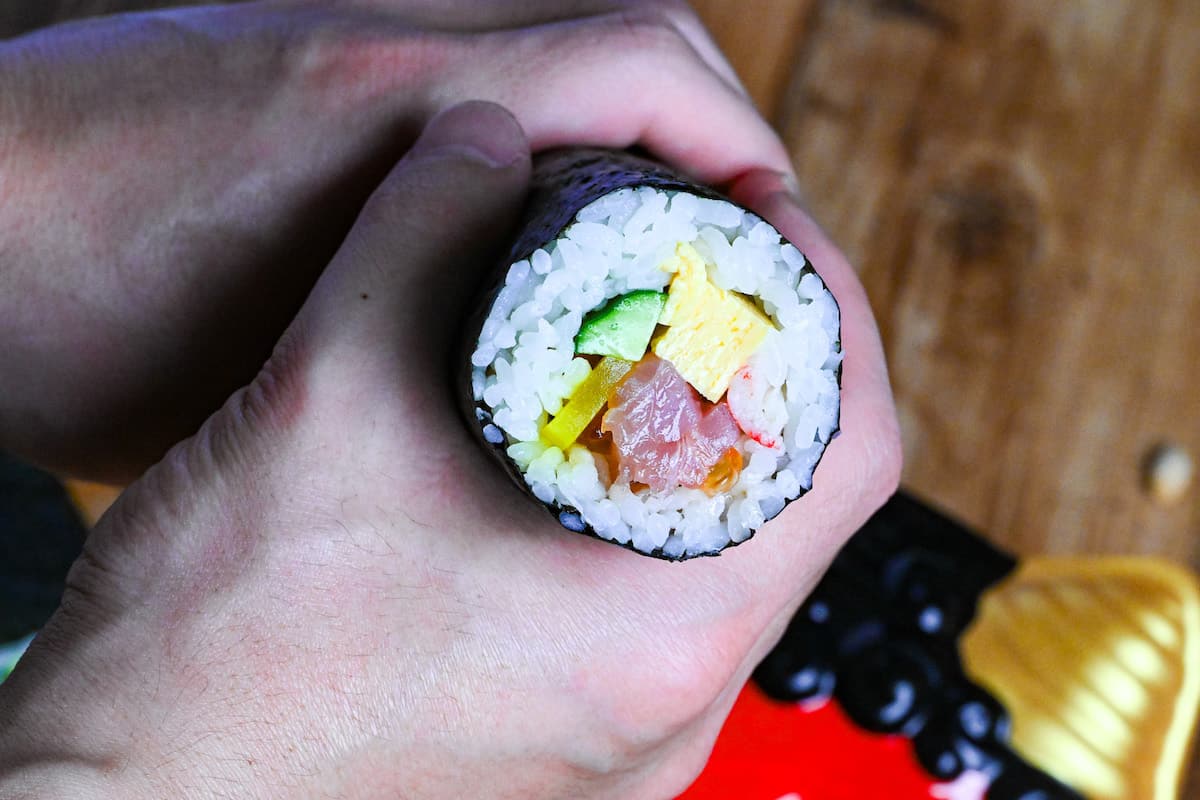
When eating Ehomaki, the custom is to face the direction that will bring good fortune and eat one whole Ehomaki silently while making a wish.
It is important not to cut the Ehomaki as eating it whole is believed to bring good luck for the rest of the year.
What is Setsubun?
According to the old Japanese calendar, Setsubun (節分) is an annual Japanese holiday that falls on the last day of winter. This generally falls on February 3rd.
The word “Setsubun” means the division of the seasons, and while it doesn’t mark the beginning of the new year, the start of spring is considered to be a time of renewal. Rituals and traditions are held to drive away bad fortune for the coming year.
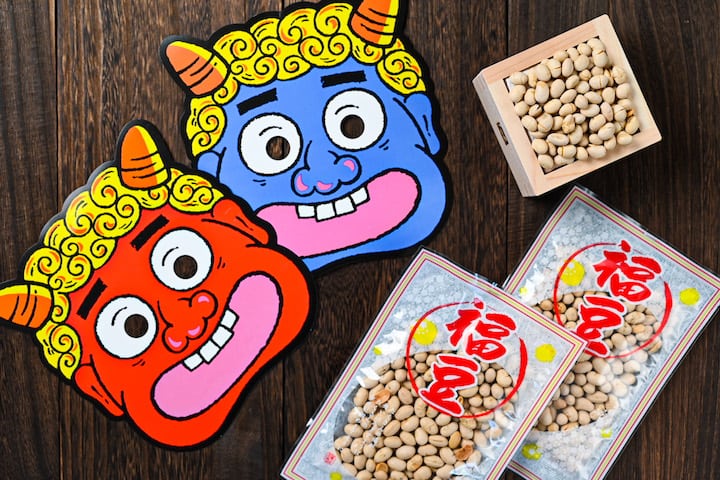
When translating “Setsubun” into English, it’s often called the “Bean-Throwing Festival”.
The name comes from the tradition of throwing roasted soybeans either around your front door or at an unlucky family member wearing a demon mask to drive away evil spirits.
Not only is this done at home, but also at local shrines or temples. At some events, packets of roasted soybeans or even sweets or prizes are thrown into the crowd. It’s great fun for kids!
Setsubun is a time to drive out the bad luck and bring in the good.
In addition to eating ehomaki, it is lucky to eat 1 roasted soybean for each year of your life, plus one more for the year ahead.
Filling Ideas
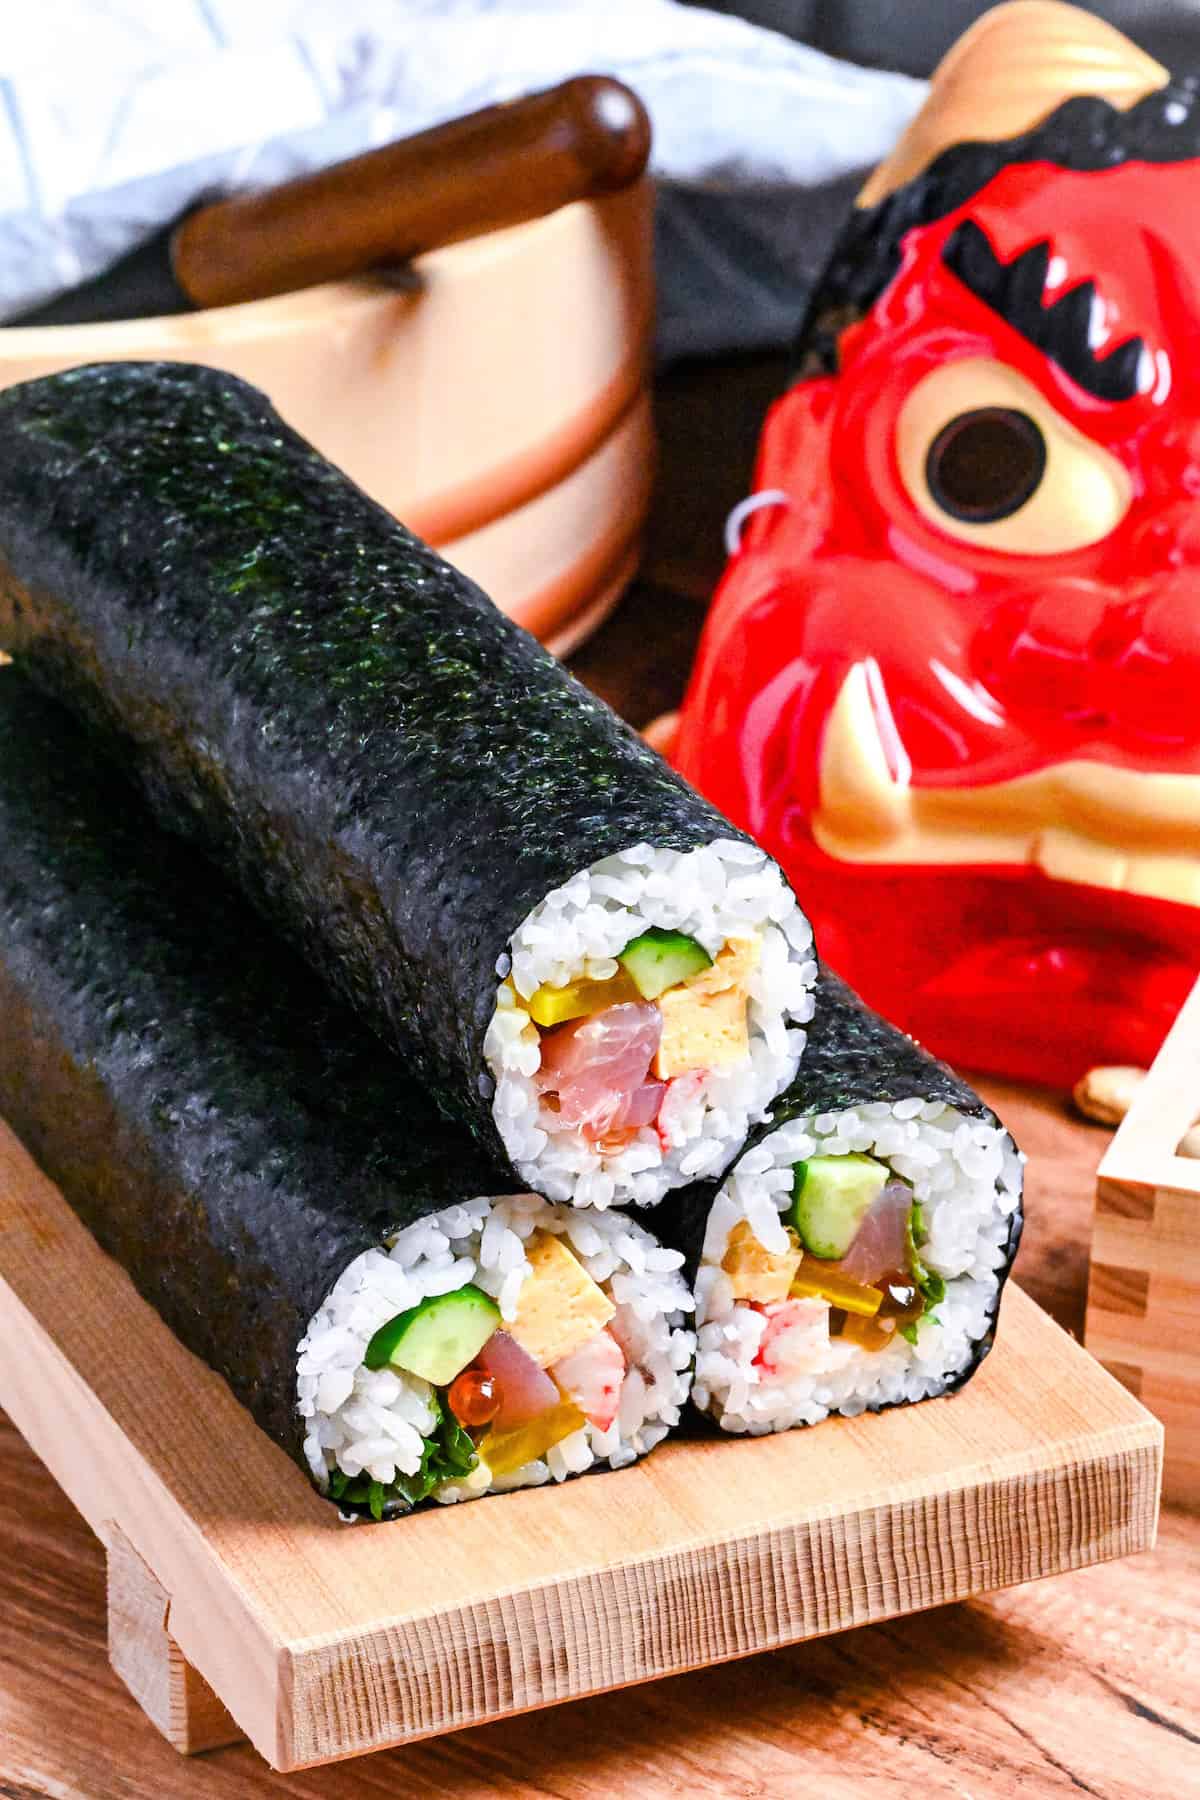
Ehomaki doesn’t have a rule for which fillings you must use. so you can basically choose 7 of your favorite ingredients!
- Salmon (sushi-grade or smoked)
- Tuna (sushi-grade)
- Imitation crab meat (crab sticks)
- Ikura (salmon roe)
- Ebi (shrimp)
- Unagi (eel)
- Tamagoyaki (Japanese rolled omelette)
- Cucumber
- Kampyo (cooked and flavored gourd strips)
- Shiso/Ooba (perilla leaves)
- Sakura dembu (a type of flaked fish)
And if you want to try making ehomaki with more unusual fillings, why not try some of these:
- Teriyaki chicken
- Teriyaki salmon
- Ebi furai
- Chicken katsu
- Canned tuna/salmon
- Thinly sliced beef/pork (cooked and seasoned)
- Avocado
- Lettuce
- Tofu
- Carrots
- Boiled shiitake mushrooms
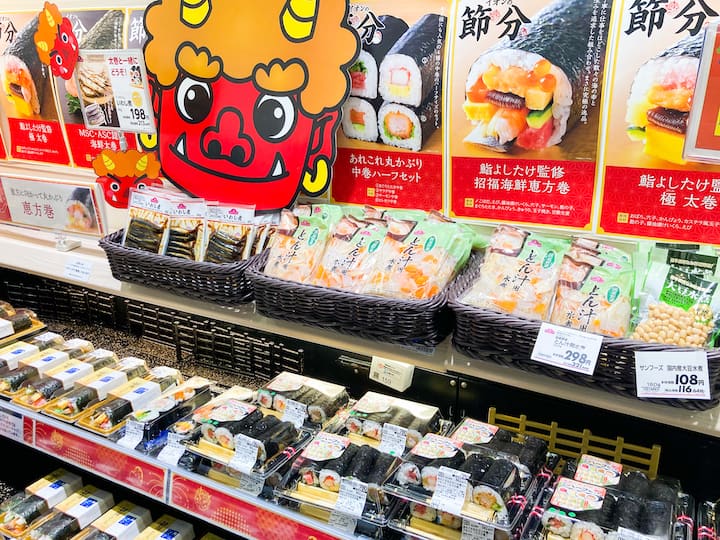
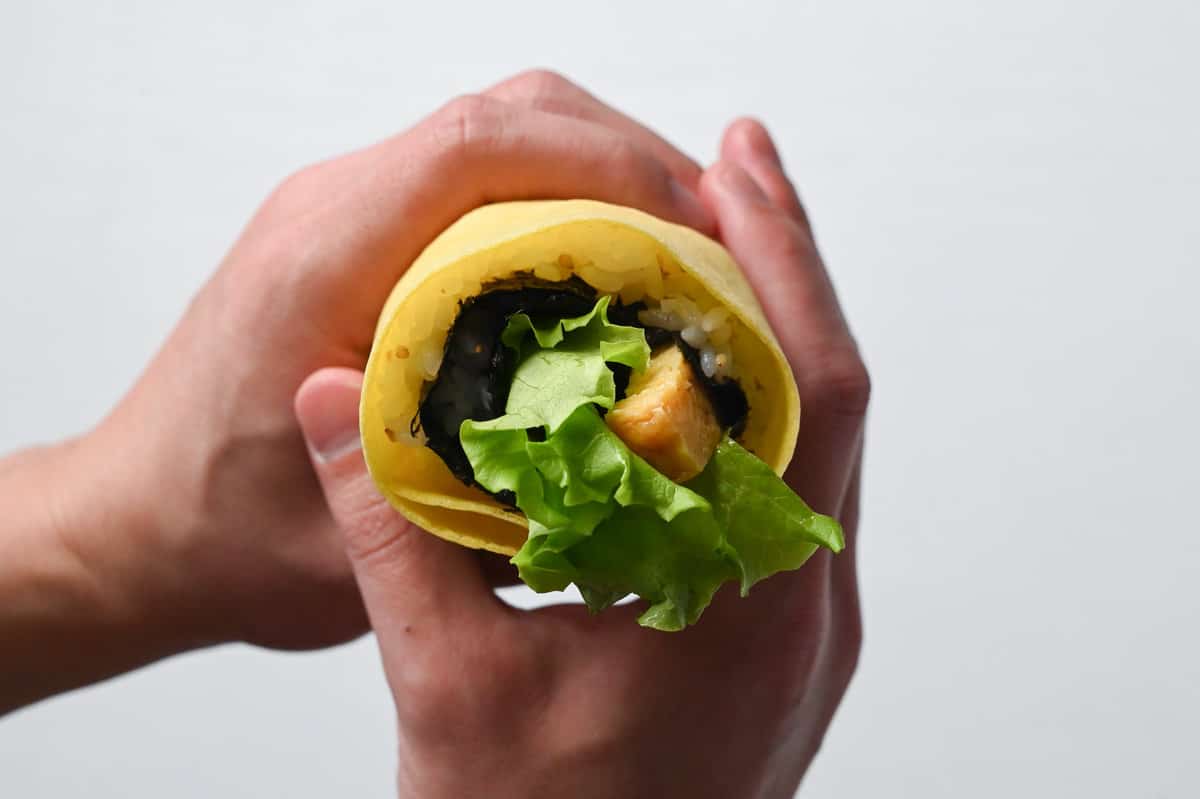
The possibilities are endless! Some of the examples that I bought in a supermarket in previous years are below:
You might feel like you have to make traditional fishy ehomeki, but you really don’t need to! As you can see, even people in Japan are being creative and use whatever they like! At the end of the day, if you and your family enjoy making and eating them, that’s the most important thing!
Let us know what 7 ingredients you used in the comments below!
Curious about the exact brands and products that bring my recipes to life? Discover the brands and ingredients behind my recipes at the Sudachi Amazon Storefront. Explore my handpicked pantry essentials and find your next kitchen favorites!
Jump to Full Recipe Measurements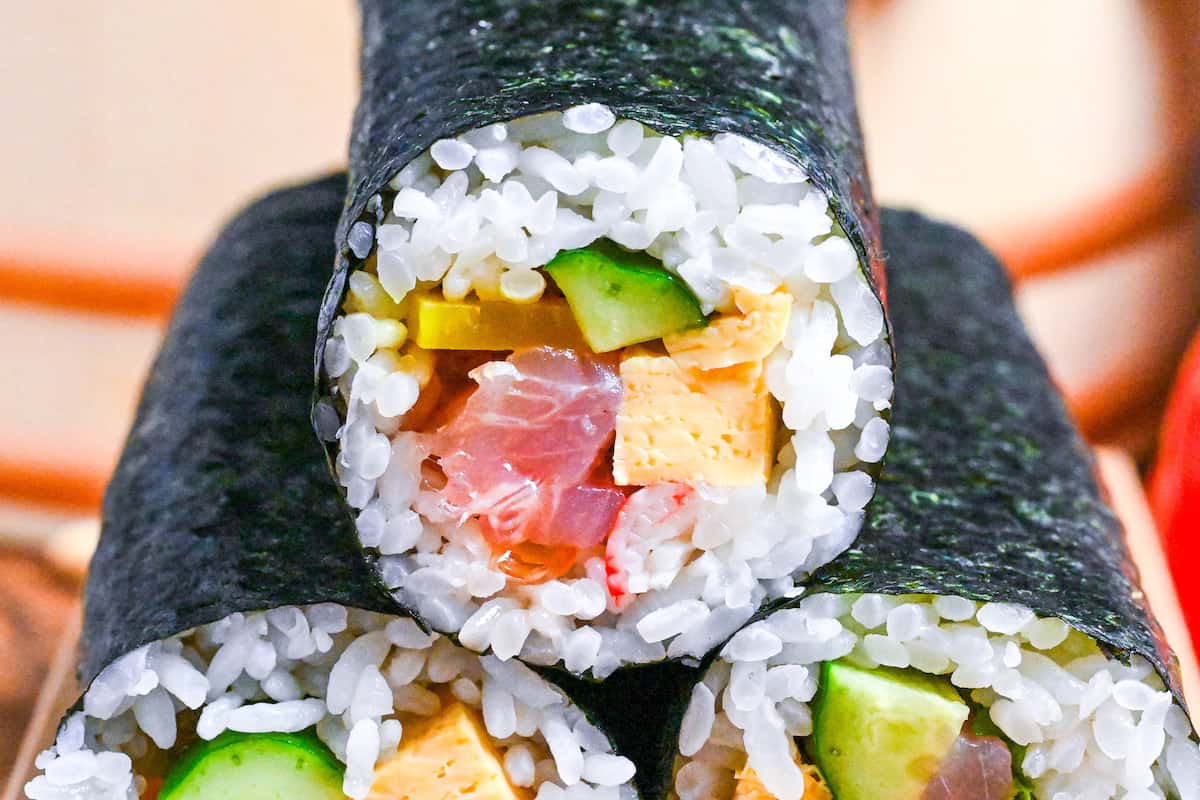
How to Eat Ehomaki & Lucky Direction
There are a few rules to follow when eating ehomaki on Sestubun:
- Prepare enough ehomaki for each family member.
- Confirm this year’s lucky direction (more info below).
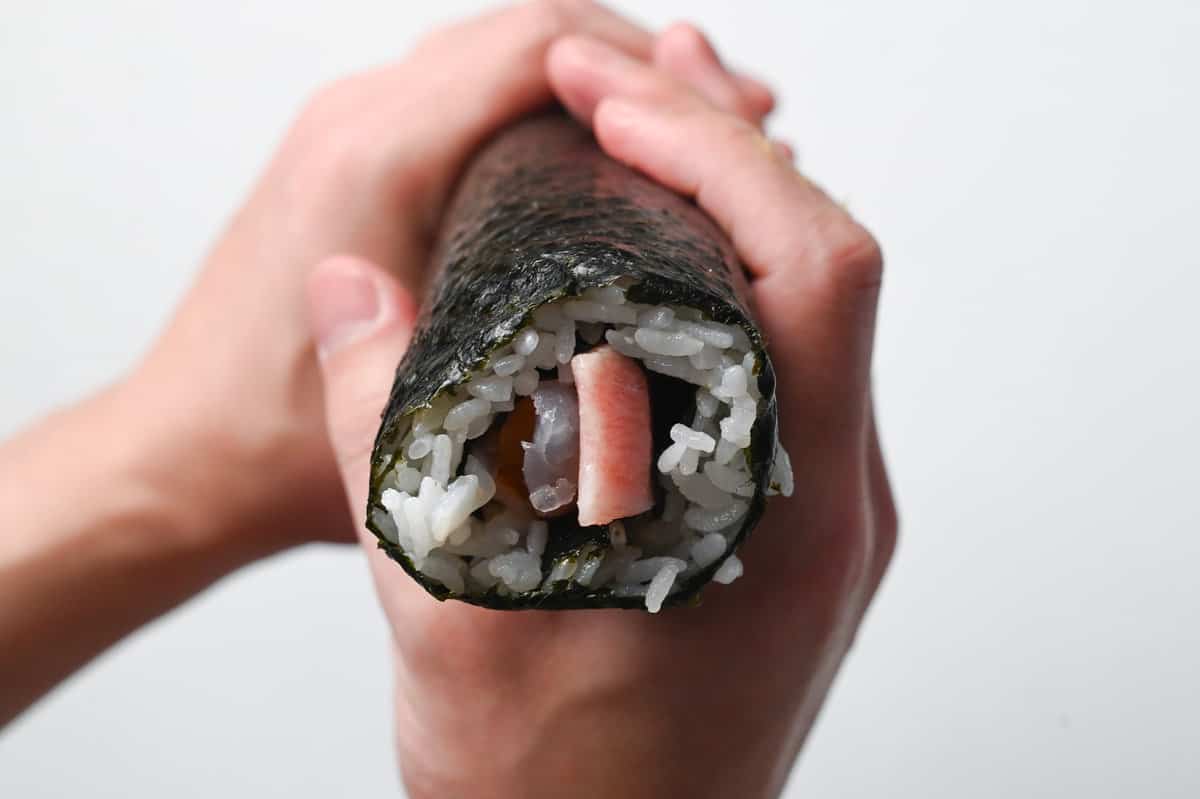
- Facing the lucky direction, eat the ehomaki in silence while thinking about your wish.
- Eat the ehomaki whole without cutting it into pieces.
I know it’s quite a superstitious idea, but it is believed that if you follow these rules, your wish will come true!
There are four possible lucky directions: east-northeast, west-southwest, south-southeast, and north-northwest.
You might wonder why the direction changes each year and how it’s decided. Well, it’s believed that the direction depends on the position of “Toshitokujin” (歳徳神) or “The God of the New Year. ”
Toshitokujin’s position is decided by the Chinese counting system: 10 heavenly stems and 12 earthly branches, the most important counting systems in the Chinese (lunar) calendar. This system also decides each year’s Chinese zodiac, ying/yang, element, etc.)
Fortunately you don’t need to memorize the heavenly stems and earthly branches, there is also a way to figure out which direction is lucky using the Gregorian Calendar!
| Years ending with | Lucky Direction |
|---|---|
| 0 or 5 | West – Southwest |
| 1, 3, 6 or 8 | South – Southeast |
| 2 or 7 | North – Northwest |
| 4 or 9 | East – Northeast |
So, the lucky direction for the year 2024 is East-Northeast!
Visual Walkthrough & Tips
Here are my step-by-step instructions for how to make Ehomaki at home. For ingredient quantities and simplified instructions, scroll down for the Printable Recipe Card below.
1. Making Vinegared Sushi Rice
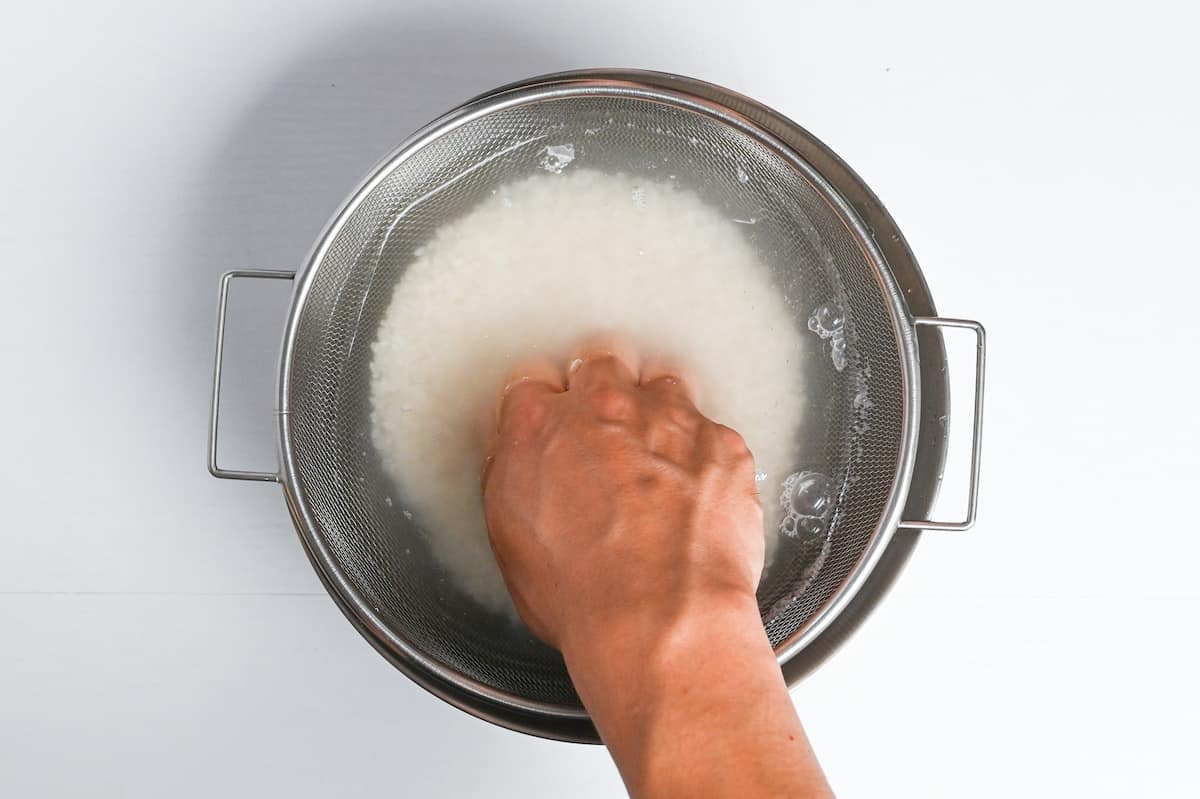
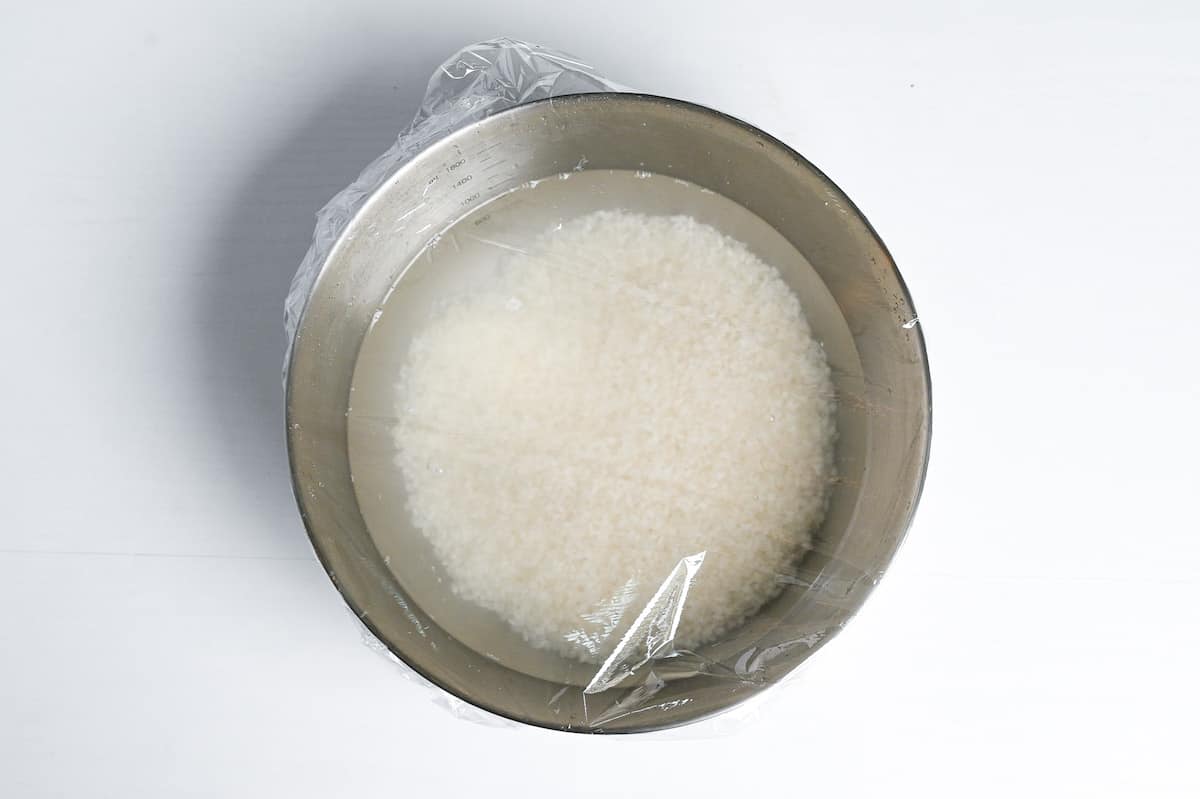
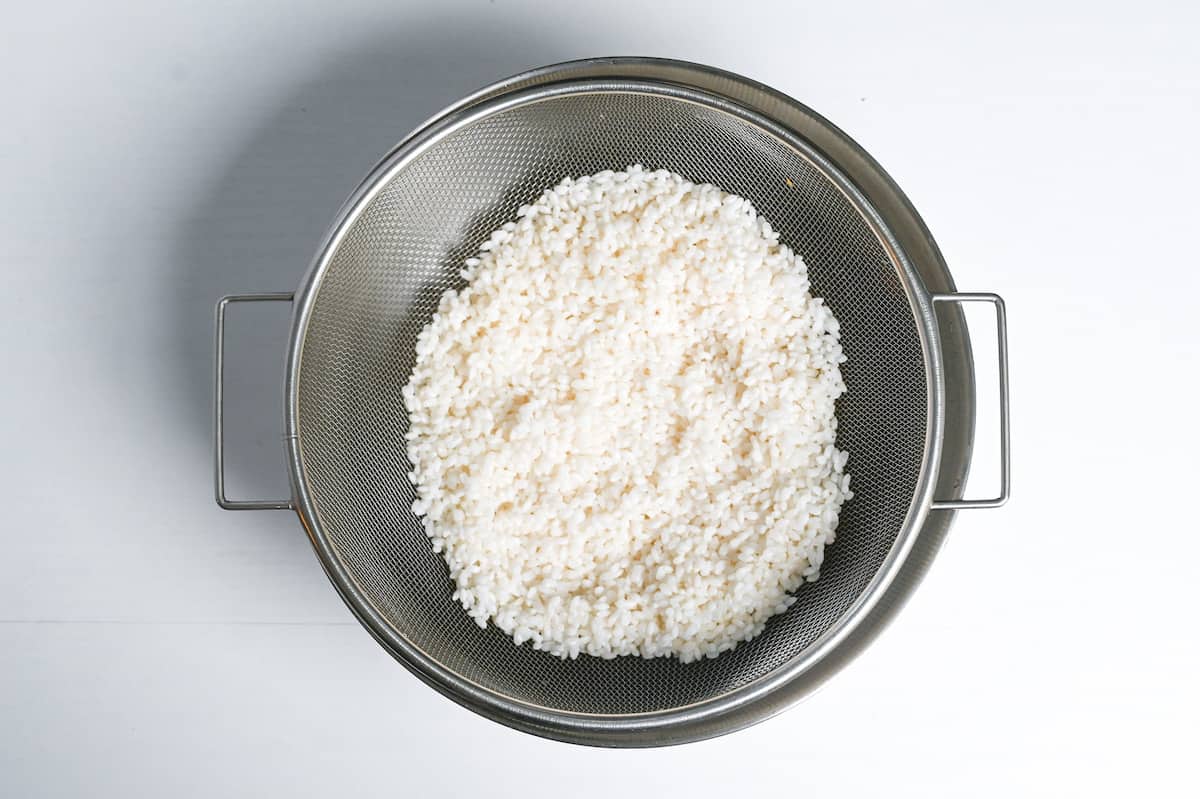
Rinse Japanese short-grain rice in a sieve under cold water, swishing until the water clouds. Repeat this process three times.
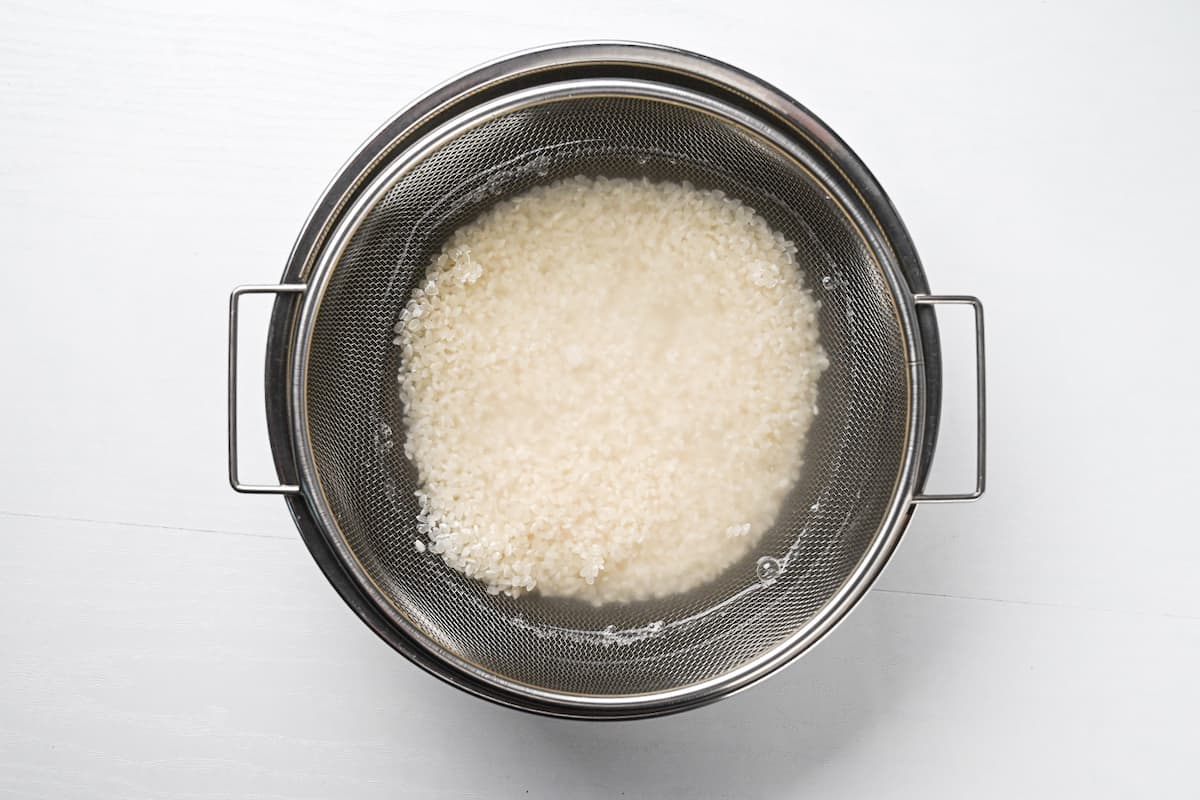
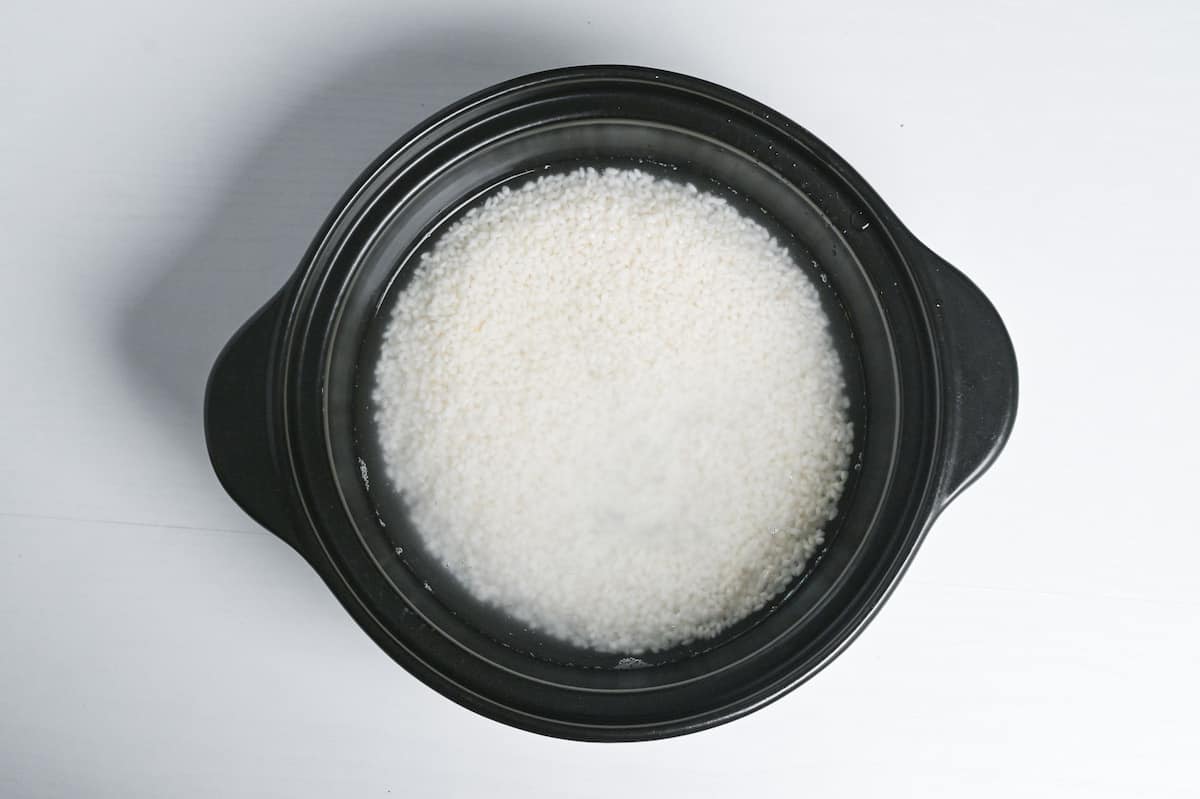
Combine the washed rice with cold water in a rice cooker or pot. Soak for 30 minutes, or up to an hour in winter.
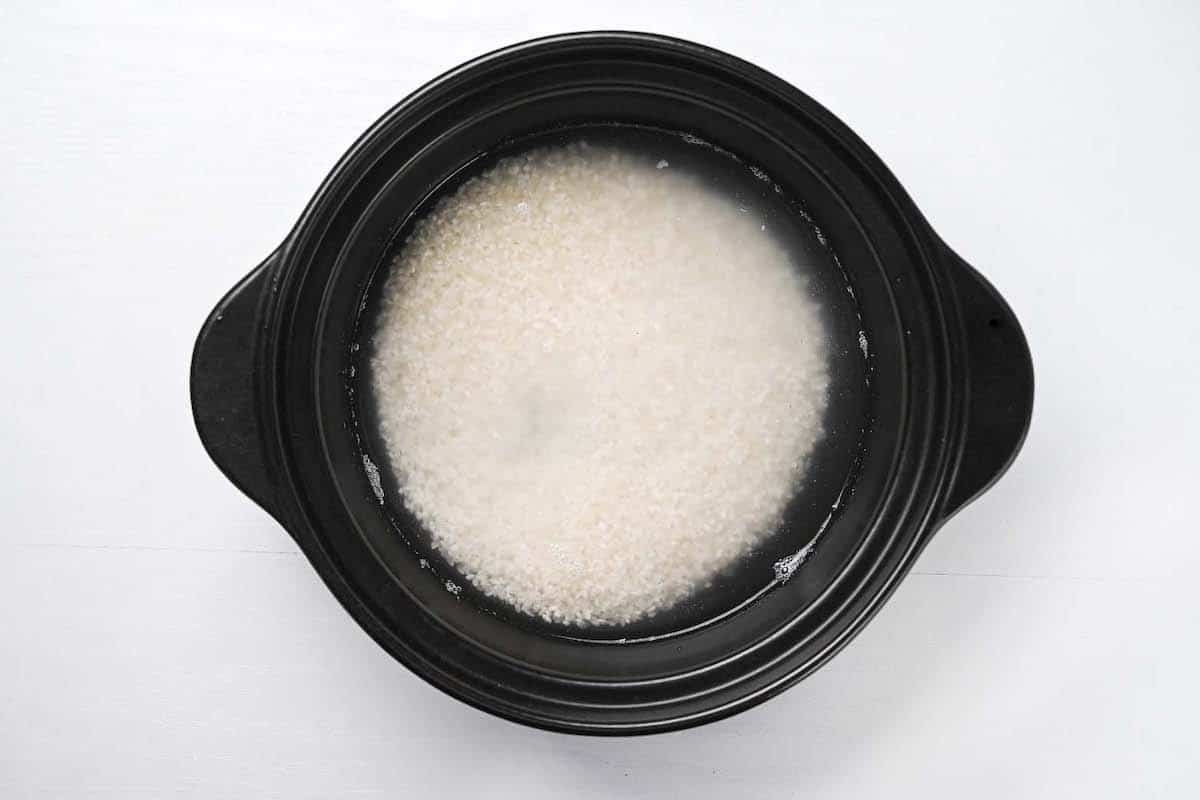
Add sake and cook using your rice cooker’s sushi rice setting.
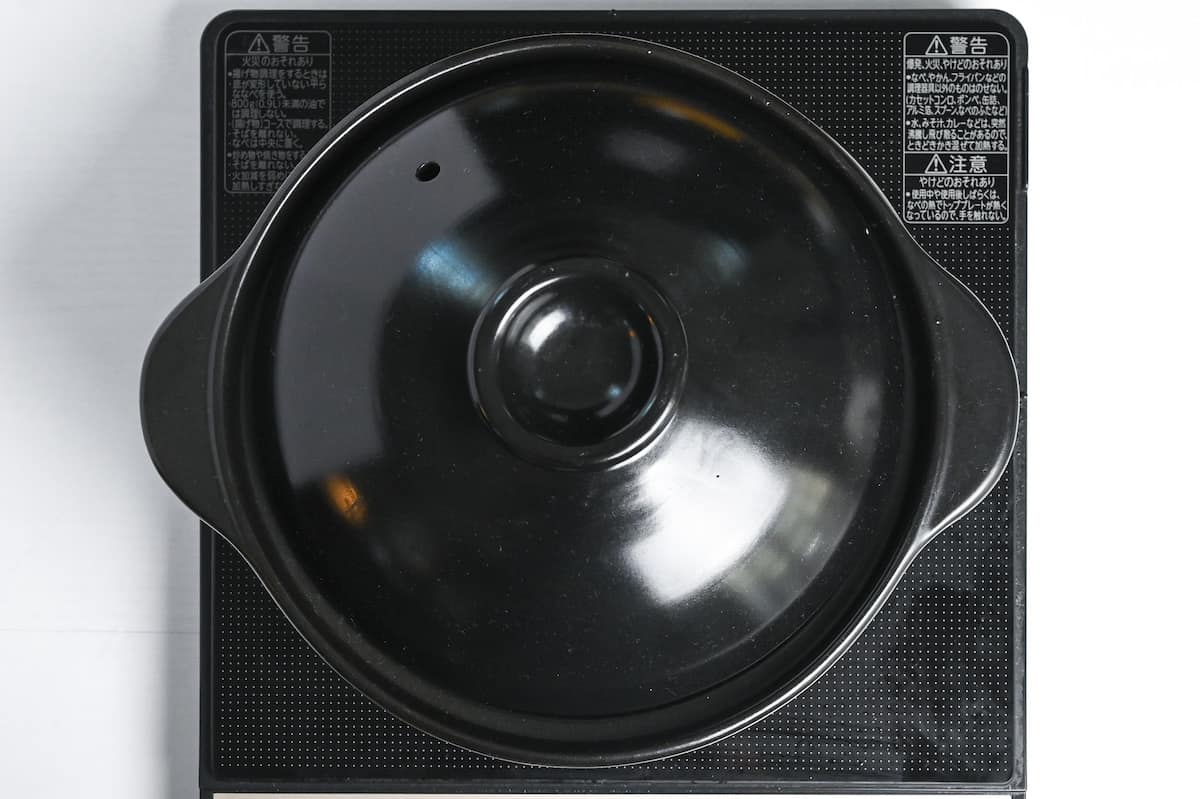
If cooking on a stove, boil with the lid on, then lower the heat as directed, finishing with a high heat burst.
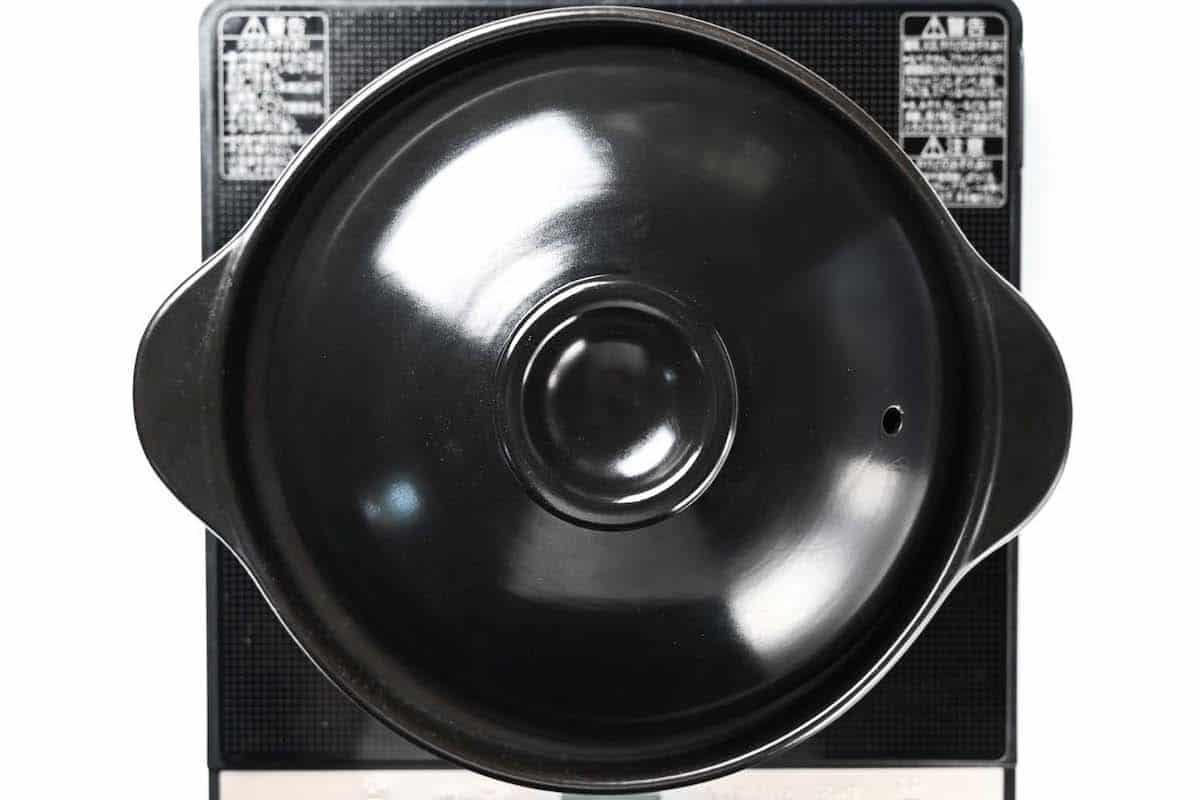
When cooking rice on the stovetop, timing and heat are crucial. Refer to the recipe for quantities and timing.
After cooking, let the rice steam in the pot for 10 minutes.
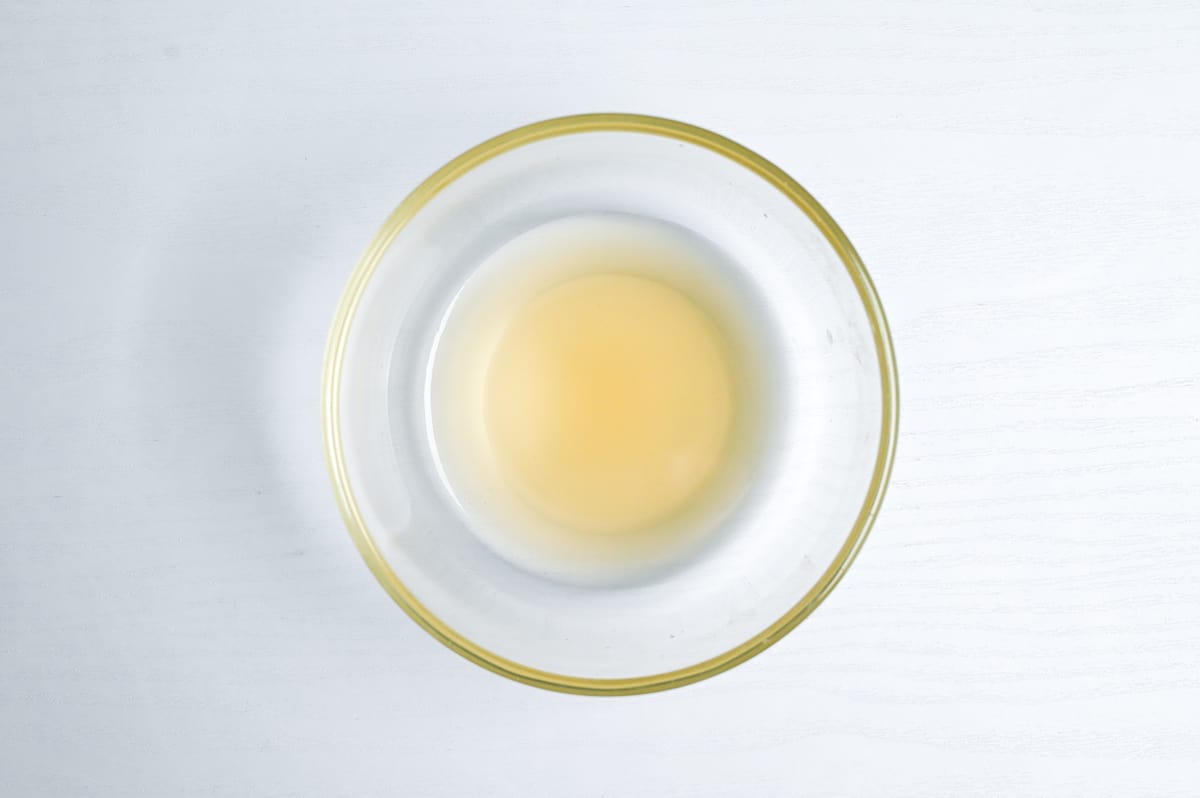
Mix sugar, salt, and rice vinegar until dissolved.
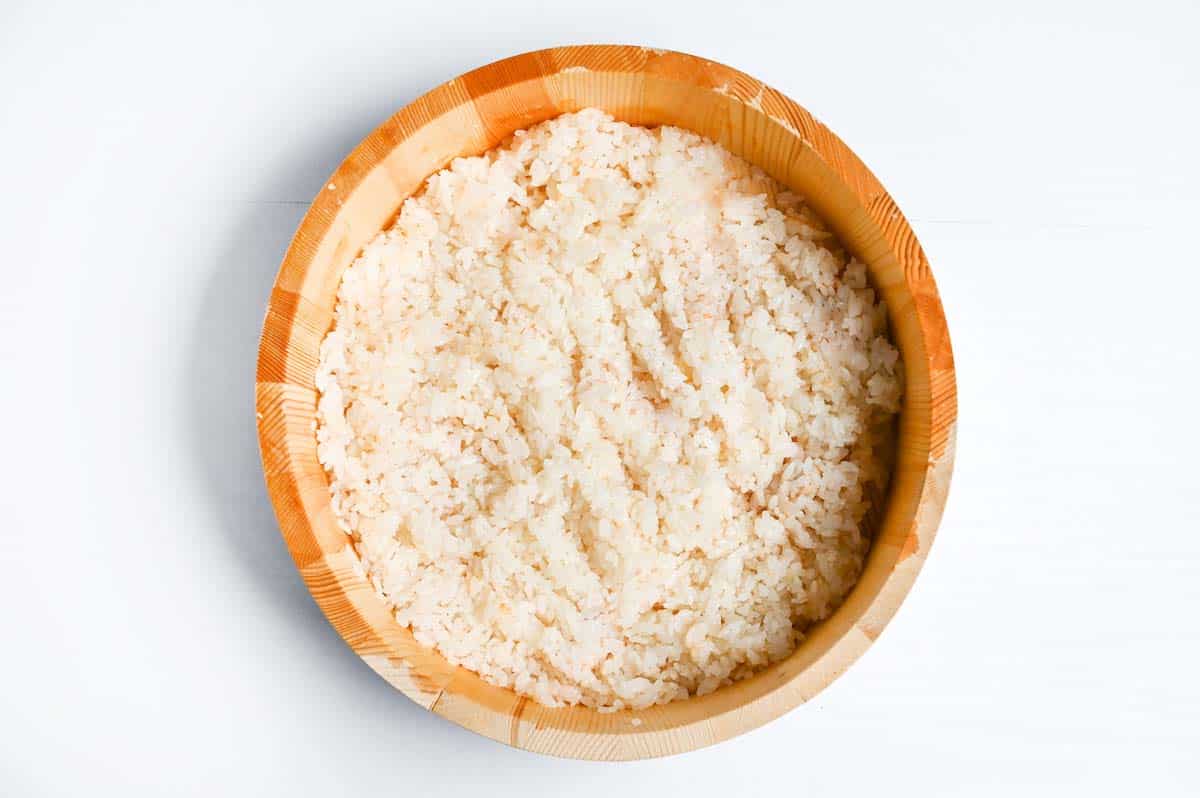
Transfer the cooked rice to a damp sushi oke or container, avoiding crispy bottom grains.
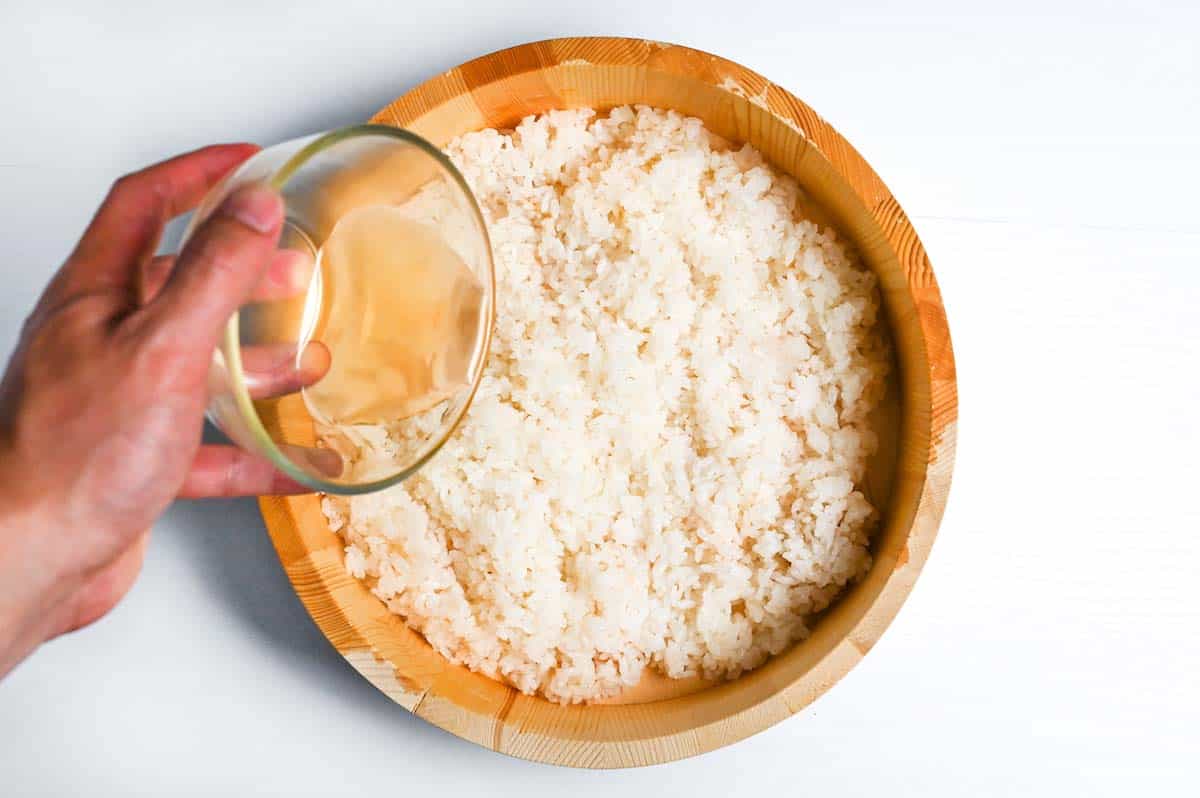
Gently mix in the vinegar seasoning while fanning to cool.
2. How to Roll Ehomaki
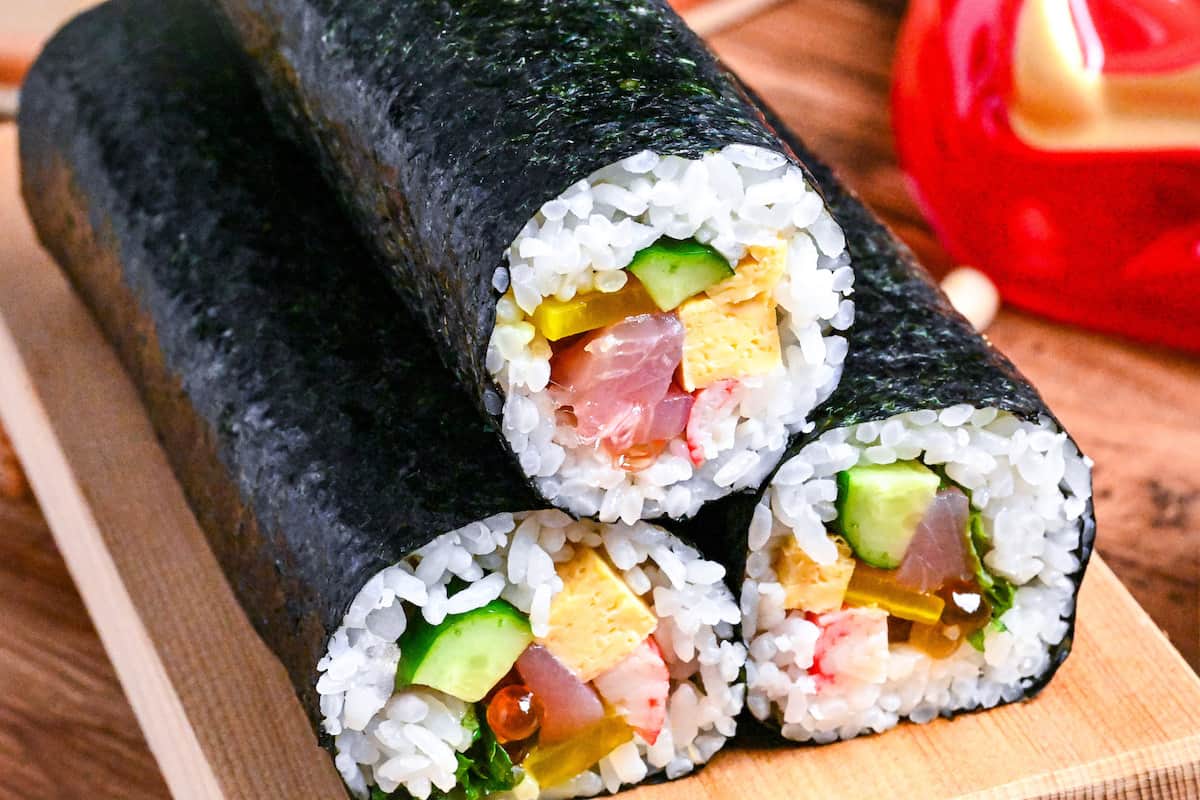
First things first, let’s cut up our 7 chosen ingredients. This time, I’ve selected the following ingredients:
- Sashimi-grade tuna
- Imitation crab
- Cucumber
- Salmon roe (ikura)
- Shiso leaves (perilla leaves)
- Pickled radish (takuan)
- Dashimaki tamago.
Cut all these ingredients to more or less the same length for uniformity. In my case, I went with about 5 cm.
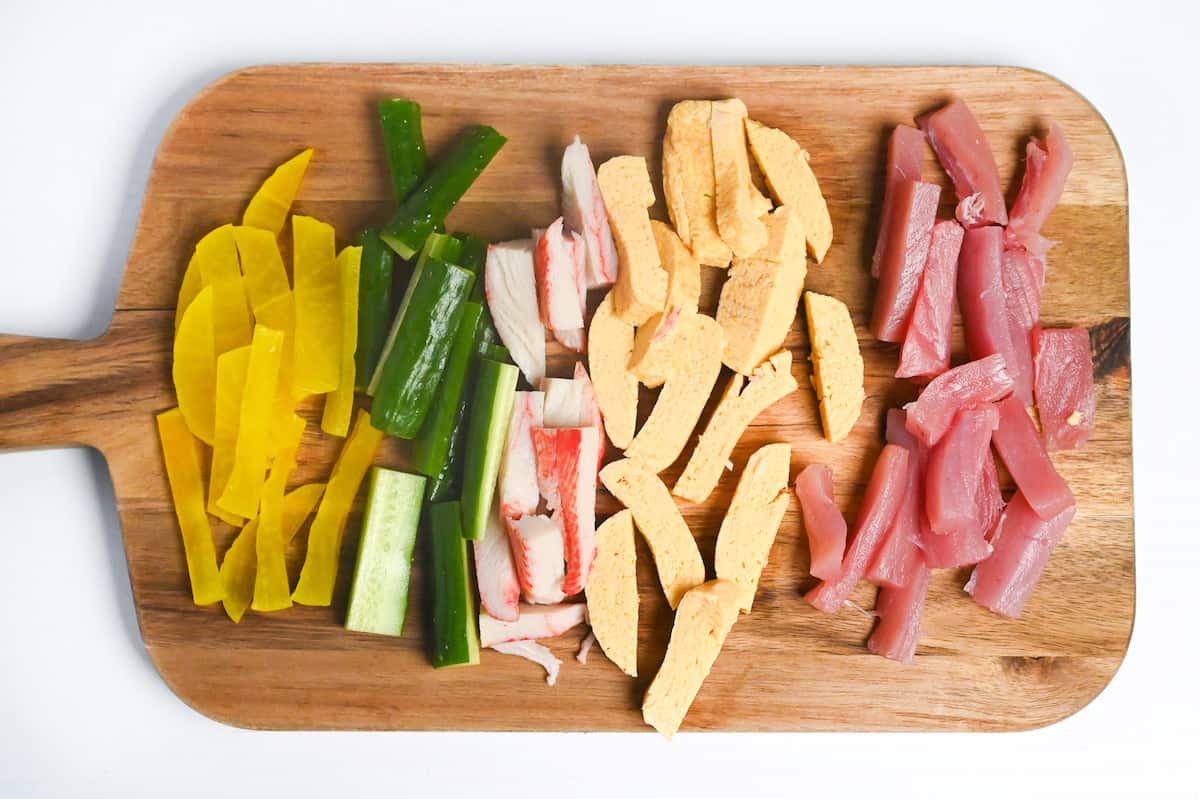
Also, keep them reasonably thin – for instance, cutting the cucumber in half, then half again, and finally into 5 cm lengths.
Depending on the fillings you add, you might want to prepare them well in advance. These types of fillings include deep-fried (ebi furai, chicken katsu, etc.) and cooked (dashimaki tamago, etc.). On the other hand, choosing ready-to-use ingredients such as vegetables and raw sashimi-grade fish speeds up the whole ehomaki-making process.
Place your sushi rolling mat on a flat surface, round side down, and string side facing away from you. Keep a bowl of water nearby – it’s handy for keeping rice from sticking to your hands.
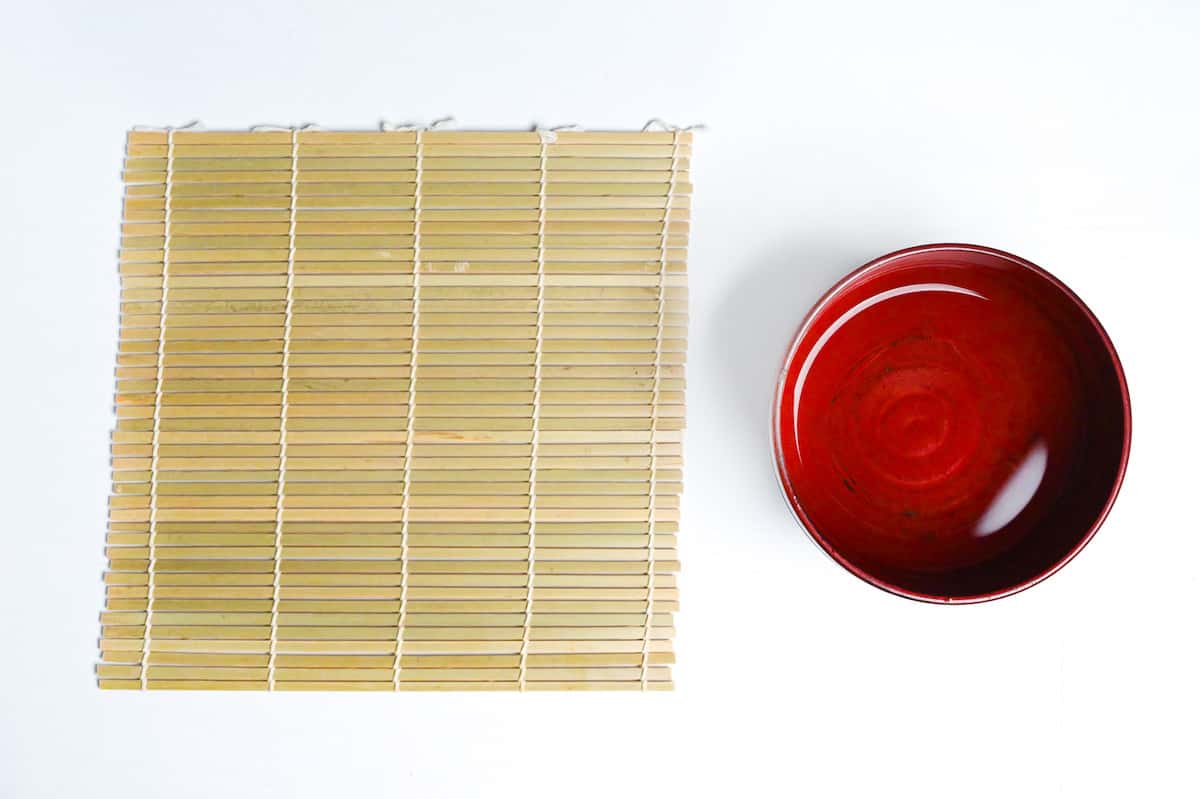
Professionals add a bit of vinegar to this water bowl to prevent the vinegar level in the sushi rice from dropping.
Lay a sheet of sushi nori, glossy side down, on the mat.
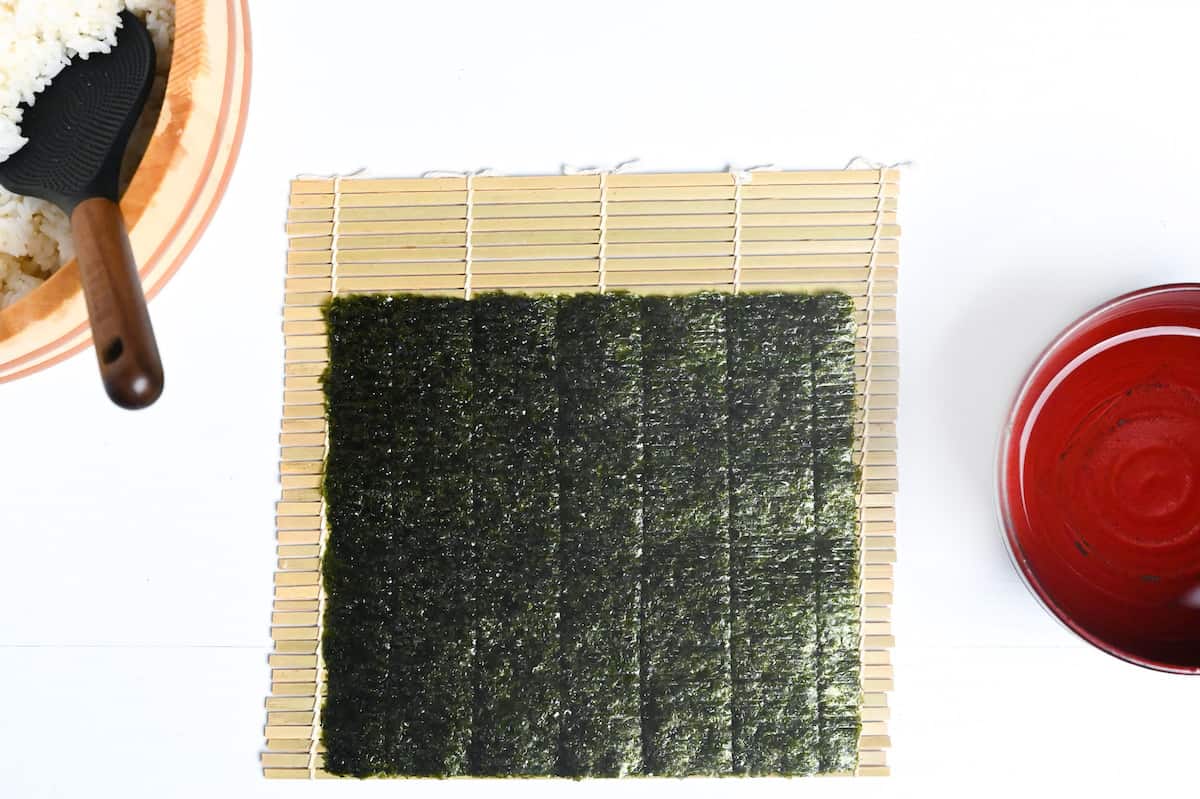
The lines on the nori can face either way, but I made them vertical from my viewpoint this time.
Whether you’re using gloves, bare hands, or a rice paddle, start by wetting your hands (a paddle) to prevent sticking. Take about 200 grams (7oz) of sushi rice and shape it into an oval.
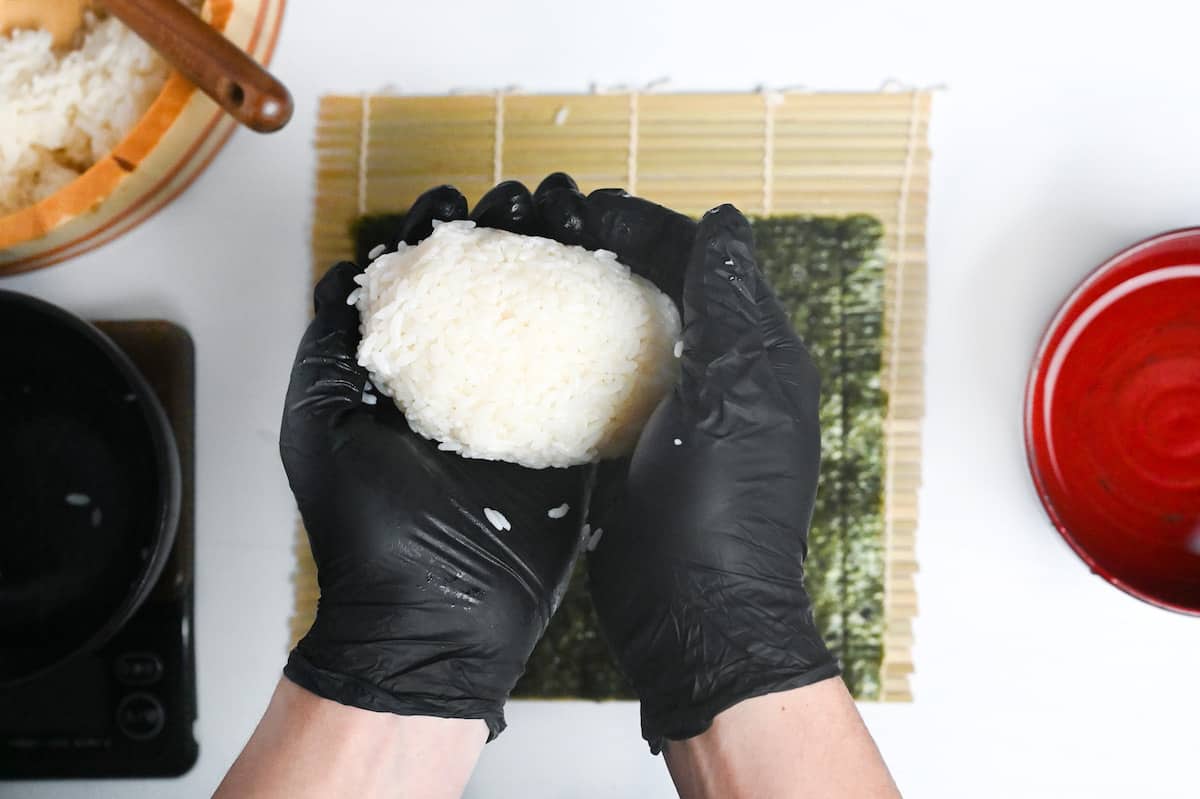
Place this oval of rice 2 cm from the top of the nori, starting in the upper left corner.
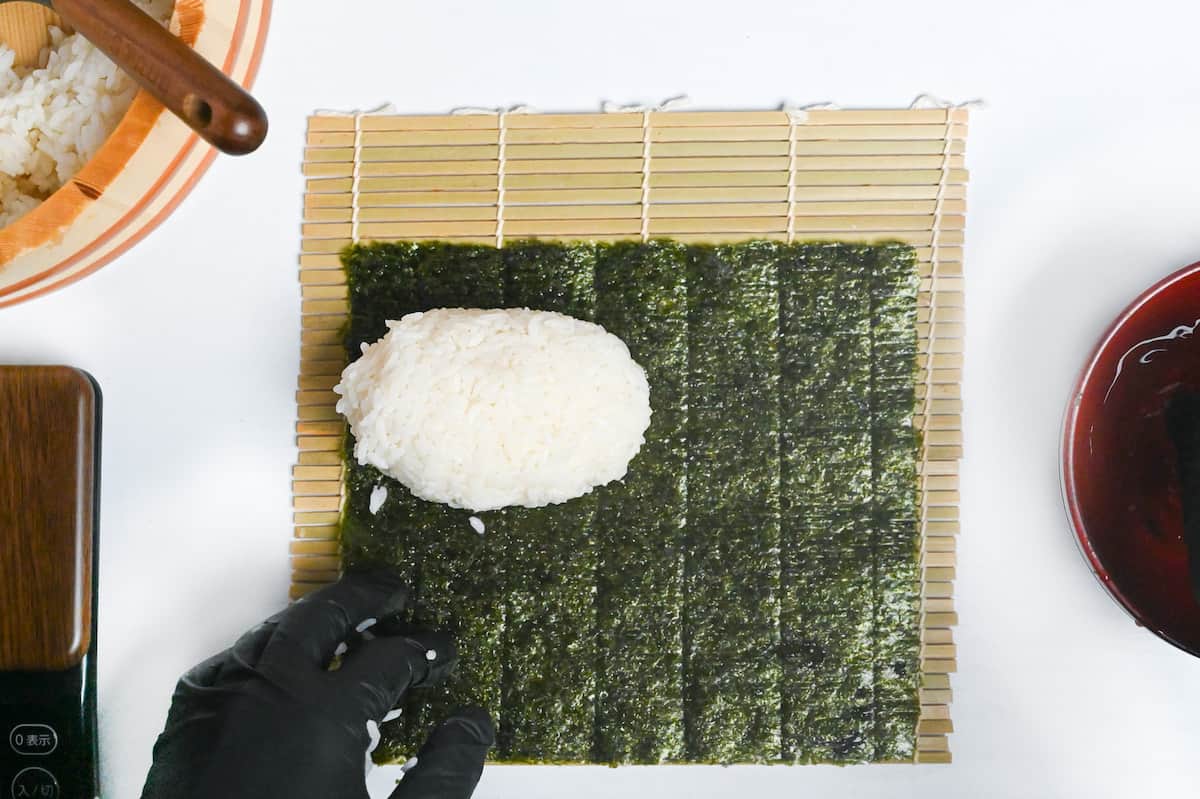
Stretch the rice to the right, maintaining an even height.
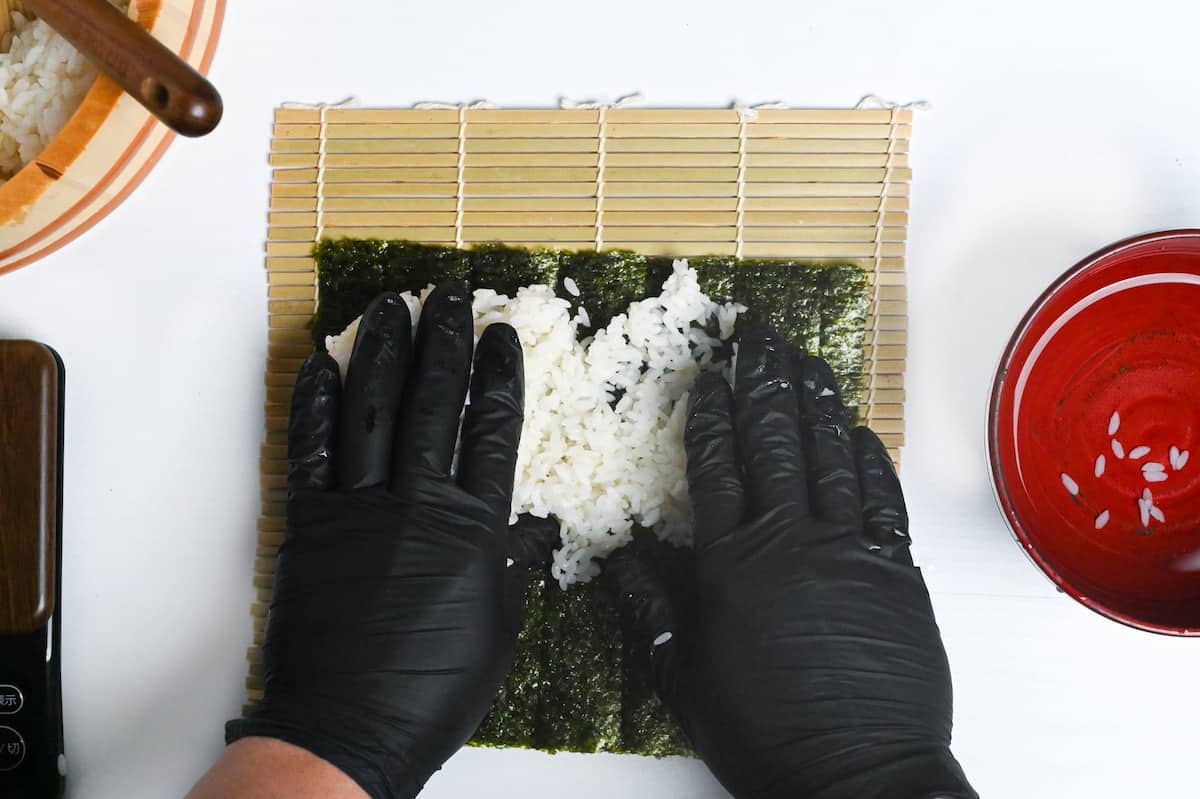
Create a slight ridge along the top edge, and extend the rice down to leave about 1 cm of space at the bottom.
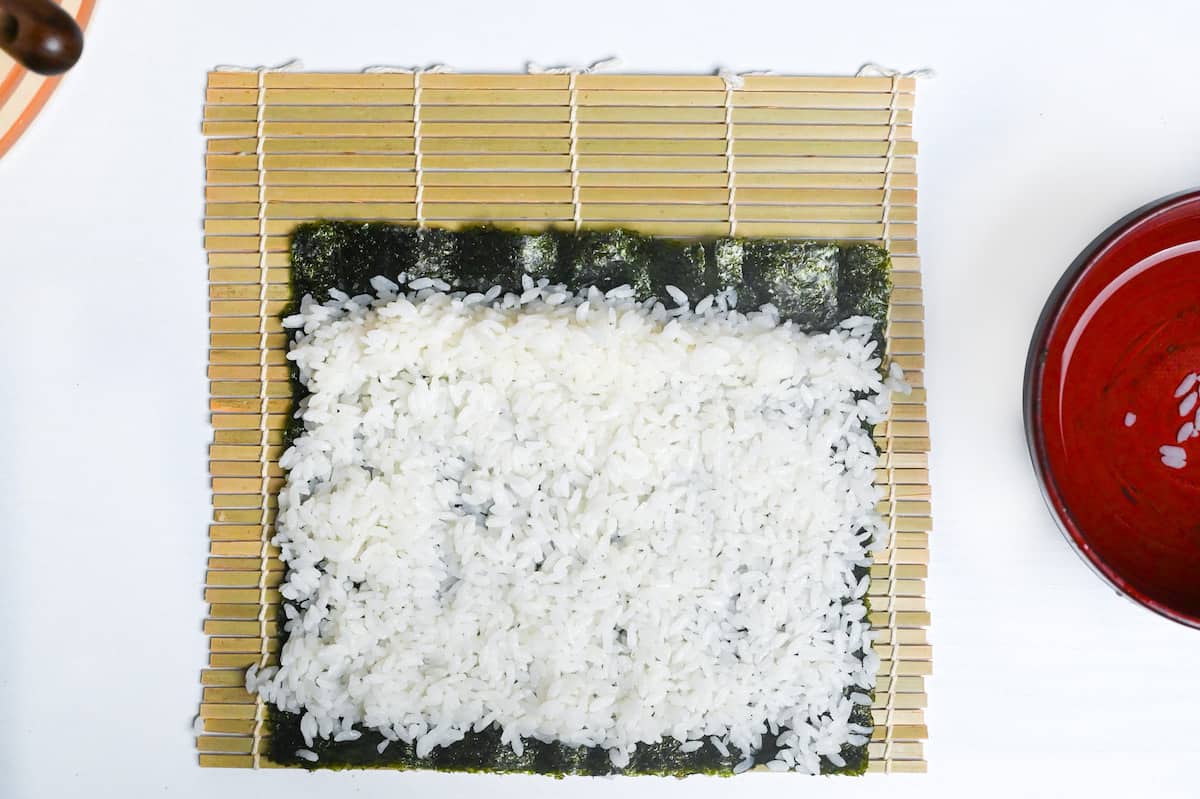
Ensure the rice layer is uniform in height, except for the top edge.
Divide the rice area into three equal parts in your mind. Place your ingredients in the middle third for a beautiful roll.
Remember, the ingredients in the center will end up in the middle of the roll, so place colorful ingredients there for visual appeal.
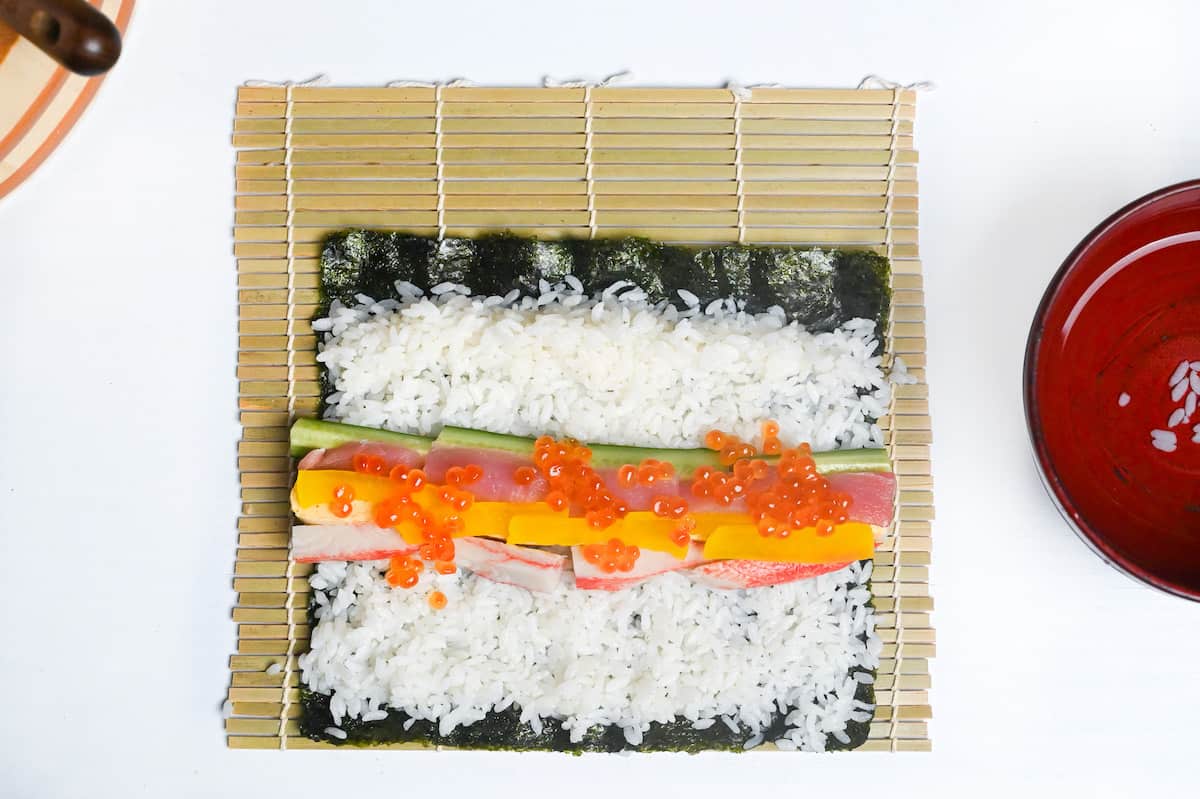
Layer the ingredients on top of each other within the middle third of the rice area, rather than spreading them out vertically.
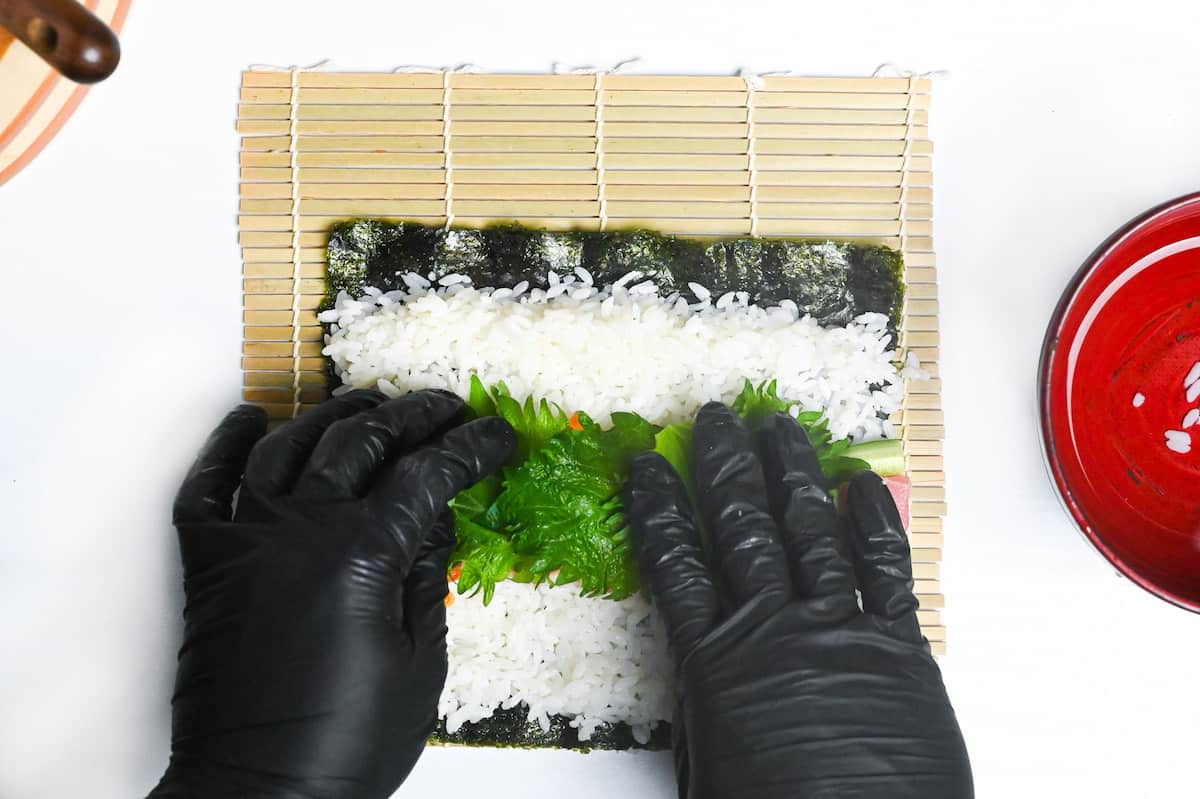
Start by aligning the bottom of the nori with the edge of the rolling mat. Imagine bringing the front part of the nori to the ridge of rice you’ve created.
Lift the front edge of the mat, holding the ingredients in place with your other hand, and roll it towards the ridge of rice.
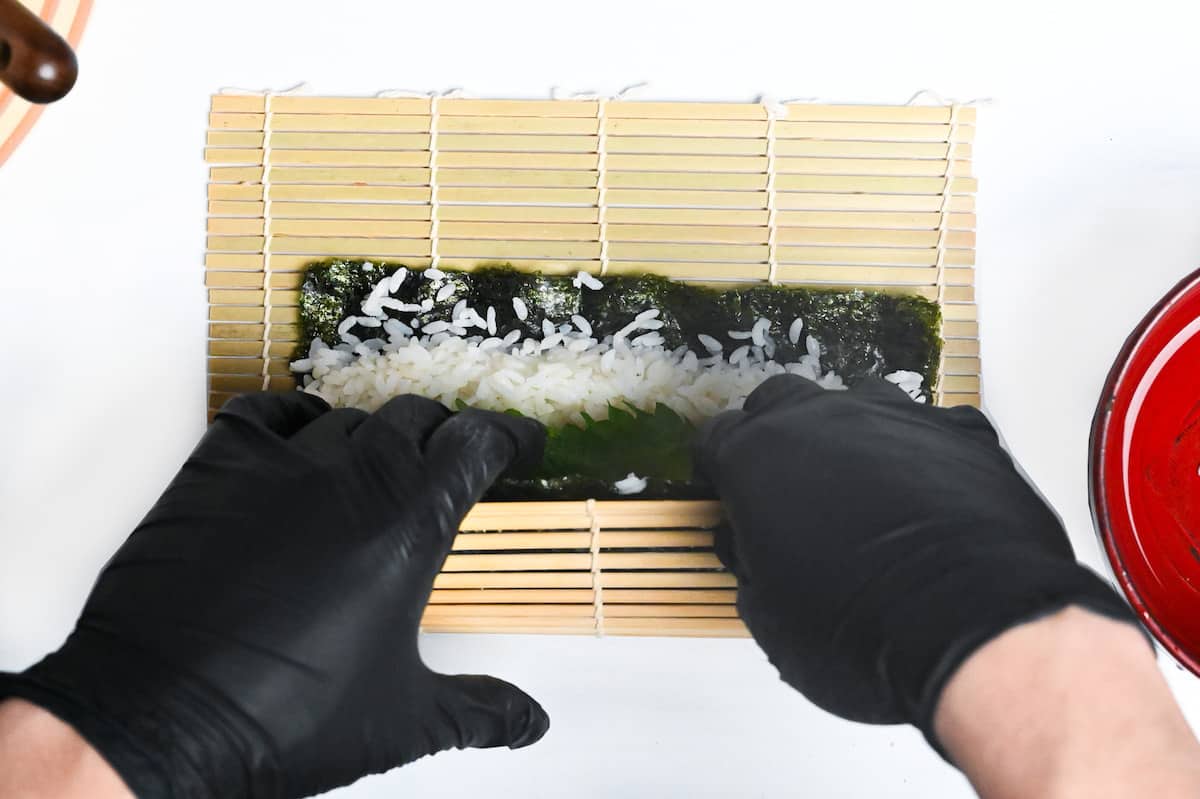
Once you reach the ridge, apply gentle pressure to slightly tighten the roll. It’s okay if the sushi looks a bit square at this stage.
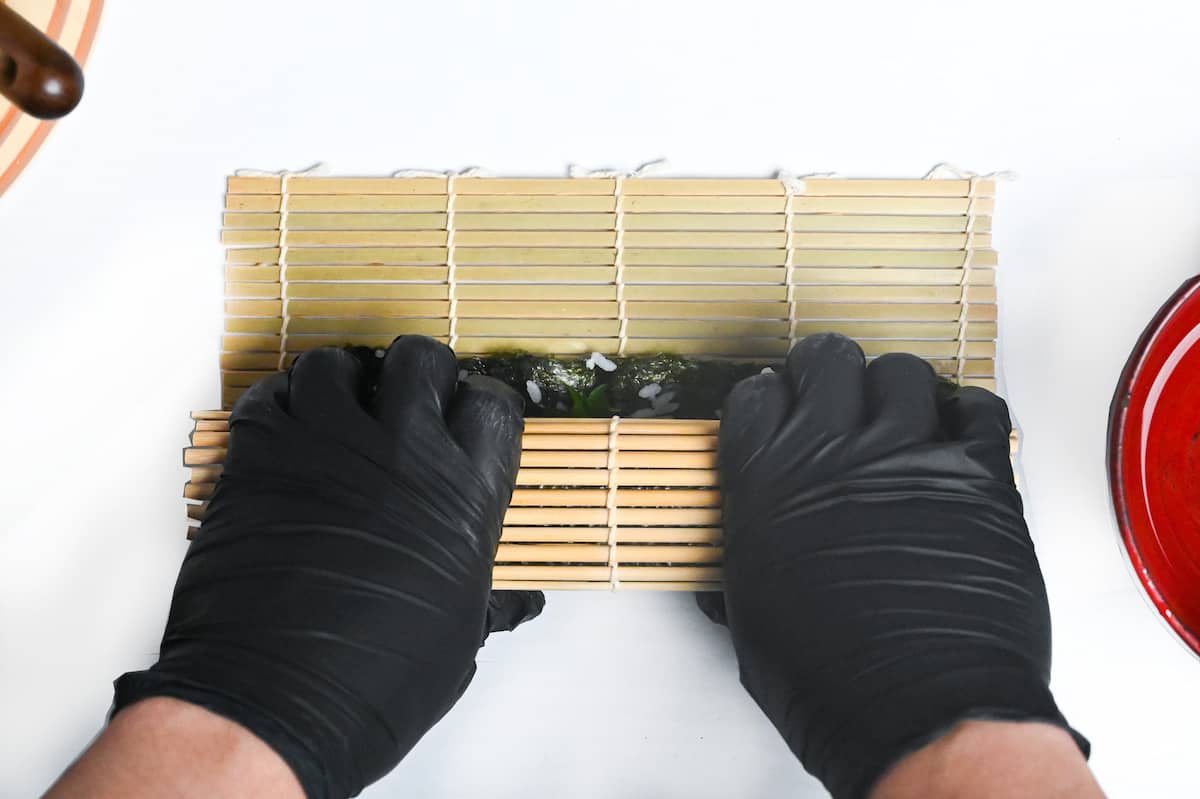
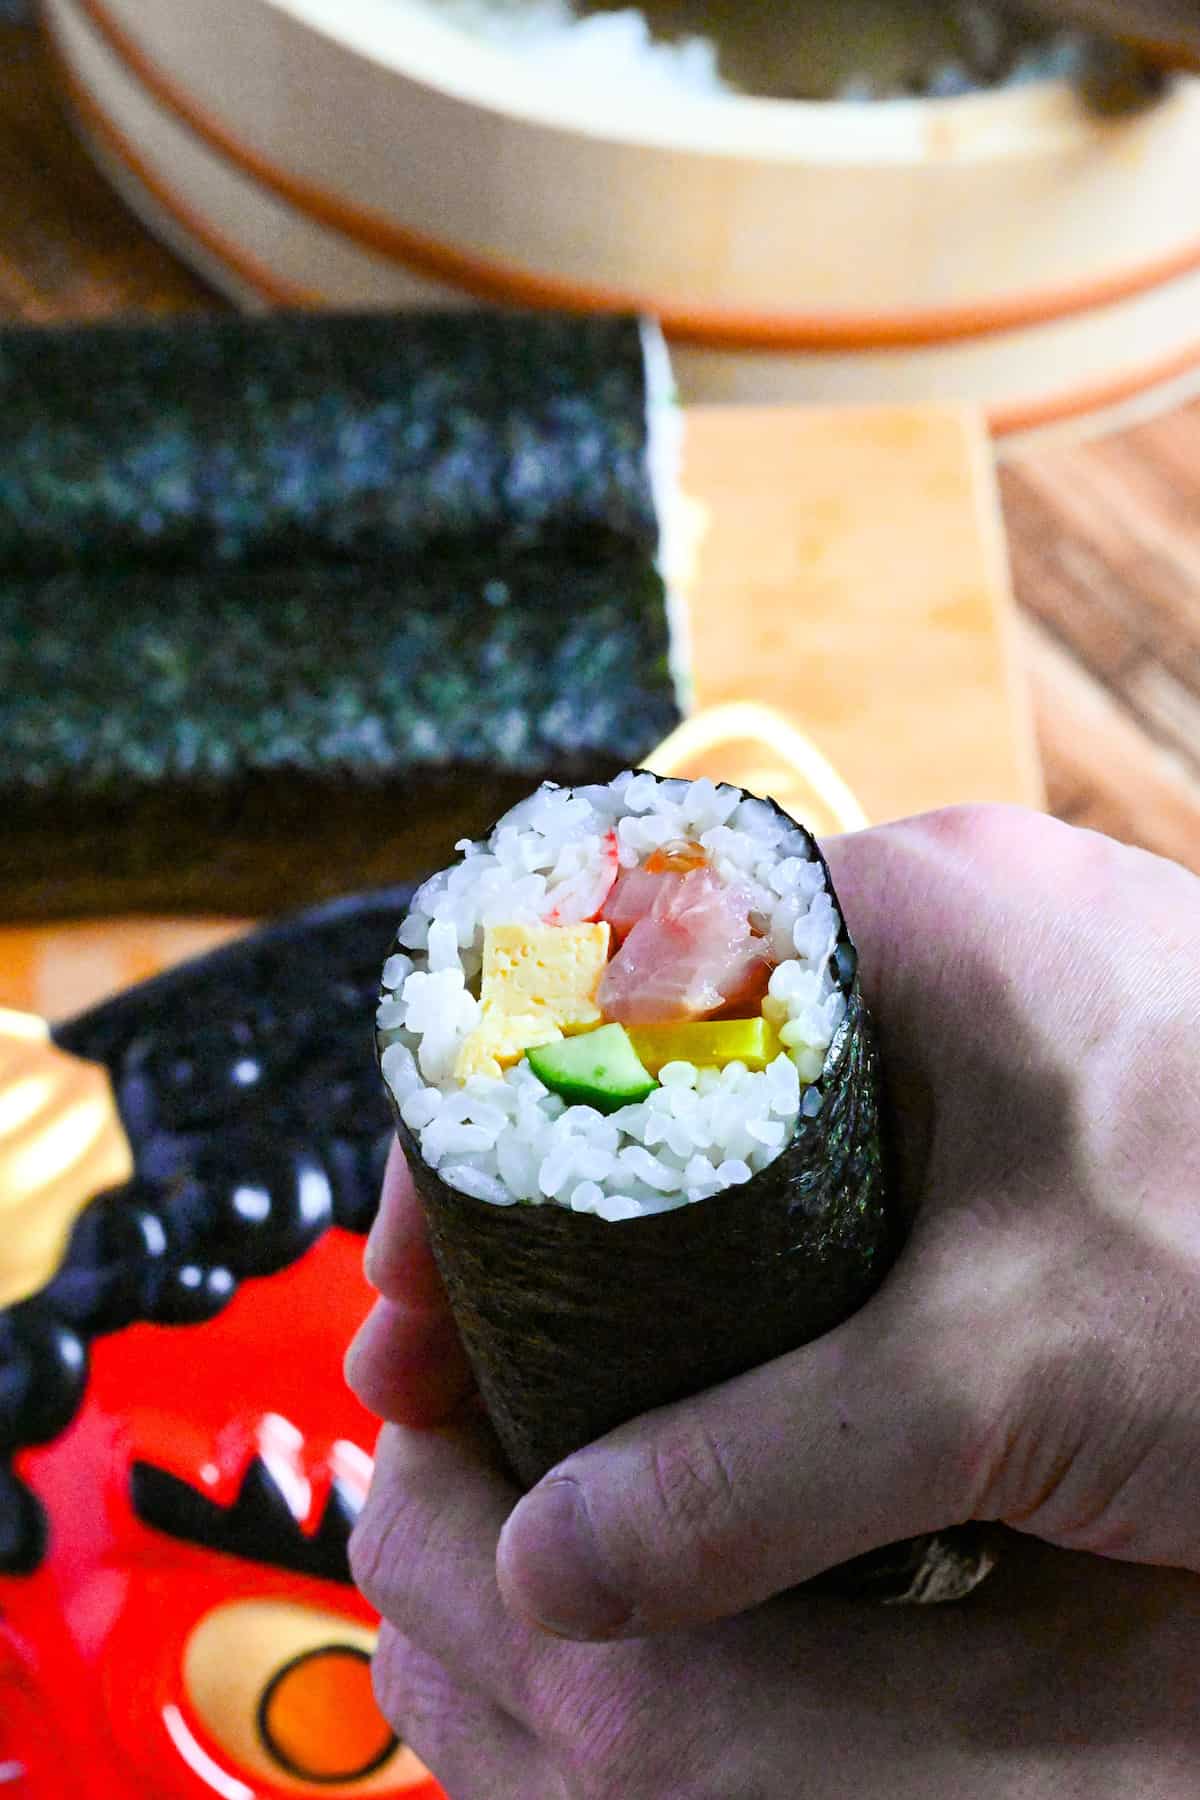
Finally, use the palm of your hand to roll it further, so the nori seals.
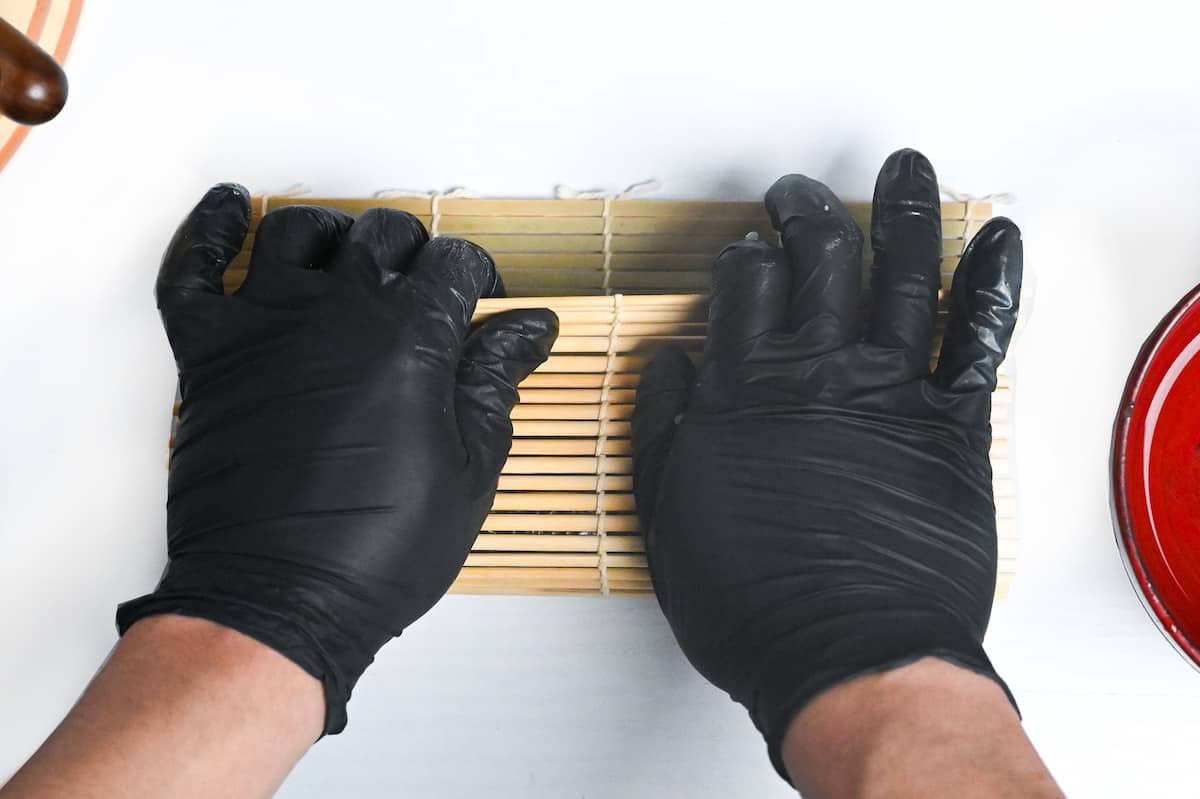
Tighten the roll with a bit more pressure to firm it up.
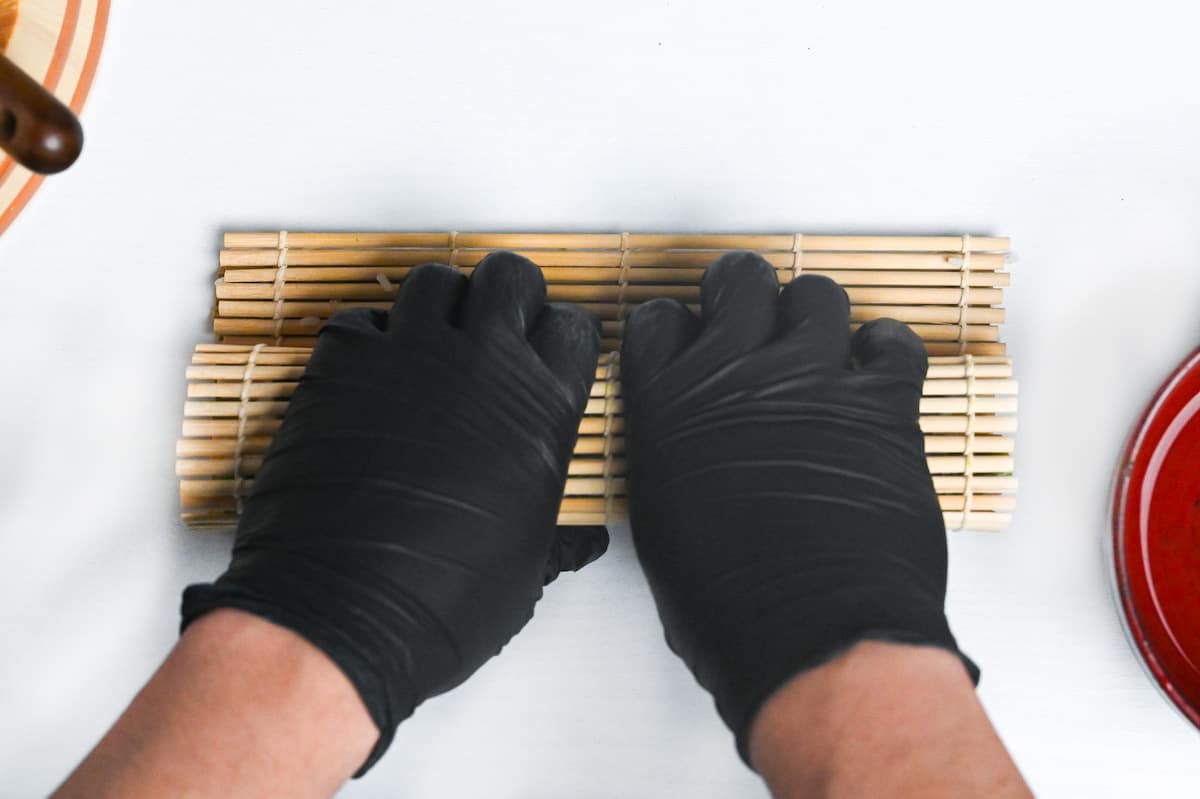
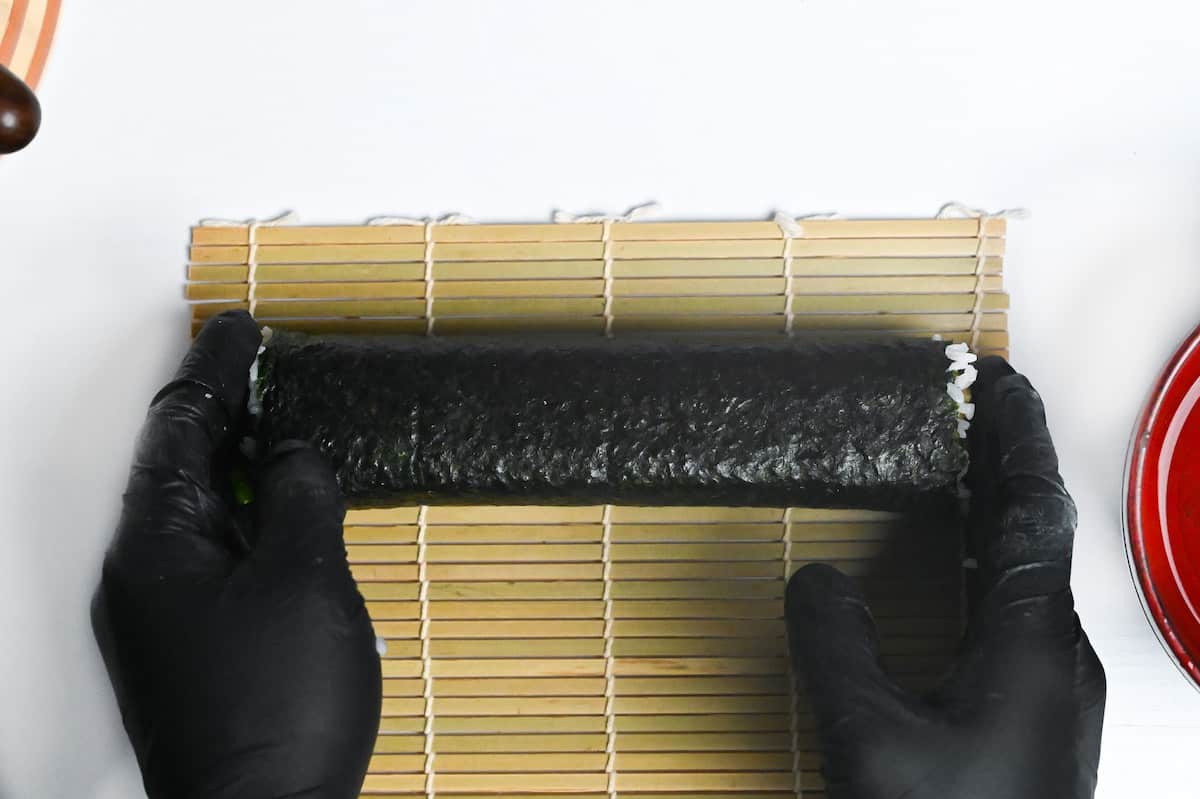
And there you have it – your sushi roll is ready!
FAQ
The tradition of ehomaki is said to have originated from Osaka between the Edo (1603-1867) and Meiji (1868-1912) periods. Ehomaki was eaten particularly by merchants to celebrate prosperous business and the beginning of the lunar new year.
In those days, ehomaki was often referred to as “futomakizushi” (thick sushi roll) or “marukaburi-zushi” (in-one-go sushi roll), and made seven ingredients. Different ingredients have different meanings and are supposed to represent “seven blessings”.
However, this custom of using seven ingredients is not a strict rule and is unique to a few regions rather than practiced nationwide.
In 1989, convenience store 7-Eleven started selling futomakizushi, especially for Setsubun. Since then, the popularity of ehomaki quickly spread across Japan, and supermarkets and departments also began to sell ehomaki.
Just like chocolate on Valentine’s Day or the Japanese custom of eating KFC on Christmas day, the modern popularity of ehomaki is a byproduct of companies’ good marketing!
People believe that if you speak while eating ehomaki, your luck will run away. So make sure to eat ehomaki in silence while thinking about your wish!
We eat the whole roll in one go because people believe you will receive happiness and good fortune for the whole year.
Don’t miss out on a years worth of luck by cutting your ehomaki or stopping in the middle of the meal, eat it whole to get the best luck all year round!
In a broad sense, yes, they are essentially the same thing. Ehomaki simply refers to the futomakiu eaten on Setsubun. However, in some regions, ehomaki should have 7 ingredients, whereas futomaki generally has 4 or more fillings.
I hope you enjoy this Ehomaki recipe! If you try it out, I’d really appreciate it if you could spare a moment to let me know what you thought by giving a review and star rating in the comments below. It’s also helpful to share any adjustments you made to the recipe with our other readers. Thank you!
More Sushi Recipes
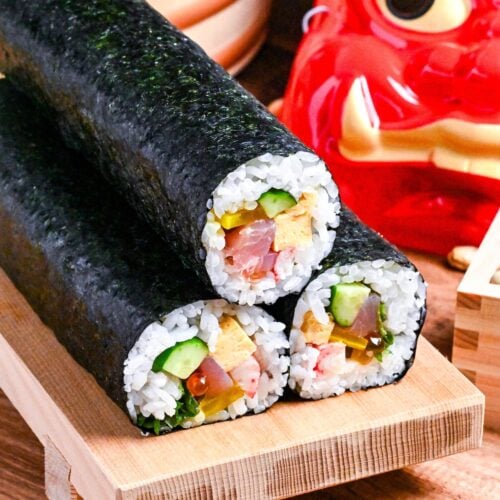
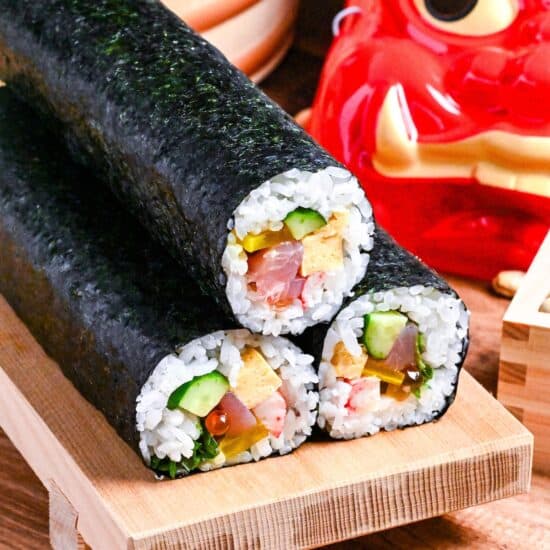
Ehomaki (Lucky Direction Sushi Rolls)
Ingredients
- 300 g uncooked Japanese short-grain rice
- 350 ml cold water
- 2 tbsp rice vinegar
- ½ tsp sugar
- 1 tsp salt
- 3 sheets sushi nori seaweed approx. 21cm x 19cm (8.27 inches x 7.48 inches)
- 1 block Japanese rolled omelet tamagoyaki (dashimaki tamago)
- 100 g Japanese or Persian cucumber preferebly Japanese or Persian
- 9 perilla (shiso) leaves shiso/ooba leaves
- 6 imitation crab
- 150 g sashimi grade tuna or salmon
- 3 tbsp marinated salmon roe (ikura) ikura
- 6 slices yellow pickled daikon takuan
Instructions
Washing the rice
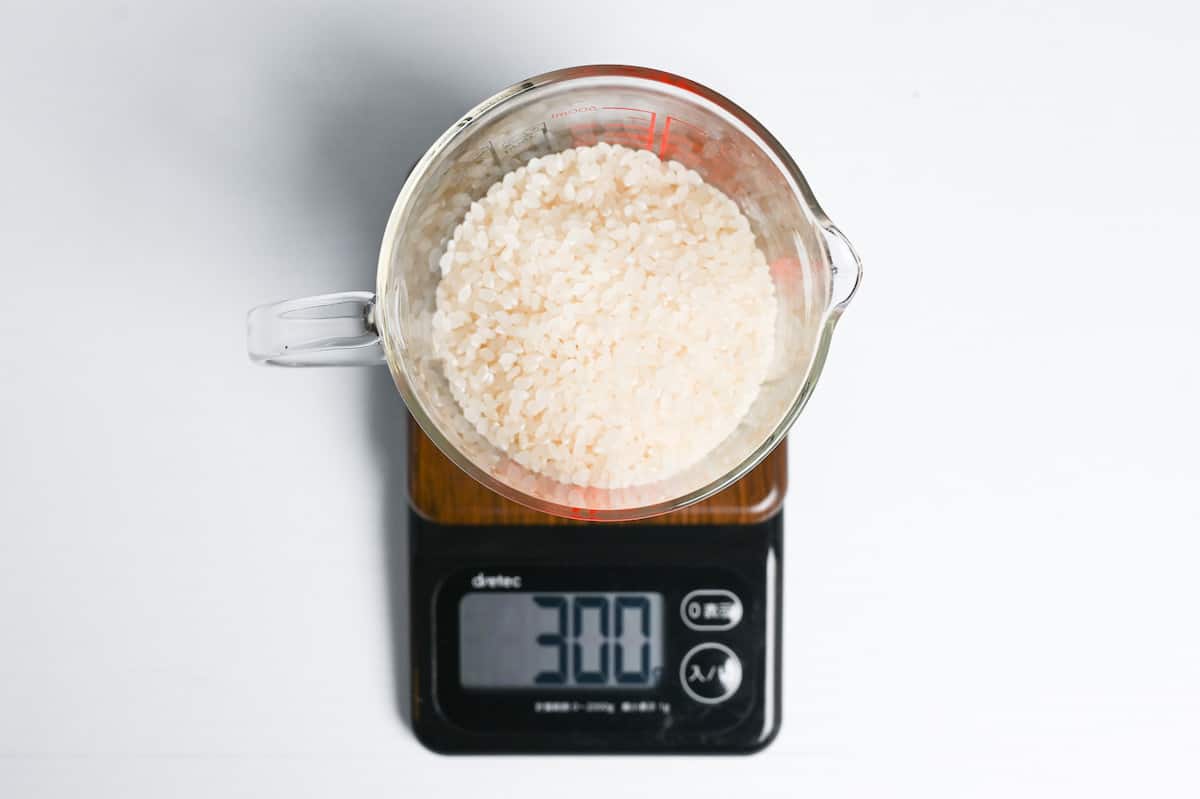
- First, measure out 300 g uncooked Japanese short-grain rice. You can use kitchen scales to measure, or use 2 rice cooker cups.

- Next, pour the rice into a sieve and place it over a large bowl. Pour cold water over the rice and wash. When the water becomes cloudy, drain and repeat twice more (3 times in total).

- Fill the bowl once more, then cover and leave to soak for 30 minutes (1 hour in winter).

- Once it's finished soaking, drain and leave to dry for 5 minutes.

- Transfer your rice to a rice cooker or a pot with a lid and add 350 ml cold water. Start your rice cooker or follow the steps below to cook rice on the stove.

How to cook sushi rice on a stove
- Place your pot on the stove and bring the water to a boil over a medium heat. Don't remove the lid at any point, listen for the boiling water. Once starts to boil, set a timer for 2 minutes.

- After 2 minutes, reduce the heat to medium-low and set a timer for 3 minutes. Reduce the heat to low and simmer for 5 minutes.

- Once 5 minutes are up, blast the heat on high for 10 seconds and then turn it off. Leave the rice to steam on the warm stove for 10 minutes. Don't be tempted to take off the lid or mix it until these 10 minutes are up.

- After 10 minutes, the rice is ready and can be transferred to a large mixing bowl. Wet the bowl slightly before putting the rice in, this will help prevent sticking. Gently mix, being careful not to crush the rice.

Seasoning
- In a small bowl, mix 2 tbsp rice vinegar, ½ tsp sugar and 1 tsp salt until the salt and sugar are dissolved.

- Pour the vinegar mixture over the rice while it's still hot. Use a rice paddle to mix until evenly distributed, then spread the rice thinly to help it cool down faster. Cover with a damp tea towel to stop it from drying out.

Fillings
- Cut your choice of fillings into strips. If using 100 g Japanese or Persian cucumber, scrub the surface with salt, rinse and dry before cutting into strips (make sure some skin is on each piece).

- Position the nori rough-side up on a bamboo sushi mat, aligning the lines vertically. Keep a bowl of water nearby to wet your hands; this will help stop the rice from sticking.

- Take 200g of rice and gently press it into a ball/cylinder shape. Place it in the top left corner, leaving a 1-inch gap at the top.

- Spread the rice evenly over the surface, right up to the left and right edges. Leave a slight gap at the bottom and pinch the rice at the top to make a wall.

- Add a small blob of wasabi and use your finger to spread it horizontally through the center of the rice (optional). Arrange the fillings on top.

- If using Perilla leaves (or any kind of lettuce/leaves), lay them along the top of the fillings, this will help hold them in place.

- Carefully lift the edge of the bamboo mat closest to you and fold it over the top of the fillings.

- Continue to roll tightly until the far edges come into contact with one another, then lift the bamboo mat up slightly and seal your sushi roll using the gap at the top.

- Wrap the whole roll in the mat and press tightly.

- Unroll the mat and gently push any fillings back in each end.

- Face the lucky direction for the year and enjoy!



Oh boy food food that makes you lucky on 3rd February every years woo hoo!!!!!
Katsudom and Shogayaki are Amazing …!
Hi Rei,
Thank you for the comment! 🙂
Yuto
Made my first ehomaki and celebrated setsubun – throwing soybeans and all. The detailed instructions for making the roll were very helpful. I used ebi furai, kampyo, homemade dembu, cucumber, and tamago. I would suggest preparing ingredients ahead of time as making it all took hours – but it was delicious to eat.
Hi Christine,
Thank you for the comment and sharing your experience!
I’m glad you enjoyed the ehomaki and setsubun celebration.
That’s very true, considering ehomaki has more ingredients than regular futomaki. I’m going to add this tip to the content! 🙂
Yuto