

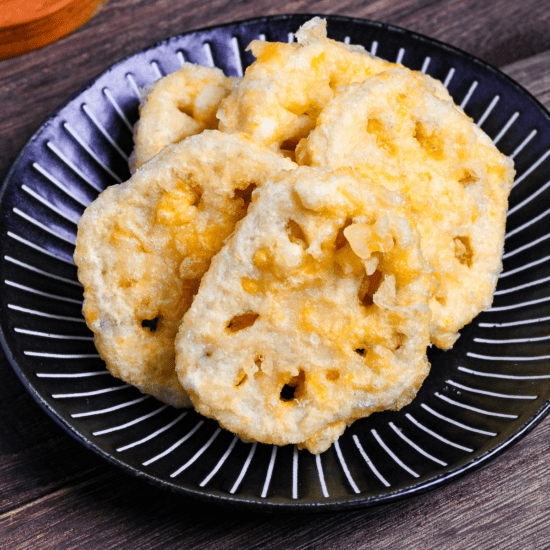


The first bite of lotus root tempura cracks open with a sharp crunch. Under the batter the root answers at once, still loud and clear. Other vegetables soften and fall quiet inside their coating. Lotus root keeps going.
Its flavor is quiet and gentle. That is exactly why a single pinch of salt makes the faint natural sweetness bloom late on your tongue. If you bring home a single lotus root, use it for this.
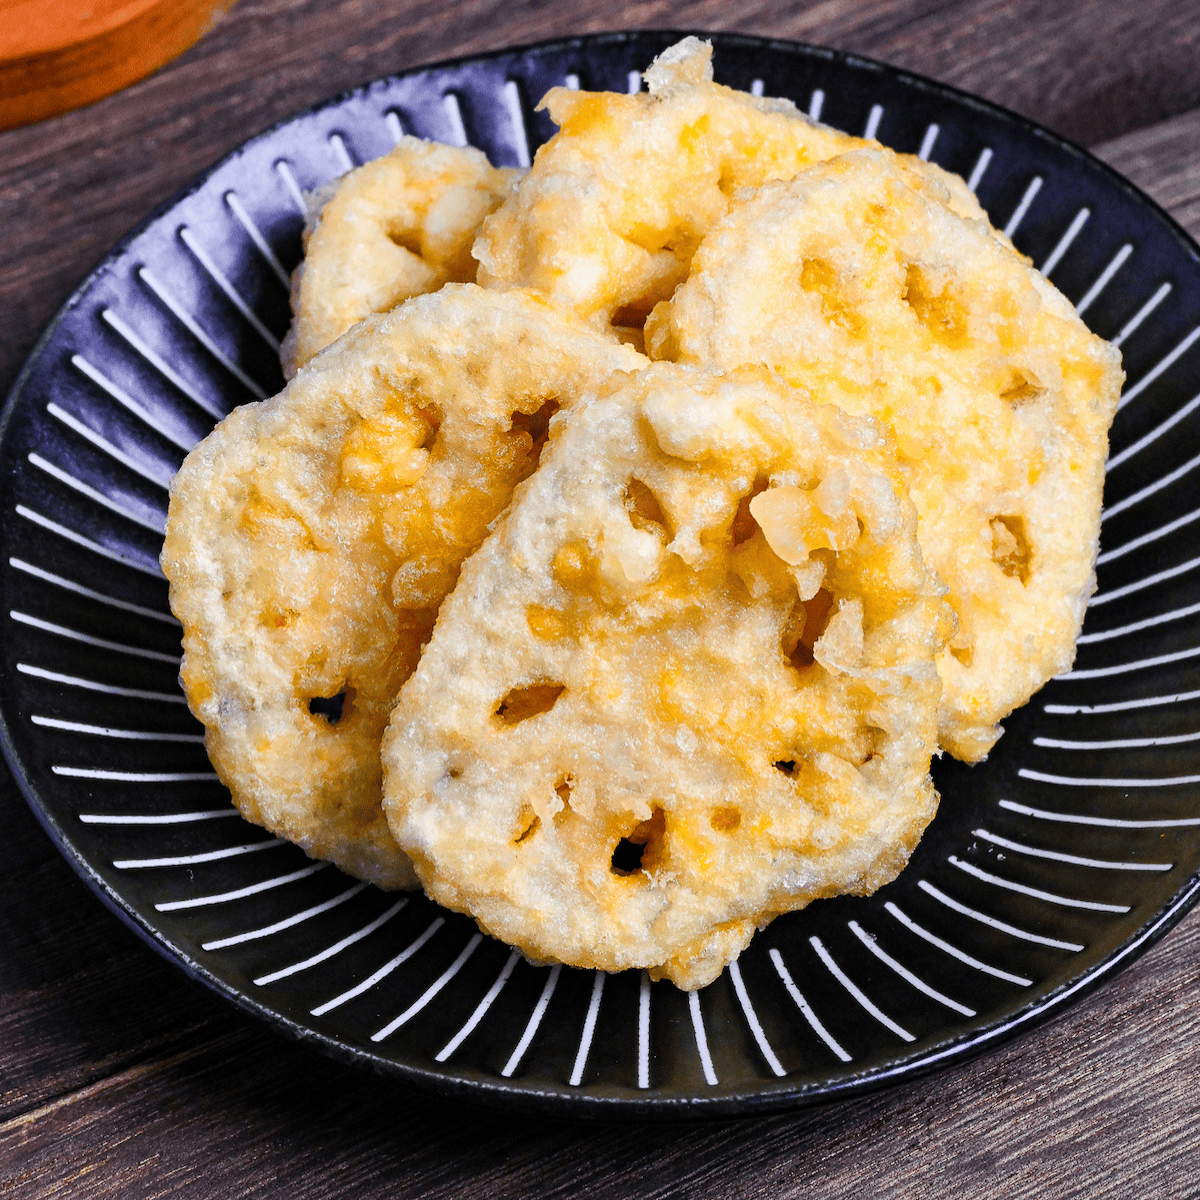
Lotus Root Tempura
Recipe Snapshot
- What is it? Lotus root tempura is sliced lotus root fried in a light batter. The holes make each round its own piece, and it is a well-liked standard on a mixed tempura platter.
- Flavor profile: The batter is thin and adds almost no flavor of its own. Salt or a dip in tempura dipping sauce changes how the same slice tastes.
- Why this recipe works: I cut 5 to 10 mm rounds, so a single slice carries both snap and starchy sweetness. Frying straight after cutting keeps the surface starch and aroma.
- How to make it: Flour the rounds and clear the holes, dip in cold batter, then fry at 175°C (347°F) for 3 to 4 minutes. No special gear beyond a wire rack.
- What to expect: Prep runs 30 minutes, frying takes 5, and it serves 4. Where people slip is pulling it by the clock instead of the color, bubbles, and sound.
Summarize & Save this content on:
What Is Lotus Root Tempura?
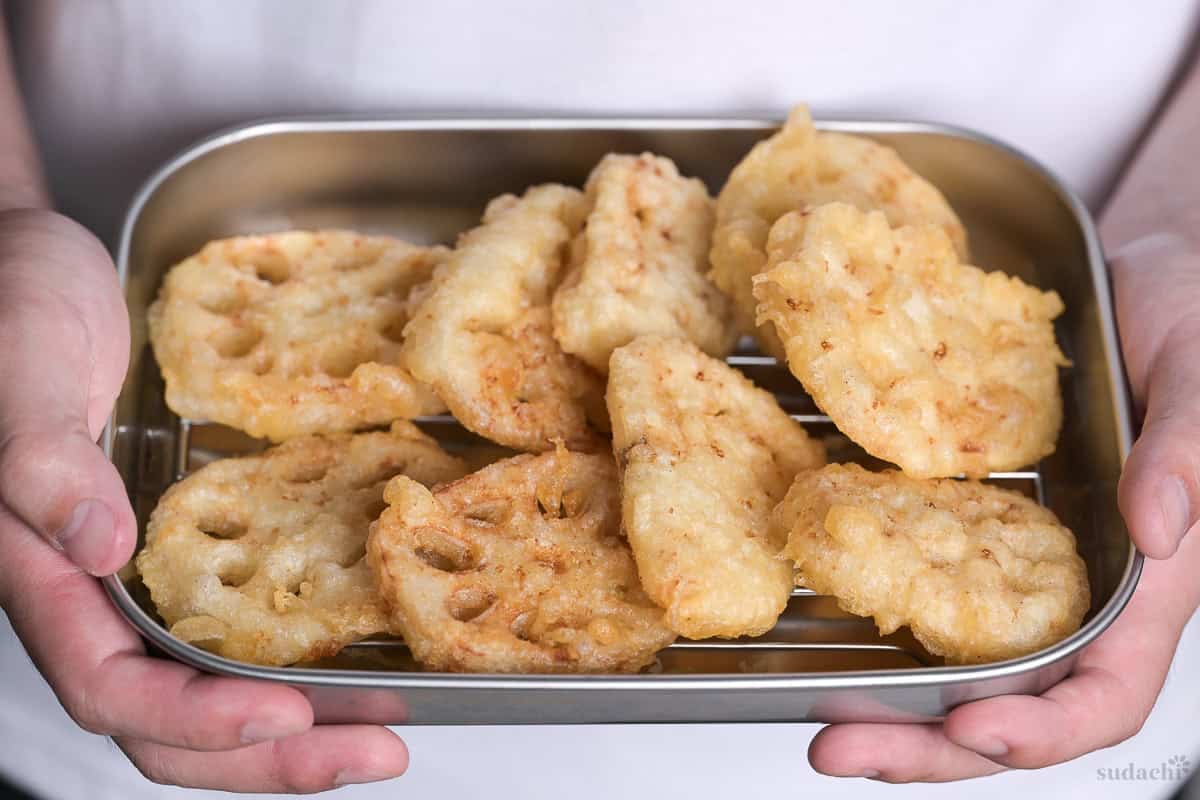
Lotus root (renkon) tempura is a classic Japanese vegetable tempura. You cut the root into rounds, coat them in a light batter and deep-fry them. The flavor is mild with only a faint sweetness. Texture is the real draw, and that texture is not a free gift from the vegetable’s natural firmness. You create it by how you cut the rounds and how thick you make each piece.
The holes in lotus root are obvious at a glance, but in Japan they have long been treated as auspicious. Because you can see straight through them, the holes symbolize a clear view of the future. That is why lotus root is a must in New Year food and in simmered dishes, cherished first for its meaning before its taste. A concrete example comes from Iwakuni in Yamaguchi Prefecture. The lotus root there usually has 8 holes, and sometimes 9. Nine holes in cross-section resembled a local lord’s family crest, so the lord was delighted. That story is still told locally, though various theories exist around it. The origins of tempura itself are separate. It began as a battered and fried dish that came in through Portuguese trade during the Muromachi period (1336-1573), and only spread among ordinary people in the Edo period (1603-1868).
Lots of recipes almost always start by soaking the sliced lotus root in vinegar water. I skip that step by default. I slice it and dust it with flour right away, then fry. Soaking washes away some of the surface starch, which gives a whiter, cleaner look but also blurs the flavor edges and weakens the fluffy interior. In exchange you have to move fast, because the cut ends begin to discolor right away. So when I want to prep ahead, or fry a large batch at once, I do soak the slices for a few minutes in water with just a splash of vinegar.
Renkon Tempura Ingredients
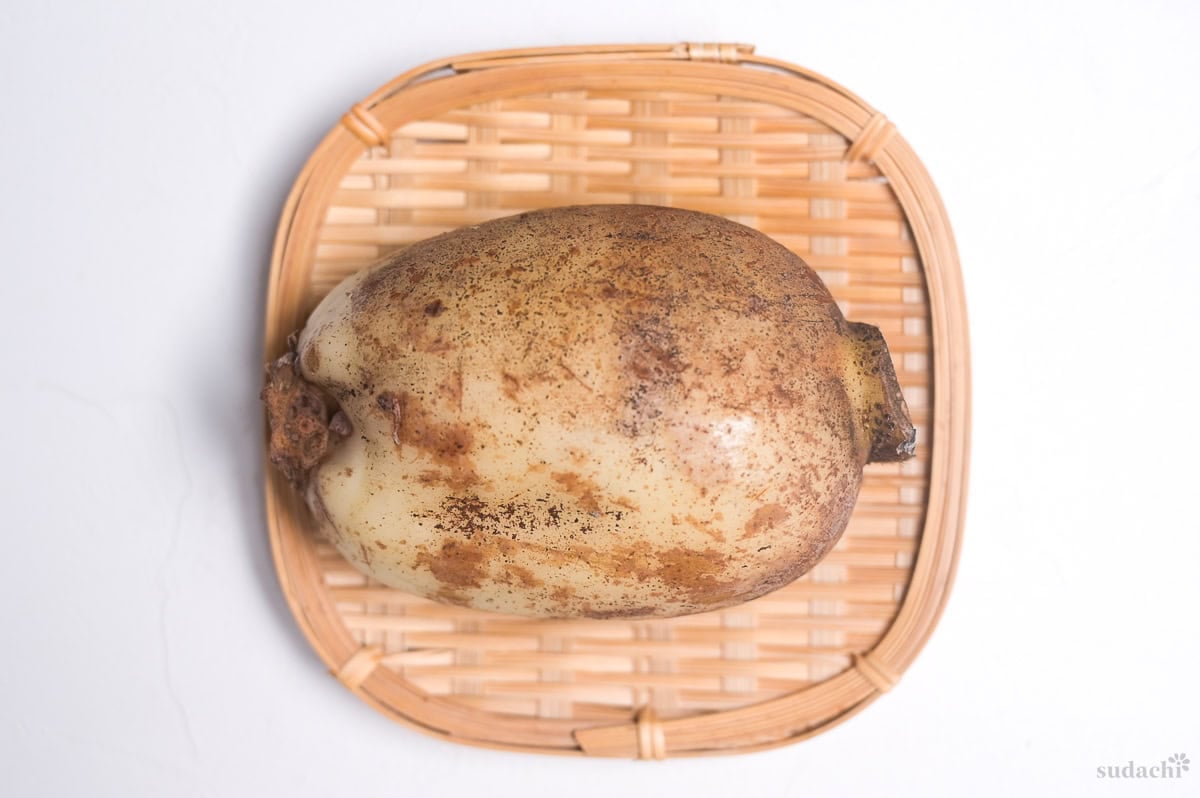
- Lotus root: No other root vegetable stands in for lotus root here. Fresh lotus root rarely turns up in a regular Western supermarket, so look for it at a Chinese, Korean, or Japanese grocer. The larger Asian supermarkets carry both fresh roots and frozen slices. In Japan a whole root comes divided into linked segments, and shops sell it segment by segment. The middle segments are the ones usually called best for tempura Frozen or water-packed slices will still make this dish. They just do not reach fresh.
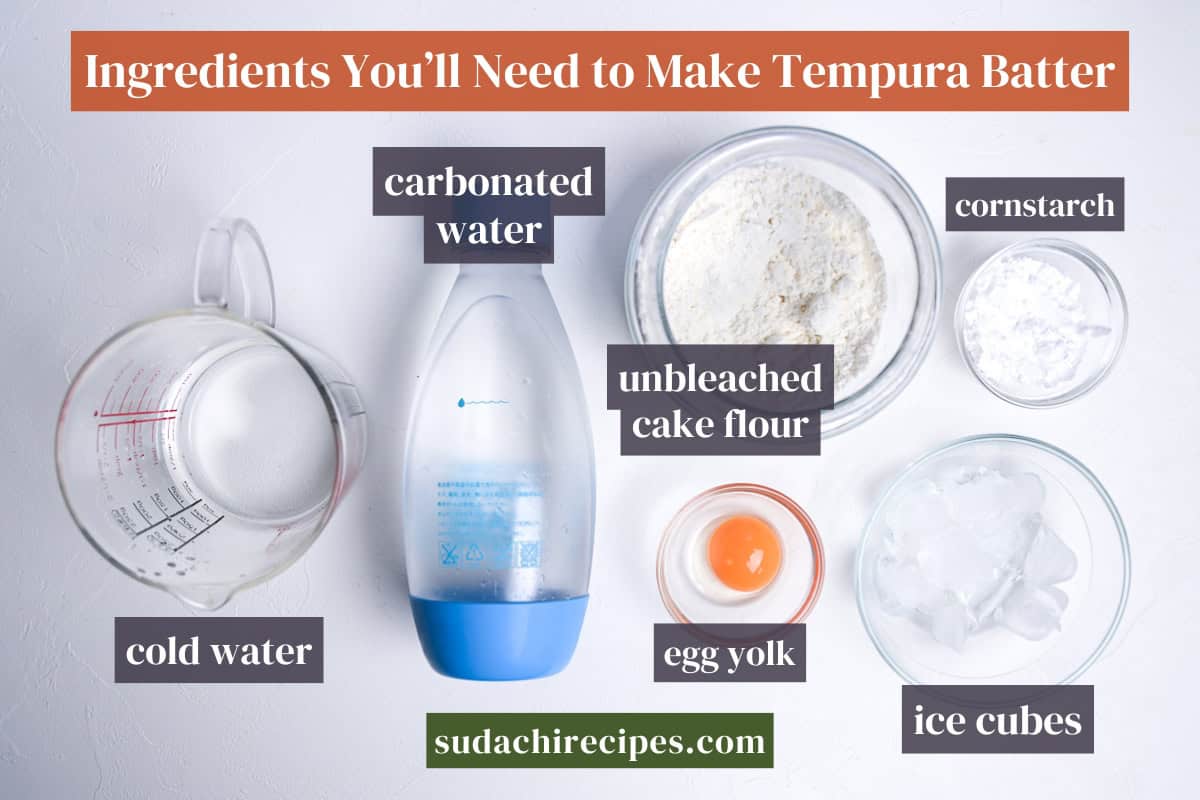
- Unbleached cake flour: The same flour does the batter and the dusting. Buy the unbleached kind. Most American cake flour is chlorine-gas treated, which leaves the starch holding onto water instead of letting it go. Tempura lifts because the batter’s water blows out into the oil, so flour that grips water lets oil in first.
- Egg yolk: Only the yolk goes into the batter. It brings richness and a pale color, and it binds the flour and water. The white adds more liquid and weighs the batter down, so it stays out of this batter.
Substitution Ideas
- Unbleached cake flour → All-purpose flour (plain flour in UK/AU): Use it if it is what you have. The higher protein builds gluten faster, so the coating comes out thicker and heavier. Mix fewer strokes than usual and make the water colder.
- Cornstarch → Potato starch (katakuriko): The starch in the batter is interchangeable, and this is a matter of taste rather than a contest. Potato starch fries up thicker and harder, cornstarch finer and lighter. Swap it 1 to 1 for frying.
- Carbonated water → Chilled still water: The batter works without the fizz. You lose the lift those bubbles leave behind, so chill the water hard with ice and cut the mixing down further.
- Egg yolk → Leave it out: If you are avoiding eggs, follow my egg-free tempura recipe instead.
Have trouble finding Japanese ingredients? Check out my ultimate guide to Japanese ingredient substitutes!
How to Make My Lotus Root Tempura
Before you start (Mise en place):
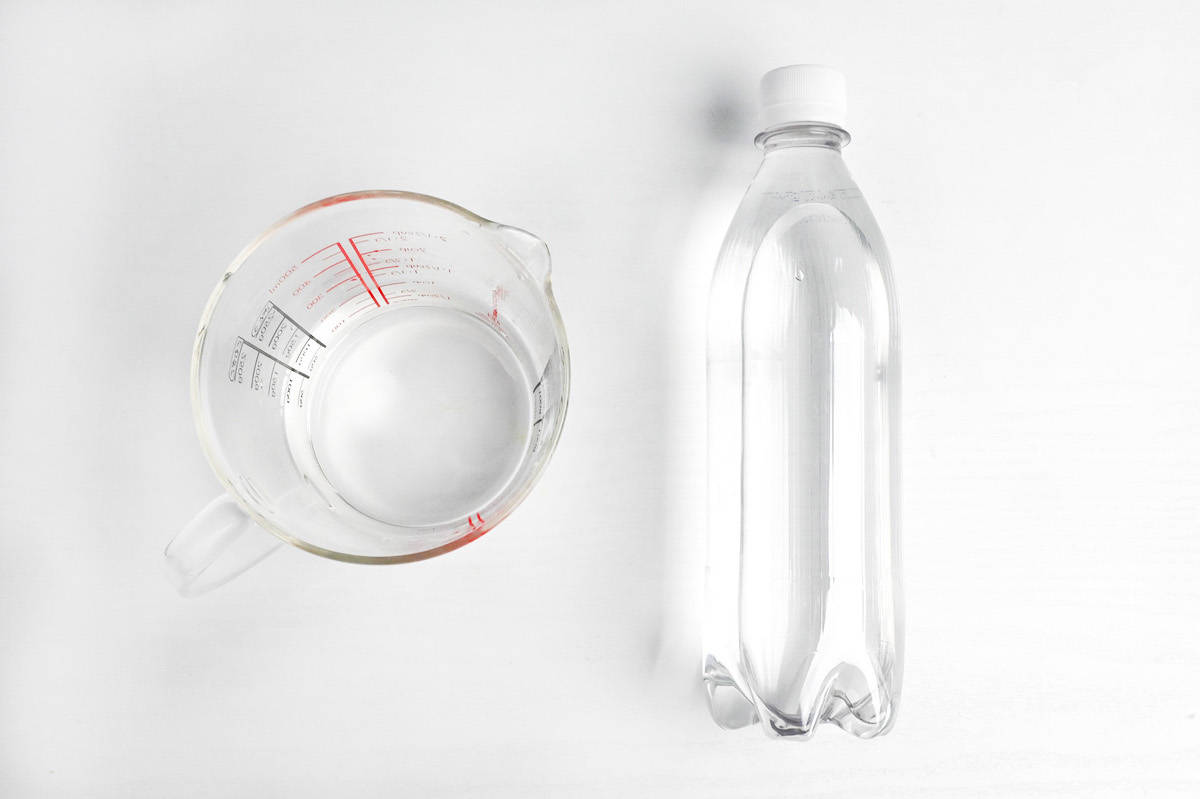
- Chill the still water and the carbonated water right through in the fridge. Keep the carbonated water sealed and open it just before you mix.
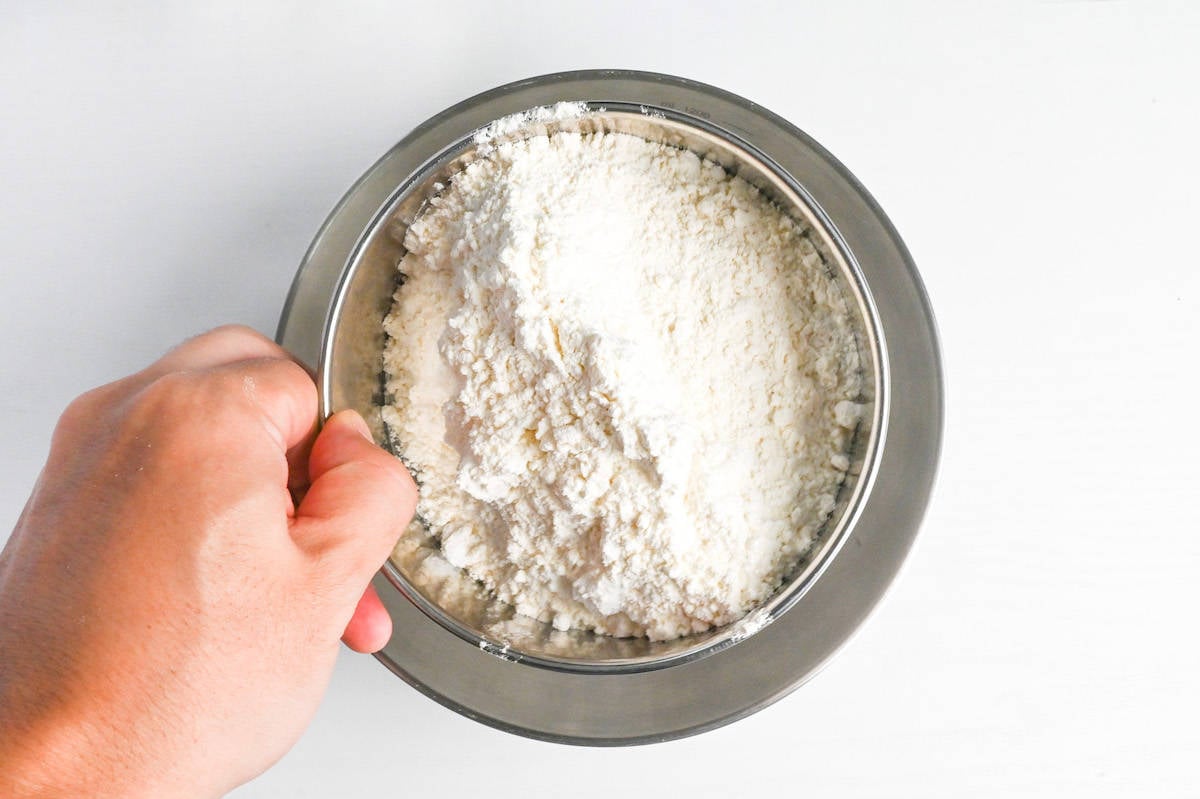
- Sift the cake flour and cornstarch together and chill the whole bowl in the freezer for 30 minutes. Keep the egg yolk in the fridge until the moment you use it.
- Set out a wire rack, or a rack over a tray. Draining straight onto paper steams the coating from underneath and softens it.
To develop this recipe, I used a tempura pot with a built-in thermometer.
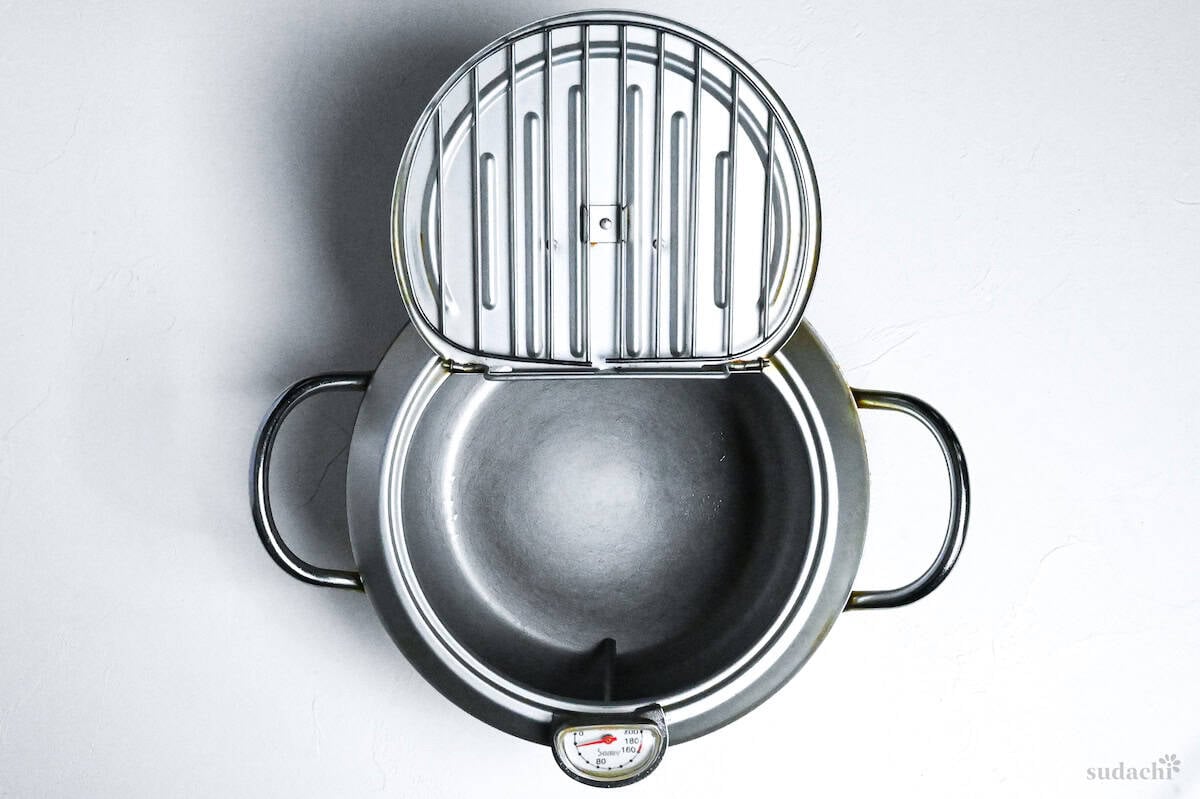
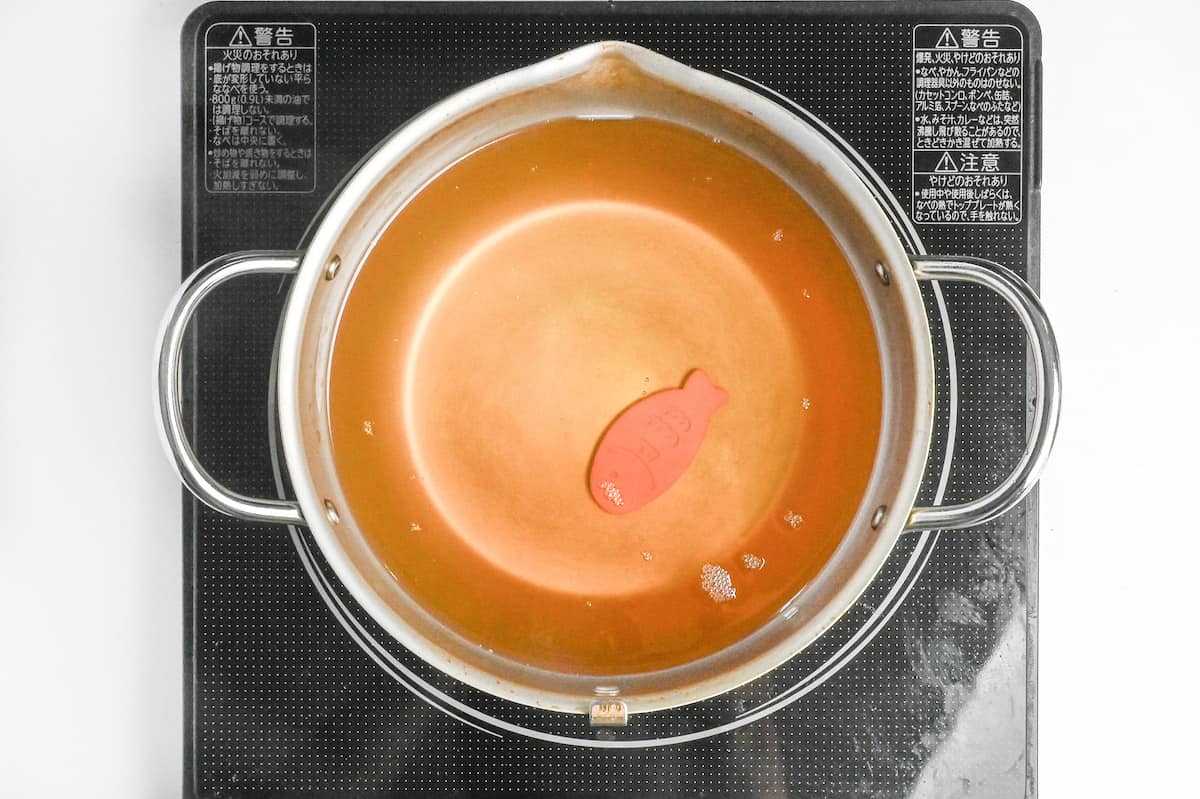
i. Start heating the cooking oil to 175°C (347°F). Mix the batter only once the oil is up to temperature.
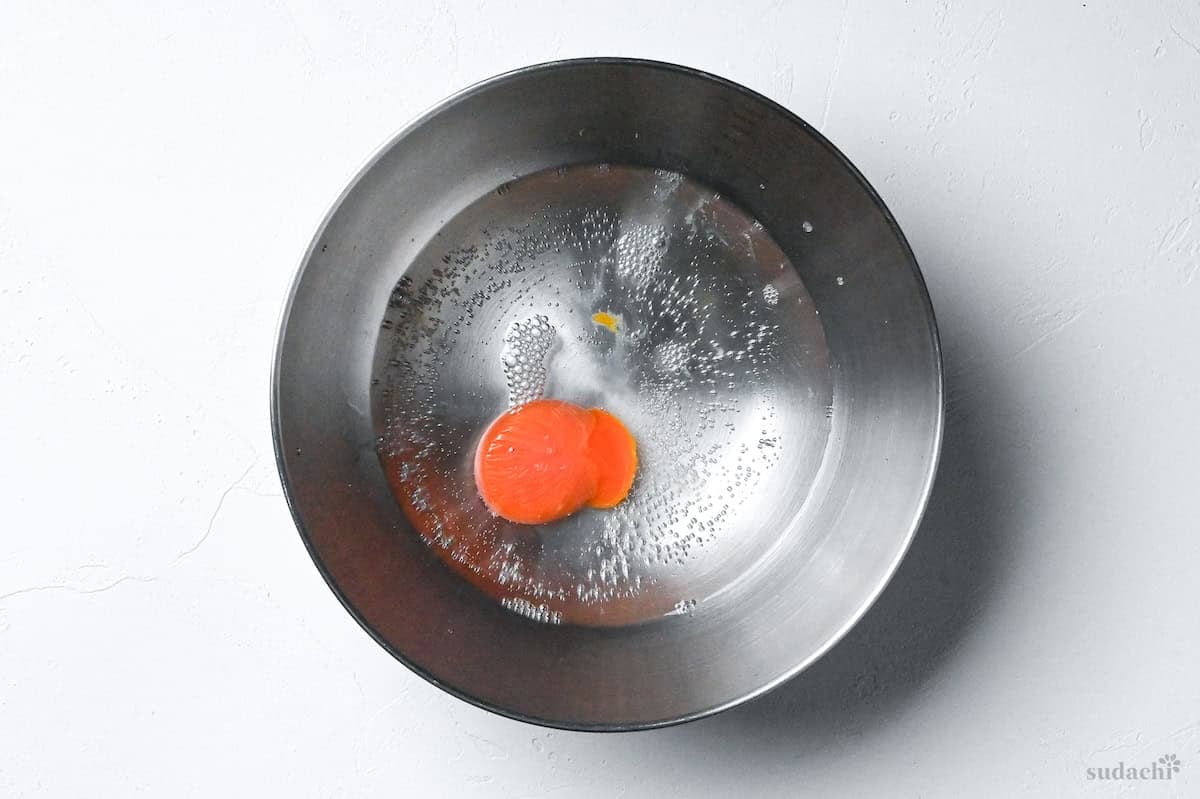
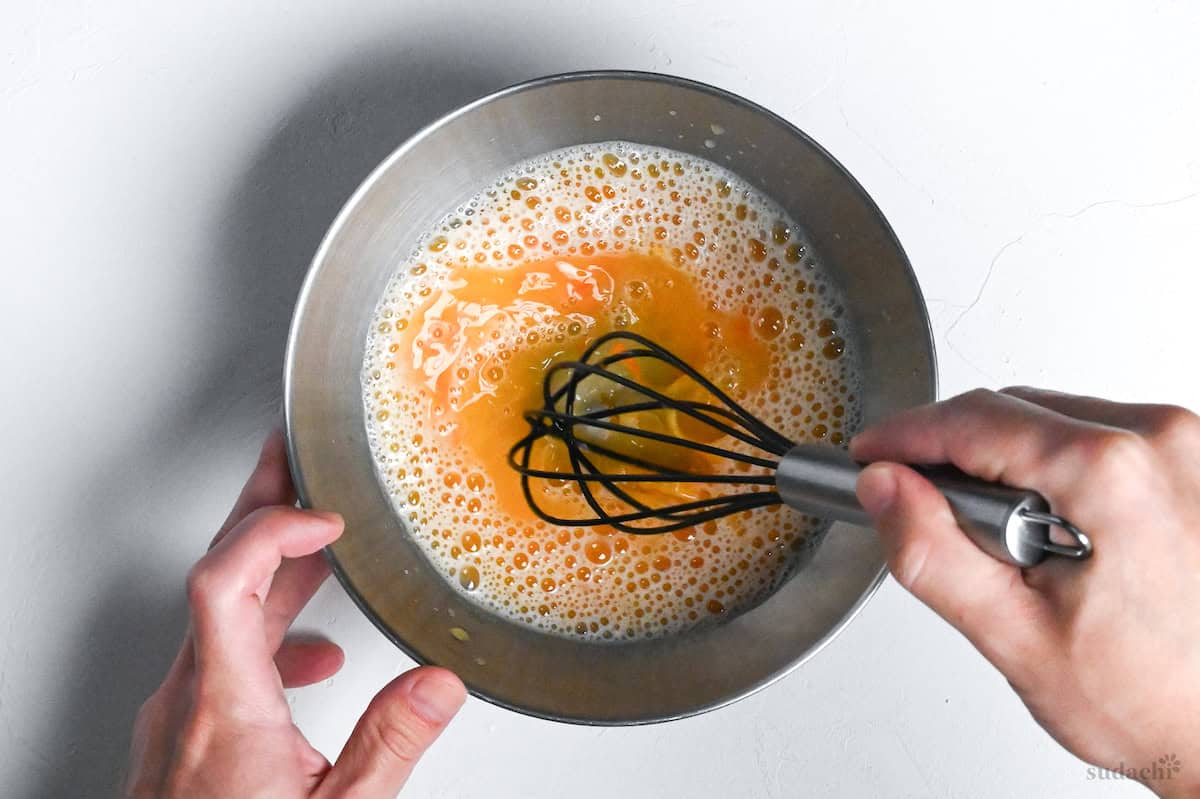
ii. Combine the chilled still water and carbonated water, drop in the cold egg yolk, and whisk just enough to loosen it. Do not let it foam.
iii. Add the chilled flour in 3 additions, drawing crosses with chopsticks, and stop when no dry flour is left. Small lumps are meant to stay. If you are frying in batches, drop a few ice cubes in and return the bowl to the fridge.
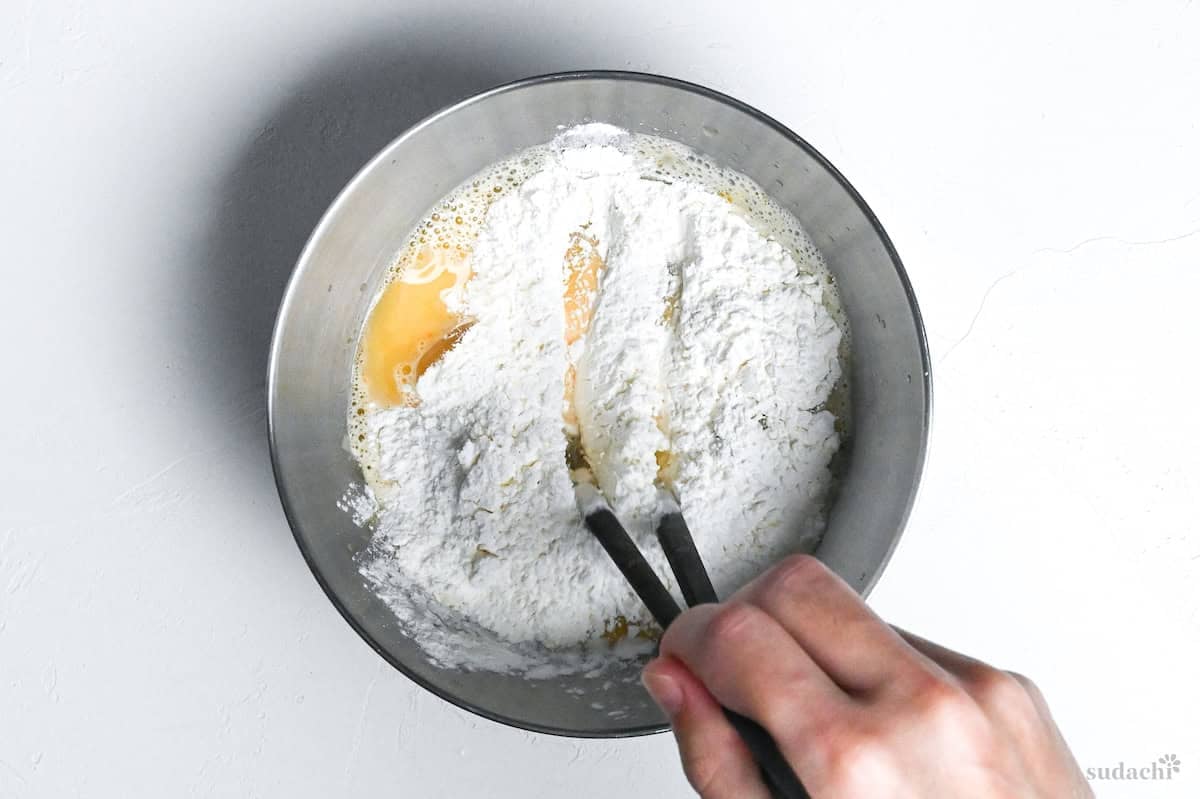

The batter fries light because it hits the oil before the flour and water link up into something sticky. Once you mix it smooth, that stickiness blocks the trade of water for oil and you get a heavy, damp coating. Heat the oil first, then stop the moment the dry flour disappears. Smooth means you already went too far.
i. Scrub off the dirt and peel with a vegetable peeler or knife, a touch thick to reach the sweeter flesh. If yours came peeled and packed in water, drain and wipe it dry.
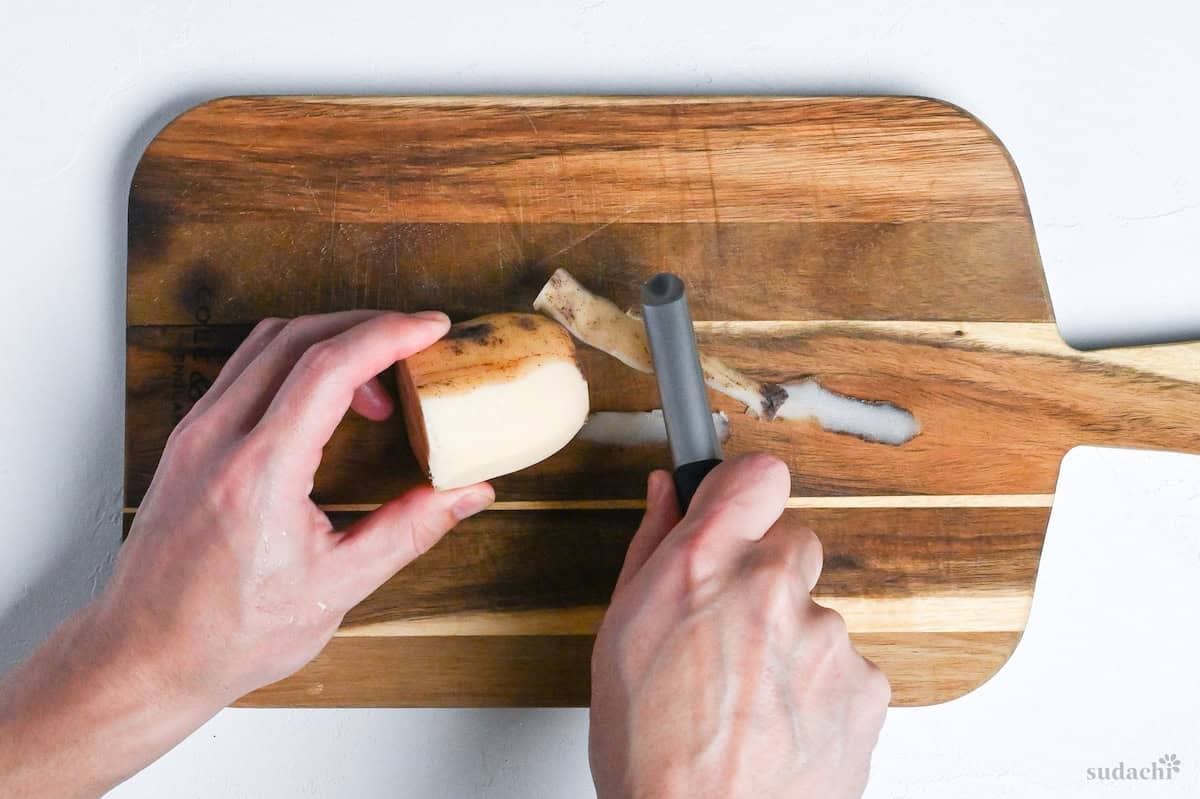
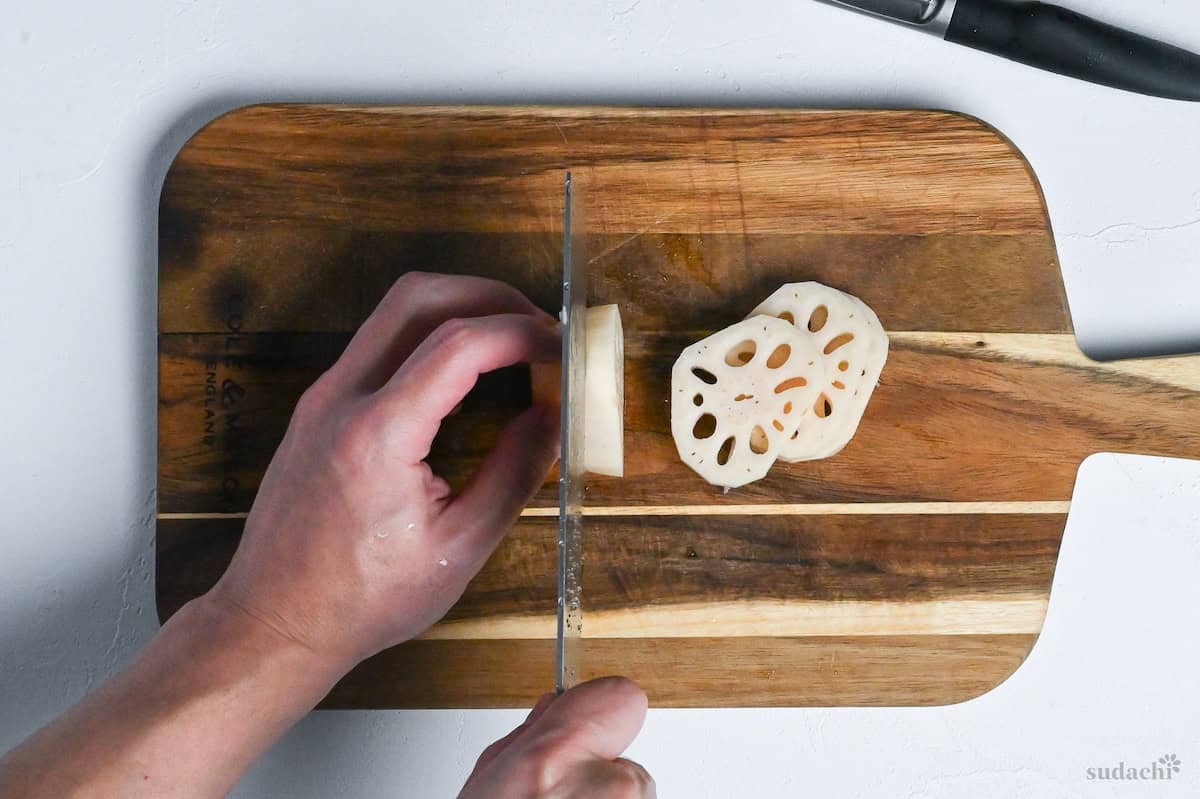
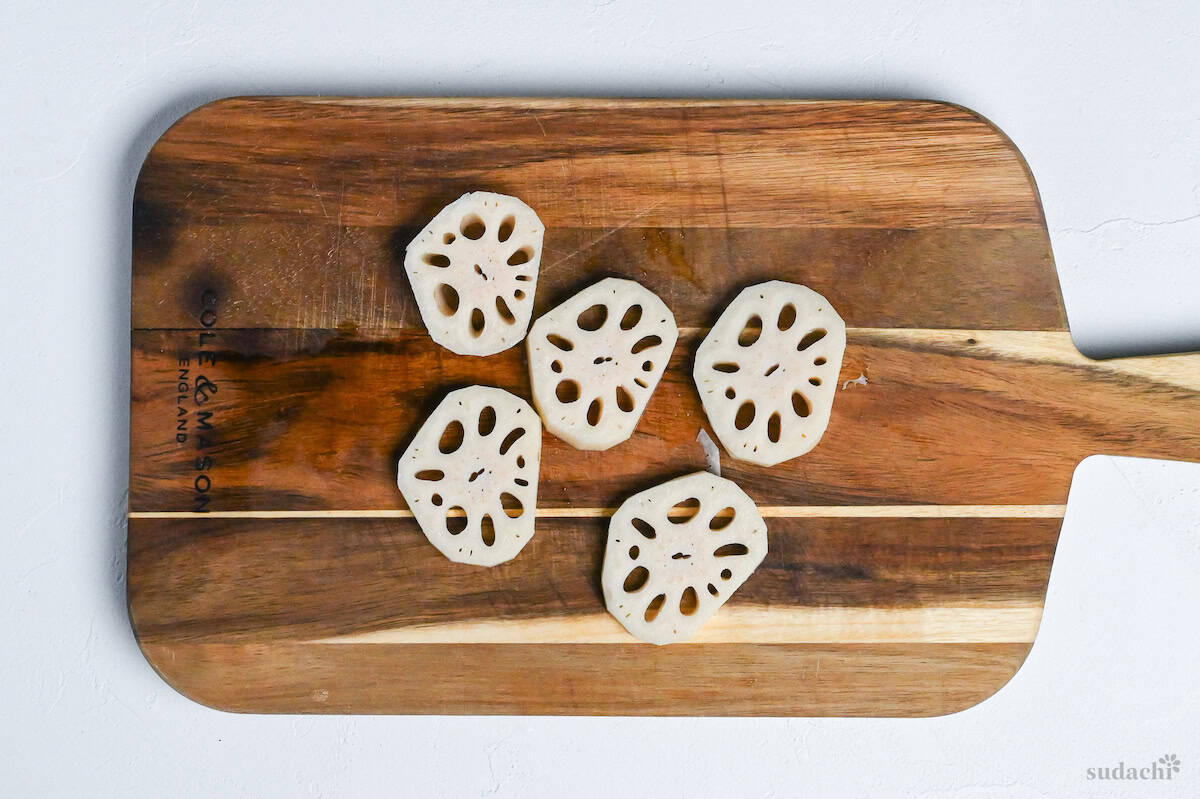
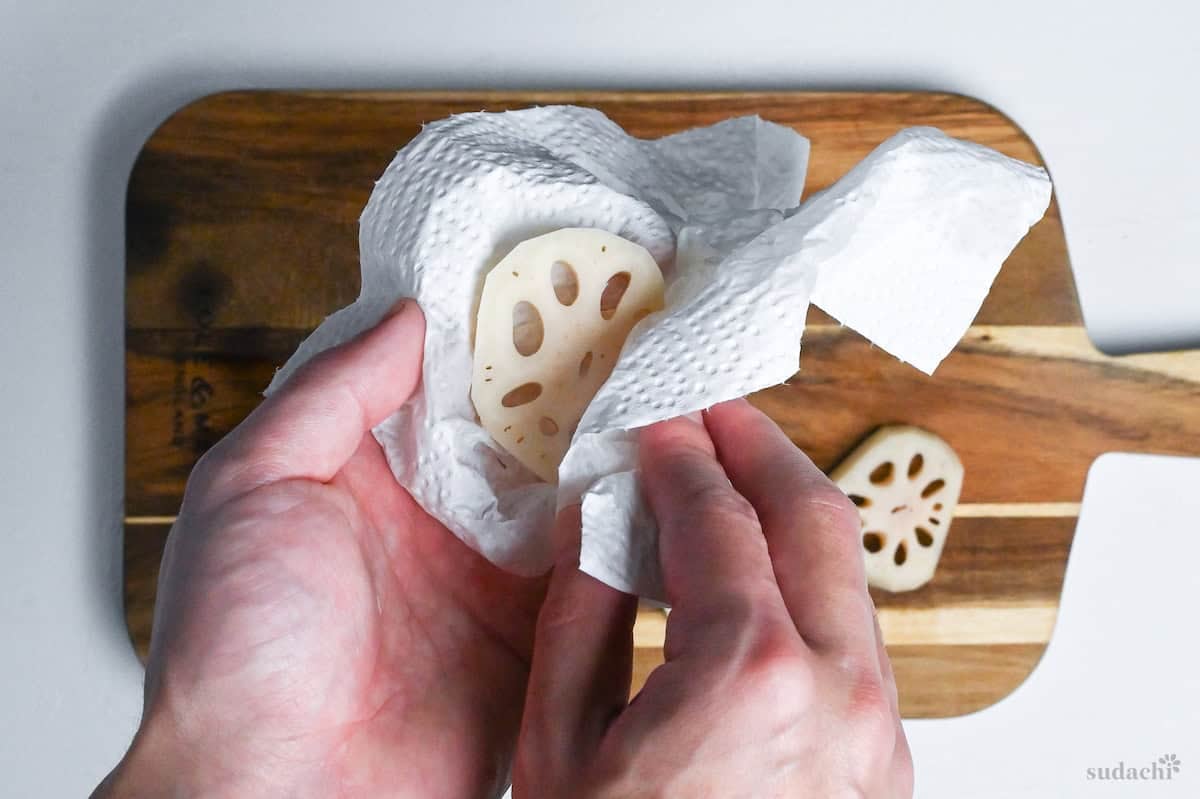
ii. Cut 5 to 10 mm rounds (roughly 1/4 inch) and blot both faces bone dry.
Why 5 to 10 mm rounds: The crunch in lotus root is decided by the knife. Cut across the fibers into rounds and you get a light snap. Cut lengthwise along them and it turns heavier and starchy. Thinner leans to snap, thicker to starch. I cut this thickness because both land in the same slice, snap first, then a faint powdery sweetness.
iii. Only when you prep ahead or the oil is not ready, hold the slices in vinegar water for a few minutes at most, then wipe them dry before frying. A long soak leaves them firm even after cooking. For longer prep, drain, wipe, and chill.
Soaking in vinegar water is there to stop the cut faces browning. Lotus root has almost no harshness to draw out. The brown comes from polyphenols oxidizing, and acid slows the enzyme that does it. So it is a step for looks. Frying does not require it, and the default here is to cut and fry straight away.
i. Dust the rounds with a thin layer of cake flour, working it into the holes, then clear the holes with a chopstick and tap off the excess.
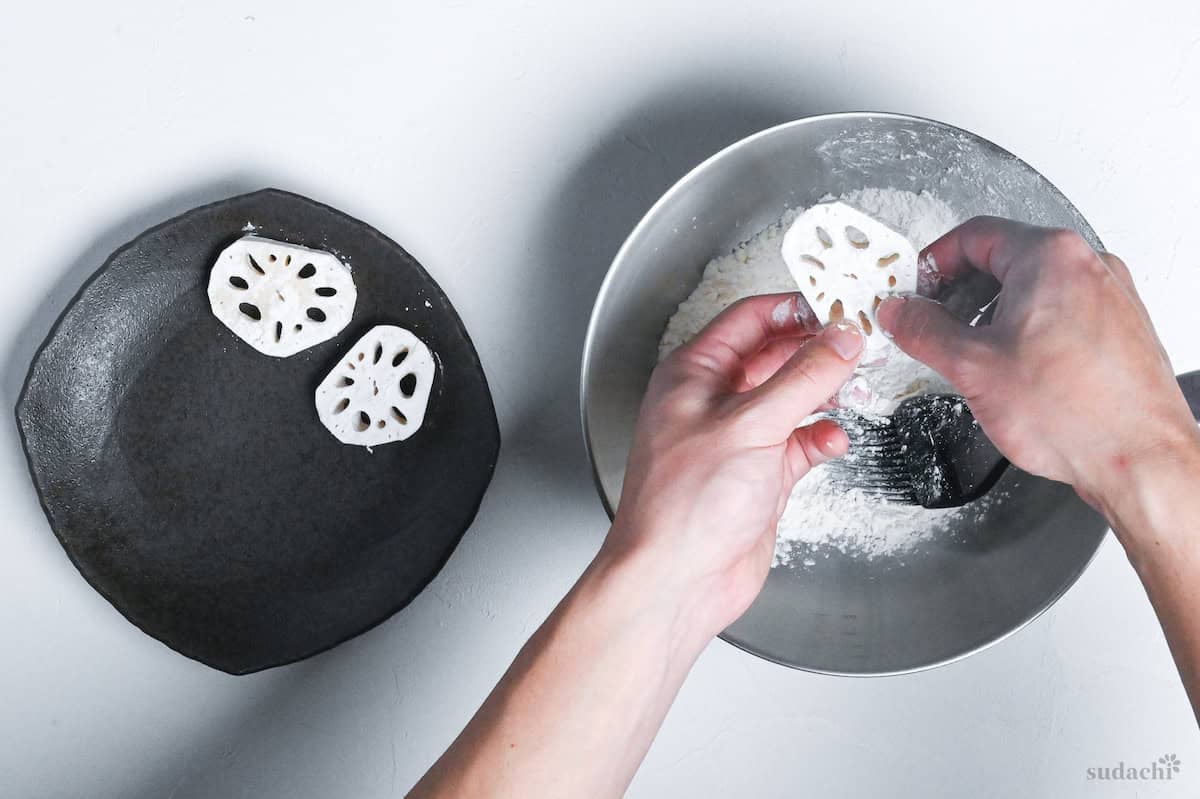
ii. Dip each round in the batter and slide it straight into the oil. Leave space between the pieces and do not crowd the pan.
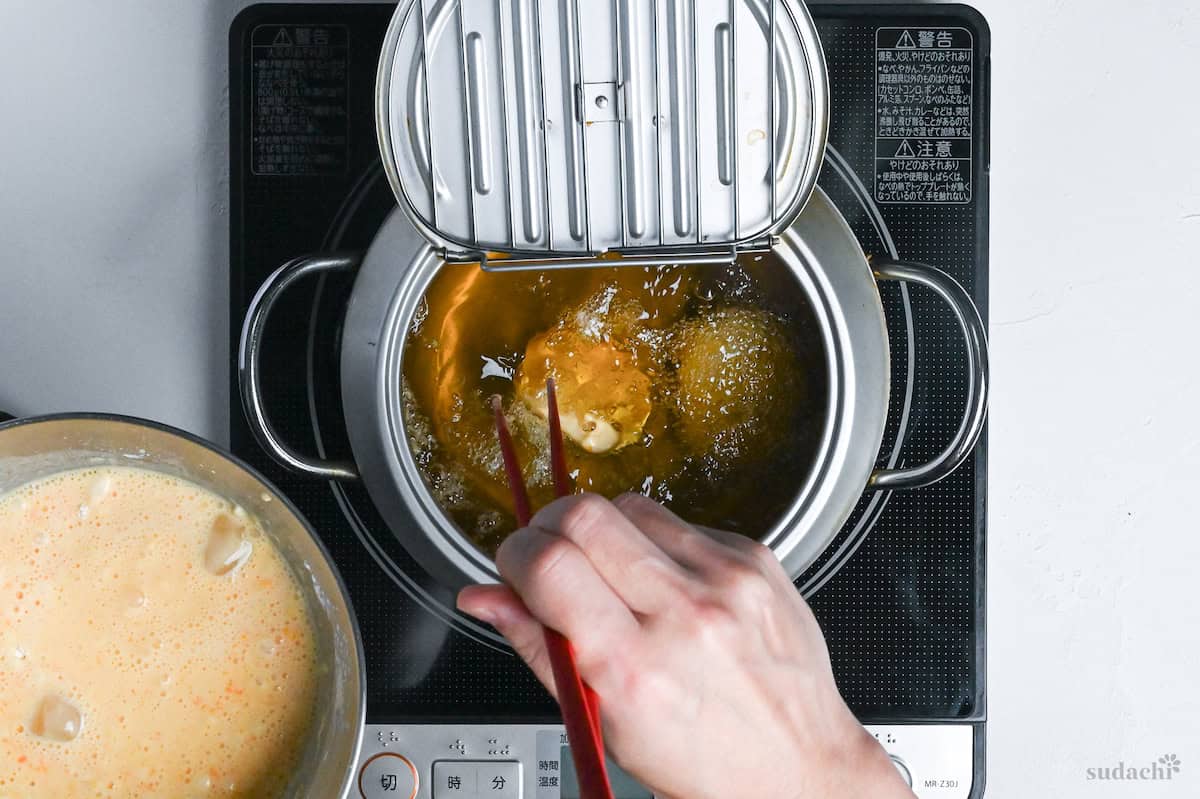
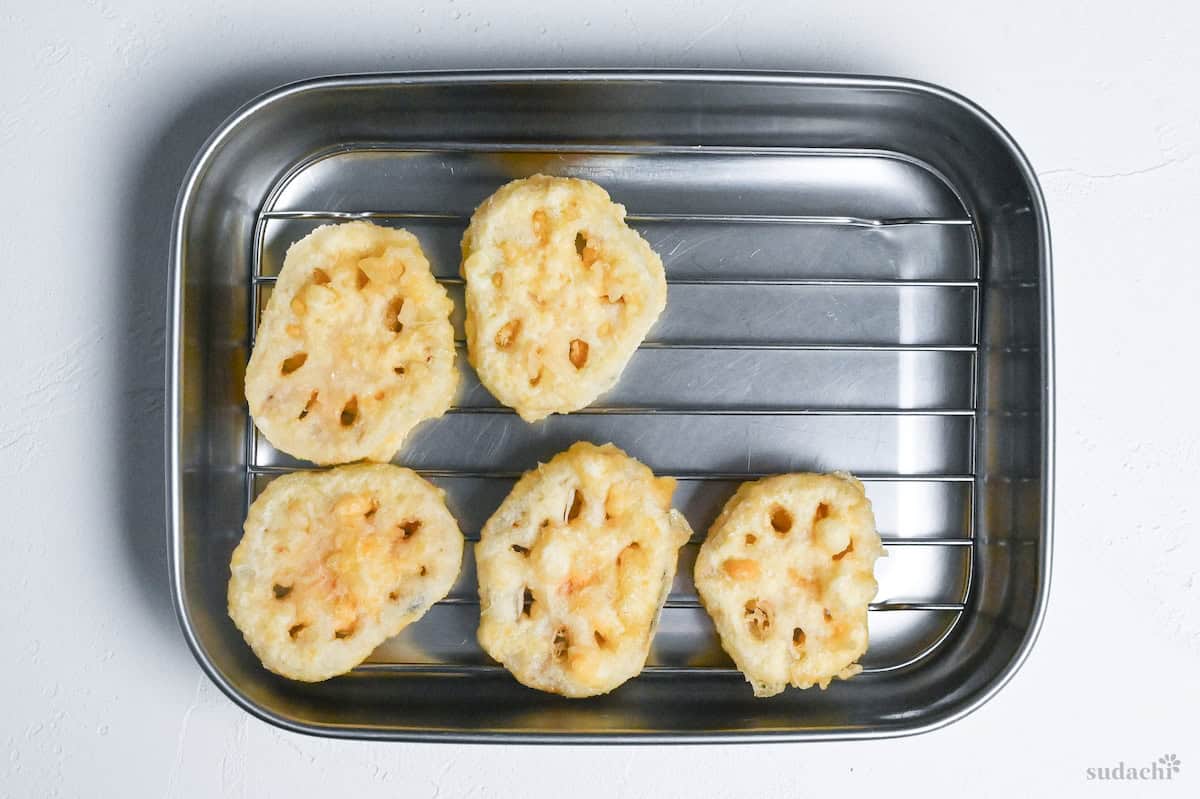
iii. Fry for 3 to 4 minutes, until pale gold. Lift onto the rack to drain for 1 to 2 minutes, and eat them hot with salt or tempura dipping sauce.
How to know when to pull it out: I go by color, bubbles, and sound rather than the clock. Big bubbles come up fast, then turn fine as the water leaves, and the popping goes high and light. By then the coating is pale gold, and deep brown is past the point. Pull when all 3 line up, since any of them alone sends you early or late.
Getting flour in and leaving flour in are different jobs. Flour on the inside walls gives the batter something to grip, so the coating stays put while it fries and the aroma stays inside. Leave the holes packed and batter pools there and fills them. That cut face is the whole look, so you pull the flour out with a chopstick.

Tips for the Best Lotus Tempura
- Keep patting the cut faces dry right up until you flour them. Water left on the cut face pushes the batter away, and the coating slides off partway through the fry. That same water is what spits at you when the piece goes in. Wipe, flour, batter, and fry without setting the pieces down in between. Slices left on the board after wiping go damp again while they wait.
- Fry only as many pieces as still leave open oil around them. Crowd the pan and the oil temperature drops, so the oil moves in before the batter has let go of its water. What comes up is heavy and pale. Fewer pieces over more rounds gets you finished sooner anyway.
- Decide where the pieces will land before you start frying. A rack lets the steam escape from underneath. Set them straight on paper and the touching face steams itself soft within a couple of minutes. Most of the damage happens after the oil, on the draining surface.
- Try the first piece with just salt. Salt pulls the faint sweetness of the root forward. Go straight to the tempura dipping sauce and that sweetness sits underneath it. Dip once you know what the root tastes like on its own.
Dry surfaces, batch size, and where the pieces land all get settled before the oil, and none of the 3 can be fixed after.
Storage Guide
Fridge: Airtight, 1 to 2 days. The crust pulls in moisture and softens.
Freezer: Better, up to 2 weeks. Fry first, then freeze. Raw battered pieces do not hold up.
Reheating: Air fryer at 180°C (356°F) for 5 minutes. A toaster oven or oven works too, on dry heat. Microwave steams the crust soft.
What to Serve With Renkon Tempura
Lotus Root Tempura Troubleshooting
Either water is still sitting on a cut face, or a face never got any flour. A wet face pushes the batter away, and a bare face gives it nothing to hold. Wipe the pieces again with kitchen paper, dust them thinly, then take them to the batter. Stir the batter up from the bottom every time you use it, since the starch settles down there.
The oil has cooled, or the tempura batter has gone slack and warm. Crowding is what drops the oil, so cut the number of pieces per round and let the temperature come back between rounds. A warm batter means it sat too long after mixing or the ingredients were not cold enough, so drop a few ice cubes in and put the bowl back in the fridge. What is already fried can still be drained and given a few minutes in a toaster oven, which pulls some of the oil back out.
They were cut too thin, or they sat too long in the vinegar water. Thin rounds lose the water inside them along with everything else, and they set hard. A face held in acid for a long stretch stays firm even after frying. Cut nearer 10 mm (about 3/8 inch) next time, and if you soak, pull them out after a few minutes. Anything already fried stops bothering you once you dip it in the tempura dipping sauce.
Black inside the holes is usually mud or oxidized polyphenol. It does not mean the root has gone bad. Roll up a piece of kitchen paper or take a cotton swab and wipe the inside of each hole out. Sliminess or a sour smell is the line where it really has spoiled, so judge by that instead. A little darkness left behind will not show in the fried cross section.

More Japanese Tempura Recipes
The same batter works on plenty of other things. Now that you have this one down, the rest of my Japanese tempura recipe collection will come easier.
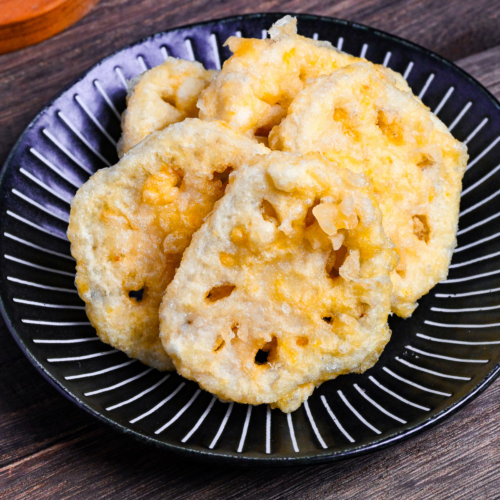
Lotus Root Tempura (Renkon no Tempura)

Ingredients
- 500 g lotus root (renkon)
- cooking oil neutral flavor for deep frying
- unbleached cake flour or starch for dusting
Tempura Batter (see note)
- 75 ml cold water chilled
- 50 ml carbonated water chilled
- 1 egg yolk
- 15 g cornstarch
- 75 g unbleached cake flour
- ice cubes
Serving suggestion (optional)
- salt
- tempura dipping sauce (tentsuyu)
The ingredient brands and tools I trust are in my Japanese pantry guide and my cooking tools guide.
Can’t find certain Japanese ingredients? See my substitution guide here.
Instructions
- Before starting this recipe, chill all of the tempura batter ingredients. Water and egg in the fridge, dry ingredients in the freezer for 30 minutes.

- Once all of your ingredients are thoroughly chilled, prepare a deep pot with cooking oil and heat to 175 °C (347 °F).
- When the oil is almost ready, take a mixing bowl and add 75 ml cold water, 50 ml carbonated water and 1 egg yolk. Whisk gently until combined, try not to let it get too foamy.
- Sift 15 g cornstarch and 75 g unbleached cake flour together into a bowl, then add it to the egg mixture in 3 batches. Rather than whisking, use chopsticks to draw crosses in the mixture until there is no more dry flour. Lumps are perfectly okay, avoid overmixing.
- If you are going to make a lot of tempura or are cooking in a warm environment, add a few ice cubes to the batter and place it in the fridge between batches.
- Scrub the surface of 500 g lotus root (renkon) to remove the dirt before peeling off the skin with a vegetable peeler or knife. If you bought your renkon already peeled and stored in water, drain the water and dry the surface.
- Cut into slices about 5-10mm thick (approx ¼ inch), then pat the surface dry with kitchen paper. (If preparing in advance or your oil isn't ready, keep them in a bowl of water with a splash of vinegar to prevent discoloration, then pat dry before dusting.)
- Coat each slice with a thin layer of unbleached cake flour and tap off the excess. Poke chopsticks in the holes to remove the extra flour.
- Dip the floured renkon slices into the tempura batter and place them straight in the oil. Fry for 3-4 minutes or until lightly golden.
- Transfer to a wire rack to drain for 1-2 minutes, then serve immediately with salt or tempura dipping sauce (tentsuyu). Enjoy!

Leave a rating and a comment