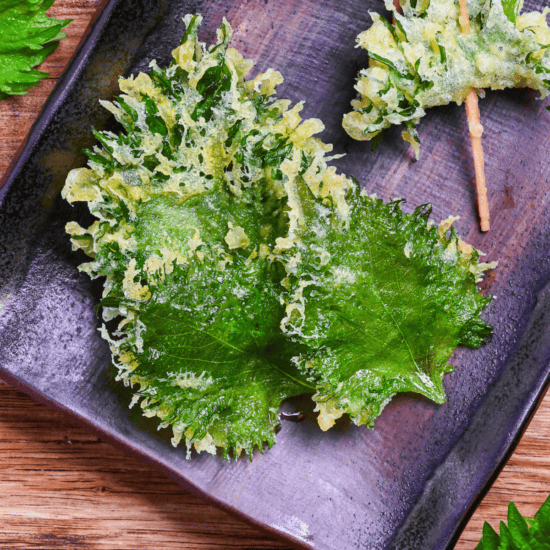

What is Shiso no Tempura?
Have you ever wanted extremely crispy tempura? In my opinion, Perilla leaves (known in Japanese as shiso, ooba or aojiso) are one of the best tempura ingredients, yet many people seem to overlook this delicious option. When prepared properly, Perilla leaf tempura adds a nice crispy and fragrant accent to a tempura assortment or tendon.
Perilla (shiso) is a plant native to Japan, prized for its fresh, pleasant aroma. Once established, it produces abundant soft leaves, with new growth continuously emerging from side shoots even after harvesting. It’s one of the easiest herbs to grow at home in Japan. Besides using it in tempura, you can use shiso as an accent for many Japanese dishes.
In this recipe article, I’ll walk you through the process of making the best tempura using these versatile perilla leaves.
3 Ways to Make Shiso Tempura
Shiso leaves are very thin, so they need a different approach when making tempura. Here are three great methods to try:
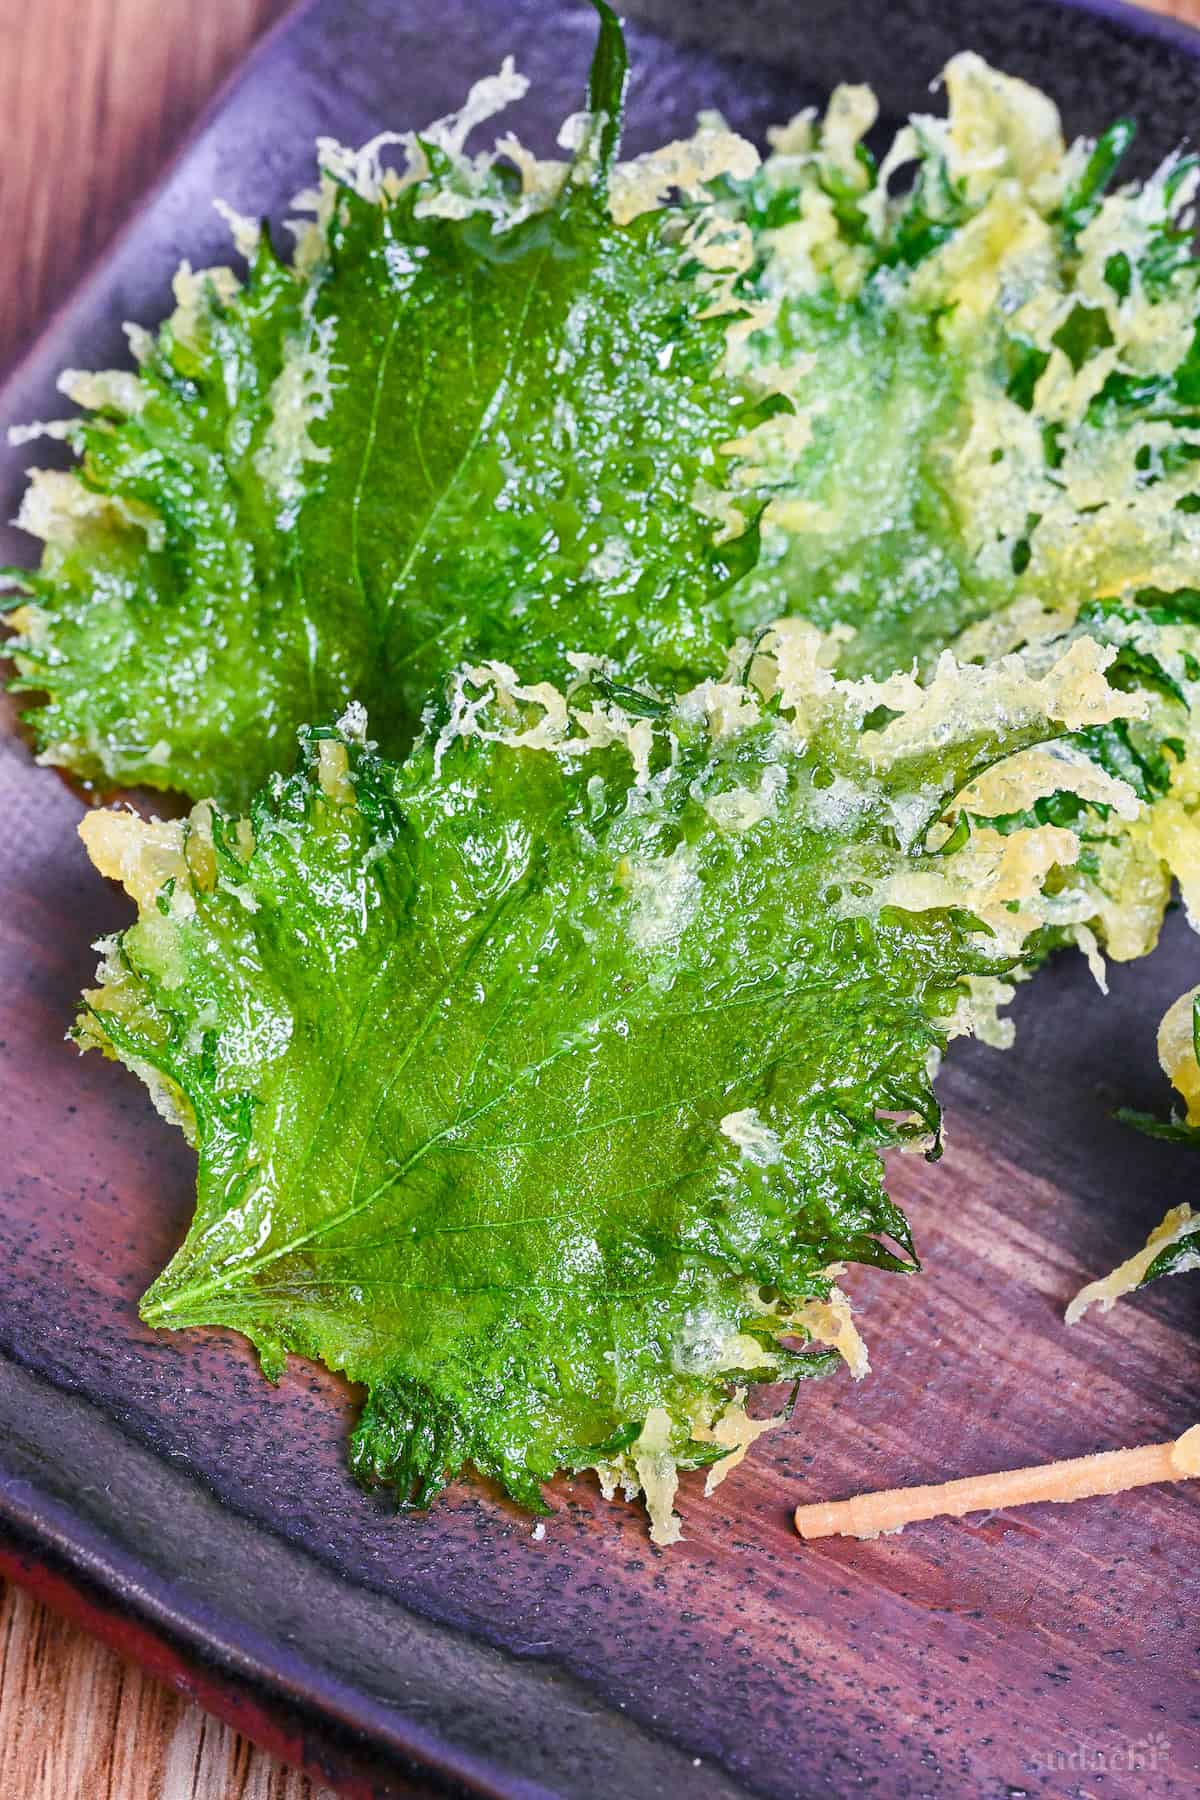
- Single-side coating: The classic approach. Dust the back of the leaf with flour and batter on just one side. This preserves the leaf’s vibrant green color while creating a perfect crispy-tender contrast on the back.
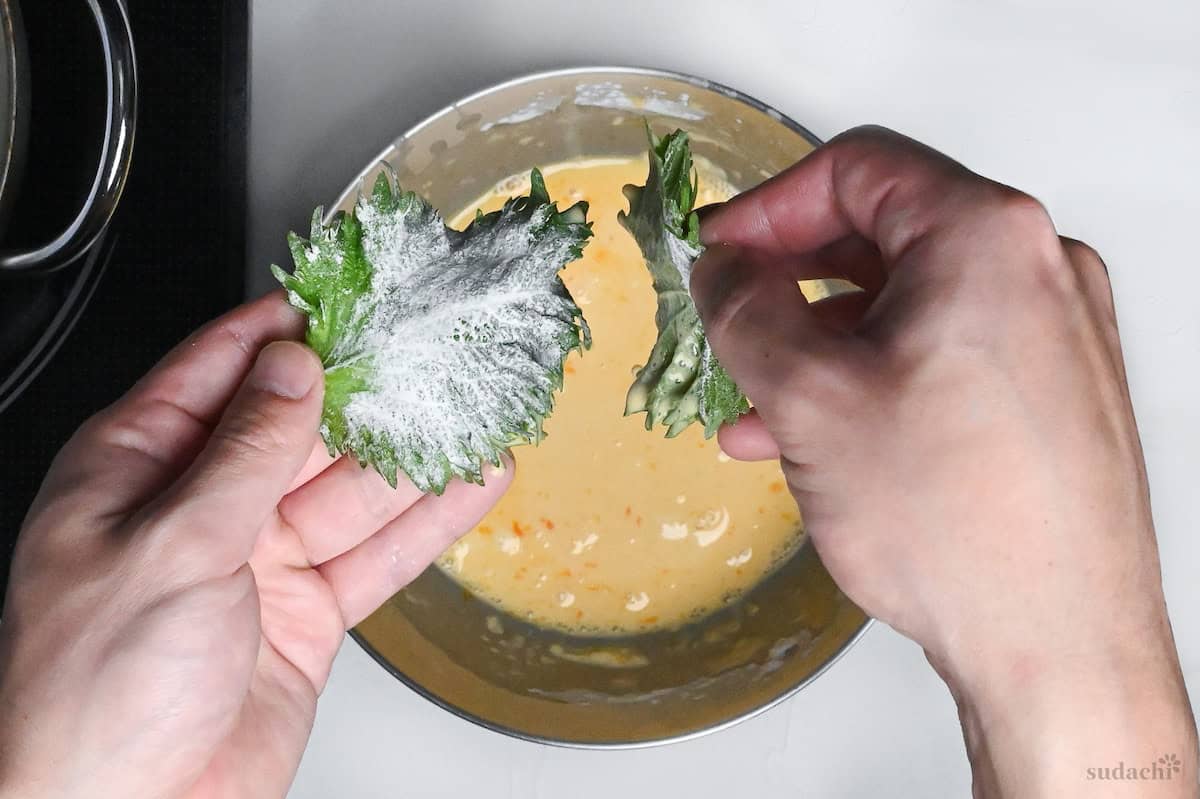
- Layered leaves: Use batter as a glue to stack 2-3 shiso leaves together before coating the entire bundle. This method intensifies both aroma and flavor while providing more substance in each bite.
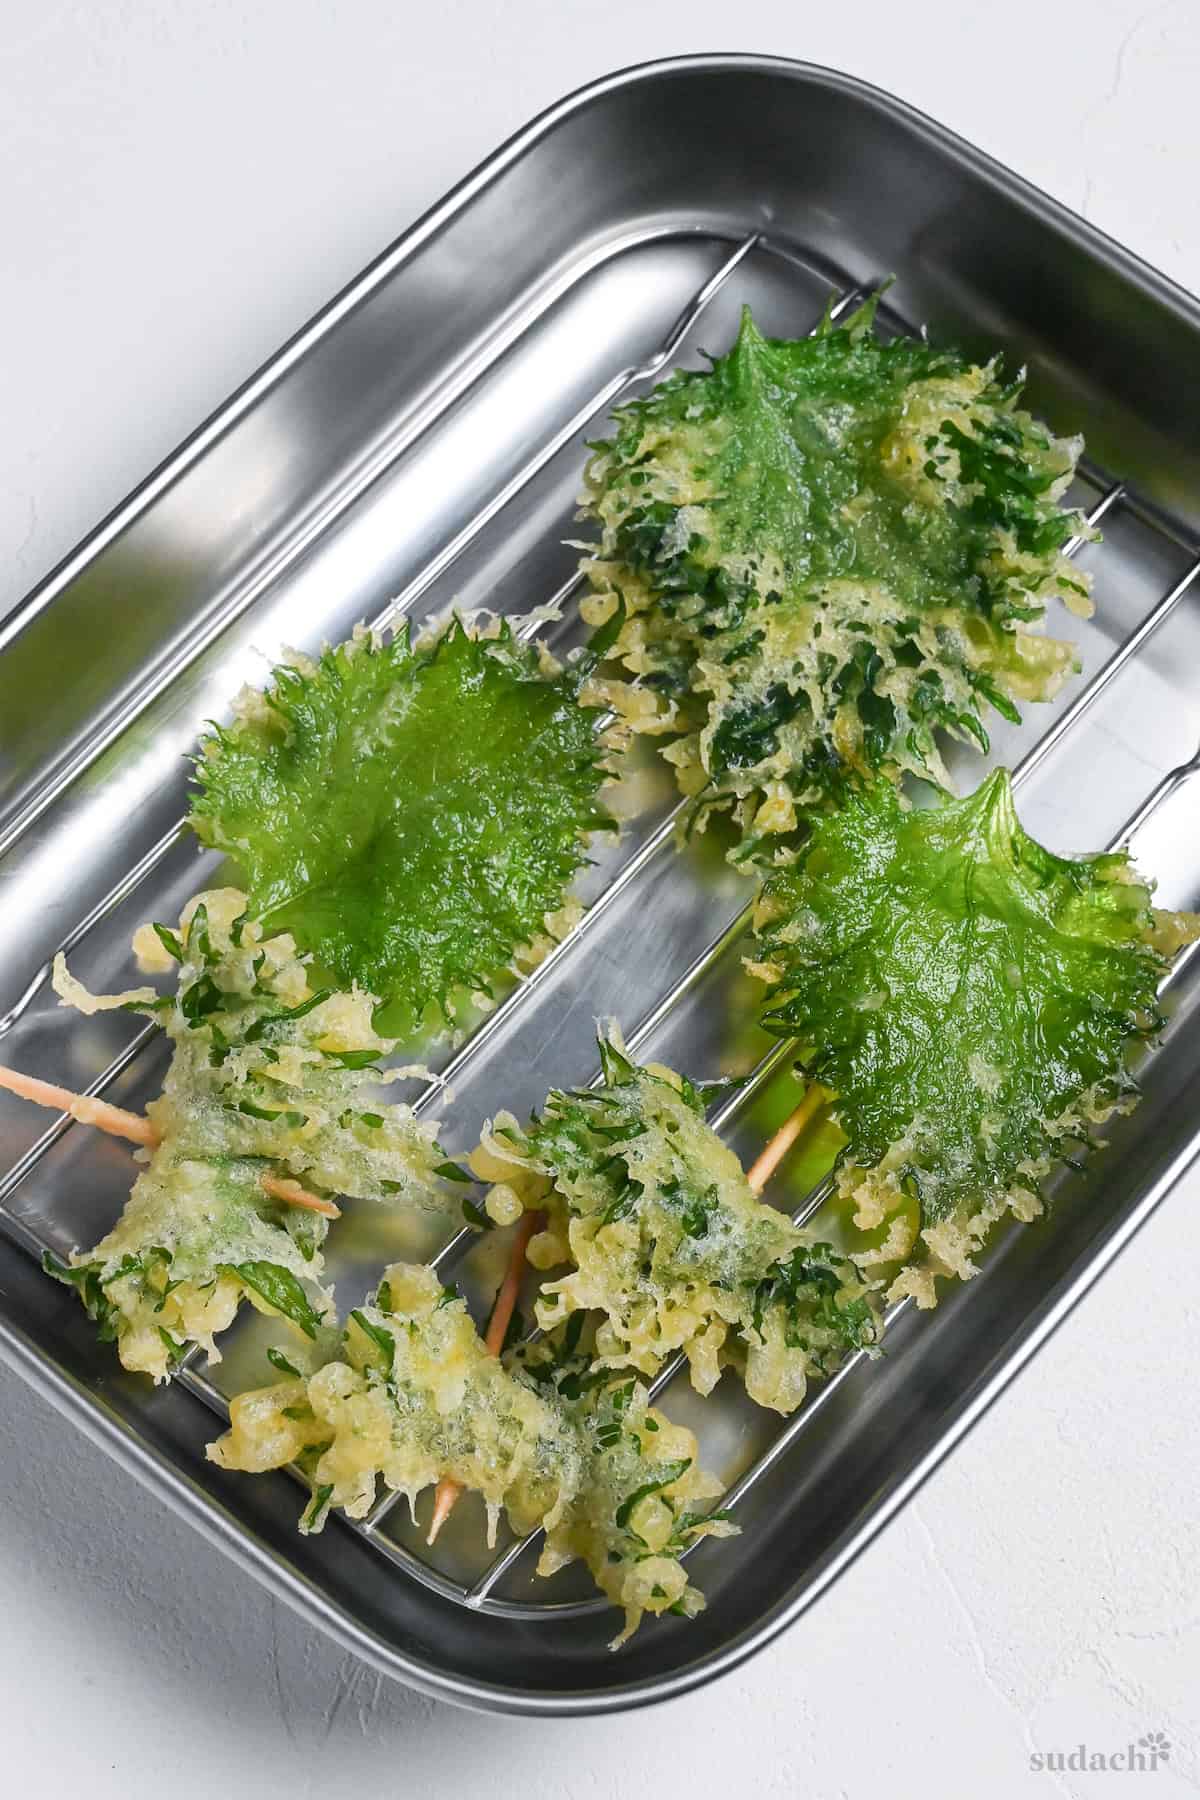
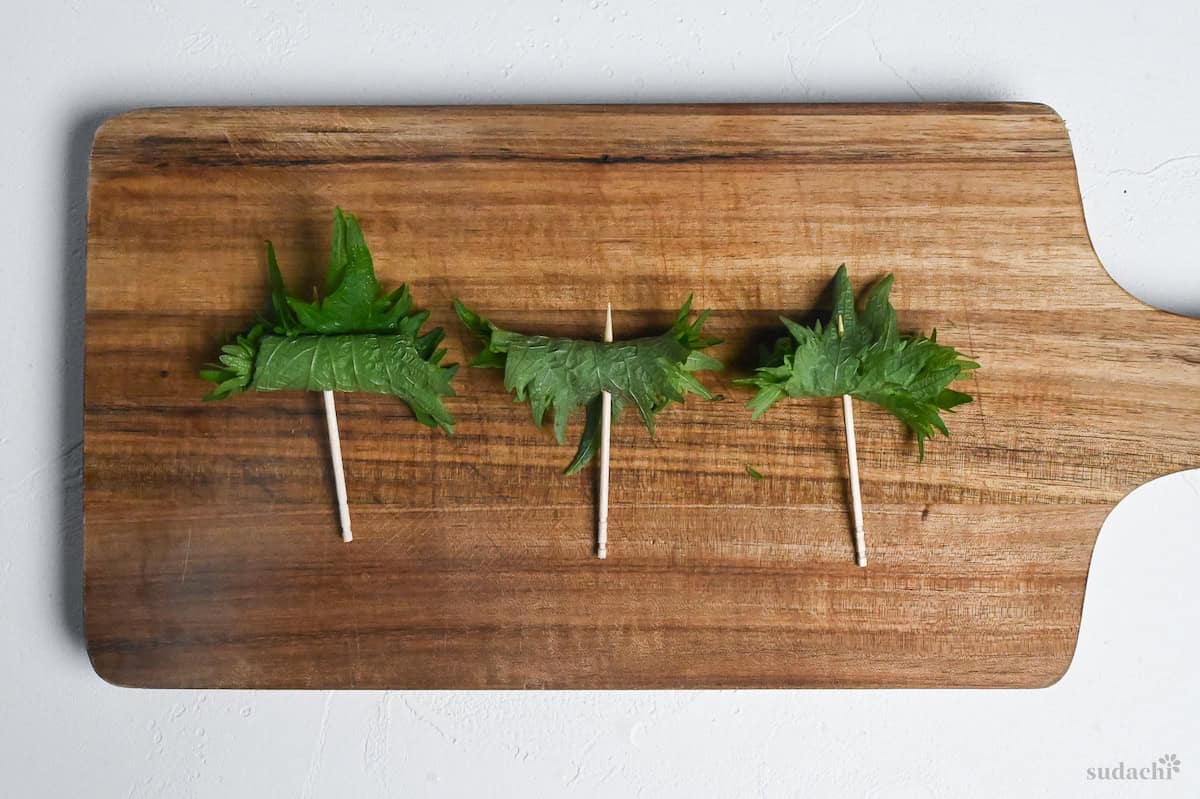
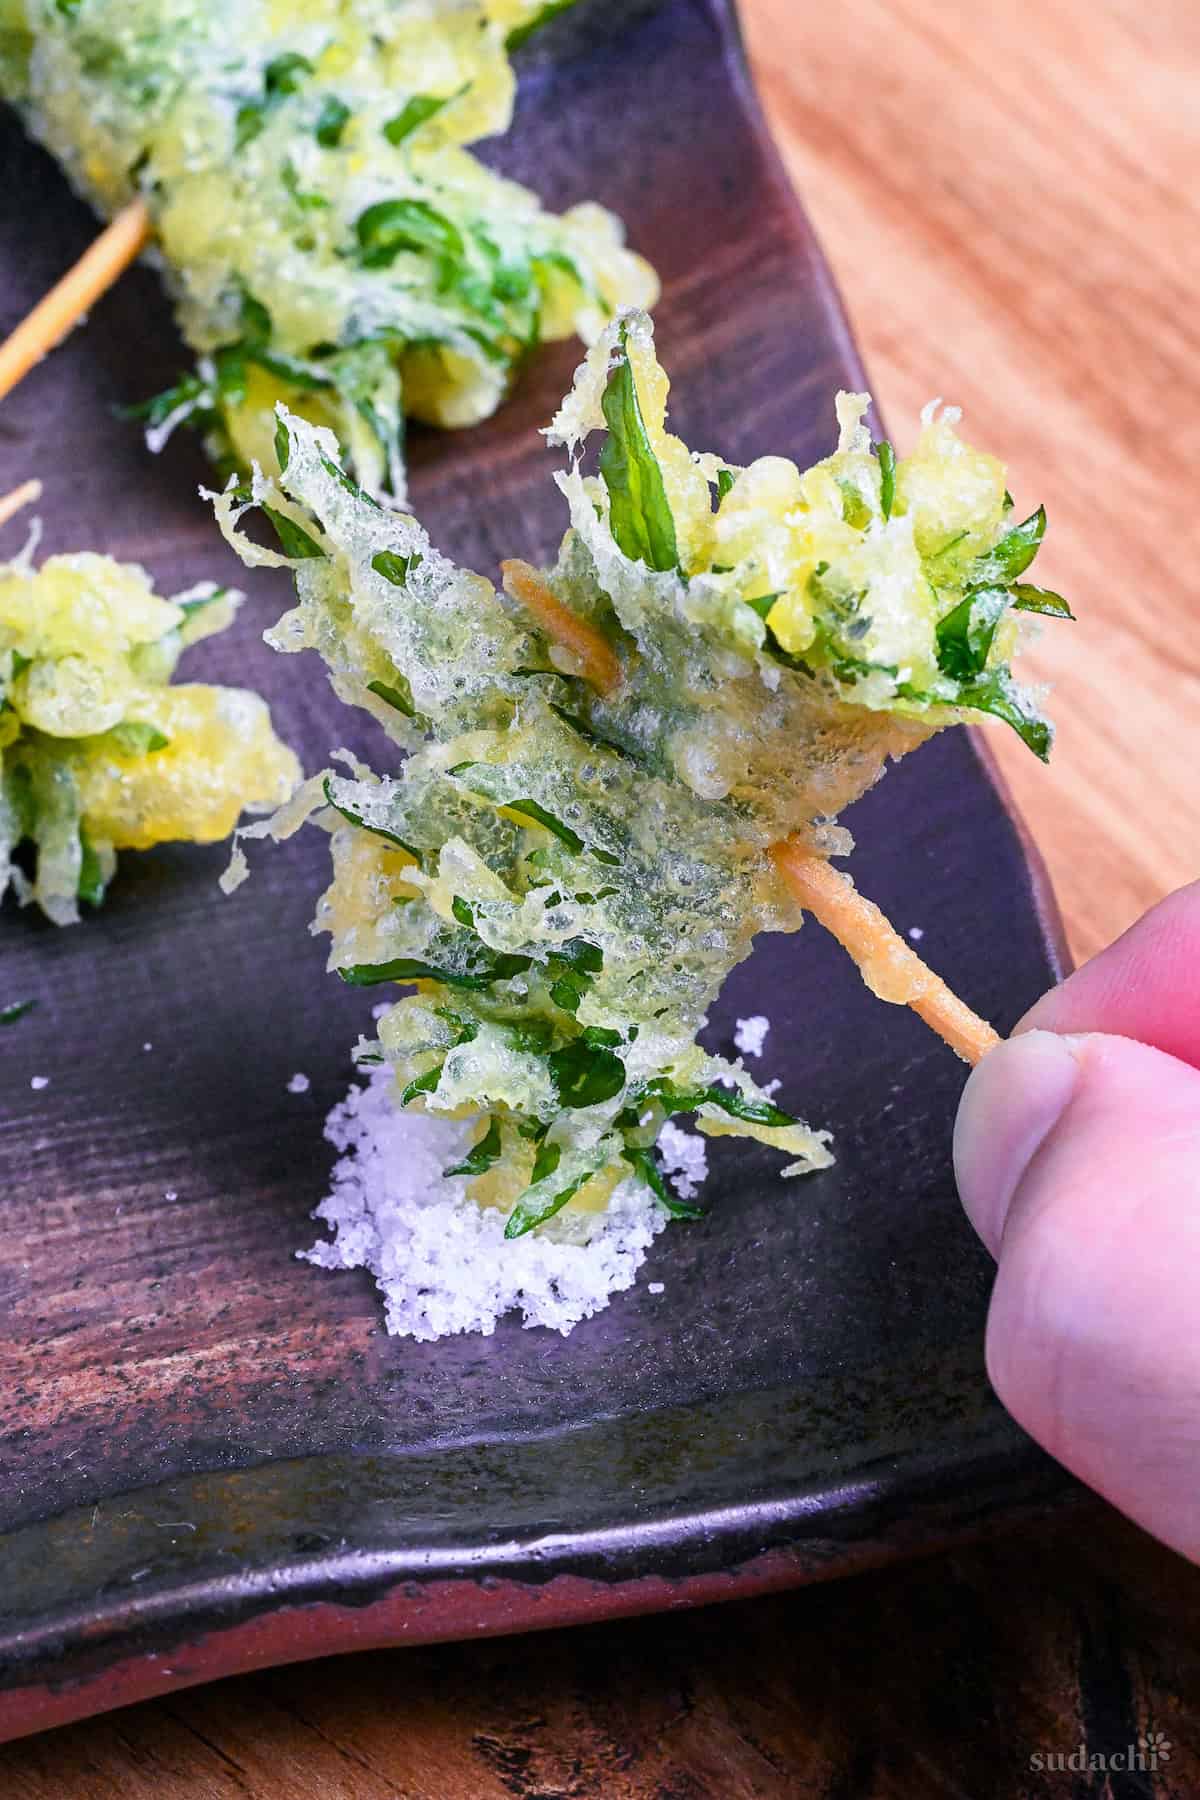
- Roll and skewer: Arrange 3 leaves front-side up with tips toward you. Fold the tips and edges inward, then roll into a cylinder. Secure with a toothpick. This elegant presentation enhances flavor while making the tempura easier to dip and eat.
Each method offers a delicious way to enjoy shiso leaf tempura. Choose your favorite!
Visual Walkthrough & Tips
Here are my step-by-step instructions for how to make Perilla leaf tempura at home. For ingredient quantities and simplified instructions, scroll down for the Printable Recipe Card below.
This section aims to provide a comprehensive overview of the cooking steps and techniques with visuals. It also includes more in-depth tips and tricks and explains why I do what I do.
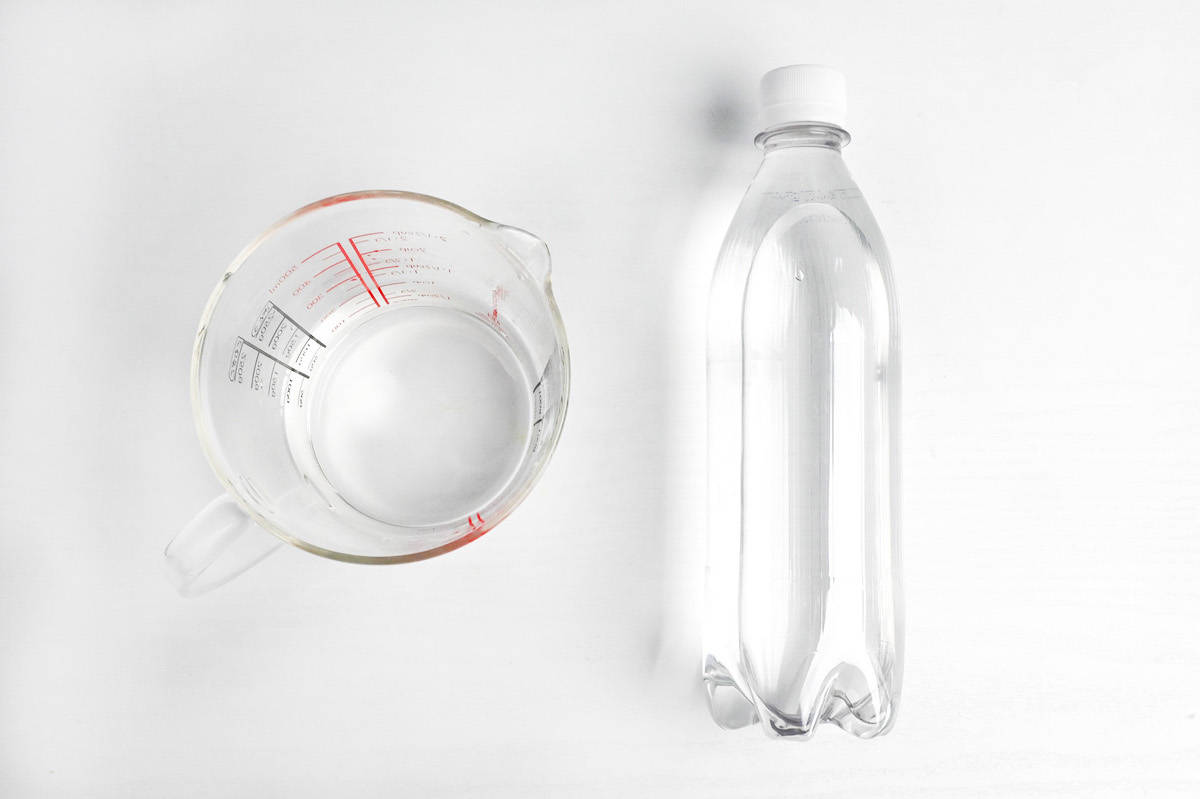
Start by measuring cold water into a jug and placing it in the refrigerator for about 20-30 minutes. For the sparkling water component, use a chilled, unopened bottle and measure it out right before making the batter to preserve maximum carbonation.
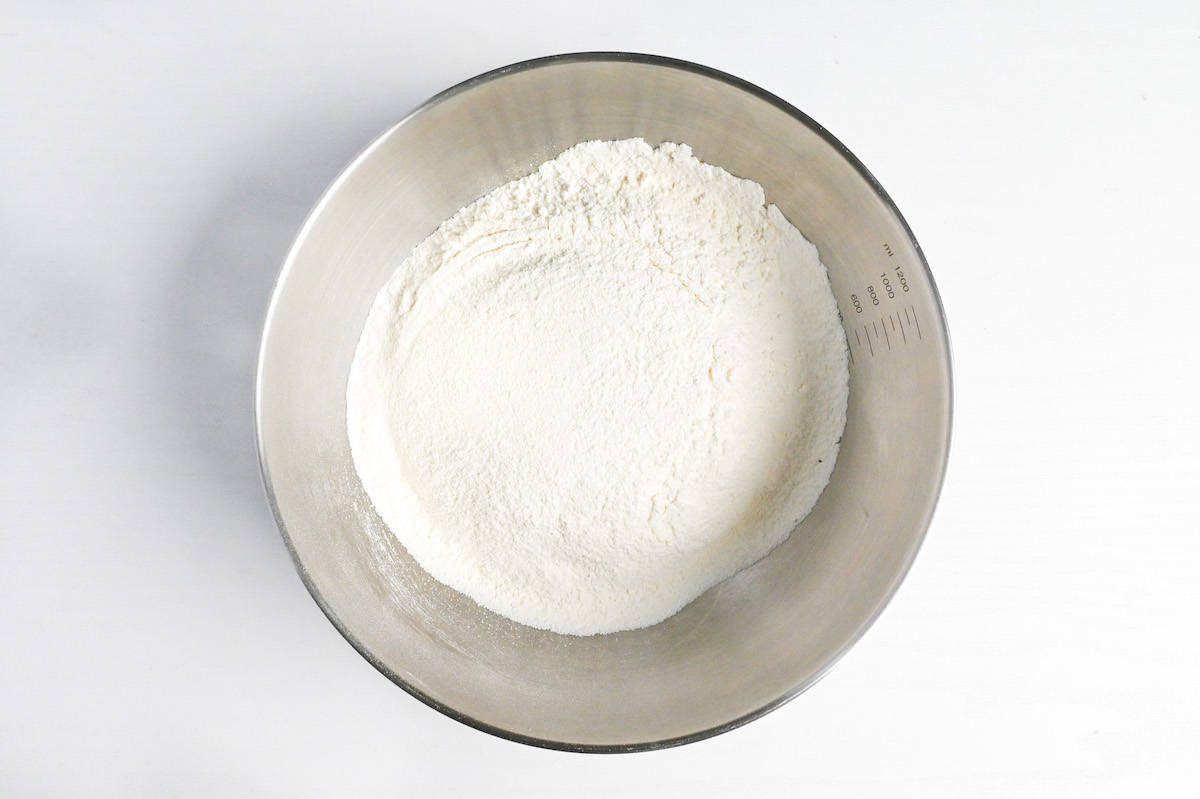
In a separate bowl, sift together cornstarch and cake flour, mixing them gently to combine.
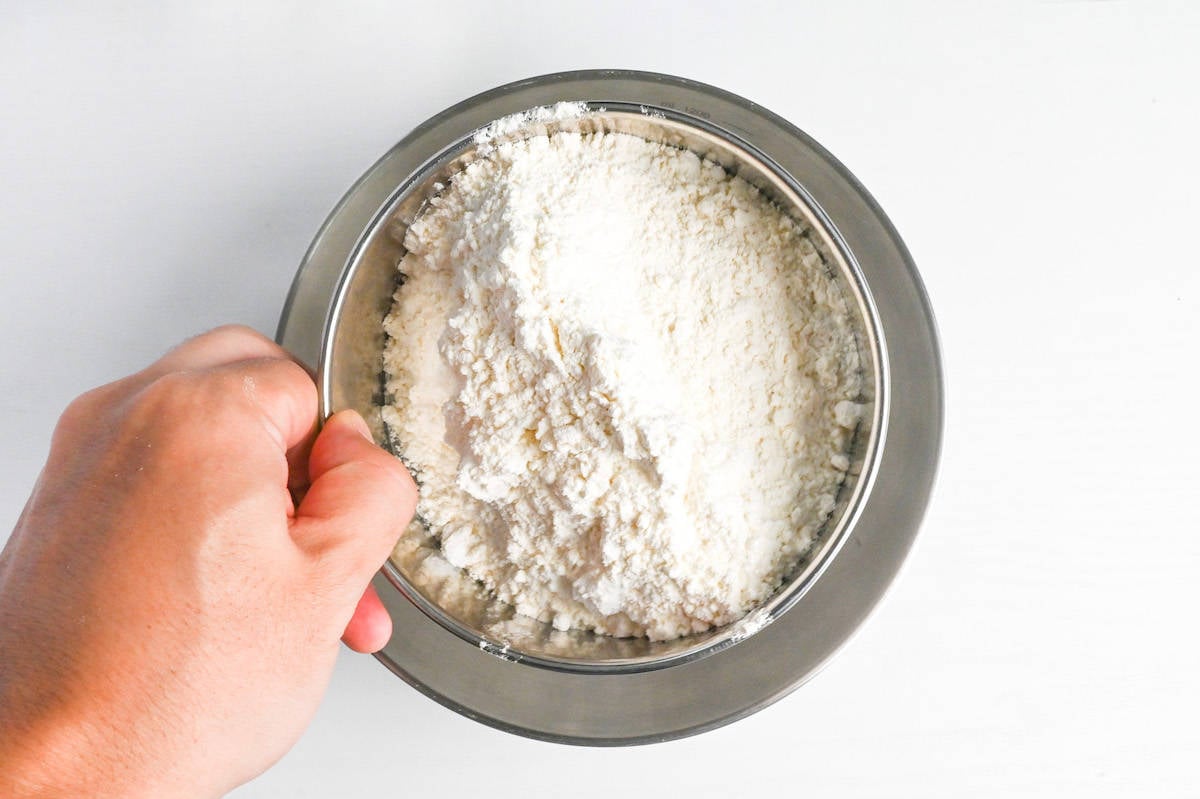
Place this dry mixture in the freezer for 20-30 minutes too.
Controlling the temp of the oil is key to getting that perfect, crispy tempura texture. Keeping the ingredients cold helps slow down the gluten formation process, and when the batter hits the hot oil, it creates these little steam pockets that give the tempura that signature light and crispy texture we all love.
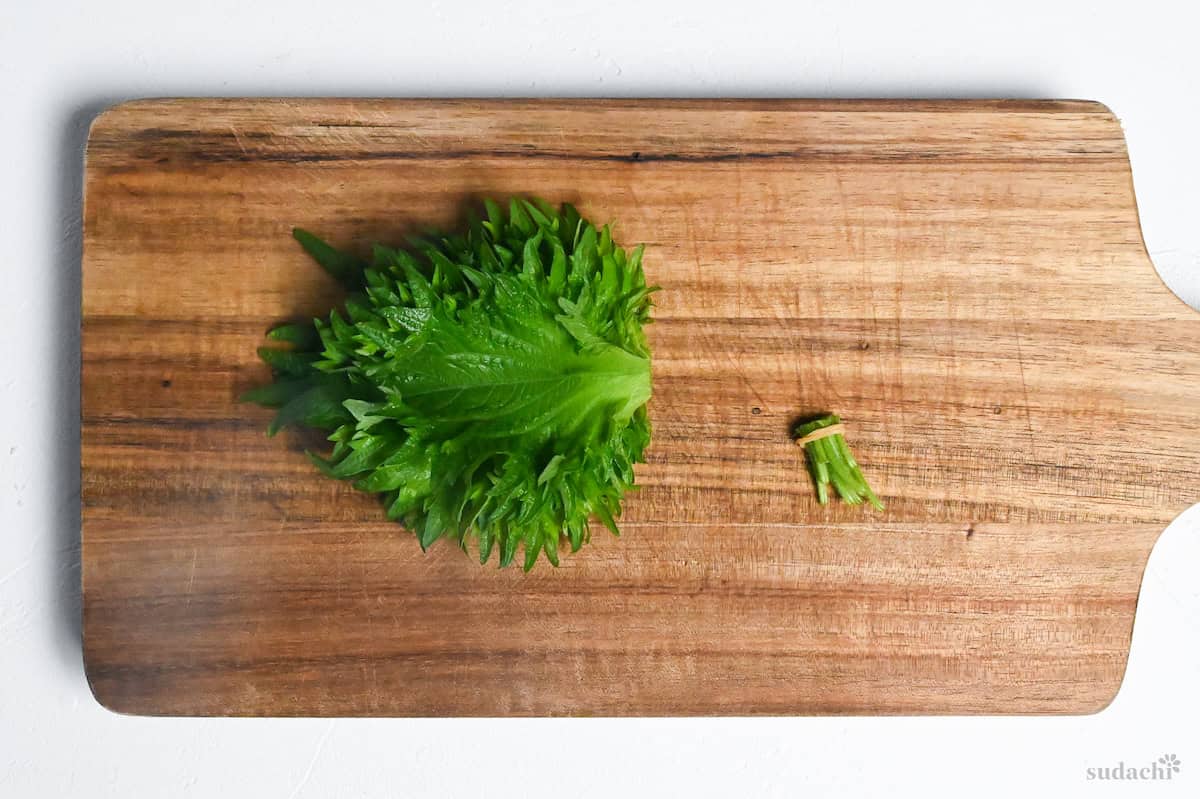
Choose smaller shiso leaves when possible as they tend to have less bitterness and a more delicate flavor, making them ideal for tempura. Carefully cut off the stems of the shiso leaves with a sharp knife.
Quickly submerge the leaves in a bowl of cold water for 15 seconds. Then, thoroughly pat them dry with paper towels, pressing gently to remove excess moisture.
The following steps explain how to make single-sided Perilla leaf tempura. If you want to see how to prepare the stacked or rolled versions, check the recipe card at the bottom of the page.
Instead of coating both sides, focus on dusting the underside (vein side) of the leaves with a very thin layer of flour. This technique helps the batter adhere properly to the smooth leaf surface.
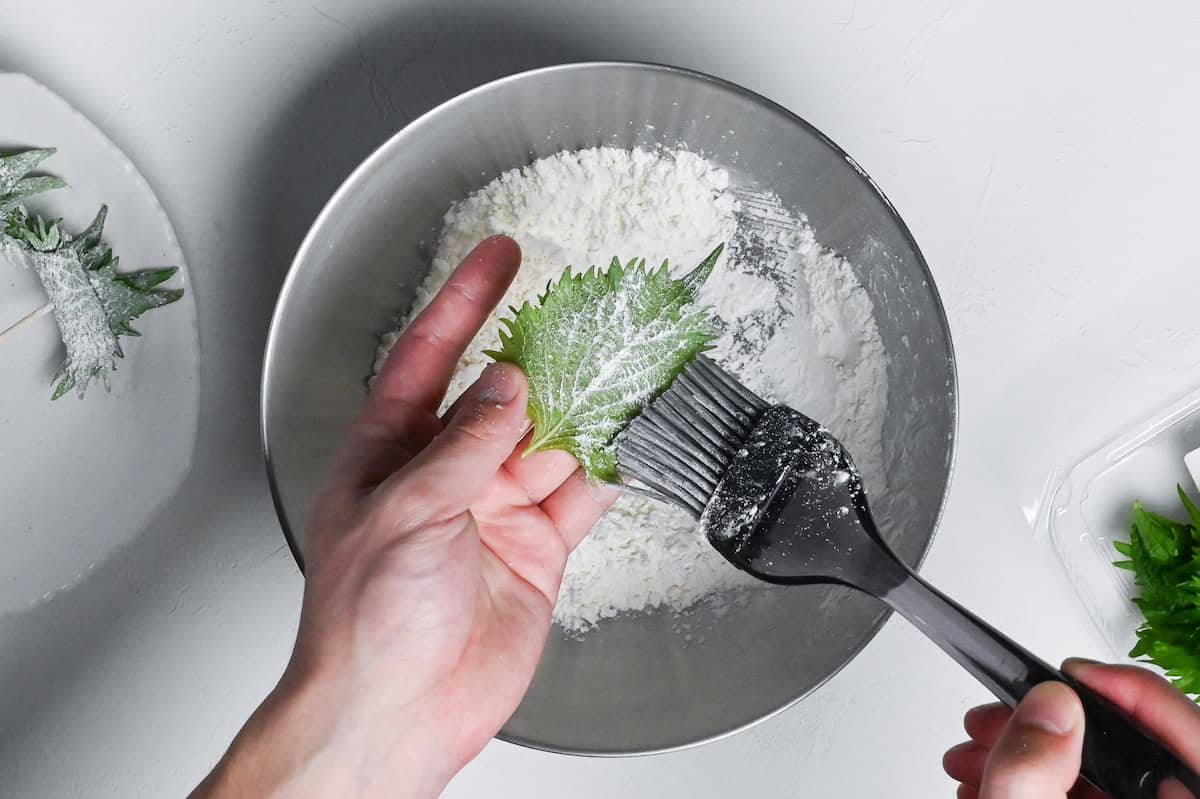
Make sure the flour coating is really thin and even, especially on the edges. Remove any extra flour because too much will make a thick coating.
The textured underside of shiso leaves needs a bit of flour to help the batter stick, while the smoother top side can be left undusted. This creates a beautiful contrast in the finished tempura where one side shows off the leaf’s natural color and texture while the other provides the perfect crispy coating.
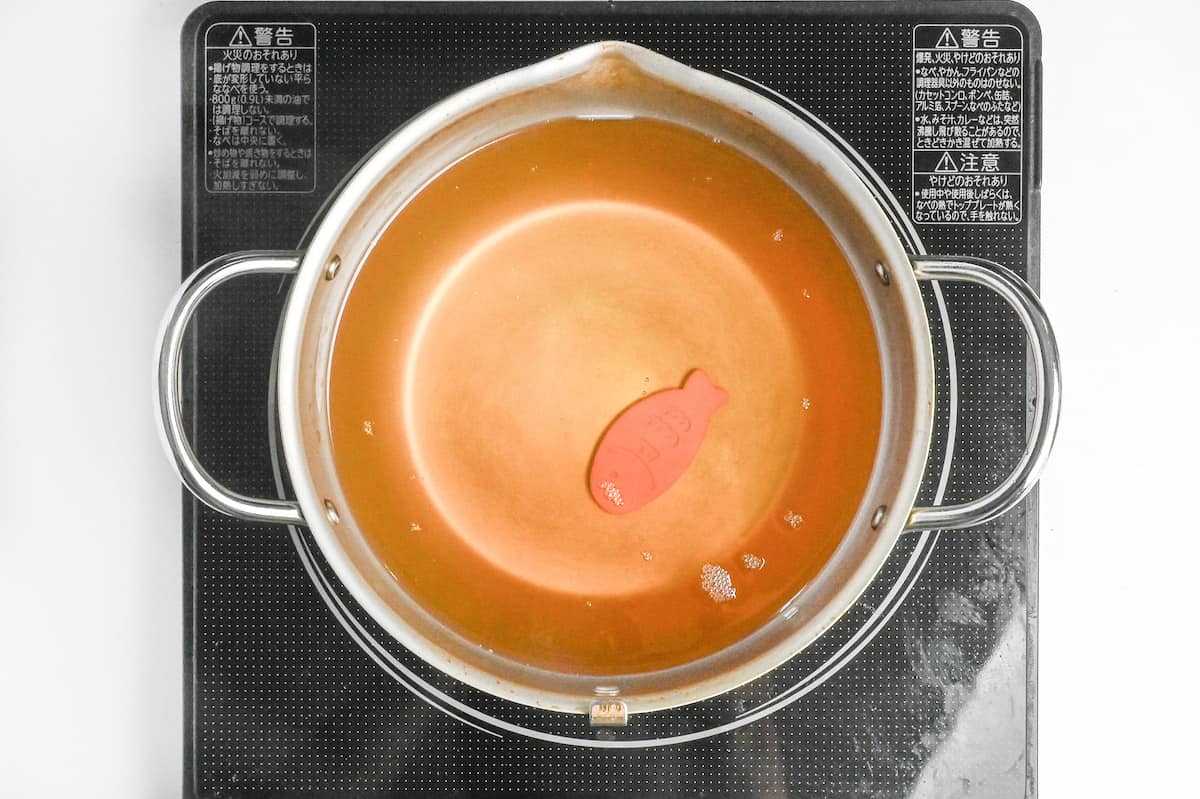
Heat your frying oil to 170°C (338°F) and maintain this temperature throughout the cooking process. Using a cooking thermometer for a more accurate oil temperature is ideal.
This temperature is a bit lower than for the other tempura ingredients. It keeps the delicate shiso leaves from burning while still getting that perfect crisp texture. If the temperature is higher, the leaves will burn right away and lose their fragrant aroma.
Pour your chilled water and sparkling water into a bowl.
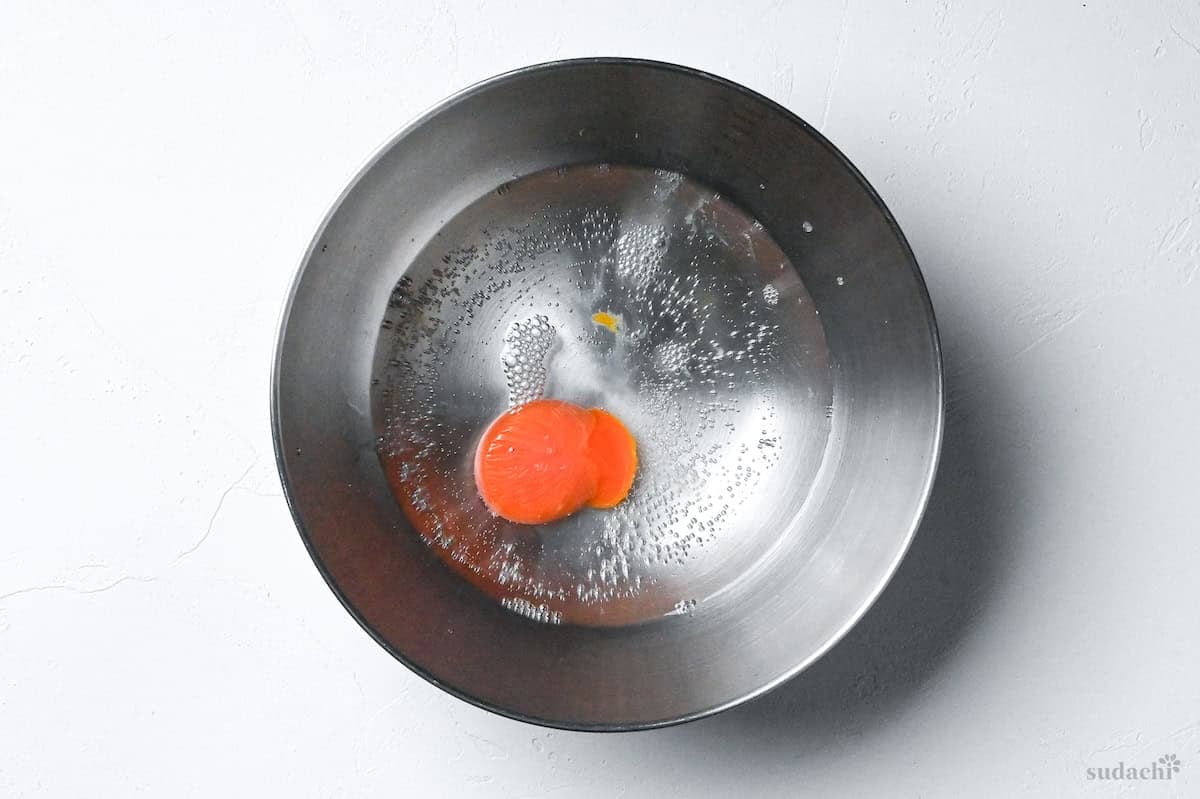
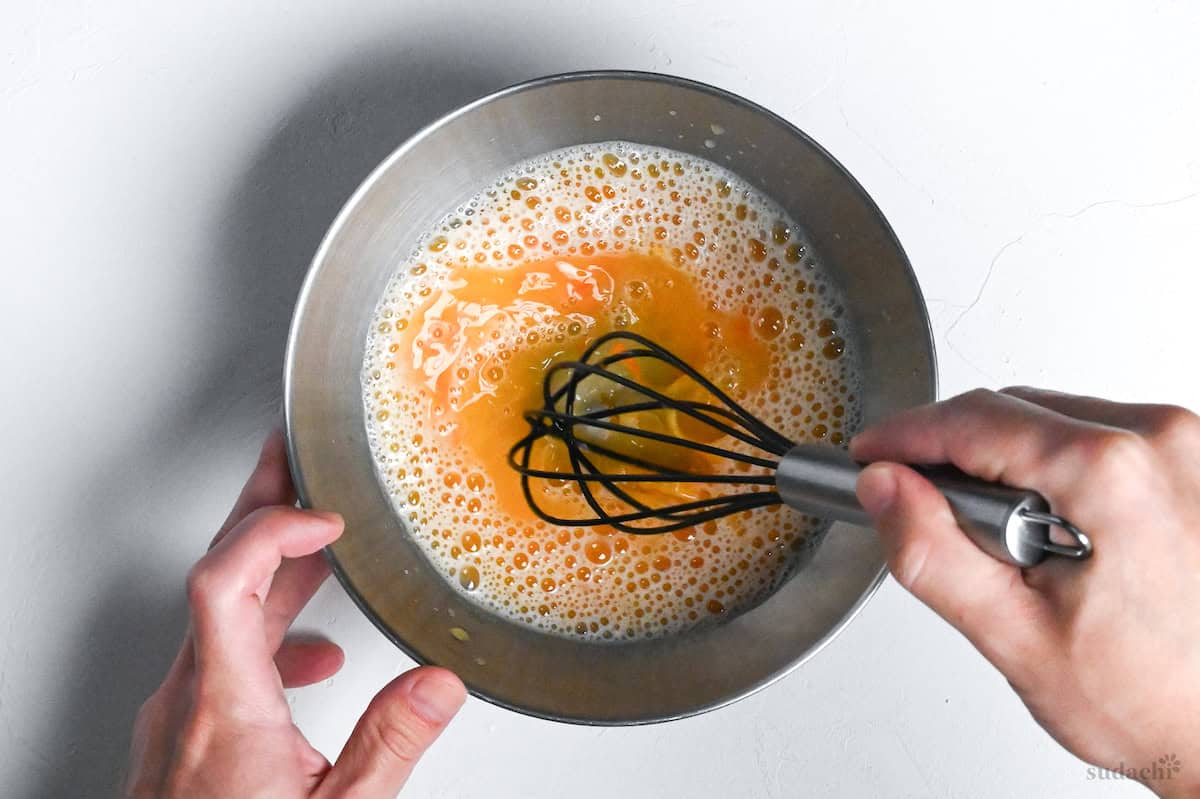
Add an egg yolk and whisk it gently to combine.
Add the chilled flour and starch mixture to the liquid in thirds, and gently mix together. Aim for a rough mix with visible lumps rather than a smooth batter.
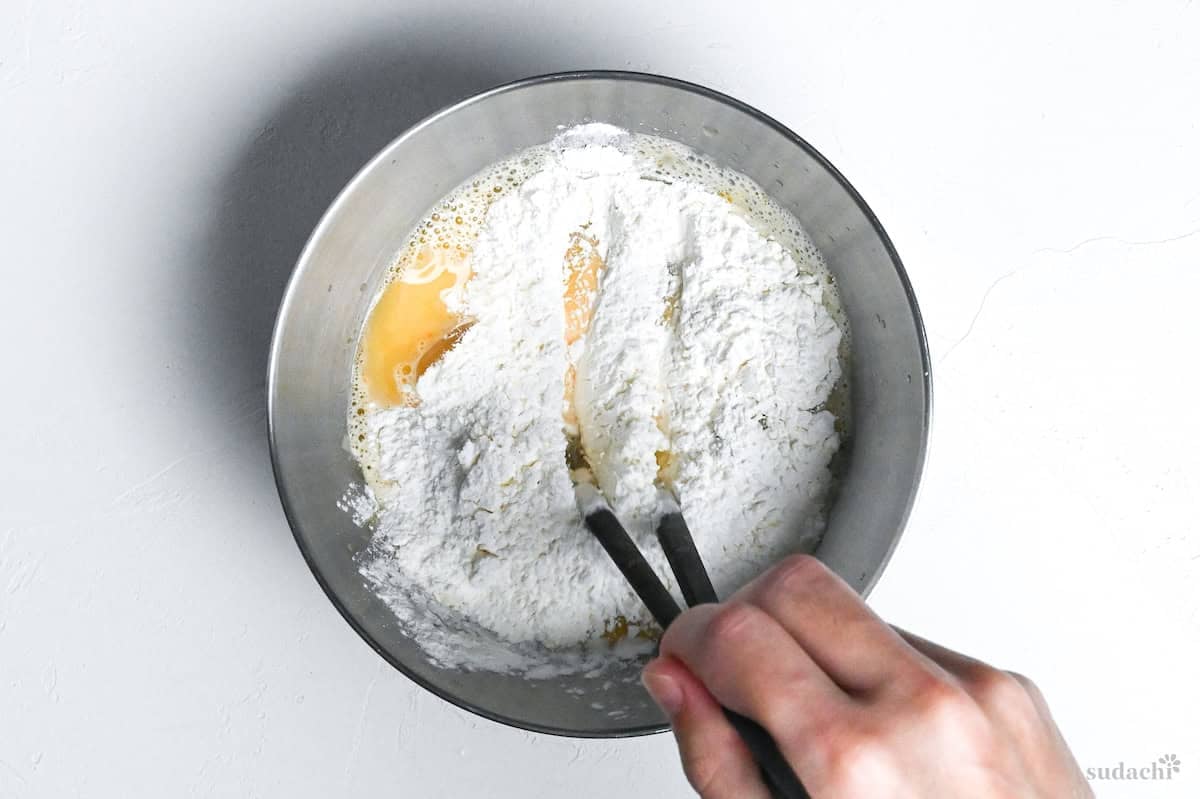
Lumps in tempura batter are actually a good thing! Those little pockets of dry flour make the batter more textured and crispy when you fry it. If you mix the batter too much, it makes gluten, which makes the tempura chewy instead of crispy. The best batter is mixed just enough to combine the ingredients but still has some small lumps.
Remember that batter sitting at room temperature will begin developing gluten, making your tempura heavy and chewy. Only mix your batter right before frying, and add 1 or 2 ice cubes to the mixture to keep it cold throughout the frying process.

Dip only the underside (vein side) of each leaf into the batter, giving it a thin, even coating. This one-sided coating technique is key to preserving the leaf’s flavor and creating the perfect texture contrast.
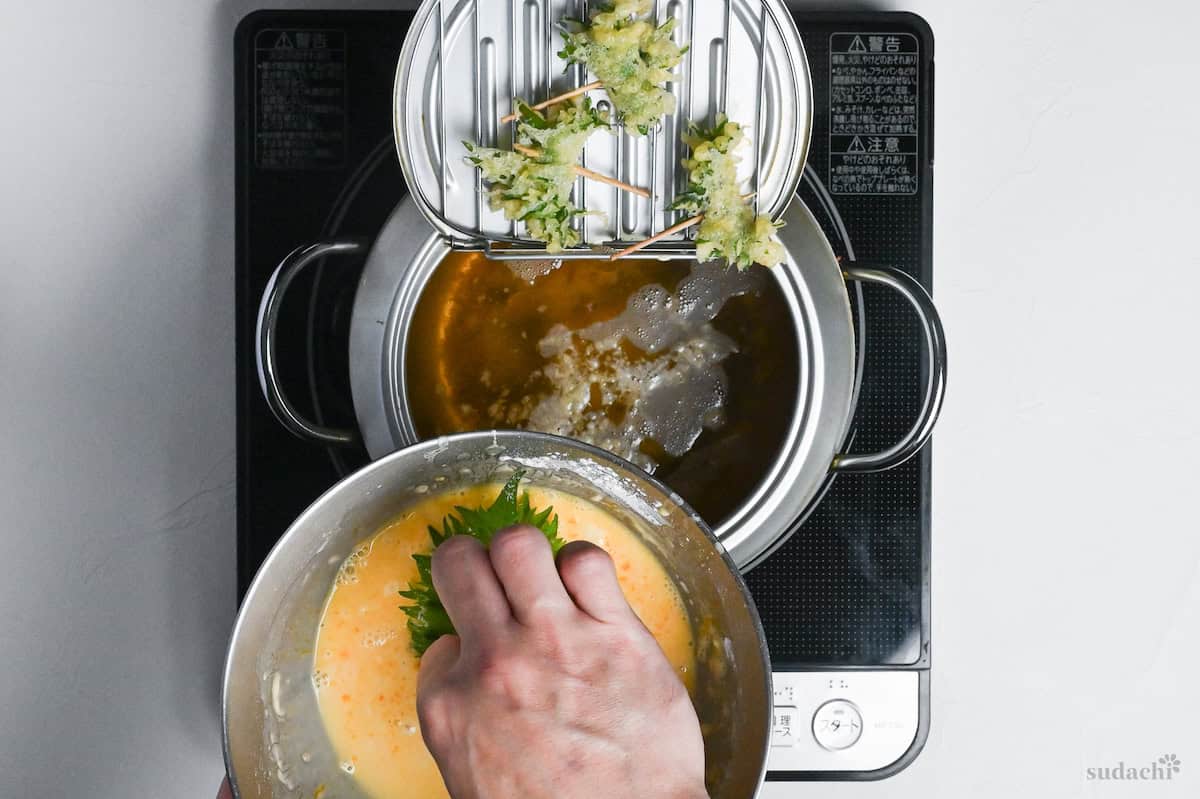
When adding the leaf to the oil, place it batter-side down with a gentle slapping motion.
When you lightly slap the battered leaf against the oil surface, excess batter disperses in the oil, creating a delicate, lacy pattern around the leaf’s edges. This also helps prevent the leaf from immediately curling up when it hits the hot oil.
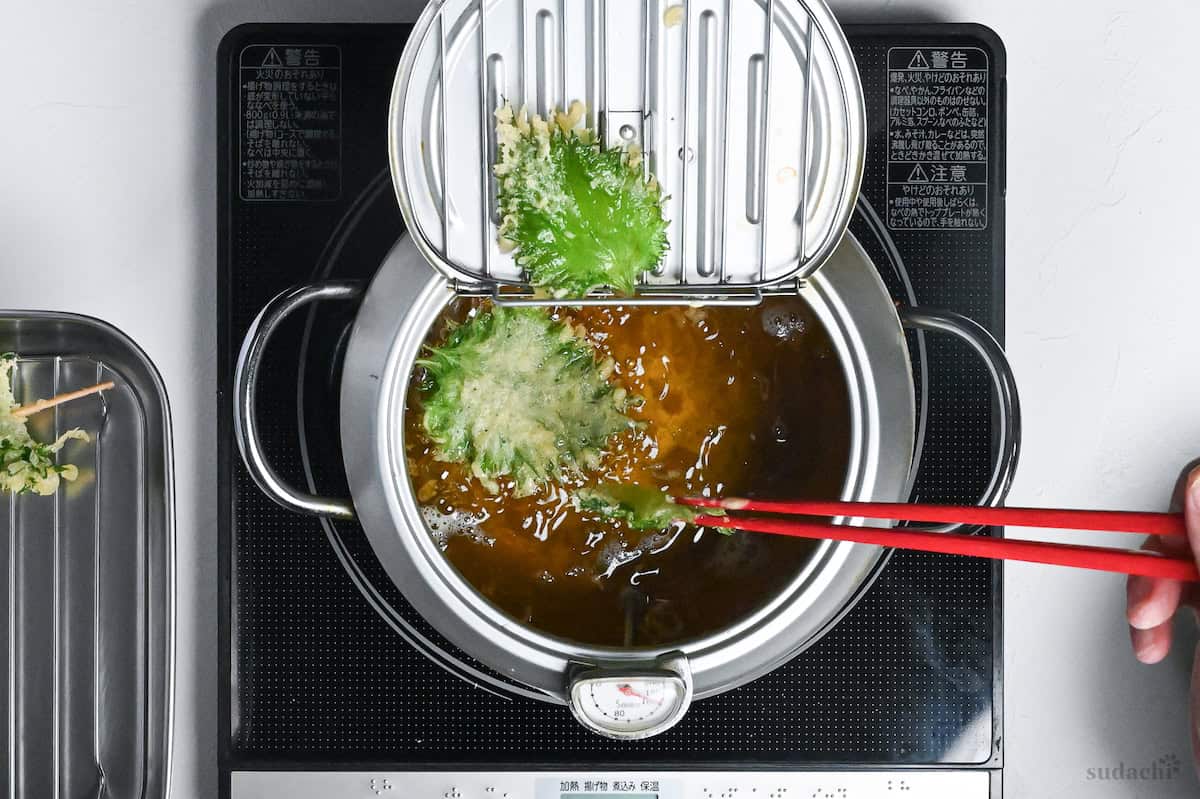
Keep an eye on the progress while frying: when most of the bubbles around the leaf have gone down (about 45 to 60 seconds), flip it over and fry the unbattered side for about 15 seconds.
The bubbling action you see is moisture escaping from the batter and ingredients. When bubbling slows significantly, it means most moisture has evaporated and your tempura has reached the perfect level of crispness.
Immediately transfer the fried leaves to a wire rack positioned over a tray to drain excess oil. For best oil drainage, position the leaves slightly tilted rather than flat on the rack.

Shiso tempura pairs beautifully with a simple sea salt sprinkle, but also complements traditional tempura dipping sauce (tentsuyu).
Also, try serving alongside cold soba noodles in summer or as a garnish for a tempura rice bowl (tendon).
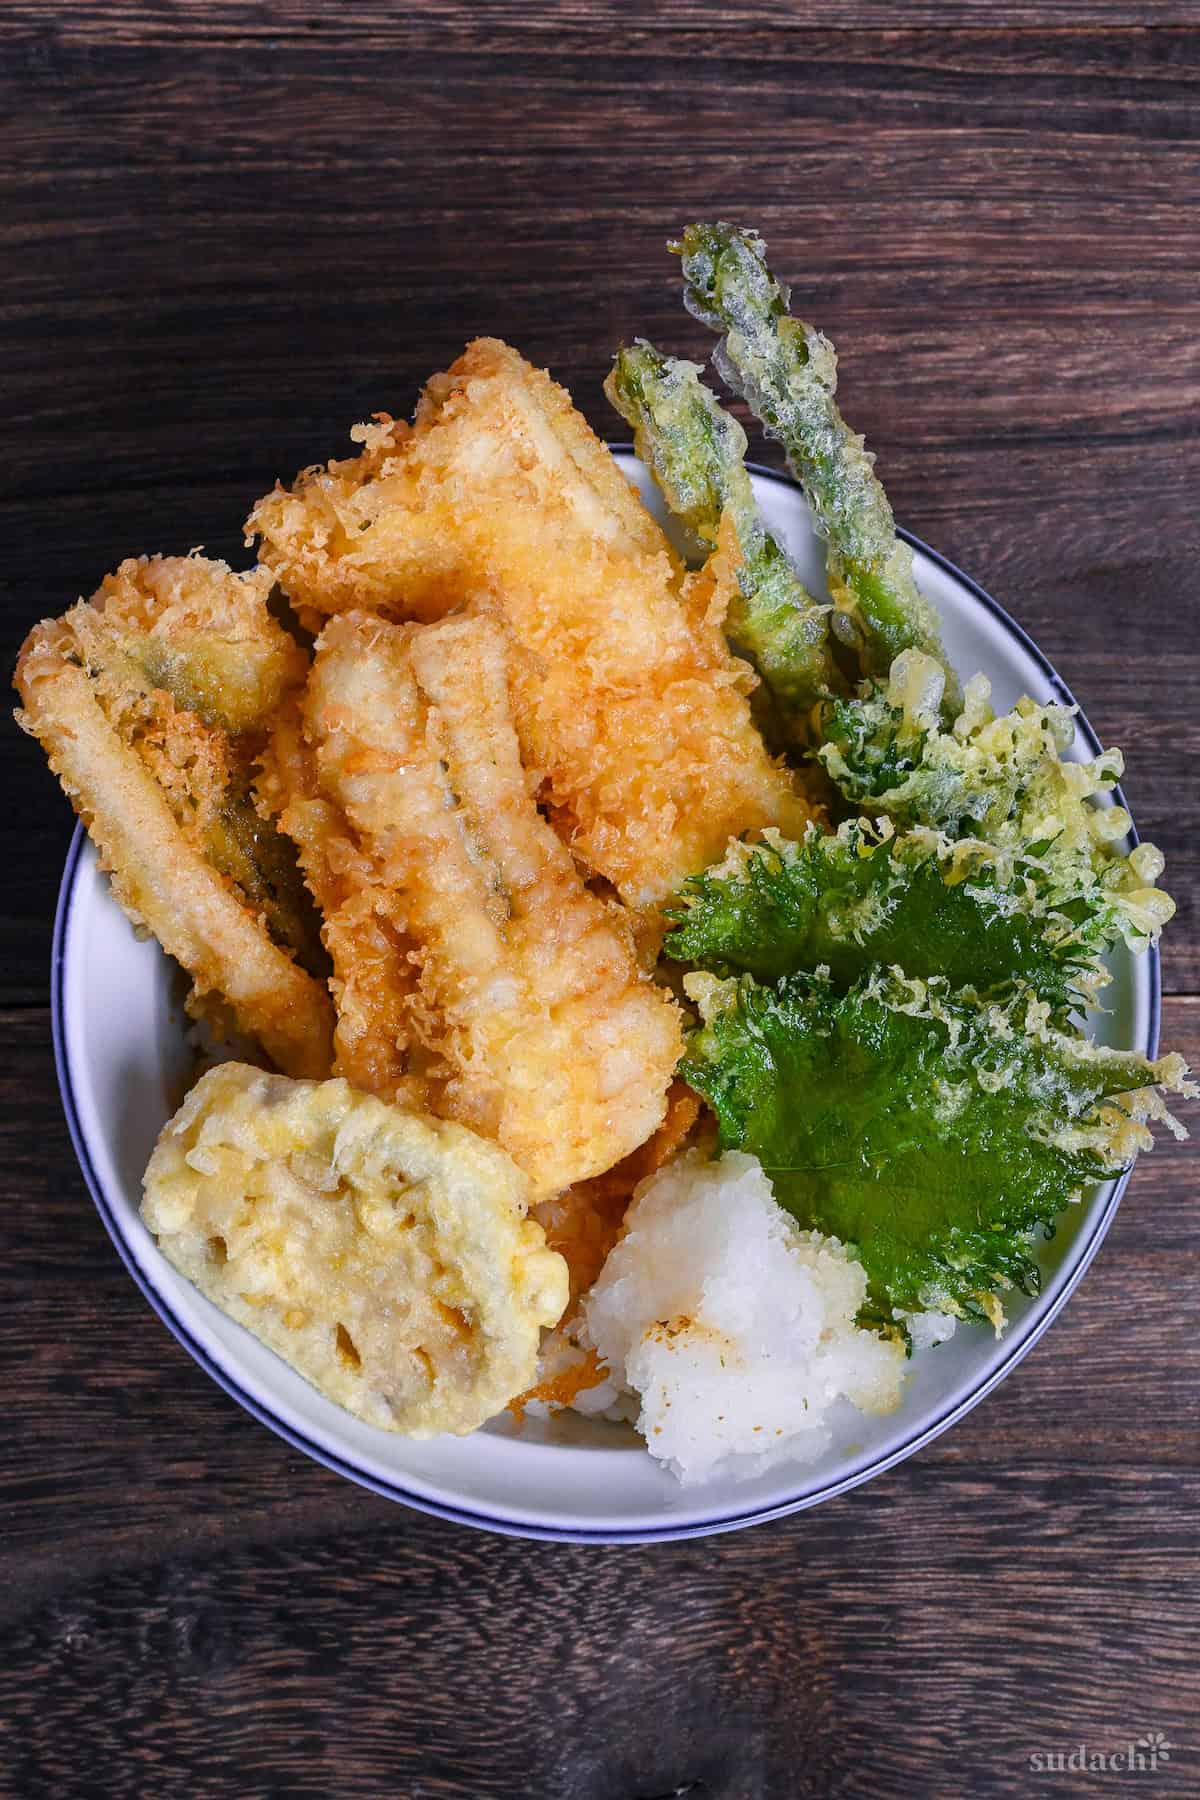
I fried other ingredients in the same batch and made tempura donburi with:
- Lotus roots
- Conger eels
- Asparagus
The batter is more than enough for just perilla leaves, so I recommend frying other ingredients with the same batter in a session!
Jump to Full Recipe MeasurementsEssential Tips & Tricks
- Keep everything cold: Chill your water, flour, and egg beforehand. Cold ingredients are the key to achieving that perfect crispy tempura texture.
- Don’t overmix the batter: Mix just enough to combine ingredients, leaving some lumps. Overmixing develops gluten, resulting in a heavy, chewy coating.
- Maintain oil at 170°C (338°F): Too hot and the leaves burn quickly, losing their aroma; too cool and they’ll absorb too much oil. A cooking thermometer is highly recommended.
- Use the “slap” technique: Place the leaf batter-side down with a gentle slapping motion against the oil surface.
- Be careful not to overcook: Total frying time should be about 1 minute. Flip when bubbles subside and remove after about 15 seconds on the second side.
- Serve immediately: Shiso tempura is best enjoyed fresh from the fryer. They begin to lose crispness as they cool.
With these simple tips in mind, you’re set for success every time you make shiso tempura.
Serving Suggestions
FAQ
Here are answers to frequently asked questions I have received across all platforms, including here, YouTube, Instagram, and Pinterest. If you have any questions, feel free to send them to me anytime! It will be a big help for everyone in this community!
Choose leaves that are vibrant green, unblemished, and firm. Fresh shiso leaves should have a strong, pleasant aroma when gently rubbed.
Drop a small amount of batter into the oil – it should sink slightly, then immediately rise to the surface surrounded by bubbles. If it browns too quickly, the oil is too hot. If it sinks and stays at the bottom, the oil is too cool. You can also place a wooden chopstick in the oil – when it creates small bubbles around the wood, the temperature is about right.
Ooba (大葉) translates as “big leaf” and refers to the leafy part of the shiso plant. Ooba and shiso leaves are the same thing. They are also sometimes called aojiso (青紫蘇) to differentiate them from their red/purple relatives, akajiso (赤紫蘇).
I hope you enjoy this Perilla Leaf Tempura recipe! If you try it out, I’d really appreciate it if you could spare a moment to let me know what you thought by giving a review and star rating in the comments below. It’s also helpful to share any adjustments you made to the recipe with our other readers. Thank you!

Perilla Leaf Tempura (3 ways)

Equipment
- Japanese-style fryer
Ingredients
- 15 perilla leaves (shiso)
- cooking oil neutral flavor for deep frying
- unbleached cake flour or starch for dusting
Tempura Batter (see note)
- 75 ml cold water chilled
- 50 ml carbonated water chilled
- 1 egg yolk
- 15 g cornstarch
- 75 g unbleached cake flour
- ice cubes
Serving suggestion (optional)
The ingredient brands and tools I trust are in my Japanese pantry guide and my cooking tools guide.
Can’t find certain Japanese ingredients? See my substitution guide here.
Instructions
- Before starting this recipe, be sure to chill all of the tempura ingredients thoroughly (including the dry ingredients – I put them in the freezer for 30 minutes). While you wait, gently wash 15 perilla leaves (shiso) in a bowl of cold water, pat dry with kitchen paper, and cut off the stems.

- Start heating your cooking oil to 170 °C (338 °F).
- When your oil is almost ready, take a mixing bowl and add 75 ml cold water, 50 ml carbonated water and 1 egg yolk straight from the fridge. Whisk gently until combined.
- Mix 15 g cornstarch and 75 g unbleached cake flour together in a small bowl, then add it to the egg mixture in 3 batches. Rather than whisking, use chopsticks to draw crosses in the mixture until there is no more dry flour. Lumps are perfectly okay, do not overmix.
- If you are making multiple batches or are in a warm environment, add a few ice cubes to the batter.
Single-Sided Perilla Leaf Tempura
- Use a pastry brush to coat the backs of the leaves with a thin layer of cake flour.
- Once the oil is hot, press the floured side onto the surface of the tempura batter, then place it in the oil with the batter side facing down and fry for 45-60 seconds or until the bubbles have settled down.
- Flip and fry the unbattered side for 15 seconds, then transfer to a wire rack to drain the excess oil.
Stacked Perilla Leaf Tempura
- Brush both sides of the Perilla leaves with a thin layer of cake flour.
- Place one leaf on top of the tempura batter to coat one side, then place another leaf on top, using the batter as a glue. Repeat once more until you have 3 in one stack.
- Dip the whole stack in the batter and then place it straight in the oil. Fry for 45-60 seconds on each side, and then transfer to a wire rack for a few minutes to drain excess oil.


Rolled Perilla Leaf Tempura
- Roll the Perilla leaves starting from the bottom (wider side). Pierce a toothpick through the middle to hold the roll in place.
- Use a pastry brush to coat thoroughly with cake flour.
- Dip the leaves in the batter and place them in the oil. Fry for 45-60 seconds on each side.
- Rest on a wire rack for a few minutes to drain the excess oil.
- Serve with salt for dipping, or as part of a larger assortment of tempura. Enjoy!


Notes
- This recipe is likely to have leftover tempura batter. Leftovers can be used for other ingredients such as shrimp, eggplant, sweet potato etc. You can also make your own tenkasu (tempura flakes) to serve with udon and soba.
- For best results, fry other ingredients in separate batches of the same ingredients.
- The egg yolk can be replaced with 2 tsp of egg mayonnaise (this is convenient if you want to half the recipe and use 1 tsp mayonnaise instead of half an egg yolk).
- If you’re looking for an eggless tempura batter, check out my shojin age recipe.
- Serve Perilla Leaf Tempura with tempura rice bowl (tendon), kake udon or zaru soba.
Leave a rating and a comment