

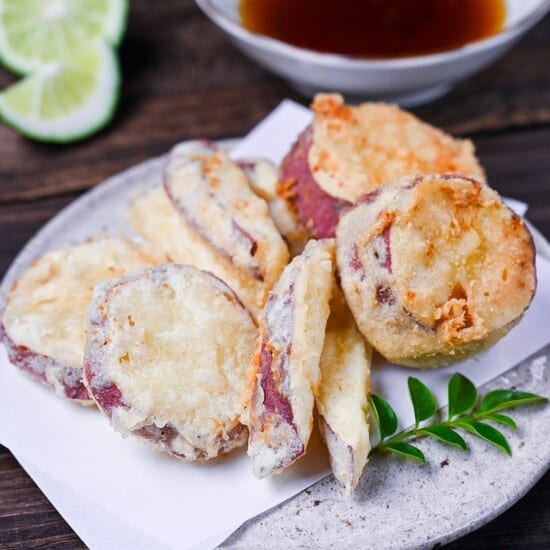


Featured Comment
I made this for my family tonight. The tempura batter turned out light and crispy, like how it’s made in a restaurant. Thank you for putting out this recipe.
★★★★★
– Katie
Sweet potato tempura is one of the trickier ones to pull off, yet when it works it is absolutely wonderful. The light batter cracks open to reveal fluffy yellow flesh inside, and that sweetness is something you can only get this way.
No need to worry though. I will show you exactly how to make outstanding sweet potato tempura every time, cut 3 ways, thin slices, thick rounds, and sticks.
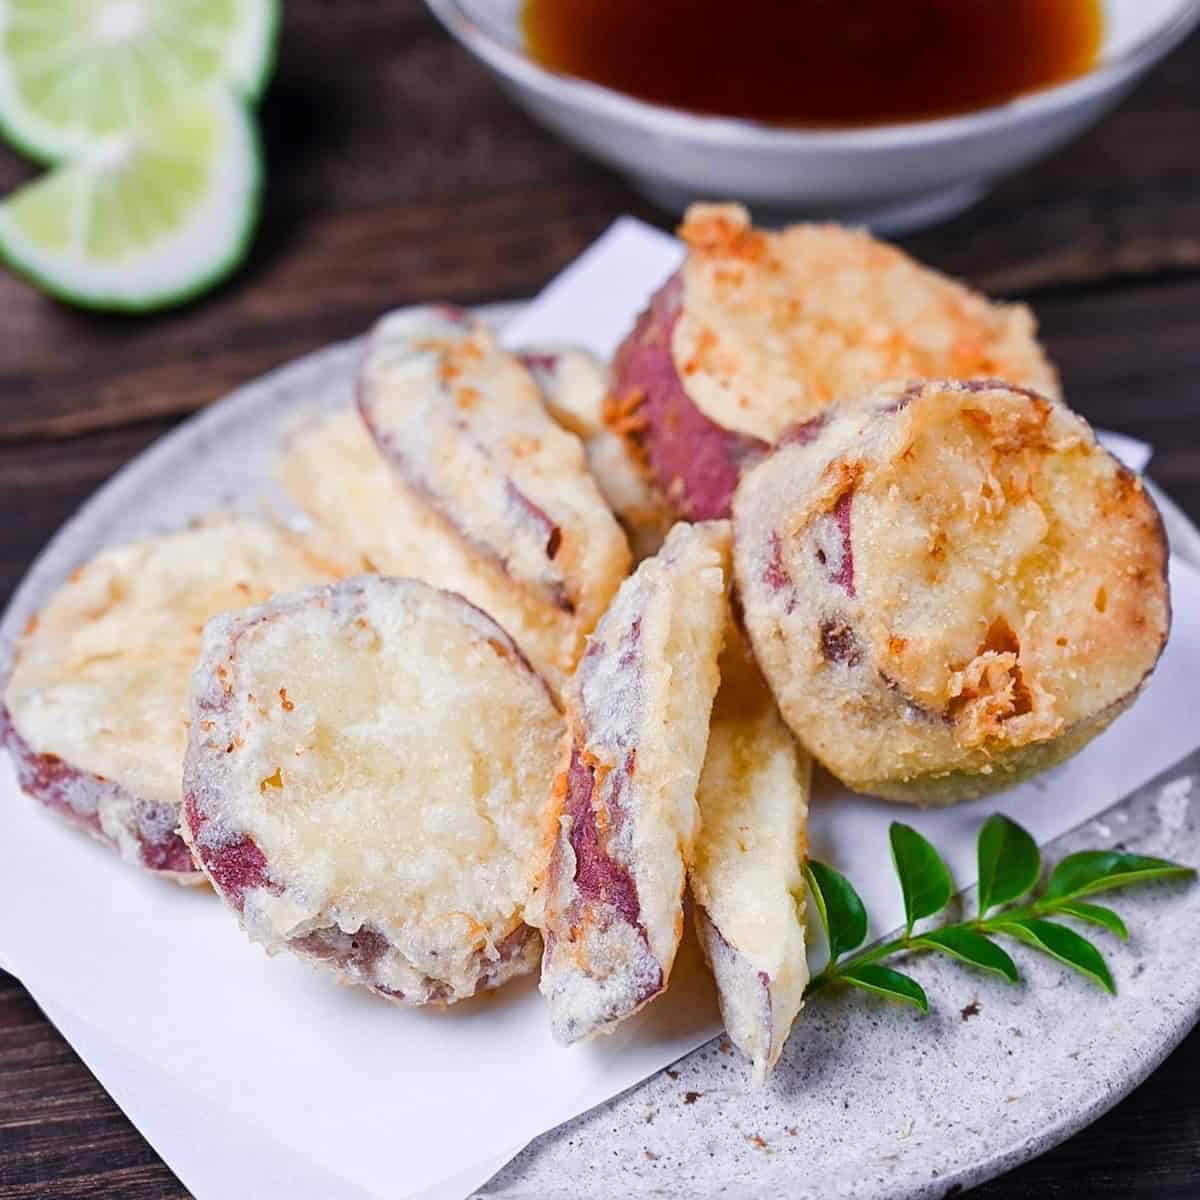
Sweet Potato Tempura
Recipe Snapshot
- What is it? On a tempura platter, sweet potato tempura is the sweet piece. Heat pulls the sugar forward, so in a run of oil and salt the flavor changes direction here.
- Flavor profile: Bite in and the thin batter breaks with a light snap, a dry and fluffy yellow sweetness comes through, and the salt on top lifts it.
- Why this recipe works: Each cut gets its own clock and its own temperature, so all 3 cook through. The batter steams the potato, so oil heat serves the batter and time serves the potato.
- How to make it: You mix a cold batter, dip the cut and soaked potato, and fry it in 1 pot. No special equipment, though a clip-on frying thermometer keeps the oil temperature exact.
- What to expect: Plan on about 1 hour, including 30 minutes of chilling the batter, for 4 portions. The thick rounds are the slow part, 10 to 12 minutes at low oil heat.
Summarize & Save this content on:
What Is Sweet Potato Tempura?
Japanese sweet potato tempura is a classic vegetable tempura. The potatoes are sliced with the skin left on, lightly coated in batter, and deep-fried. When the crisp coating cracks open, the yellow flesh shows through.
Two sweets often get mixed up with it because their names sit so close. Daigaku-imo is fried sweet potato finished in a sweet glaze, and the Japanese baked confection called suīto poteto is a mashed, oven-baked dessert. This tempura is neither. It is a savory side, eaten with salt or tentsuyu.
The name satsumaimo comes from the fact that these potatoes reached the Japanese mainland by way of the Satsuma domain (present-day Kagoshima). Before that they went by kansho and kara-imo, 2 older names for the same tuber. The crop itself originated in Central and South America. It arrived in Ryukyu (present-day Okinawa) around the beginning of the 17th century and from there traveled to Satsuma. The Confucian scholar Aoki Konyo promoted its spread to eastern Japan because it could survive famines. From 1734 the tuber went east under the name satsumaimo. In 1735 he compiled Banshoko, a book that explained the advantages of growing it. People later called him kansho sensei, the sweet potato teacher. The route from Ryukyu to Satsuma and then eastward is still carried in the name satsumaimo.
I spent the longest stretch of this recipe dialing a separate frying temperature and time for each cut. Thin rounds, diagonal slices, thick rounds, and sticks take up heat at different rates. Cook every shape in the same oil for the same minutes and one of them always fails. Thick rounds dropped into oil meant for thin slices color on the outside while the center stays raw. Thin slices held to thick-round timing lose their flesh and leave mostly batter. The 3 variations are 3 separate procedures. Pick the one that matches the time you have that day.
Japanese Sweet Potato Tempura Ingredients
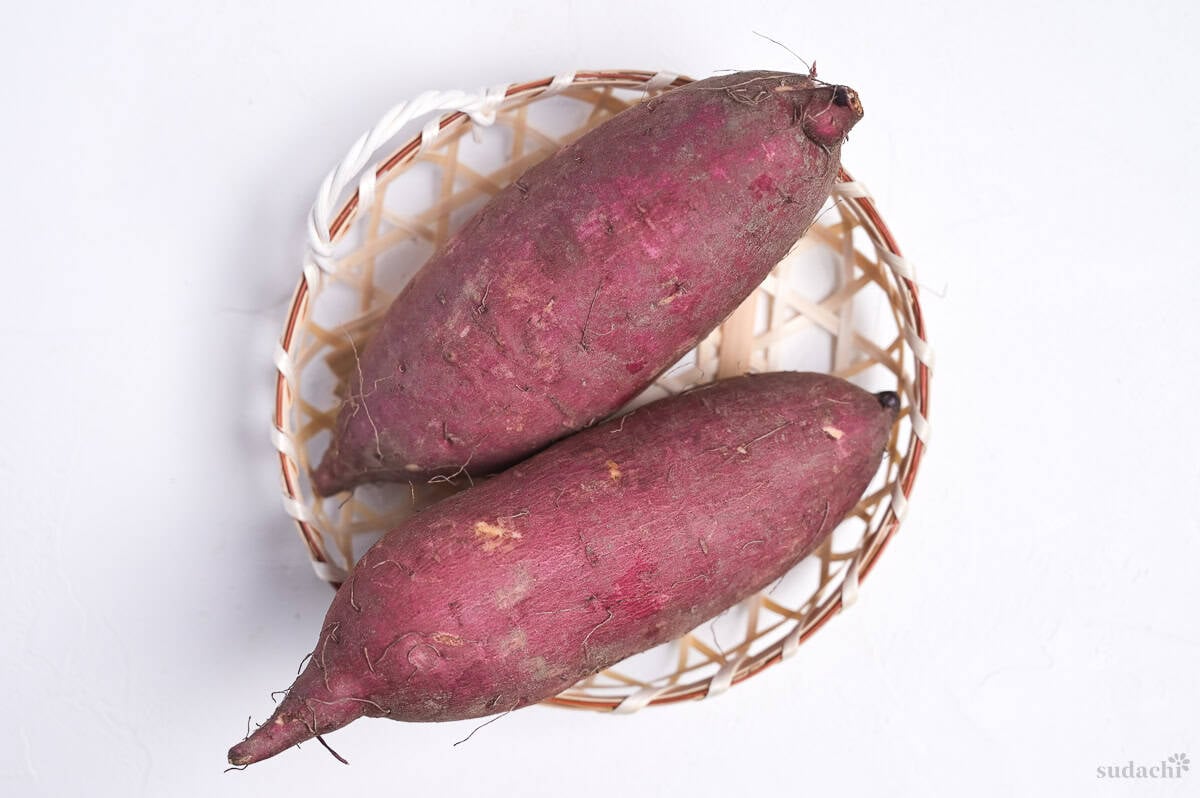
- Sweet potato (satsumaimo): Japanese sweet potatoes split into 2 families. Beni Azuma and Naruto Kintoki sit on the dry and fluffy side and break apart like a chestnut, while Beni Haruka and Silk Sweet are the moister, sweeter type. Both fry well, so choose by the texture you want. Abroad, the Japanese sweet potato at an Asian grocer sits closest, and Korean goguma or Murasaki sweet potatoes run in the same direction. If the shelf only has orange flesh, it carries more water, so keep those pieces off the thick cut and be thorough with the dusting flour.
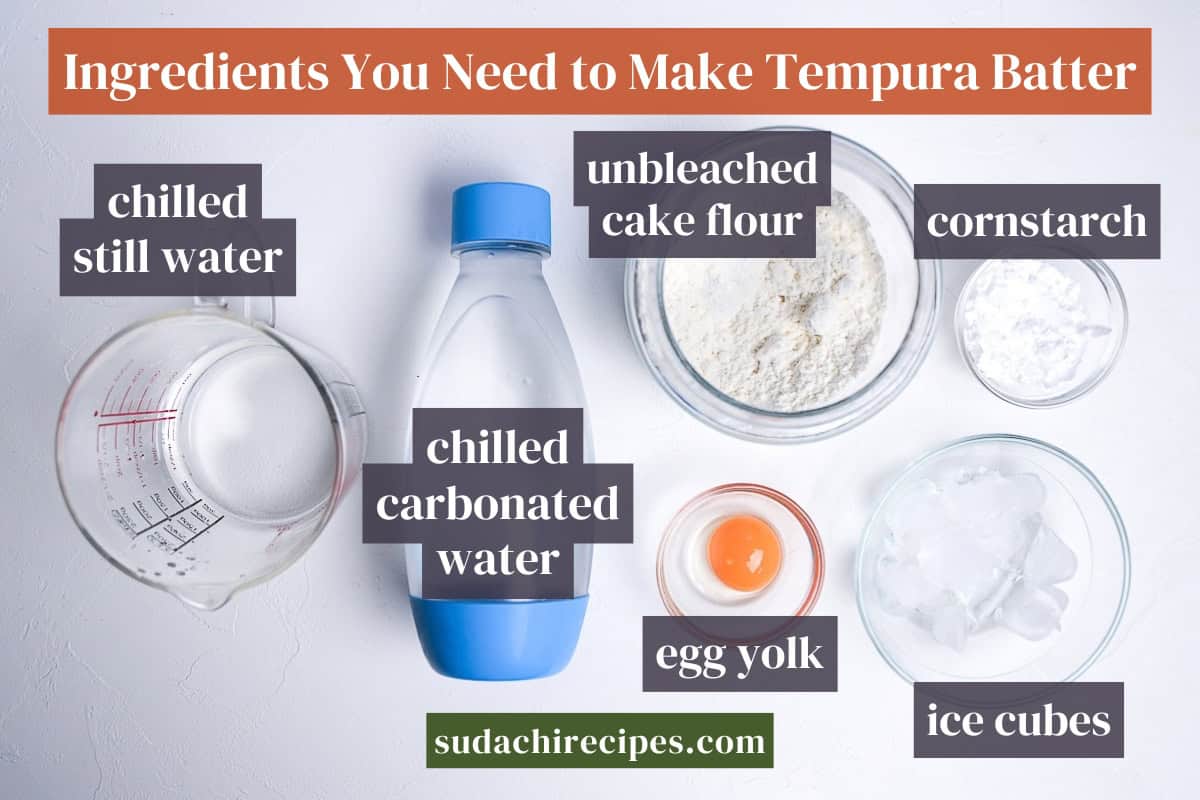
- Cake flour: There is 1 thing to check at the shelf, whether the bag says unbleached. Japanese soft flour is not bleached/chlorinated and chlorinated cake flour changes how the batter comes out.
Substitution Ideas
- Cake flour and cornstarch → All-purpose flour and cornstarch: Swap the 75g of cake flour and 15g of cornstarch for 65g of all-purpose flour (plain flour in UK/AU) and 25g of cornstarch. Raising the share of starch thins the gluten further, so the lightness survives a flour with more protein in it.
- Cake flour and cornstarch → Tempura flour: A bagged tempura flour arrives with the starch and a raising agent already blended in, so you whisk it with cold water the way the bag says and get a thin coat. The work of thinning the gluten is finished inside the bag, which is why no egg yolk and no sparkling water go in. Cold water is still cold water here, but the feel of the batter is no longer yours to set.
- Egg yolk → Japanese mayonnaise: Use 1/2 tablespoon of Japanese mayonnaise in place of 1 egg yolk, and nothing else in the amounts moves. It is already emulsified, so it blends into the batter easily, and the faint sourness of the vinegar leaves the finish lighter than yolk alone does.
- Sparkling water → Cold water: If you have no sparkling water for the batter, put the same amount of cold water in its place. The bubbles are there to help the coat go light rather than to be a requirement, so plain cold water still fries thin.
- Salt → Tentsuyu: Tentsuyu, the dipping sauce for tempura made from dashi and soy sauce, can be built before you start frying.
- Default batter → Egg-free batter: It is the route for a day when the eggs have run out and for anyone avoiding them, and you give up some richness while the coat itself still comes up thin. My egg-free tempura batter recipe walks through the method.
How to Make My Sweet Potato Tempura
Before you start (Mise en place):
- Chill the still water and the sparkling water in the fridge for 30 minutes. Leave the sparkling water sealed while it chills and measure it right before you use it for maximum carbonation.
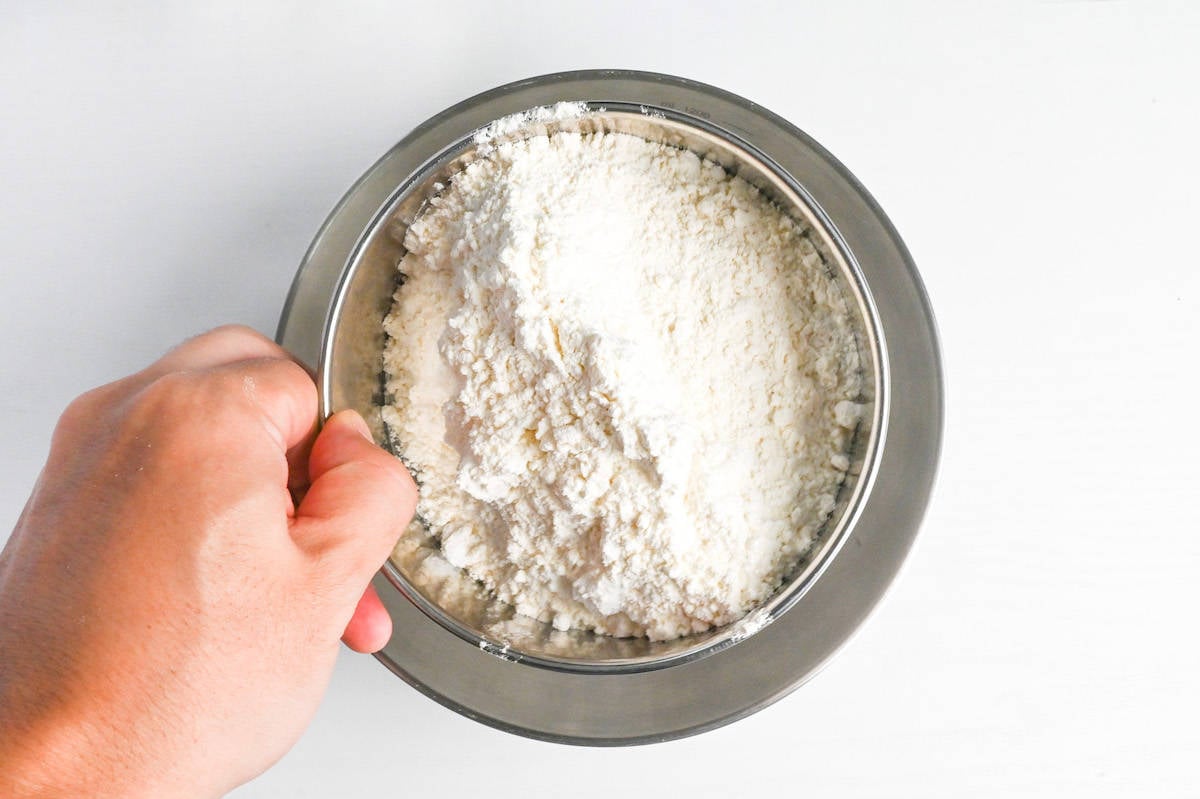
- Sift the cornstarch and the cake flour into a bowl from about 20cm above it. Falling that far, they take in air and run loose. Mix them, then put the whole bowl in the fridge for 30 minutes. Chill the flour and the water separately. Combining them first hands the gluten time to build while they cool.
- Wash the surface of the sweet potatoes and cut 1cm to 1.5cm off each end. Bitterness and hardness gather at the ends, and that is the only stretch where the texture turns on you.
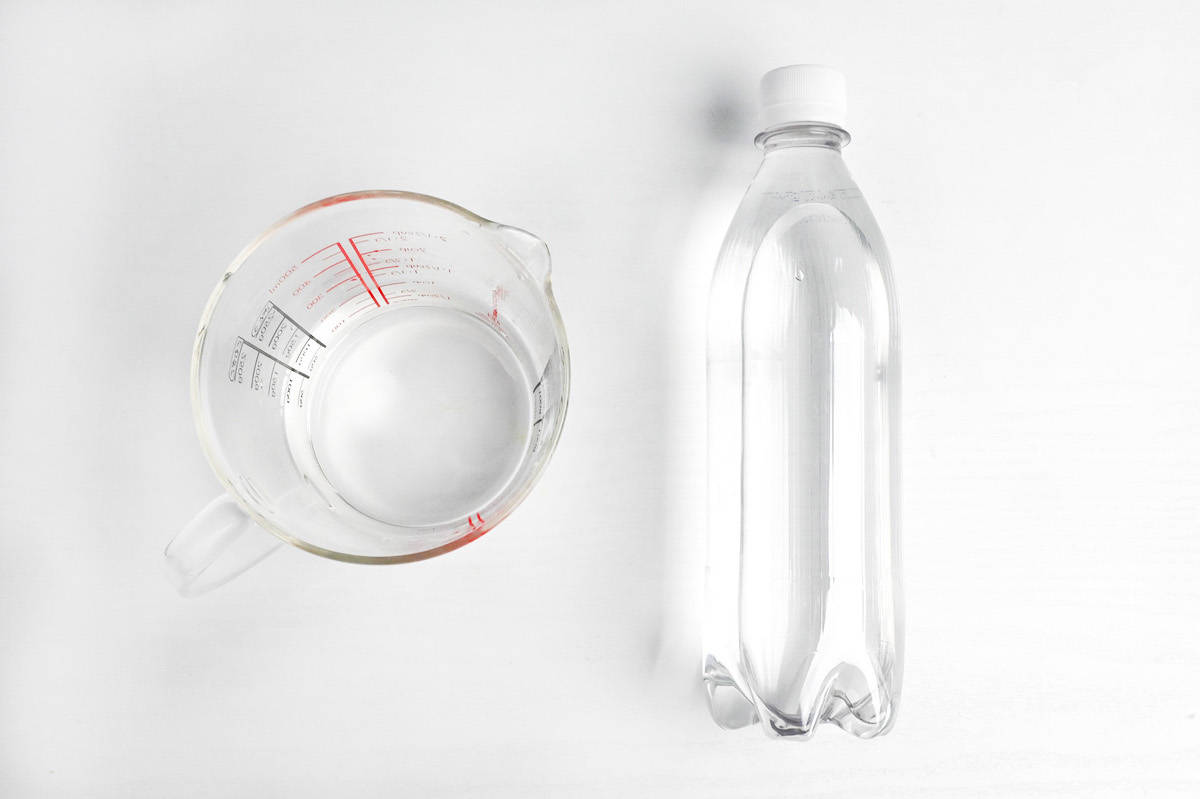

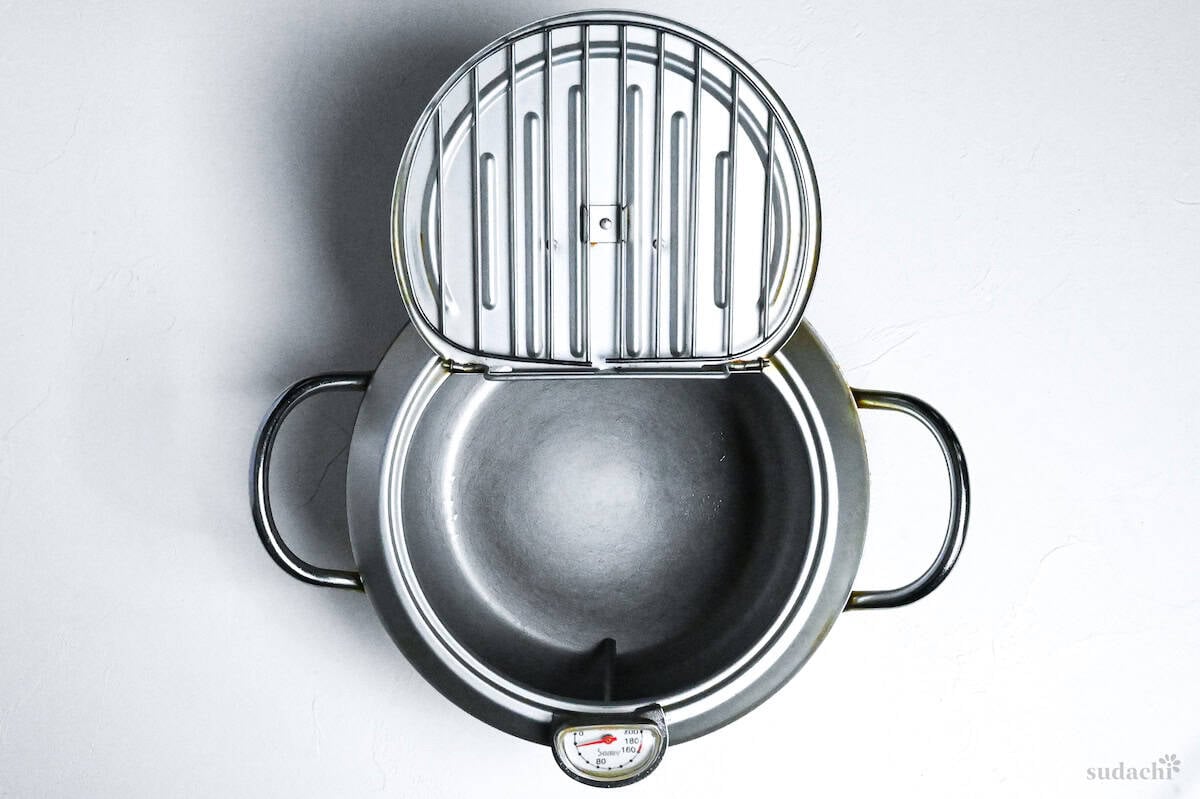
To develop this recipe, I used a tempura pot with a built-in thermometer.
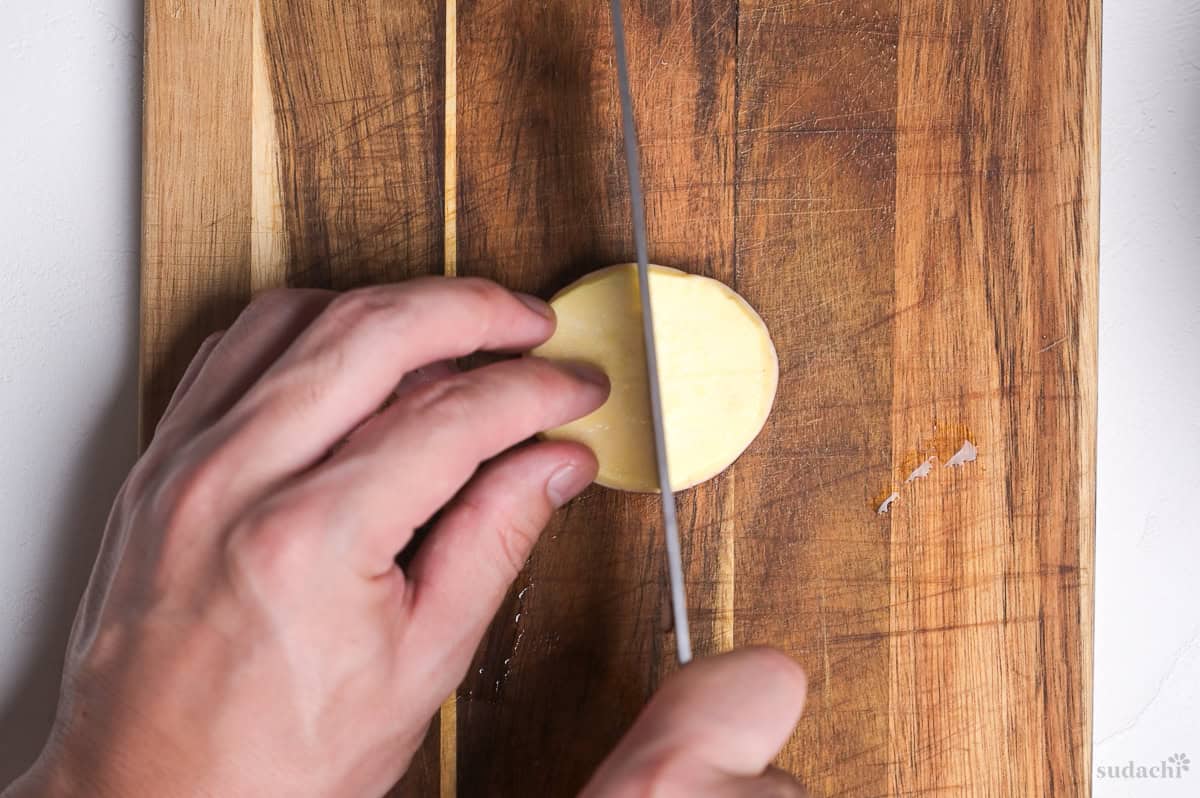
i. Leave the skin on and cut the potato into the shape you want. Thin rounds and diagonal slices run 8mm to 10mm, thick rounds 25mm to 30mm, sticks 10mm to 12mm square. A slim potato is better on the diagonal, where the wider cut face lets heat in faster.
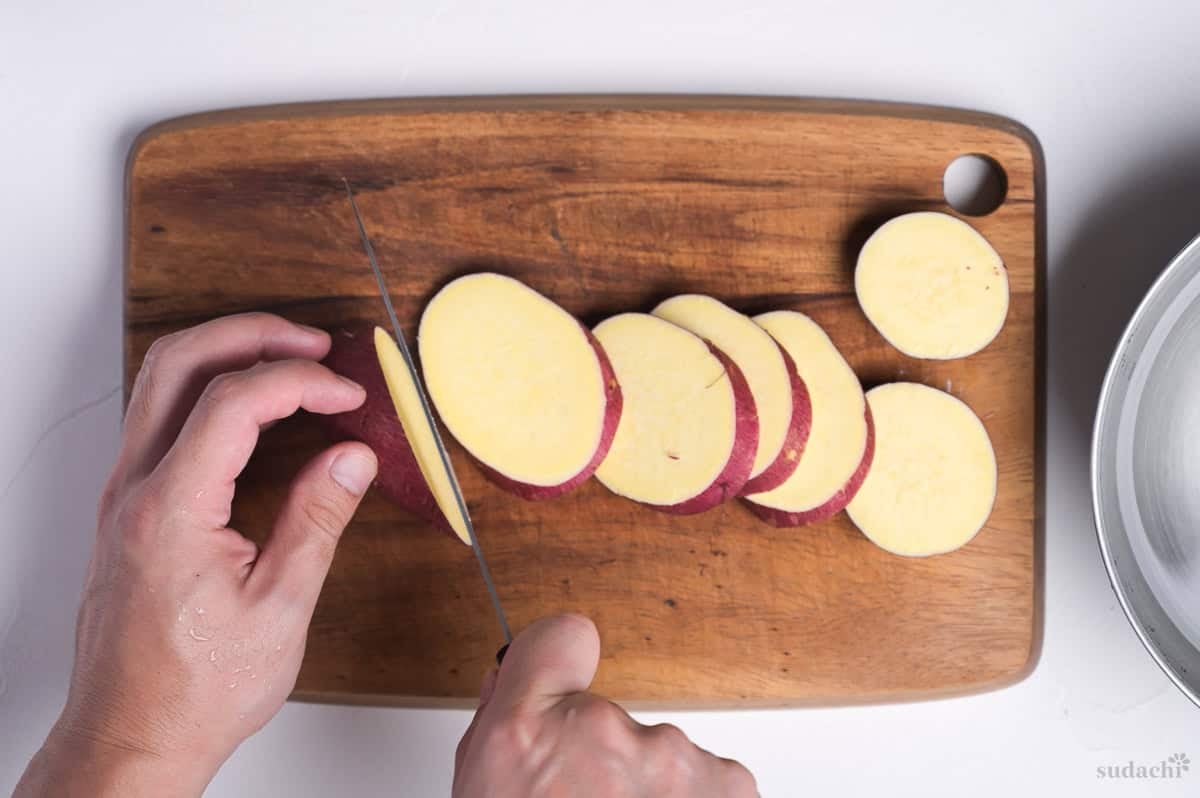
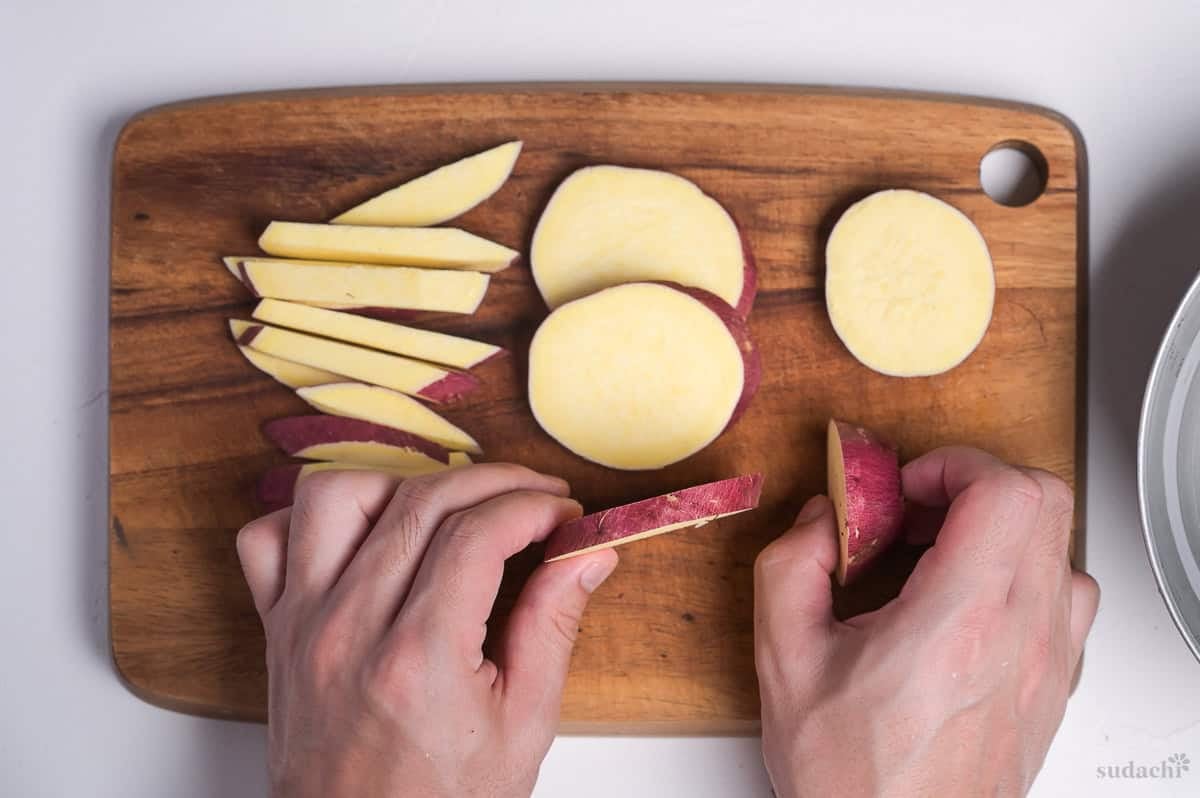
ii. Only when you cut sticks, leave 1 face of skin on each piece. Rounds keep skin all the way around on their own.
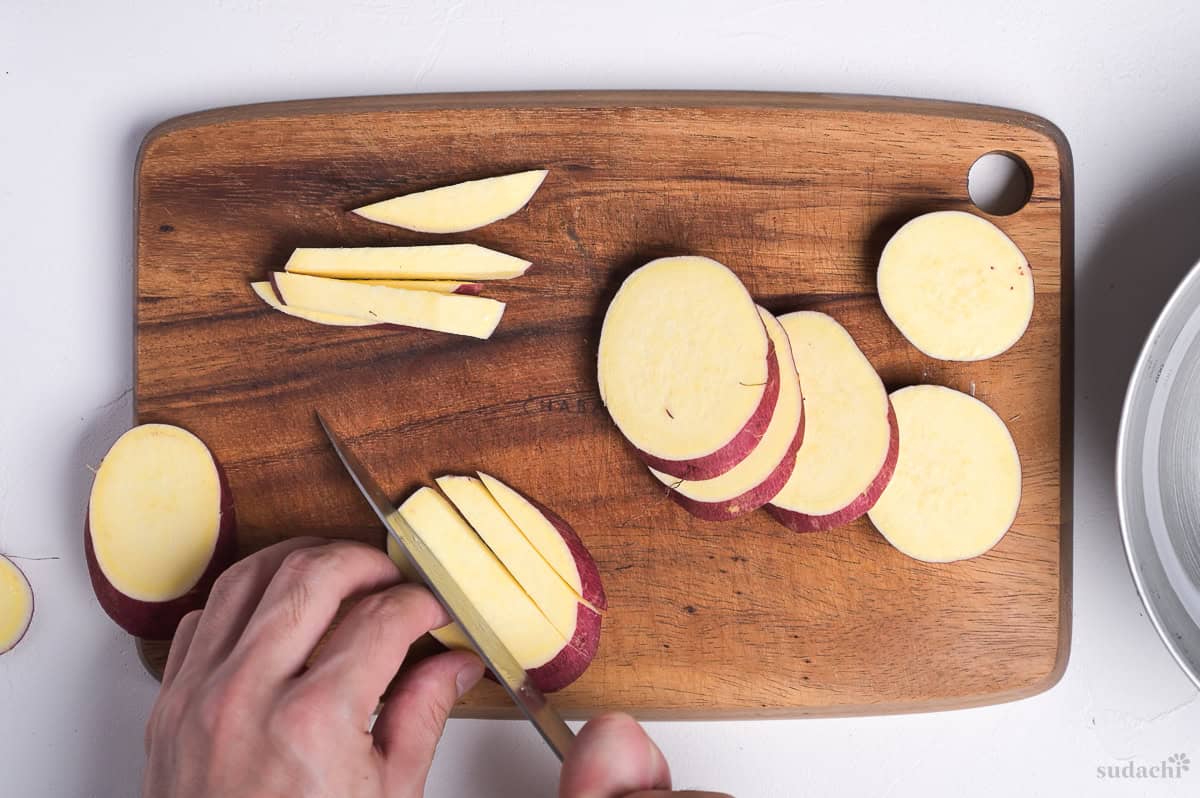
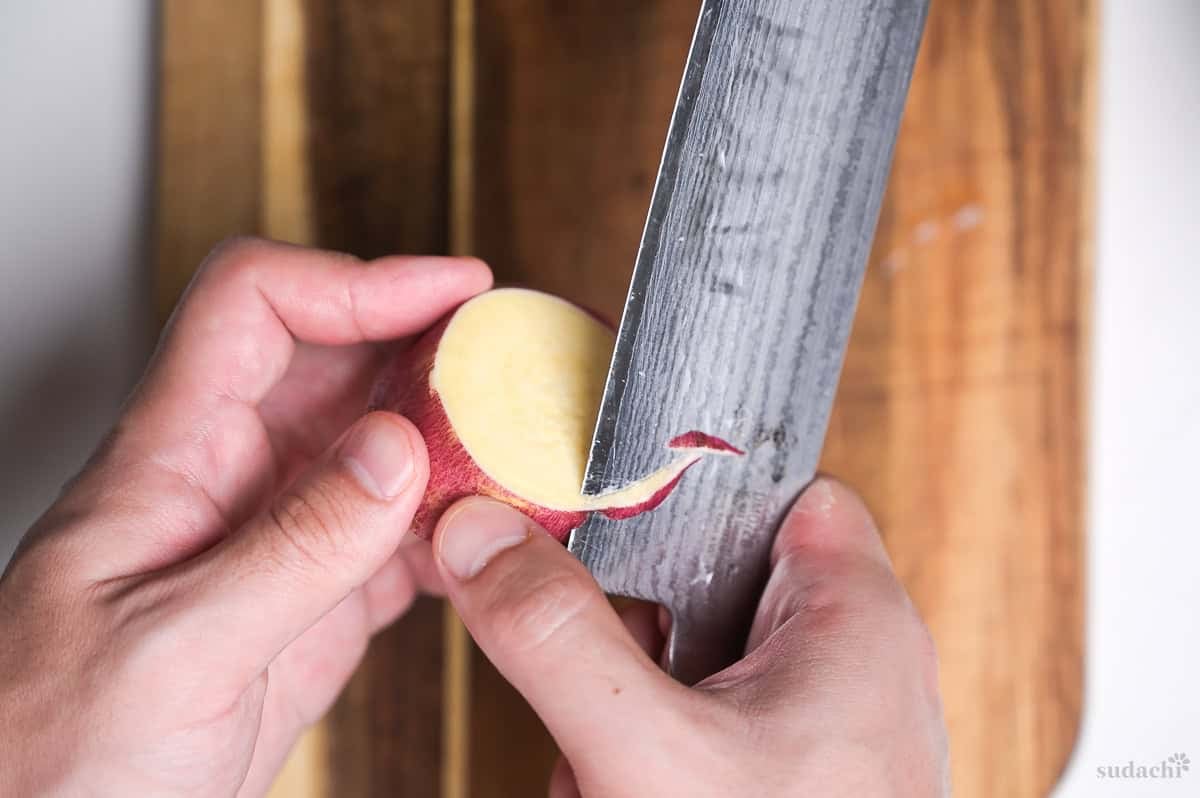
iii. If you went with thick rounds, shave the corners into a bevel and score a shallow cross on both faces, about 1/3 into the thickness.
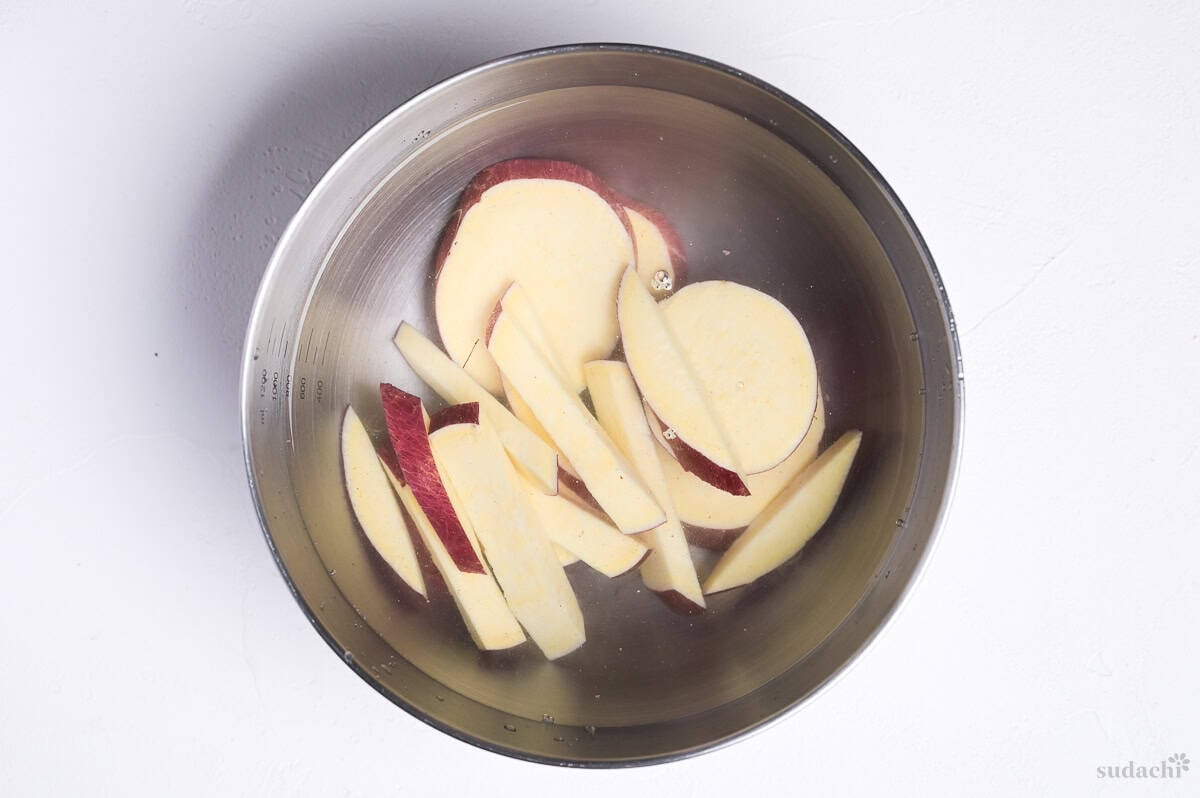
iv. Soak the cut potato in cold water, 3 to 5 minutes for thin cuts and 5 to 10 minutes for thick rounds. Cut faces darken as they oxidize in the air, and the soak stops that. Surface starch leaves with it. Do not stretch the time, or sugar and vitamins run out into the water and the flavor goes with them.
Corners take heat from 3 directions at once, so the sugar there caramelizes ahead of everything else and scorches. Shave them and the faces and the corners move at the same speed. The cross scoring opens more paths for heat and drives it evenly into the center of a thick piece. Thin rounds and sticks need none of it.
In Japanese cuisine, mentori is the name for the prep move of shaving the corners off cut vegetables so they round over. Japanese home cooks know it from nimono, the family of simmered dishes, and use it on anything that sits over heat a long time, like simmered kabocha, daikon, , and taro. In simmering liquid the corners knock into each other, chip from there, and the pieces collapse, so you take the corners down first and give every piece a face. No tool is needed. Lay the heel of the knife flat and run it once around the corner.
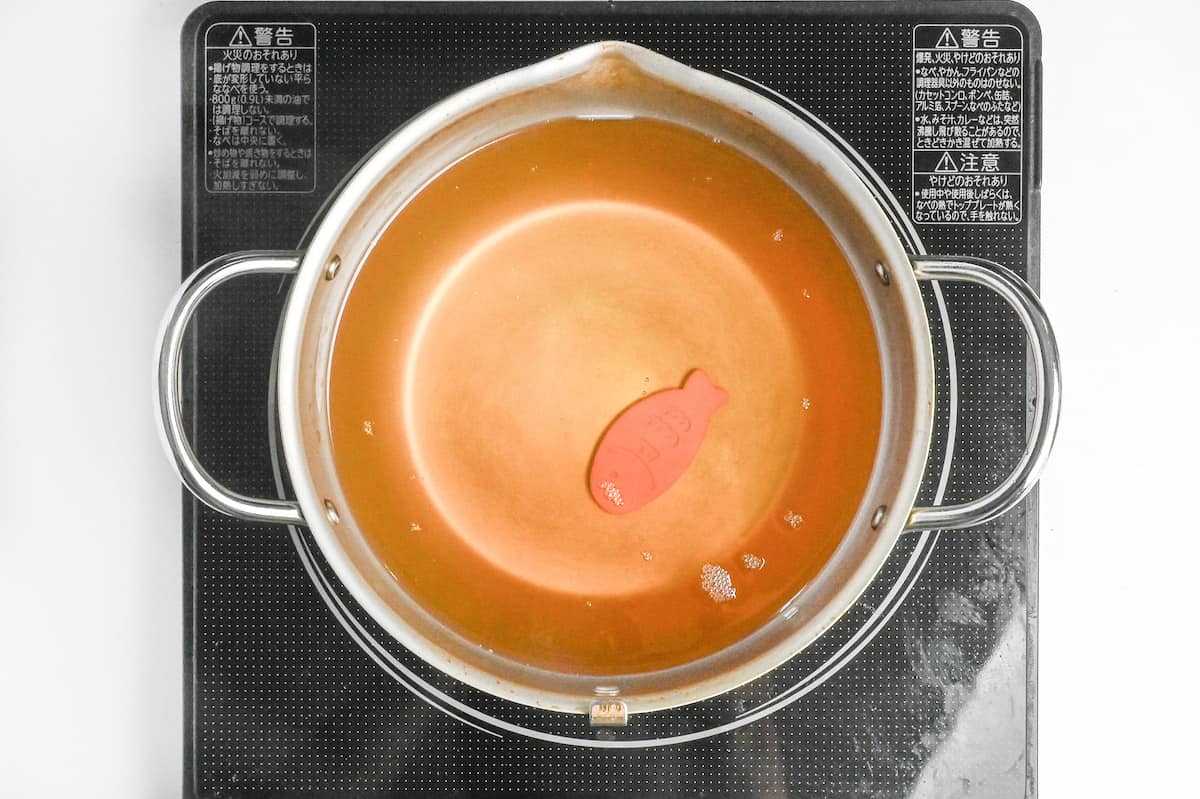
i. Preheat the frying oil in a heavy pot 24cm to 27cm across, poured at least 5cm deep. The more heat the pot itself holds, the smaller the drop when the potato goes in.
Set thin rounds, diagonal slices, and sticks at 165°C to 170°C (329°F to 338°F), and thick rounds at 160°C (320°F). A clip-on frying thermometer is the surest way to hold it.
Tip: Only the batter gets chilled. Use the potato at room temperature, because the heat of the oil takes a long to reach the center of a cold piece, resulting in a surface burns while the center is undercooked. The few minutes in cold water do not count as chilling it.
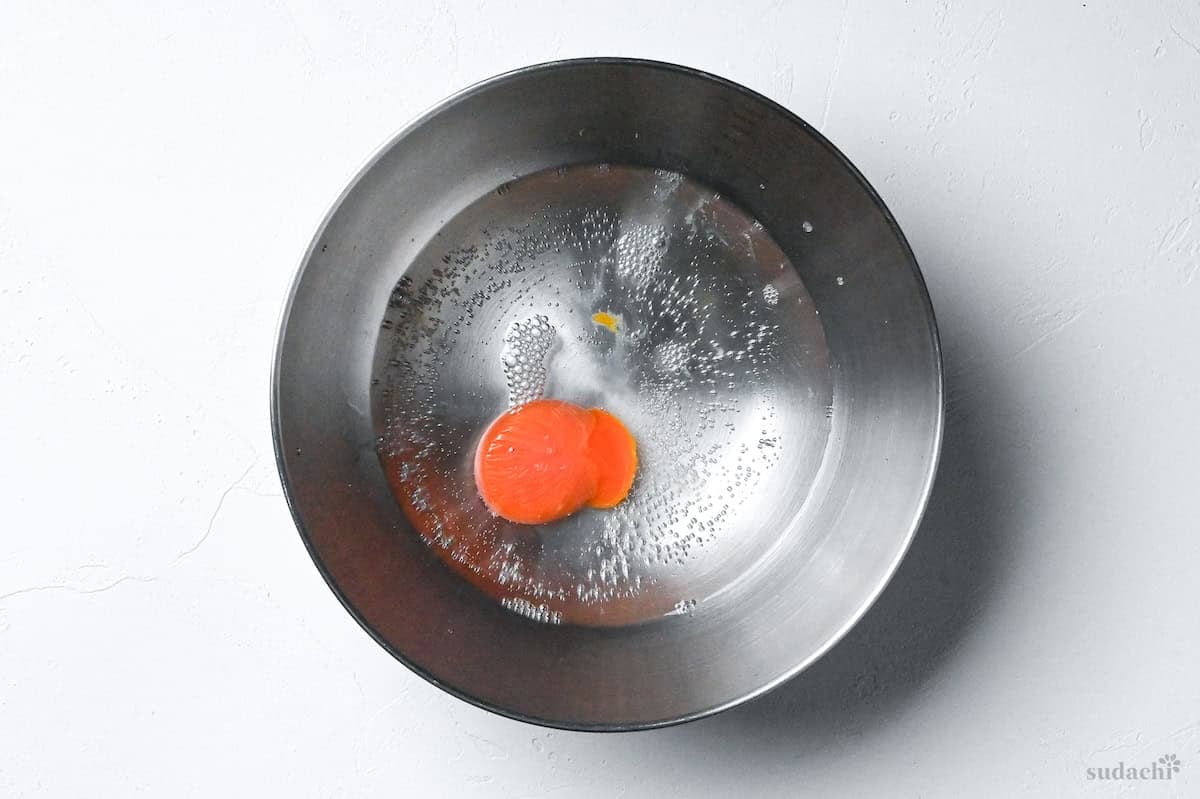
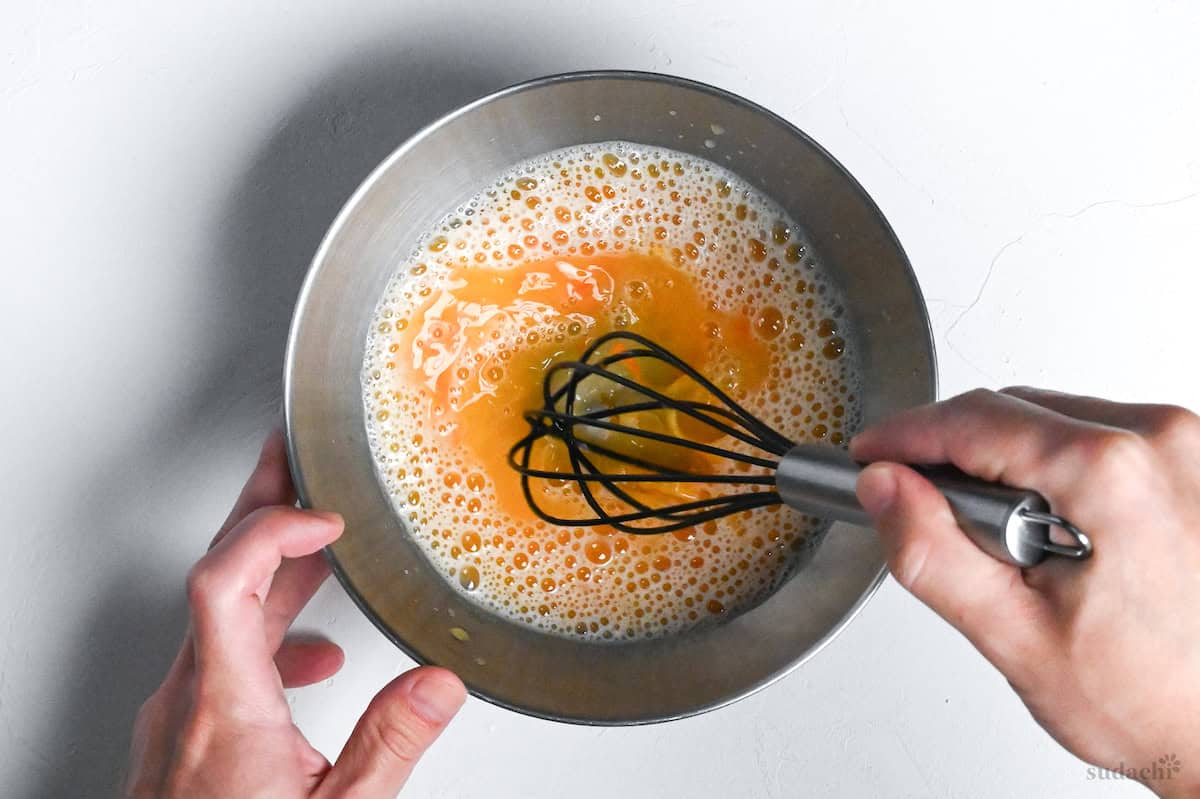
i. Put a little of the chilled water in a bowl, break the egg yolk into it, and work them together well. Then add the rest of the cold water and the chilled sparkling water.
ii. Add the chilled flour and starch to the water in 3 goes. Cut them in with chopsticks, drawing a cross through the bowl. No whisk. No overmixing.
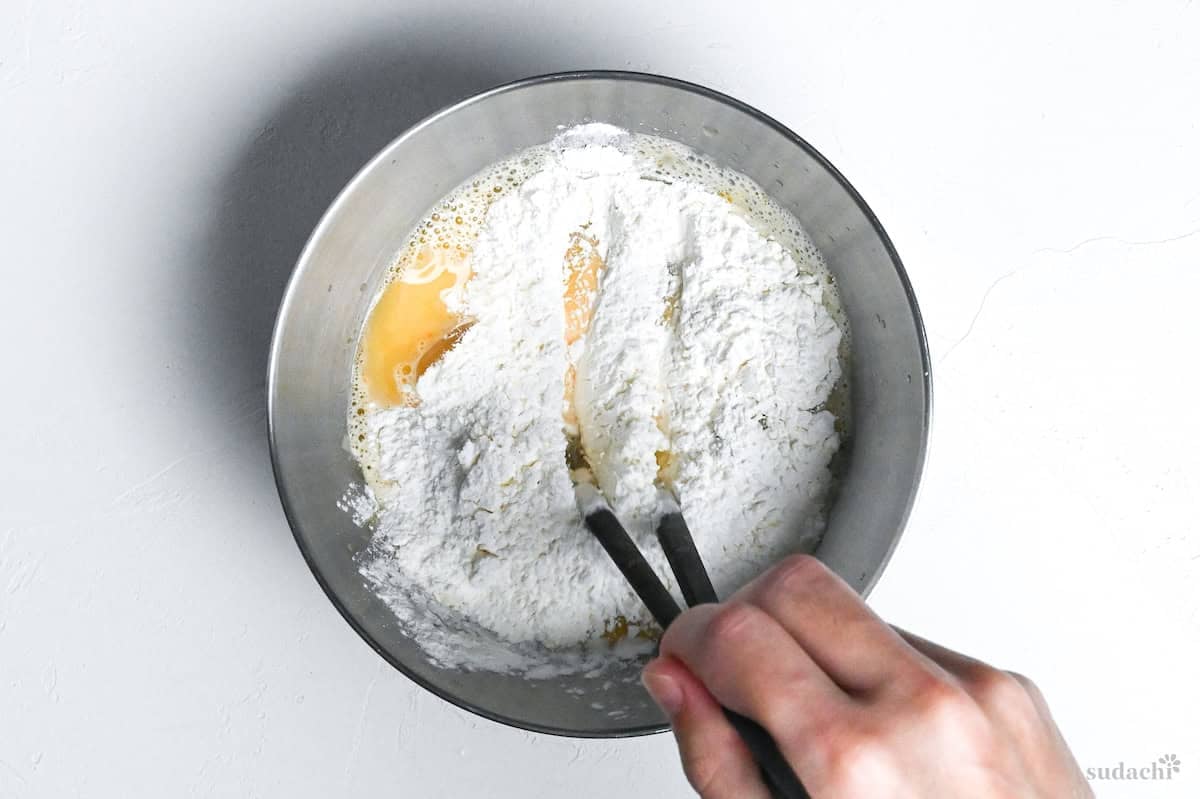
iii. Stop while the lumps are still there. If you want it colder, drop in 2 ice cubes and stir.

Stirring in circles stretches the batter and lines the gluten up. Cutting motions leave the mesh unstretched. And the inside of a lump is still dry flour, so it swells all at once in the oil and leaves the coat uneven. That unevenness is what crisp actually is, and a smoothly mixed batter never gives it.
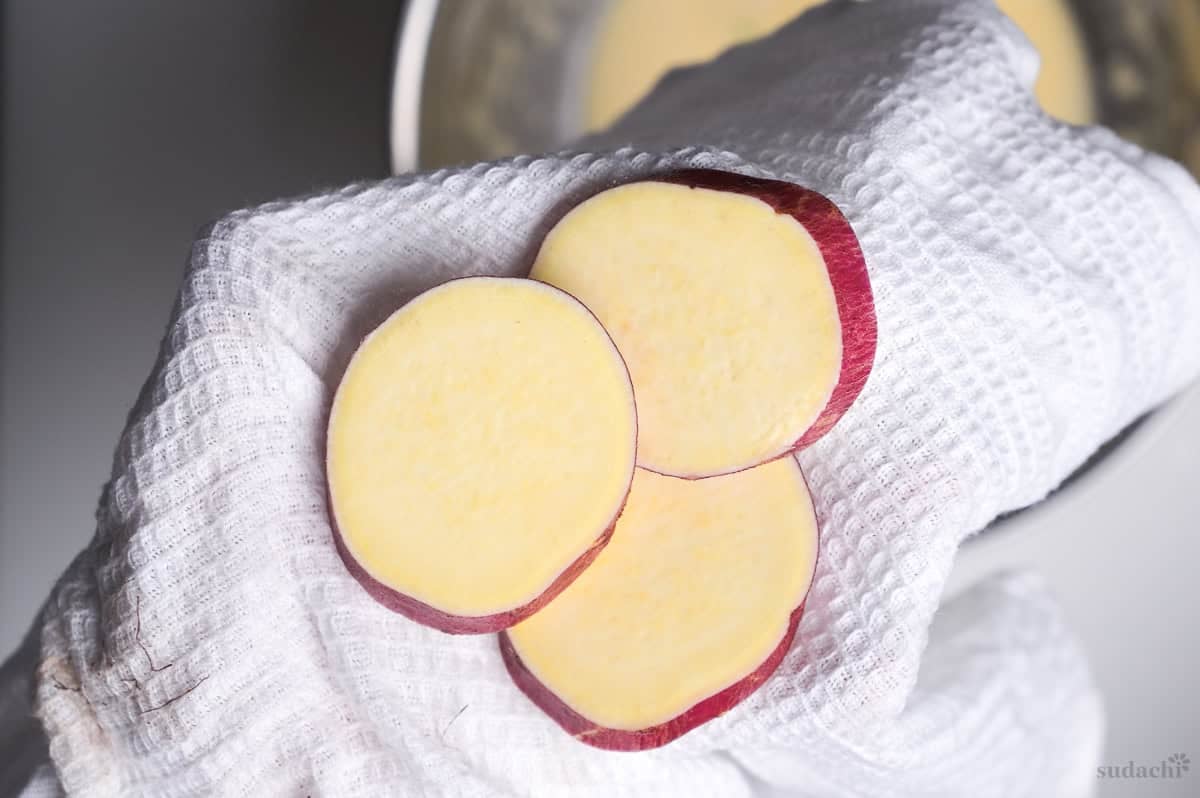
i. Pat the sweet potato pieces completely dry with a paper towel or clean tea towel.
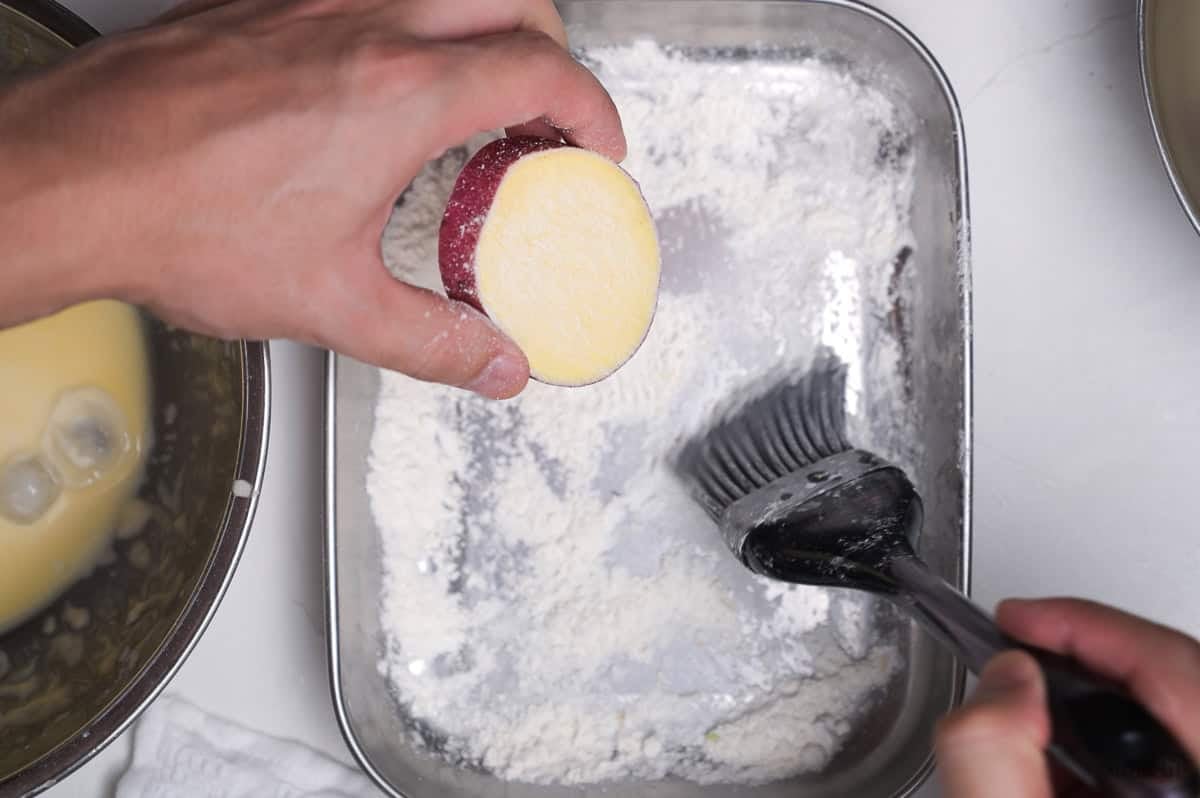
ii. Dust them thinly with cake flour and knock the excess off firmly. A thick layer of dusting flour gelatinizes into a white, hard skin.
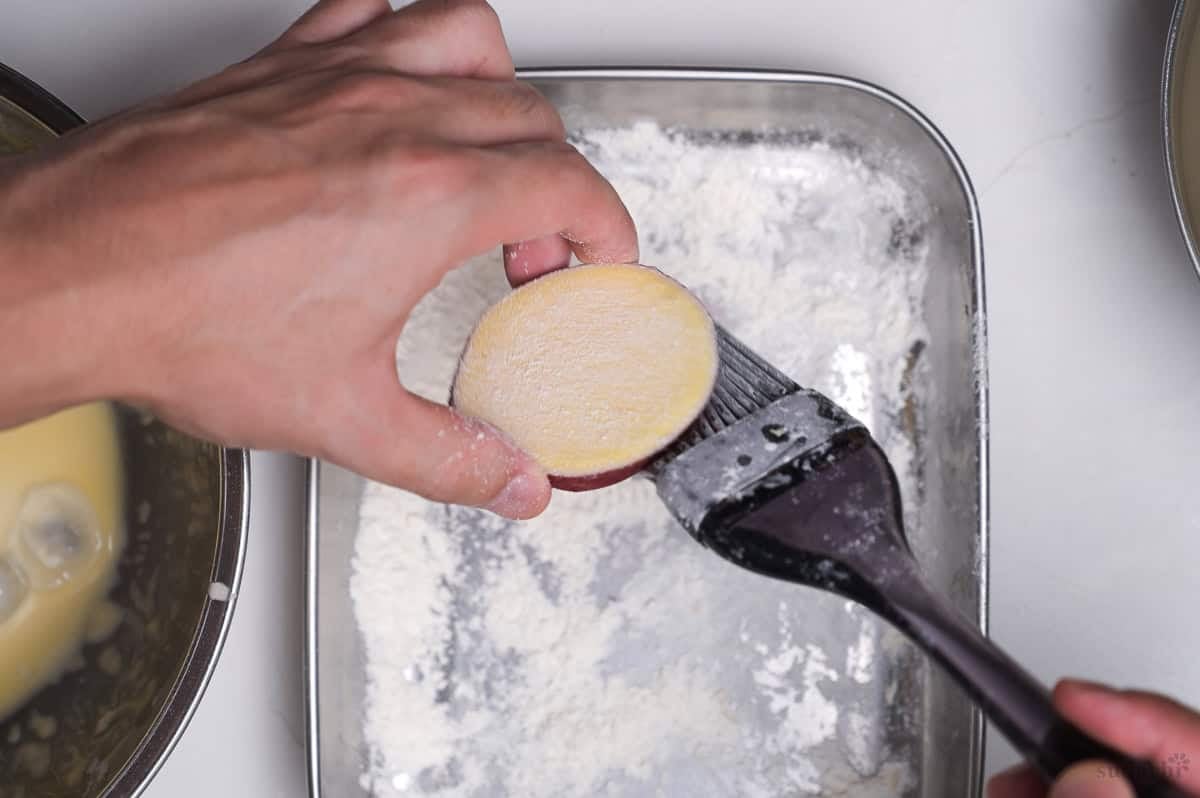
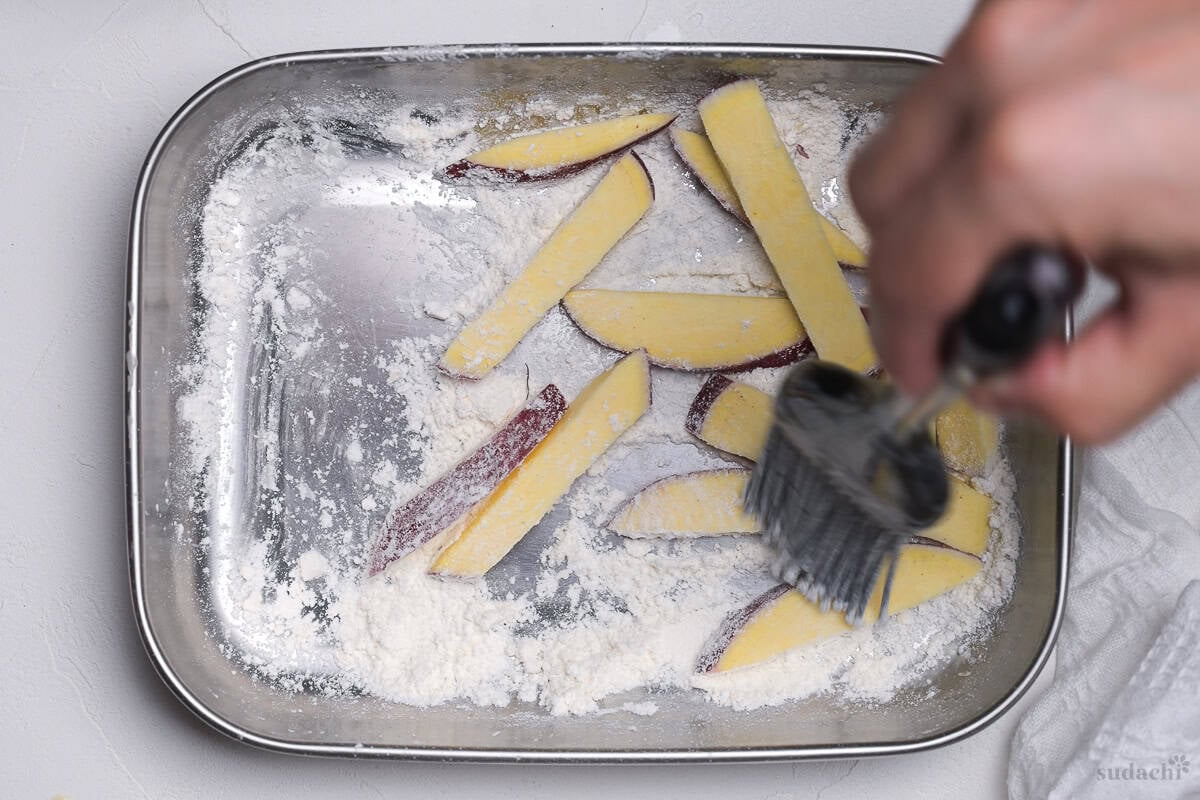
iii. Run each piece through the batter until it is wrapped with no gaps, and put it straight into the oil. That is the move that keeps a sugary sweet potato out of direct contact with the heat of the oil.
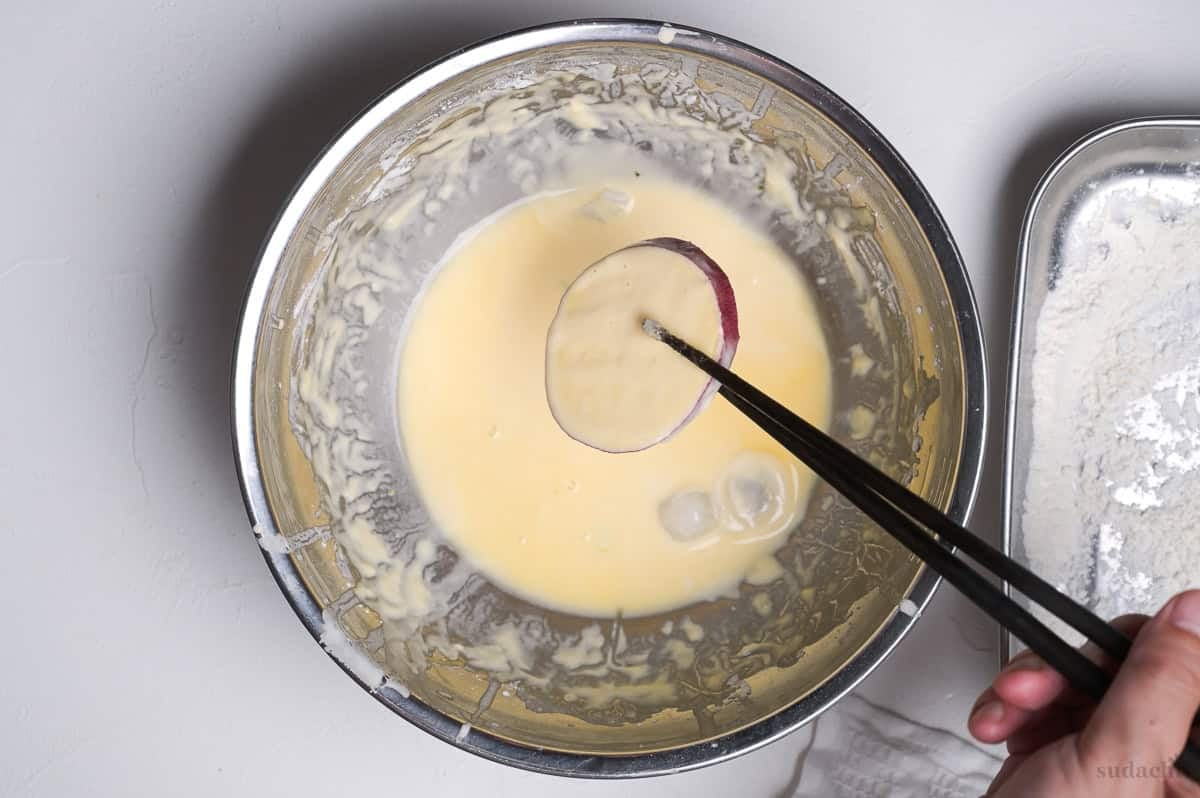
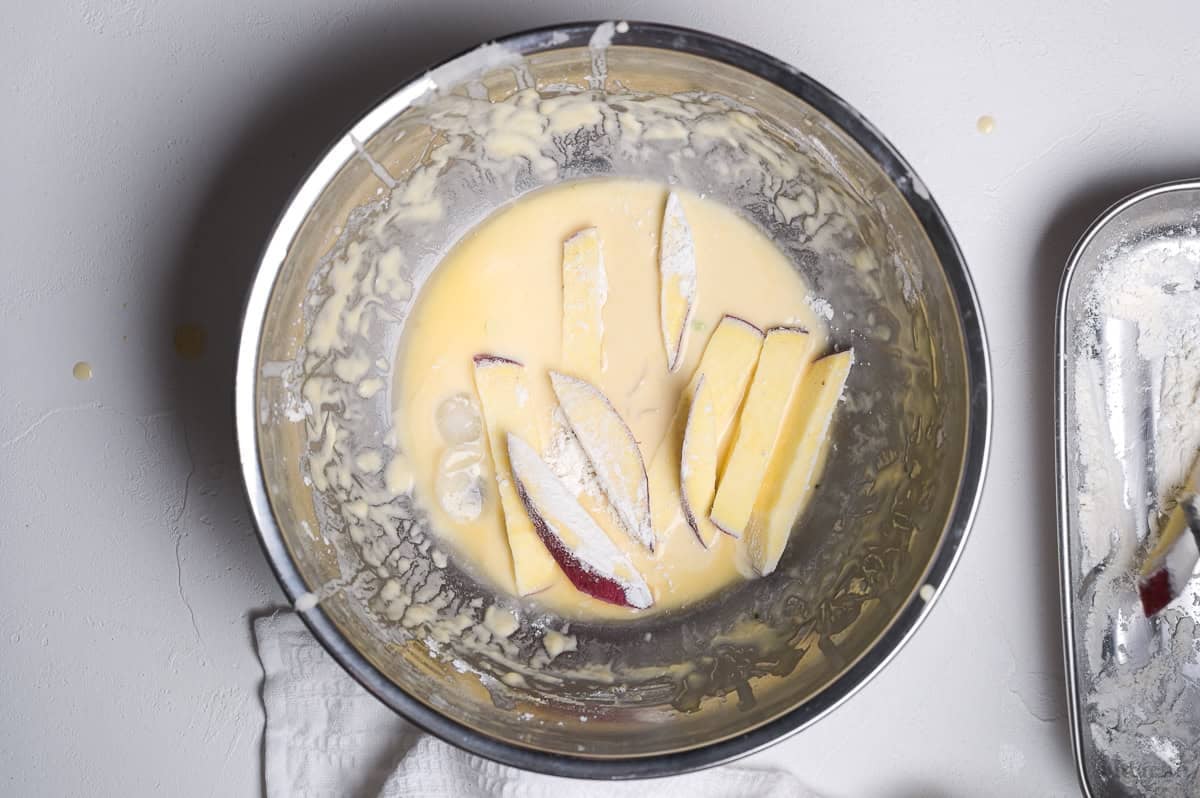
iv. If you added ice, do not scoop the ice itself. An unmelted cube hitting the oil throws off a burst of steam and spits hard.
The batter is a moisture barrier, so the potato steams in its own water and the center never passes 100°C (212°F). A hotter pot does not change how the center cooks. Oil heat is a number for the batter, time is a number for the potato. Inside 160°C (320°F) oil, the potato takes the road of a baked sweet potato.
i. Drop a bead of batter in to read the oil. At 165°C to 170°C (329°F to 338°F) it sinks about halfway and comes straight back up. At 160°C (320°F) it goes near the bottom and rises slowly, over a few seconds.
ii. Thin rounds, diagonal slices, and sticks go 4 to 5 minutes at 165°C to 170°C (329°F to 338°F), turned once along the way.
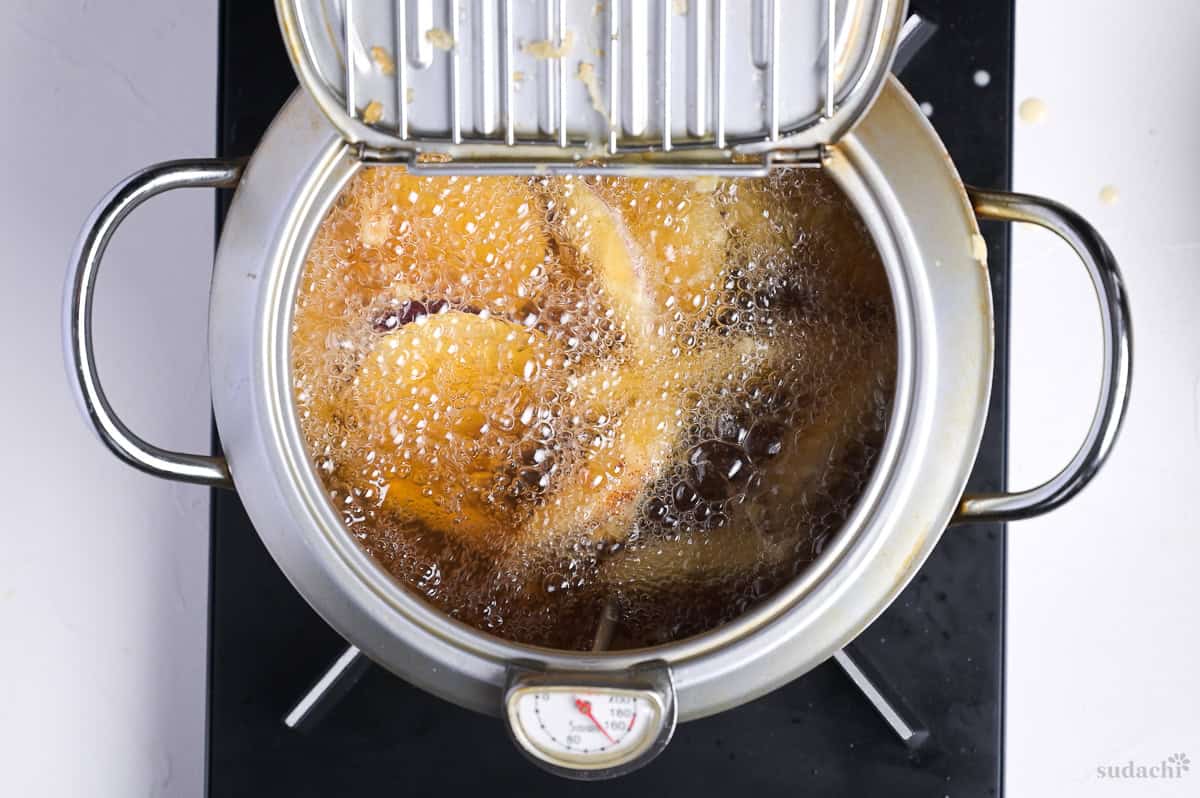
iii. Thick rounds go 10 to 12 minutes at 160°C (320°F), then raise the heat to 175°C to 180°C (347°F to 356°F) and give them 30 to 60 seconds of color before you lift them out. Stop at a light color. Push the color further and you are heading for scorched.
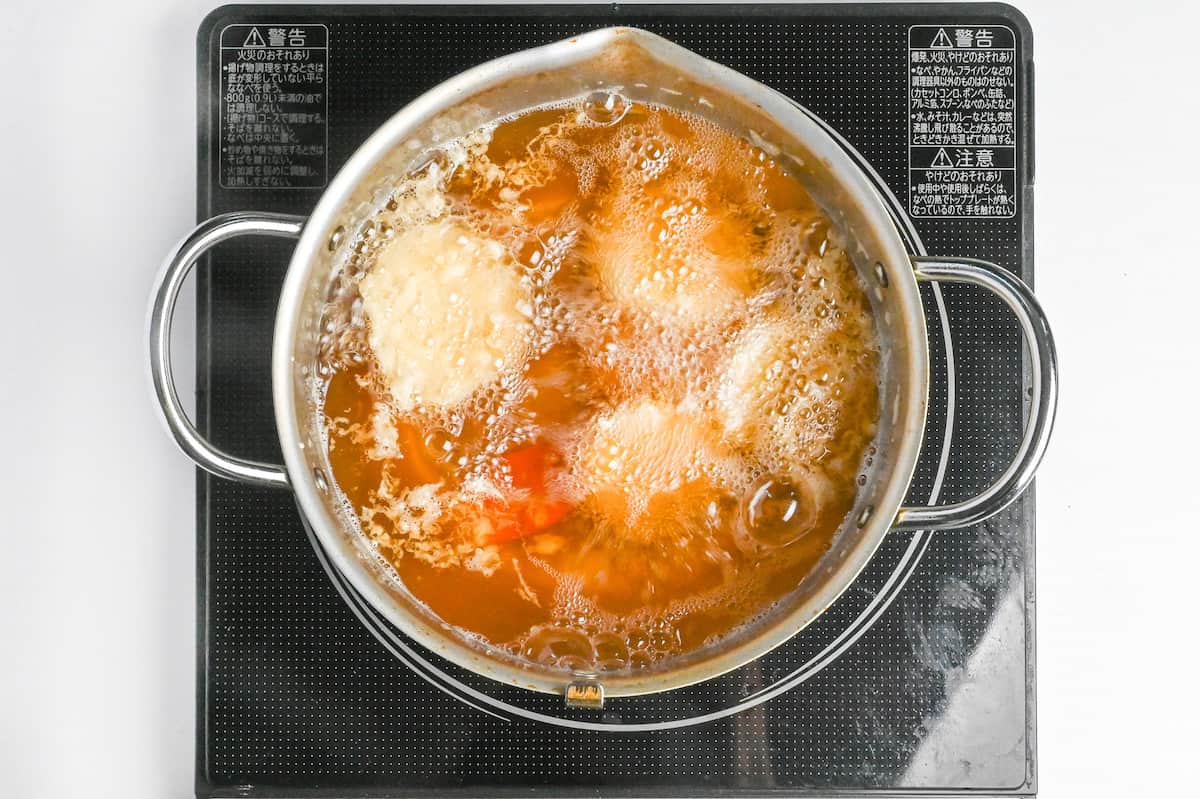
iv. Between batches, put the batter back in the fridge or the freezer. Lower the flame and wait for the oil to come back to its setting before the next round goes in. The potato pulls the oil down by 20°C to 30°C (36°F to 54°F), and going in before it recovers gives you soggy tempura. Left empty, the pot climbs too high, so the waiting is when the flame needs the most attention.
How to read the moment a piece is ready: 3 signs run across every cut.
- The bubbles turn fine and small.
- The piece has been floating for a while.
- The sound shifts from a low, heavy churn to something high and light.
- Thick rounds get 1 more check on top of those 3, a bamboo skewer, which should slide straight through the center.
Starch must gelatinize before beta-amylase can reach it, and the enzyme turns that starch into maltose, which is the sweetness. It peaks at 60°C to 65°C (140°F to 149°F) and quits above 75°C (167°F), so sweetness is time in that band. Low oil heat buys time without burning the surface, which is why thick rounds take 10 to 12 minutes.
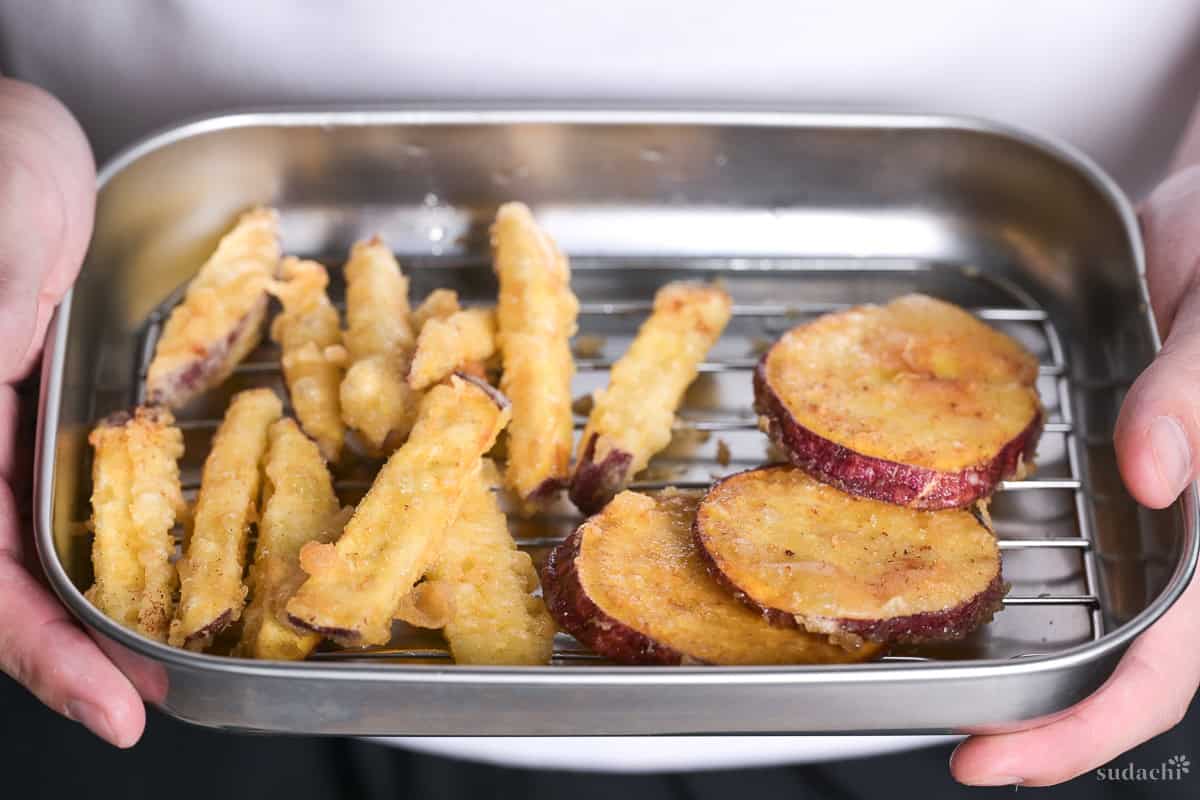
i. Lift the pieces onto a rack to drain. Do not stack them. Any face that overlaps another steams and goes limp.
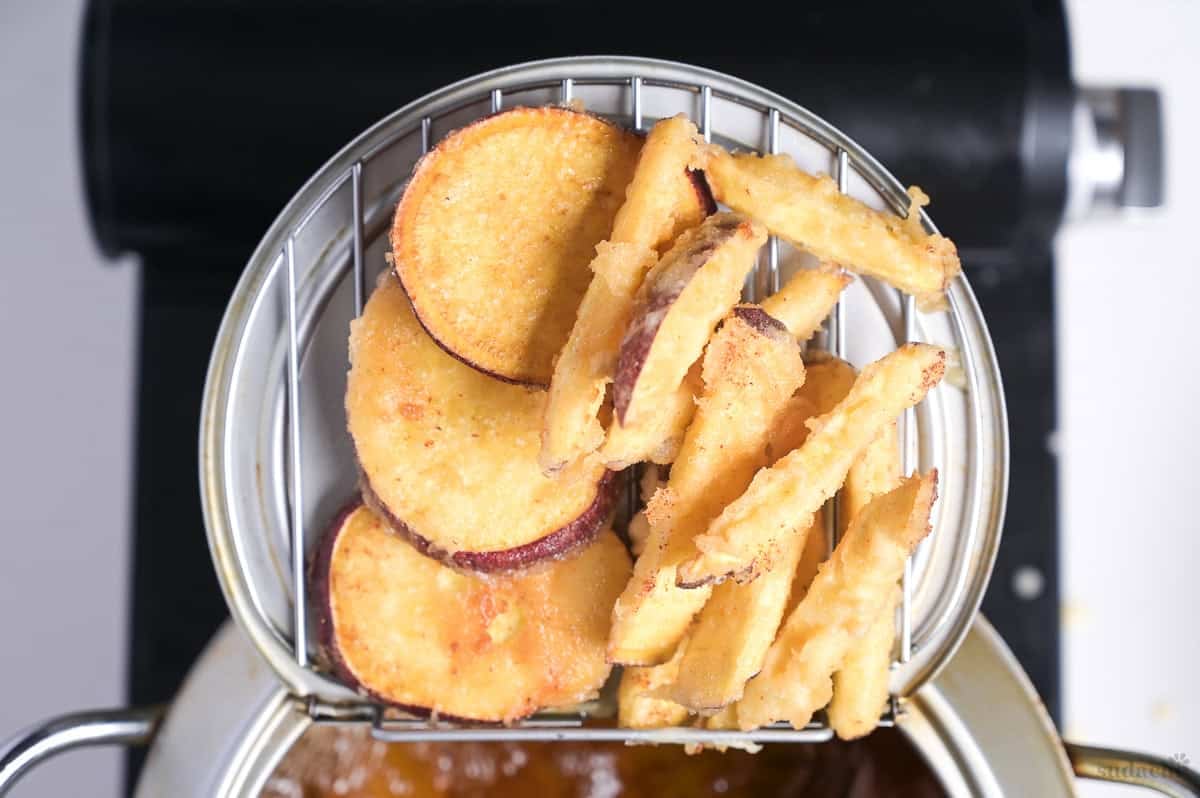
ii. Salt them lightly while they are hot. The film of oil is still alive then, and that is when salt holds best.
iii. Serve them right away, while the coat is crisp. Put the rest of the salt in a small dish alongside.
As it cools, steam leaving the potato works into the coat and softens it, and the starch retrogrades into a tight, firm texture. This dish only falls off from here. The few paces from the pot to the table are the part of this recipe to hurry most.

Tips for the Best Japanese Sweet Potato Tempura
- Let the oil temperature climb back before the next round. Sweet potato pulls the temperature down hard the moment it goes in. Load the next batch too early and the batter drinks oil instead of crisping. Leave the pan on the flame with nothing in it and the oil overshoots, and a vegetable this sugary burns first.
- If you are cutting thick rounds, let the variety decide first. The drier, chestnut-textured varieties carry a thick round best, holding their shape and staying fluffy through a long, low fry. The moister, sweeter ones turn heavy at that thickness, and they show better in thin rounds or diagonal slices. All 3 cuts work, but that is the way I lean.
- Slide each slice into water the moment it leaves the knife. Cut surfaces start reacting with air right away, and the yalapin and chlorogenic acid near the skin darken there first. Cut the whole potato and then fill the bowl, and the first few pieces come out dull under the batter. Set the water out before you pick up the knife. Start counting the soaking time from the last slice in.
How you fry decides how much of the sweetness already sitting in the potato you actually get out. What settles that is not your hands but the oil temperature and the clock.
Storage & Meal Prep
Fridge: Cool it, seal it, and eat it the next day. Steam from the potato softens the batter.
Freezer: Past that, freezing is the route. Cool fully, blot the oil, wrap pieces individually, press out the air.
Meal prep: Battered pieces will not keep, the batter only works cold. Fry on the day you eat.
Reheating: Air fryer at 180°C (356°F) for 5 minutes. Dry heat revives the batter.
What to Serve With Sweet Potato Tempura
- Silky Chawanmushi (Japanese Savory Egg Custard)
- Everyday Miso Soup
- Perfect Japanese Rice
- Octopus and Cucumber Sunomono
Japanese Sweet Potato Tempura Troubleshooting
Almost always time. A thick round needs 10 to 12 minutes at 160°C (320°F) to cook through to the middle, and pulling it early gives you color and nothing else. If the piece is still in the oil, chase it with time and not with heat. Raising the temperature only pushes the outside along, and the center stays where it was. Do not lift it until a bamboo skewer slides straight through the middle.
Water is still sitting on the surface of the potato. In the oil it turns to steam in an instant and lifts the batter away from underneath. After the soak, pat the slices with paper towels, spread them in a colander for about 5 minutes to dry, then dust them thinly and evenly with flour. Fish the loose batter out of the oil with a spider strainer. Left in there it burns, and it carries color and smell into the next batch.
It is 1 of 3 things. The batter was overmixed, the batter had gone lukewarm, or too much went into the pot at once. Cut through it with chopsticks and leave the lumps, park the waiting batter back in the fridge, and cover no more than half the surface of the oil at a time. If thick rounds are still in the pot, raise the heat to 175 to 180°C (347 to 356°F) for a last 30 to 60 seconds and the oil drains back out. Thin slices no longer have that time, so fix it from the next batch on.
More Japanese Deep-Fried Recipes
Same pot, same thermometer, different coating. Pick whatever you are heating the oil for next from my Japanese Deep-Fried Classics.
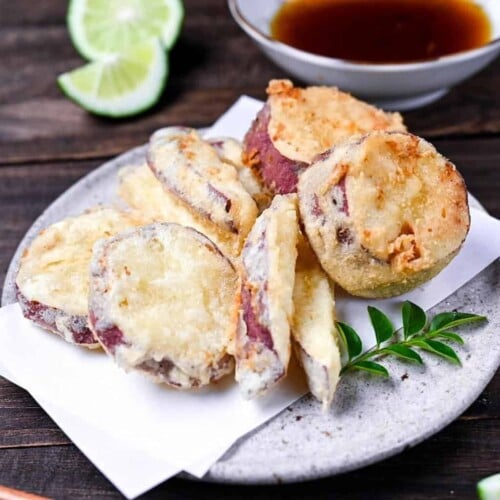
Sweet Potato Tempura (3 Japanese Ways to Make)

Ingredients
Sweet Potato
- 600 g Japanese sweet potatoes a cream-fleshed variety is the closest match
- cooking oil neutral with high-smoke point
Tempura Batter
- 75 ml cold water thoroughly chilled
- 50 ml carbonated water thoroughly chilled
- 15 g cornstarch
- 75 g unbleached cake flour or pastry flour, low-protein, around 7-8%
- 1 egg yolk or ½ tbsp Japanese mayonnaise for 1 yolk
- unbleached cake flour for dusting
- 2 ice cubes optional
To Serve
- ½ tsp salt
The ingredient brands and tools I trust are in my Japanese pantry guide and my cooking tools guide.
Can’t find certain Japanese ingredients? See my substitution guide here.
Instructions
- Chill 75 ml cold water and 50 ml carbonated water in the refrigerator for 30 minutes. Sift 15 g cornstarch and 75 g unbleached cake flour into a bowl and chill the bowl for 30 minutes in the freezer.

- While they chill, scrub 600 g Japanese sweet potatoes and trim 1 to 1.5 cm off each end. Leave the skin on and cut to your chosen shape. Thin rounds or diagonal slices 8 to 10 mm, thick rounds 25 to 30 mm, sticks 10 to 12 mm square. Each stick keeps 1 face of skin.

- Drop the pieces into cold water as you cut, 3 to 5 minutes for the thin cuts and 5 to 10 minutes for thick rounds. Do not soak them longer than this.
- Pour cooking oil into a heavy pot and start heating. Set 165 °C (329 °F) to 170 °C (338 °F) for thin rounds, diagonal slices and sticks, and 160 °C (320 °F) for thick rounds. Keep the cut sweet potato at room temperature.
- Pour the chilled waters into a bowl and add 1 egg yolk. Gently whisk until incorporated.
- Add the chilled flour in 3 additions and mix with chopsticks, drawing crosses and cutting through the batter. Do not use a whisk here and stop while there are still small lumps of flour. Stir in 2 ice cubes to keep it extra cold.
- Pat the sweet potato thoroughly dry with paper towels. Dust it thinly with cake flour and knock off the excess.
- Dip each piece into the batter and coat it all over with no gaps, then lower it straight into the oil.
- Fry thin rounds, diagonal slices and sticks at 165 °C (329 °F) to 170 °C (338 °F) for 4 to 5 minutes, turning once. Fry thick rounds at 160 °C (320 °F) for 10 to 12 minutes turning half way through, then raise the oil to 175 °C (347 °F) to 180 °C (356 °F) for 30 to 60 seconds and lift them out at a light color.
- Drain in a single layer on a wire rack. Sprinkle half of the ½ tsp salt over while hot. Move the pieces to a plate while the coating is still crisp and serve the rest of the salt in a small dish. Enjoy!

I made this for my family tonight. The tempura batter turned out light and crispy, like how it’s made in a restaurant. Thank you for putting out this recipe. I needed to make this without egg due to an egg allergy in the family. Instead of mayo, I used coconut yogurt (that’s just what I had) and it still turned out delicious. I will make this again and again!
Hi Katie,
So glad you enjoyed the recipe! I’m really surprised to hear that it works with coconut yogurt, thank you so much for sharing!
Best wishes,
Yuto
I made it using coconut yogurt instead of egg/mayonnaise and it turned out really well! I shouldn’t have covered the pieces with so much batter though, I ran out and had to make another bowl, then still ran out of that before battering and frying all the pieces…
Hi Jay,
Thank you for trying this recipe and sharing your experience! I’m glad to hear it worked well with coconut yogurt as a substitute! For the batter, I’ll add tips about applying a thinner coating – I’m not sure if coconut yogurt makes the batter thicker compared to eggs, but your feedback is really helpful. I appreciate you sharing this experience as it will help others who want to use similar substitutes!
Yuto
This recipe is easy to follow and turns out perfect every time. Often I use the stick version and put them in banh mi but the rounds are sooo good for a nice snack on their own.
The mayo trick is such a good one and really keeps these feeling like restaurant style tempura! Thank you for sharing such a tasty recipe.
Hi Birdy,
Thank you so much! Hearing that it comes out right every time is what makes all the recipe testing worth it! Nothing better than hearing a recipe has stuck around in someone’s kitchen that long. And the banh mi idea sounds very interesting, makes me wanna try next time! 🙂
Yuto