



Featured Comment
Many steps and some waiting make this recipe feel difficult, but the result is SO worth it! The shrimp has great flavor, isn’t fishy tasting, and the batter crisps up perfectly.
★★★★★
– Brettled
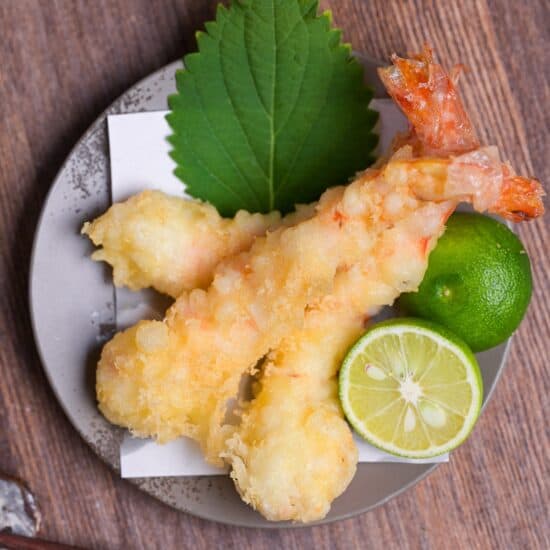
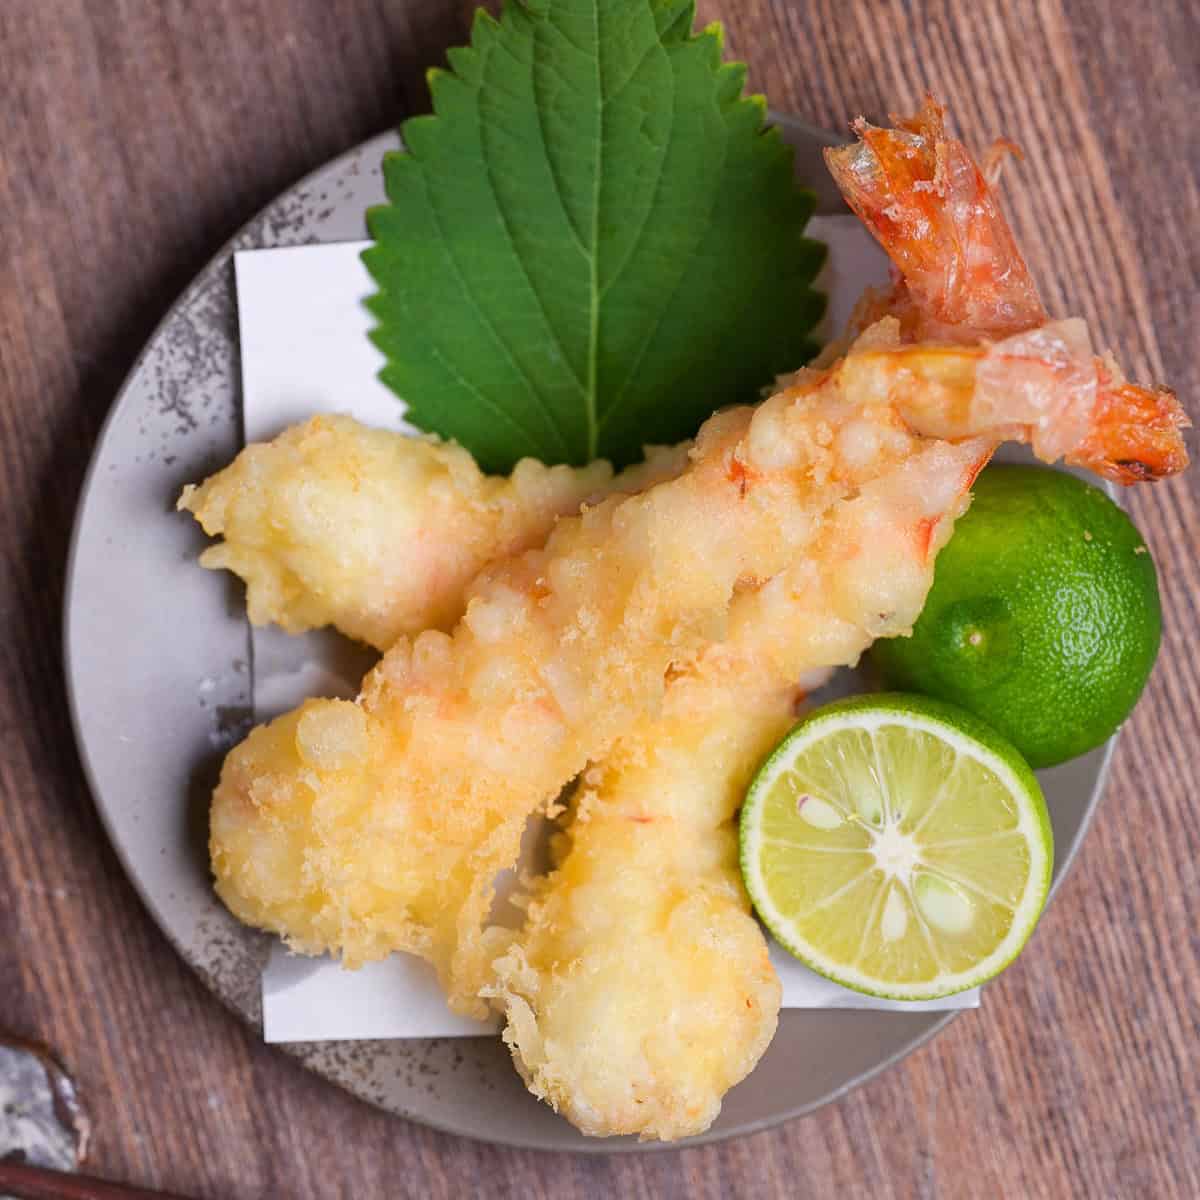
When you crack through that thin crisp coating, the plump shrimp inside gives way with a juicy bounce and floods your mouth with sweetness. That straight shot of shrimp flavor is the best part of ebi tempura.
No heavy sauces, no thick batter. Just a pinch of salt or a quick dip in tentsuyu lets the taste come through clean.
Shrimp tempura
Recipe Snapshot
- What is it? Shrimp tempura is a Japanese classic, prepped shrimp dipped in a thin batter and flash-fried in hot oil, then eaten with a pinch of salt or a dip of tentsuyu.
- Flavor profile: The star of shrimp tempura is the shrimp itself, its natural sweetness and its tender bite. The batter stays unseasoned, light, and delicate so the shrimp leads.
- Why this recipe works: Keeping the batter cold and barely mixed holds the gluten back, so the water and oil trade places cleanly as it fries and the crust comes out light, never heavy.
- How to make it: Prep the shrimp first, straightening the muscle and drying the tail, then coat each in cold batter and fry at 180 to 190°C (356 to 374°F).
- What to expect: The prep and batter take handwork, but frying is quick. Figure about 1 hour start to finish with chill time, and it makes 10 pieces. Shrimp prep is the tricky part.
What Is Shrimp Tempura
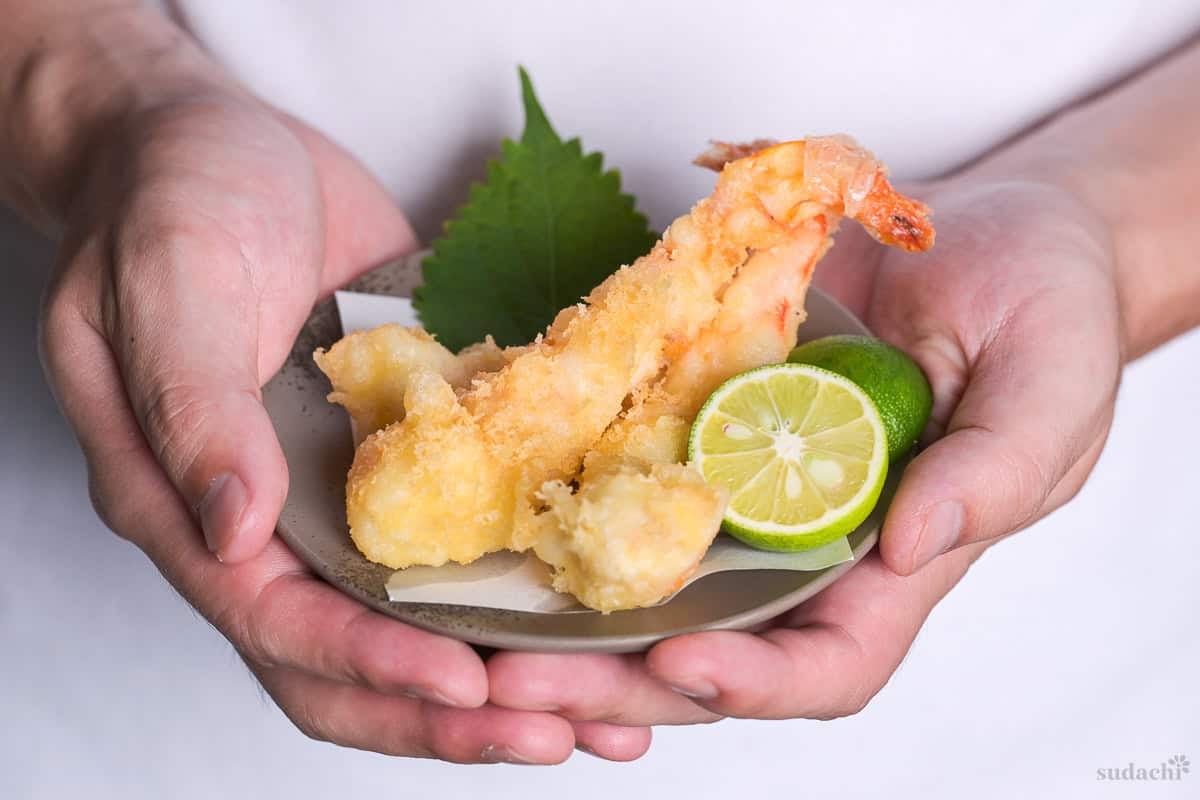
Shrimp tempura or ebi ten (えび天) is a Japanese favorite, prepared shrimp given a quick dip in a thin batter before a fast fry in hot oil. The batter stays light and plain on purpose so the shrimp itself stays the star, locking in its natural sweetness at the perfect moment. Eat it on its own, or over udon, soba, or steamed rice as tendon, or tucked into an onigiri as tenmusu.
Tempura (天麩羅) is a signature Japanese cooking style that coats seafood or vegetables in a thin flour-and-water batter then fries them quickly in oil. It is different from panko-crusted ebi fry, which belongs to Western-style cooking (yoshoku), or from karaage, which uses no batter at all. The point is always to highlight the ingredient’s own flavor. Shrimp tempura is among its most beloved versions.
The exact origin of the word tempura has no single agreed story, and Japanese sources simply list multiple theories. The most widely accepted account traces it to 16th-century Portuguese traders who brought the technique to Nagasaki. The name is thought to come from the Latin or Portuguese words têmporas or tempero. By the Edo period (1603-1868) it had become popular street food fried in sesame oil. Over time, luxurious variations appeared, such as kinpura made with egg yolk and ginpura made with egg white.
My version of ebi tempura uses only egg yolk instead of whole egg, simply because it is easier to handle when mixing a small batch of batter at home. I aim for a light, delicate coating rather than anything thick or aggressively crisp. That way the deep sweetness and aroma of the shrimp come through cleanly instead of being hidden. The batter is only a thin veil that supports the shrimp. The shrimp is always the main character.
Ingredients for Ebi Tempura
How to Choose Shrimp
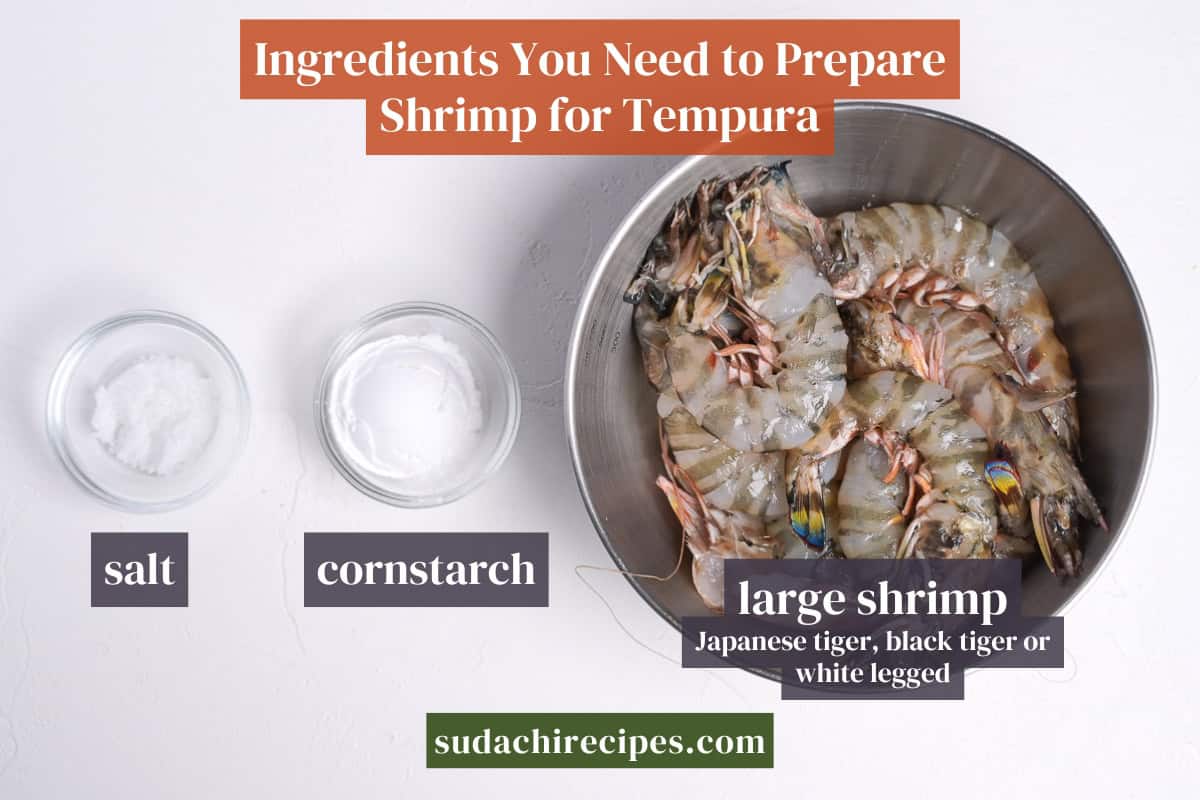
- Shrimp: Go for large shrimp with real flavor of their own. In Japan, kuruma ebi (Japanese tiger prawn) sits at the top for sweetness and snap, but it costs accordingly. For cooking at home, black tiger prawns are the sweet spot, with the thickness and firmness you want and a good balance of price, availability, and taste. Whiteleg shrimp (vannamei) is cheaper and easy to find, but the meat is thinner and softer. Outside Japan, I’d reach for the peeled black tiger prawns or the tiger prawns at an Asian grocery. Look for a large size around 16/20 (the number is the count of shrimp per pound), so they have presence on the plate and something to bite into.
What you will need for the batter
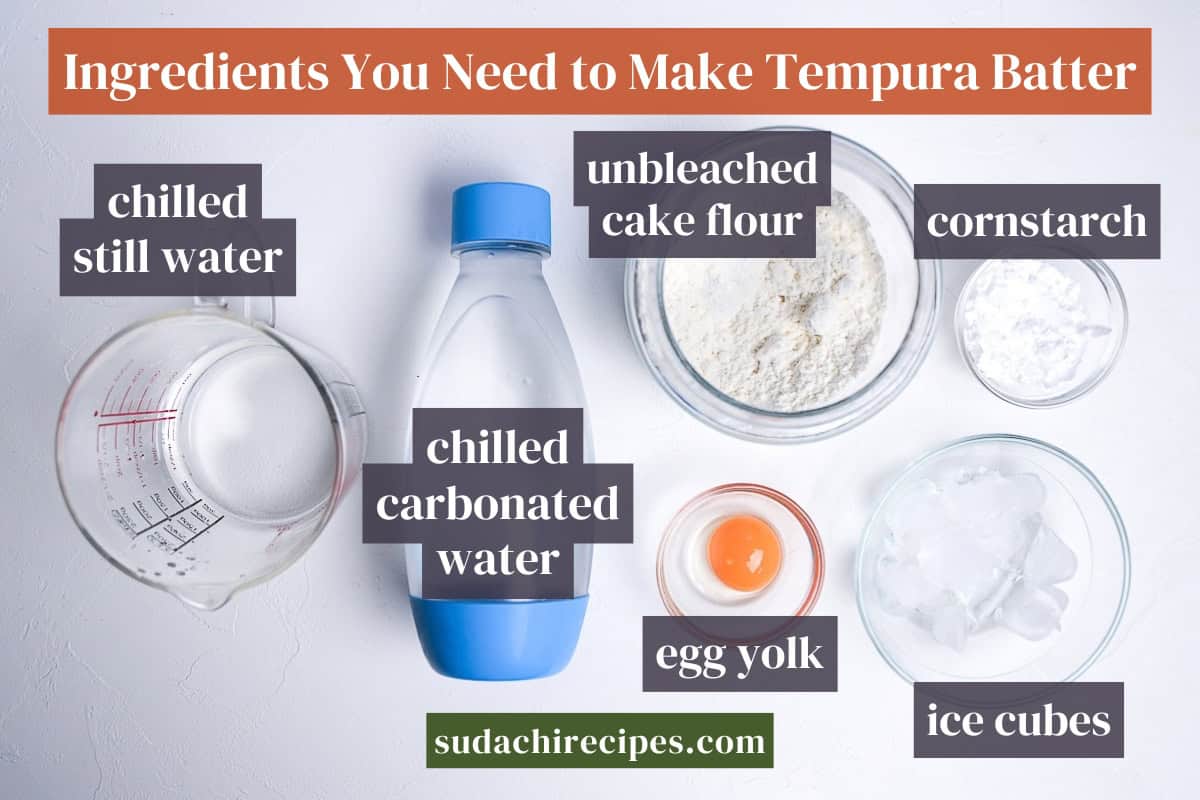
- Cake flour: For the batter I use a low-protein cake flour, around 7 to 8 percent protein. The less gluten it can form, the lighter the crust turns out. In the UK or Australia, plain flour is close (protein runs a touch higher, but it works fine). If you use cake flour in the US, pick an unbleached one.
- Frying oil: Use a neutral oil with a high smoke point. Rice bran oil (my default), canola, or a plain vegetable oil all work. If you want a little extra aroma, you can blend in a small amount of sesame oil.
Substitution Ideas
- Cake flour → Unbleached cake flour, or all-purpose flour plus cornstarch: Even without tempura flour, a low-protein flour with a little cornstarch (about 2 parts all-purpose flour to 1 part cornstarch) gets you close to the same lightness. All-purpose flour on its own comes out a bit heavier. Avoid pancake mix, which is sweet and browns too much.
- Carbonated water → Ice water, or part vodka: Cold water on its own is plenty, but carbonated water goes even lighter thanks to the bubbles, and a splash of vodka keeps the crust crisp for longer. Don’t lean too hard on vodka though, it evaporates at a lower temperature and turns the crust thicker and firmer, drifting away from the light, authentic Japanese style. Whichever you choose, keep it ice cold.
- Shrimp → Kuruma ebi, black tiger, or whiteleg: These all swap in for one another. Sweetness and firmness run kuruma ebi, then black tiger, then whiteleg, and price and availability run the other way. Argentine red shrimp tends to go soft and watery once heated, so it is not a good fit for tempura.
- Egg yolk → mayonnaise, egg white, or beaten egg: If you are out of yolk, reach for ½ tbsp Japanese mayonnaise (the egg and oil are already emulsified, so the richness lands closest), 1 egg white, or ½ a small beaten whole egg.
- Egg → no egg at all: If you would rather skip eggs entirely, see my egg-free tempura batter recipe.
Have trouble finding Japanese ingredients? Check out my ultimate guide to Japanese ingredient substitutes!
How to Make My Ebiten
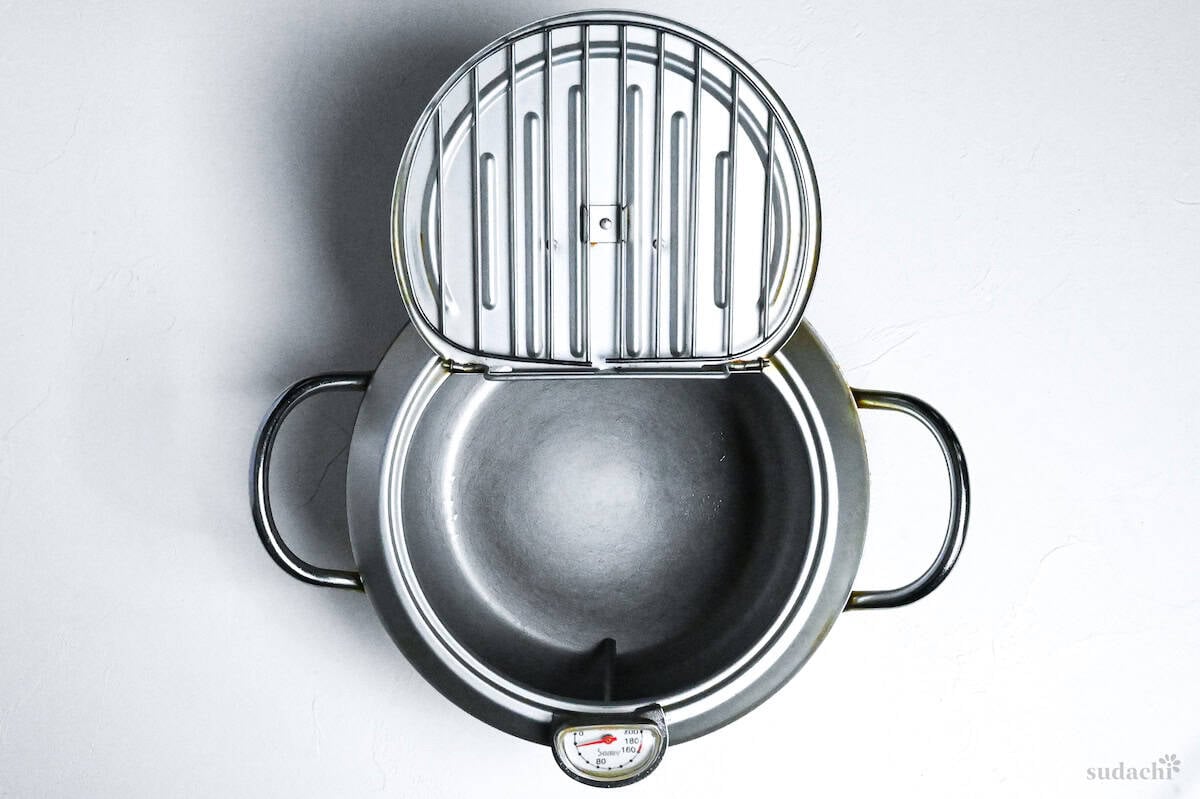
To develop this recipe, I used a tempura pot with built-in thermometer.
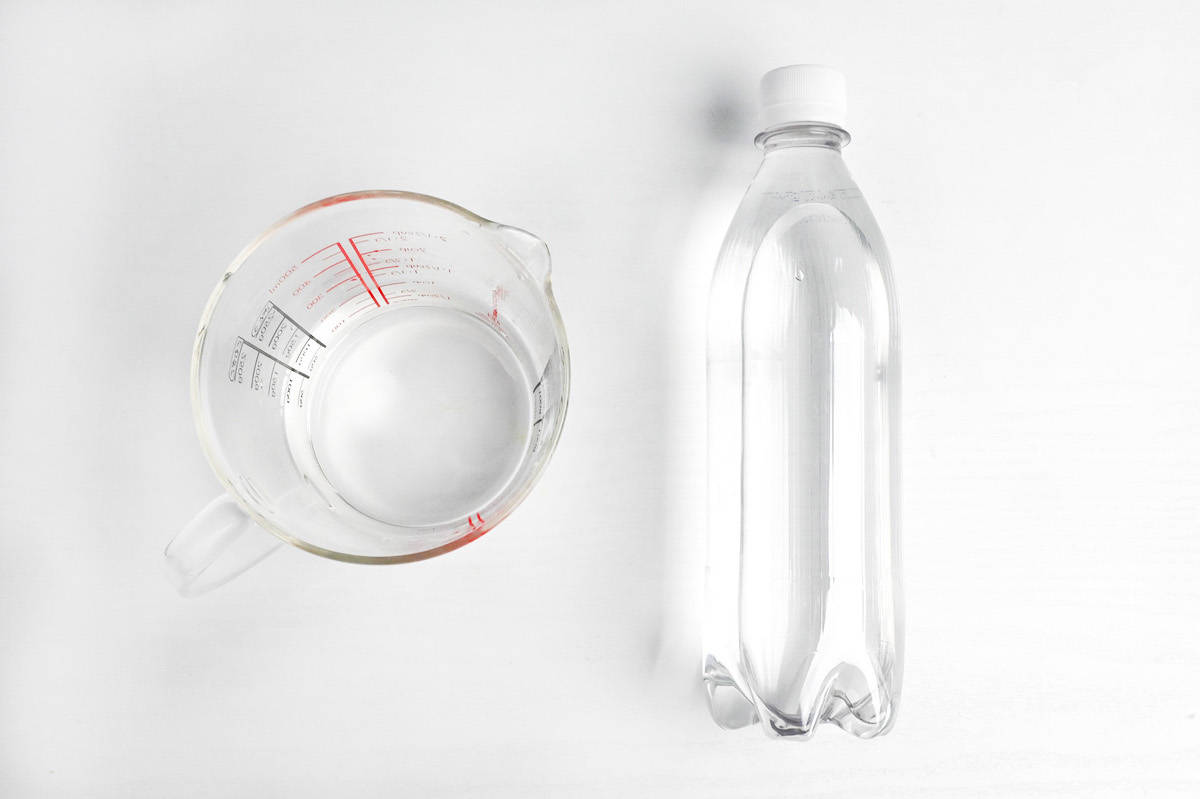
i. Chill the batter water and the unopened carbonated water together in the fridge for 30 minutes.
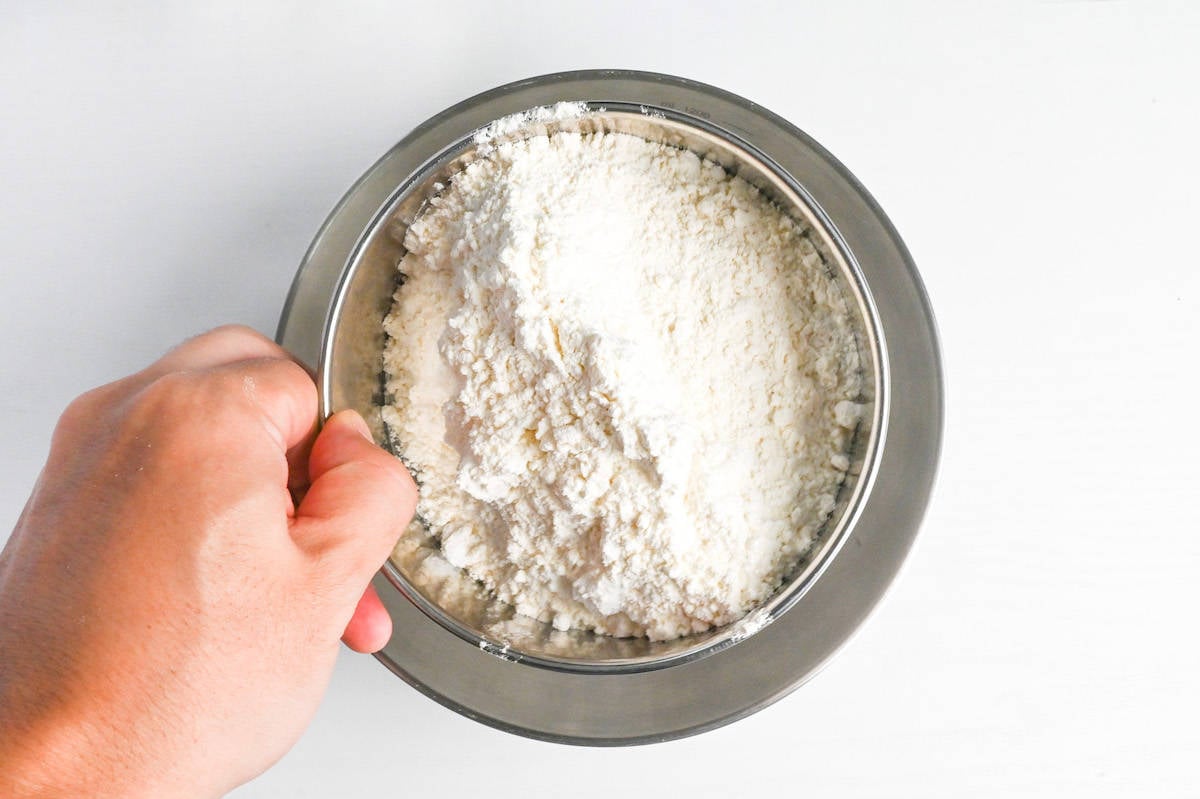
ii. Sift the cake flour and cornstarch into a bowl, mix, and chill in the fridge or freezer for 30 minutes.
iii. During these 30 minutes, finish all of the shrimp prep.
The colder the batter, the harder it is for gluten to develop, and the lighter the result. Carbonated water goes flat once you open it, so keep it sealed while it chills.
i. If you are using frozen shrimp, thaw them in a 3% salt solution. Shell-on shrimp take 10 to 15 minutes at room temperature, peeled ones 8 to 10 minutes. Pull them out while a slight core still remains in the center (skip this if your shrimp are raw or already thawed).
ii. Peel the shrimp, leaving the tail and the one segment just above it, and remove the vein.
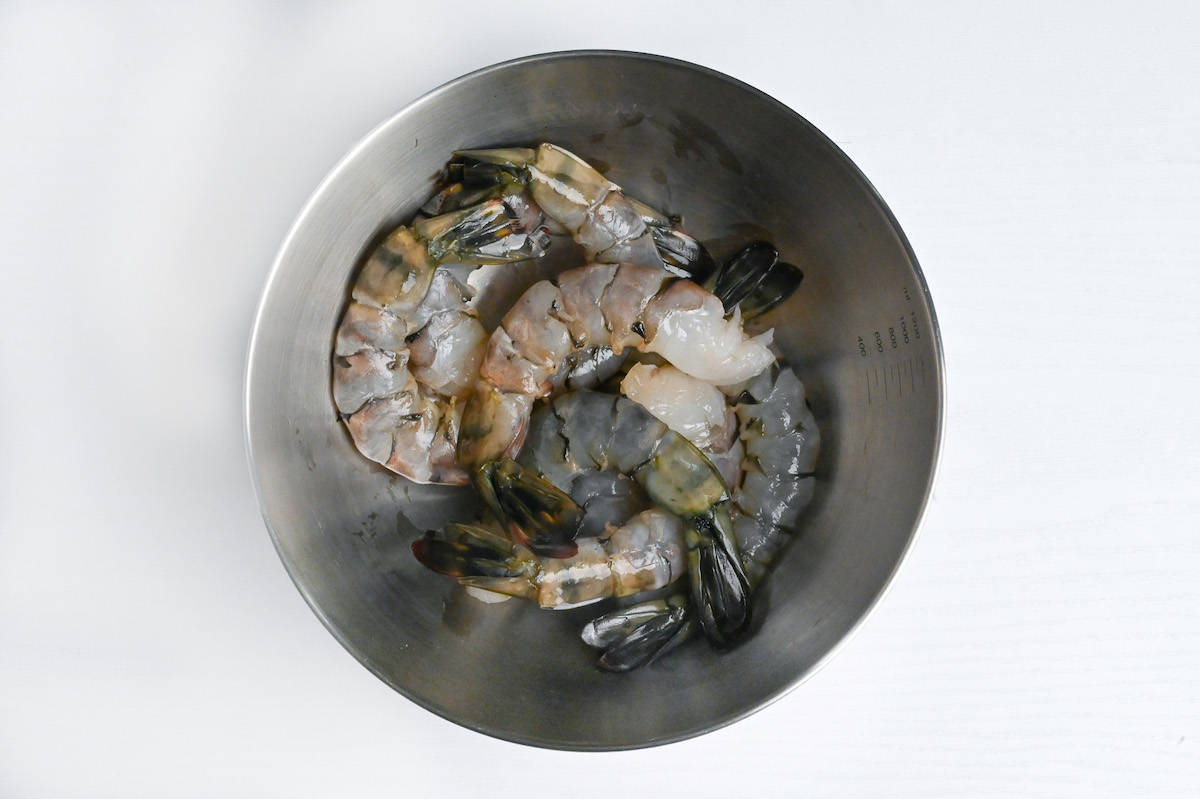
iii. Fold the tail, cut the tip off on a diagonal, and remove the pointed rostrum in the middle. Lay the knife flat against the cut end and squeeze the water out of the tail.
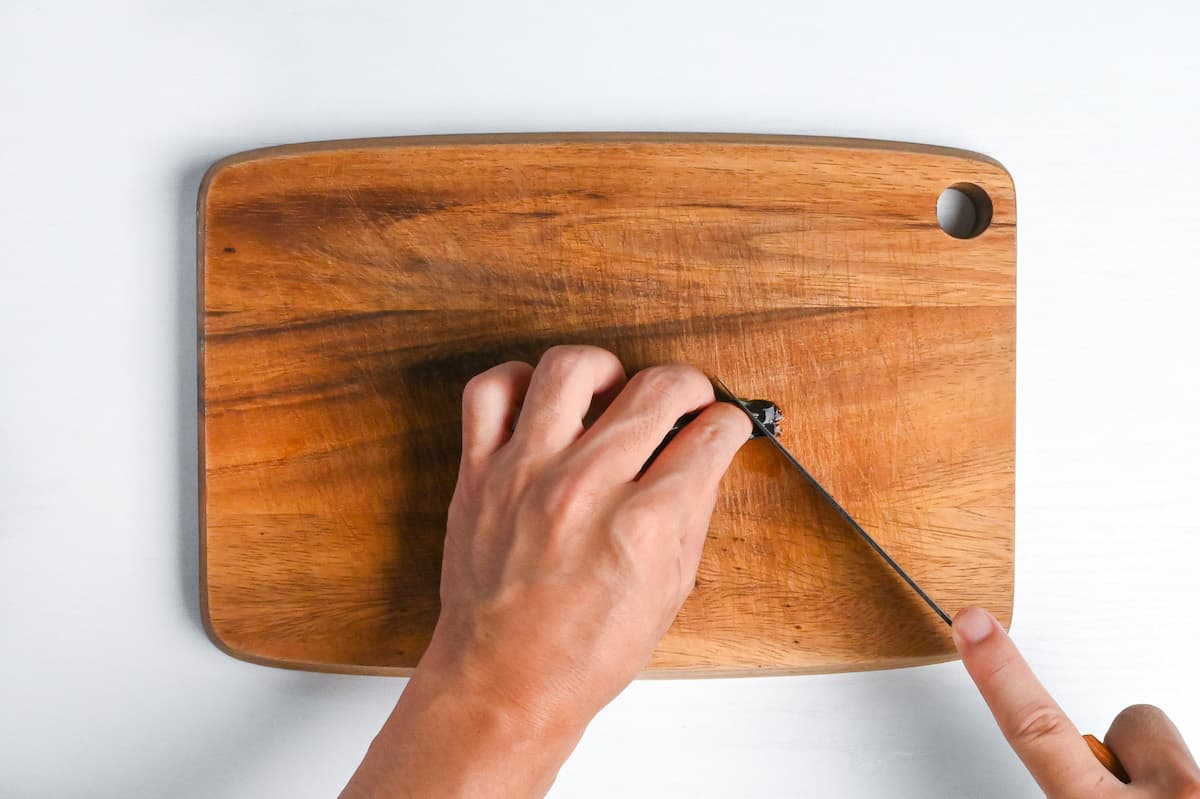
Water left inside the tail shell flashes to steam in 180°C (356°F) oil, expanding to roughly 1,700 times its volume and spitting oil upward. This is not for looks, it is a safety step to prevent burns.
i. Put the shrimp in a bowl with salt, potato starch, and a little water, and massage gently by hand for 30 seconds to 1 minute.
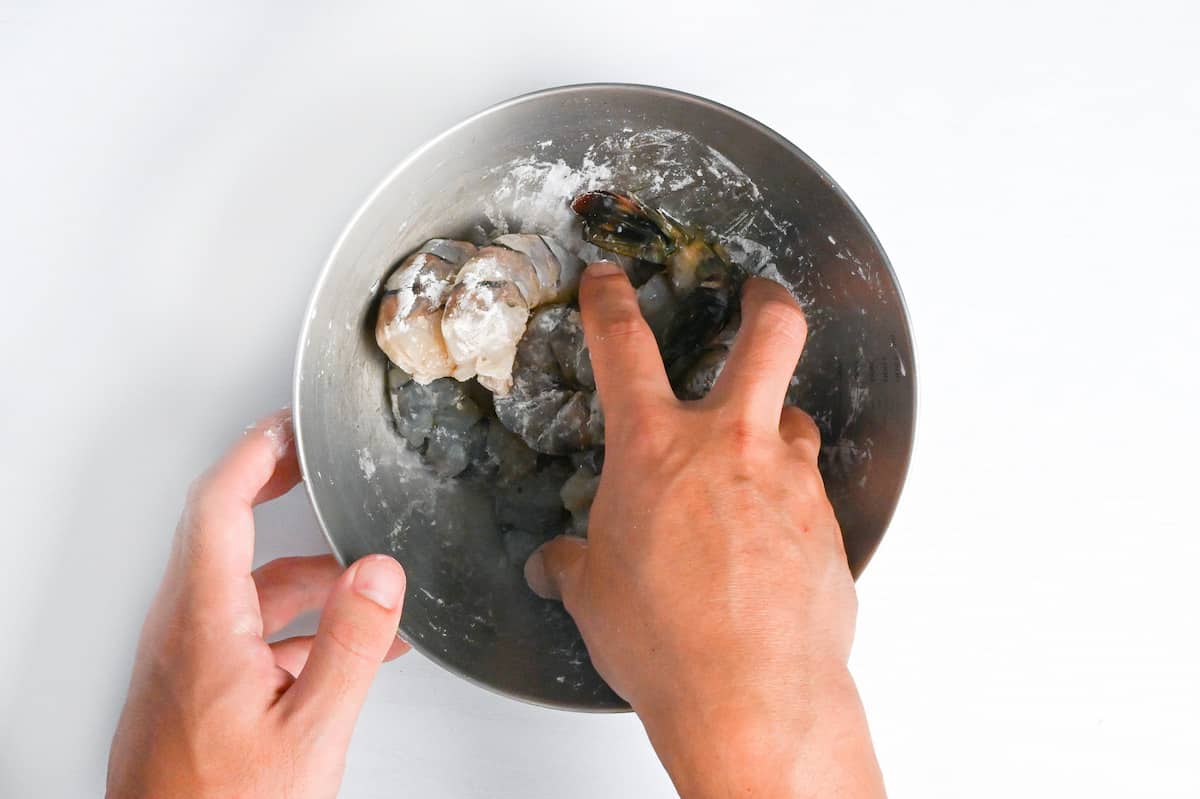
ii. Rinse under cold water until it runs clear.
iii. Pat thoroughly dry with paper towels, pinching the tail between your fingers to press out any water that got back in.
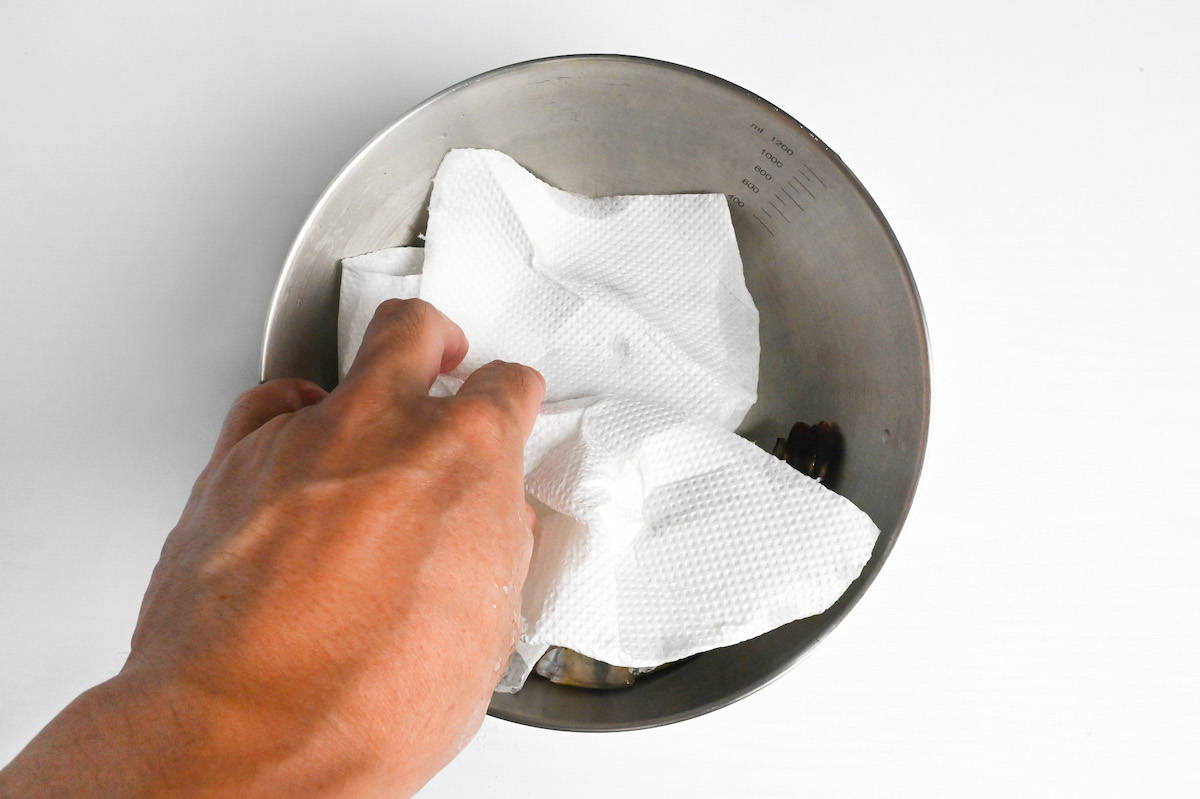
Salt draws the surface water and the off-smell out together by osmosis, and the potato starch grabs the grit and slime. They do different jobs, so both go in. But keep the salt on for no more than 2 minutes total. Any longer and the sweetness leaches out and the shrimp turns dry.
i. Belly up, make 4 to 5 diagonal cuts across the body. Go half as deep as the meat is thick. Use just the tip of the knife and draw it toward you rather than pressing down.
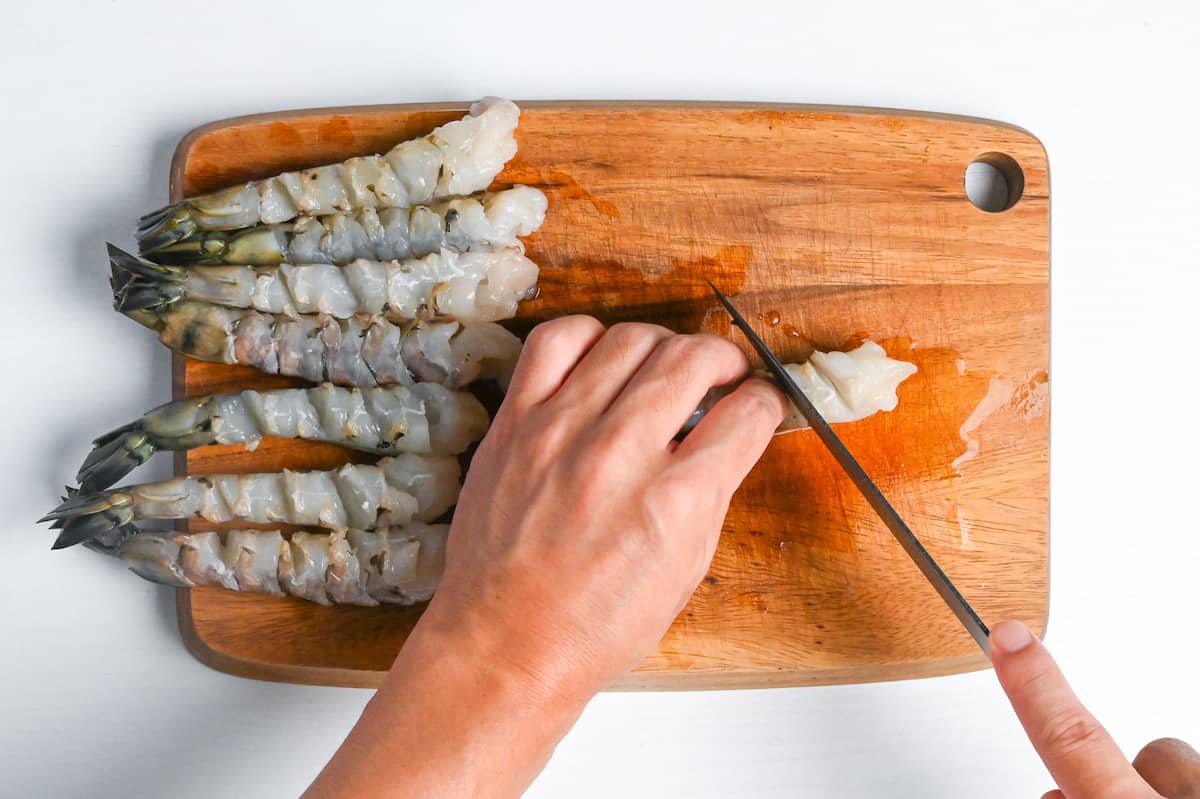
ii. Set the scored shrimp belly-side down, and press with the pads of your fingers at 3 to 4 spots along the back in turn, straightening the body until you feel a small snap.
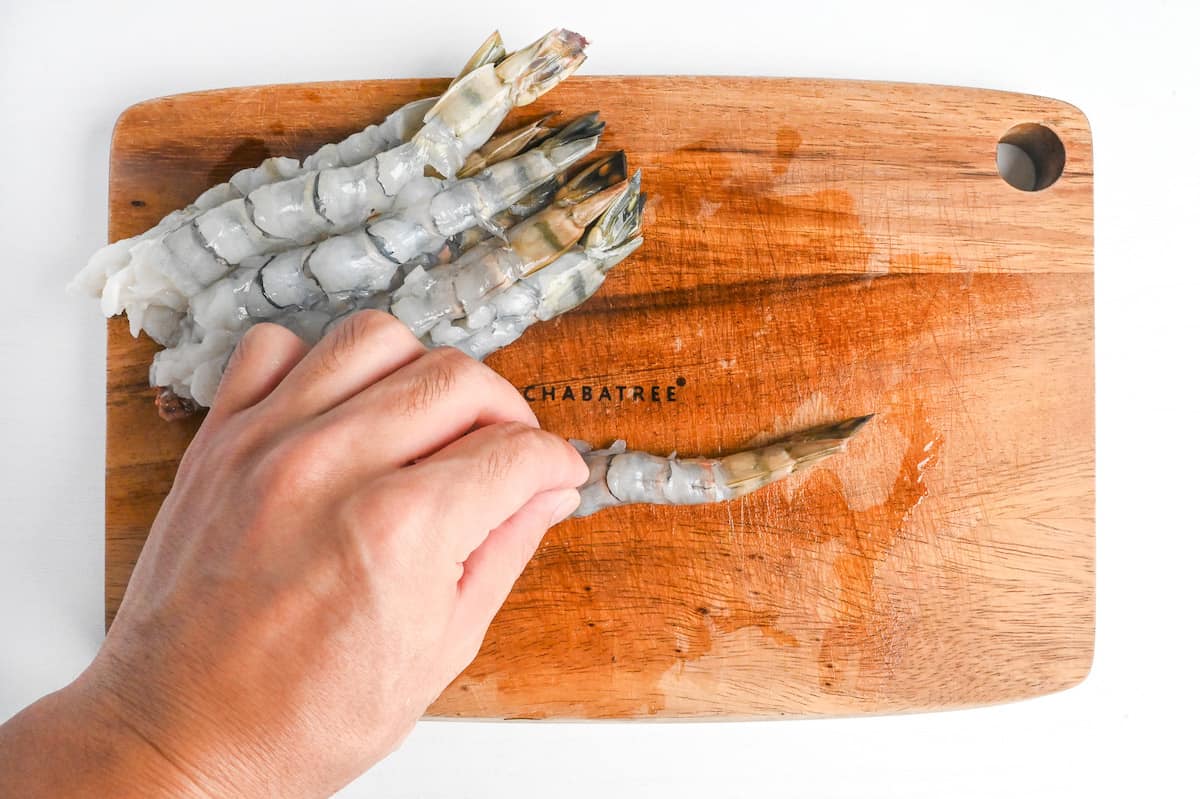
iii. The goal is a shrimp that lies naturally straight on the board. Press only the body, and keep force off the base of the tail.
iv. Lay the shrimp in a single layer on paper towels, not overlapping, and cover with another sheet. Chill in the fridge for 10 minutes (optional). Do not go past 20 minutes.
Shrimp curl because the muscle along the belly contracts as it heats. The cuts sever the surface fibers, and pressing the back severs the deeper ones. They start bending around 50°C (122°F).
i. In a bowl, mix a little of the chilled water with the egg yolk to loosen, then add the rest of the cold water and the carbonated water while whisking gently.
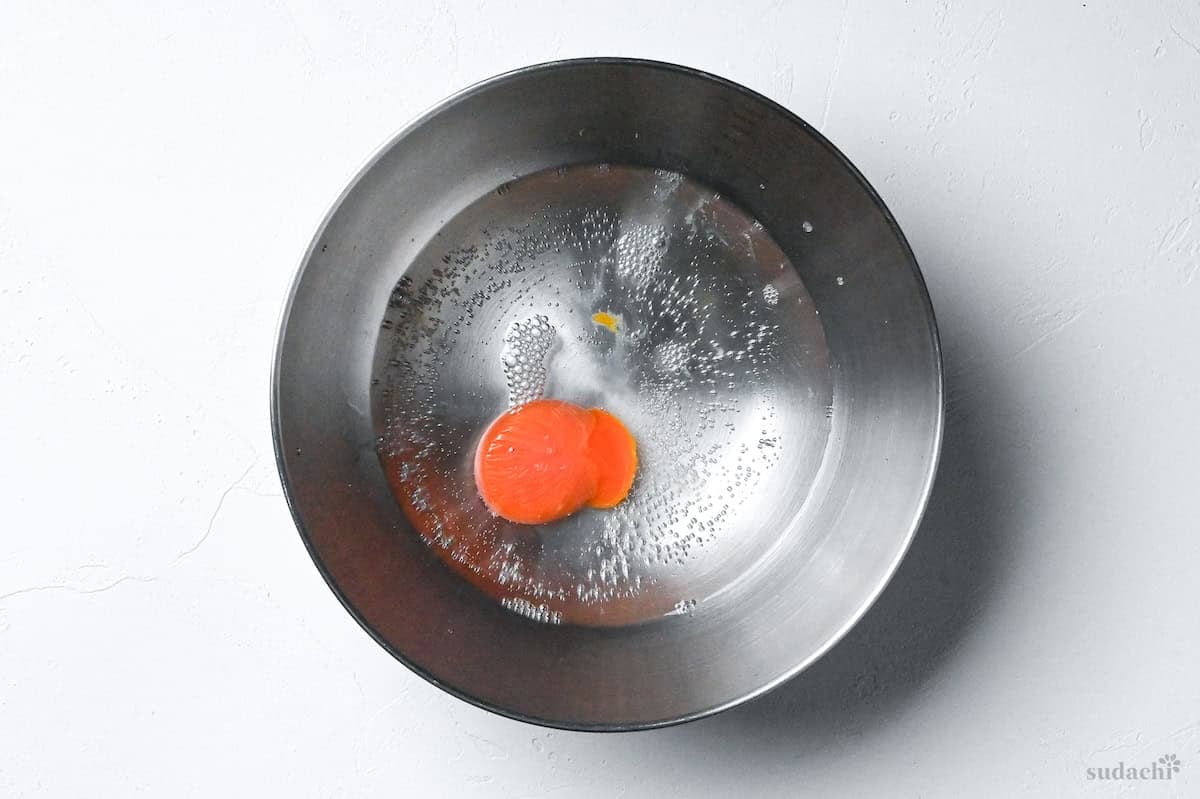
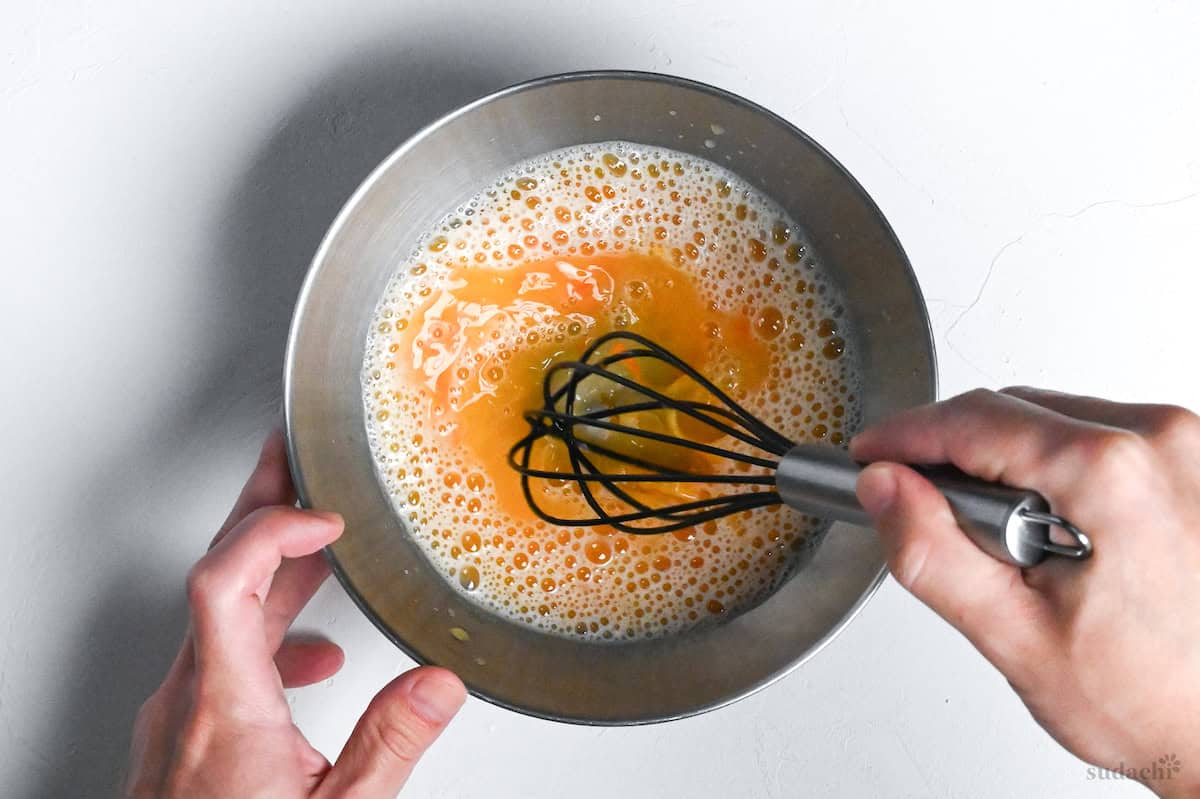
ii. Add the cake flour and cornstarch a third at a time, mixing gently with chopsticks in a cross pattern. Do not whip it, and do not overmix.
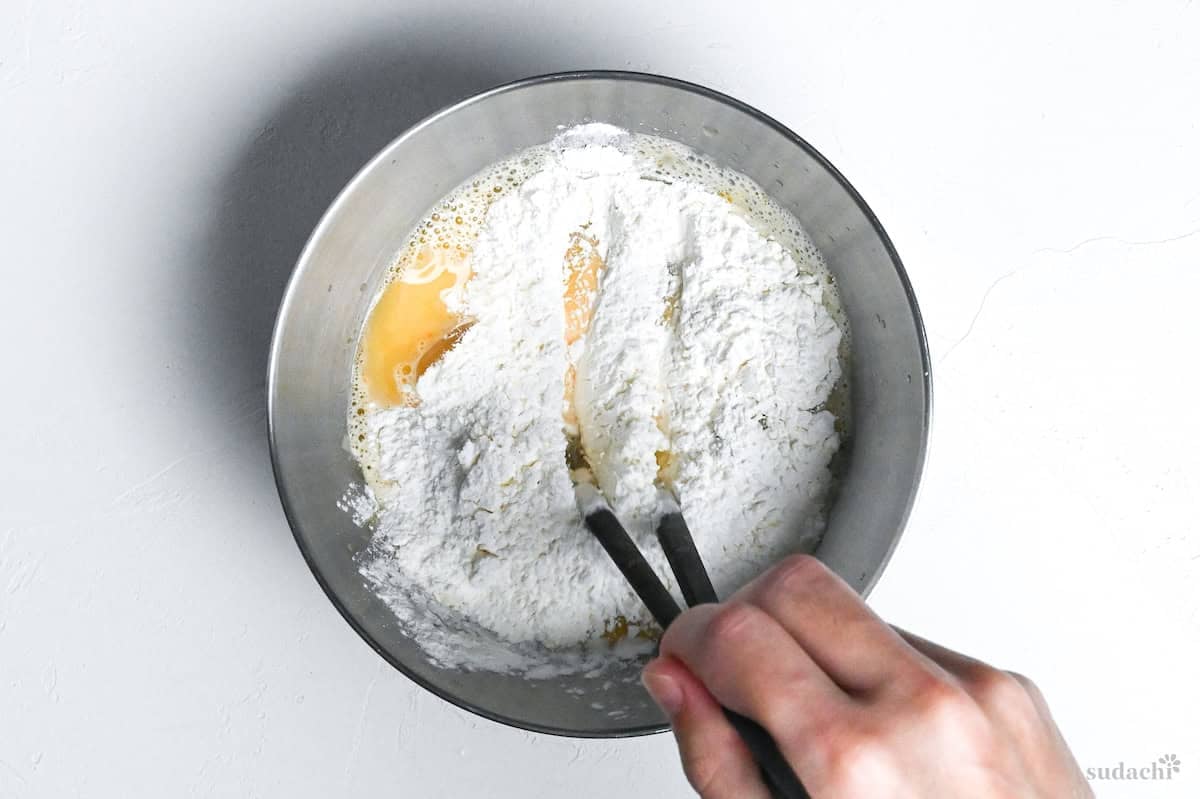
iii. Add a couple of ice cubes if you like, to keep it well chilled.

The more you mix, the more the gluten links up and the heavier the batter gets. Worried about the lumps? Do not be. A few lumps and some dry flour are fine, and that is what gives you the lightness when it fries.
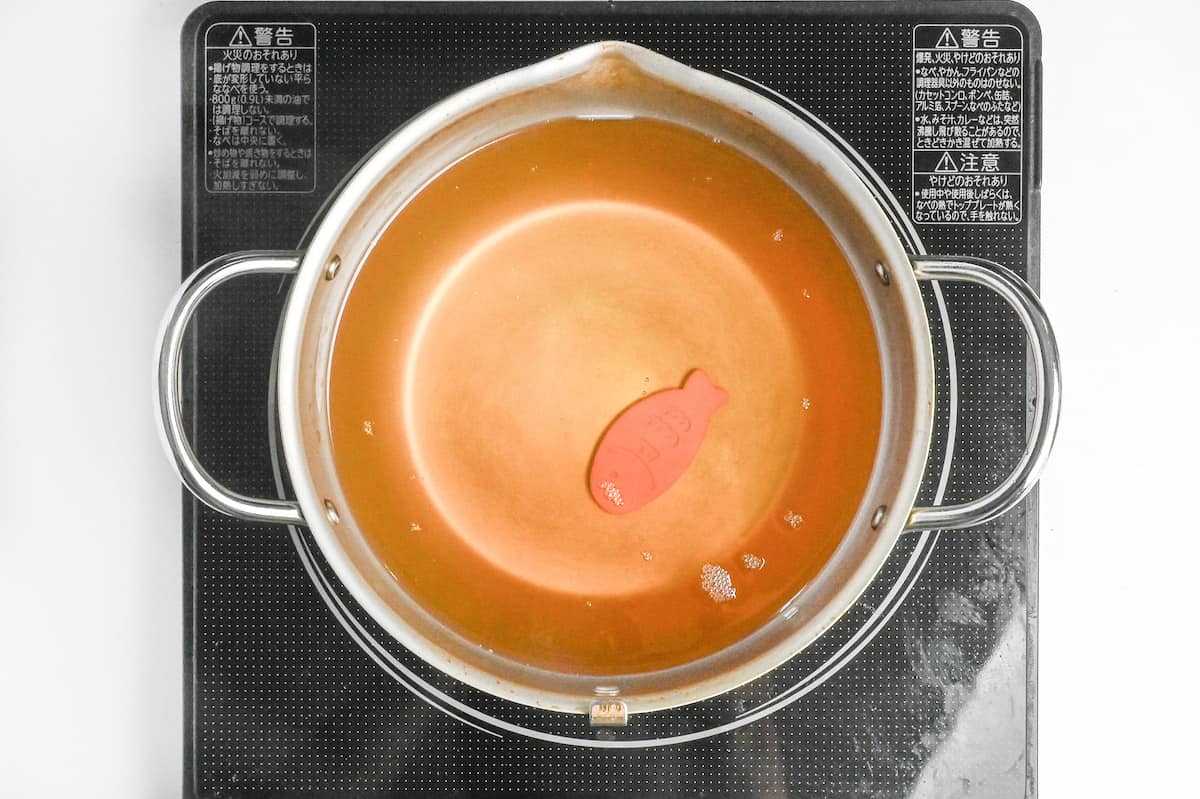
i. Preheat the oil to 180 to 190°C (356 to 374°F). Drop in a bit of batter. If it does not sink all the way but floats up from the middle, the temperature is right.
ii. Dust the shrimp lightly with cake flour for dredging, and shake off the excess.
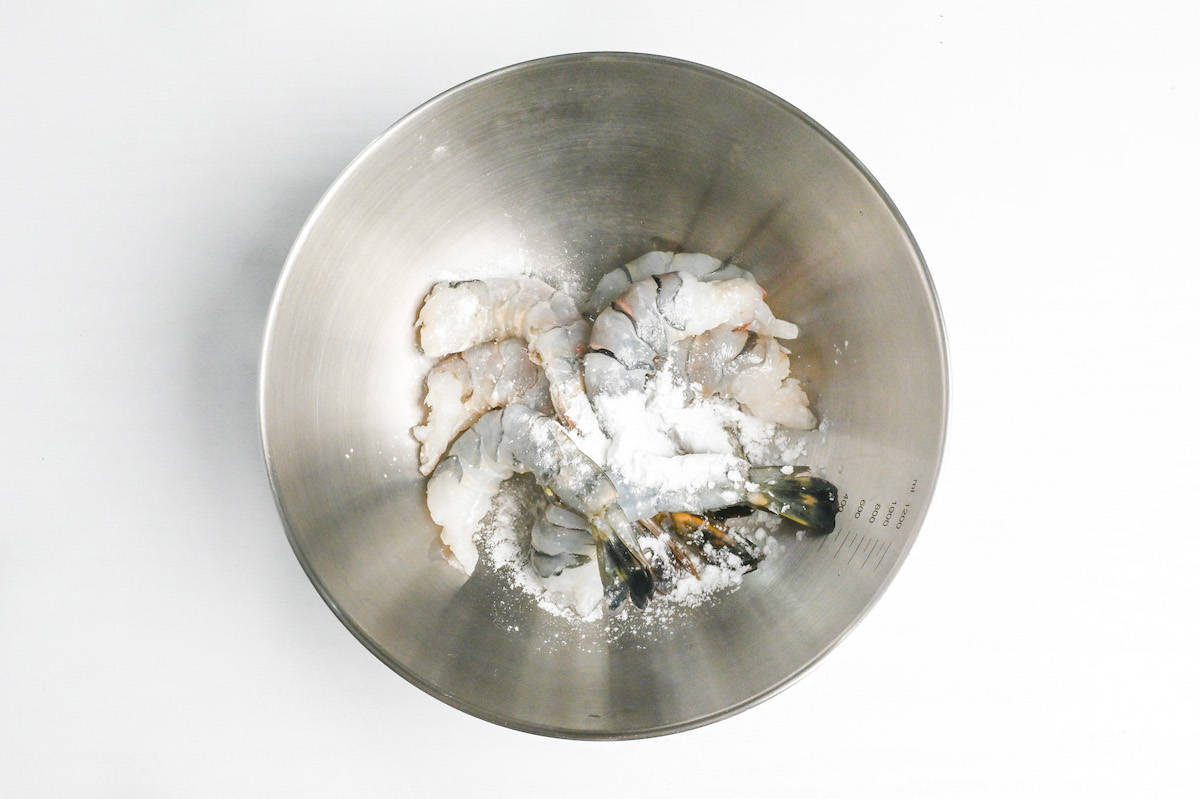
The dusting flour is the glue between the shrimp and the batter, and as it heats it gelatinizes into a film that seals the water-soluble sweetness inside. Too much flour gives a powdery texture, so keep it thin and even.
i. Dip a shrimp in the batter and lower it straight into the oil, one at a time. Add only up to a third of the oil’s surface at once (up to 3 shrimp in a 24 cm pot).
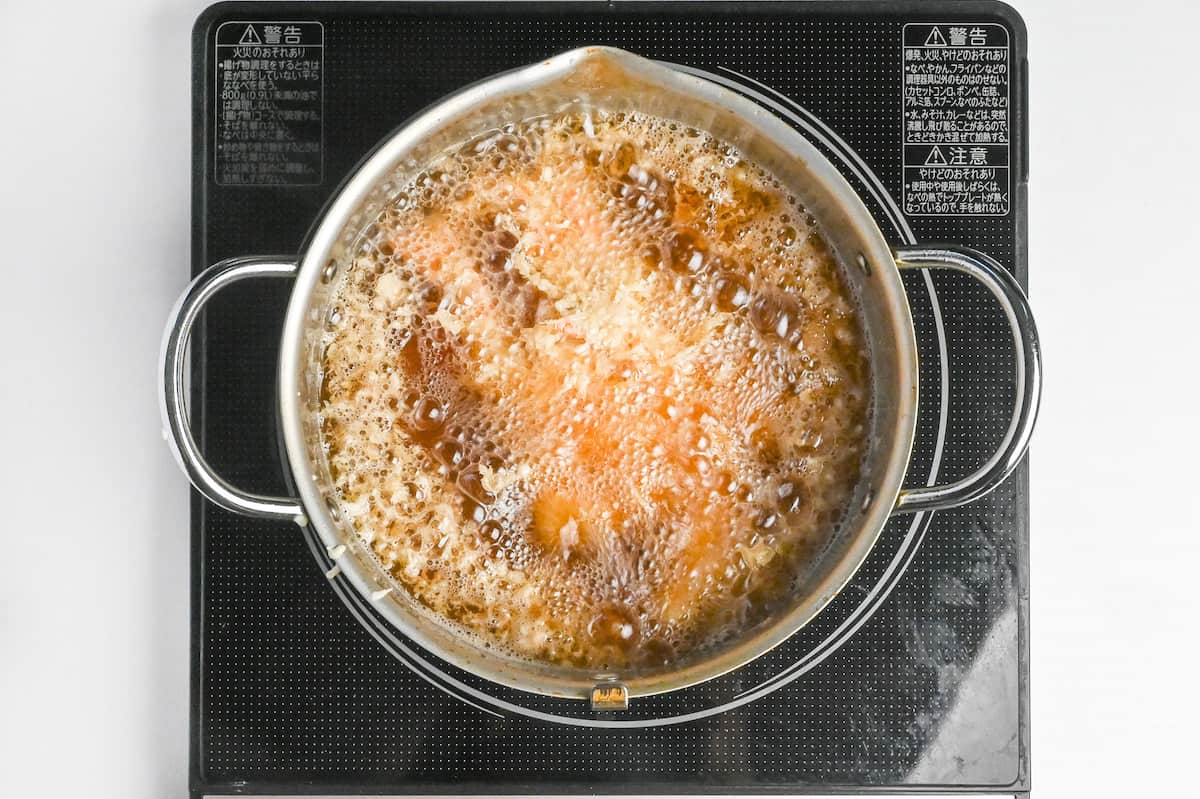
ii. Fry for about 2 minutes, until crisp but not too deeply colored. Return the batter to the fridge between batches to keep it chilled.
iii. When they are done, lift them onto a rack and space them out so the excess oil drains off.
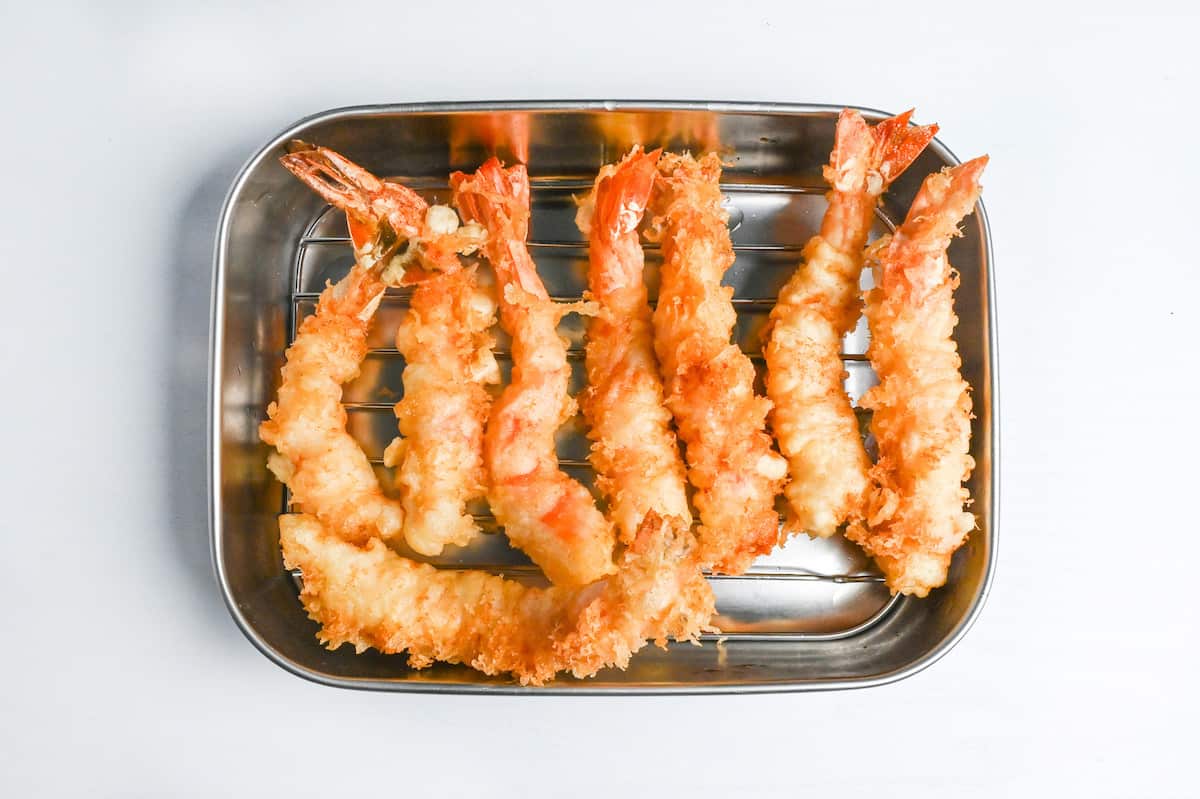
The big bubbles from the start of frying gradually turn finer, and when the sound goes high and light, the shrimp is done. The timing shifts with the size of the shrimp, so watch the bubbles and the sound above all. Crowd the pot and the oil temperature drops, and you get a heavy, oil-soaked crust that never colors.
i. Serve the shrimp hot from the oil, with a pinch of salt or a dip in tentsuyu.
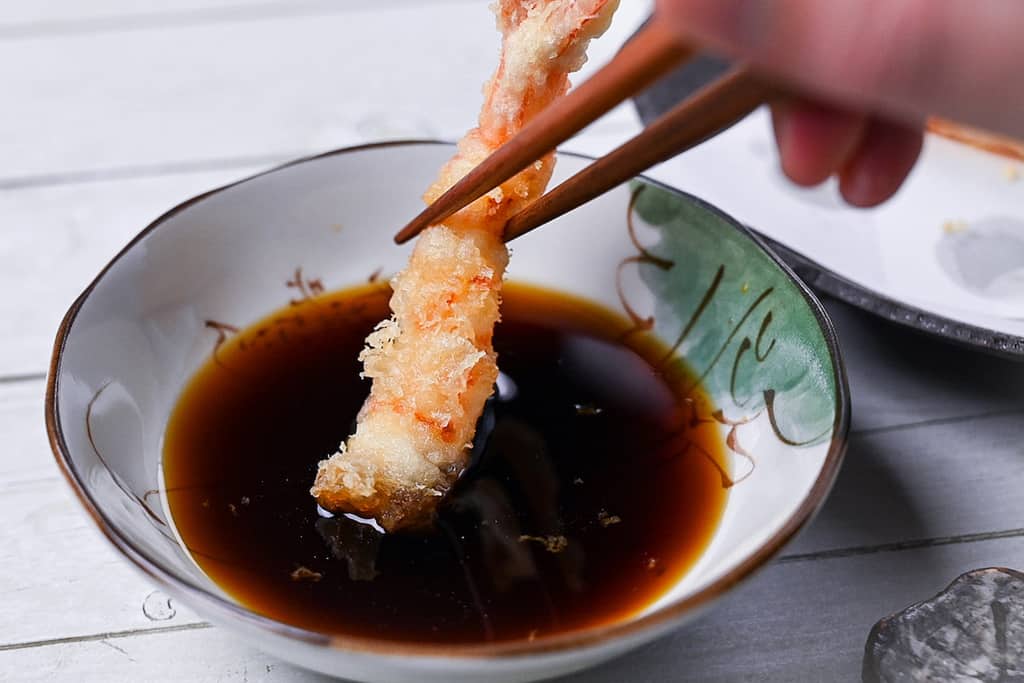
ii. Tempura loses its lightness as the crust takes on moisture over time, so eat it as soon as you can.

Tips for the Best Shrimp Tempura
- Make incisions through the muscles to straighten your shrimp, but don’t go too deep or they might break in the oil.
- Fry a few pieces at a time and keep the oil hot. Drop too many in at once and the oil temperature crashes, and you get a heavy, oil-soaked crust that never colors. In a 24 cm pot, keep it to 3 shrimp at a time so the oil holds its heat. This one move heads off the single biggest reason home tempura goes soggy.
- Dry the shrimp well before you flour them. Water left on the surface makes the batter slide off and the oil spit. Pat them carefully with paper towels, then dust with flour, and the batter grips.
- Eat it fresh, right away. The crust pulls in ambient moisture within minutes and starts losing its lightness. Crispness collapses fast.
Oil temperature, how dry the shrimp are, and when you eat it. Nail those and even home shrimp tempura comes out with a light crust and the sweetness of the shrimp right up front.
Storage & Meal Prep
Fridge: Not recommended.
Freezer: Frozen in a single layer, they keep 2 to 3 weeks, with better texture than the fridge.
Meal prep: Prep the shrimp a day ahead, but mix the batter just before frying, since early mixing develops gluten.
Reheating: Crisp it in an air fryer or a toaster oven. Avoid microwaving, which makes the batter soggy.
What to Serve With Ebi Tempura
- Zaru Udon
- Homemade Miso Soup
- Zaru Soba (Cold Buckwheat Noodles)
- Spinach Ohitashi (Blanched Spinach)
Shrimp Tempura Troubleshooting
The oil is too cool, or you are frying too many pieces at once. Below 170°C (338°F), the batter soaks up oil before it can color. Check the temperature with a thermometer, fry 3 shrimp at a time to hold the heat, and keep the batter cold and barely mixed. Drying the shrimp well helps too.
The muscle along the belly contracts as it heats, and that pulls the shrimp into a curl. Make 4 to 5 shallow cuts along the belly and press from the back until you feel a small “puchi” snap. If you are still worried, hold the shrimp straight with a bamboo skewer for the first few seconds in the oil.
There is still water on the surface of the shrimp, or they were not dusted with flour. Pat them carefully dry with paper towels, dust lightly with flour, and then dip them in the batter so the coating grips.
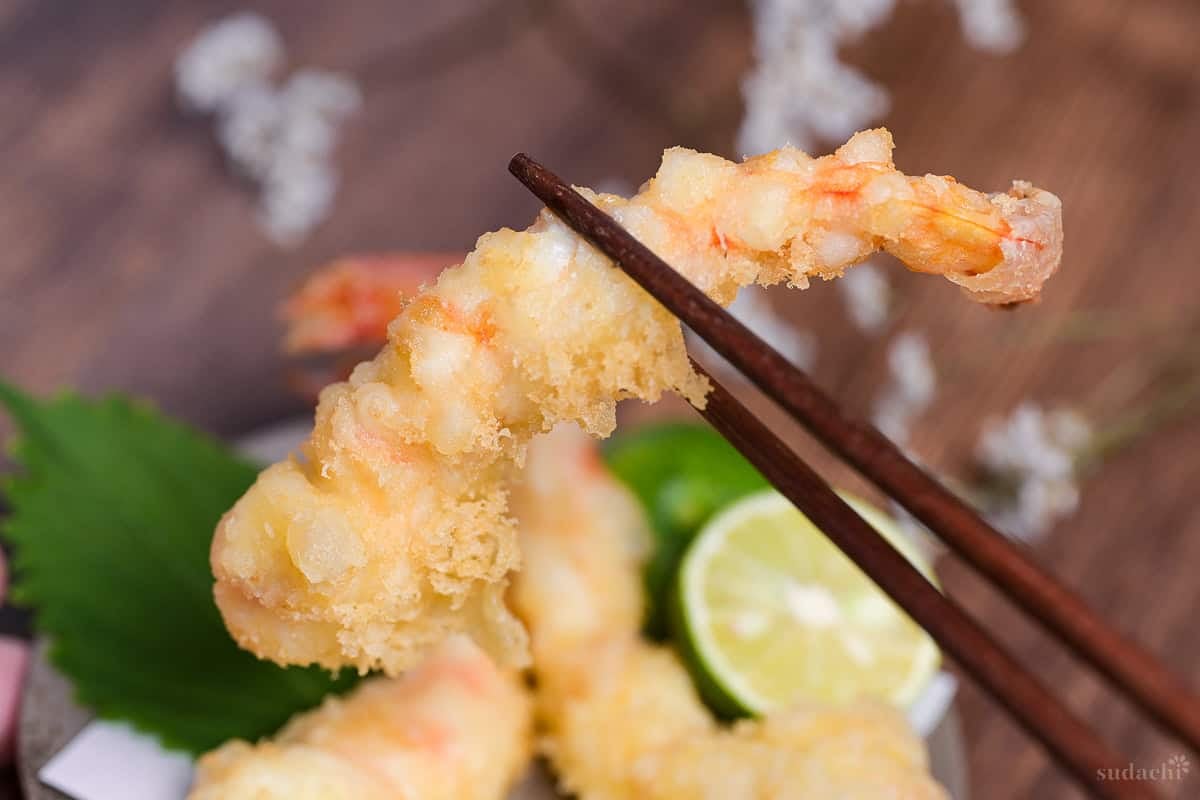
More Tempura Recipes
Once the cold batter and the oil temperature click, that same touch carries the rest of my tempura recipes.
Did You Try This Recipe?
I would love to hear your thoughts!
💬 Leave a review and ⭐️ rating in the comments below. 📷 I also love to see your photos – submit them here!
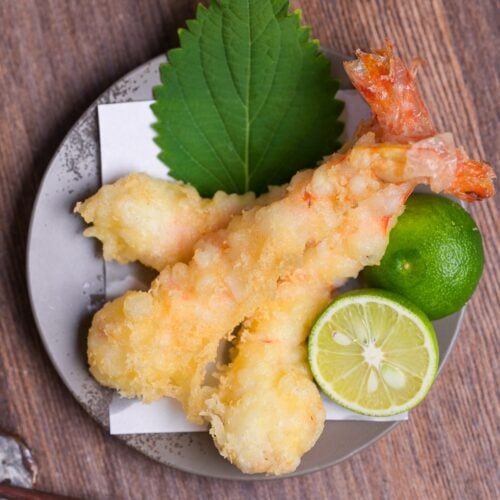
Japanese Shrimp Tempura (Crispy Ebi Ten)

Ingredients
For the shrimp and prep
- 10 large shrimp kuruma ebi, black tiger, or whiteleg / 16-20 count in the US
- ½ tsp salt for the wash
- 1 tbsp potato starch (katakuriko) for the wash
- 2 tbsp water for the wash
For the batter
- 75 ml cold water thoroughly chilled
- 50 ml carbonated water thoroughly chilled
- 15 g cornstarch
- 75 g unbleached cake flour or pastry flour, low-protein, around 7-8%, plus a little for dusting
- 1 egg yolk or egg white, ½ tbsp mayonnaise containing egg for one egg yolk
- 2 ice cubes optional
- cooking oil for deep frying at least 5 cm deep, in a pot about 24 cm across
To finish
- salt as needed
- tempura dipping sauce (tentsuyu) as needed
The ingredient brands and tools I trust are in my Japanese pantry guide and my cooking tools guide.
Can’t find certain Japanese ingredients? See my substitution guide here.
Instructions
- Measure 75 ml cold water into a jug, and place it in the fridge along with an unopened bottle of carbonated water, chill for 30 minutes. Sift 75 g unbleached cake flour into a bowl with 15 g cornstarch and chill that too. While you wait, prep the shrimp.

- Peel 10 large shrimp, keeping the tail and the first segment above it, and remove the vein. Fold the tail, trim the tip on a slant, pop out the pointed rostrum, and press the water from inside the tail with the side of the knife.
- Add the shrimp to a bowl with ½ tsp salt, 1 tbsp potato starch (katakuriko), and 2 tbsp water, and massage gently with your fingers for 30 seconds to a minute (no longer than 2 minutes). Rinse in cold water until it runs clear, then pat fully dry.
- With the belly up, score 4 to 5 shallow diagonal cuts across it, half the depth of the meat. Turn it belly-down and press the back at 3 to 4 points until you feel a faint snap and it lies flat. Optional: Spread the shrimp out on paper towels without overlap, lay another sheet on top, and refrigerate 10 minutes.
- Heat the cooking oil for deep frying to 180 to 190°C (356 to 374°F), testing with a drop of batter that sinks partway and floats back up from the center. Dust the shrimp thinly with cake flour and tap off the excess.
- Mix a little of your chilled water with 1 egg yolk, then add the rest and 50 ml carbonated water. Fold in the dry mix a third at a time with chopsticks, gently, in a cross pattern. Do not overmix. Add 2 ice cubes if you like.
- Coat a shrimp in batter and slip it straight into the oil, one by one, filling no more than a third of the surface (3 shrimp in a 24 cm pot). Fry about 2 minutes to a light, crisp color, then lift onto a rack. Chill the batter between batches.
- Serve at once, hot from the oil, with salt to pinch on or with tempura dipping sauce (tentsuyu). Enjoy!


something is is not right with the water amount, doesn’t add up
Could you be a bit more specific? The water amount is 100ml of chilled and 50ml of sparkling (150ml in total). I can try and reword the recipe if something is unclear. Thank you for your feedback.
Many steps and some waiting make this recipe feel difficult, but the result is SO worth it! The shrimp has great flavor, isn’t fishy tasting, and the batter crisps up perfectly. Make sure to spoon a little extra batter onto the shrimp while frying to get that restaurant-style crisp!
Hi, thank you very much for the comment! I’m happy to hear the effort and time were worthwhile, and Hanaage method worked well! 🙂
Yuto
Have made this twice and it has turned out great both time! Really crispy and delicious!
Hi Rick,
So glad to hear that! Making it twice is the best compliment 😊 I’m really happy it came out crispy and delicious for you both times!
Yuto