

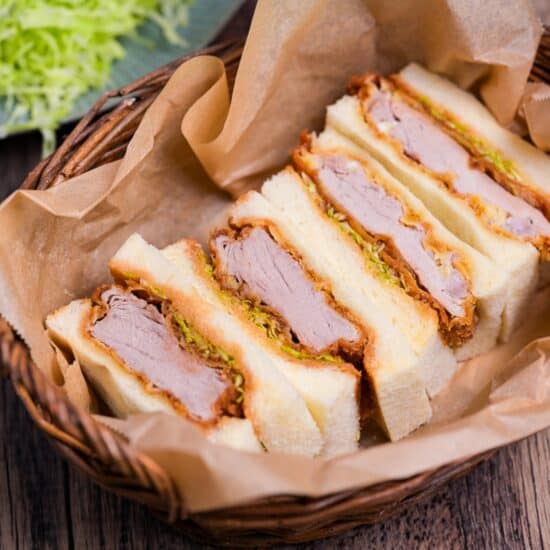


Katsu sando is the king of the Japanese sandwich, and I wanted to build the best one there is. So I tore my old version down and went back to the classic, a sweet and thick sauce against a sharp mustard, a tender fillet, no shortcuts.
It took me more tries than I can count to get it right. It takes time and a technique of its own, but a saucey crust against a tender fillet is like nothing else. Let’s build it from scratch, together.
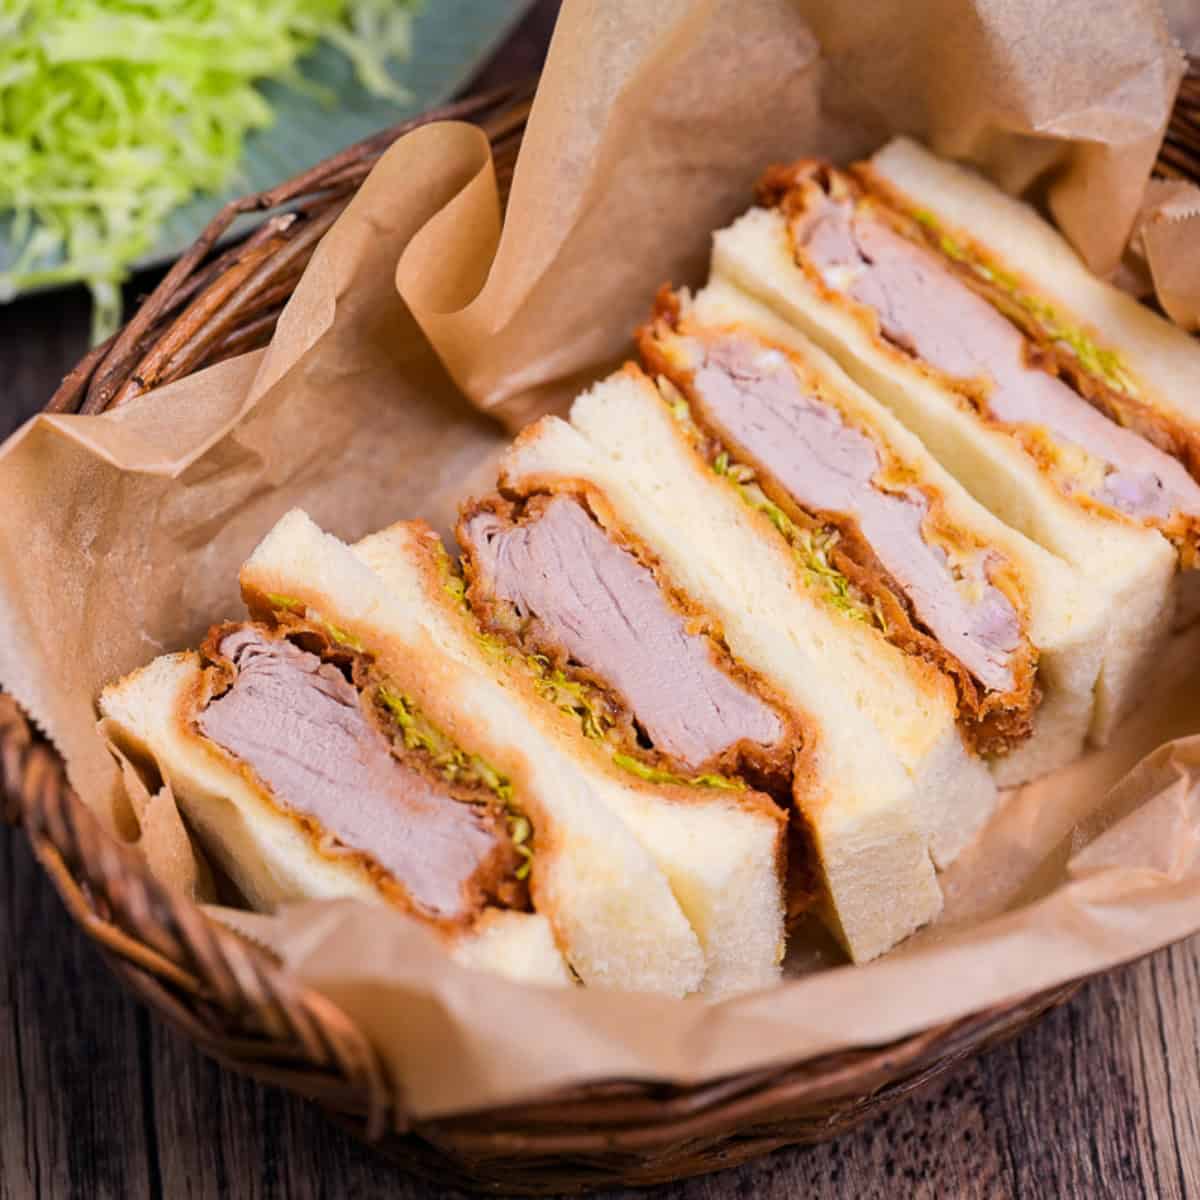
Katsu sando
Recipe Snapshot
- What is it? A Japanese pork-cutlet sandwich. A tender fillet, breaded and fried, sits in soft white bread under a sweet, thick sauce and a sharp mustard butter. It comes out of yoshoku, Japan’s own take on Western cooking.
- Flavor profile: A sweet, glossy sauce up front, a clean, sharp hit of karashi (Japanese hot mustard) cutting through, and a tender fillet inside a panko coat that has softened into the sauce. The crunch is not the point. That merge of crust and sauce is.
- Why this recipe works: A squared tenderloin puts meat in every corner of the bread, a single fry finished by the heat already held in the crust keeps a lean cut juicy, and a sauce reduced until it is thick clings to the cutlet instead of soaking the bread.
- Must-haves: A pork cutlet (tenderloin for the neat square), fresh panko you can make from any bread on the counter, a sweet, and a soft white loaf.
- Skill level: Medium, and about 45 minutes start to finish, most of it the freeze and the resting. The stovetop frying is straightforward, with 3 small moves (shaping the cutlet, the single fry plus rest, and buttering the bread) that reward slowing down.
What Is Katsu Sando?
Katsu sando (カツサンド) is a Japanese cutlet sandwich, its name folding katsu (cutlet) into sando (sandwich). The classic center is a panko-breaded, deep-fried pork cutlet (tonkatsu), though plenty of shops reach for chicken or beef instead.
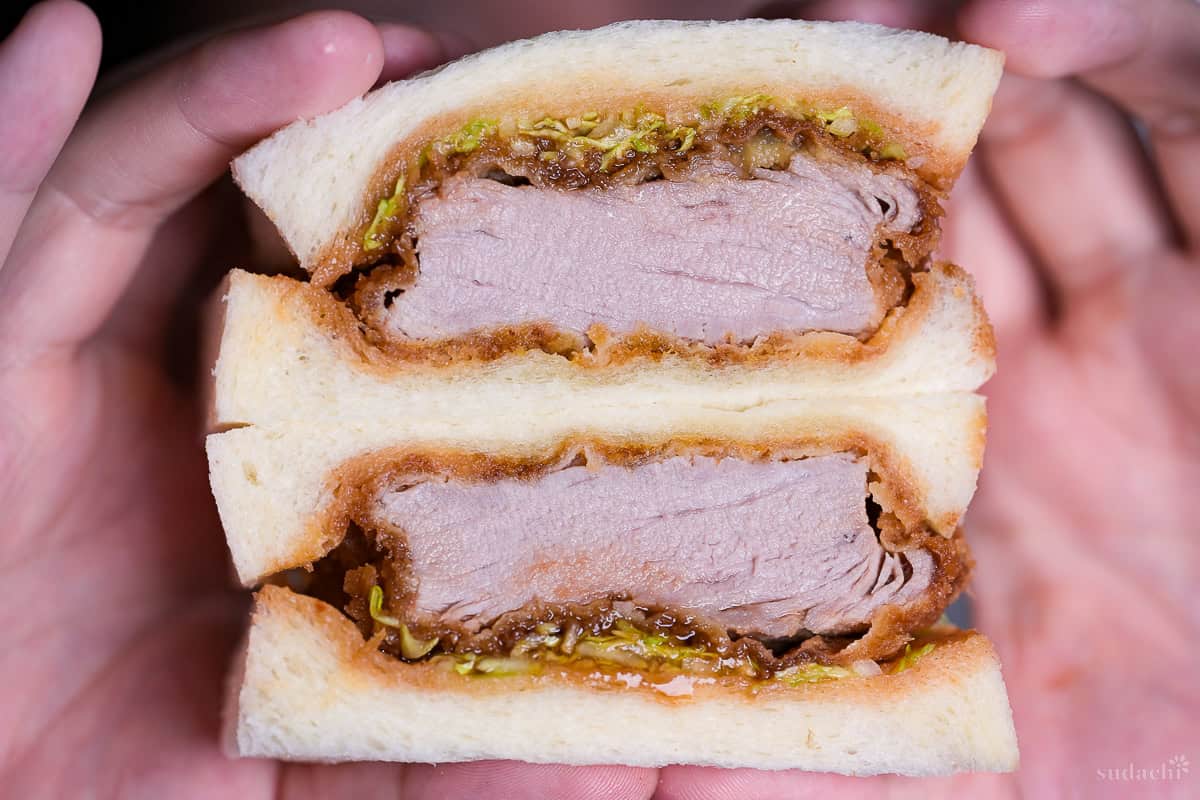
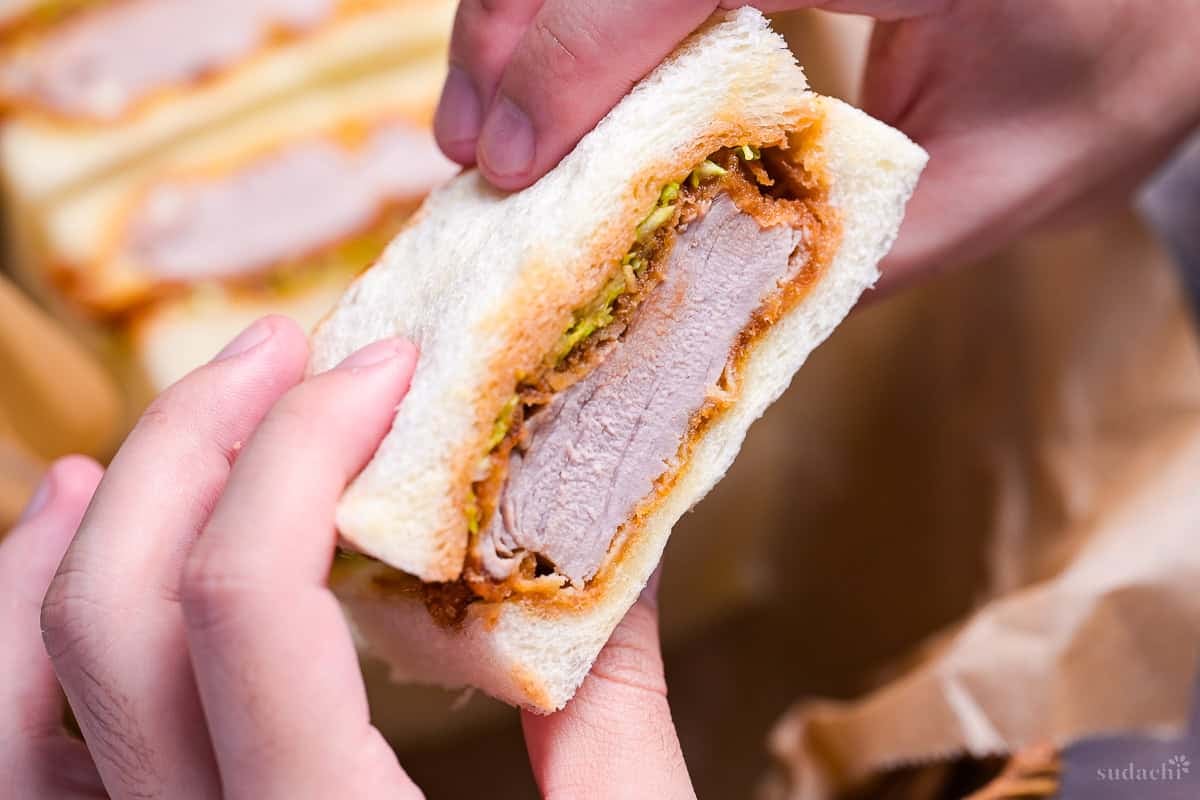
Here is what catches people off guard. A good katsu sando is soft, not crunchy, and that softness is the design rather than a flaw. Give it a few minutes and the crust drinks in the sauce until they fuse into a single deep savory layer, and that merge, not crunch, is the whole point. Along with tamago sando, it rules the Japanese sandwich case.
In my version, I dial the sweetness back and let karashi (Japanese mustard) settle it from behind. The direction traces to a bakery near where I grew up, whose katsu sando ran very sweet with the mustard cutting through. Mine is a homage to that long-loved sandwich, grown up just a shade.
Japanese Cutlet Sandwich Ingredients
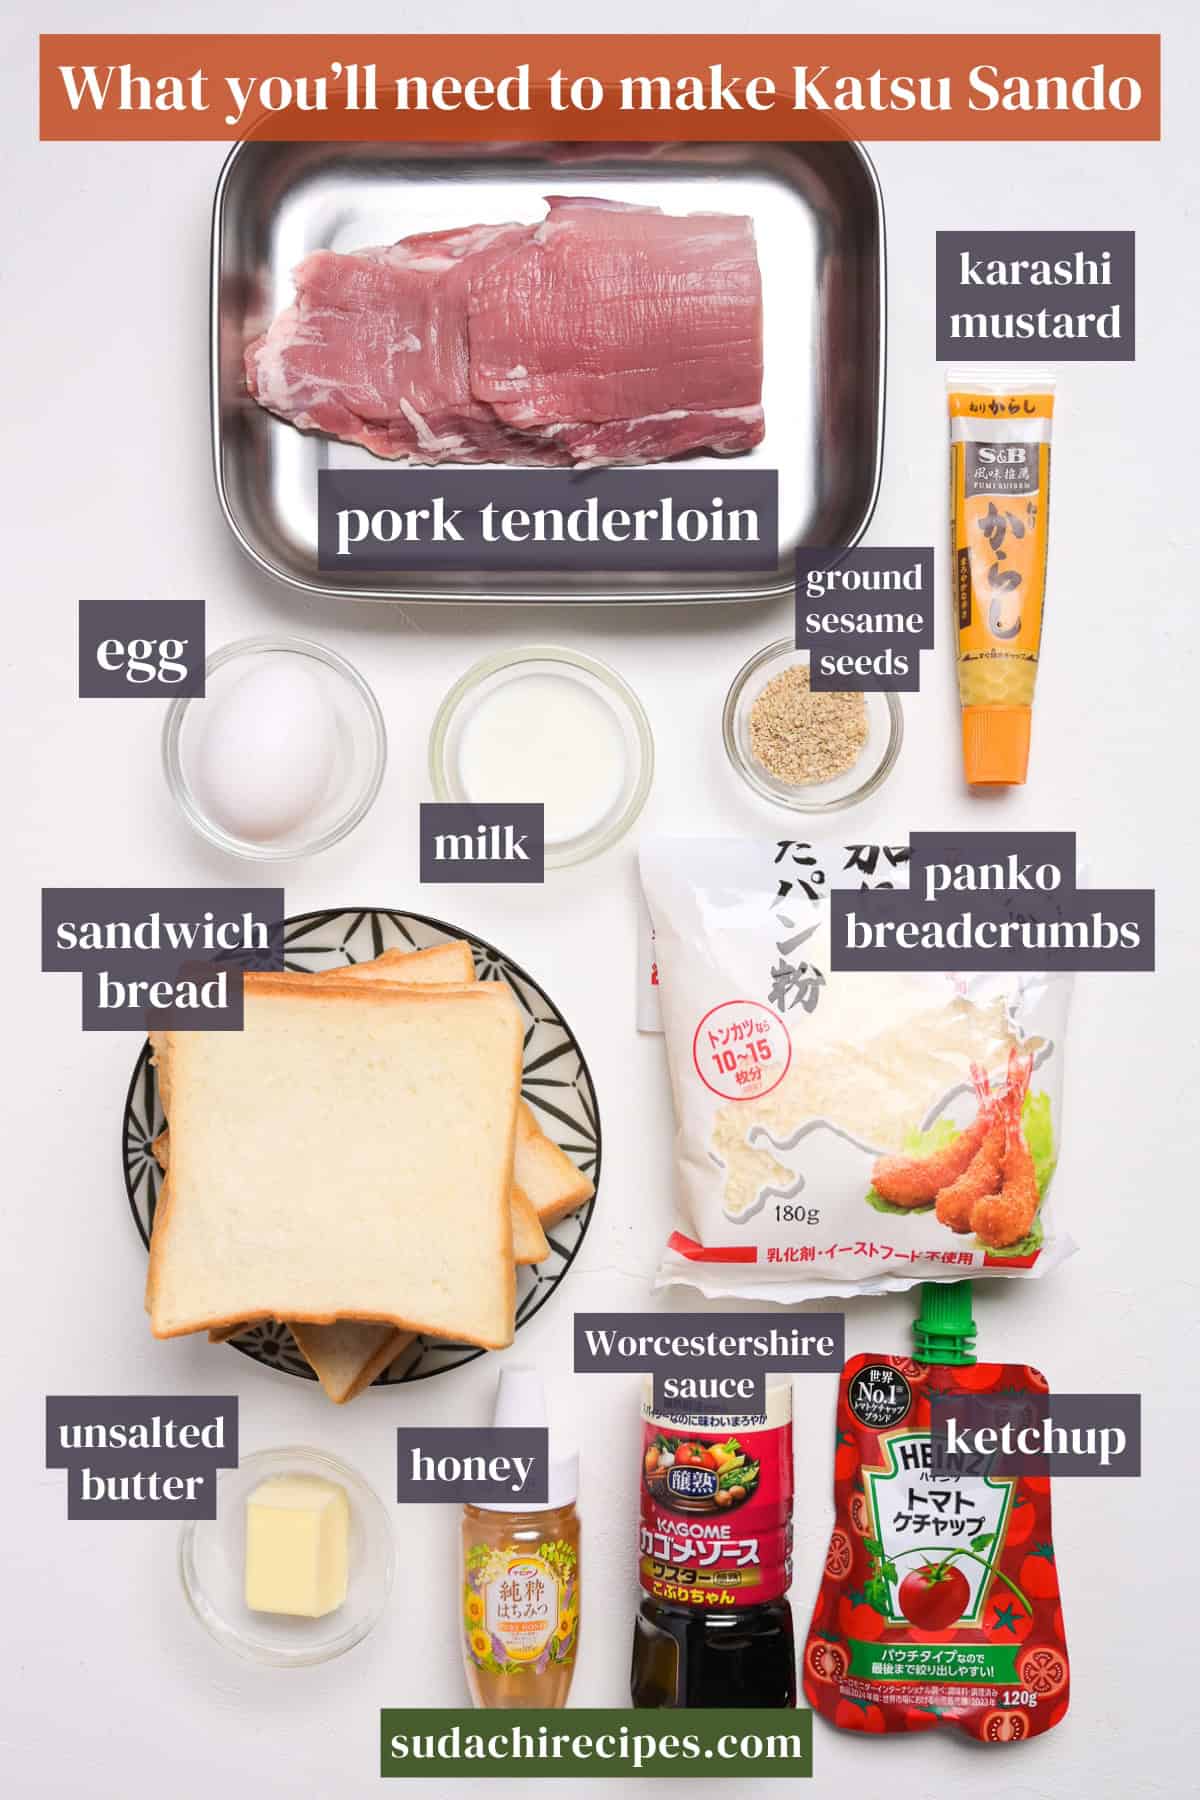
- Pork tenderloin: For a katsu sando I reach for tenderloin (what we call hire). It is lean, which keeps it light and tender once the sando cools, though with so little fat you lean on the salt and the rest to keep it juicy through the oil. Because it takes to shaping, you can square it neatly to the bread. Loin works too and tastes just as good, the shape just lands a little less neat.
- Worcestershire sauce: The backbone of the sauce is Japanese-style Worcestershire sauce, or usuta, a fruit-and-vegetable sauce that runs rounder and less sharp than the Western bottle. Combined with ketchup, honey, and a little ground sesame, it becomes the sweet-thick sauce.
- Karashi mustard butter: Karashi (Japanese hot mustard) gets creamed into softened butter and spread on the bread. It is sharp and clean, closer to English mustard than the sweet yellow kind, and it pulls double duty. It works as the grown-up counterweight to the sweet sauce, cutting the sugar with a clean heat, and the butter it rides in doubles as a moisture barrier that keeps the bread from going soft.
Substitutions, Variations, and How to Customize
A katsu sando bends in a lot of places without losing what it is. Here is what you can swap, what shifts when you do, and a few ways to send it in your own direction. Most of it comes down to what your kitchen already has.
Substitutions:
- Pork tenderloin → Pork loin: Loin works and tastes just as good. The cross-section comes out a little less tidy since loin does not square to the bread as cleanly, so trim the fat rim for a neater slice or leave it for richness. If you use loin, check out my tonkatsu recipe for how to cook it.
- Fresh panko → Homemade panko breadcrumbs: Blitz any bread you have, stale or fresh, into coarse flakes and use that. It holds up just as well as a bag, often better.
- Japanese Worcestershire sauce → Lea & Perrins: The British bottle works fine, it just runs sharper and less fruity. Stir a touch more ketchup into the sauce to bring the sweetness back into balance.
- Karashi → Colman’s or smooth Dijon: Both land in the same sharp, clean direction and make a great sando, so do not feel you cannot build this without karashi. Steer clear of hot-dog or yellow mustard though, its sharp, vinegar-forward sourness pulls the whole thing off course.
- Shokupan → Any soft white loaf: The loaf is yours to pick, as long as it is soft and not too sweet. Keep away from anything crusty or sour like sourdough, it fights the pillowy bite the sando wants.
- Shredded cabbage → In or out: Cabbage is optional here. Some love the fresh crunch against the cutlet, others want nothing between the meat and the sauce. If you use it, get it thoroughly dry first so no water sneaks into the bread.
Have trouble finding Japanese ingredients? Check out my ultimate guide to Japanese ingredient substitutes!
Variations:
- Chicken or beef sando: Trade the pork for a chicken katsu or a gyukatsu and you are still in katsu sando country, just a lighter or a richer one. Same build, different center.
- Eat it hot and crisp: If you would rather have crunch, skip the cabbage and the sando rest before slicing, though still rest the fried cutlet for doneness, then sauce it light and close it up right away while the crust still has snap. A different sandwich, but a good one.
- Cornflakes crust: Swap the panko for crushed cornflakes or plain crackers and the crust fries up with real crunch. Be clear about what that trades away though. It is no longer the classic katsu sando, which is built on the soft crust-and-sauce merge rather than crunch, so you lose most of that soak-in. What lands instead is a genuinely crisp, crunchy bite, a good result on its own terms, just a different style of sando.
How to Customize:
- Egg: Slip a folded slice of dashimaki tamago (Japanese rolled omelette) or a jammy soft-boiled egg in alongside the cutlet for a heavier lunch.
- Cheese: Lay a thin slice of melting cheese on the cutlet while it is still hot from the fryer, so it just softens before you close the sando.
- More heat: Push the karashi mustard harder into the butter, or run a thin line of extra karashi straight across the cutlet.
- Wasabi in place of karashi: For a different heat, cream wasabi into the butter instead of karashi. Wasabi runs sharper and lifts up through the nose, a Japanese heat that trades the mustard warmth for a keener, greener edge.
How to Make My Katsu Sandwich
Before you start (Mise en place):
- Butter: pull it out early so it softens all the way to room temperature. Cold butter tears the bread.
- Cabbage (optional): if you want it in, shred it fine and dry it completely. Not a drop of water clinging.
- Bread: have your shokupan slices out and ready for the moment the cutlet comes out of the oil.
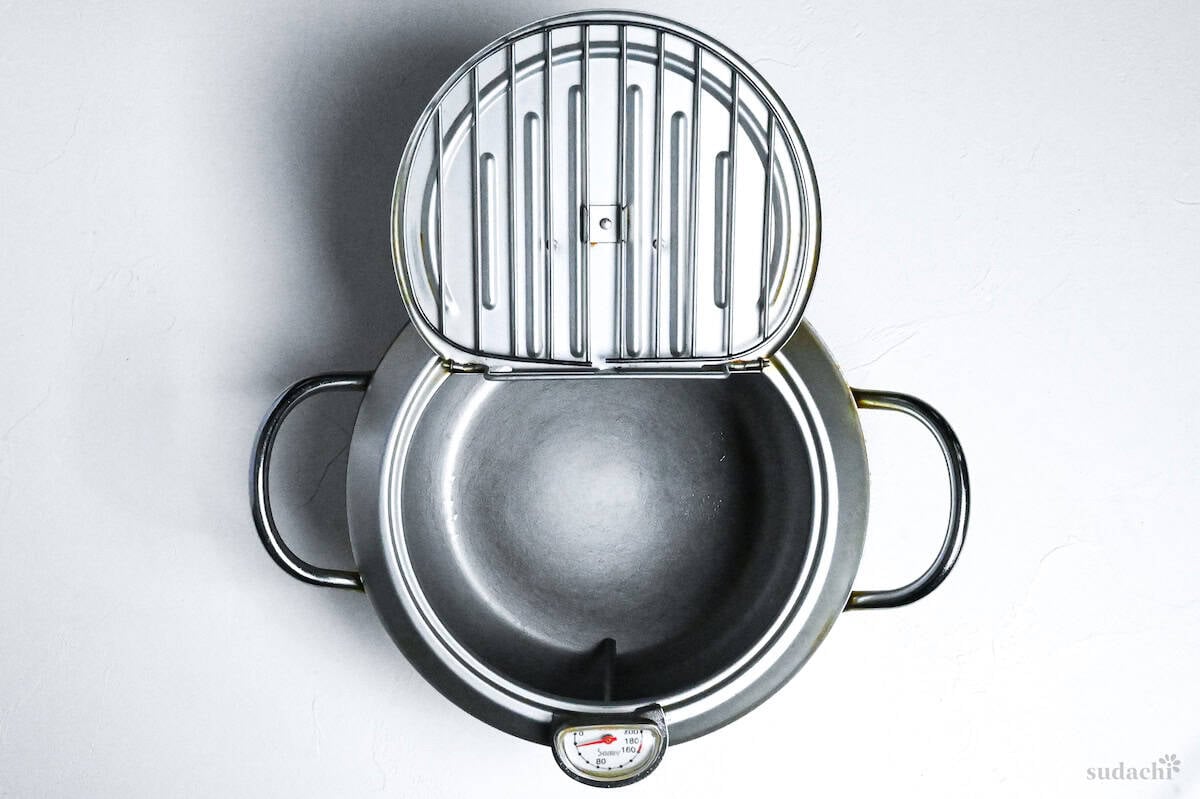
To develop this recipe, I used a tempura pot with a built-in thermometer.
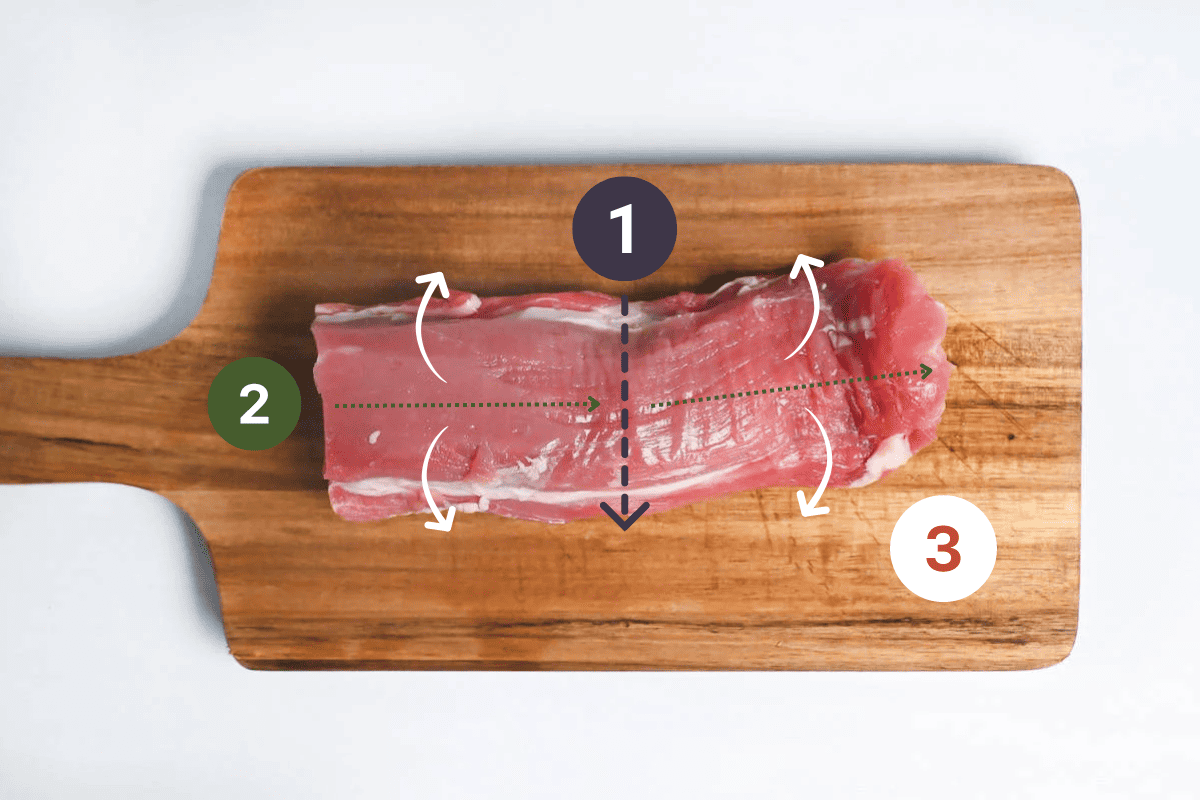
i. Lay the tenderloin horizontally on the board and cut it in half, then butterfly each piece open and pound it flat with the back of your knife.
ii. Run the blade tip along the sinew to score it, a few shallow cuts, so the cutlet does not curl or cook unevenly in the oil.
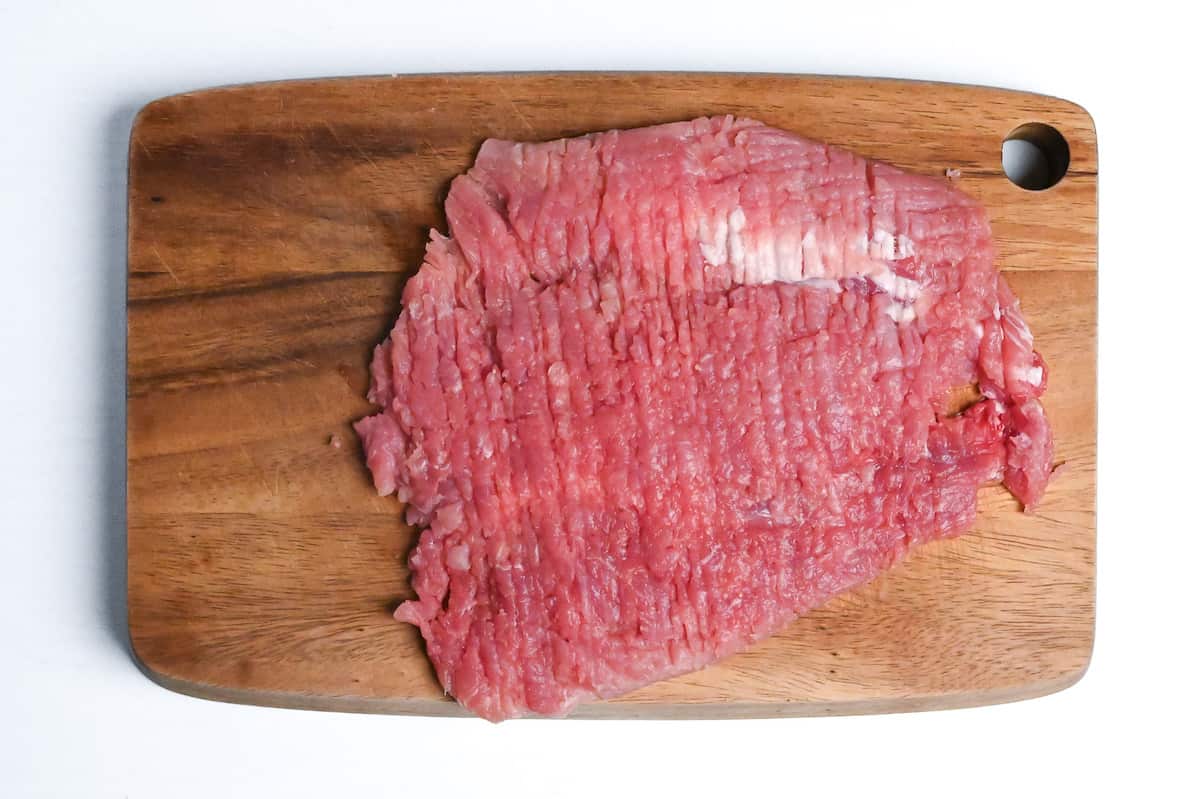
iii. Fold the cut edges in and press each piece into a square the size of your bread, about 1.5 to 2 cm (0.6 to 0.8 inch) thick. This is the quiet move that makes a great sando, every bite gets meat right to the corner and the cut face comes out clean.
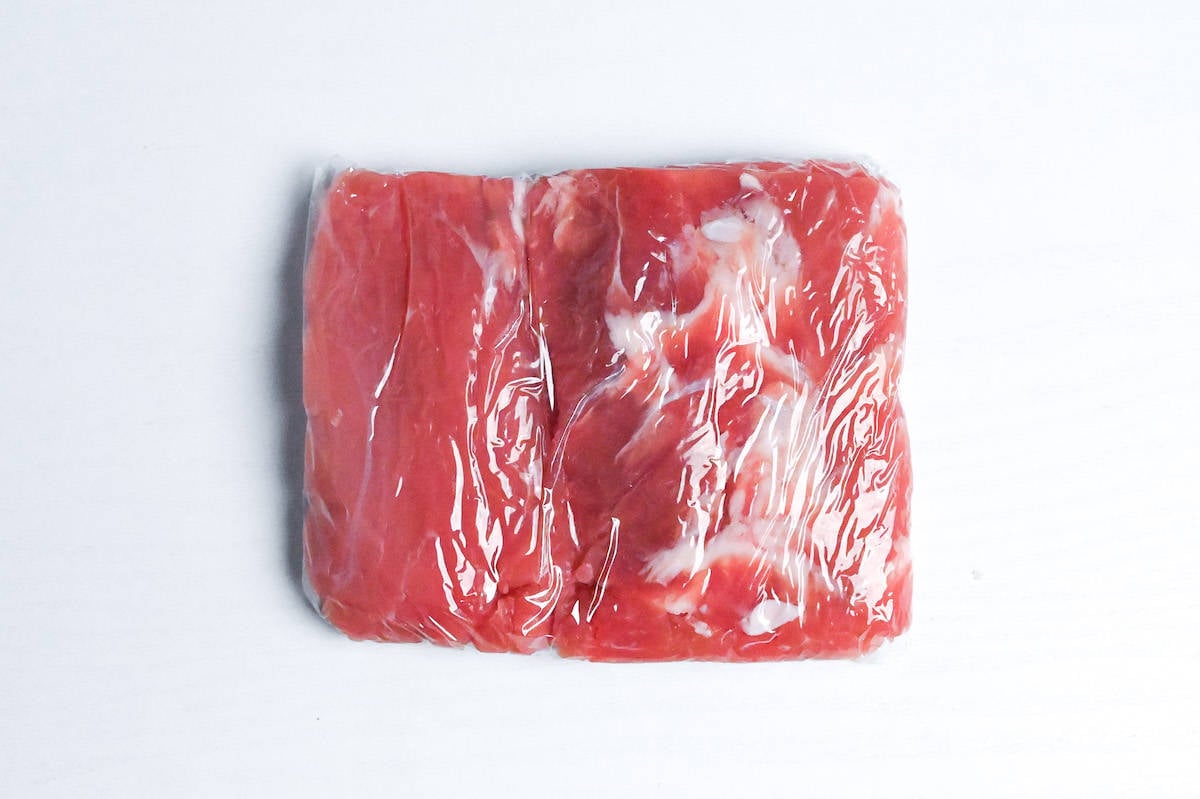
iv. Season both sides with salt and a little white pepper, wrap in plastic, and freeze for 30 minutes until firm but not frozen solid.
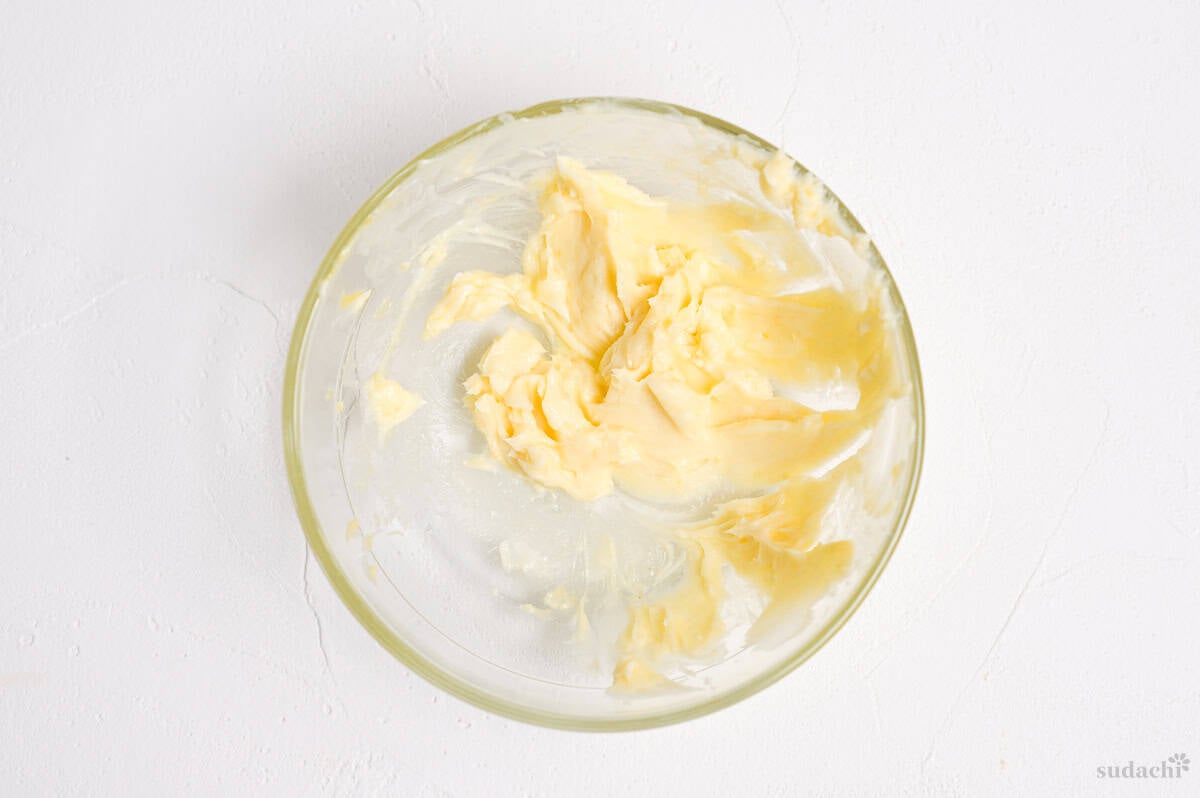
i. While the cutlet firms up in the freezer, cream the karashi into the softened butter until it is smooth and even, then set it aside.
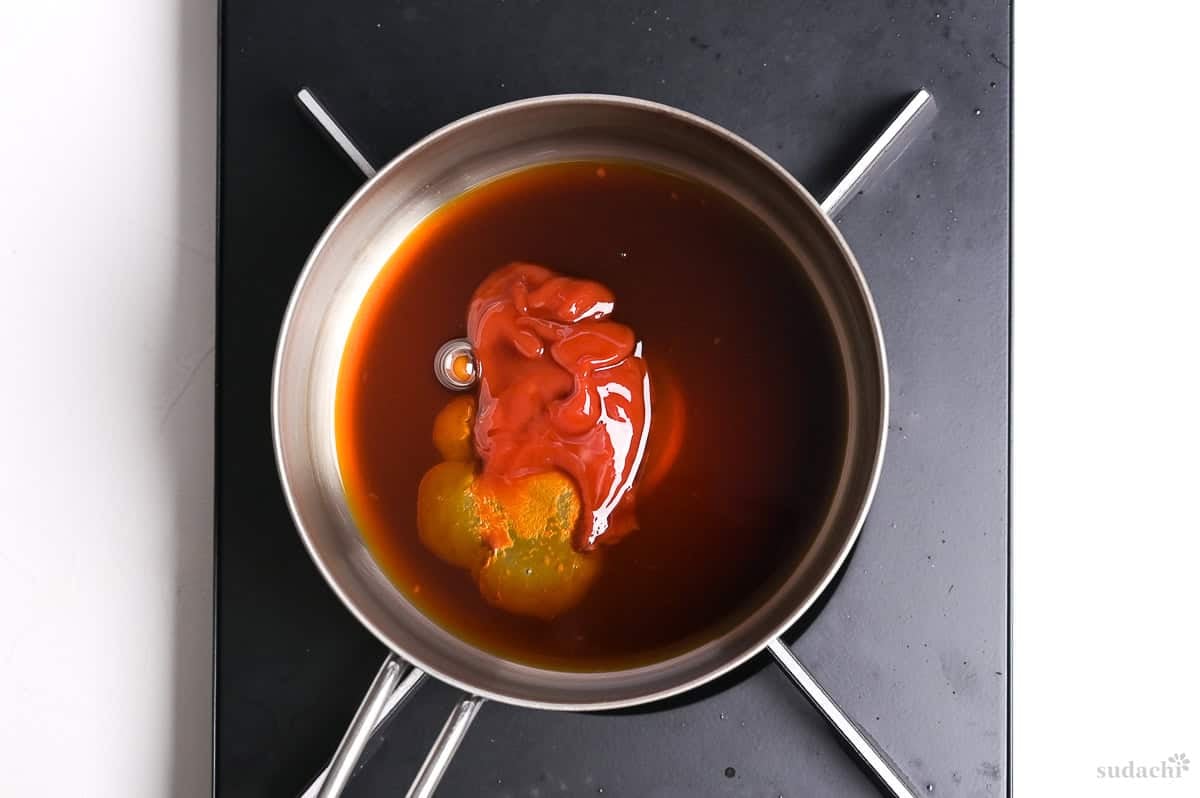
ii. In a small saucepan over low heat, combine the Japanese Worcestershire sauce, ketchup, and honey, and let it simmer gently until it thickens just a little.
iii. Take it off the heat and stir in the ground toasted sesame.
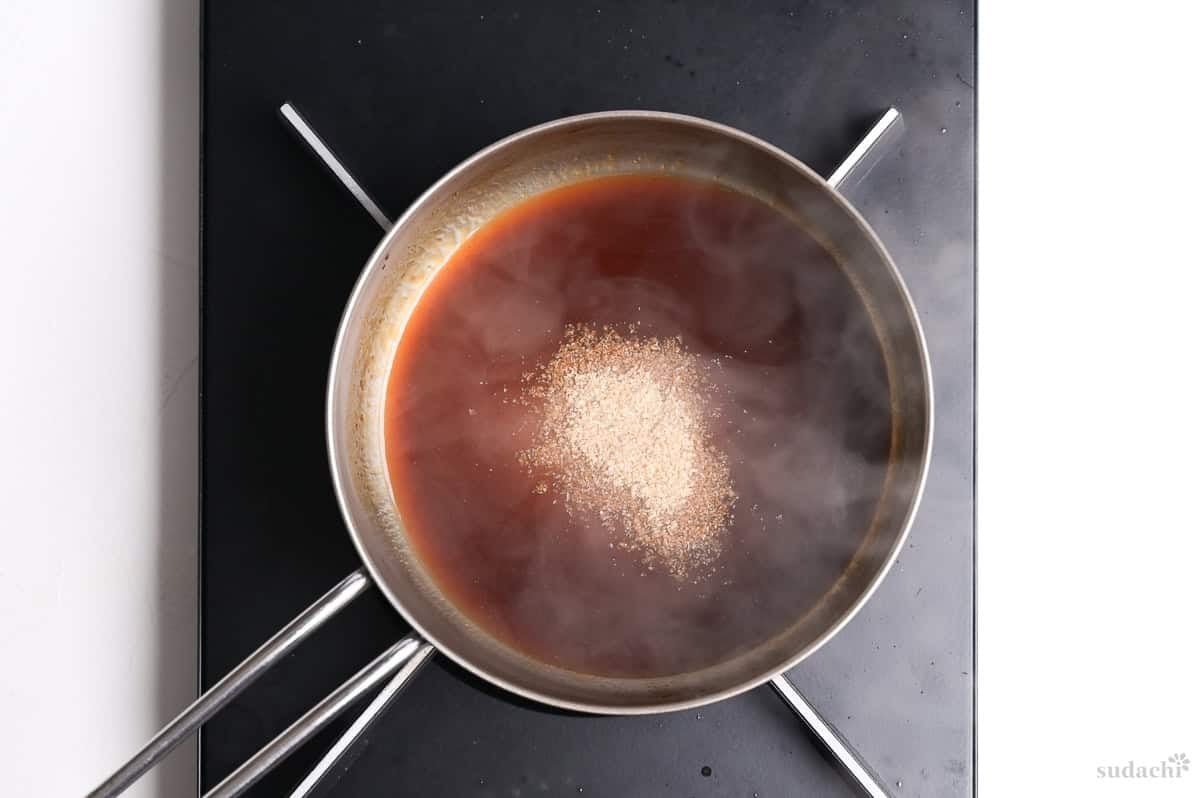
Both moves protect the bread once everything comes together. Reducing the sauce turns it thick enough to cling to the cutlet instead of running into the crumb, and the karashi butter you spread later lays down a thin film of fat, a raincoat that holds the sauce and the cutlet’s own juices off the bread. It is the whole reason a katsu sando can sit for an hour and still cut clean.
i. Start heating the frying oil to 165 to 170°C (330 to 340°F).
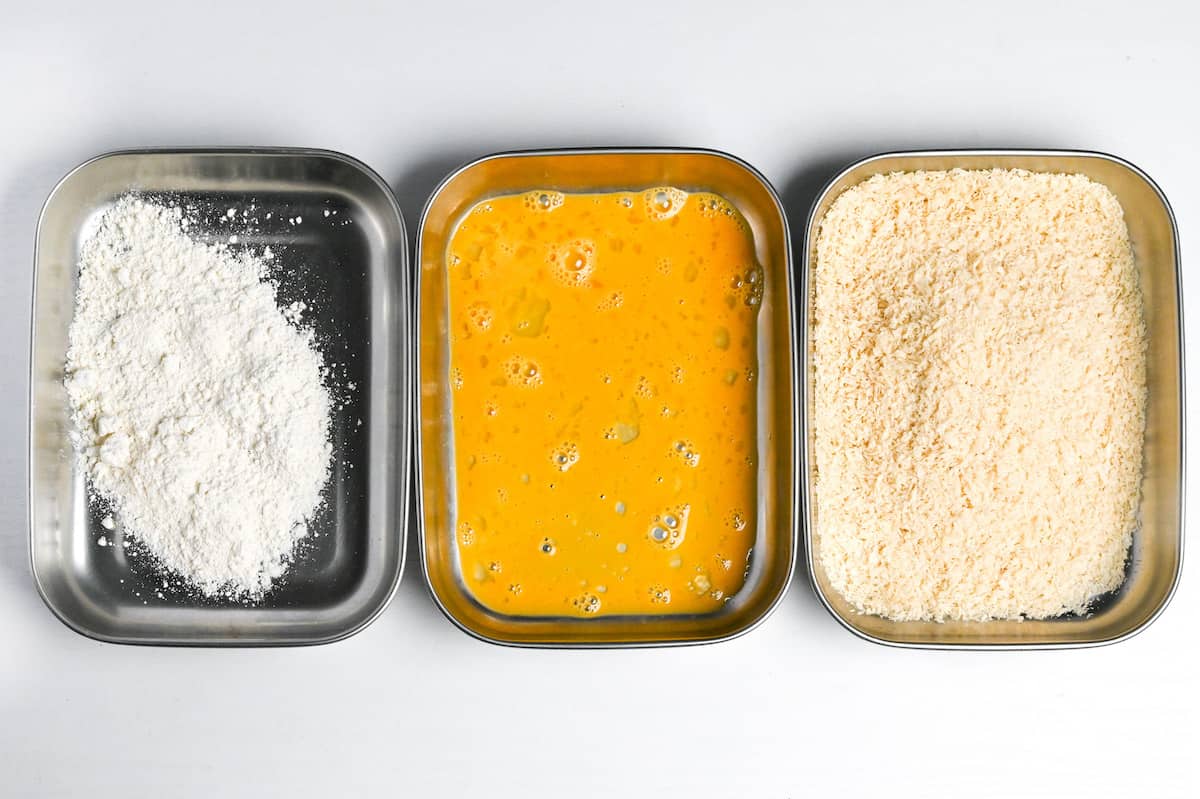
ii. Beat the egg, then mix in the milk and a little neutral oil. Set out a plate of cake flour or all-purpose flour and a plate of fresh panko.
i. Unwrap the frozen cutlet, dust it in a thin coat of flour and tap off the excess.
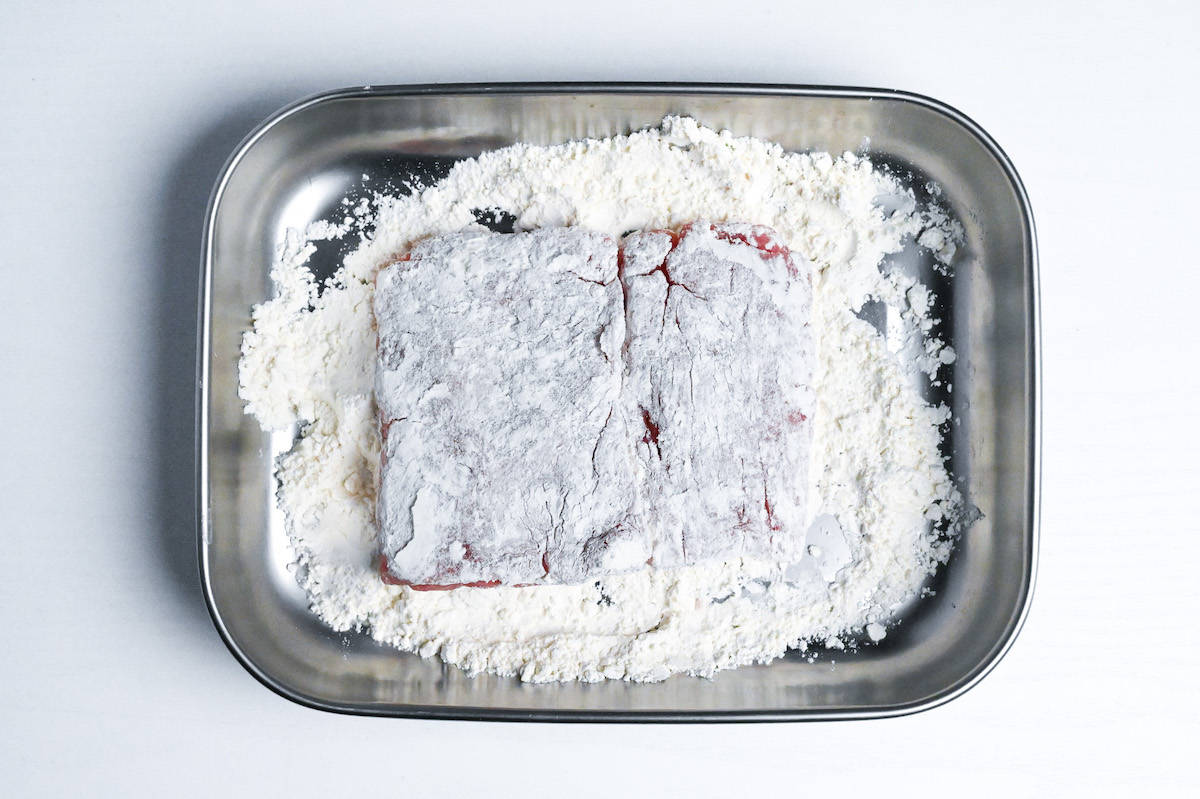
ii. Dip it through the egg.
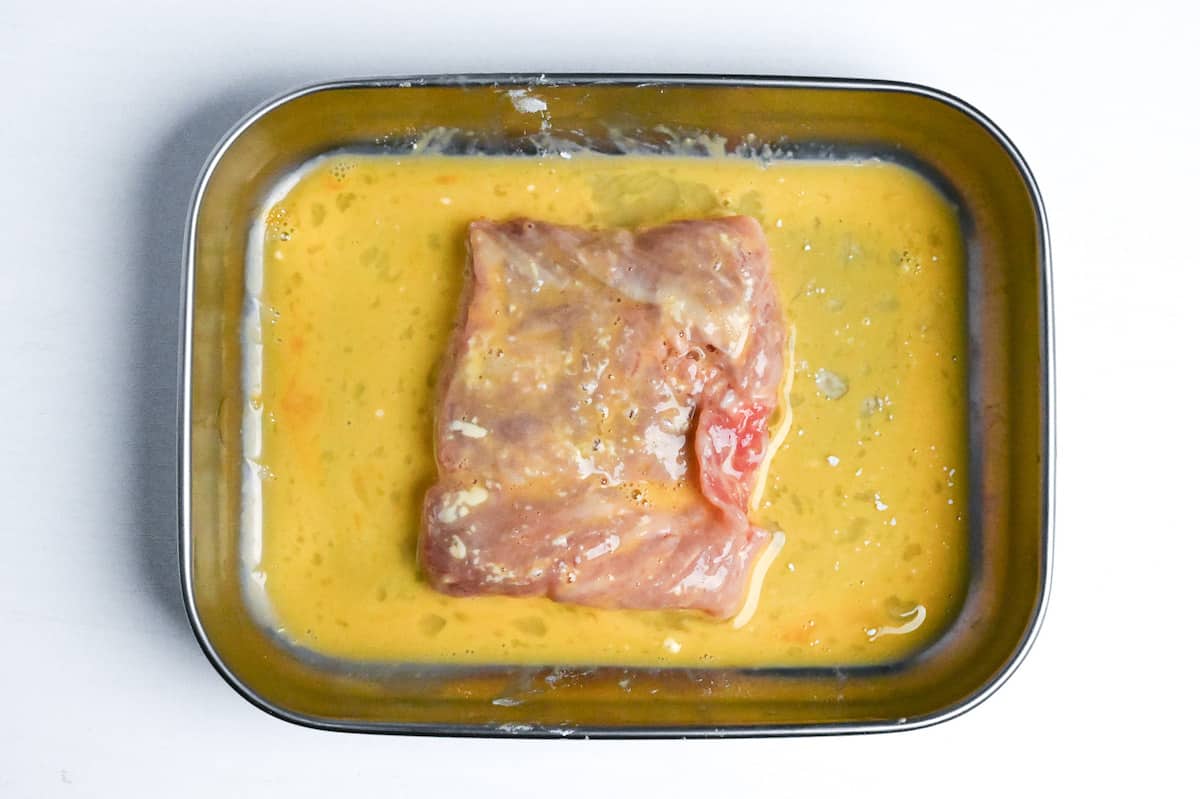
iii. Then press the panko on hard so it covers every face. A cold, firm cutlet takes an even, all-over coat without squashing out of its square
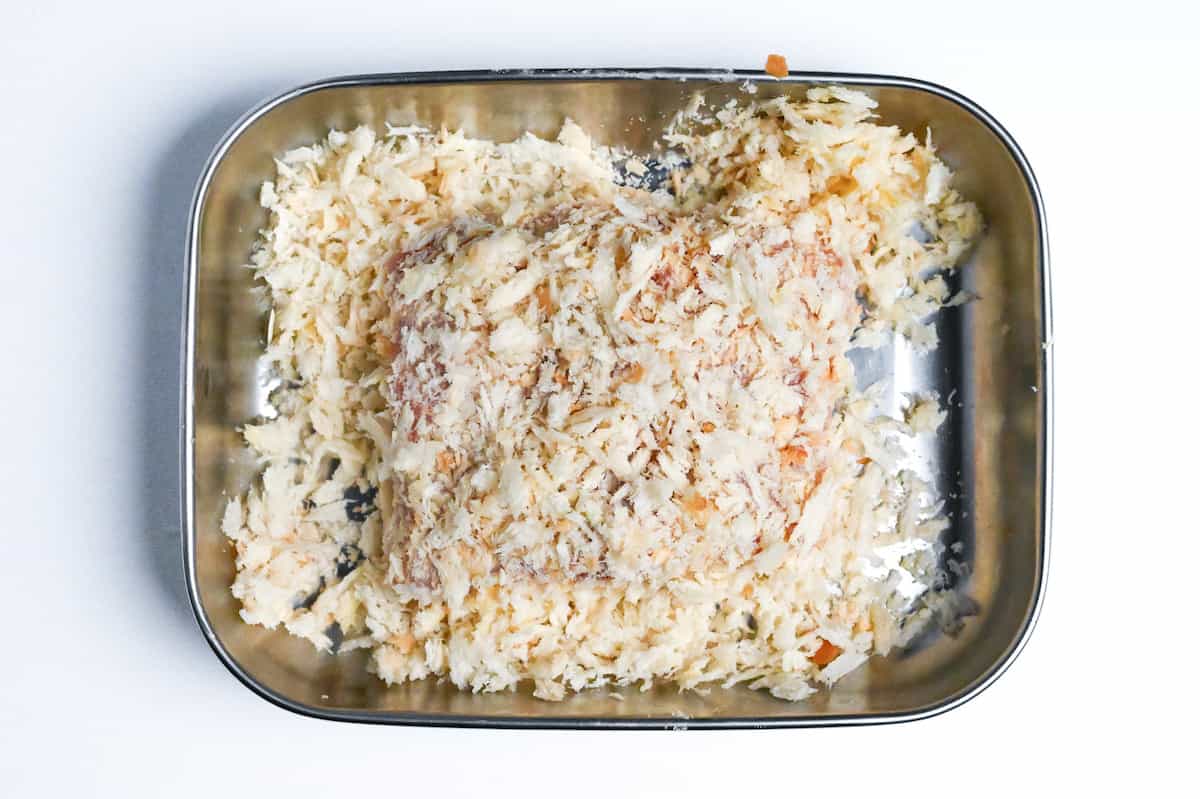
i. Lower the cutlet into the oil and fry at 165 to 170°C (330 to 340°F). Judge it by the center, not the clock, though about 5 minutes is the ballpark.
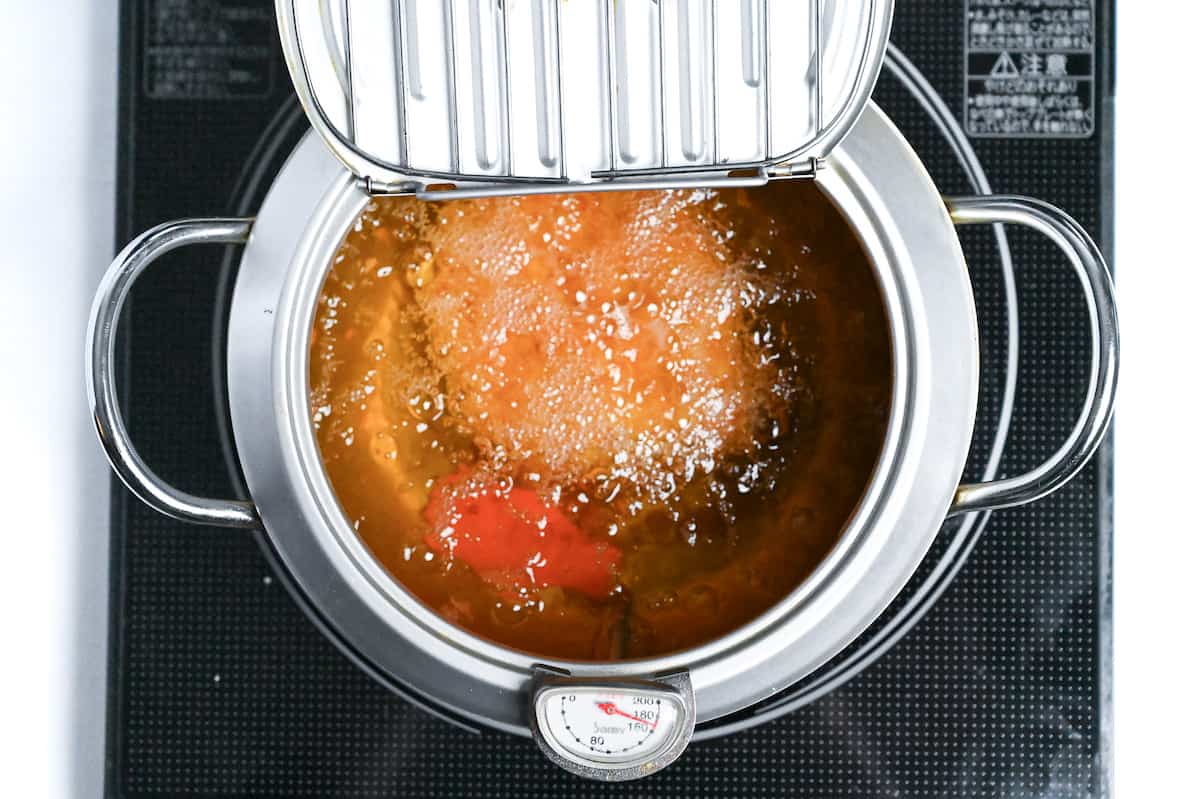
ii. Check for doneness, this part is not optional. Use a kitchen thermometer to check the internal temperature, it can be taken out when the center reaches 63°C (145°F) and will continue to cook with the carryover heat during resting time.
No thermometer? Make a discreet cut on the thickest part, if the juices run clear, it’s done. Alternatively, make the test cut on a trimmed end so you do not gash the show piece. If the inside is pale pink to white, it’s done. Red juices or a cold center mean it goes back for more heat.
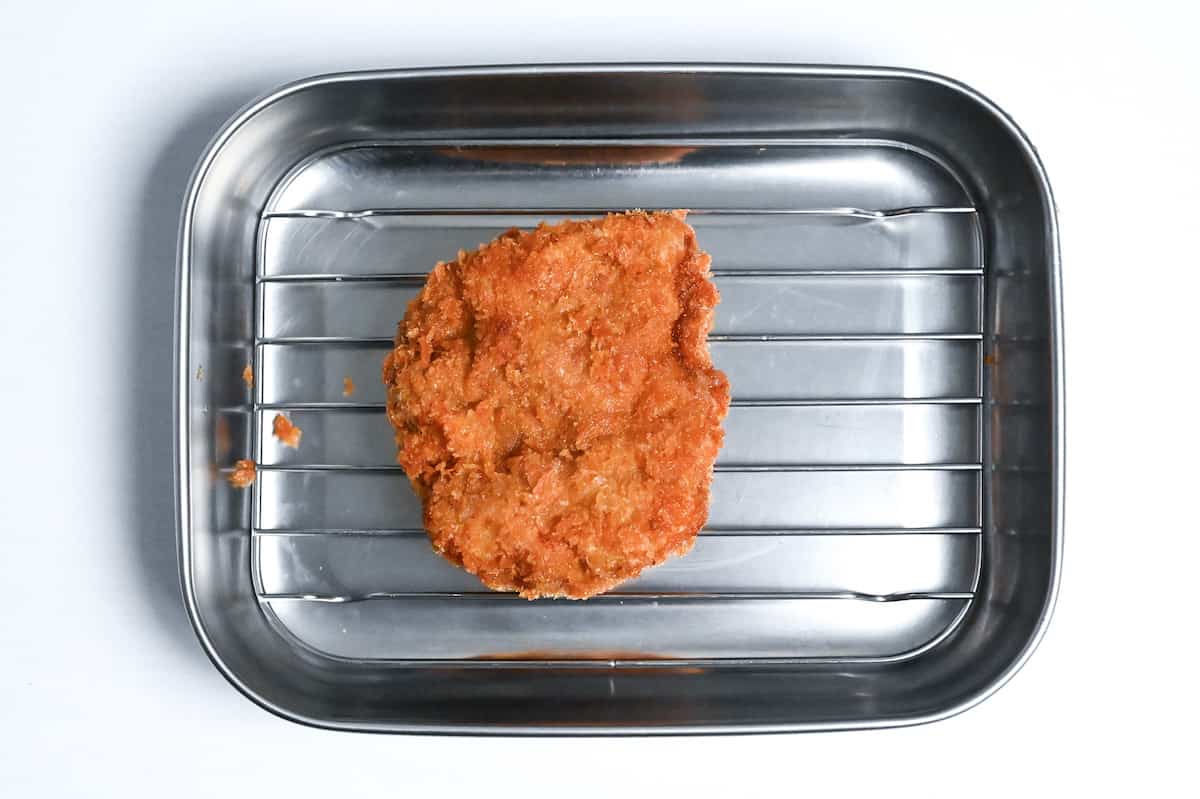
iii. Lift it onto a wire rack and rest it for at least 3 minutes. It keeps cooking here, the heat coasting inward to finish the core.
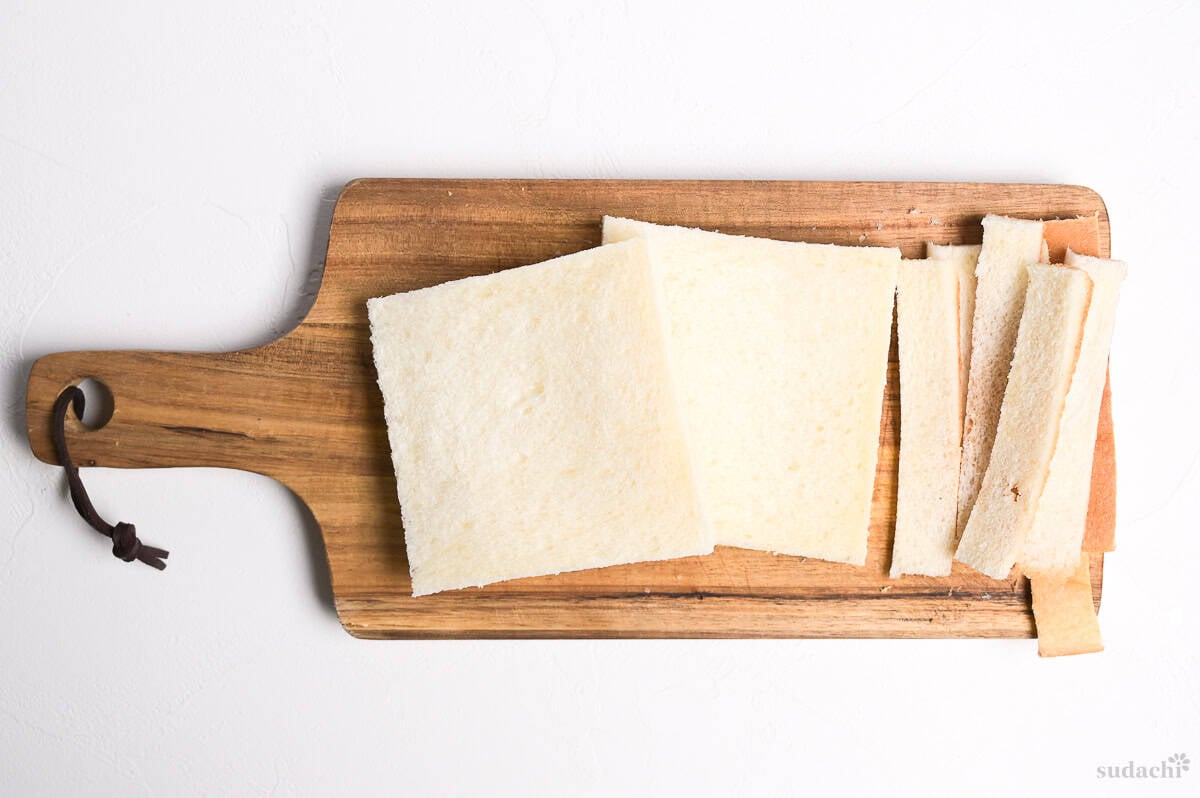
i. Trim the crust of your bread slices (optional).
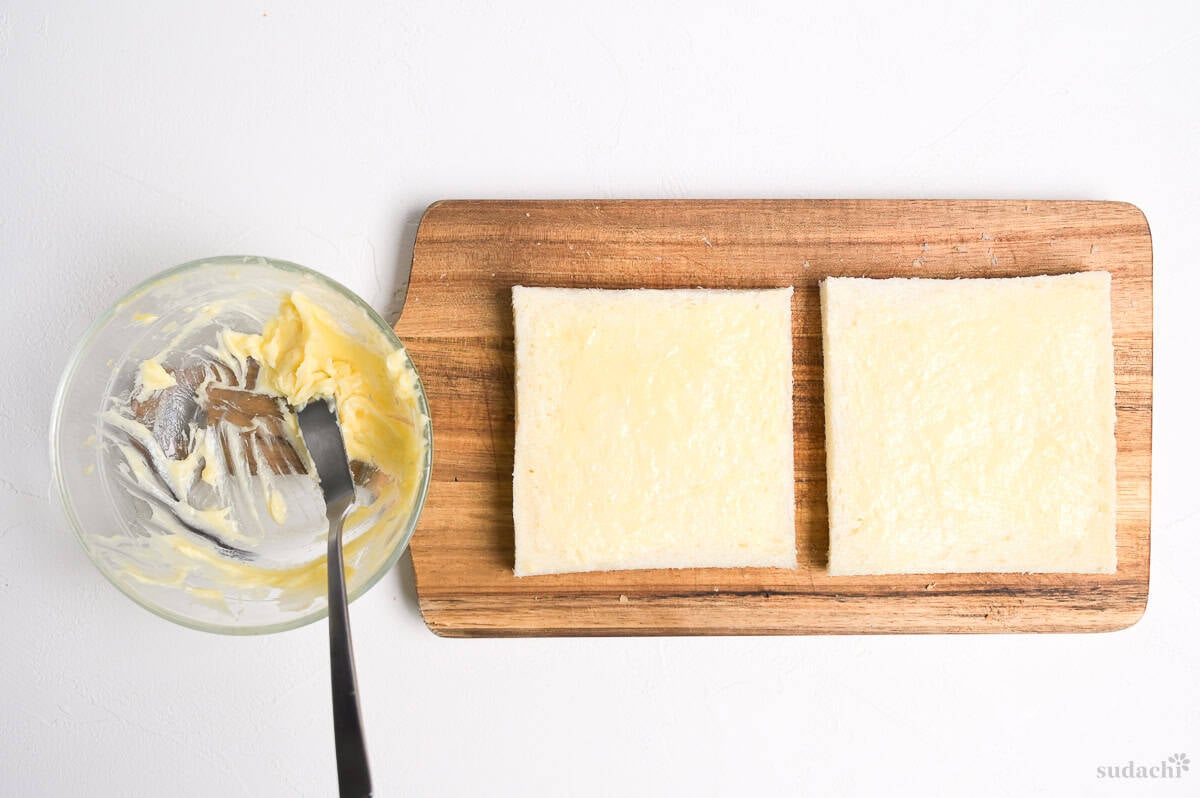
ii. Spread the karashi butter across the inner face of both bread slices, corner to corner.
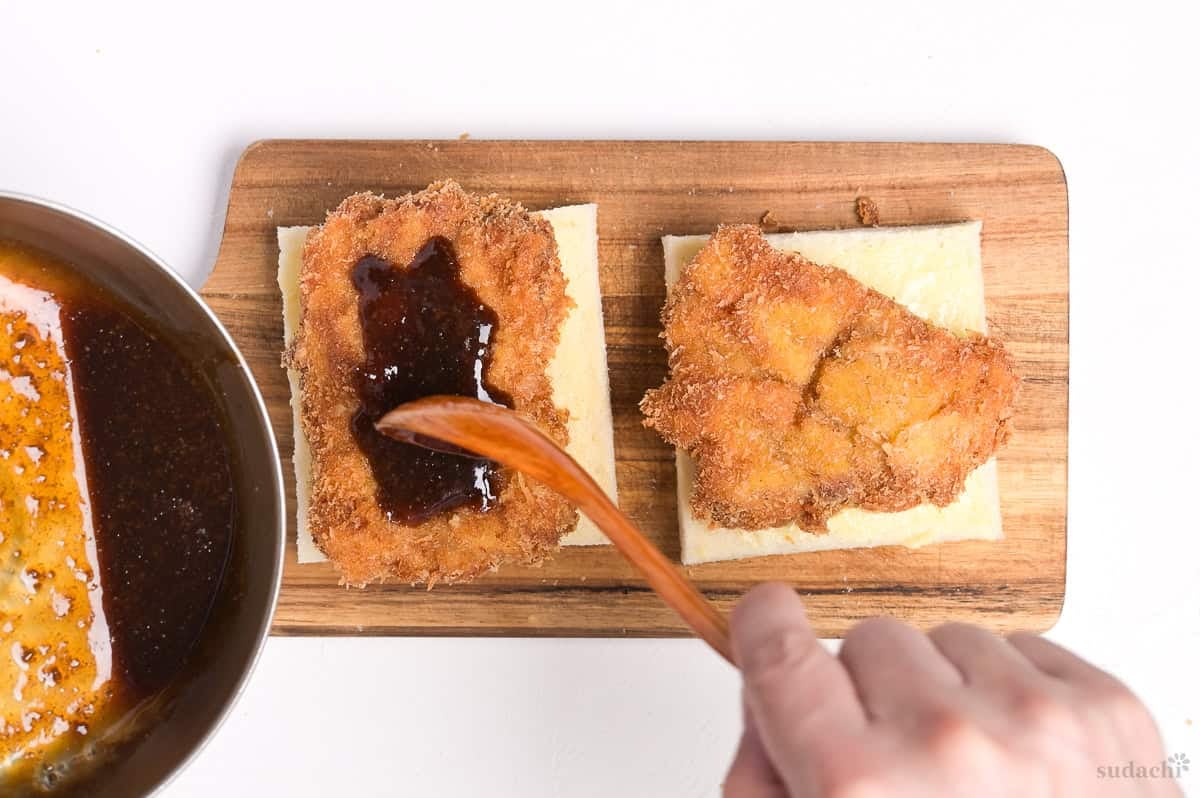
iii. Set the cutlet on the bottom slice, then drizzle the sauce on top.
iv. If you are using cabbage, pile the dry shreds in the center on top of the cutlet so they do not sit straight against the bread. Close it with the top slice.
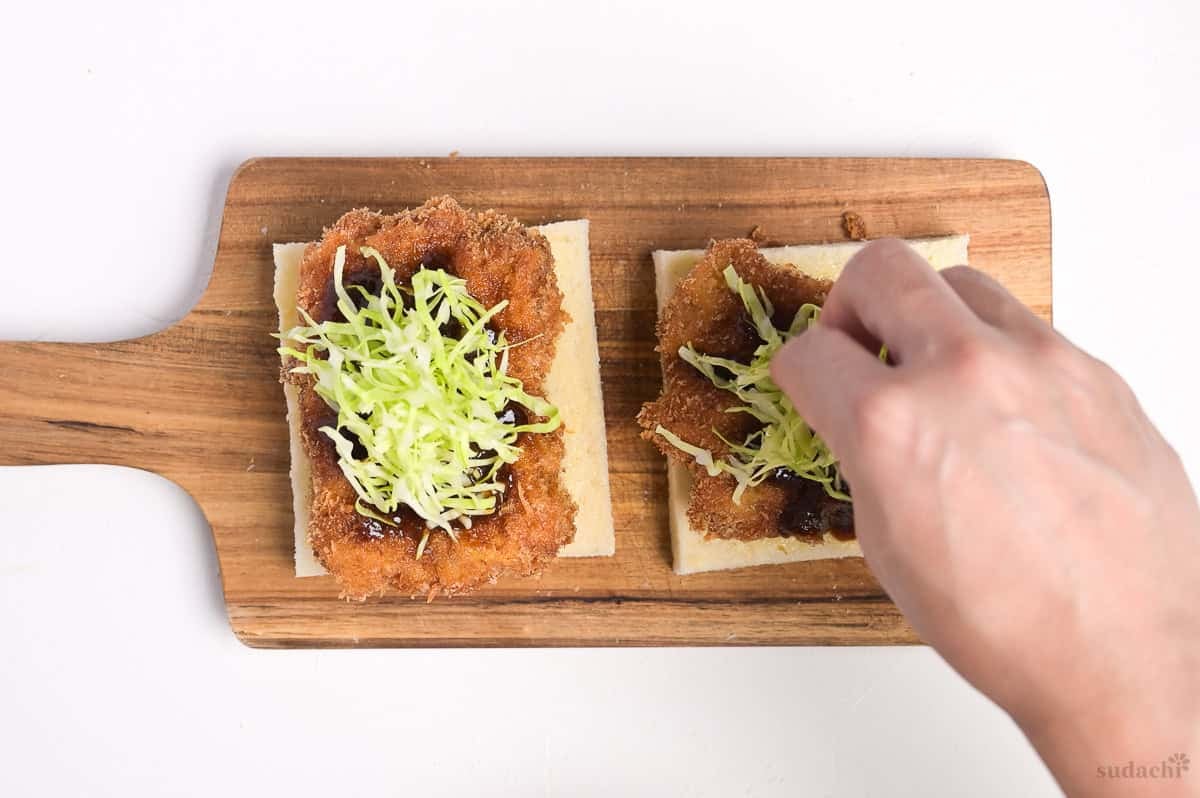
i. Press the sando gently with your palm so the layers settle together.
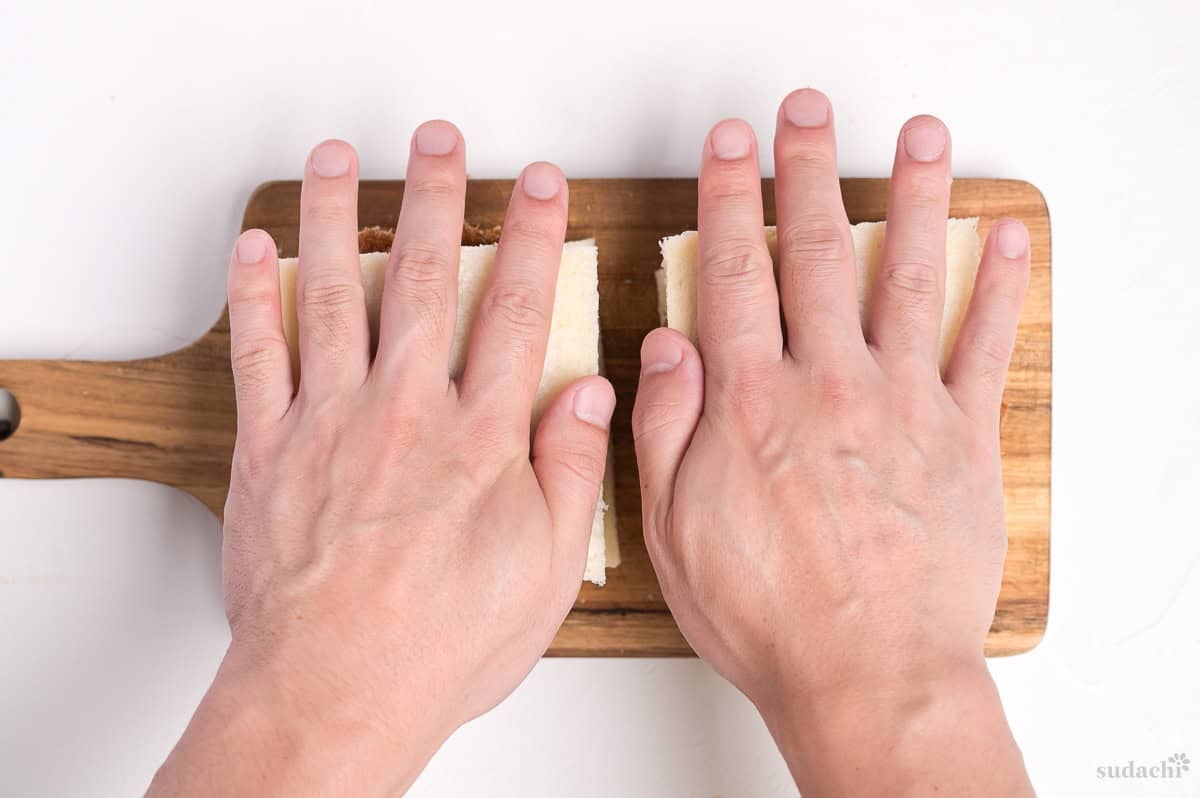
ii. Wrap it in plastic and let it rest for 2 to 5 minutes.
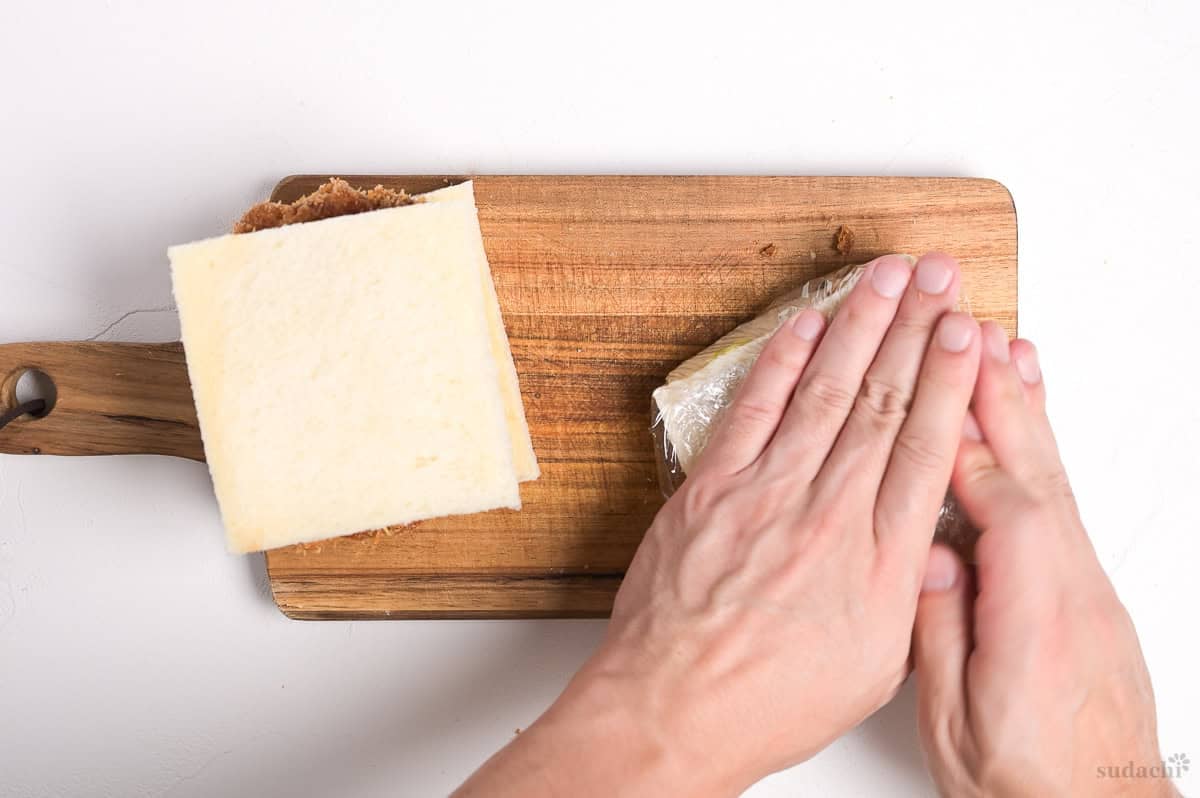
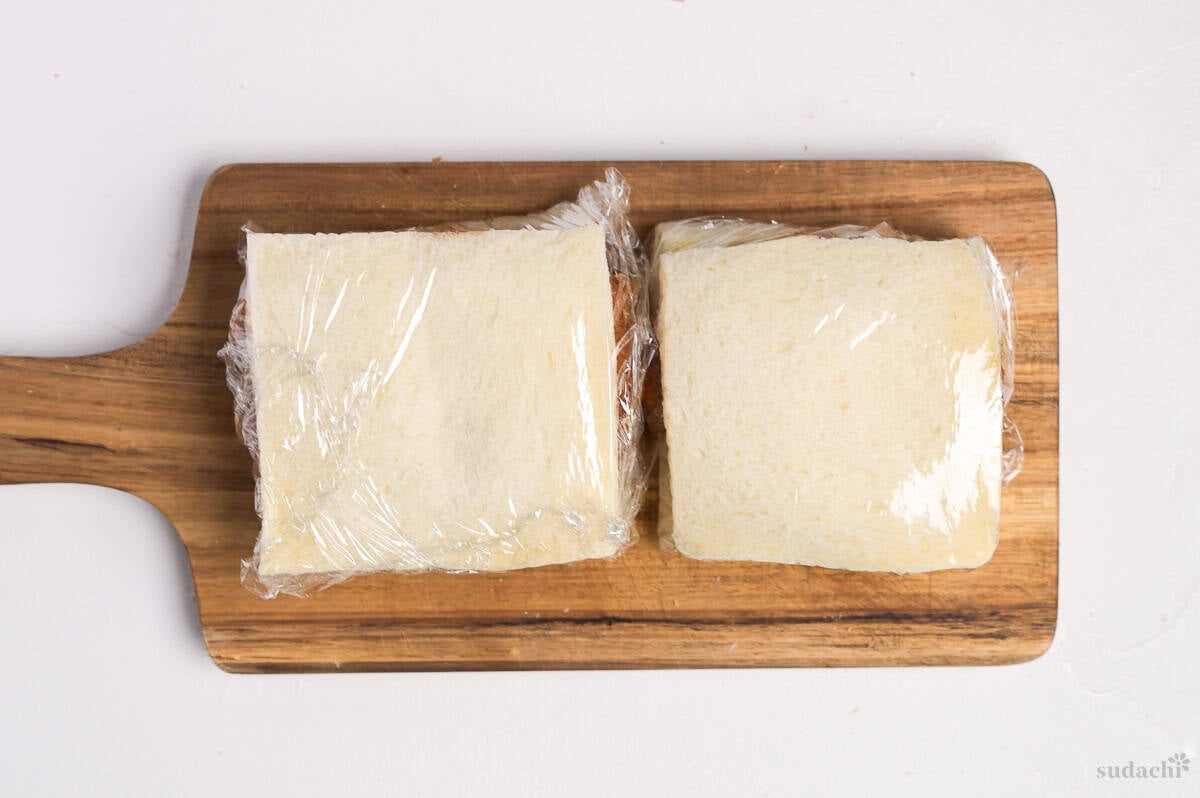
iii. Slice it in half with a sharp knife, cutting straight through the wrap in a drawing motion rather than pressing down.
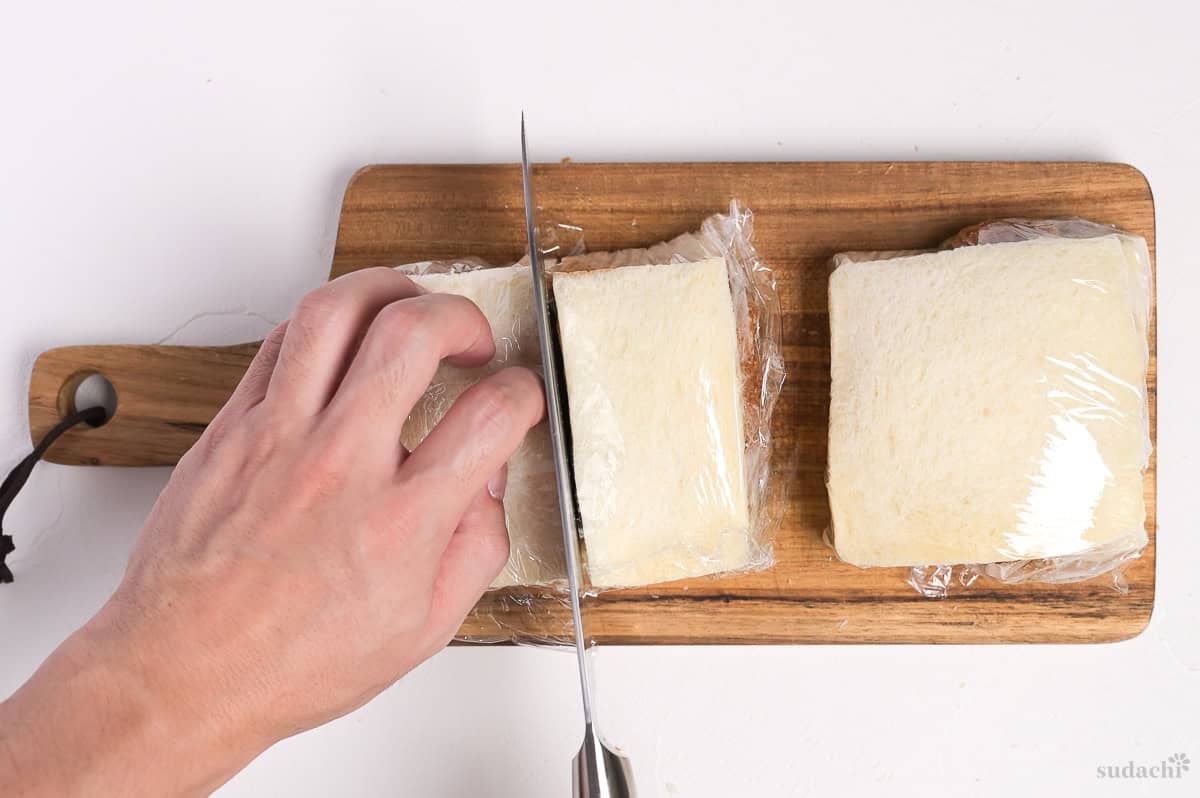
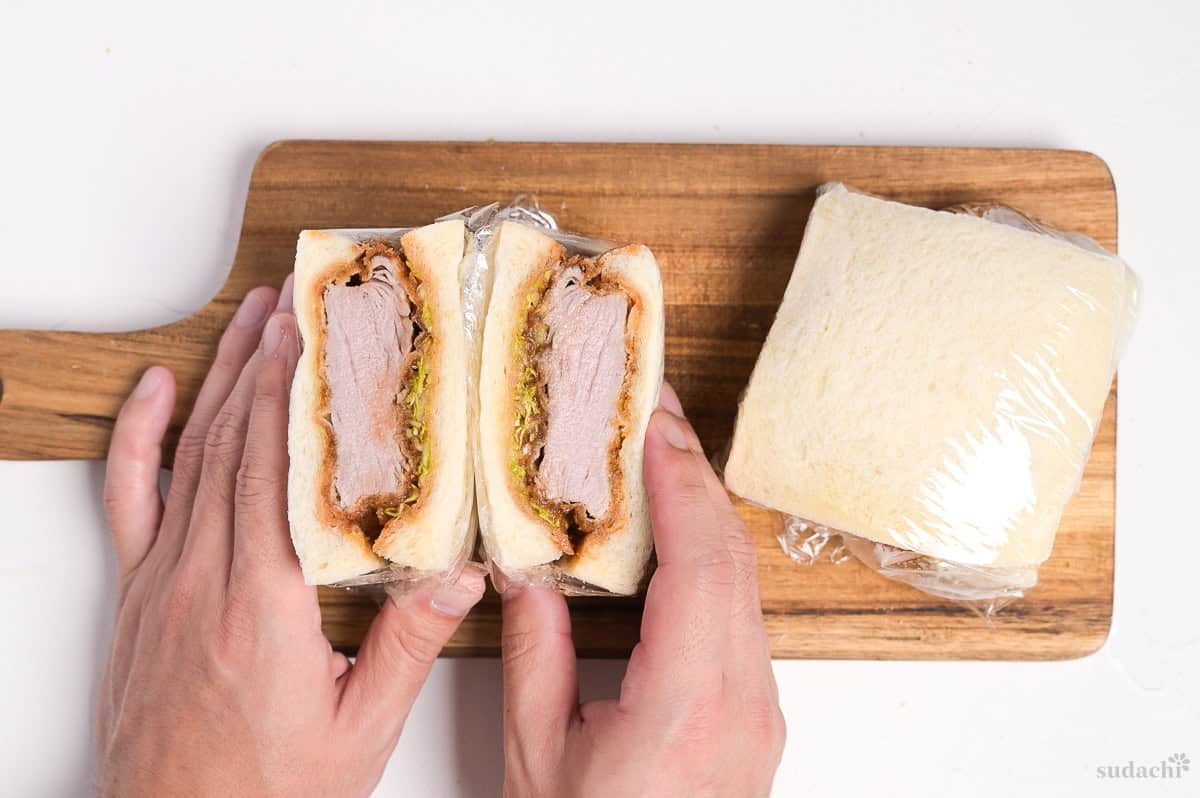
Those few minutes under the wrap let the layers settle and press into one another so the sando holds together when the knife comes through. Cut it the second you close it and the layers slide apart and the filling squeezes out. Rest it, then draw the blade through instead of pressing down, and you get that clean, photo-ready cross-section with meat to every edge.

Tips for the Best Katsu Sando
- Judge the pork by its center, never by the crust or the clock. A lean tenderloin browns on the outside long before the middle is safe, so crust color lies and a gorgeous coating can still sit over a raw core. Make sure the center reaches an internal temperature of 63°C (145°F) before the rest. Or cut into the center, because that is the honest visual signal that it is cooked through.
- Rest the sando before you cut, and draw the knife instead of pressing. A common reason a katsu sando falls apart is slicing the moment you close it, before the layers have knit, so the filling slides out under the blade. Press it gently, wrap it, let it settle for 2 to 5 minutes, then draw a sharp bread knife straight through the wrap in a single motion.
- Treat the karashi butter and the reduced sauce as your waterproofing. Soggy bread is usually a barrier problem more than a bread problem. Spread the karashi butter corner to corner on both inner faces so a film of fat sits between the crumb and the wet, and simmer the sauce until it is thick enough to cling to the cutlet instead of running into the crumb. If you add cabbage, get it properly dry first, because a few drops of water will find their way to the bread.
With these simple tips in mind, you’re set for success every time you make katsu sando.
What to Serve With Katsu Sando
Pork Cutlet Sandwich Troubleshooting
A lean tenderloin cutlet takes on a deep coating long before its core is cooked, so the crust color got ahead of the inside. The fix is to stop trusting the coating and read the center instead.
Check the internal temperature with a kitchen thermometer, it should read 63°C (145°F) before the 3 minute rest. Alternatively, make a discreet cut in the thickest part and make sure the juices run clear. If they don’t, fry for another minute and test again. When you cut it in half, the meat should be pale pink or white.
Almost always the sando was cut before it had a chance to settle, so the layers were still loose and the filling pushed out under the knife. Press the closed sando gently with your palm, wrap it, and let it rest 2 to 5 minutes so the butter, sauce, and cutlet knit into the bread. Then draw a sharp bread knife straight through the wrap in a single smooth motion rather than pressing down.
The moisture barrier is doing the work here, and a soggy bottom means it was thin or missing. Spread the karashi butter all the way to the corners on both inner faces so a layer of fat blocks the crumb, and reduce the sauce until it clings to the cutlet instead of running loose. If you used cabbage and skipped drying it, the water it carried went straight into the bread, so shred it fine and pat it bone dry next time.
More Japanese Pork Recipes
For more in this category, see my full collection of Japanese pork recipes.
Did You Try This Recipe?
I would love to hear your thoughts!
💬 Leave a review and ⭐️ rating in the comments below. 📷 I also love to see your photos – submit them here!
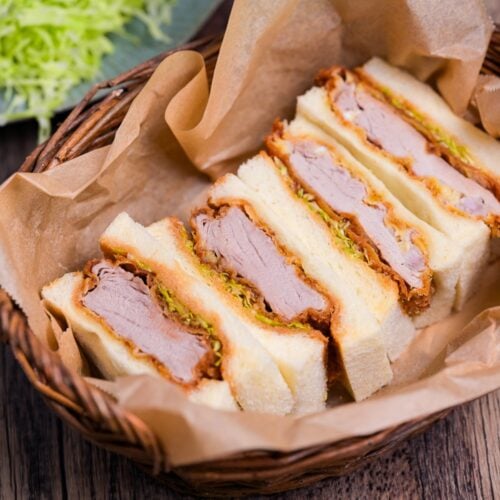
Katsu Sando (Japanese Pork Cutlet Sandwich) with Homemade Sauce

Ingredients
For the cutlet
- 300 g pork tenderloin fillet or pork loin
- ¼ tsp salt
- ground white pepper to taste
- unbleached cake flour or all-purpose flour
- 1 egg beaten
- 1 tbsp whole milk
- 1 tsp cooking oil neutral
- 100 g panko breadcrumbs or homemade coarse crumbs
- cooking oil for deep frying
For the karashi butter
- 1 ½ tbsp unsalted butter softened
- 1 tsp Japanese mustard (karashi) or smooth Dijon or Colman's
For the sauce
- 2½ tbsp Worcestershire sauce
- 1 tbsp ketchup
- 1 tsp honey
- 1 tsp ground sesame seeds
To assemble
- 4 slices white bread shokupan, square loaf, 8-slice, untoasted
- shredded cabbage optional
The ingredient brands and tools I trust are in my Japanese pantry guide and my cooking tools guide.
Can’t find certain Japanese ingredients? See my substitution guide here.
Instructions
- Cut the 300 g pork tenderloin fillet in half, butterfly each piece, and pound them flat.

- Score the sinew with a few shallow cuts. Fold the edges in and press each into a square 1.5 to 2 cm thick (0.6 to 0.8 inch).

- Season both sides with ¼ tsp salt and a sprinkle of white pepper, wrap, and freeze 30 minutes.
- While the cutlets firm up, cream 1 tsp Japanese mustard (karashi) into 1 ½ tbsp unsalted butter until smooth, then set on the counter for later.

- Warm 2½ tbsp Worcestershire sauce, 1 tbsp ketchup, and 1 tsp honey in a small saucepan over low heat, and simmer until slightly thickened. Off the heat, stir in 1 tsp ground sesame seeds.
- Heat cooking oil for deep frying to 165 to 170°C (330 to 340°F). Beat 1 egg with 1 tbsp whole milk and 1 tsp cooking oil. Set out a plate of cake flour or all-purpose flour and a plate of 100 g panko breadcrumbs.
- Unwrap a frozen cutlet. Coat it thinly with flour and shake off the excess, run it through the egg, then pack panko onto every face, pressing firmly to secure it.
- Slide the cutlet into the oil at 165 to 170°C (330 to 340°F). Fry until the center reaches an internal temperature of 63 °C (145 °F), about 5 minutes.
- Lift the cutlet onto a wire rack and rest at least 3 minutes.
- Trim the crusts off the 4 slices white bread if you like. Spread karashi butter to the corners on the inner side of every slice.
- Lay a cutlet on each bottom slice and drizzle the sauce over the top. If using cabbage, mound the dry shreds on the cutlets, then close each sando with a top slice.
- Press each sando flat with your palm, wrap, and rest for 2 to 5 minutes.
- Cut each sando in half with a sharp knife, drawing the blade through the wrap rather than pressing down. Unwrap and serve. Enjoy!

I’m a big fan of red miso so I was surprised that I preferred the mustard mayo version. Both great though!
Hi Cece,
Thank you for trying this recipe! I’m glad to hear that you enjoyed it! 🙂
Yuto