


Yaki udon is not just a stir-fry. It is a 10-minute sear built on butter, soy sauce, and one ingredient you will not see coming.
Juicy chicken thighs, frozen udon that stays chewy, and a balsamic vinegar finish that makes you rethink the whole dish. Make it once, and it will find a permanent place in your meal rotation.
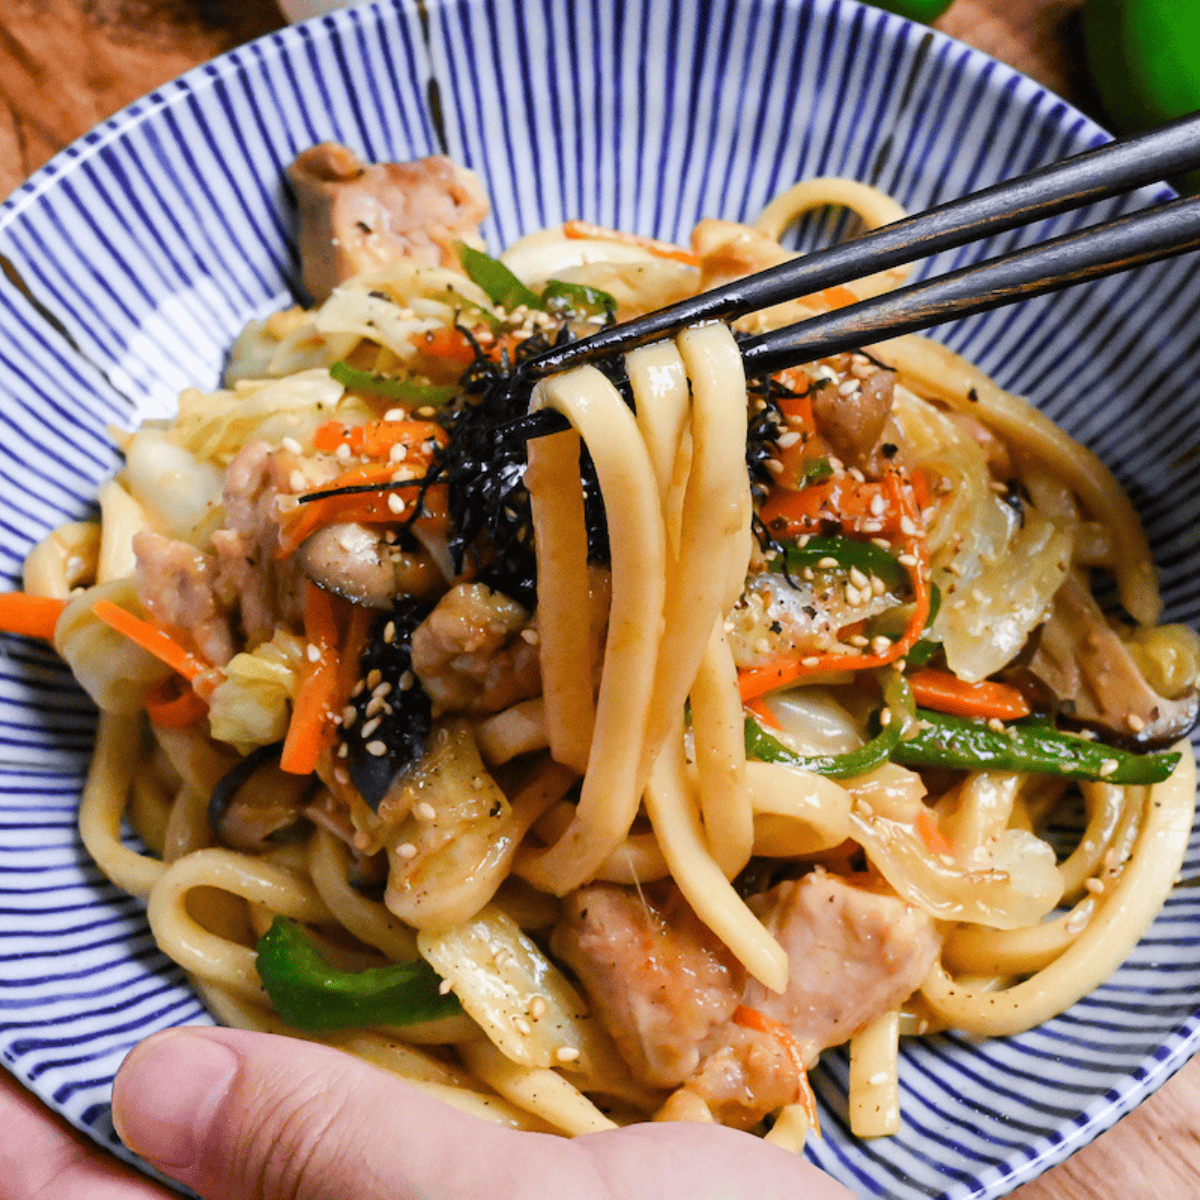
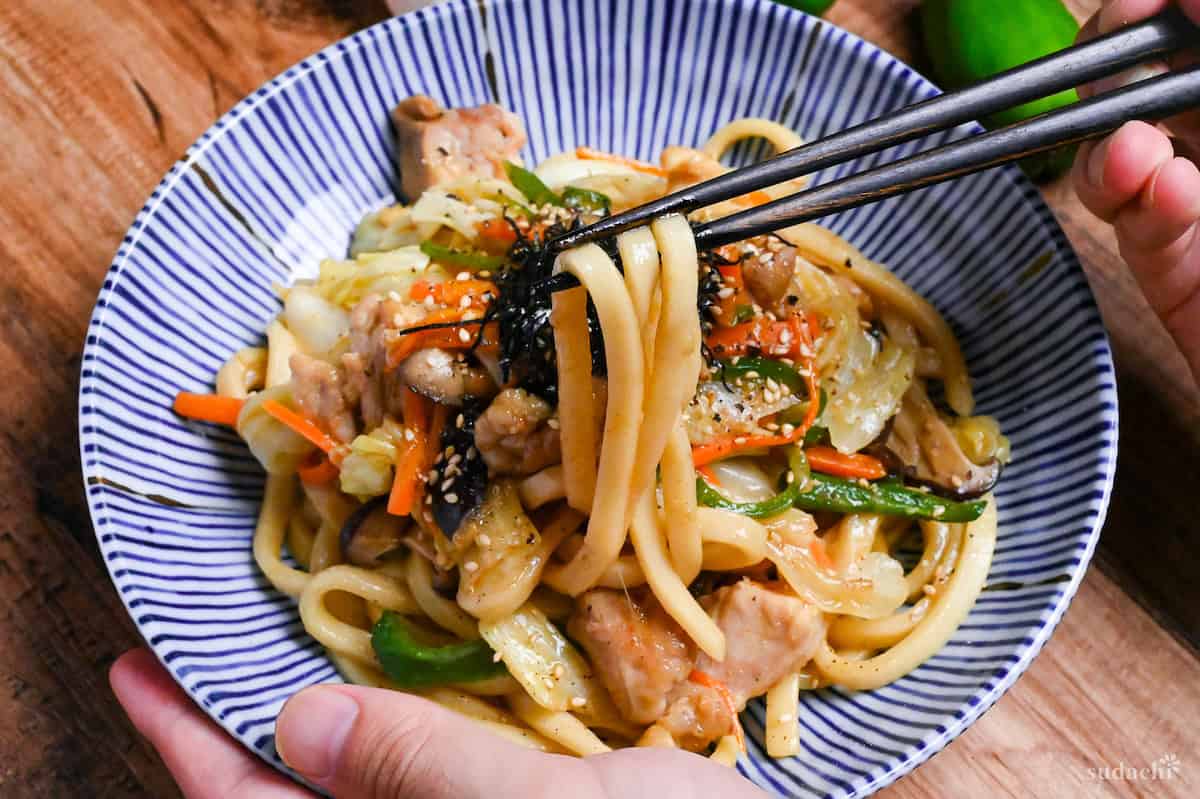
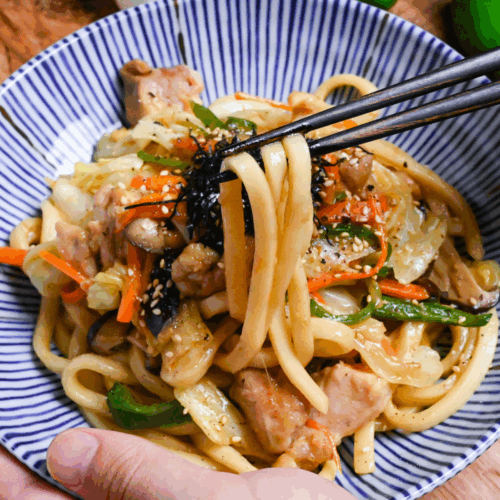
Chicken Yaki udon
Recipe Snapshot
- What is it? Yaki udon is a Japanese pan-fried noodle dish. Thick wheat udon, protein, and vegetables are seared in a hot wok with a soy-based sauce.
- Flavor profile: Butter and soy sauce create a rich, nutty base. Dashi granules and oyster sauce layer umami underneath, and balsamic vinegar adds a bright, sweet, acidic finish.
- Why you will love this recipe: A butter-shoyu foundation finished with balsamic vinegar gives this chicken yaki udon a flavor that lingers. 10 minutes of active cooking from pantry staples and frozen udon.
- Must-haves: Udon noodles, boneless chicken thighs, and balsamic vinegar (the finishing accent that ties the sauce together).
- Skill level: Easy. One pan, no marinating, no deep-frying.
Summarize & Save this content on:
What Is Yaki Udon?
Yaki udon (焼きうどん) is a Japanese stir-fried noodle dish made with thick wheat udon, protein, and vegetables, seared in a hot pan with a soy sauce-based sauce. The noodles are pure wheat, no egg or alkaline salts, which is what separates yaki udon from yakisoba at the most basic level.
The dish originated in Kitakyushu with pork belly and dried udon. It has since become a fixture of home kitchens and izakaya menus across Japan, most often made with frozen udon and whatever protein is on hand. My version leans on a butter-shoyu base, a pairing that shows up everywhere from steak to grilled corn in Japan, and finishes with balsamic vinegar for a brightness that lifts the whole dish without pulling it somewhere else.
Chicken Yaki Udon Ingredients
What You’ll Need for Chicken Yaki Udon
- Udon noodles: Fresh, dried, refrigerated, or frozen all work for this dish. I go with refrigerated or frozen because the chew holds up to high heat without turning soft. Slightly undercook them compared to the package directions, since they finish cooking in the pan. You will find them at most Asian grocery stores, or check the freezer aisle at your local Asian market.
- Balsamic vinegar: I know, balsamic vinegar in a Japanese noodle dish sounds like a wrong turn. It is not. It goes in at the very end, off the heat, and ties the butter-shoyu base together with a brightness that nothing else in the pantry quite matches.
- Oyster sauce: I rely on a good-quality bottle to add depth underneath the soy sauce that soy alone can’t reach. A small amount goes a long way.
The Vegetables & Protein I Used

- Chicken thighs: Boneless thighs are my go-to. The fat renders during the sear and coats everything in a richness that leaner cuts can’t deliver. Thinly sliced pork belly or meaty king oyster mushrooms are great alternatives if you want to switch it up.
- Vegetables: This is where you make the dish your own. I use onion, cabbage, bell pepper, carrot, and shiitake mushrooms for a mix of color and crunch. Whatever is seasonal works, but keep an eye on water content. Vegetables like zucchini or bean sprouts release too much moisture and turn the whole pan soggy.
Substitutions and Variations
Substitutions:
- Udon noodles → Any thick wheat noodle works. Soba and ramen are fundamentally different dishes, but wide rice noodles or thick spaghetti hold up in a pinch. For gluten-free, brown rice udon is the best swap I can found.
- Balsamic vinegar → Chinese black vinegar is the closest match.
- Oyster sauce → Mushroom-based oyster sauce for vegetarian or shellfish-free cooking.
- Lard → Use any neutral oil. The lard adds clean richness and a higher smoke point, but the dish works well without it.
- Mirin → Sake with a pinch of sugar, or a dry white wine/sherry with a pinch of sugar. Aji-Mirin (the bottle at most grocery stores) works in a pinch, but it is less complex than true hon mirin.
- Dashi granules → Mentsuyu can handle the job alone, replacing both dashi and some of the soy sauce. If you go for this, make sure to taste and adjust as you cook.
- Chicken thighs → Boneless breast works, but it will be noticeably dry. Thinly sliced pork belly gives a more traditional Japanese take. For plant-based, thick-cut king oyster mushrooms seared hard are the best option.
Have trouble finding Japanese ingredients? Check out my ultimate guide to Japanese ingredient substitutes!
Variations:
- Gluten-free version: Swap soy sauce for tamari and use brown rice udon or shirataki noodles. Check your oyster sauce label, since some brands contain wheat.
- Vegetarian or vegan version: Replace chicken with king oyster mushrooms or firm tofu, oyster sauce with mushroom-based oyster sauce, and dashi granules with kombu and dried shiitake.
- Sauce-style yaki udon: Add a splash of Japanese Worcestershire sauce (Bull-Dog or Otafuku) alongside the soy sauce for a sweeter, tangier finish closer to the original.
How to Customize:
- Extra heat: Stir in a small amount of toban djan (chili bean paste) when you add the vegetables, or drizzle extra chili oil at the table.
- Katsuobushi topping: A handful of bonito flakes right before serving adds a wave of smoky umami, and the flakes dance from the residual heat.
- Egg: You can top this with sunny-side-up egg.
How to Make My Easy Chicken Yaki Udon
If you prefer to watch the process in action, check out my video of this chicken yaki udon recipe!
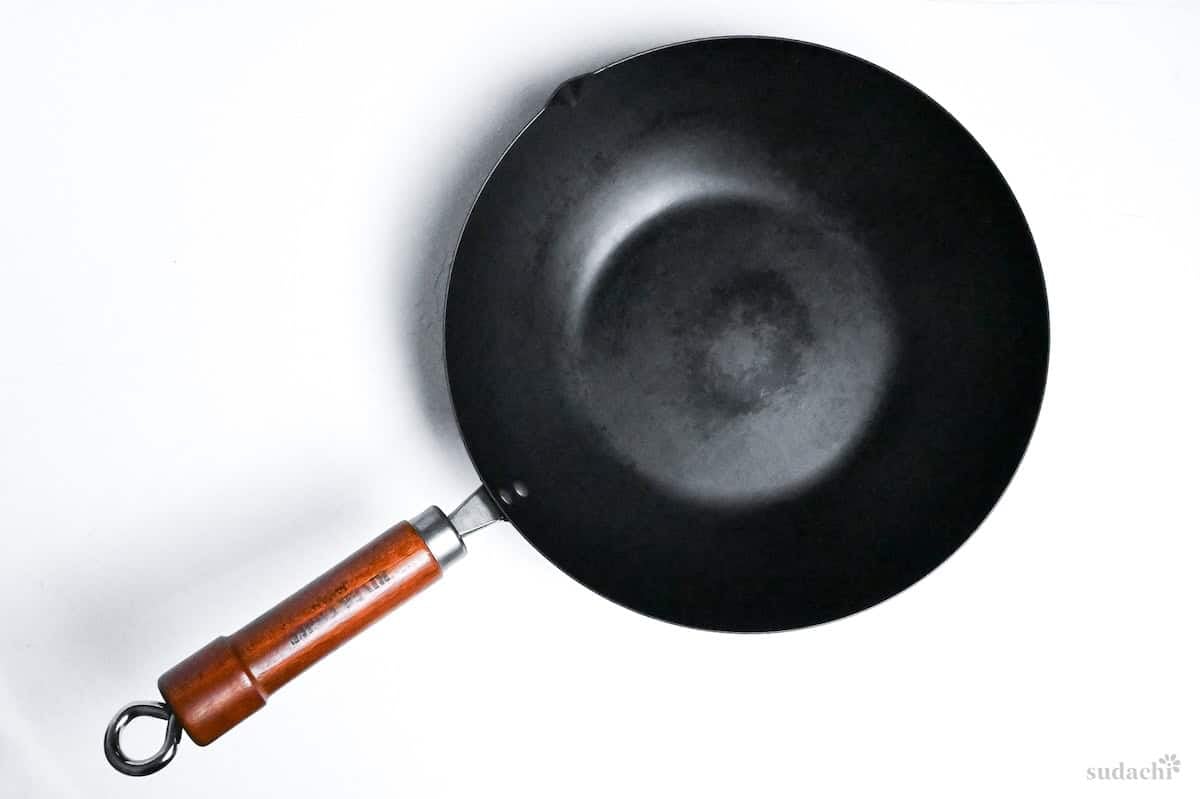
To develop this chicken yaki udon recipe, I used a 30cm carbon steel wok.
i. Season the chicken pieces with salt and a light dusting of all-purpose flour.

ii. Toss until every piece is evenly coated, then cover and refrigerate while you prepare the rest. The flour creates a thin shell that holds moisture in and gives the surface something to brown against when it hits the hot pan.

iii. Thinly slice the onion and shiitake mushrooms, julienne the bell pepper and carrot, and chop the cabbage into rough bitesize pieces. Line everything up by the stove in the order it goes in. Once the pan is hot, this dish moves fast.

i. Heat your wok or large frying pan on low and melt the butter and lard together. Grate the garlic and ginger straight into the fat.

ii. Then add the sliced onion, and stir gently for about 3 minutes. You are not looking for color here. The onion should soften and go translucent, and the kitchen should start smelling sweet and aromatic.

iii. If anything starts to sizzle hard or brown, pull the pan off the heat for a few seconds. This step is quiet on purpose.
Think of the onion as a slow fuse. Low heat lets it break down gradually, converting that sharp raw bite into something round and sweet. The garlic and ginger release their fragrance into the fat at this pace without scorching. Butter and lard work as a pair: the butter brings nutty dairy notes, and the lard adds clean richness with a higher smoke point that keeps everything stable.
i. Increase the heat to medium and lay the chicken pieces in the pan. If any pieces have skin, place them skin-side down. Then leave them alone. The flour coating needs undisturbed contact with the hot surface to set into a golden crust.

ii. Once the underside is crisp and holds its shape when you lift a piece, flip and sear the other side. You will hear a faint crackle as the crust forms. That is the sound you want.

i. Turn the heat to medium-high and add the cabbage, bell pepper, shiitake mushrooms, and carrot. Flavor immediately with dashi granules, mirin, oyster sauce, and sugar.

ii. Toss everything together until the seasonings coat the vegetables evenly and the cabbage just starts to wilt. The carrots and peppers should still have bite. Tender-crisp is the target, not soft.
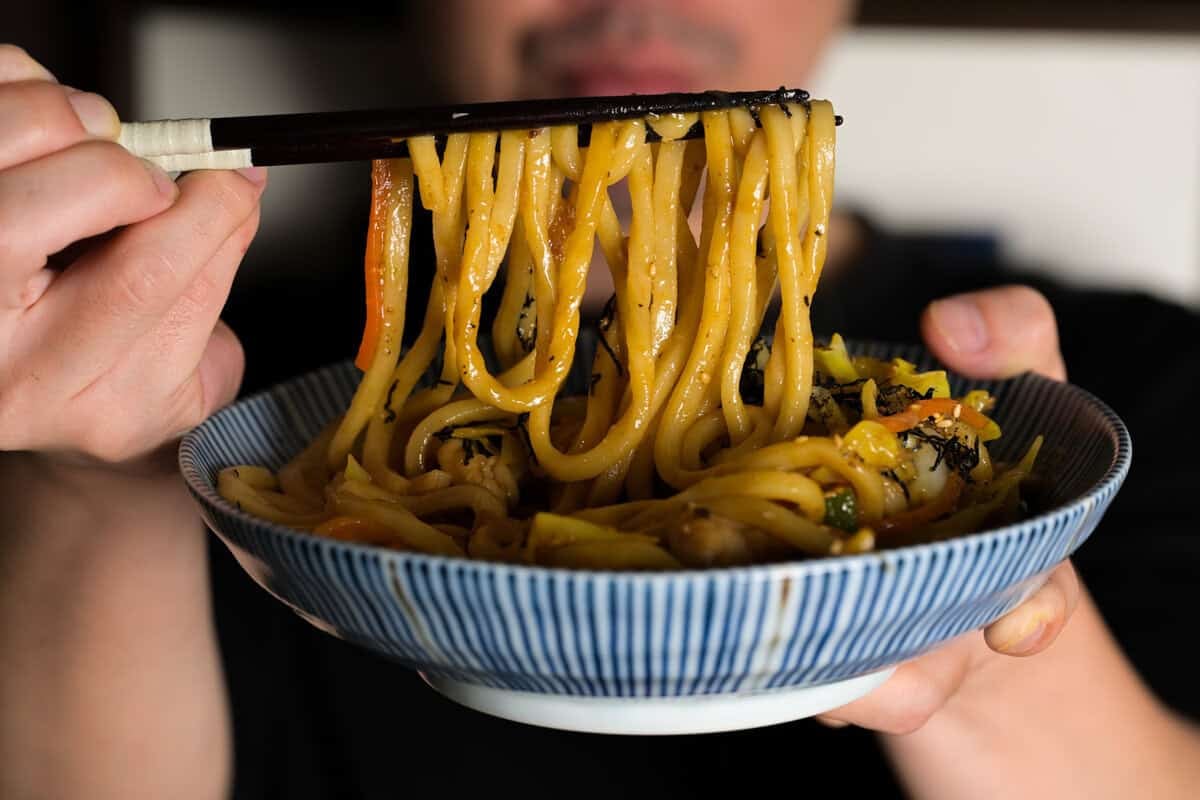
i. Slide the pre-cooked udon noodles into the pan and crank the heat to high. Toss and lift the noodles so they pick up the sauce and mix with everything. Every strand should glisten.

ii. Keep the noodles moving for about a minute, but not much longer. High heat is what separates chewy, seared udon from a pile of soft, steamed noodles. The surface needs contact with the hot metal, not time in a cloud of steam.
If you are cooking for more than two people, do separate batches. A crowded pan drops the temperature so fast that nothing sears. The noodles steam instead of fry, and the whole thing turns soggy. I always cook one to two portions per round, even when I am feeding a group. It takes an extra few minutes, but the texture difference is not negotiable.
i. Tilt the pan slightly and pour the soy sauce around the edge, not onto the noodles. You will hear it hiss the instant it hits the hot metal. That hiss is the sauce reacting with the pan wall, and it sends a smoky, roasted aroma through the whole kitchen. Toss the noodles through it so every strand picks up that caramelized flavor.

ii. Turn off the heat. Add cold butter and a splash of balsamic vinegar, then toss a few times. The butter melts into a glossy coating, and the balsamic lifts the richness with a brightness that catches you off guard the first time.

I know, balsamic vinegar in a Japanese noodle dish sounds like a detour, but the sharp, bright finish it adds after the butter is something I have not been able to replicate with any other vinegar. Adding it off the heat keeps that brightness alive. Heat would cook it into something flat and dull. Cold butter works the same way: off the heat, it melts slowly into a rich, glossy sauce.
i. Transfer the noodles to serving plates and finish with freshly cracked black pepper, a drizzle of chili oil, toasted white sesame seeds, and shredded nori.
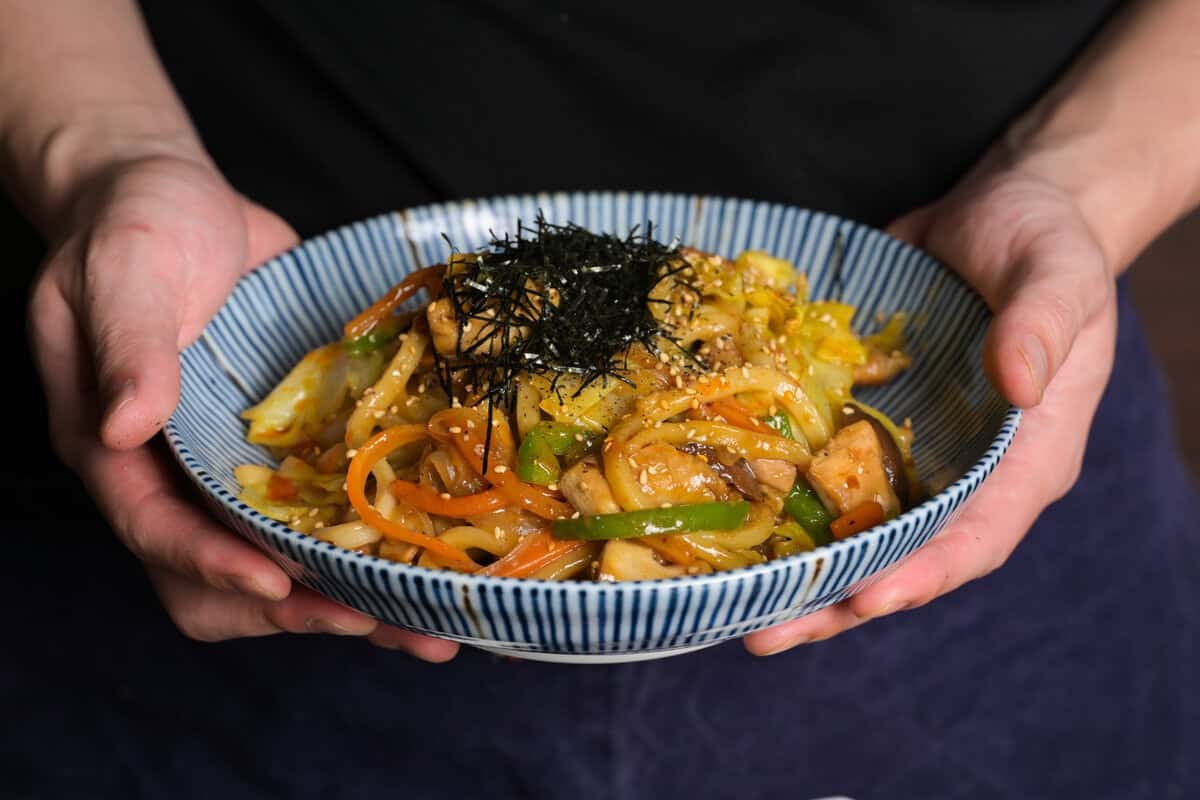
ii. Eat it while the butter is still glossy and the balsamic is still sharp. This dish peaks in the first few minutes on the plate.
If you follow the default recipe, it will yield 2 main servings.

Essential Tips & Tricks
- Prep your frozen udon before you start cooking. Microwave them for about 3 minutes or drop them in boiling water for 30 seconds, just long enough to loosen the block. Adding frozen noodles straight to the pan floods it with ice water, drops the temperature, and you end up steaming instead of searing.
- Line up every seasoning by the stove before you turn on the heat. Dashi granules, mirin, oyster sauce, sugar, soy sauce, butter, balsamic vinegar. Once the pan is hot, you are working in 30-second windows. Stopping to measure mid-cook means something burns or something steams when it should be frying.
- Listen for the hiss when soy sauce hits the pan edge. If it sizzles sharply and the kitchen fills with a roasted, almost sweet smell, the pan is hot enough. If the soy sauce just pools and darkens quietly, the metal has cooled too much. Pull everything to one side, let the exposed surface reheat for 10 seconds, then try again.
With these simple tips in mind, you’re set for success every time you make chicken yaki udon.
Storage & Meal Prep
Fridge: Store leftovers in an airtight container for up to 3 days. The butter coating solidifies in the fridge and the noodles firm up, but both come back to life with a quick pan reheat.
Freezer: Not recommended.
Meal Prep: Cut the vegetables up to a day ahead. Keep them refrigerated. Cook the dish fresh when you are ready to eat, since the seared noodle texture and the off-heat butter finish don’t survive sitting.
Reheating: Heat a dry skillet over medium-high heat and toss the leftovers for 1 to 2 minutes.
What to Serve With This Recipe
Chicken Yaki Udon FAQ
Yes. A large skillet works well. The key is surface area, not shape. If the pan is too small, the noodles pile up and steam instead of searing. Use the widest pan you have and keep to 1-2 portions at a time.
Almost always a heat problem. Either the pan was not hot enough when the udon went in, or there was too much food in the pan at once. Both cause the temperature to drop below the point where searing happens, and everything steams instead. Cook in smaller batches, let the pan recover between rounds, and keep the heat high once the noodles are in.
The noodles and the sauce. Yaki udon uses thick wheat udon with a soy sauce-based seasoning. Yakisoba uses thin, alkaline Chinese-style noodles with a Worcestershire-based sauce. They might look similar in photos, but they taste completely different.
More Japanese Udon Recipes
Looking for your next bowl? Browse my full collection of Japanese udon recipes and find the one that fits your evening.
Did You Try This Recipe?
I would love to hear your thoughts!
💬 Leave a review and ⭐️ rating in the comments below. 📷 I also love to see your photos – submit them here!
Easy Chicken Yaki Udon Stir-Fry

Ingredients
- 250 g boneless chicken thigh cut into bitesize pieces
- ⅛ tsp salt
- ½ tbsp all-purpose flour
- 50 g onion
- 2 fresh shiitake mushrooms
- ½ bell pepper seeds and pith removed
- ½ carrot
- 150 g green cabbage
- 1 tsp butter
- 1 tsp lard or neutral oil with high-smoke point
- 1 clove garlic
- 1 tsp ginger root
- 1 tsp dashi granules
- 1 tsp mirin
- ½ tsp oyster sauce
- ¼ tsp sugar
- 2 portions udon noodles par-cooked, frozen or refrigerated type recommended
Finishing
- ½ tbsp Japanese soy sauce (koikuchi shoyu)
- ½ tbsp butter cold
- ¼ tsp balsamic vinegar
- ground black pepper to taste
- toasted white sesame seeds to taste
- kizami nori (shredded nori) to taste
- chili oil (rayu) to taste
The ingredient brands and tools I trust are in my Japanese pantry guide and my cooking tools guide.
Can’t find certain Japanese ingredients? See my substitution guide here.
Instructions
- Cut 250 g boneless chicken thigh into bitesize pieces, then sprinkle with ⅛ tsp salt and ½ tbsp all-purpose flour. Toss until evenly covered, then cover and refrigerate while you prepare the other ingredients.

- Thinly slice 50 g onion and 2 fresh shiitake mushrooms, and julienne ½ carrot and ½ bell pepper. Chop 150 g green cabbage into rough bitesize pieces and set by the stove.
- Heat a wok on medium low and melt 1 tsp butter and 1 tsp lard. Grate 1 clove garlic and 1 tsp ginger root straight into the wok, add the onion and fry for 3 minutes or until fragrant and the onion has slightly softened.
- Push the onions and aromatics to one side and increase the heat to medium. Place the chicken pieces in the wok in a single layer with the skin side facing down and fry undisturbed. Once golden and slightly crispy, flip and sear on the other side.
- Once the chicken is seared all over, add the cabbage, carrot, bell pepper and mushrooms. Immediately pour in 1 tsp dashi granules, 1 tsp mirin, ½ tsp oyster sauce and ¼ tsp sugar. Stir fry everything together until the condiments are evenly distributed and the vegetables are tender-crisp.
- Increase the heat to high and add 2 portions udon noodles. Mix and toss until the ingredients are evenly distributed, then pour ½ tbsp Japanese soy sauce (koikuchi shoyu) around the edge of the pan.
- Turn off the heat and add ½ tbsp butter and ¼ tsp balsamic vinegar. Toss a few times to distribute.
- Plate up and garnish with ground black pepper, toasted white sesame seeds, kizami nori (shredded nori) and optionally, a drizzle of chili oil (rayu). Enjoy!


Would like to use more of your recipes but so many like this one have too much sugar and mirin in them and are way too sweet. Is there no other way to make them specially given the number of chemicals in store bought mirin and health hazards of sugar?
Thanks for sharing your thoughts. Japanese flavor does lean sweet, that balance of sweet and savory is really at the heart of it. Quick note on mirin though, real hon-mirin (本みりん) is just rice, koji and shochu with no additives. The stuff with additives is usually “mirin-fu chomiryo” or “aji mirn”, seasoning products that mimics mirin but aren’t the real things. As for sugar, feel free to scale it back to your taste or use any alternatives.
thank you for all of your easy to follow videos. I enjoy them every week 😀
Thank you so much, Jay! 🙂
good