

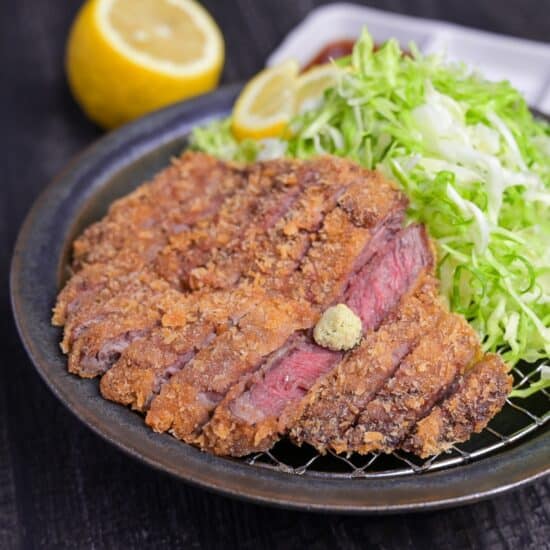


That extremely melt-in-your-mouth beef cutlet you might have had at a gyukatsu restaurant in Japan is hard to copy at home, and it helps to know why. Some of those shops fry a formed cut, beef bonded from smaller pieces or fat-injected beef, which behaves nothing like a whole steak.
What a real steak gives you at home is different and honest. Ordinary beef, softened the right way, fried until perfectly crisp and medium-rare. I chased that across 3 test batches, and this is where it landed.
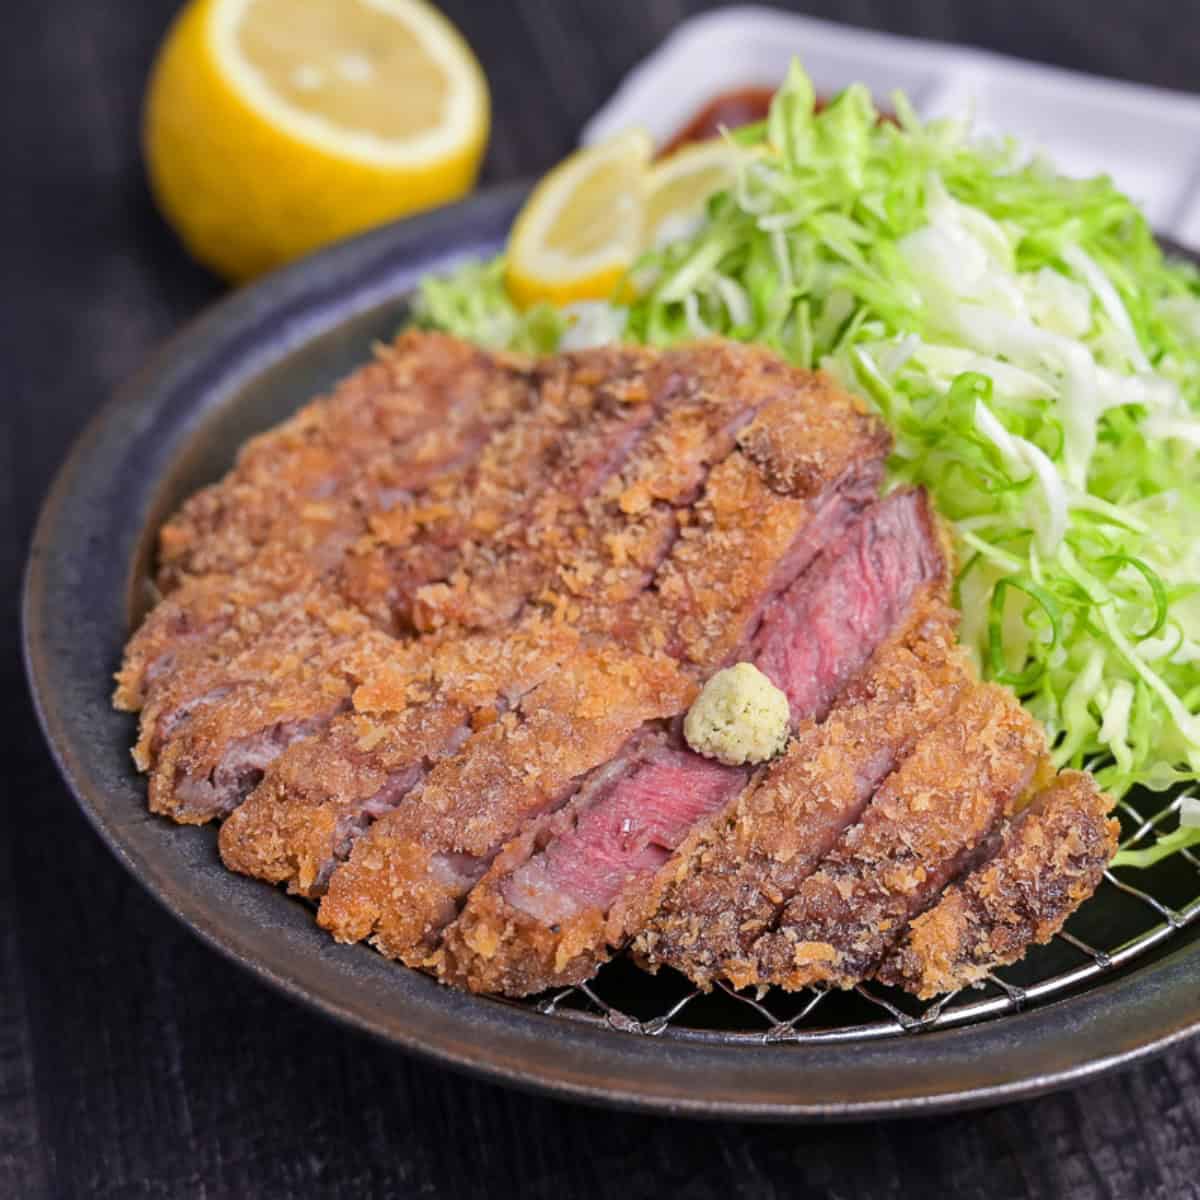
Gyukatsu
Recipe Snapshot
- What is it? A fried Japanese beef cutlet, breaded in fine panko and cut into slices. Built from an ordinary supermarket steak, no wagyu required, and finished at a medium-rare rather than the deep rare of a specialist shop.
- Flavor profile: Beefy and clean, the steak out front and the crust kept deliberately light. Tender enough to give way at the first bite, with a fine-crumb crackle outside and a dab of fresh wasabi and dashi-soy to cut the richness.
- Why this recipe works: It gets you tender, rosy gyukatsu at home from a plain supermarket steak. The moves that matter are softening the beef with grated kiwi and pulling it at a warm medium-rare, so a lean cut turns tender instead of tough, and the center stays pink instead of grey.
- Must-haves: An ordinary beef steak, grated kiwi to soften, and fine panko for a light crust.
- Skill Level: Medium. The frying is quick, only about 1 minute a side plus a 4 to 5 minute rest. The care goes into watching the kiwi so the steak does not oversoften, and pulling it at the right internal temperature.
Summarize & Save this content on:
What Is Gyukatsu?
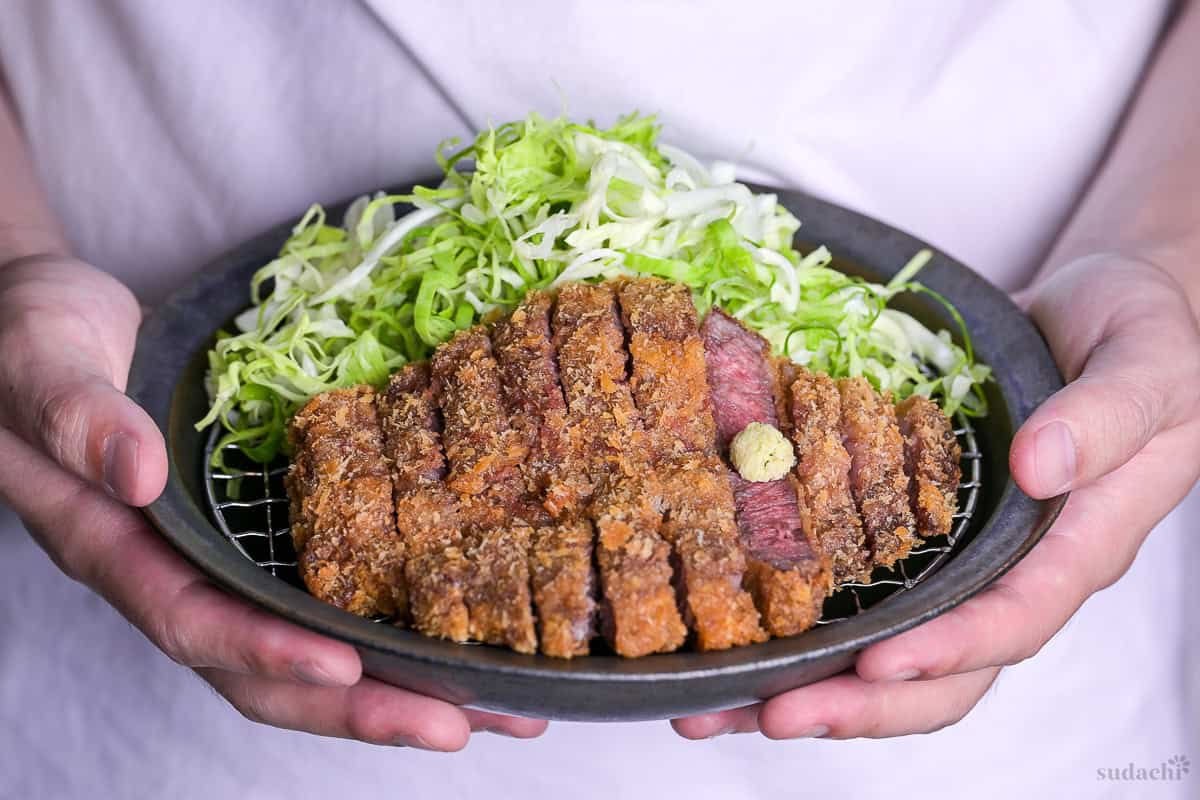
Gyukatsu (牛カツ) is a breaded, deep-fried beef cutlet, sliced and served with the center still pink. It sits in the yoshoku family of Western-leaning Japanese dishes. What separates it from tonkatsu is a short, hot fry that crisps the crust while the beef inside stays relatively rare. A katsu that happens to be pink, not a steak in breadcrumbs.
The name actually covers 2 dishes. There is bifukatsu (ビフカツ), the older Kansai cutlet served cooked through under demiglace, and the modern gyukatsu you picture, rare and sliced, served with wasabi and soy sauce.

And here is the part that feels almost rude to say. That even, melting texture at some specialist counters comes from formed or injected beef, not a whole pure steak, though plenty of shops do use a whole cut too. That is not a cheat. It keeps quality steady and prices fair.
In my version, that gap is the whole point. An ordinary, intact steak is lean and fights back when you slice it, so I soften it with grated kiwi and fry it to medium-rare rather than chasing a shop-perfect rare. Different from the counter, and honestly my own.
Japanese Beef Cutlet Ingredients
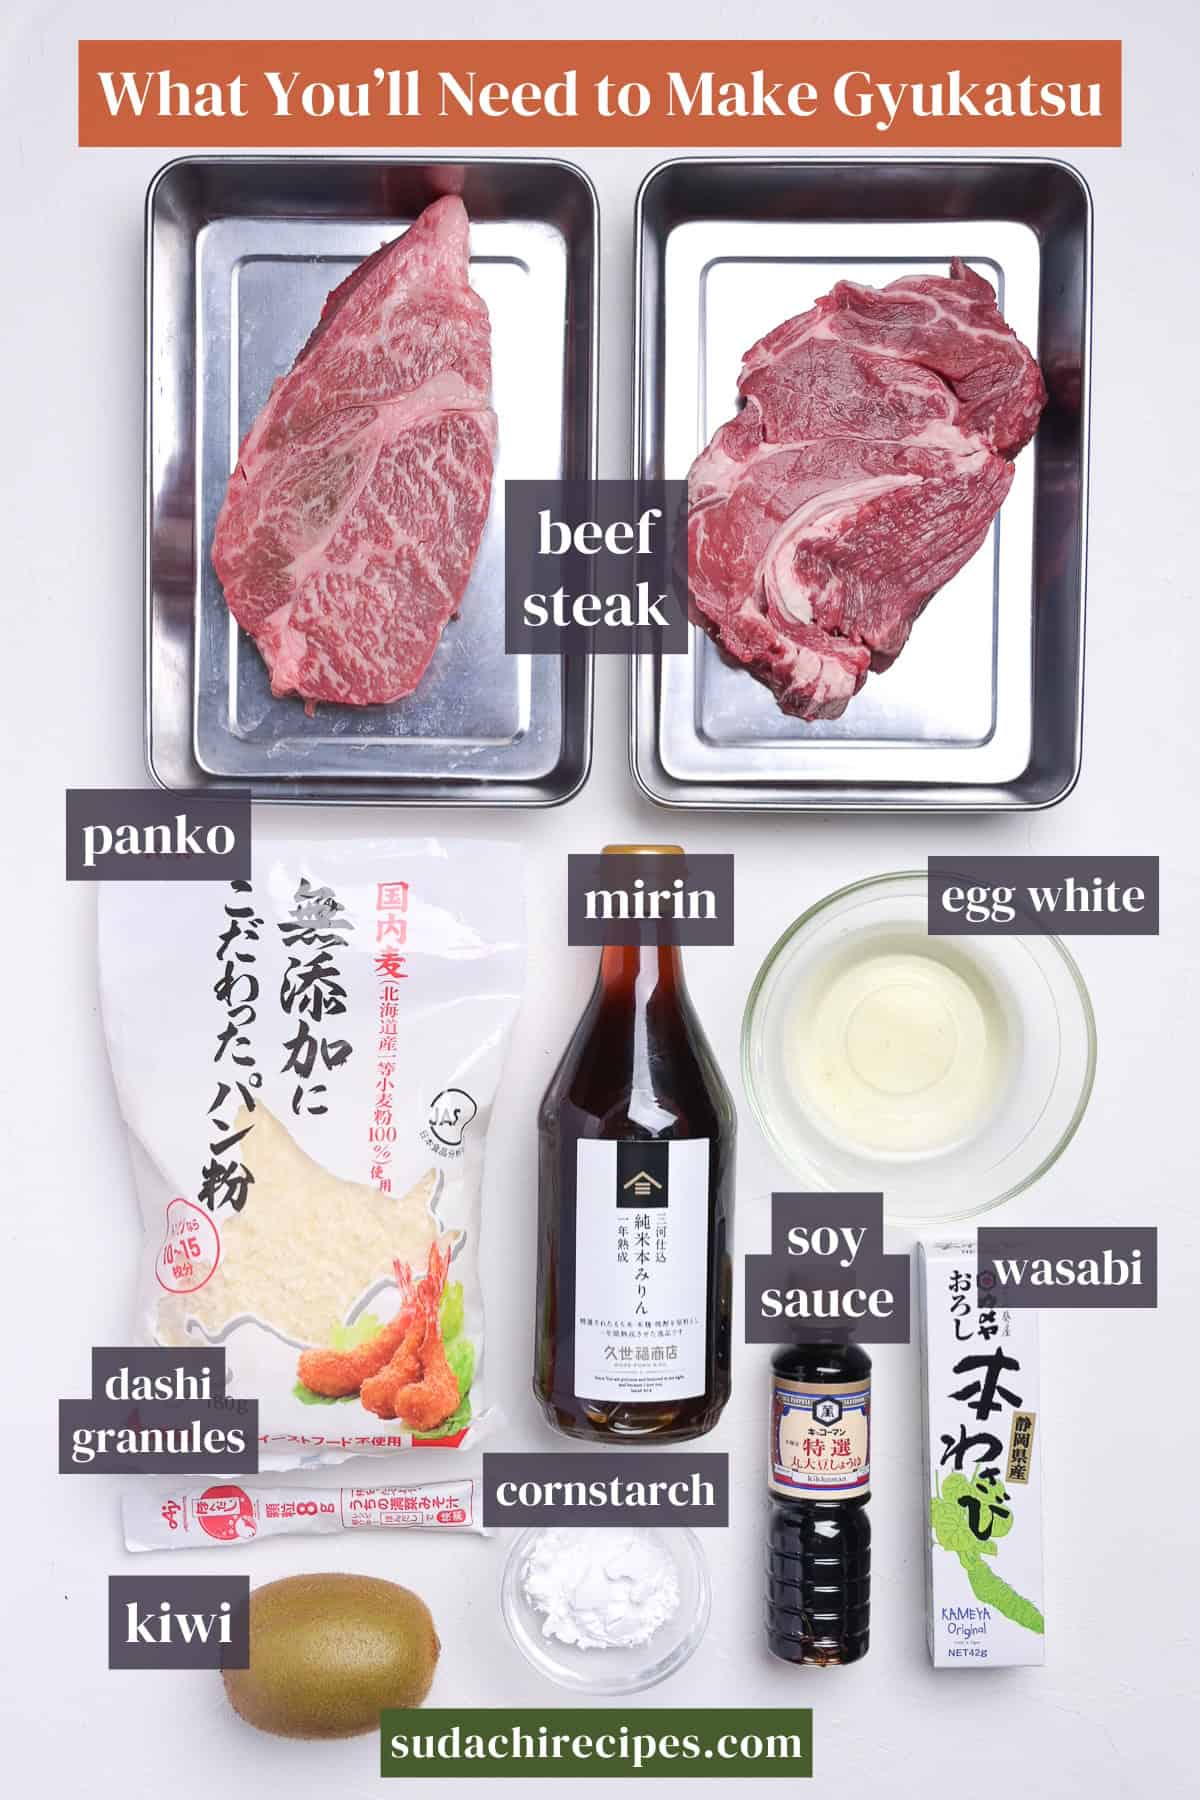
- Beef: This is the whole recipe, so buy it like it matters. Sirloin (or top sirloin) is the juicy all-rounder, tenderloin or filet the lean and tender pick, and rump or round a leaner, cheaper bite, all cut thick and even. You do not need wagyu. Any ordinary cut wants a softening step first, which brings us to the kiwi.
- Kiwi: Here is the single move that makes a supermarket steak sliceable. Grated kiwi is my first choice for softening an ordinary steak, because its enzyme breaks down tough fibers far more powerfully than grated onion. Onion works (as you might have seen in Chaliapin steak) and is gentler, so it is harder to overdo, but kiwi is the one that actually gets you there. Wagyu skips this entirely, since its own fat does the work.
- Panko: Reach for fine panko breadcrumbs here, not the big fluffy crumbs. The short, hot fry that keeps the center pink never gives a thick coat time to cook, so a finer crumb crisps fast and lands light. Fresh or dry both work, so grab whichever your store carries. The point is a crust that stays light, not a suit of armor.
Substitutions and How to Customize
A steak dinner is a personal thing, and most of this bends to whatever you have on hand. Here is what swaps cleanly without changing the dish, a buying rule that keeps a pink center safe, and a few ways to send it somewhere new.
Substitutions:
- Kiwi → Grated onion: Onion is the gentler softener, a milder enzyme that is harder to overdo, though it will not reach as deep as kiwi. Pineapple or papaya work on the same principle if that is what your kitchen has.
- Egg white → Whole egg: Whole egg, plain all-purpose flour, and regular panko all fry up perfectly good gyukatsu, so use them without a second thought. I reach for the white and a finer crumb only because I want the coat to stay light and let the steak lead.
- Regular panko → Homemade or Western breadcrumbs: Fine panko keeps the coat light, but pulse crustless white bread into your own crumbs, or reach for plain Western breadcrumbs for a finer, denser crust. Both fry up fine.
- Dashi-soy → A bottle of ponzu or mentsuyu: If you would rather not mix a sauce, ponzu or mentsuyu straight from the bottle is genuinely enough, and if you already own one I would honestly tell you to skip the homemade version.
Have trouble finding Japanese ingredients? Check out my ultimate guide to Japanese ingredient substitutes!
How to Customize:
- Change up the dip: The dashi soy sauce is just my default here. Wasabi and soy sauce, a good salt on its own, ponzu, or yuzu-kosho all suit this cutlet, each keeping the seasoning light so the beef stays out front.
- Sansho salt: Blend salt with a little ground sansho pepper for a bright, tingly finish that suits leaner cuts especially well.
- Grated daikon ponzu: Pile well-drained grated daikon into ponzu for a fresher, lighter dip that slices through the richness.
- Gyukatsu sando or don: Tuck the sliced cutlet between soft milk bread, or lay it over rice with a spoonful of the dip, and a single fry turns into 2 more dinners (gyu-katsu sando).
How to Make My Gyukatsu
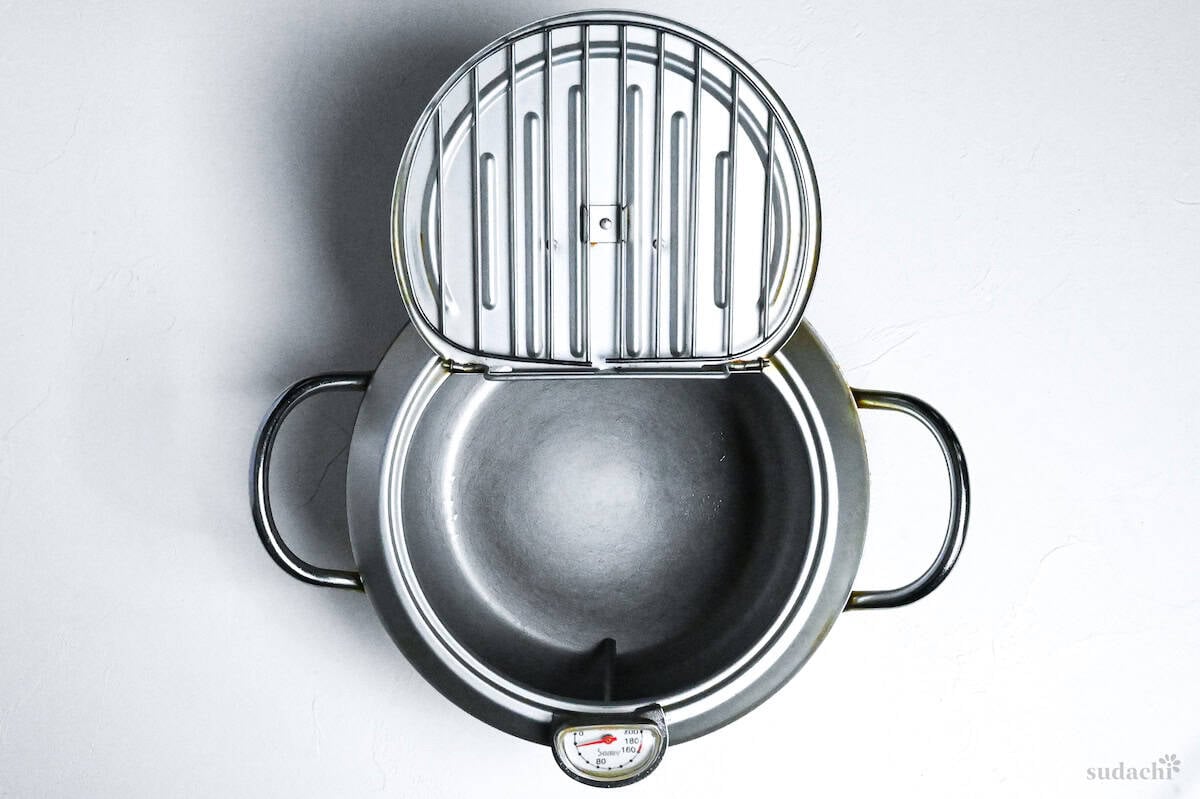
To develop this Japanese beef cutlet recipe, I used a tempura pot.
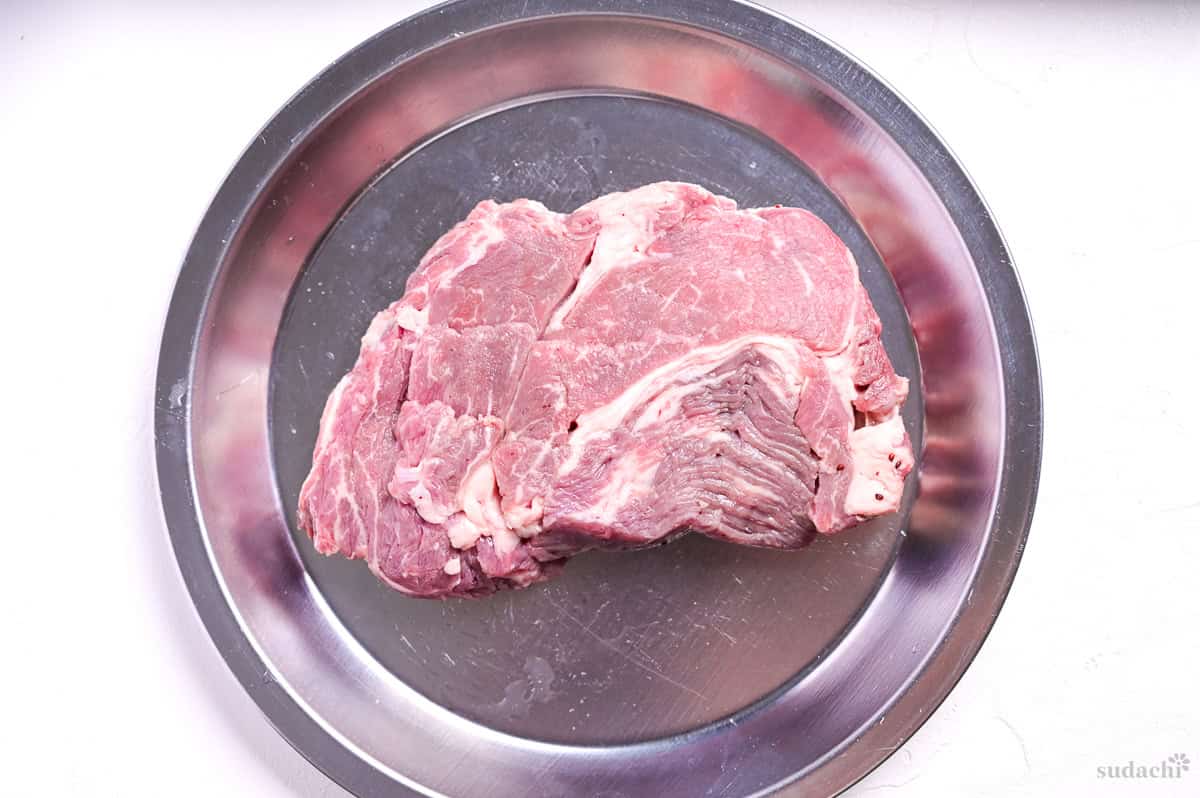
i. Choose a steak about 2 cm thick, up to 2.5 cm. If you like, you can trim the edges for a neater shape (especially if you’re using it for katsu sando).
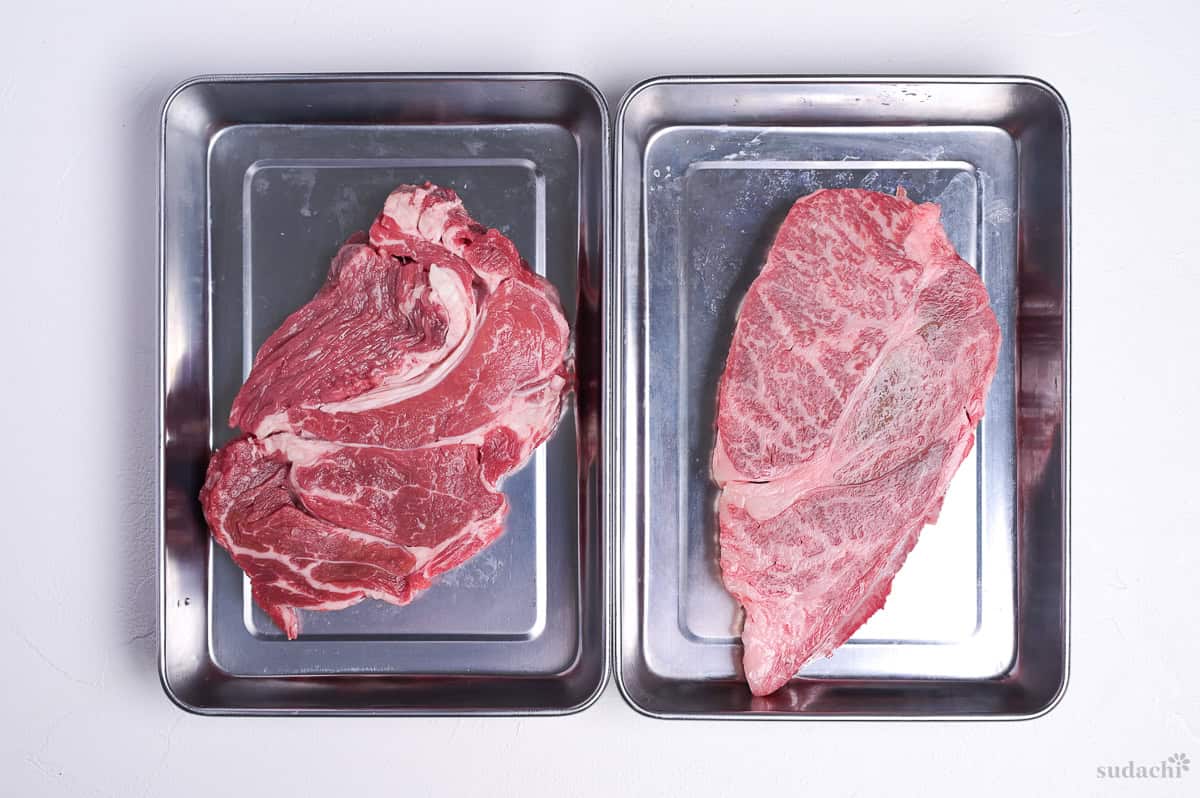
ii. Lay your knife flat and shave off any silverskin (the silvery membrane). Where the lean meets the fat and sinew, make a few shallow cuts along the seam, roughly 2 to 3 cm apart and 5 mm deep.
iii. Stop there. Do not stab the block or fork it all over.
Every puncture can push surface bacteria into the interior, where a short fry cannot reach them, which is why pierced (mechanically tenderized) beef must be cooked more thoroughly than an intact cut. Kept intact, any bacteria stay on the surface, so searing the outside lets the center stay pink and safe.
i. Wagyu can skip this whole step and go straight to salting, since its own finely marbled fat carries the tenderness. For any other steak, spread a thin, even layer of blitzed kiwi across the entire surface.
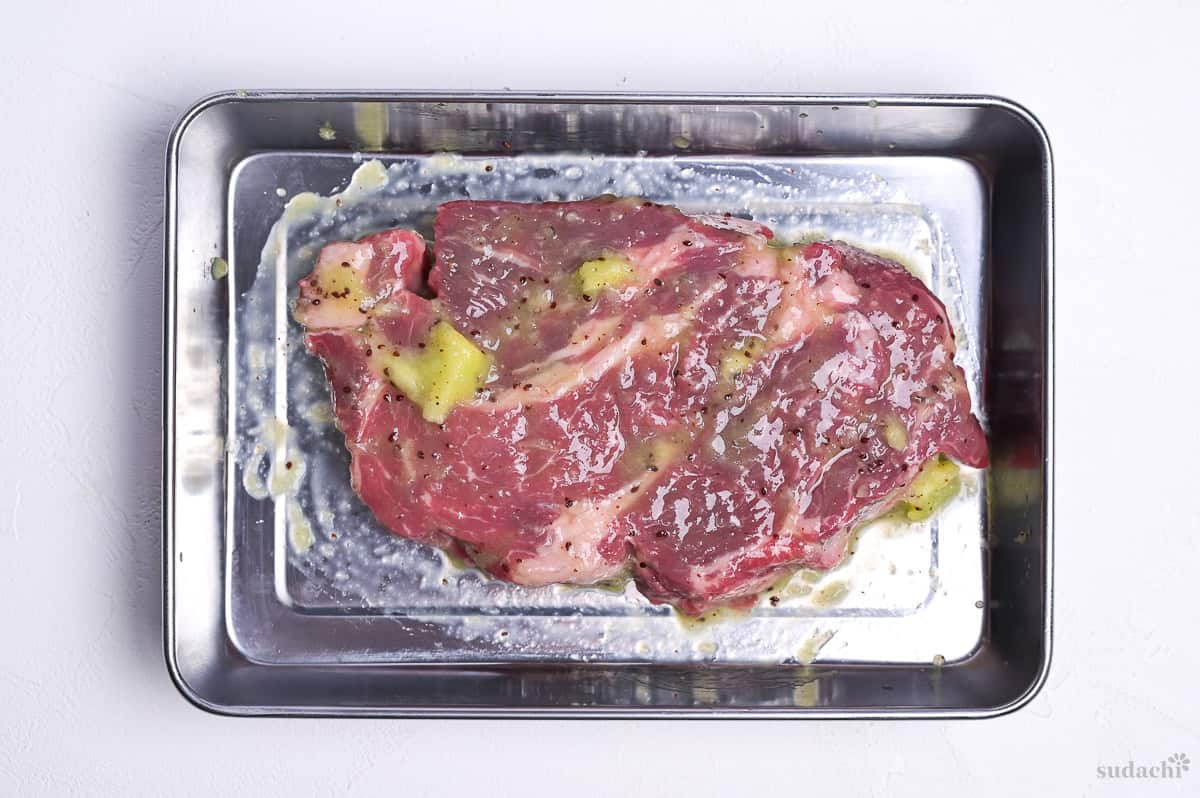
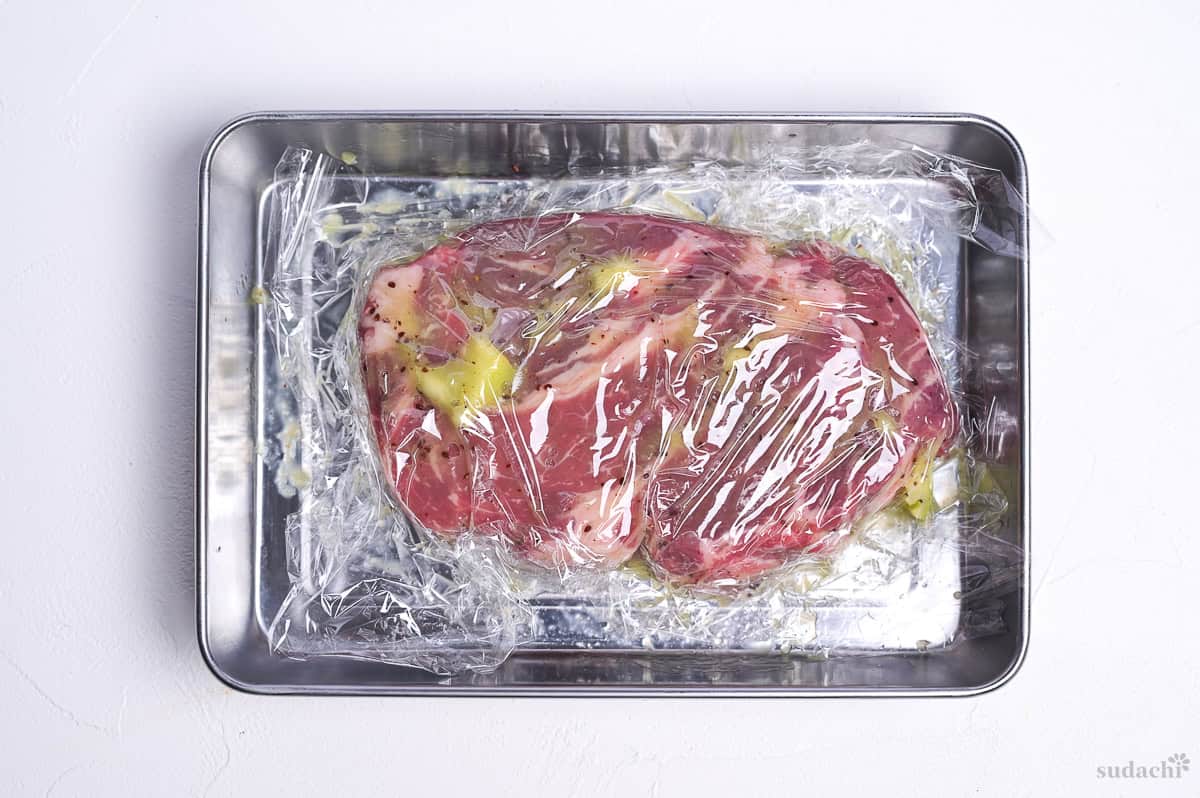
ii. Seal it in a bag or under wrap and chill it for 30 minutes to an hour. Keep an eye on the surface and make sure to check at the 30-minute mark. The moment it looks swollen or turns slippery, stop early.
iii. Scrape the paste off, then rinse under cold running water until every seed and trace of slime is gone. Pat every side dry by pressing, not wiping, until the surface is only just damp.
The kiwi carries actinidin, a kiwifruit protease shown to significantly raise consumer tenderness scores of beef treated with kiwifruit extract, so a lean supermarket steak slices clean instead of fighting back. The catch is that it does not know when to quit, so push past an hour and it keeps going until the surface turns to mush (yes, the enzyme is that powerful!). That 30-to-60-minute window is the whole game and make sure to check at the 30-minute mark.
i. Right after drying, or right away if you are working with wagyu, season both sides evenly with salt and a little black pepper.
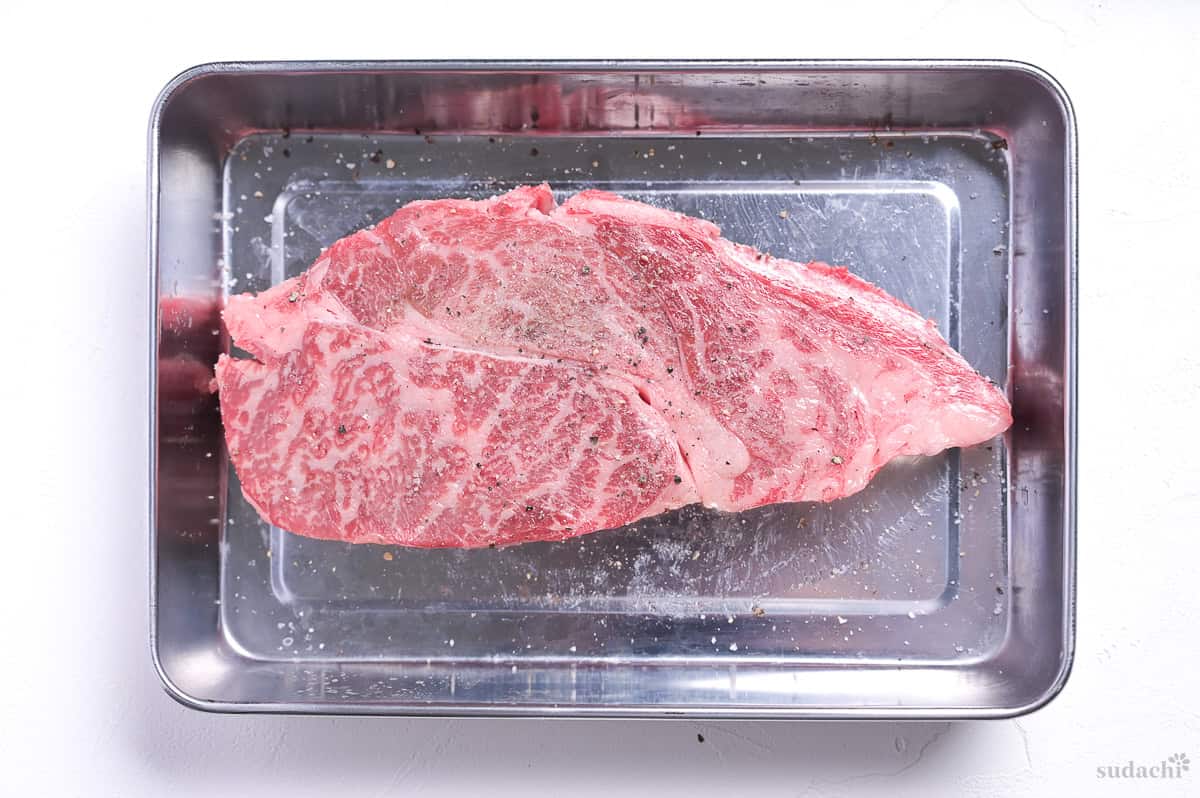
ii. Then leave the steak out at room temperature for 15 to 20 minutes before it goes anywhere near the oil.
The fry lasts barely a minute or 2, nowhere near long enough to warm a fridge-cold core, so a chilled center lands cold-raw instead of a warm medium-rare. Those 15 to 20 minutes at room temperature are really a timing calibration, letting the center start warm enough to reach a clean medium-rare on the same clock every time. The salt goes on the dried surface first, so it seasons the beef evenly before the coating locks it in.
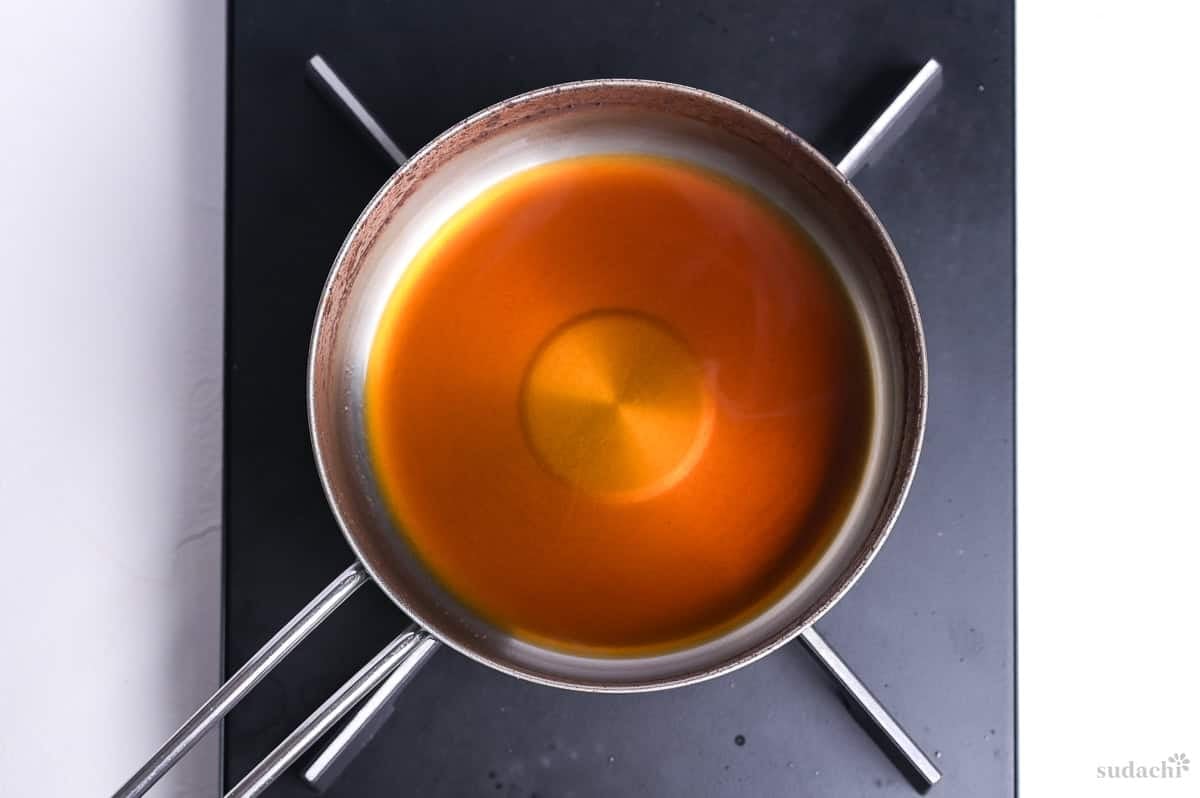
i. While you wait, dissolve a pinch of dashi granules in a splash of hot water.
ii. Warm it with a little mirin, let the mirin bubble briefly so its alcohol cooks off, then stir in the soy sauce at the very end and pull it from the heat so the soy keeps its aroma.
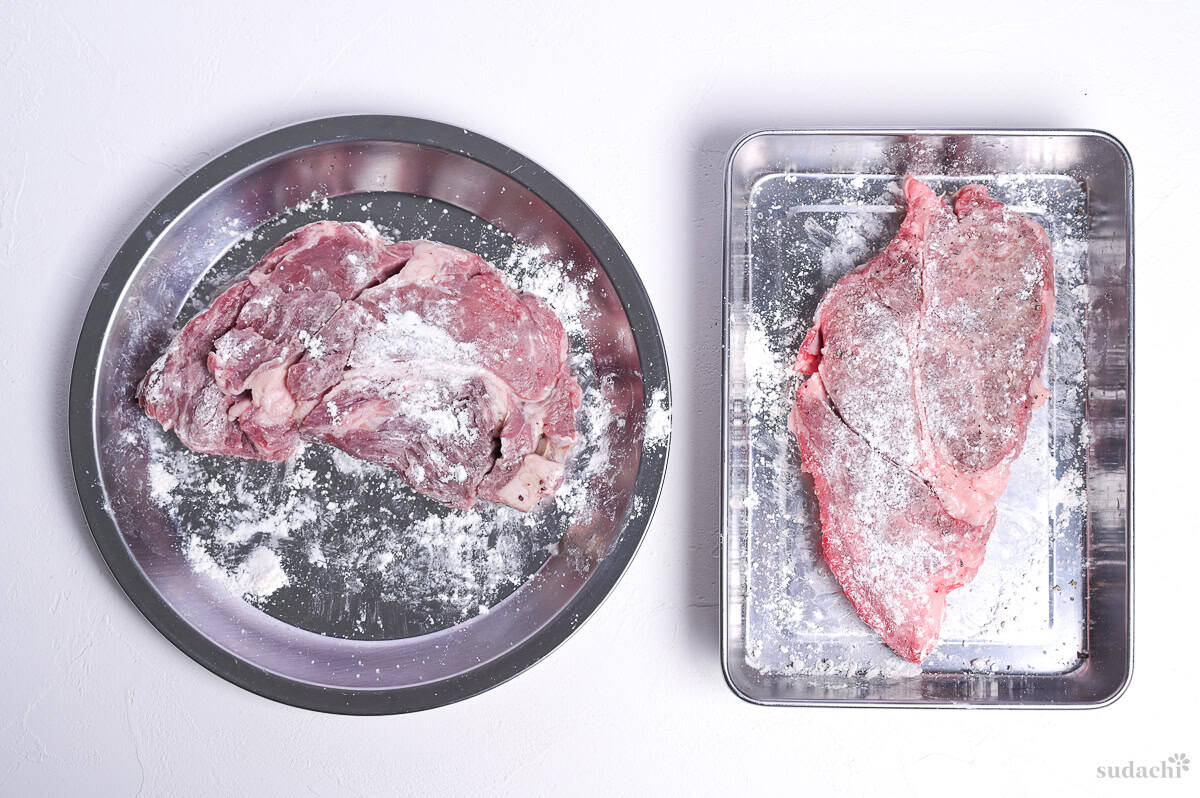
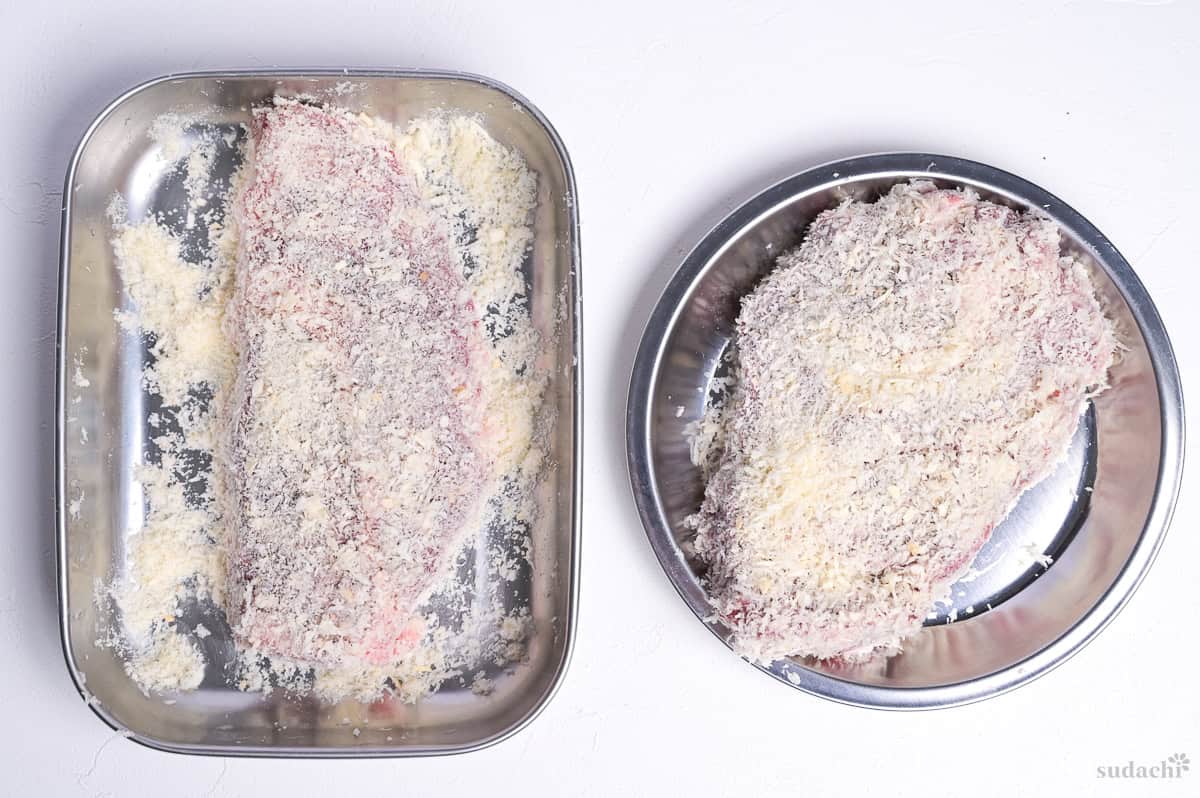
i. Dust the steak with all-purpose flour and tap off the extra, since a thin film is all you want.
ii. Dip it through the egg white loosened with a little cornstarch, letting the excess drip away.
iii. Press it firmly into fine panko, covering every face and side, pushing so the crumbs really grab on.
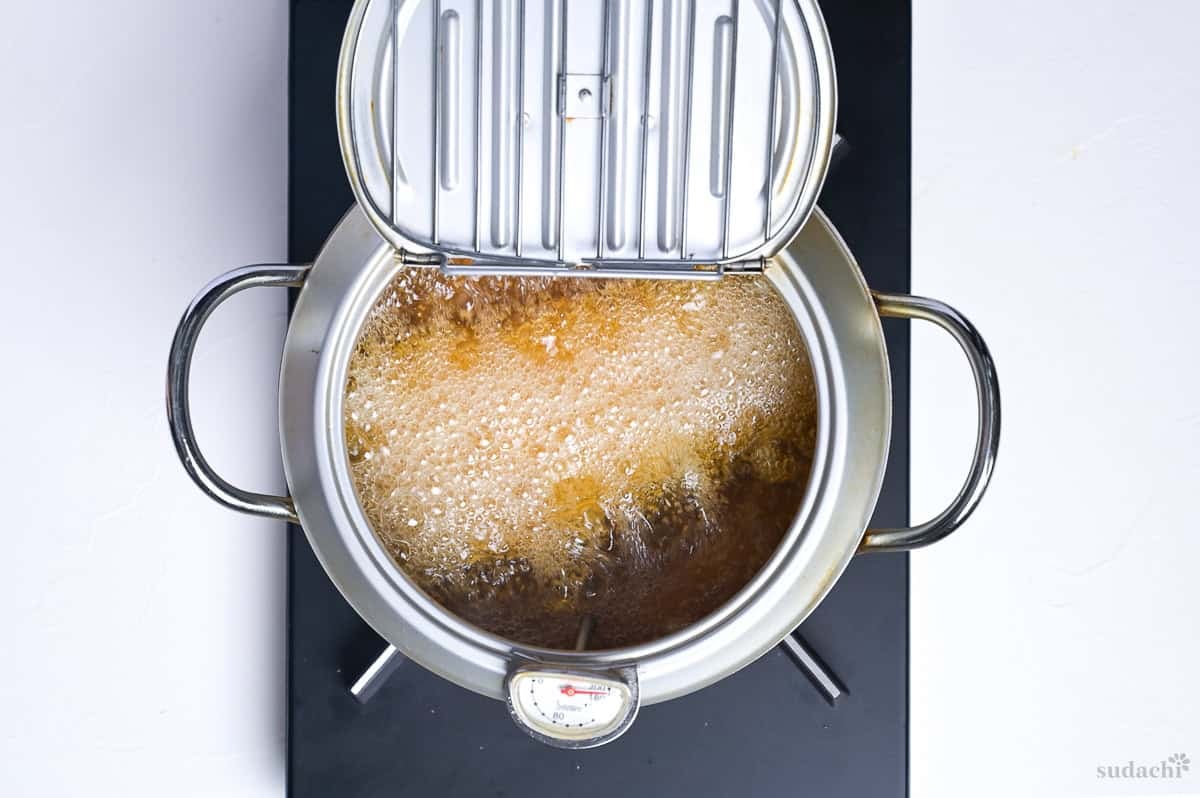
i. Heat rice bran oil to 170 to 180°C (338 to 356°F).
ii. Lower the steak in and leave it untouched for 1 minute 30 seconds, then turn it, and another 1 1/2 minutes, aiming for a center of 54 to 60°C (129 to 140°F). A thermometer earns its keep here, and the fine panko, not long cooking, is what browns the crust.
i. Lift the steak onto a wire rack and let it rest for 4 to 5 minutes.
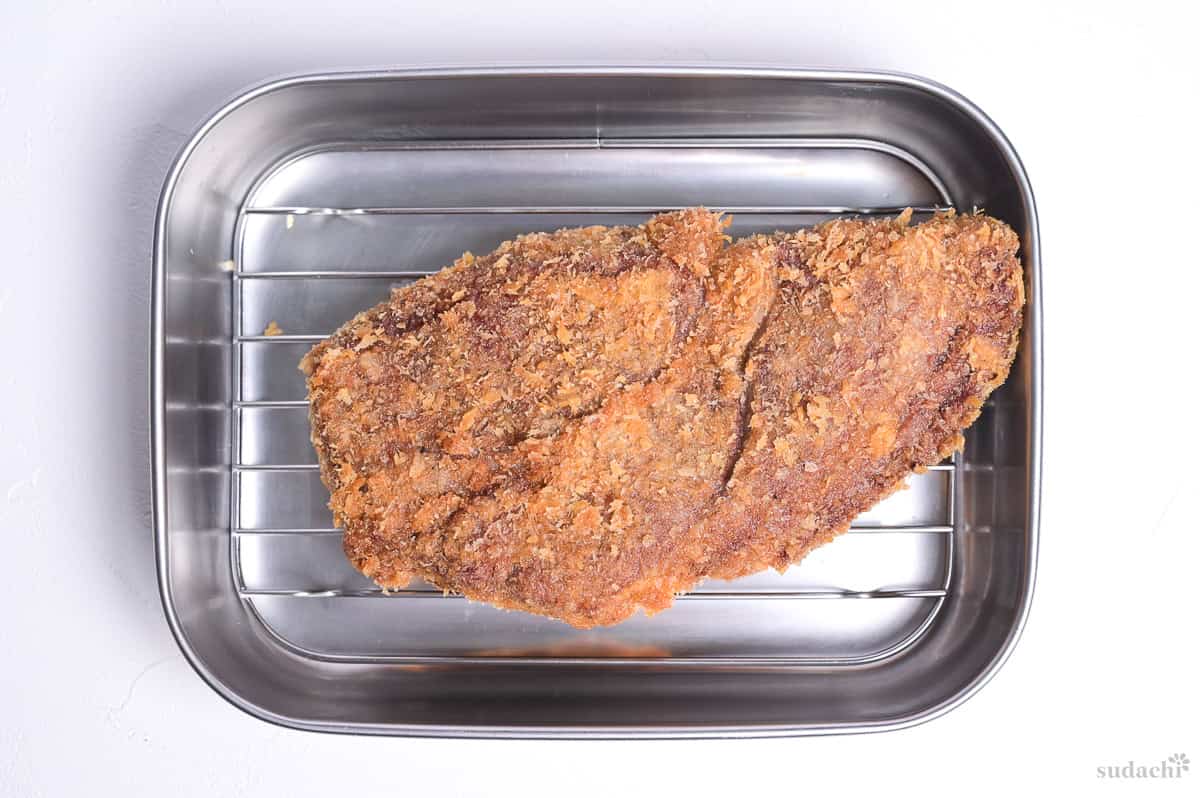
Off the heat, carryover warmth keeps drifting into the center and nudges it up those last few degrees, which is what actually turns a fry-rare core into a warm medium-rare. The rest also lets the juices settle back through the meat, so far less runs out the moment you cut in.
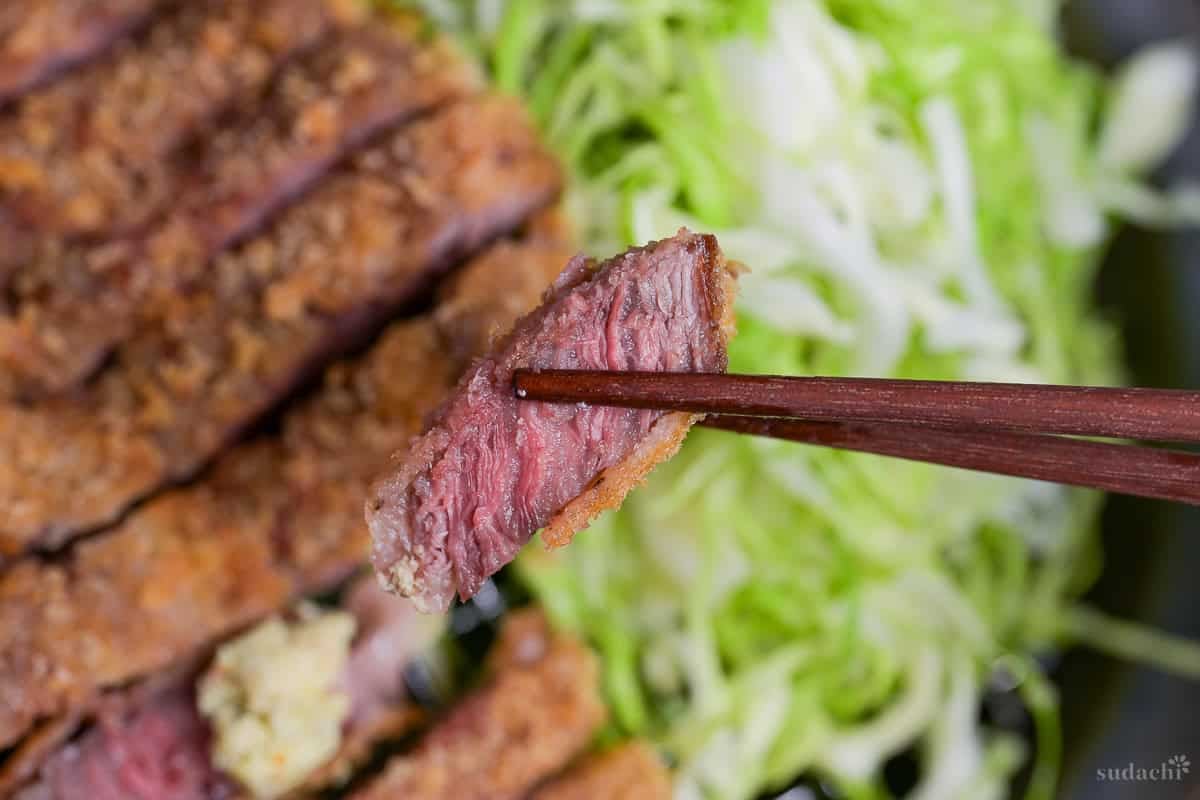
ii. Slice against the grain into pieces about 1.5 cm wide, cutting through the panko first with a gentle sawing motion so the crust does not shear away.
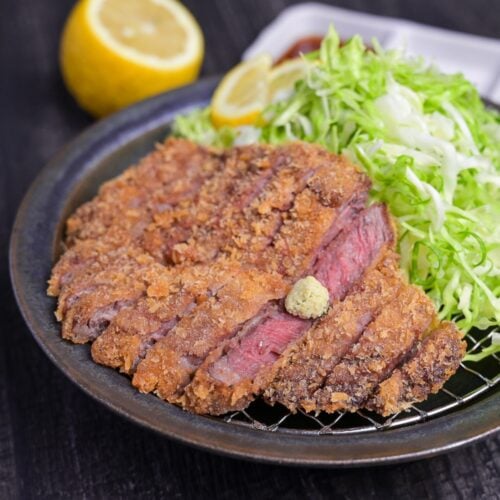
iii. Dish up, add a pile of shredded cabbage and a wedge of lemon or sudachi if you like.
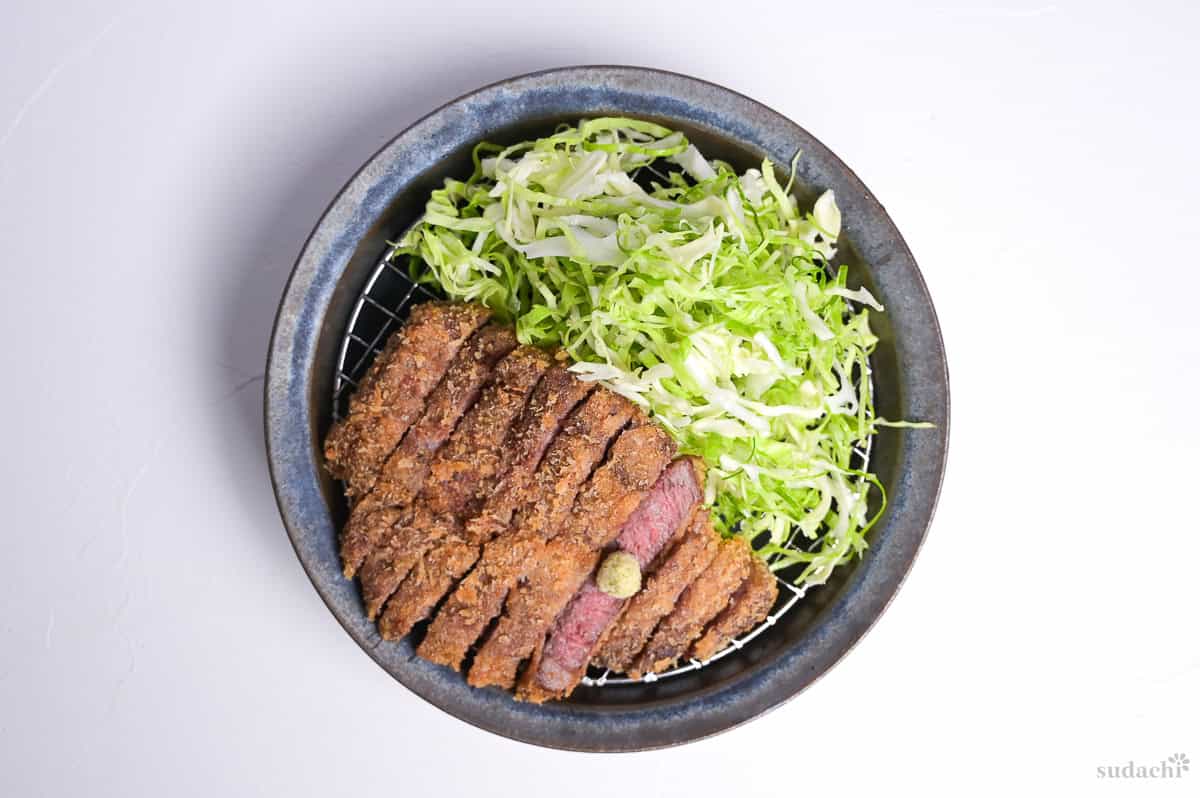
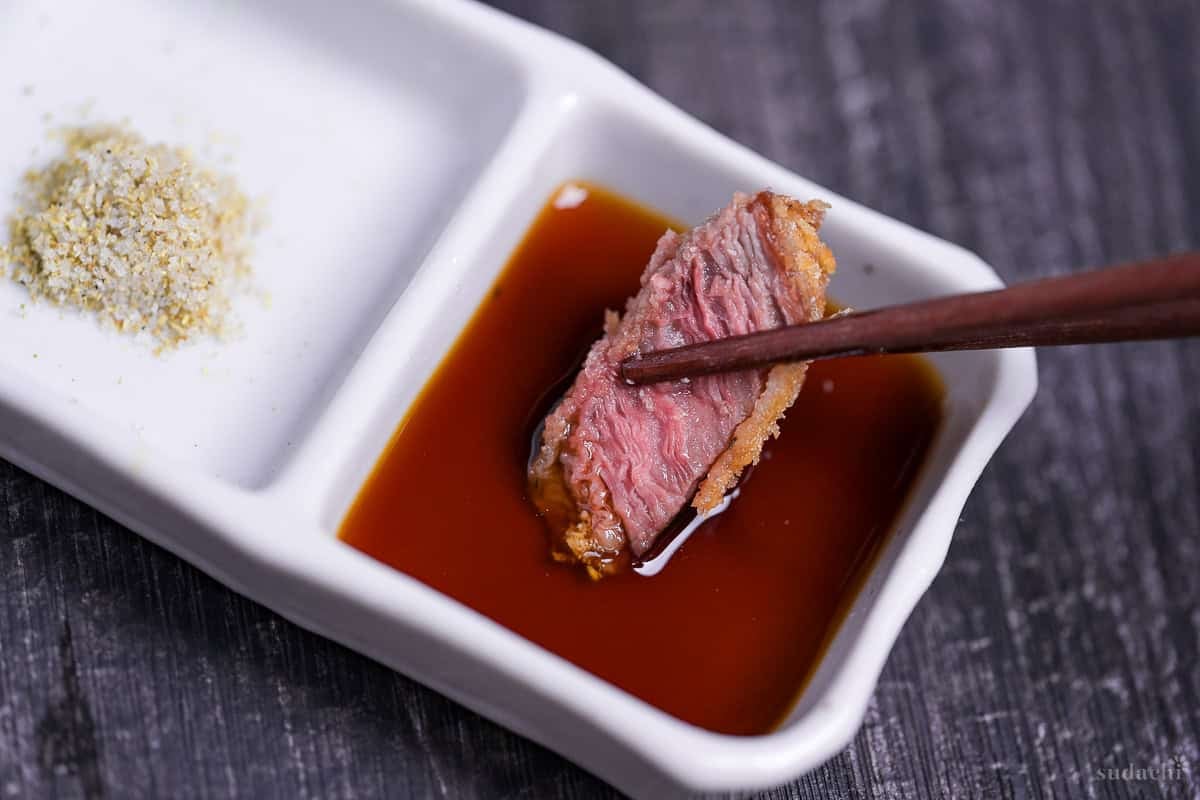
iv. Set out the dip on the side, with the wasabi going on at the very last second.

Tips for the Best Gyukatsu
- Do not underestimate the kiwi. The enzyme is far stronger than it looks, and the temptation to marinate longer for extra tenderness is exactly how people ruin the steak. Leave it in too long and the meat goes soft and ragged, past the point where careful frying can bring it back. Set a timer and check it once at 30-min mark.
- Buy the steak a size thicker than you think you need. Aim for 2-2.5 cm. A thicker cut keeps its center cool through the fast fry, which forgives you if you tend to panic and overcook, so the crust can brown while the middle stays pink even if you leave it in a beat longer than you meant to. Also thinner steak will break easily with kiwi.
- Let the steak lose its chill before it fries. Hold the oil temperature and the timing the recipe gives you and a cold, raw center is very hard to end up with. The one thing that undoes it is dropping a steak straight from the fridge into the oil, so leave it out for 15 to 20 minutes first and the middle lands right where you want it.
With these simple tips in mind, you’re set for success every time you make gyukatsu.
Storage Guide
Gyukatsu is not a make-ahead dish, and I would not try to store it. Ask yourself one thing. Would you store a medium-rare steak and reheat it tomorrow? This is the same dish in a crust. The moment you warm a cooked cutlet back up, the heat drives all the way to the center, the pink you worked for is gone, and the crust that was crisp turns soft and damp. Fry it, slice it, and eat it while it is hot.
What to Serve With Gyukatsu
Gyukatsu Troubleshooting
You left it in the oil too long. The fry is quick, only about a minute and a half a side, and the usual slip is standing over the pot waiting for a deeper color while the heat creeps into the center and cooks the pink straight out. Next time, trust the timing and the internal temperature, lift the steak the moment it reaches your target, and let the rest carry it the last few degrees.
If you held the oil at 170 to 180°C (338 to 356°F) and followed the timing, a genuinely cold, raw center is very hard to end up with, so this almost always traces to one thing. The steak went into the oil straight from the fridge, and a cold core has no time to warm in a fry that short. The fix lives in prevention rather than cure. Always let your steak sit at room temperature for 15 to 20 minutes before it fries, and the center will land warm and rosy on its own.
You pressed the knife straight down through the crust. Panko sits on the surface as a thin shell, and pushing down on it shears the whole coat off in one piece. Start each slice by sawing gently through the crust with a sharp knife before you reach the meat, and the coating stays put. A dull blade makes this worse, so give yours a quick sharpen first.
More Japanese Beef Recipes
Hungry for more? Explore my Japanese beef recipe collection to find your next favorite.
Did You Try This Recipe?
I would love to hear your thoughts!
💬 Leave a review and ⭐️ rating in the comments below. 📷 I also love to see your photos – submit them here!
Gyukatsu (Japanese Beef Steak Cutlet)

Ingredients
For the gyukatsu
- 350 g beef steak 2 cm thick, such as sirloin, tenderloin, or rump
- 2 tbsp kiwi grated/blitzed, or use grated onion
- ¼ tsp salt
- 1 pinch ground black pepper
- 4 tbsp all-purpose flour
- 1 egg white
- 1 tbsp cornstarch or potato/tapioca starch
- 1 pinch salt
- 100 g panko breadcrumbs fine crumbs
- cooking oil for deep frying any neutral high-heat oil
For the dashi-soy dip
- ⅛ tsp dashi granules
- 3 tbsp hot water
- 1 tbsp Japanese soy sauce (koikuchi shoyu)
- 1 tsp mirin
To serve
- shredded cabbage
- wasabi paste
The ingredient brands and tools I trust are in my Japanese pantry guide and my cooking tools guide.
Can’t find certain Japanese ingredients? See my substitution guide here.
Instructions
- Spread 2 tbsp kiwi over 350 g beef steak surface in a thin, even film. Wrap it or seal it in a bag and refrigerate for 30 minutes to 1 hour, and stop early if the surface turns swollen or slippery. Wagyu can skip this and go straight to salting.

- Scrape the kiwi paste off and rinse the beef under cold running water until the kiwi is completely washed away. Blot every side dry until the surface feels only just damp.
- Season both sides evenly with ¼ tsp salt (in total) and 1 pinch ground black pepper. Then leave the beef at room temperature, 15 to 20 minutes.
- While the beef rests, make the dip. Dissolve ⅛ tsp dashi granules in 3 tbsp hot water. Warm it with 1 tsp mirin and let it bubble briefly, then stir in 1 tbsp Japanese soy sauce (koikuchi shoyu) and take it off the heat. Heat cooking oil for deep frying to 170 °C (338 °F) to 180 °C (356 °F).
- While the oil heats, whisk 1 egg white with 1 tbsp cornstarch and 1 pinch salt. Dust the beef all over with 4 tbsp all-purpose flour and tap off the excess.
- Dip the beef through the egg white and let the excess drip off, then press it firmly into 100 g panko breadcrumbs, coating every face and side.
- Slide the beef into the oil and leave it still for the first minute, then flip it once. Bring the center to 54 °C (129 °F) to 60 °C (140 °F), about 1.5 minutes per side, and lift it out the moment it reaches temperature.
- Set the beef on a wire rack and rest it for 4 to 5 minutes.
- Cut it against the grain into strips about 1.5 cm wide, letting the knife pass through the panko first in a gentle sawing motion. Fan the slices rosy-side up with a pile of shredded cabbage. Set the dip alongside and dab wasabi paste onto each slice just before eating. Enjoy!

This was very good and the shredded onions did their job! The beef was flavorful and very tender for a sirloin. The two tweaks I made were as follows- some honey in the dipping sauce as it was too salty without, and I let the breaded beef rest for a bit before frying, which I learned from an Italian restaurant that makes the best veal Milanese – your Japanese cousin. I also made the Japanese rice but since I was short on sushi rice,used additional arroz rico, which is a short grain rice used in Hispanic food. It worked perfectly. I’ll make this again.
Hi LizTD,
This is awesome, thank you for sharing all of this. Resting the breaded beef before frying is a great move! The honey in the dipping sauce is a nice touch too if it was leaning salty for your taste. And arroz rico as a substitute is a brilliant find, glad it all came together for you! 🙂
Yuto