

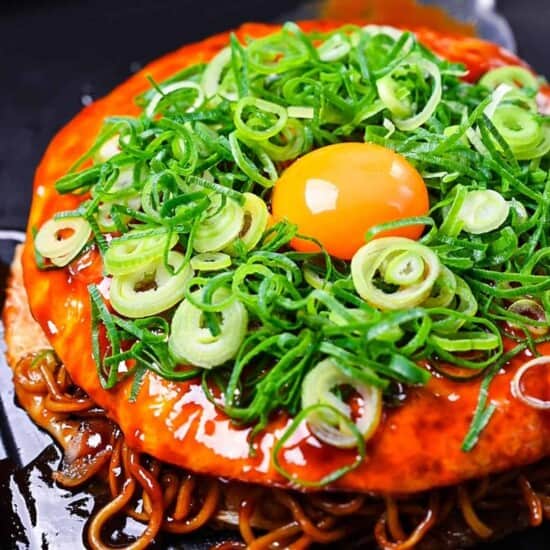


Featured Comment
Great dish! It turned out great and it was very close to the dish we had in Hiroshima. We love it! YUMMY
– Doris (from Pinterest)
I always thought Hiroshima-style okonomiyaki was off limits at home because I did not own a flat griddle. Then it clicked. What stood between me and this dish was never the equipment. It was the order I stacked everything in.
Plan the layers, build them in sequence, and the whole thing holds together in a single pan.

Hiroshima Okonomiyaki
Recipe Snapshot
- What is it? The Hiroshima style of okonomiyaki, a savory pancake assembled in stages in the pan instead of mixed together. Crepe, then long-cut cabbage, fried crunch, pork, a fried noodle layer, and egg, all steamed into a single tower under a sweet, thick glaze. Layered, not the Osaka mixed style.
- Flavor profile: Sweet and glossy up top from the thick okonomi sauce, with smoky umami from the bonito-seasoned crepe underneath, the browned chew of the fried noodle, and rendered pork richness cut by a sharp lift of green onion.
- Why you will love this recipe: It puts the layered Hiroshima stack within reach of a home stove with no griddle, because what actually makes it work is the order you stack things in, not the equipment.
- Must-haves: A thick sweet okonomi sauce, a separately fried noodle layer, and a real pile of long-cut cabbage. Those 3 roles cannot be skipped, though each of them has an accessible swap.
- Skill level: Medium, and about 30 minutes start to finish. The stovetop work is simple, but the recipe rewards a cook willing to keep the crepe thin and even and to stack the layers in the right order.
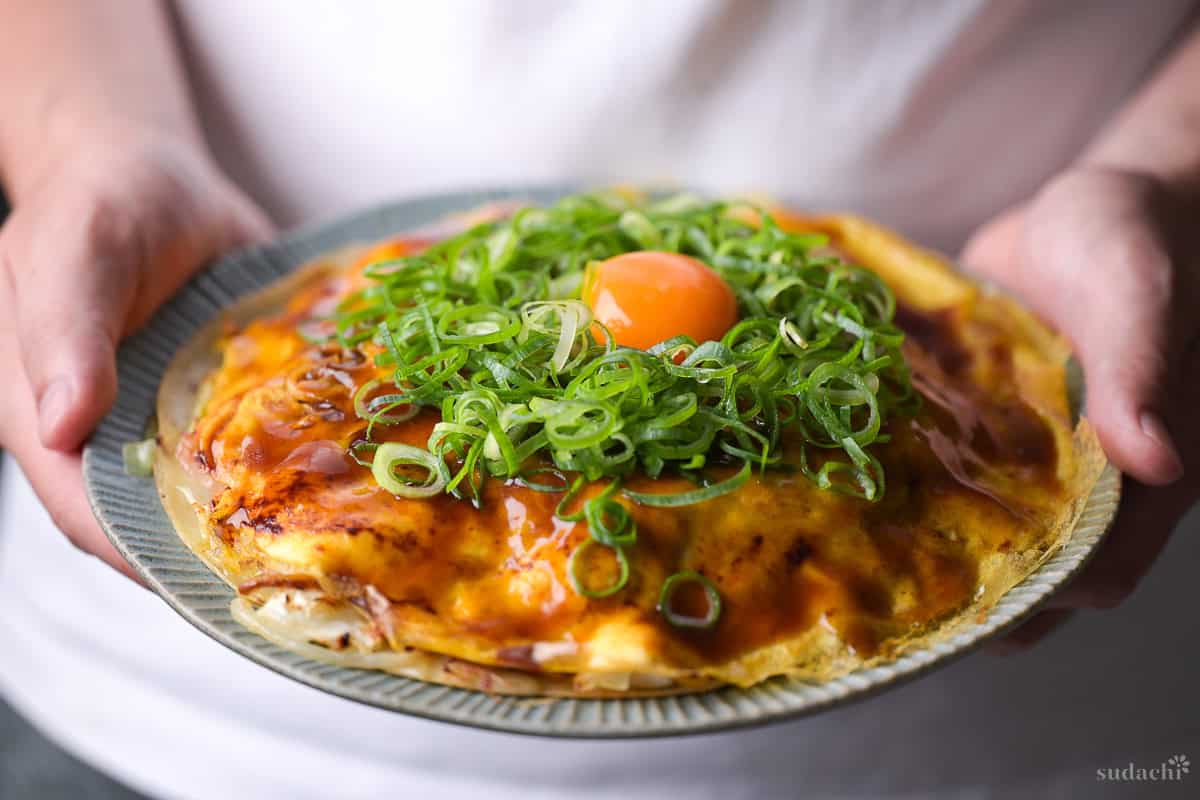
What Is Hiroshima-Style Okonomiyaki?
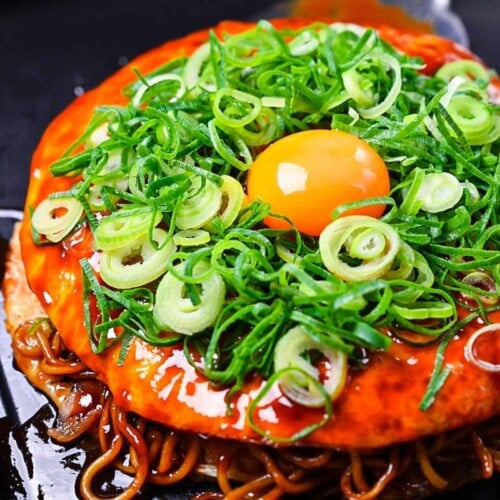
Hiroshima-style okonomiyaki (広島風お好み焼き) is a layered savory pancake, built up on the heat rather than stirred together in a bowl. A thin crepe goes down first, then a tall pile of fine-cut cabbage, fried bits, thin pork slices, a separately cooked yakisoba noodle layer, and an egg, all steamed together and finished with a sweet, thick sauce. The Osaka-style okonomiyaki most English readers meet first is the opposite move, where everything gets mixed in the same bowl and cooked as a single thick round.
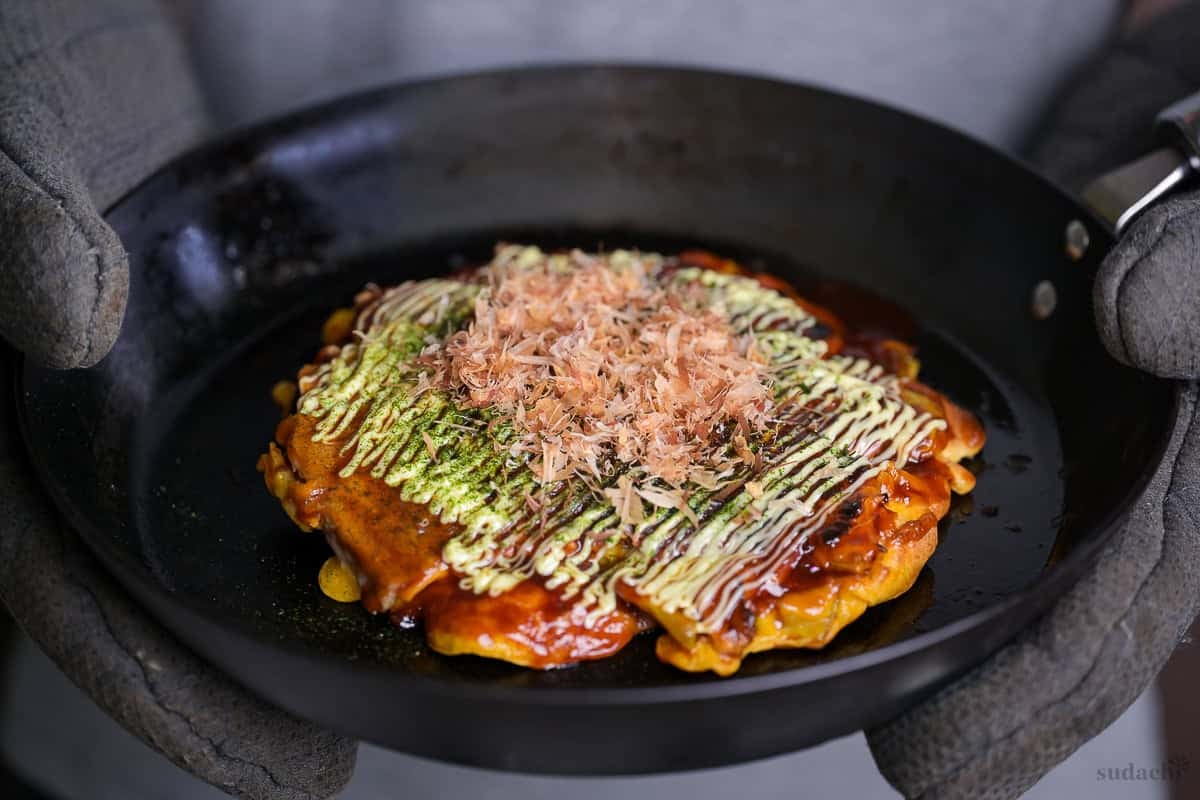
That mixed-versus-layered split is the whole story, and it matters more than the detail people usually grab onto. The noodle is not what makes a stack Hiroshima-style, because Osaka has a noodle version too, called modanyaki. What sorts the styles apart is the build. Layered means the cabbage steams down under its own crepe lid instead of cooking inside the batter, and that single decision drives the shreds of cabbage, the separate noodle, and the flip.
People argue over which okonomiyaki is the real one, and I stay out of it, treating them as 2 different ways to make the same idea rather than a ranking. What I can tell you is how the layers go together in a single pan, and why each earns its place once you taste the finished stack.
Hiroshima Okonomiyaki Ingredients
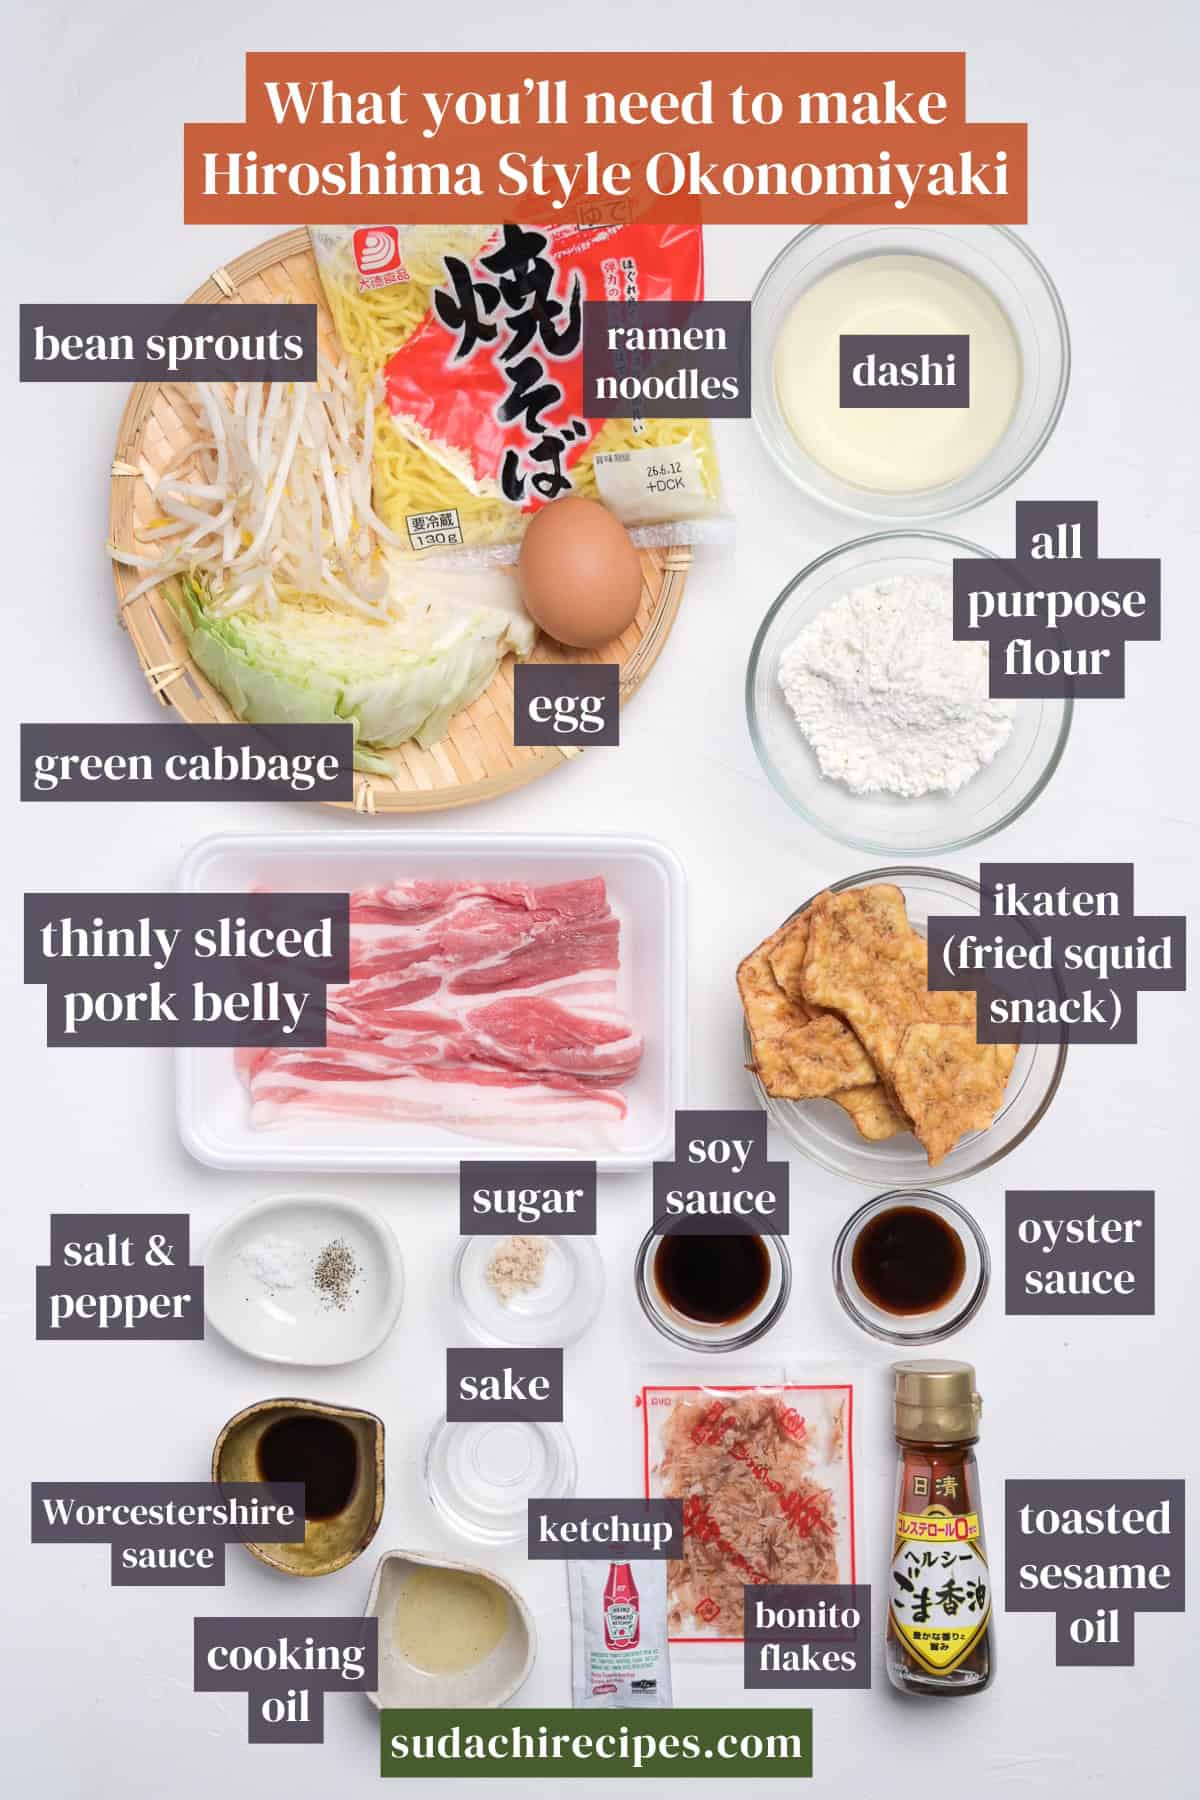
- Green cabbage: Cut it into long strips, roughly 10 to 12 centimeters, not just finely shredded. Long strands tangle into each other and leave gaps for steam to travel, which is how the pile cooks down evenly and holds its shape through the flip.
- Thinly sliced pork belly: Laid over the top of the vegetable pile. As it cooks, the fat renders down through the cabbage and the browning on the meat gives the whole stack its savory backbone. Thin-cut pork belly is at any Asian grocer, often sold sliced for shabu shabu or as Korean samgyeopsal.
- Fried squid snack (ikaten) or tempura flakes (tenkasu): For crunch and a hit of fat. Ikaten brings the authentic deeper seafood savor, but plain tenkasu does the textural job perfectly well, so use whichever you can actually get. I would never gatekeep this layer behind a hard-to-find snack.
Substitution Ideas
- Homemade okonomi sauce → Bottled Otafuku or okonomi sauce: I build the sauce from scratch as the default and I am not going to tell you to go buy a bottle. That said, if you already have Otafuku or another okonomi sauce in the fridge, use it and enjoy. One less job to do that way!
- Ikaten → Tenkasu (plain tempura bits): Ikaten brings a deeper seafood savor, but I would never make it mandatory, because then a lot of cooks abroad simply could not make this. Plain tenkasu covers the crunch beautifully. If you can find ikaten, great, and if not, that’s also okay.
- All-purpose flour → Lower-protein flour such as cake flour: All-purpose is what I use and the thin crepe comes out fine, so start there. If your crepe keeps tearing or cooks up tough, switch to a lower-protein flour. Less gluten means it spreads thinner and stays tender.
Have trouble finding Japanese ingredients? Check out my ultimate guide to Japanese ingredient substitutes!
How to Make My Hiroshima-Style Okonomiyaki
If you prefer to watch the process in action, check out my YouTube video of this Hiroshima-style okonomiyaki recipe!

Before you start (Mise en place):
- Cut the cabbage into long strips, around 10 to 12 centimeters. Long strands tangle and leave gaps for steam to move through, and that is what lets the pile cook down evenly and stay together later.
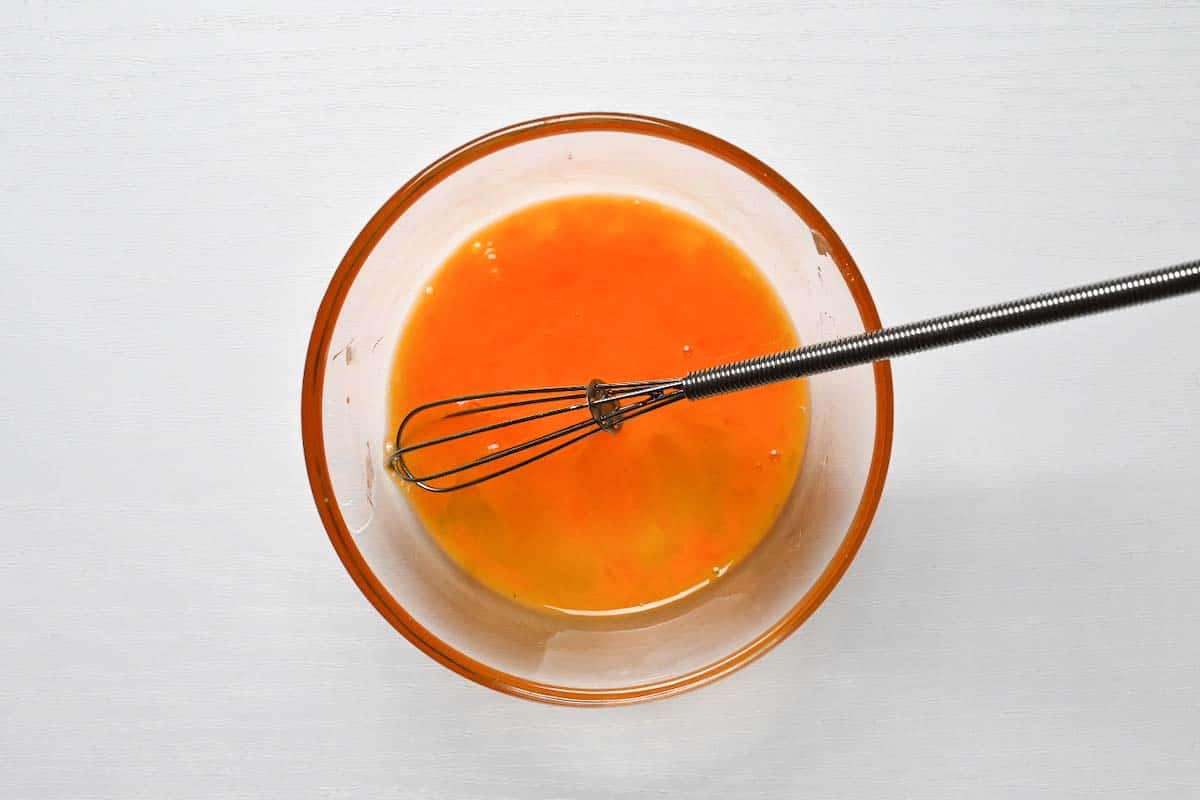
- Whisk the egg with a pinch of salt in a separate bowl and set it aside.
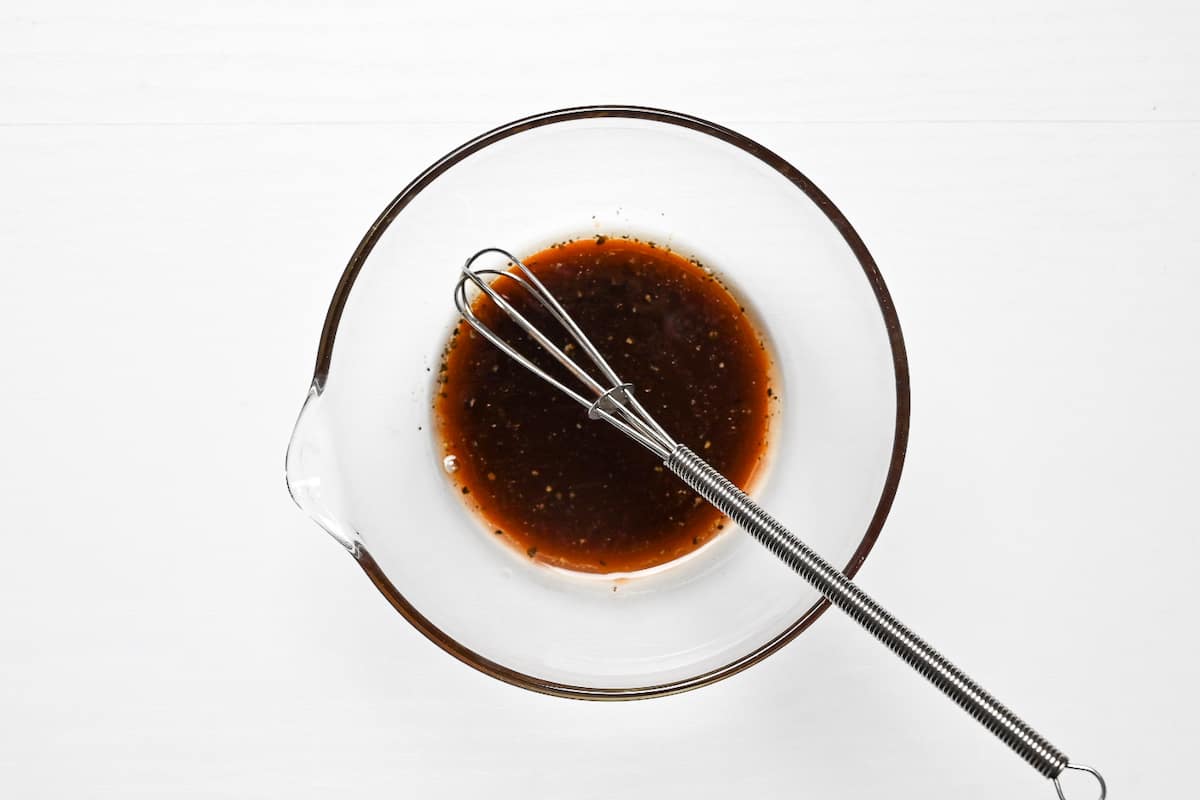
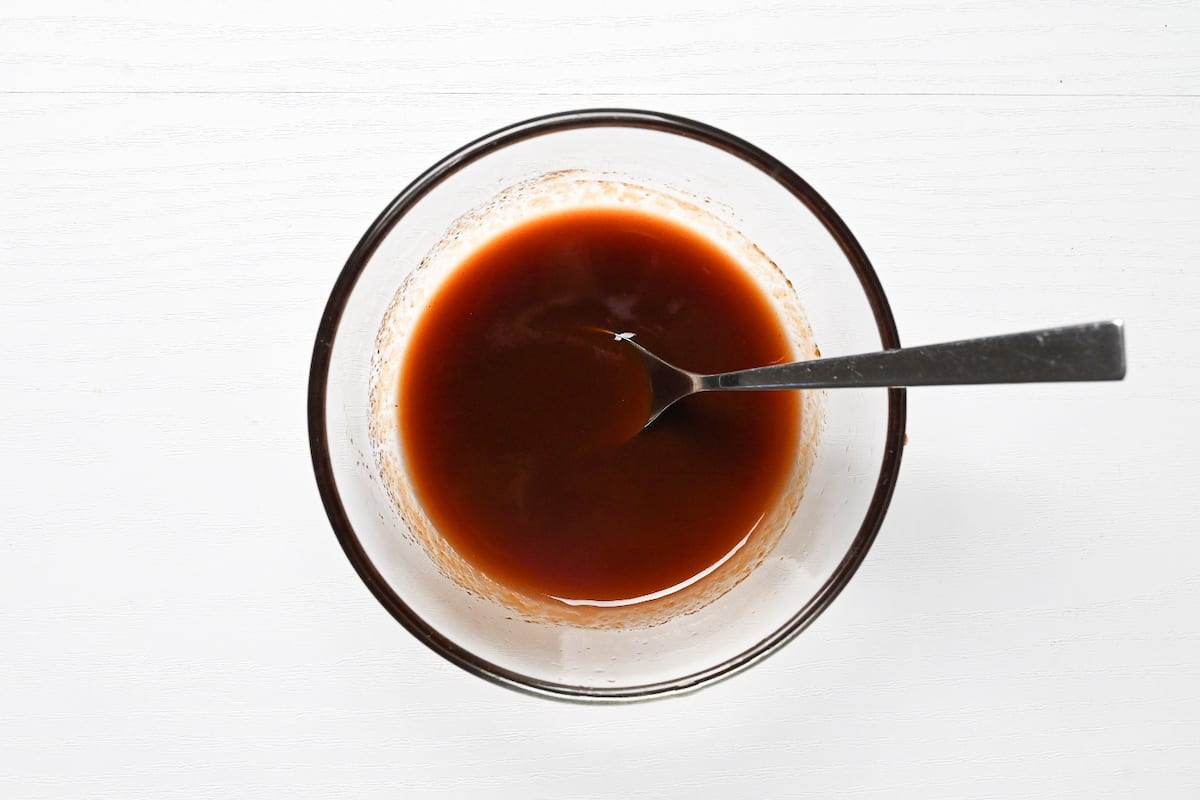
- Mix the yakisoba sauce in a small bowl and the okonomi sauce in another, so both are waiting when you need them.
- Have the pork, bean sprouts, ikaten or tenkasu, and bonito flakes portioned and within reach. Once the crepe goes down, the build moves quickly and you will not want to be measuring mid-stack.
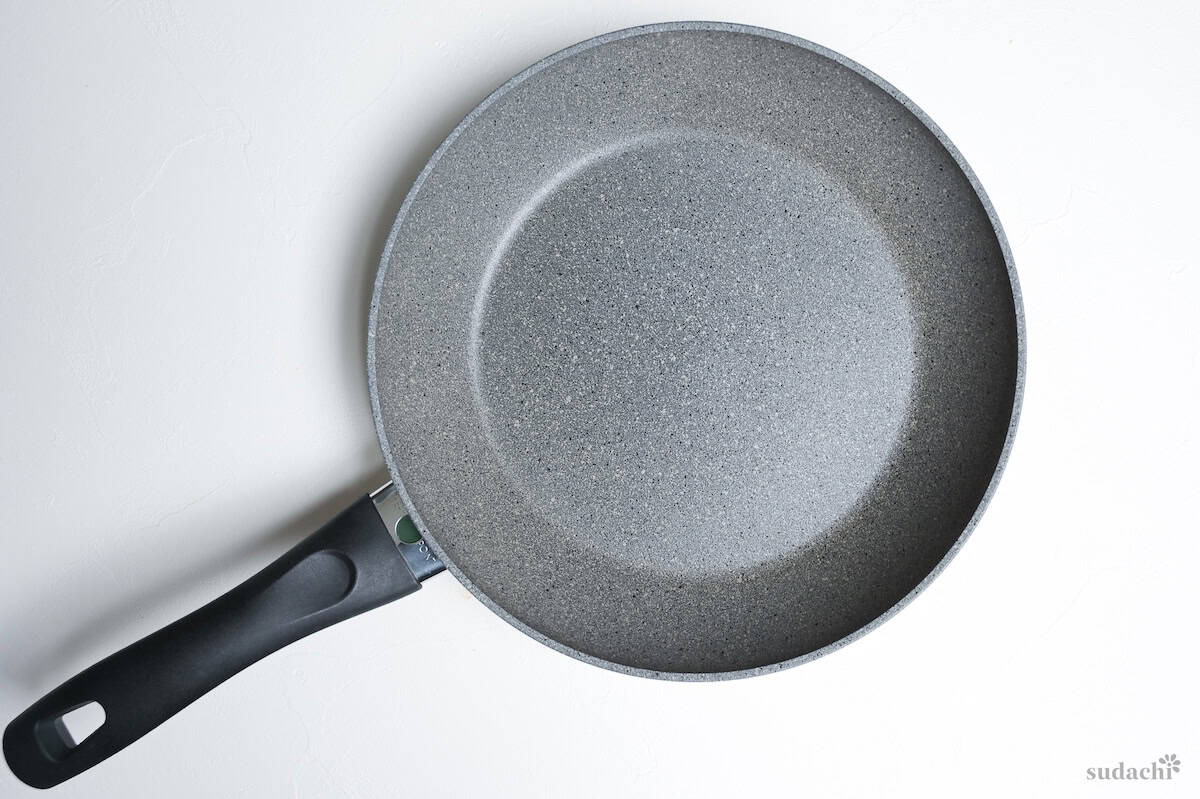
To develop this Hiroshima okonomiyaki recipe, I used a 26cm nonstick pan (Ballarini Ferrara).
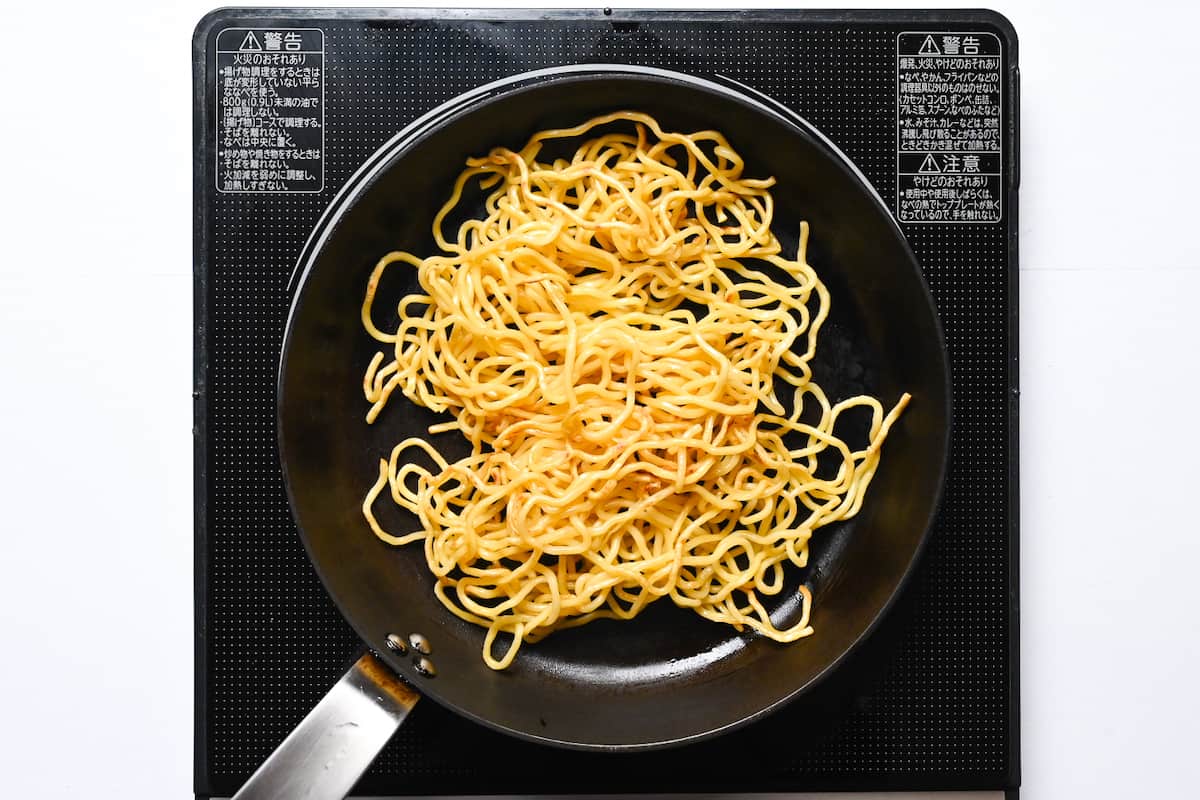
i. Heat your pan over medium-high, add the neutral cooking oil, and once it is hot, add the yakisoba noodles. Fry them until they pick up a slightly crisp edge.
If you want to use regular ramen noodles instead, check out how to prepare them on my yakisoba recipe post.
ii. Pour the yakisoba sauce over the noodles and stir-fry until every strand is evenly coated.
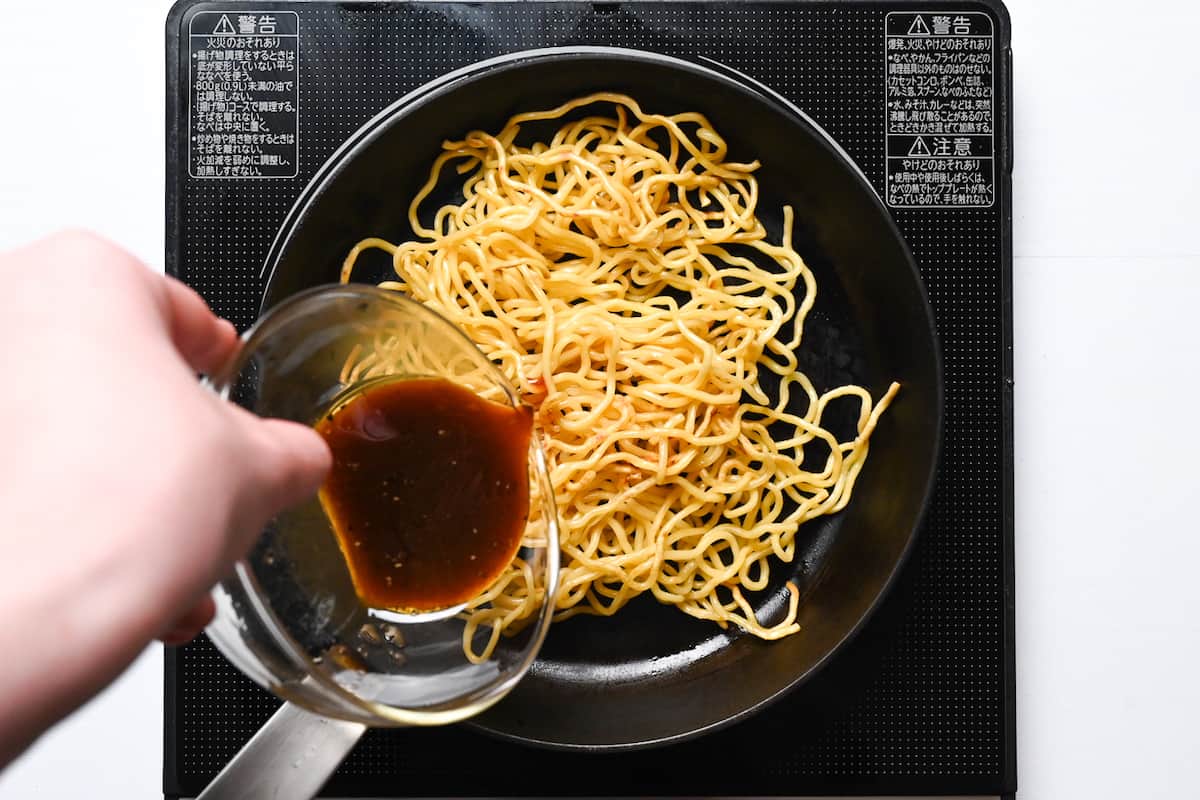
iii. Take them off the heat and set them aside for later.
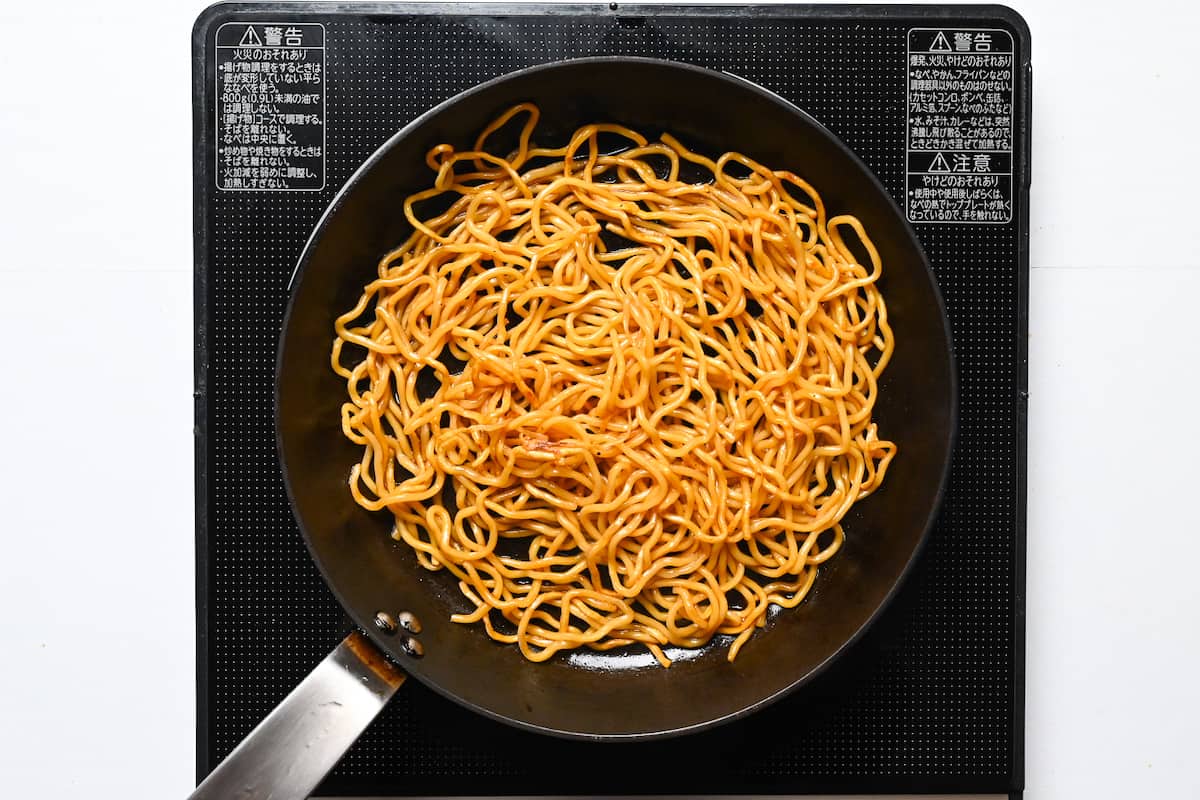
Cooking the noodle on its own, away from the rest of the build, is the move that gives it a browned, slightly crisp surface instead of a soft steamed layer. That texture is part of what separates this from a mixed pancake. If the noodle went into the steaming pile with everything else, it would go limp and lose the contrast that makes the layer worth having.
i. Mix the all-purpose flour, dashi stock (or water), sugar, and mirin in a jug.
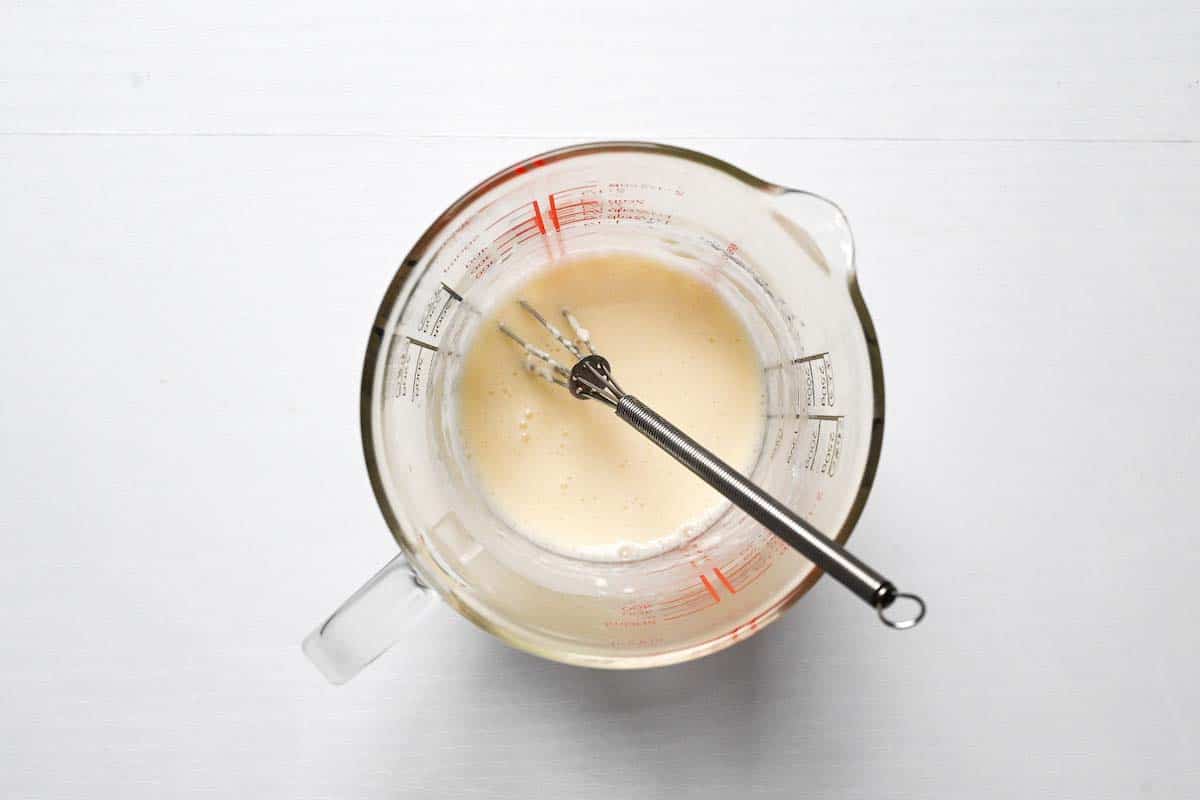
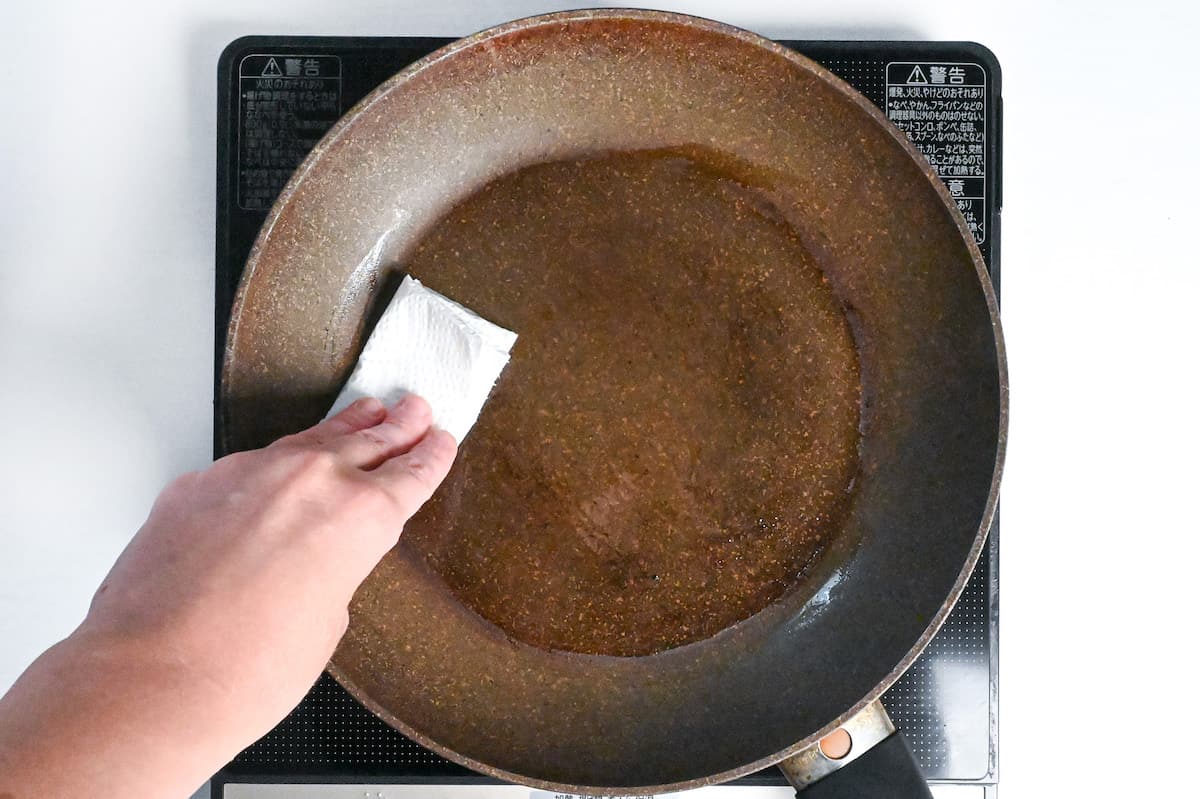
ii. Wipe the pan with a little oil on kitchen paper to leave just a film, then heat it over medium-low. Lift the pan briefly off the heat and pour about three quarters of the batter into the center, saving one-quarter for later.
iii. Spread it outward from the center using the back of a spoon, working in a single smooth motion and never passing over the same spot twice.
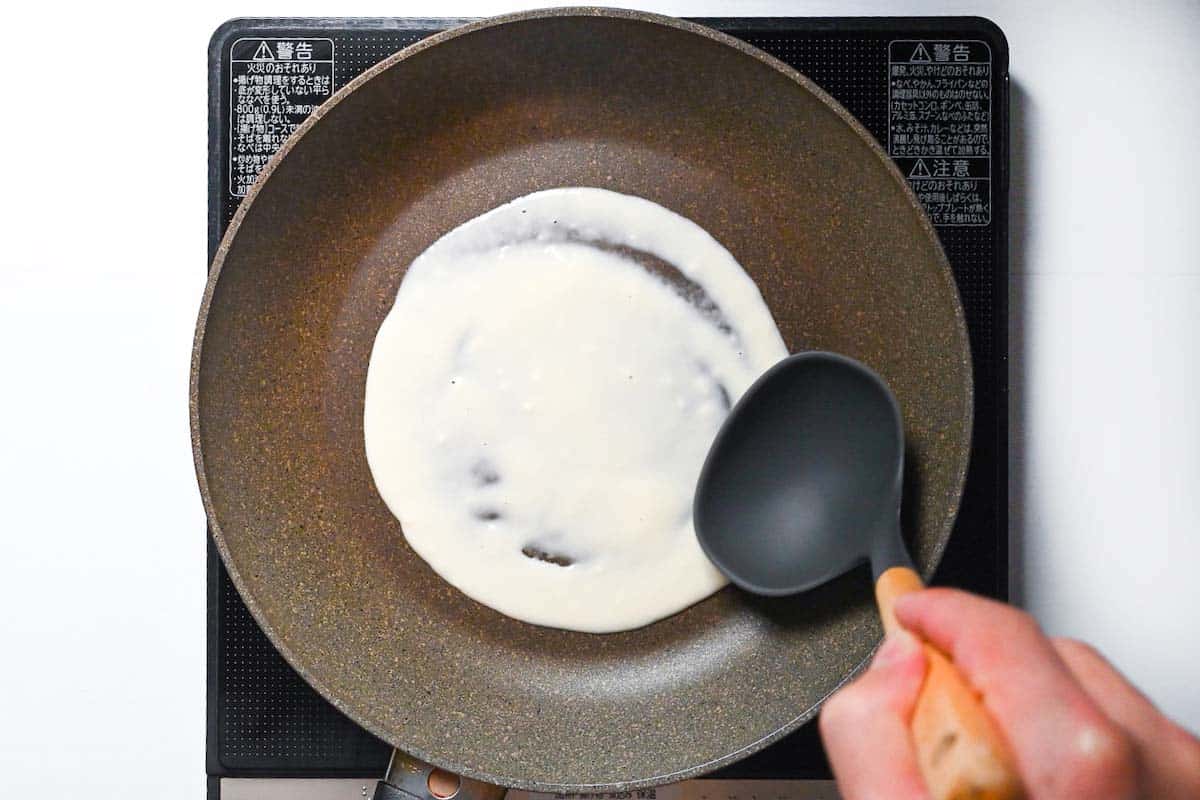
iv. Set the pan back down and sprinkle the bonito flakes over the batter while it is still wet so they stick.
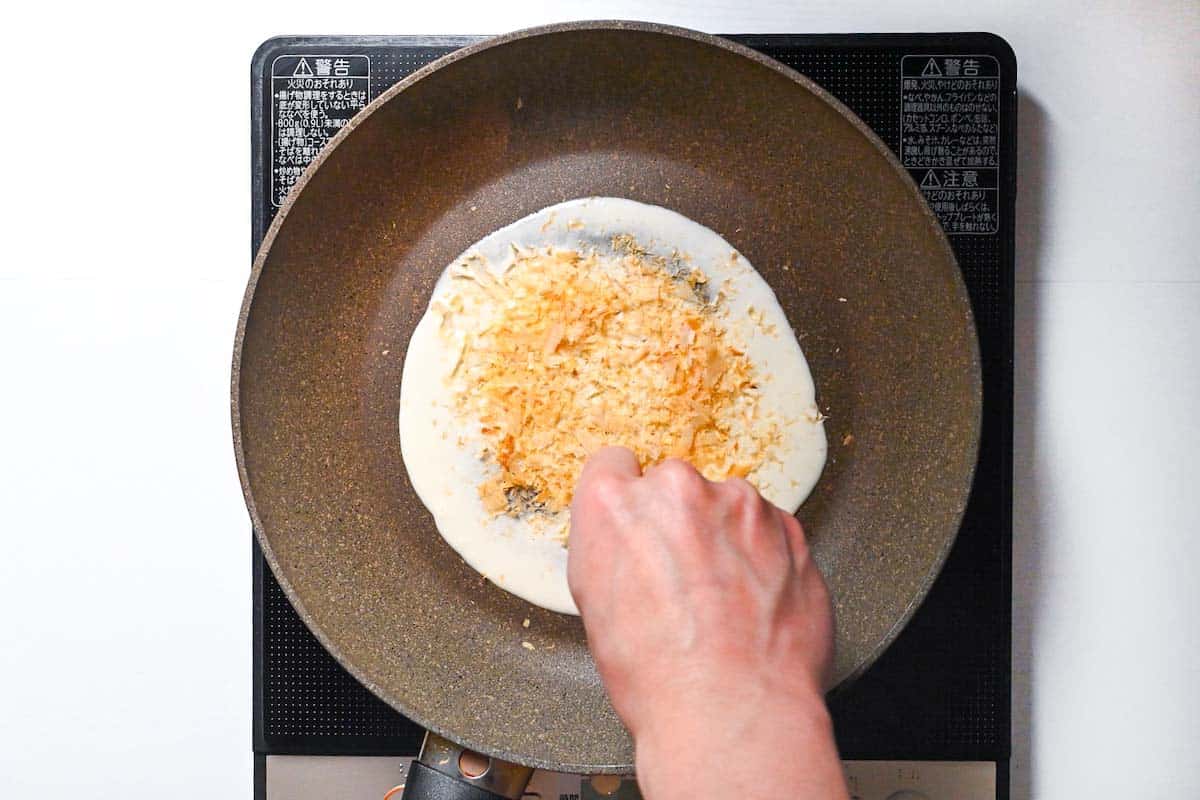
The crepe is the make-or-break layer, and a thin even crepe is built on the spread, not the flour. Pouring into the middle and pushing outward in a single pass keeps it the same thinness all the way to the edge. Go back over a spot that has already started to set and you drag and tear it, the way a second swipe of paint pulls up the first while it is still tacky. If you do tear a hole, dab a little batter on and patch it before it cooks.
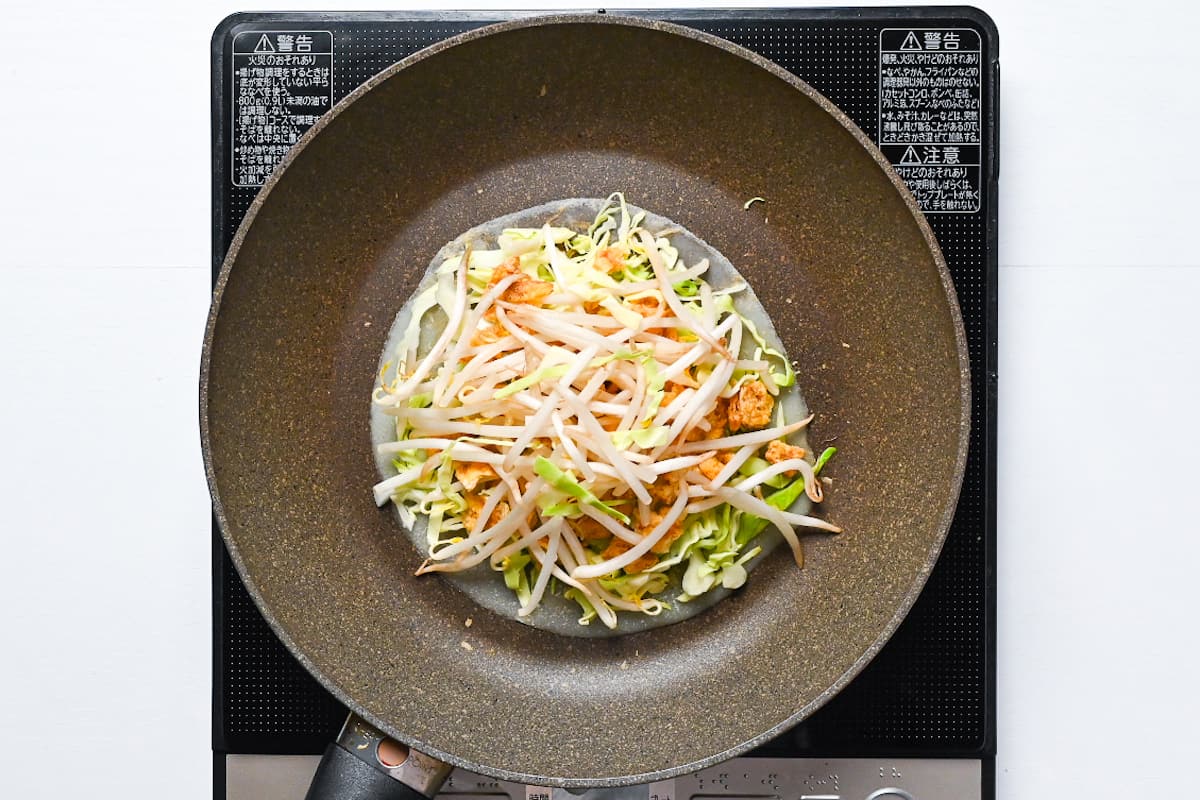
i. Pile on the long-cut cabbage.
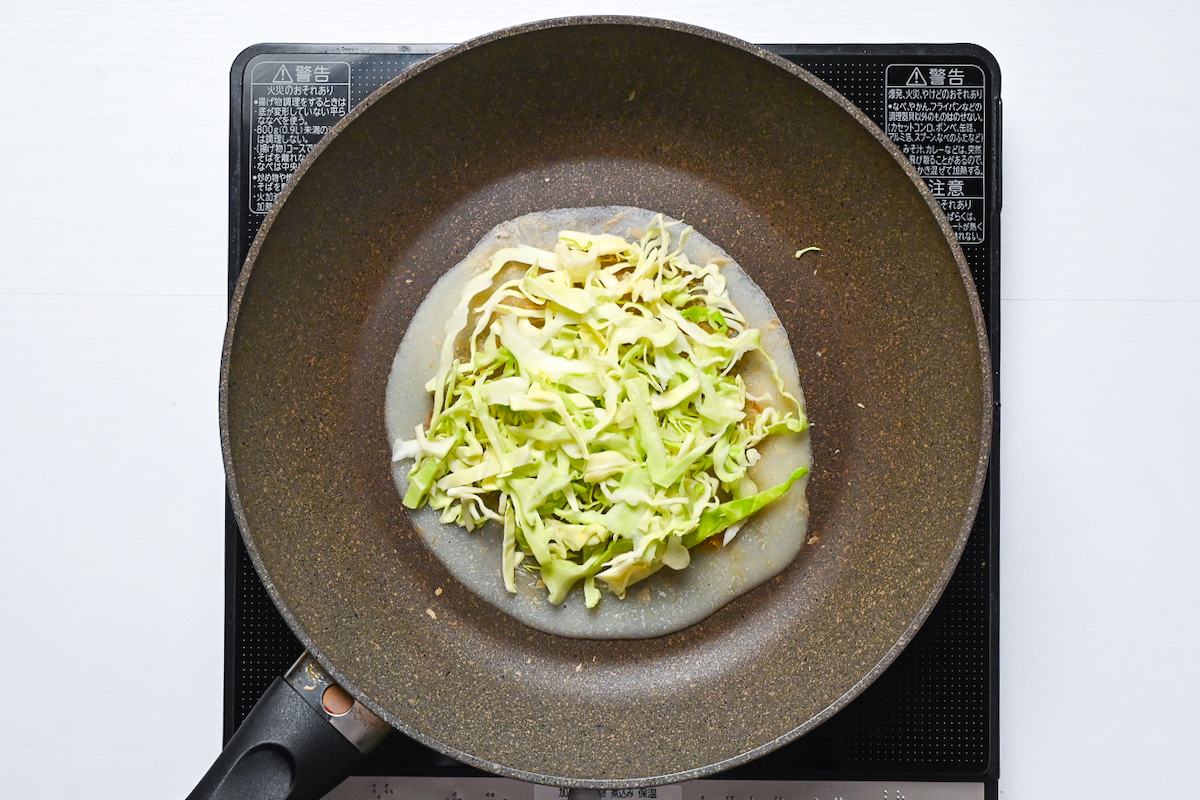
ii. Then the ikaten or tenkasu, then the bean sprouts, a layer at a time. Drizzle the leftover batter over the top so it trickles down and loosely binds the stack.
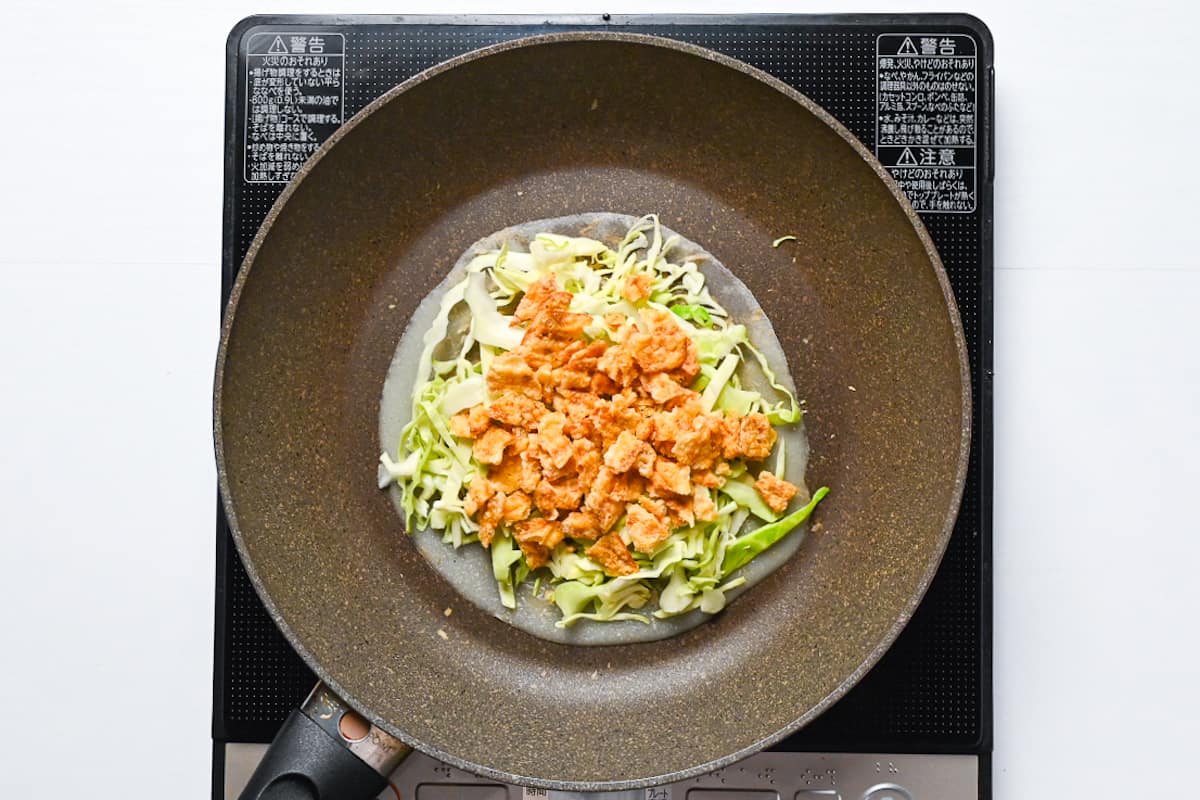
iii. Lay the pork slices over everything.
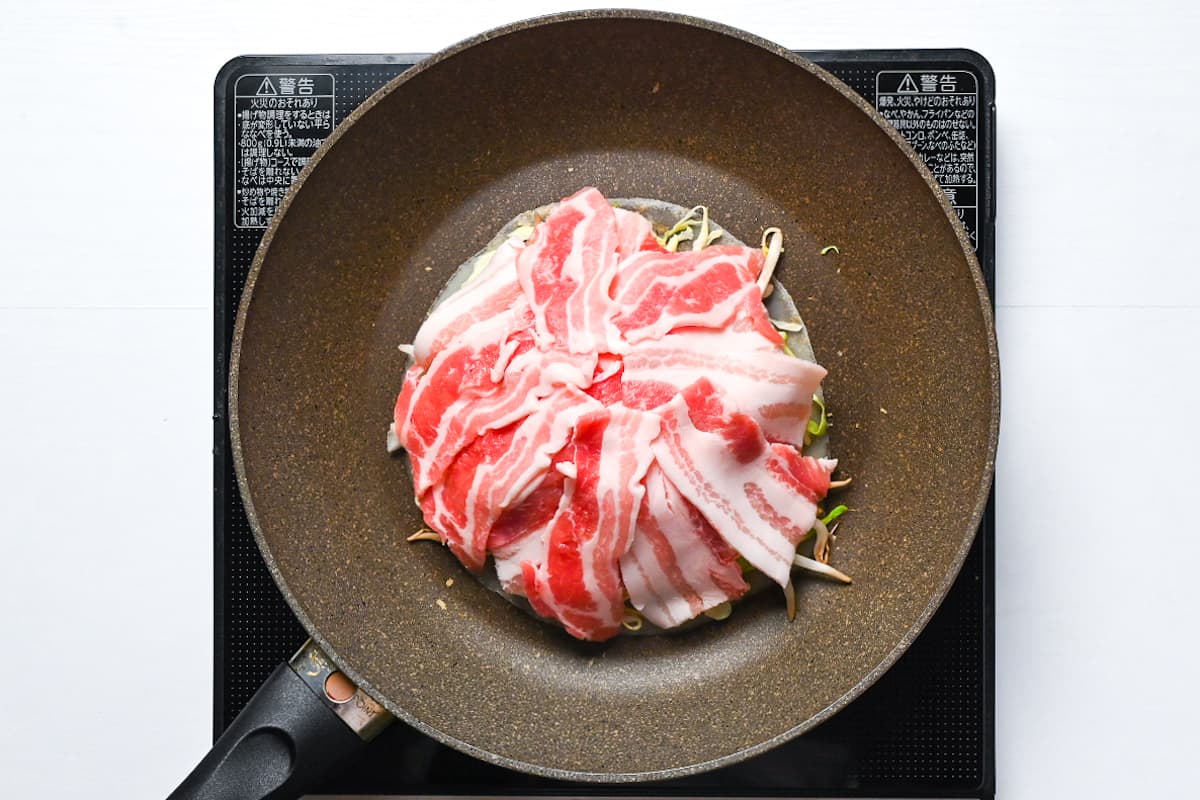
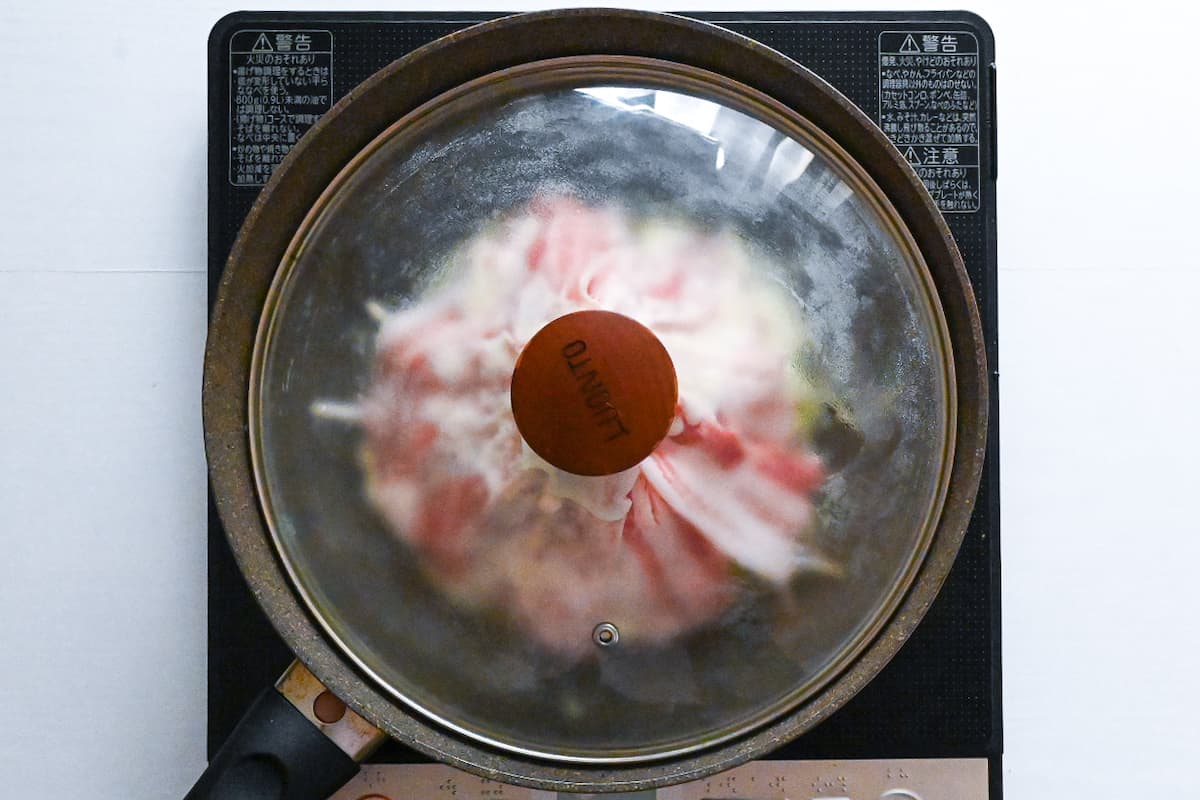
iv. Cover the pan with a lid and leave it to steam. While it cooks, do not press down on the pile. Let the cabbage wilt and soften under its own steam, losing its raw edge and collapsing into a much smaller, mellow layer.
i. Once the underside has set, flip the whole stack so the pork side goes down, cover again, and cook the second side through. If a free flip makes you uneasy, slide the stack onto a large plate, set the pan upside down over it, and invert the two together so the pan catches it.
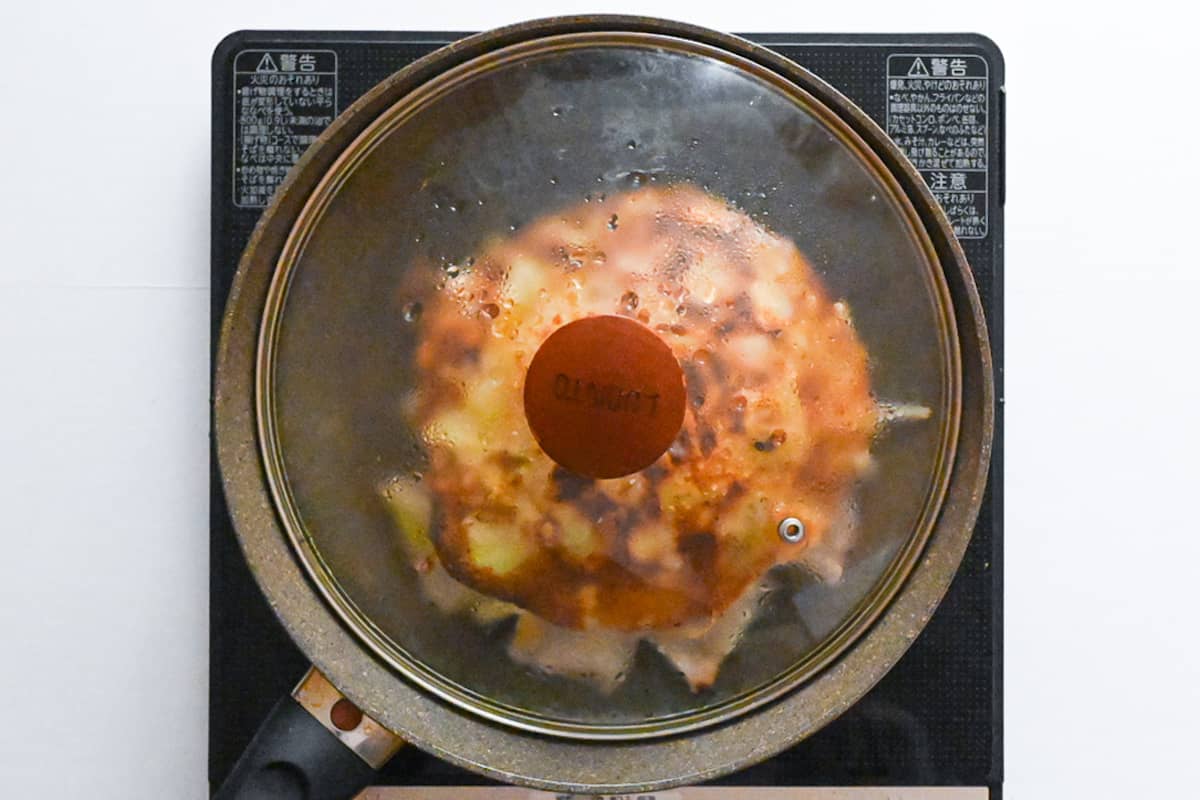
ii. When the pork is cooked through, carefully slide the stack to a plate and set it aside while you make the egg layer.
i. Wipe the pan clean, add a thin film of fresh oil, and pour in the whisked egg, swirling it to coat the bottom in an even layer.
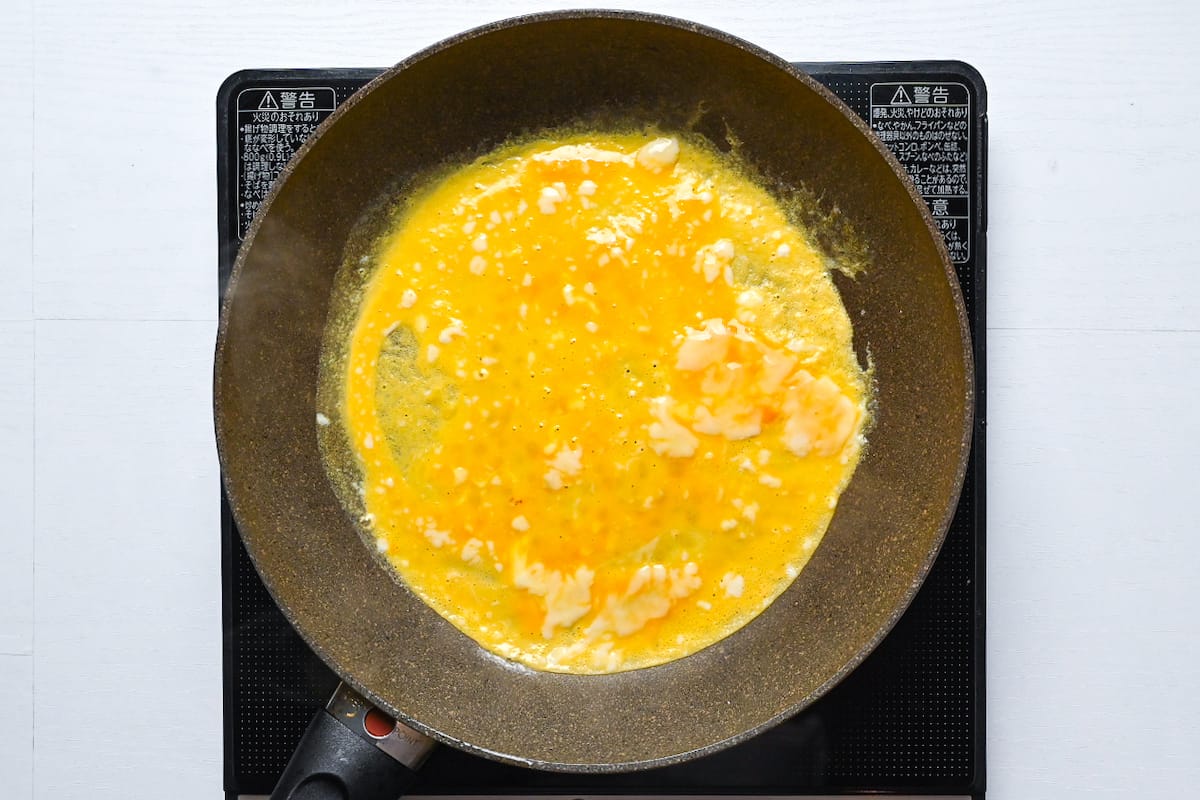
ii. Once it is about halfway set and still soft on top, place the fried yakisoba noodles on top.
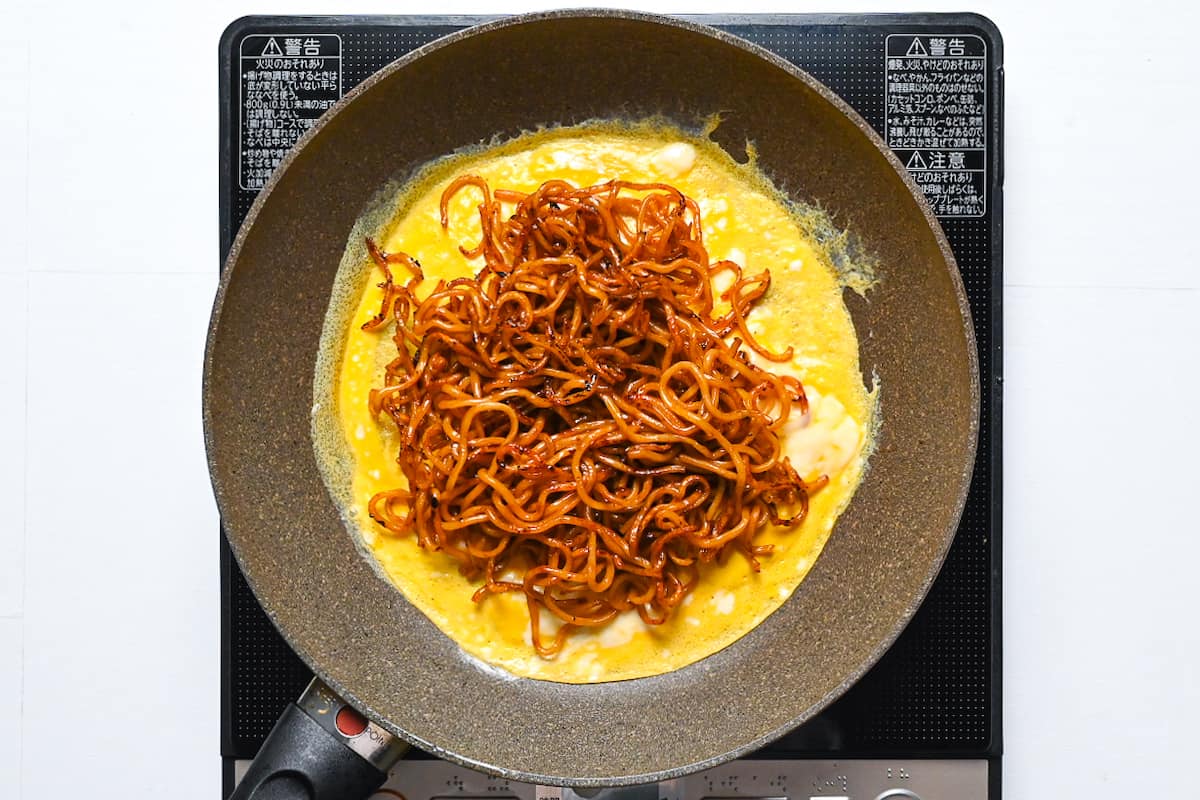
iii. This is the one moment you press, gently, so the soft egg grabs the noodle and the stack settles into it as a single piece. Then, add the other half of the okonomiyaki with the crepe side facing up.
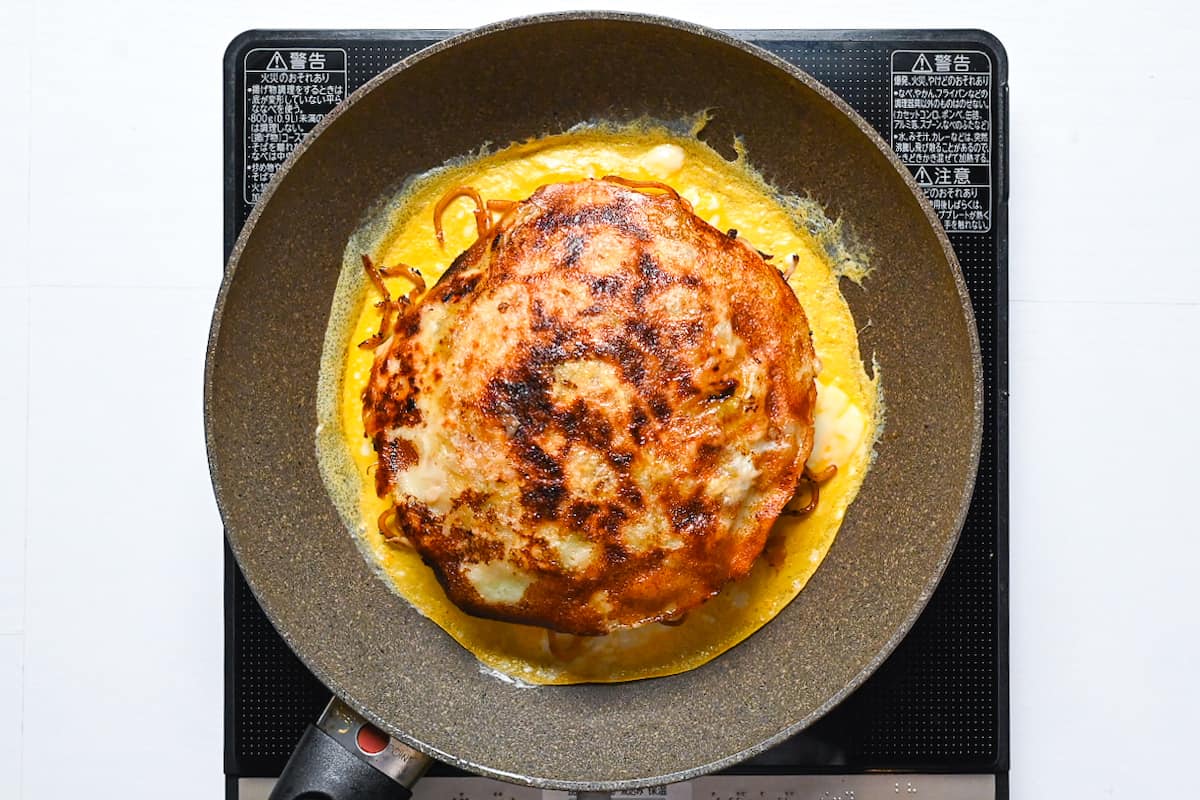
iv. Run a spatula around the edges of the egg to loosen it, then flip the whole thing onto a serving plate so the egg ends up on top.
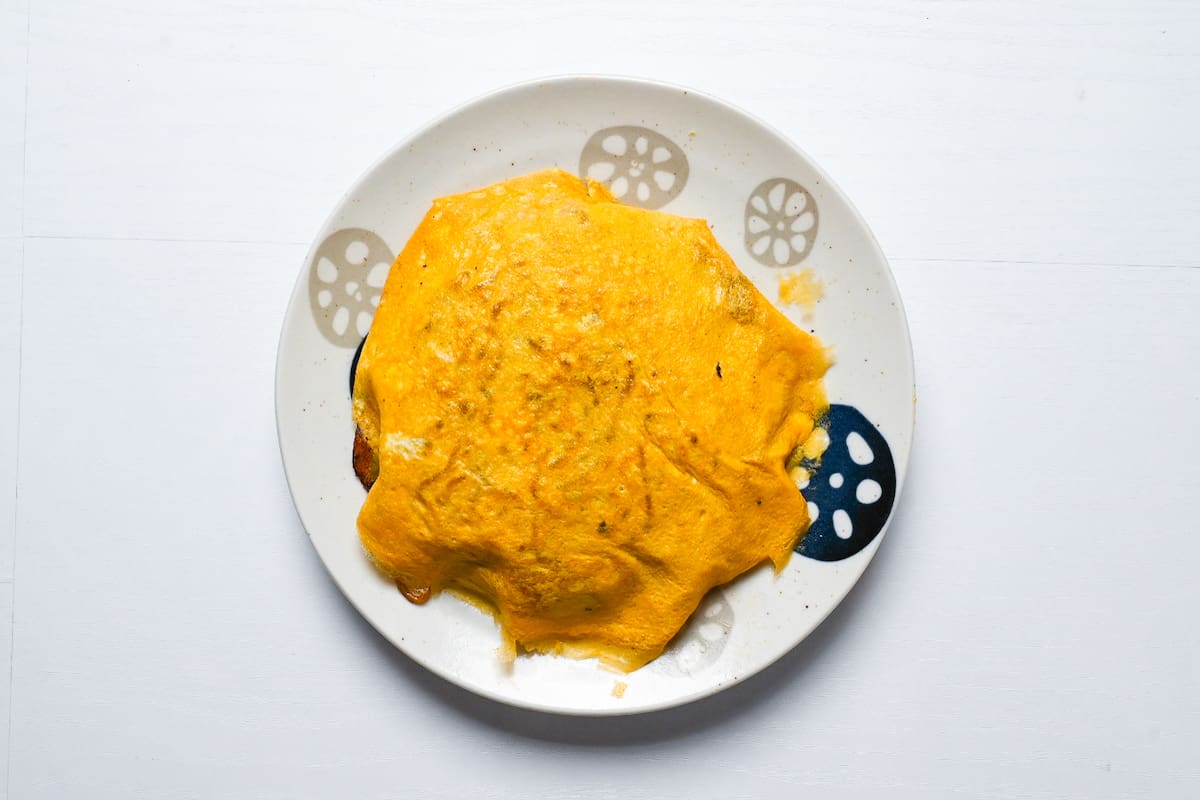
i. Coat the top generously with the homemade okonomi sauce so it spreads into a glossy, even layer.
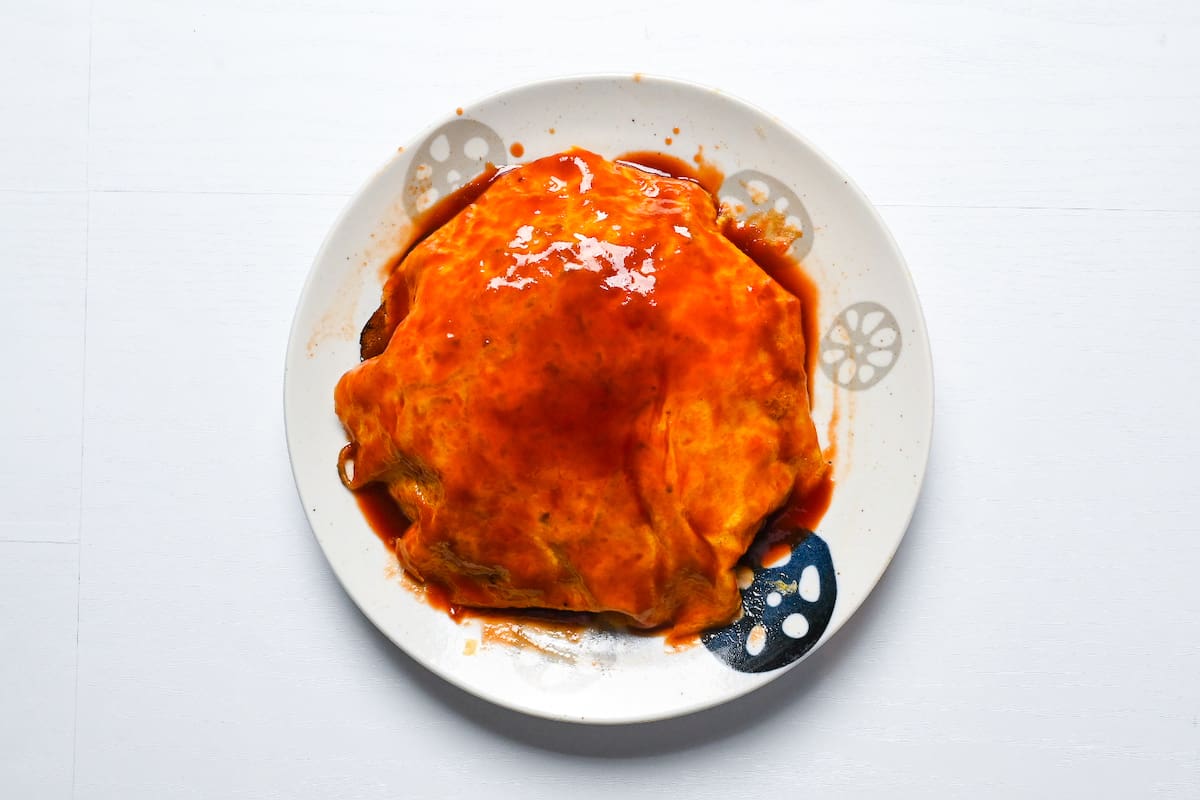
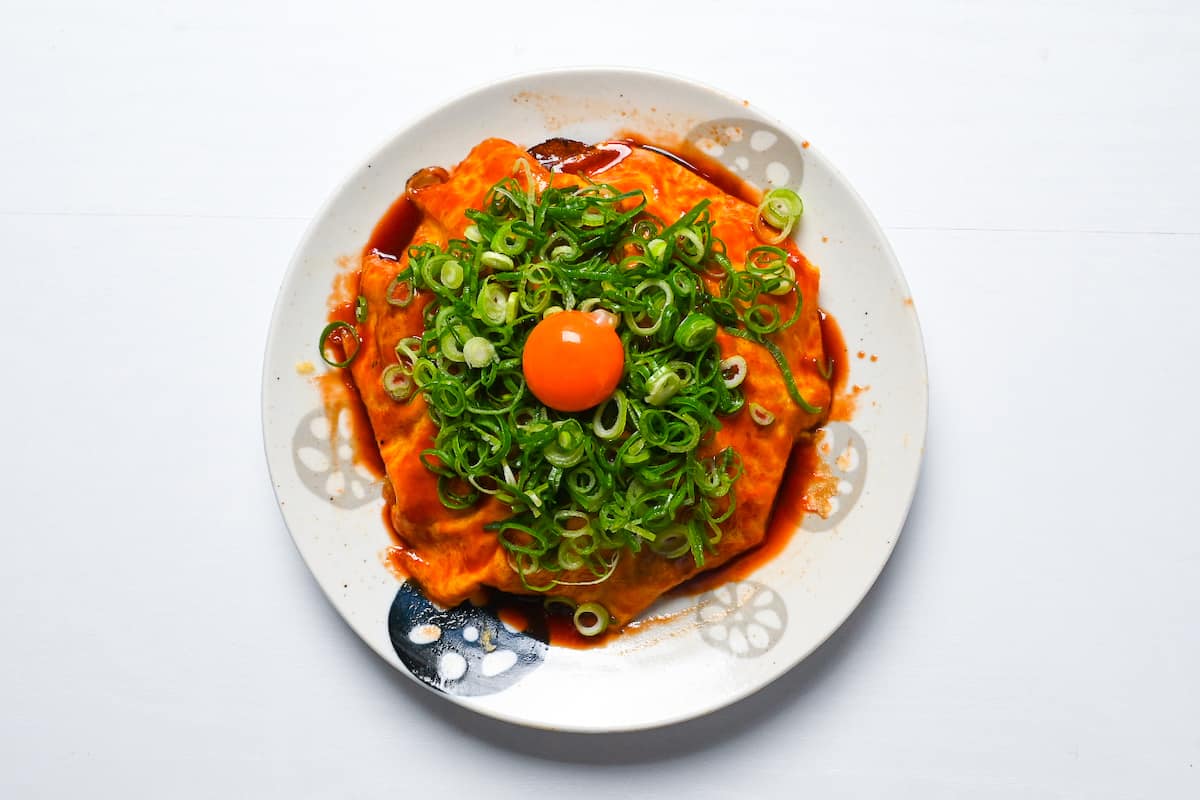
ii. Scatter over the chopped green onions and set the optional egg yolk on top. Cut into easy-to-pick-up pieces and eat it while the egg is still warm.
If you follow the default recipe, it will yield 2-3 main servings.
Essential Tips & Tricks
- Pick the bigger pan if you plan to flip it yourself. A pan that barely fits the stack leaves you no room to land it, and a cramped flip is where you might lose the whole thing. Go wider and you buy yourself landing space.
- If you do flip it freehand, commit and go fast. The instinct when you are nervous is to ease the stack over slowly, and that slow tentative turn is exactly what drops it. A stack in mid-air wants speed, not caution. Decide you are doing it, then turn it in a single quick motion. Half-hearted is how it falls apart, not how it survives.
- If you prefer not to flip: Slide it onto a plate, hold it up with one hand and position the pan on top. Flip the plate and pan together so the plate is now on top, this is a great alternative for those not so confident with their flipping skills.
- Stop pouring the crepe before it gets thick. There is a narrow window you are aiming for. Too thick and it cooks up rubbery and dense instead of crisp. Too thin and it tears the second you try to move anything onto it. The fix is to use most of your batter but spread it wide and stop while the surface still looks barely translucent rather than chasing full coverage.
Keep these in mind and your okonomiyaki comes together cleanly the first time you make it.
Storage & Meal Prep
Fridge: Let the okonomiyaki cool fully, wrap it tightly with the wrap pressed against the surface to push the air out, and refrigerate for 1 to 2 days.
Freezer: You can, but I don’t recommend it.
Meal prep: I make this fresh almost every time, straight off the pan, and I do not store a fully built okonomiyaki ahead as a make-ahead meal, so treat the fridge and freezer notes as a way to rescue leftovers rather than a plan to batch-cook. What you can prep ahead are the pieces. Cut and bag the cabbage, mix both sauces, and precook the noodle, so the build goes fast when you want it and the okonomiyaki still comes out of the pan hot.
Reheating: Microwave it with the wrap off so steam does not collect and turn it pasty, then finish it in a frying pan with a little oil under a lid. Make sure the center is piping hot before you sauce it and eat.
What to Serve With This Recipe
Hiroshima-Style Okonomiyaki Troubleshooting
You almost certainly spread it too thin chasing wide coverage, and a paper-thin crepe rips the moment cabbage lands on it. The thickness you want sits in a narrow band, thin enough to crisp but with enough body to carry the pile. Next time stop pouring while the surface still looks barely translucent rather than see-through, and if a hole opens up at the stove, dab a little reserved batter over it and let it set before you build. If instead the crepe came out dense and rubbery, you went too far the other way and poured it too thick.
A collapse at the flip usually means one of three things, and all three are fixable. If your pan barely fit the okonomiyaki, you had no room to land the turn, so move to a wider pan for landing space. If you eased it over slowly because you were nervous, that hesitation is what dropped it, so commit and turn it in one quick motion instead. Easiest of all, skip the freehand flip entirely and use the plate-and-pan invert, sliding the stack onto a plate and flipping the pan over it so gravity does the work.
You pressed the pile down while it steamed, almost everyone does it without realizing, and pressing crushes the steam channels and squeezes the juices out before they can do their job. Keep your hands off it entirely once the lid is on and let it wilt under its own steam. It also helps to cut the cabbage in long strips rather than fine shreds, since the long strands tangle and leave gaps for the steam to travel through.
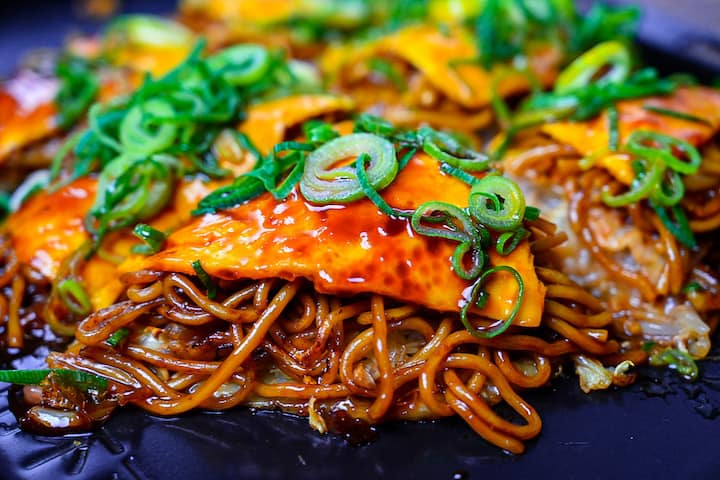
More Japanese Street Food Recipes
Once you have the pan and the flip figured out, the rest of the griddle lineup opens right up, so dig into my full Japanese street food recipe collection for your next one.
Did You Try This Recipe?
I would love to hear your thoughts!
💬 Leave a review and ⭐️ rating in the comments below. 📷 I also love to see your photos – submit them here!
Hiroshima Style Okonomiyaki (in a frying pan)

Ingredients
Yakisoba
- ½ tbsp oyster sauce
- ½ tbsp Japanese soy sauce (koikuchi shoyu)
- 1 tsp Worcestershire sauce
- ½ tsp tomato ketchup
- ¼ tsp sake or white wine
- ¼ tsp sugar
- 1 pinch ground black pepper
- ½ tsp toasted sesame oil
- 1 ½ tsp cooking oil neutral flavor
- 1 portion yakisoba noodles pre-steamed
Batter
- 30 g all-purpose flour
- 60 ml dashi stock
- 1 pinch white sugar
- 1 dash mirin optional
- 1 tbsp bonito flakes (katsuobushi) (katsuobushi)
Okonomiyaki layers
- 50 g green cabbage cut into long strips
- 4 tbsp fried squid snack (ikaten) or tempura bits (tenkasu)
- 50 g bean sprouts
- 100 g thinly sliced pork belly
- 1 egg
- 1 pinch salt
Okonomi sauce and toppings
- ½ tbsp Worcestershire sauce
- ½ tbsp oyster sauce
- 1 tbsp tomato ketchup
- ½ tbsp honey
- ½ tsp Japanese soy sauce (koikuchi shoyu)
- 1 tbsp finely chopped green onions to garnish
- 1 pasteurized egg yolk optional
The ingredient brands and tools I trust are in my Japanese pantry guide and my cooking tools guide.
Can’t find certain Japanese ingredients? See my substitution guide here.
Instructions
- Mix ½ tbsp oyster sauce, ½ tbsp Japanese soy sauce (koikuchi shoyu), 1 tsp Worcestershire sauce, ½ tsp tomato ketchup, ¼ tsp sake, ¼ tsp sugar, 1 pinch ground black pepper and ½ tsp toasted sesame oil in a small bowl to make the yakisoba sauce.

- Heat a frying pan on medium-high and once hot, add 1 ½ tsp cooking oil and 1 portion yakisoba noodles. Fry undisturbed until crispy underneath, then flip and repeat.
- Pour the yakisoba sauce over the noodles and stir fry until they’re evenly coated. Remove from the stove and set aside for later.
- Take a large frying pan and heat on medium-low. Spread 1 ½ tsp cooking oil around the pan and wipe away the excess with kitchen paper so that only a thin film remains.

- While the pan is heating up, make the crepe batter by whisking the 30 g all-purpose flour, 60 ml dashi stock, 1 pinch white sugar and 1 dash mirin in a small jug until smooth.
- Briefly lift the pan off the heat and pour 3/4 of the mixture into the center of the pan. Spread it out thin using the back of a spoon, then place the pan back down and sprinkle 1 tbsp bonito flakes (katsuobushi) over the wet batter.
- Add 50 g green cabbage, 4 tbsp fried squid snack (ikaten) and 50 g bean sprouts one layer at a time, then drizzle the leftover batter over the top to act as a glue between the layers.
- Lay the 100 g thinly sliced pork belly over the top and cover the pan with a lid. Steam-fry for 5 minutes.
- While you wait, mix ½ tbsp Worcestershire sauce, ½ tbsp oyster sauce, 1 tbsp tomato ketchup, ½ tbsp honey and ½ tsp Japanese soy sauce (koikuchi shoyu) in a small bowl to make your okonomiyaki sauce. Set aside for later.
- Remove the lid, flip the okonomiyaki and cover with the lid once more. Cook the other side for 5 minutes or until the pork is cooked through. Slide the contents of the pan onto a large plate.
- Crack 1 egg into a separate bowl with 1 pinch salt and whisk until the yolk and white are combined.
- Use kitchen paper to wipe the pan clean, then add a drizzle of oil and spread it around using kitchen paper to remove any excess. Pour the whisked egg into the pan and swirl it around to evenly coat the bottom of the pan.
- Once it's about 80% cooked, place the cooked yakisoba on top and lightly press it down. Place other half of the okonomiyaki on top so the crepe is on top and the pork is sandwiched in the middle.
- Use a spatula to peel the edges of the egg and loosen it from the pan and carefully flip the whole thing onto a plate. The egg layer should be on top, the crepe on the bottom.
- Generously coat with the homemade okonomi sauce, 1 tbsp finely chopped green onions and an 1 pasteurized egg yolk (optional). Enjoy!

So good! I didn’t know you can even make this in one pan!!
Thank you, Hugh!
My first Hiroshima style okonomiyaki. Both my son and I enjoyed it. I will make this style again for dinners. Thank you!
Hi Sharon,
I’m so glad you gave it a try! That makes me really happy to hear you and your son both enjoyed it. I love that you made it together and enjoyed it as a family 😊
Yuto