What is Monjayaki?
Monjayaki (もんじゃ焼き) also known as “monja” for short, is a distinctive culinary creation from Tokyo that artfully combines a variety of ingredients with a sticky batter made from flour, dashi and condiments. This mixture is expertly grilled on a traditional Japanese teppan until it’s hot, gooey and slightly crispy, ready to be savored.
Unlike its teppan-yaki counterparts such as okonomiyaki, the savory pancake, and yakisoba, the beloved noodle dish, monjayaki is truly one-of-a-kind.
The distinctive feature of monjayaki lies in its extraordinary texture and flavor. It’s a sensory combination you won’t find replicated in any other Japanese cuisine.
Let’s take a closer look at monjayaki!

Tokyo’s Monjayaki Street
As mentioned earlier, monjayaki originated in Tsukishima, Tokyo, and Tsukishima is still the center of monjayaki today. The most famous area in Tsukishima is “Monja Street (もんじゃストリート),” which is lined with more than 80 monjayaki restaurants. The street is filled to the brim with monjayaki restaurants.
Incidentally, you can smell the monjayaki from the moment you get off the train at the nearest station platform! When I was a junior high school student, I visited this street on a school trip.
I recommend any of the restaurants, but the following three are especially famous!
Moheji (海鮮もんじゃもへじ)
First, let’s dive into the “Don of Tsukishima Monja” – a spot that’s been charming taste buds for a staggering 150 years.
Run by a fishmonger, this place boasts a soup stock brewed with eight varieties of seafood – a flavorful concentration that’s truly hard to forget.
It is a very popular restaurant, so be prepared to wait in line!
Monja “Kura” (もんじゃ蔵)
Among the “must-visit” monja stops in Tsukishima is “Monja Kura,” a celebrity in its own right. Celebrated on countless Japanese TV shows as a highly recommended spot, its fame reaches far beyond local boundaries.
Once you’re there, the menu unfolds like a tantalizing map of deliciousness, promising a range of delightful dishes.
But here’s a friendly heads-up – its popularity often translates to long lines, so gear up for a wait!
Daruma Tsukishima Honten (月島名物もんじゃ だるま)
If you’re keen on soaking up Tsukishima’s rich history while savoring your monjayaki, set your sights on “Daruma.” Housed in an 80-year-old refurbished building, this restaurant serves nostalgia on a plate amid a retro backdrop.
Again, Daruma’s charm pulls in the crowds, so depending on the day, you might have to wait your turn. But trust us, the taste of its monjayaki makes every moment worth it!
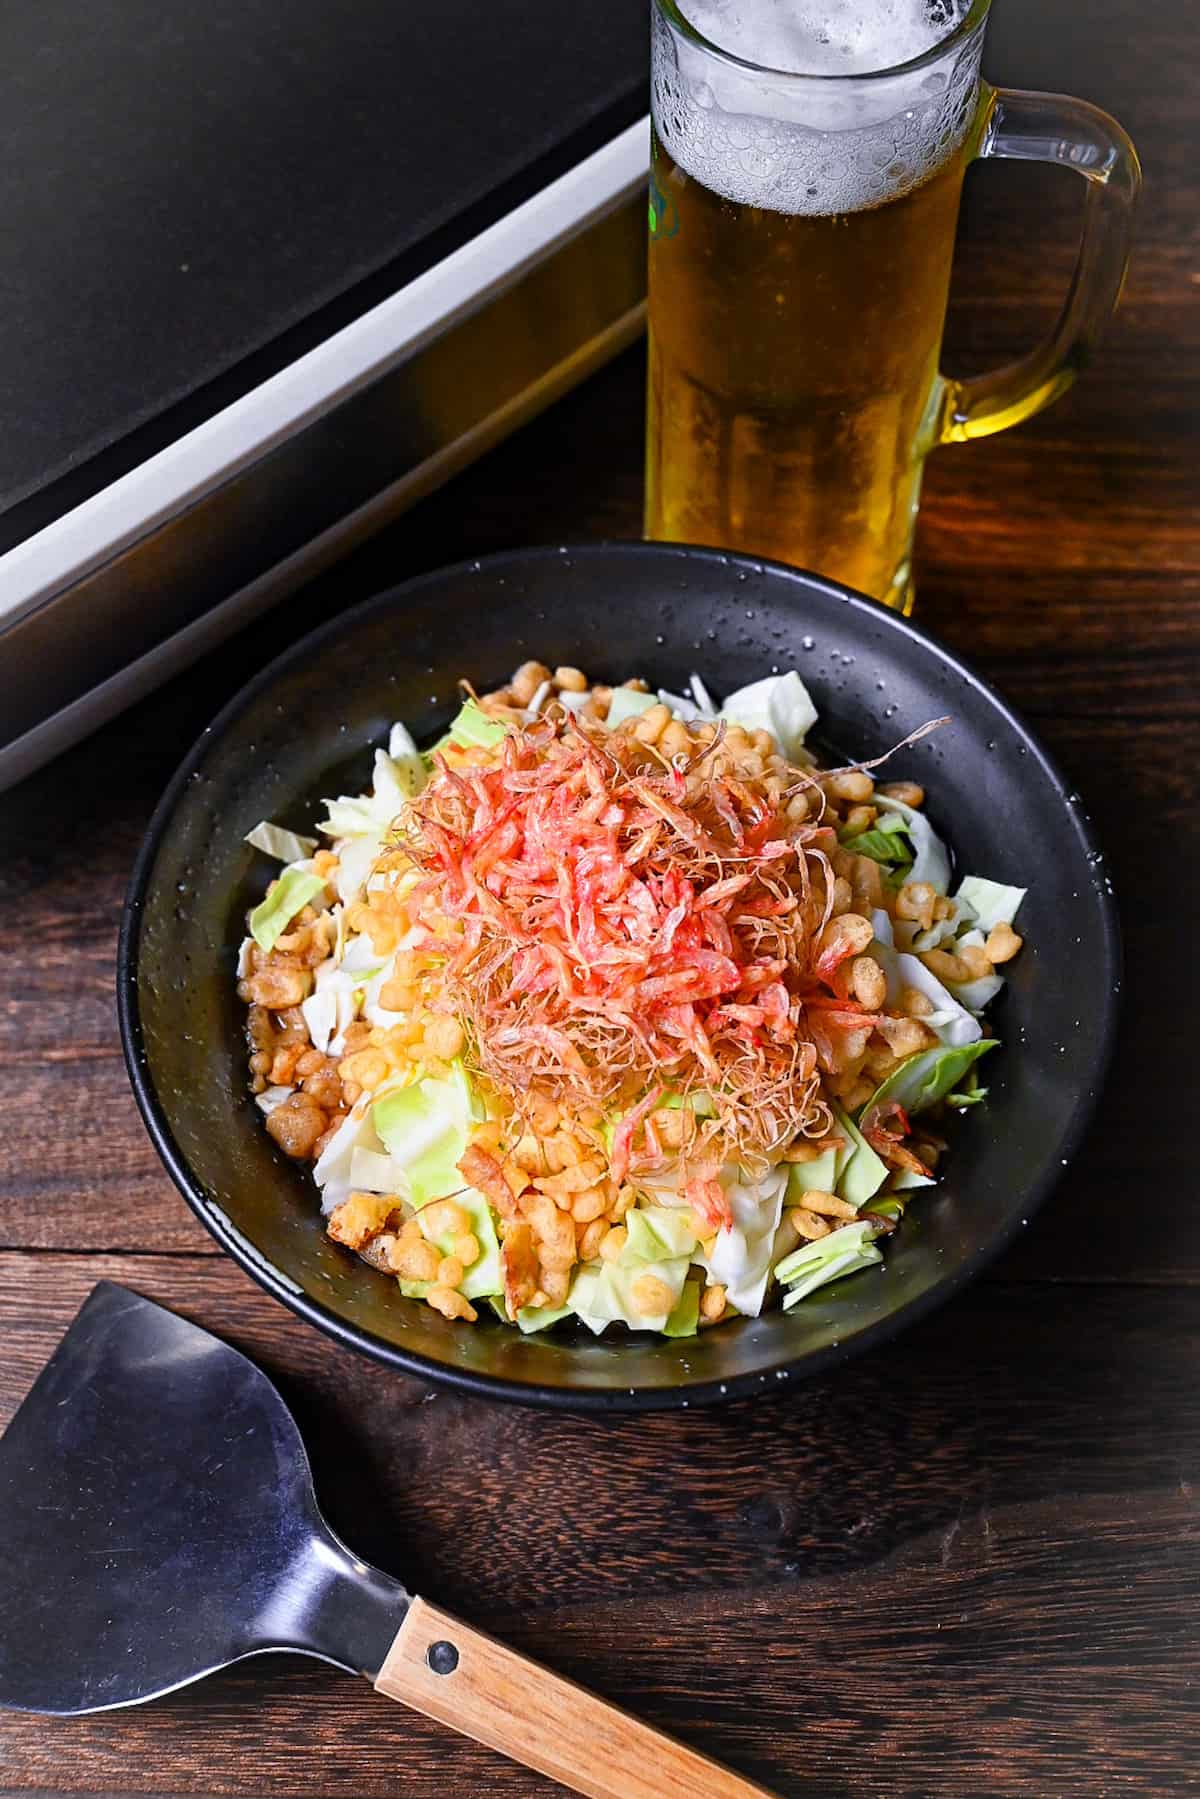
Variations & Toppings Ideas
The beauty of monjayaki doesn’t stop at its unique texture and taste! In fact, one of the best parts of this delightful dish is its customizability. It’s a culinary canvas, waiting for you to add your own flavorful brushstrokes! From the dashi stock that forms its foundation to the ingredients that build its body, right up to the toppings that crown it – each layer offers room for personalization.
So in this section, I’ll give you a sneak peek into some of the most popular ingredients and toppings that can take your monjayaki to the next level.
- Mentaiko (spicy cod roe) – Mentaiko is a classic addition to monjayaki and an item that is always available at any monjayaki restaurant. Of course, if it’s an accessible ingredient where you like, you can easily add it when making it at home.
- Baby star ramen – This is another classic topping. Baby star ramen (ベビースターラーメン) is a seasoned fried noodle-style snack manufactured by Oyatsu Company, Inc. Even though it is just a snack, it is an indispensable ingredient in monjayaki restaurants.
- Cheese – This is another classic topping. Cheese and monjayaki go great together! When I make it at home, I use shredded cheddar or gouda cheese.
- Mochi (rice cake) – Adding small slices of rice cake as an ingredient changes the texture to a chewier one, and allows you to enjoy monjayaki in a different way.
- Shrimp – Monja and seafood go well together, of which shrimp is probably the most well-known. I also recommend squid, scallops, and octopus if you’re a seafood lover like me!
- Pork belly – Pork belly is a typical okonomiyaki ingredient that you can also add to monjayaki. Even as a Japanese person, I couldn’t help but think, “Pork and monja?” but when I actually put it in, it was quite delicious! The meaty flavor and monjayaki go surprisingly well together.
- Sweet corn – In fact, in the early days, monjayaki contained corn. I must admit that monjayaki is not the most attractive looking dish, so adding corn makes it more colorful!
While the world of monjayaki ingredients is as vast as your culinary curiosity, we’re keeping things simple here. In my recipe, I focus on seven standard, yet exciting components.
Though the recipe I share sticks to cheese as the only extra ingredient, remember, your monjayaki plate is a palette for your taste-bud-pleasing creativity. Feel free to experiment, mix things up, and create a monjayaki masterpiece that’s uniquely yours!
Equipment
Now that we’ve whisked through the delightful world of monjayaki, let’s take the next exciting step: preparing it in your very own kitchen.
But before we dive into the cooking process, let’s get acquainted with the useful tools that will help you create restaurant-style monjayaki at home.
Cooking Monjayaki at Home
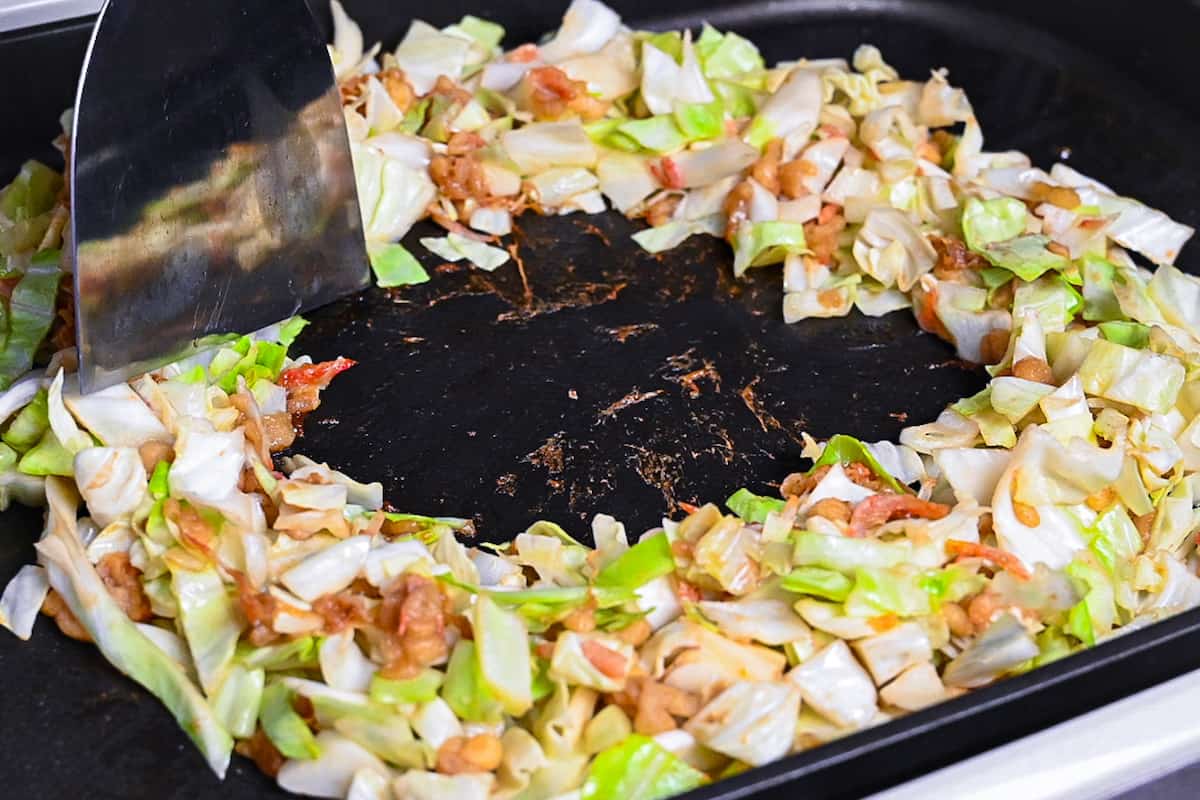
In the world of monjayaki-making, the griddle reigns supreme. While restaurant versions feature large, traditional teppans, it’s not really feasible to have one of these at home. Don’t fret, though. We’ve got the perfect alternative that fits right in your kitchen – the electric griddle!
Besides monjayaki, this versatile gadget is perfect for other dishes like okonomiyaki, yakisoba, and yakiniku. In Japan, a lot of households own one of these.
Spatula (hera/kote)
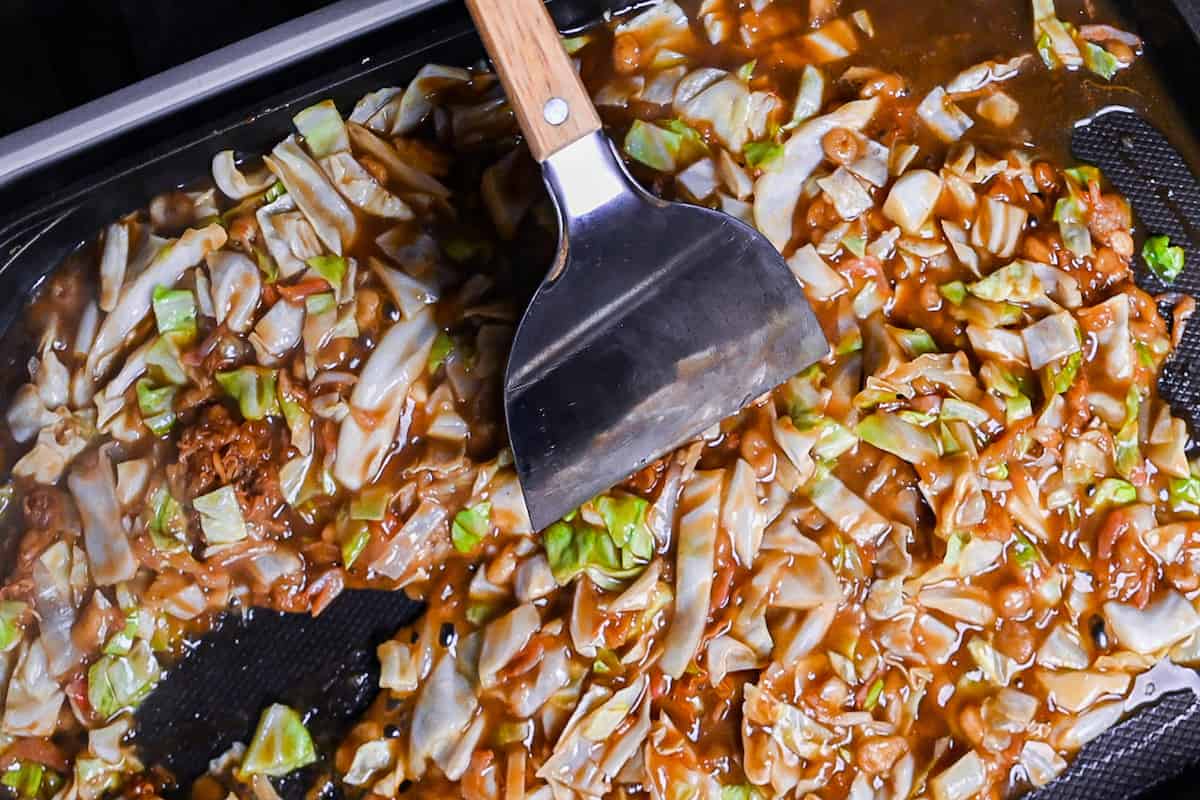
Monjayaki is traditionally savored with a special spatula known as a “hera” or “kote”. It’s not an absolute necessity for home-cooked monjayaki, but if you’re craving that authentic touch, consider adding it to your kitchen tools.
Don’t worry if you can’t get hold of one, though. Your trusty spoon or spatula can easily step in as a perfect substitute.
Since my electric griddle at home has a non-stick coating, I personally use a wooden spoon and silicone spatula to mix and scoop the ingredients without scratching it. Make sure to bear this in mind when deciding whether to purchase a hera/kote.
Can I make monjayaki in a frying pan?
While it’s not recommended, it is possible to use a frying pan instead of a teppan or griddle. The main problem is that frying pans are too small to be able to spread the batter thinly, even a large frying pan isn’t as big as a griddle.
If you don’t have a griddle, then you can use a frying pan to make one portion at a time. This means that if you’re serving more than one person, you might need to have multiple frying pans on the go.
So it’s possible, but not very practical.
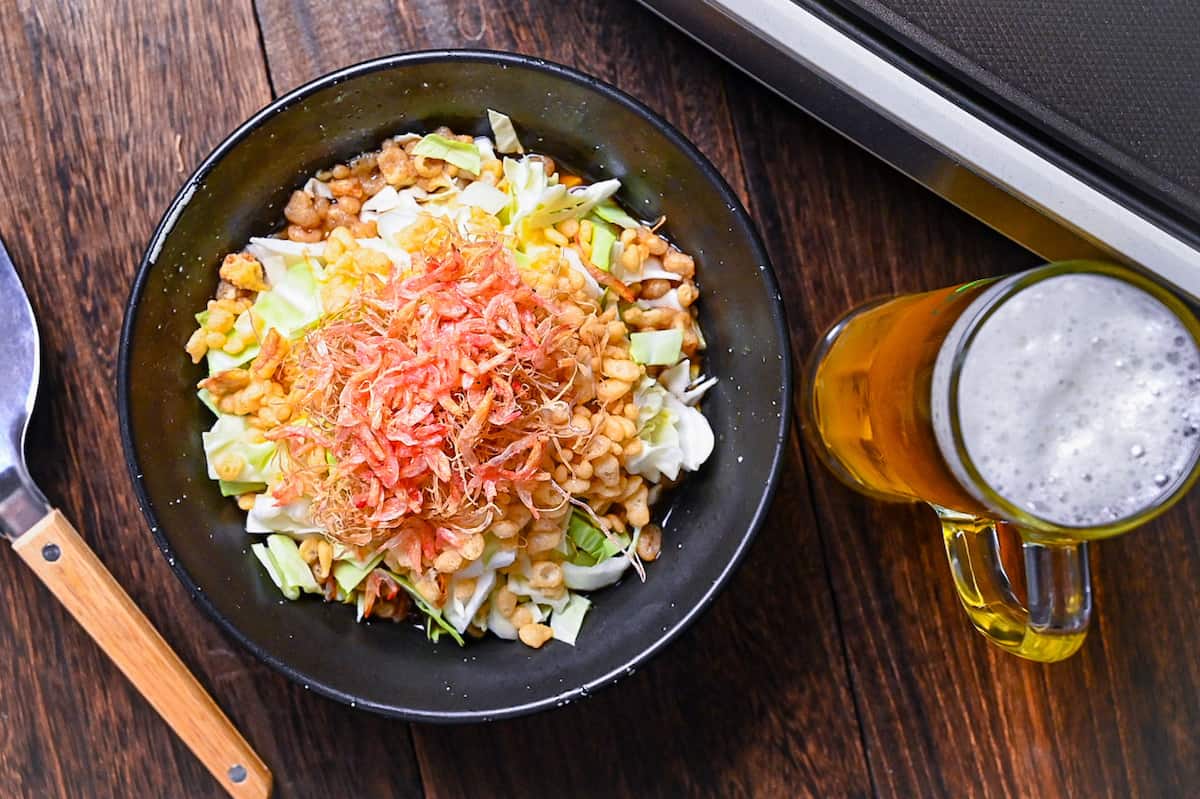
Visual Walkthrough & Tips
Here are my step-by-step instructions for how to make Authentic Monjayaki at home. For ingredient quantities and simplified instructions, scroll down for the Printable Recipe Card below.
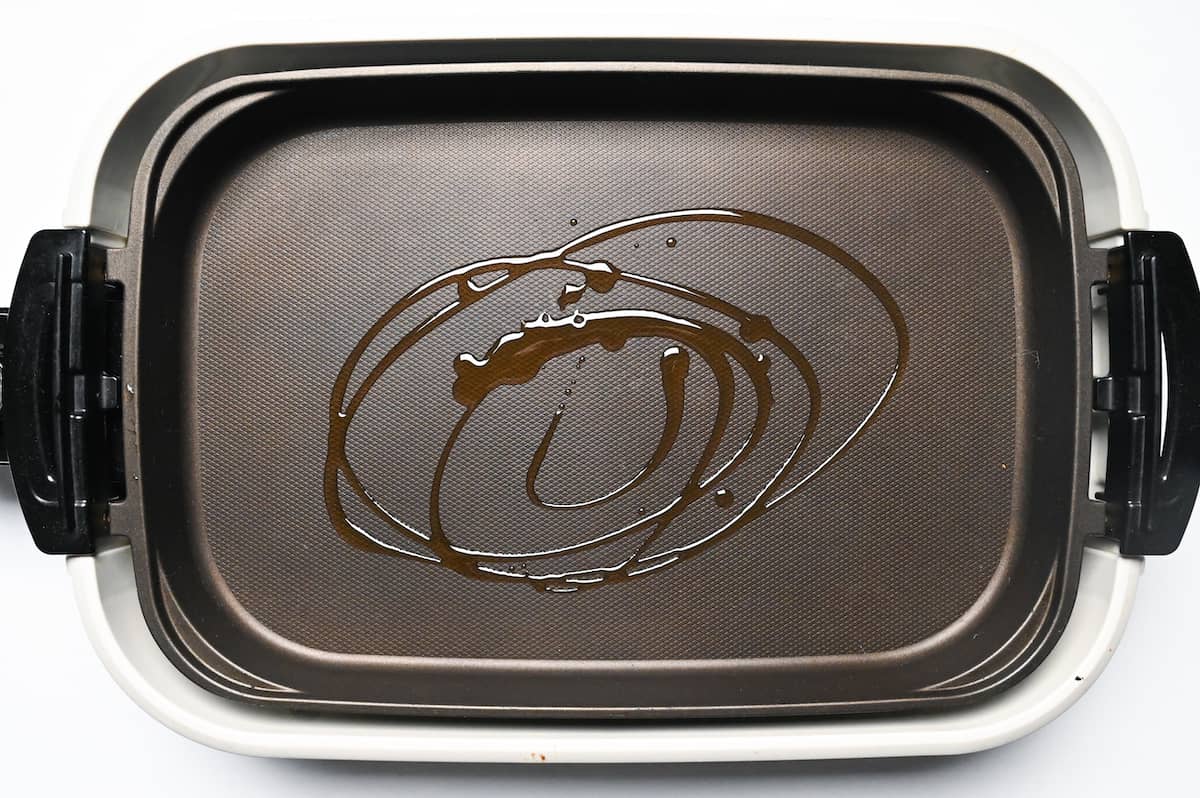
Preheat the griddle on a medium-high setting and add a drizzle of oil. Spread it around evenly. While you’re waiting for it to heat up, prepare the batter and ingredients.
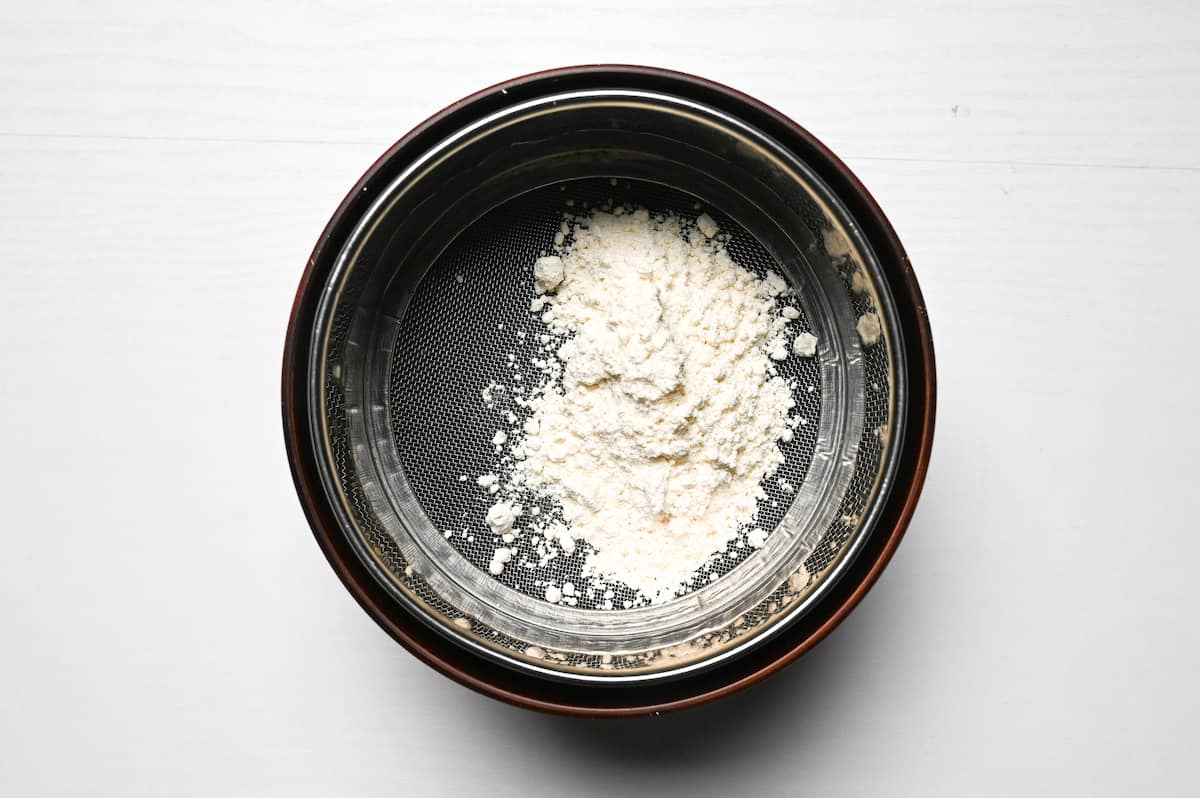
Sift the cake flour into a bowl to prevent lumps of flour in the batter.
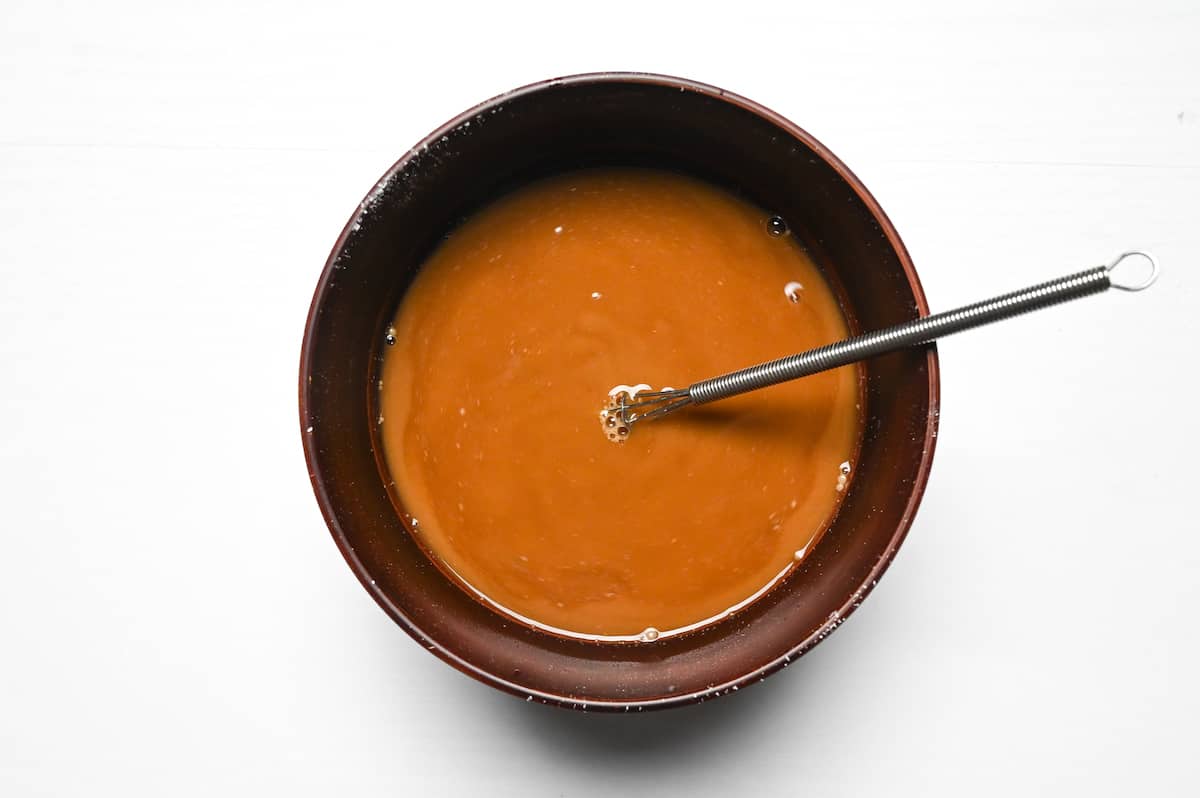
Add dashi, Worcestershire sauce and soy sauce to the flour and mix until smooth. The batter should be thin like water.
Add the dry ingredients such as dried squid, dried shrimp, and tempura bits. These will add flavor to the batter, and the tempura bits will absorb some of the batter which will make it easier to pour.
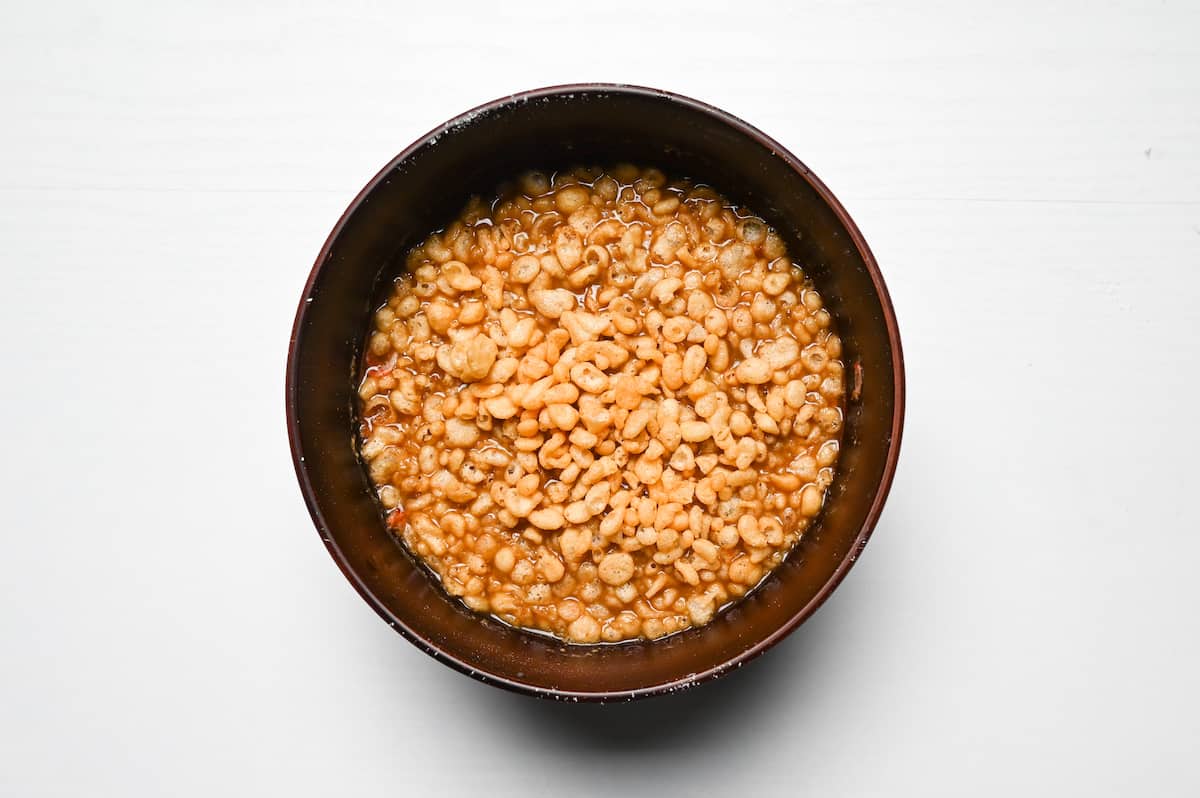
If making multiple batches, keep the ingredients separate and mix right before cooking (this is to avoid the tempura bits from becoming overly soggy).
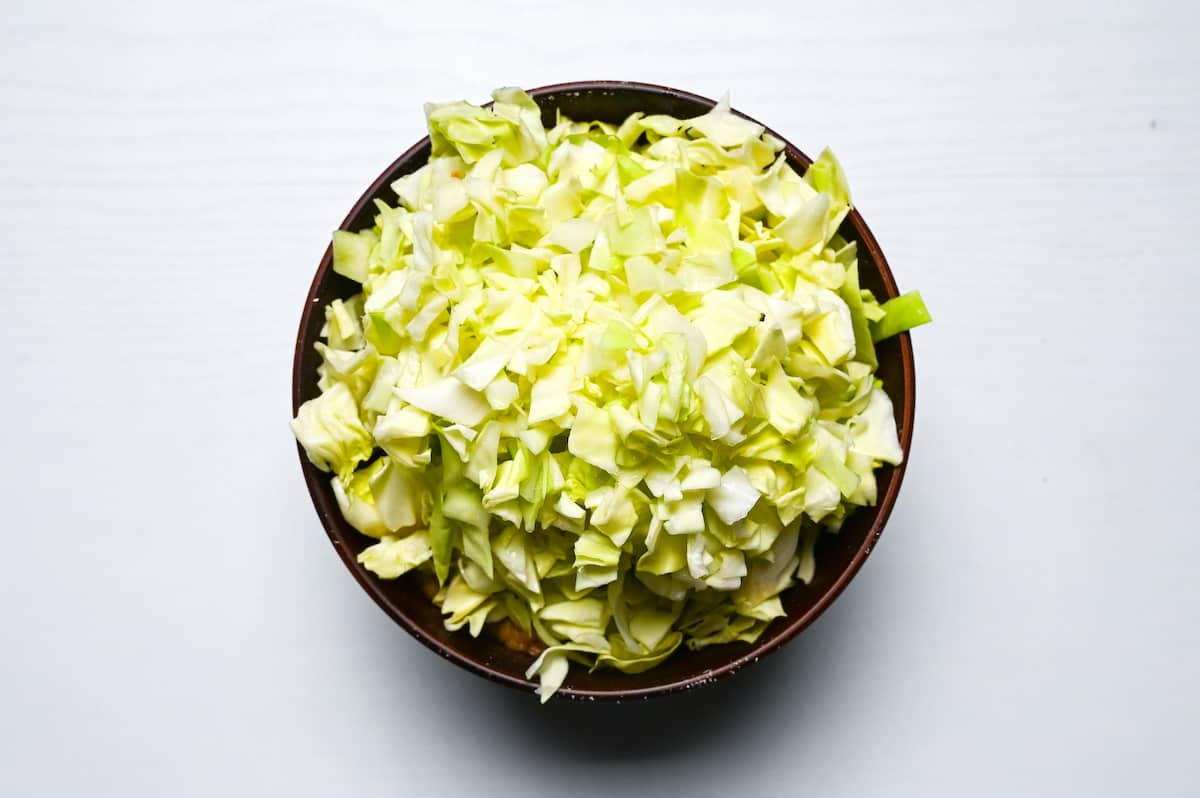
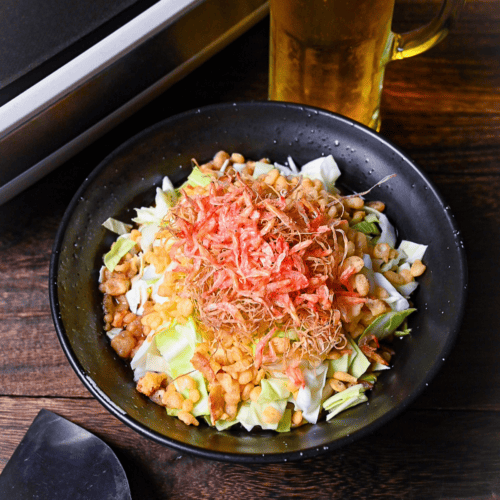
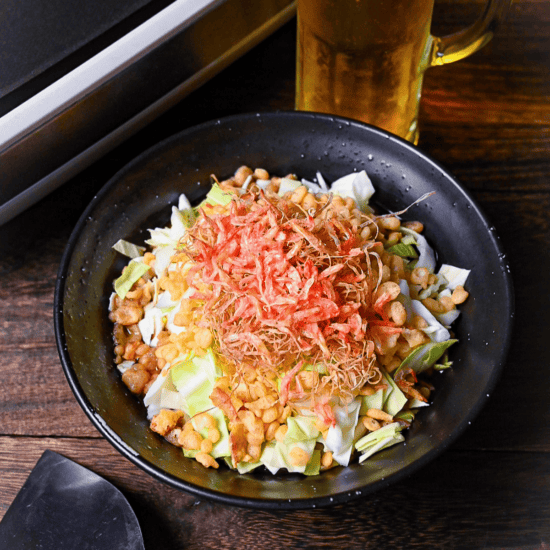
Roughly cut the cabbage into small pieces and place it in the bowl so that the underneath is touching the batter, no need to mix.
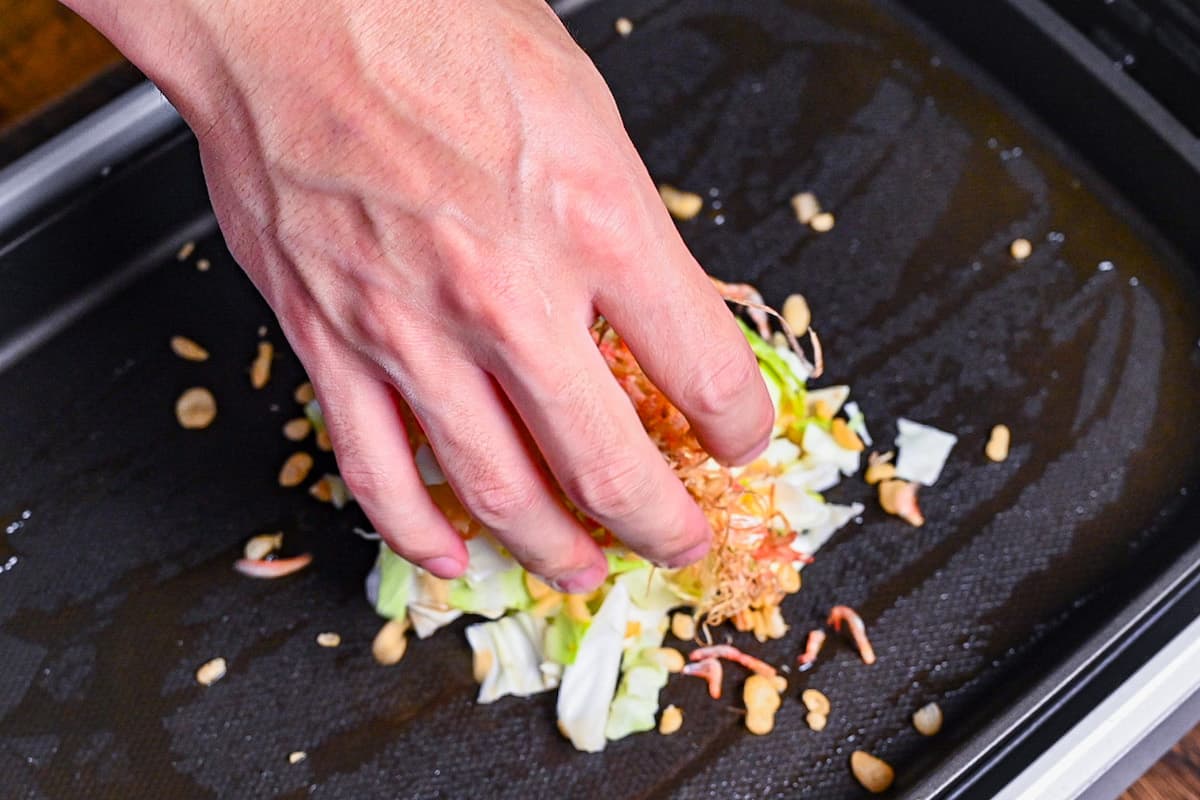
Once the griddle is hot, add the cabbage and a small amount of batter. Mix well and heat until slightly softened.
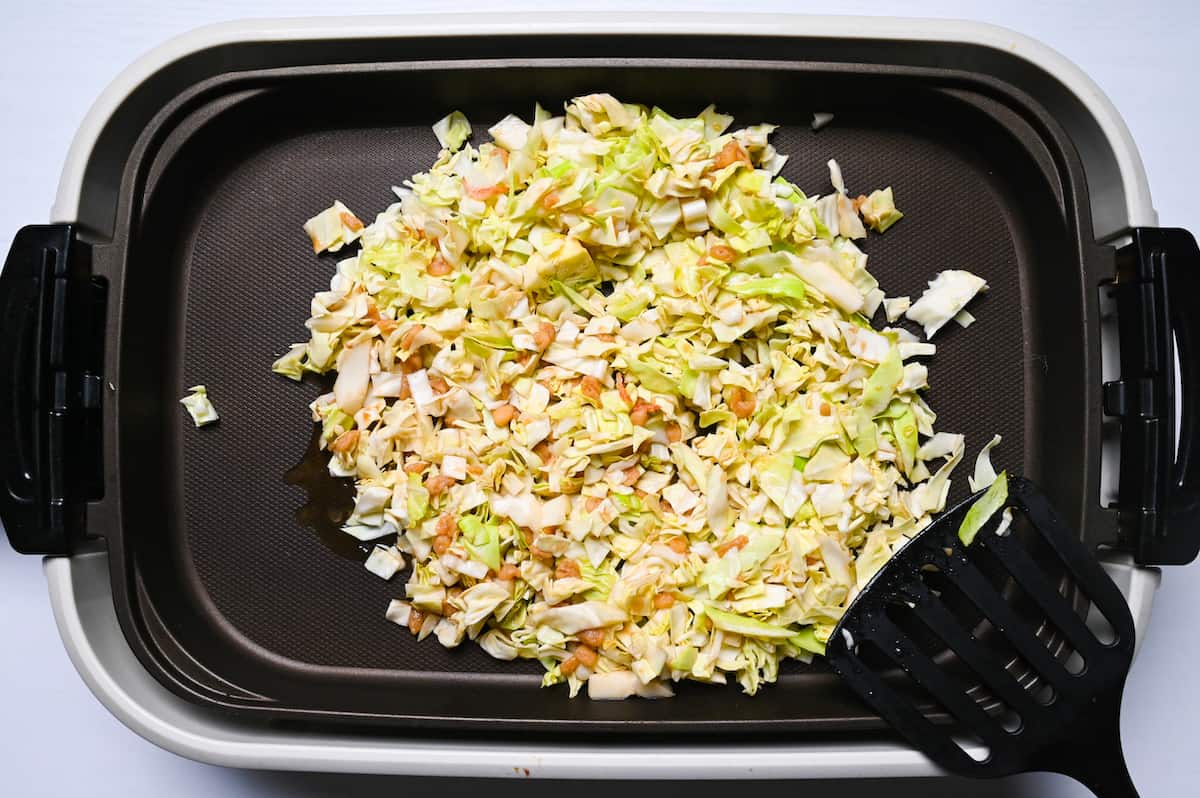
Tip: If using fresh seafood or meat, cook it through on the griddle first and then add the cabbage.
Make a well in the center by pushing the cabbage to the edges to form a ring shape. Try and make the well big and the edges tall so that the batter doesn’t leak out when you pour it in.
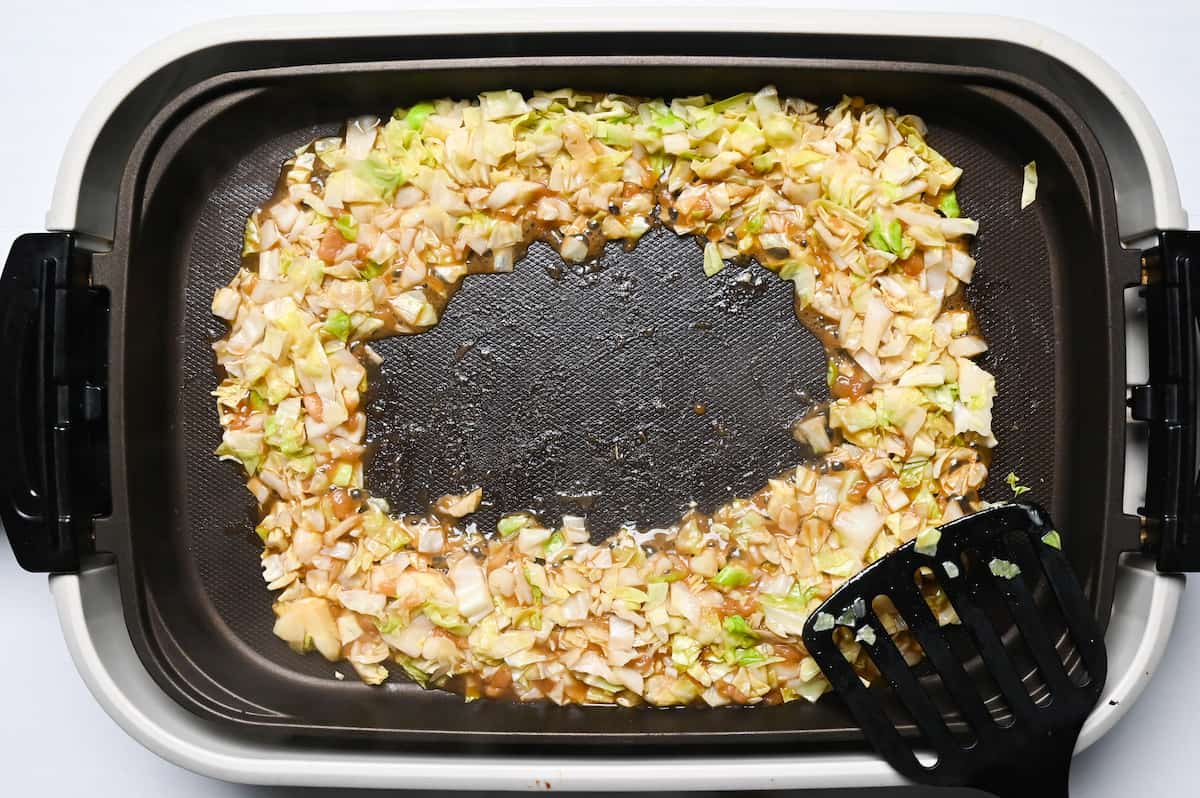
Make sure there aren’t any gaps in your cabbage wall, otherwise the batter will leak out!
Pour the batter into the well one third at a time. If it seems like it’s going to overflow, then make the well bigger and the cabbage wall taller.
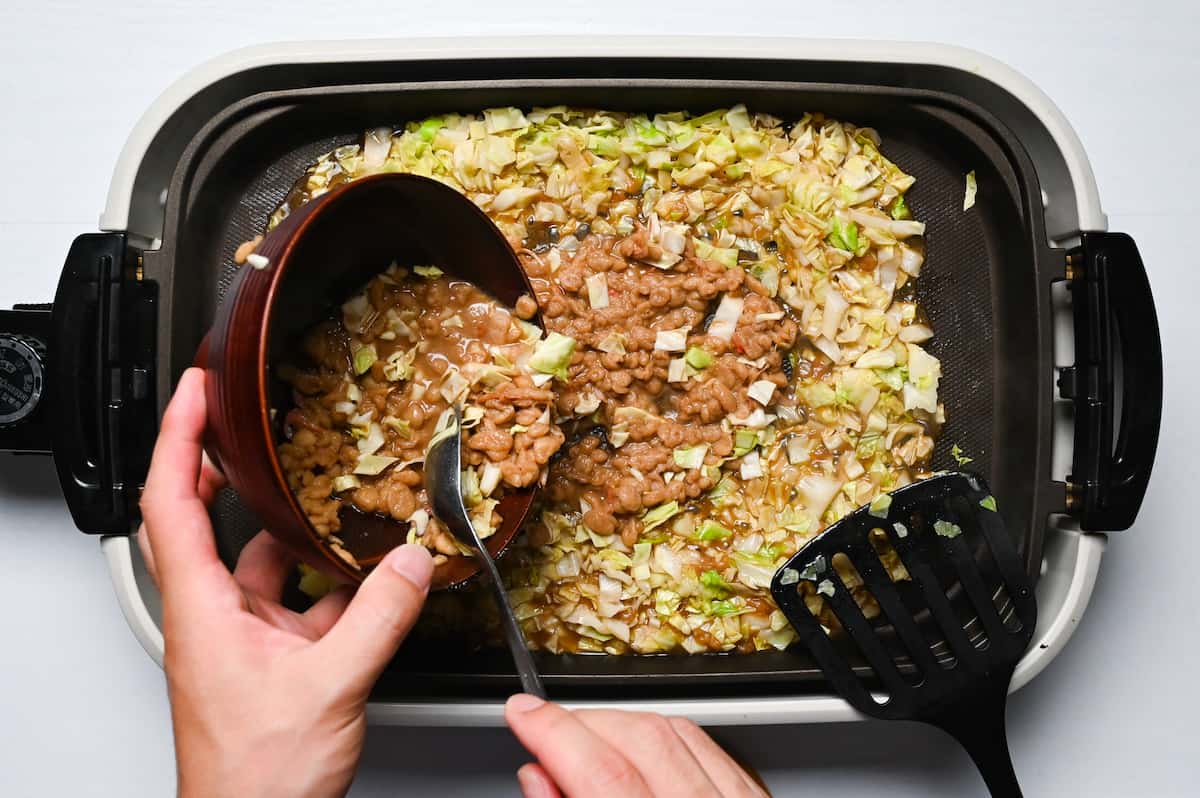
Allow the batter to thicken a little before mixing everything together.
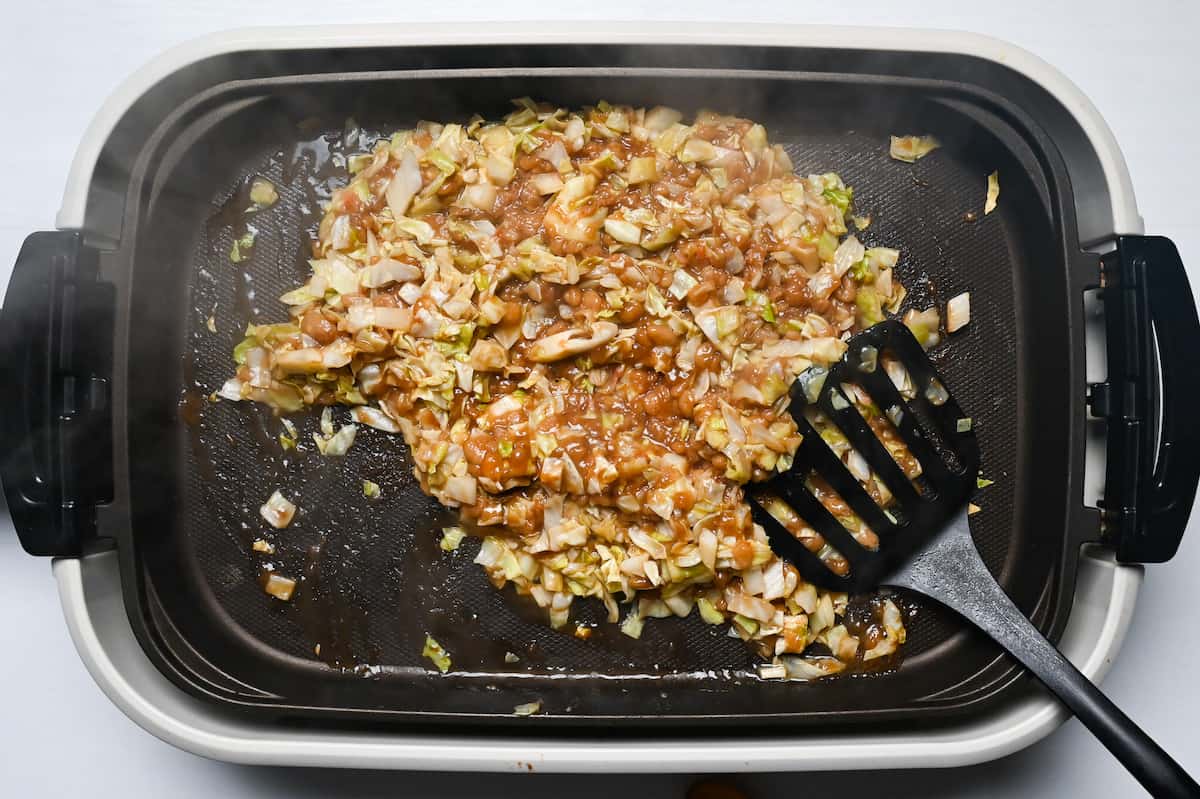
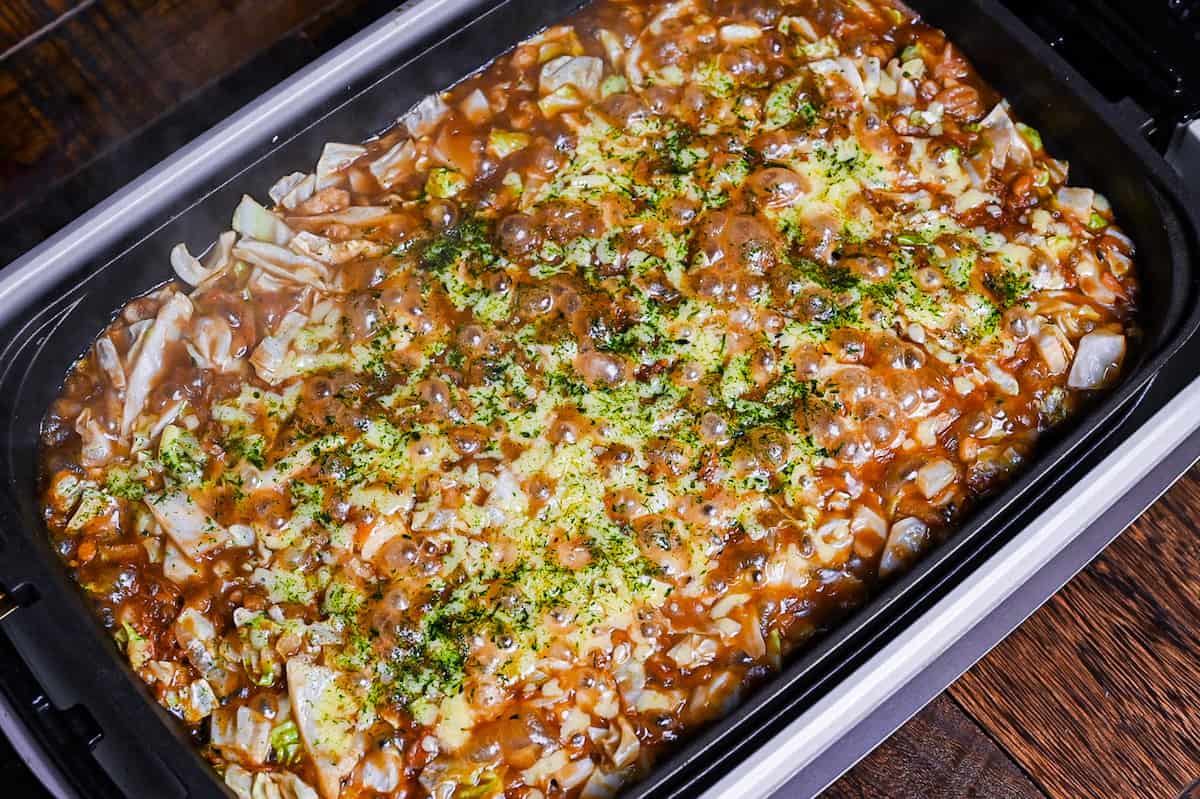
Spread the monjayaki batter into one thin layer.
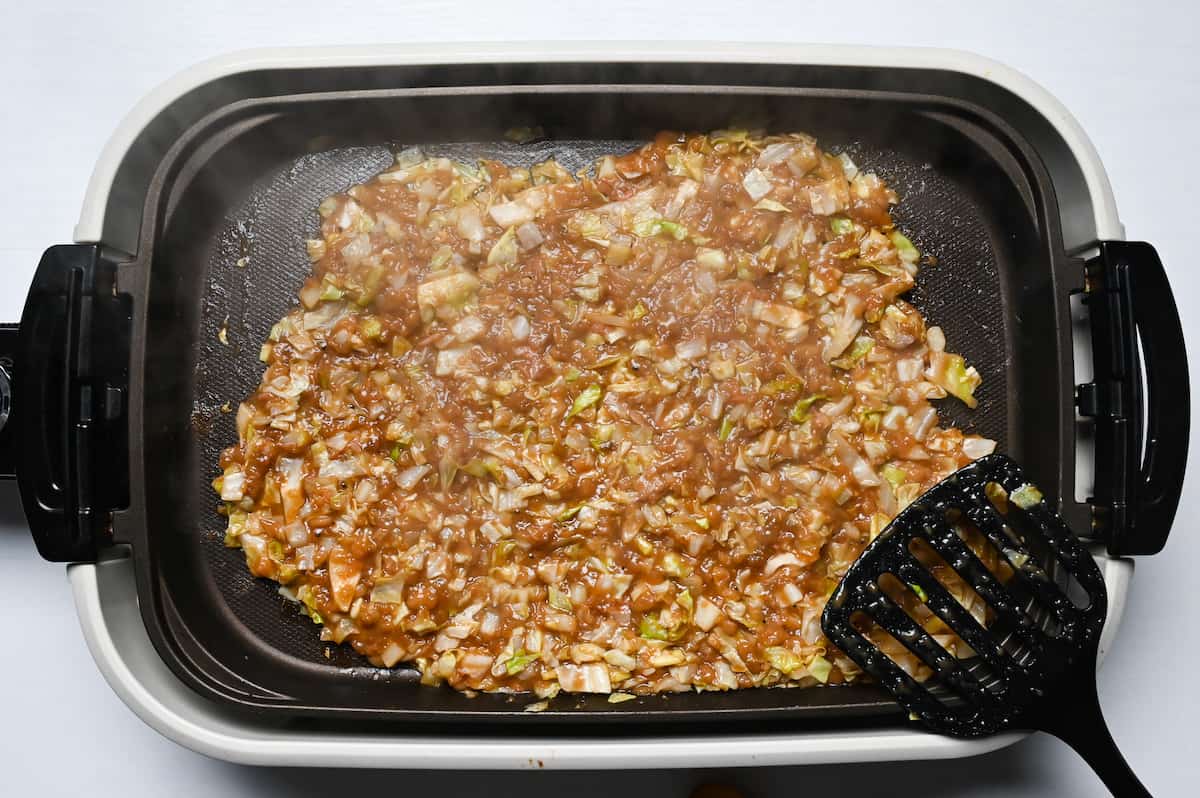
Sprinkle your choice of toppings over the monjayaki. I used shredded cheese, you can also add mochi (cut into small cubes), aonori, etc at this point.
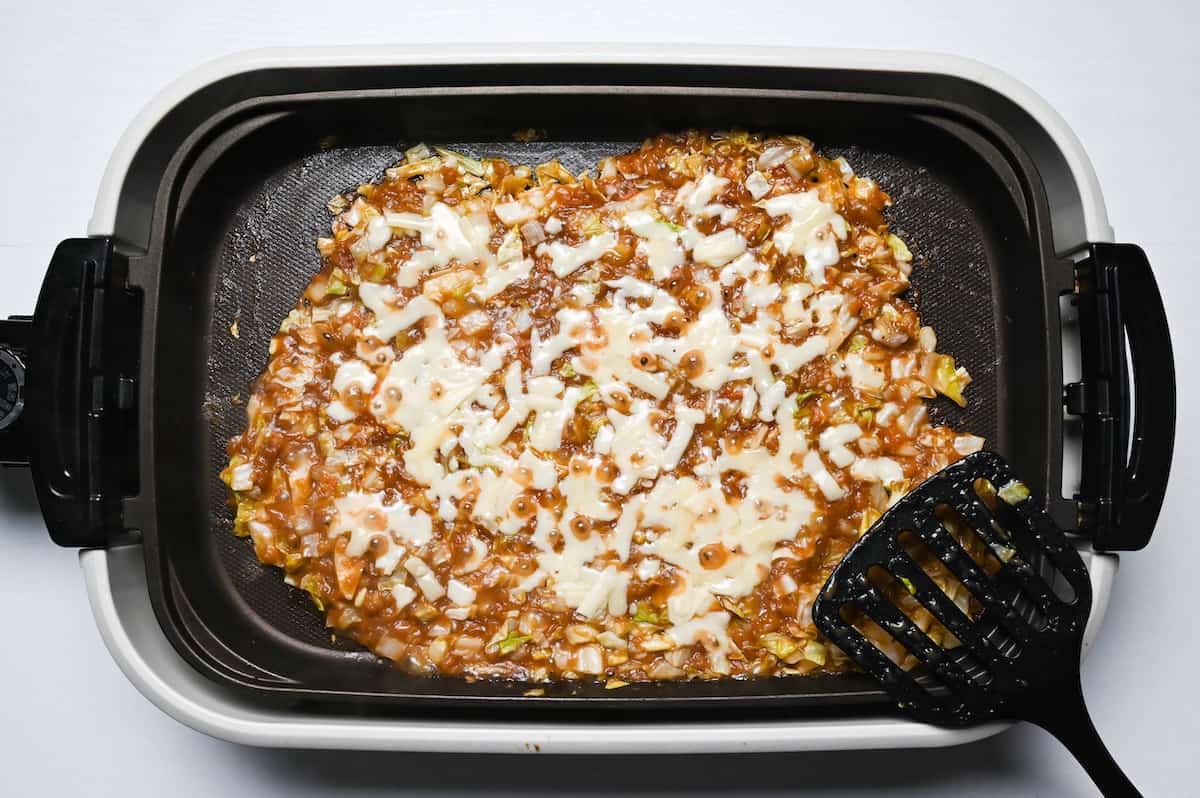
Cook until the underneath forms a thin crust.
Give each person a spoon (or a special monja spatula called hera/kote) and enjoy directly from the griddle. Alternatively, you can break it up and divide it onto serving plates if you prefer.
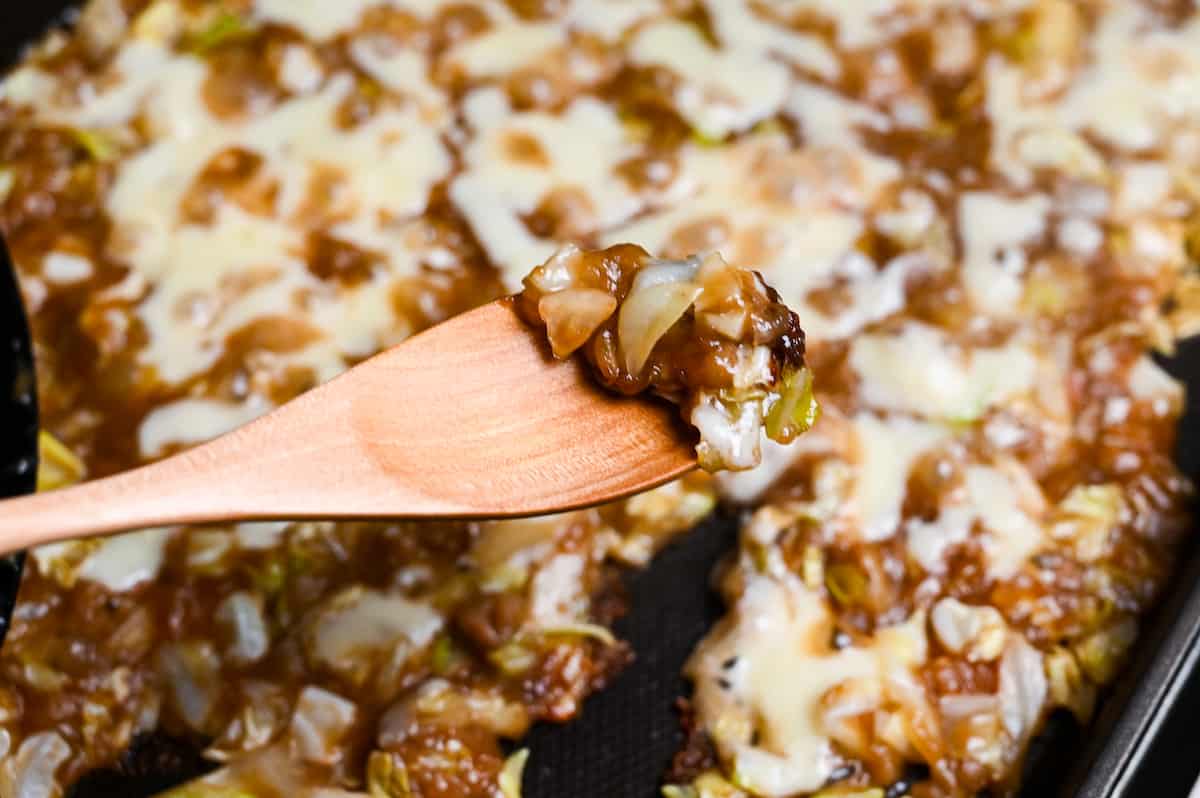
Enjoy!
Jump to Full Recipe MeasurementsTips & Tricks
- Cook raw meat or seafood first – to make sure it’s cooked through, lightly season it and cook it on the griddle before adding the cabbage. Once its cooked, you can add the cabbage and mix them together.
- When making the well, make sure the cabbage creates a stable wall around the well (with no gaps!) so that the batter doesn’t leak out around the edges.
- Add the batter one-quarter or one-third at a time to prevent overflowing.
- Make sure not to add too many ingredients or batter for your griddle, you need to be able to spread everything out and make a thin layer. If you’re making a large amount, split the ingredients into batches and mix together right before cooking.
- Once the batter is spread out, avoid mixing too much otherwise it won’t have a chance to form that crispy layer at the bottom.
- Add ingredients that might burn easily (like cheese or mochi) near the end to melt on the top.
FAQ
Monjayaki was born in Tsukishima, an artificial island created by reclaiming the mouth of the Sumida River in Tokyo. It was first sold in front of a candy shop in Tsukishima at the end of the Edo period (1600-1868) as an affordable snack for kids.
At that time, supplies were scarce and paper and calligraphy tools were hard to come by, so children were taught and played with by writing letters on a griddle using thin batter made of flour dissolved in water, hence the name “mojiyaki (文字焼き),” which is said to have changed to “monjayaki (もんじゃ焼き)” from there.
In the Showa period (1926-1989), monjayaki evolved to include a wide variety of ingredients, but at the same time, the number of small candy shops declined dramatically. So, some locals rose up to preserve their beloved childhood memory and established restaurants specializing in monjayaki, and from there, the cuisine was transformed into something that adults could enjoy as well.
Today, Tsukishima is known as a town of monja, and the Tsukishima Nishinaka-dori Shopping Street (commonly known as “Monja Street”) is lined with more than 80 monjayaki restaurants, attracting many tourists.
The reason I said that monjayaki is a unique dish that resembles nothing else is because of its texture and taste. Despite its humble translation as “pan-fried batter,” this dish is a fascinating spectacle of contrasts.
Monjayaki batter is intriguingly thin and soft, especially when compared to thick and firm texture of okonomiyaki. As it cooks, the batter splits into two distinct textures – the top turns stretchy and gooey, much like a sheet of pizza toppings without the crust. Meanwhile, the bottom crisps up beautifully on the hot griddle, providing a subtle yet satisfying crunch.
Taste-wise, monjayaki often sports a strong Worcestershire undertone, but the final flavor profile depends on the specific ingredients used. It’s a flavor journey that truly needs to be experienced first-hand, since it can’t really be compared to anything else.
While monjayaki and okonomiyaki might seem like distant culinary cousins due to their shared connection with the teppan, or griddle, they are indeed, as distinct as dishes can be. Their differences extend beyond their names, diving deep into their tastes, textures, and even histories.
In English, okonomiyaki may be considered a “Japanese savory pancake” – think fluffy, viscous batter that gives rise to a hearty, satisfying dish. Monjayaki, on the other hand, could be described as a “Japanese teppan-grilled batter.” It takes a batter as light and thin as water, transforming it into a uniquely delightful dish right on the griddle.
Yes, a lot of teppanyaki restaurants might offer both, but don’t be mistaken. Monjayaki and okonomiyaki are distinct entities, each bearing its own unique tale, taste, and texture. They’re not just meals; they’re experiences – waiting for you to discover and enjoy!
It is difficult to describe the taste in words because it is a one-of-a-kind dish in Japan, but the base flavor is Worcestershire sauce, so the taste of Worcestershire sauce is strongly present.
I hope you enjoy this Monjayaki recipe! If you try it out, I’d really appreciate it if you could spare a moment to let me know what you thought by giving a review and star rating in the comments below. It’s also helpful to share any adjustments you made to the recipe with our other readers. Thank you!
More Japanese Street Food
- Japanese Fried Octopus Balls (Takoyaki)
- Authentic Yakisoba (Japanese Stir-fried Noodles)
- Authentic Chicken Karaage (Crispy Japanese Fried Chicken)
- Chicken Tsukune (Japanese Glazed Meatballs)
Want more inspiration? Explore my Street Food Roundup Post for a carefully selected collection of tasty recipe ideas to spark your next meal!
Monjayaki (Japanese Teppan Fried Batter)
Equipment
- Electric Griddle
Ingredients
- 1 tsp cooking oil
- 2 ½ tbsp cake flour
- 250 ml dashi stock
- 2 ½ tbsp Worcestershire sauce
- ½ tbsp Japanese soy sauce (koikuchi shoyu)
- 4 tbsp tempura flakes (tenkasu)
- 3 tbsp shredded dried squid (kiri ika)
- 1 tbsp dried baby shrimp (hoshi ebi)
- 300 g green cabbage roughly chopped into small pieces
- 30 g preferred shredded melting cheese cheddar or gouda
- aonori (dried green seaweed powder)
My recommended brands of ingredients and seasonings can be found in my Japanese pantry guide.
Can’t find certain Japanese ingredients? See my substitution guide here.
Instructions
- Preheat the griddle on medium-high, add 1 tsp cooking oil and spread it around evenly. While you're waiting for it to heat up, prepare the ingredients.

- Sift 2 ½ tbsp cake flour into a bowl.

- Add 250 ml dashi stock, 2 ½ tbsp Worcestershire sauce and ½ tbsp Japanese soy sauce (koikuchi shoyu). Whisk until smooth.

- Add 3 tbsp shredded dried squid (kiri ika), 1 tbsp dried baby shrimp (hoshi ebi) and 4 tbsp tempura flakes (tenkasu), and mix.

- Finely chop 300 g green cabbage and place it in the bowl on top of the batter mixture (do not mix).

- Once hot, place the cabbage on the griddle with a small amount of the batter. Mix and fry until it's slightly softened.

- Make a well in the center, creating a wall of cabbage. (Make sure there are no gaps.)

- Pour the batter into the well one third at a time. If it seems like it's going to overflow, mix the batter with the cabbage and remake the well. Repeat until all of the batter is used.

- Let the batter thicken slightly before mixing everything together.

- Spread the batter into a thin layer.

- Top with 30 g preferred shredded melting cheese, aonori (dried green seaweed powder) and your other chosen toppings. Continue to cook until the underneath forms a thin crust. Do not mix after this point.

- Scoop up and eat straight from the griddle, or divide onto plates.

- Enjoy!
Notes
- If using raw meat or seafood, cook them on the griddle first before adding the cabbage.
- If doubling or tripling the recipe, make it in batches. Don’t overfill the griddle as monjayaki needs to be spread into a thin layer.
- Best eaten straight away. If storing, refrigerate and consume within 24 hours. Reheat in a frying pan to revive the texture.


Leave a rating and a comment