Disclaimer: This post may contain Amazon affiliate links. Sudachi earns a small percentage from qualifying purchases at no extra cost to you. See disclaimer for more info.
What is Kimchi Nabe?
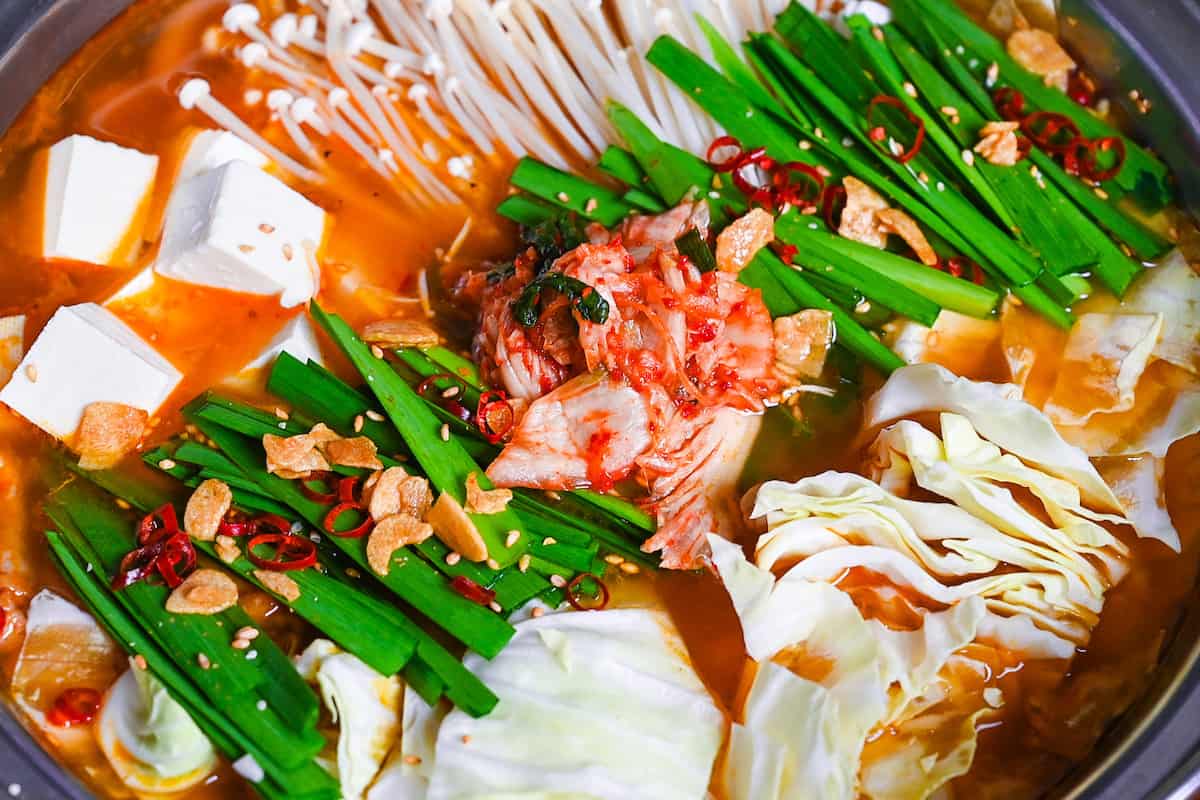
“Nabe” is Japanese for hotpot, so kimchi nabe simply refers to a hotpot dish made with kimchi, a popular Korean ingredient loved by many Japanese people.
Korea has this original dish known as kimchi jjigae, but it’s important to note the slight differences. Essentially, kimchi jjigae has been adapted to suit Japanese palates (for example, less spicy) to create kimchi nabe.
While the primary distinctions are the flavor adjustments to fit Japanese preferences, another notable difference is that “jjigae” is typically served in a small pot for one person, whereas “kimchi nabe” is frequently prepared in a large pot and shared, like other Japanese hotpot dishes. Japanese kimchi nabe also tends to contain more vegetables such as mushrooms and cabbage.
Most Japanese homes make kimchi nabe using store-bought kimchi nabe stock. However, in this recipe, I’ll be taking inspiration from my buta kimchi and motsu nabe recipes to make kimchi nabe from scratch.

How I Developed This Recipe
In Japan, it’s common for people to use store-bought soups to prepare Kimchi Nabe, and finding someone who makes it from scratch at home can be rare.
Motivated by this, I set out to create my own Kimchi Nabe recipe by combining elements from my previous recipes for Buta Kimuchi and Motsu Nabe. The fusion of these two dishes into a single recipe resulted in a Kimchi Nabe that exceeded my expectations in terms of flavor.
The depth and richness of the broth, combined with the spicy, tangy taste of kimchi, create a hearty and warming dish perfect for cold winter days!
Ingredients & Substitution Ideas
- Pork belly block – Usually, thin slices of pork belly are used, but I prefer to use pork with more texture, so I cut a block of pork belly into slightly thicker slices.
- Cake flour – To dredge the pork and help create a delicious crispy surface. All-purpose flour is also works fine.
- Sesame oil – It is used to add depth and a subtle nutty flavor. I recommend Kadoya’s sesame oil.
- Garlic cloves – Since the garlic will be finely diced and used to flavor the oil, I recommend fresh garlic cloves for the best flavor in this dish.
- Fresh ginger – As with the garlic cloves, the ginger will add flavor to the oil and fresh works best for this purpose.
- Yellow onion – If white onions are more readily available in your area, white or red onions are also fine.
- Oyster sauce– The addition of oyster sauce adds depth and umami.
- Kimchi – Not too sour, sweet kimchi goes well with kimchi nabe. Choose a spice level according to your preference.
- Enoki mushroom – You may substitute other mushrooms if convenient.
- Tofu – You can use either silken or firm tofu, but I prefer the firm tofu, which is less prone to breaking.
- Green cabbage – I used green cabbage, but you can use another cabbage, like Napa cabbage if you prefer.
- Dashi broth – This broth is the base of the miso soup. Choose from dashi made with dried bonito flakes and/or kelp, or vegetarian dashi made with kelp and shiitake mushrooms. You could also use instant dashi or dashi bags if you like.
- Chinese-style chicken bouillon powder – I use it as a base for the soup. I use Youki’s additive-free Garasupu all the time.
- Soy sauce – If you are looking for something reasonably priced, you can’t go wrong with Kikkoman soy sauce. I also recommend their organic marudaizu soy sauce, characterized by its mild flavor and depth.
- Miso paste – Any miso paste you have will do, but for this recipe, an awase miso paste (yellow miso) will work best.
- Mirin – When purchasing mirin, it is recommended to look for “hon mirin” (本みりん) for the best flavor. I recommend Hinode Hon Mirin as a high-quality and affordable option. See my 20 Most Useful Condiments and Seasonings for Japanese Cooking post for more recommendations.
- Sake – If you do not have it, substitute white wine or dry sherry.
- Garlic chives – An important ingredient that goes extremely well with kimchi. However, if you cannot find it in your area, substitute regular chives or green onions.
Curious about the exact brands and products that bring my recipes to life? Discover the brands and ingredients behind my recipes at the Sudachi Amazon Storefront. Explore my handpicked pantry essentials and find your next kitchen favorites!
Jump to Full Recipe Measurements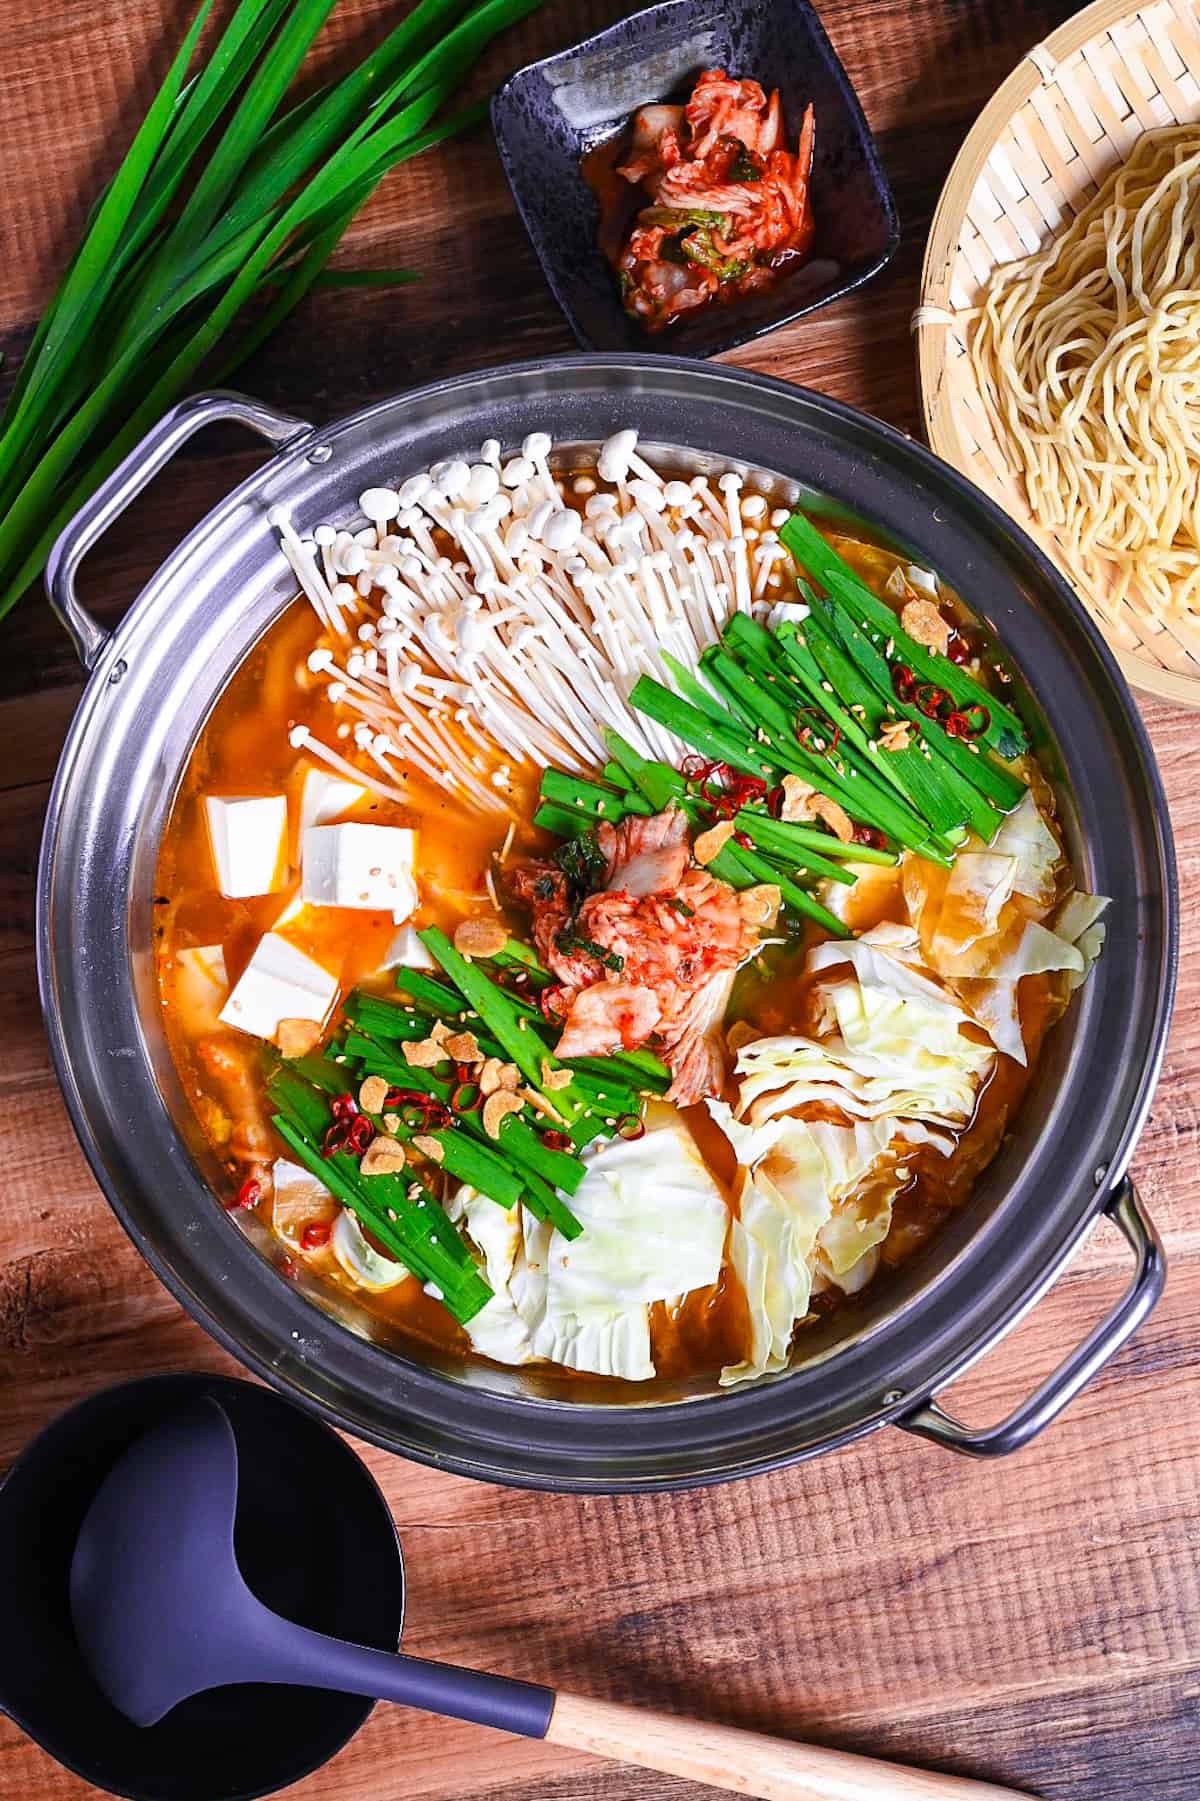
Visual Walkthrough & Tips
Here are my step-by-step instructions for how to make Japanese-style Kimchi Hot Pot at home. For ingredient quantities and simplified instructions, scroll down for the Printable Recipe Card below.
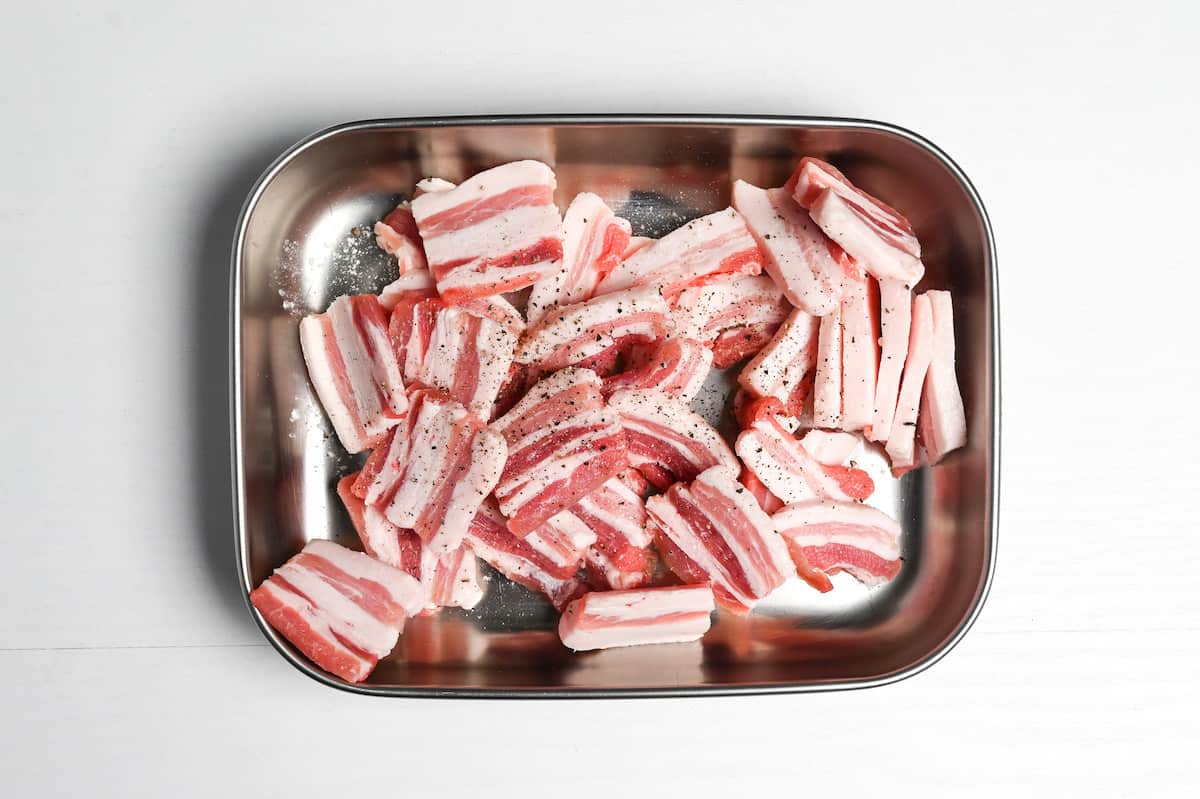
Cut a pork belly block into thick slices (according to your preference) and season with a sprinkle of salt and pepper on both sides.
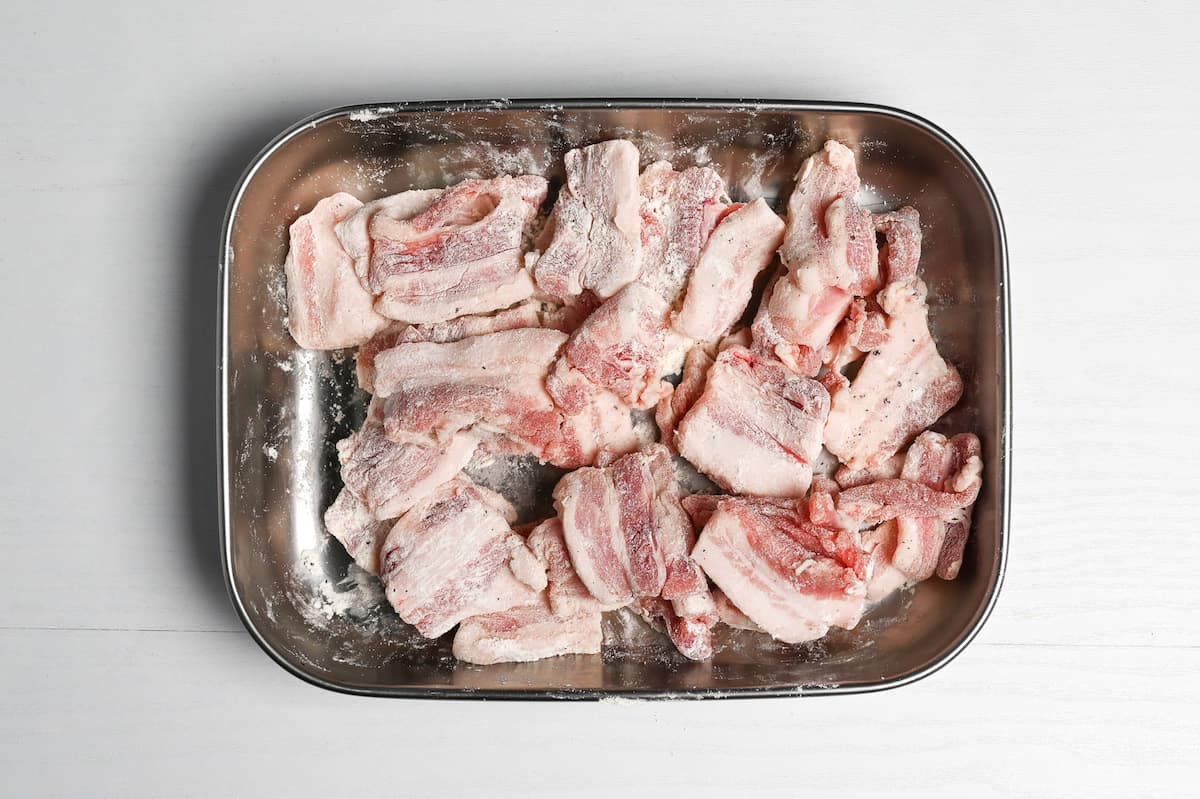
Coat with a thin layer of all purpose flour. This will help the pork crisp up better and add more flavor to the dish.
Heat a wok on medium-low and drizzle in some sesame oil. Add finely diced garlic and ginger and fry until fragrant. This step flavors the oil which will carry to the other ingredients. Be careful not to burn the garlic and ginger, lower the heat if it starts to brown too quickly.
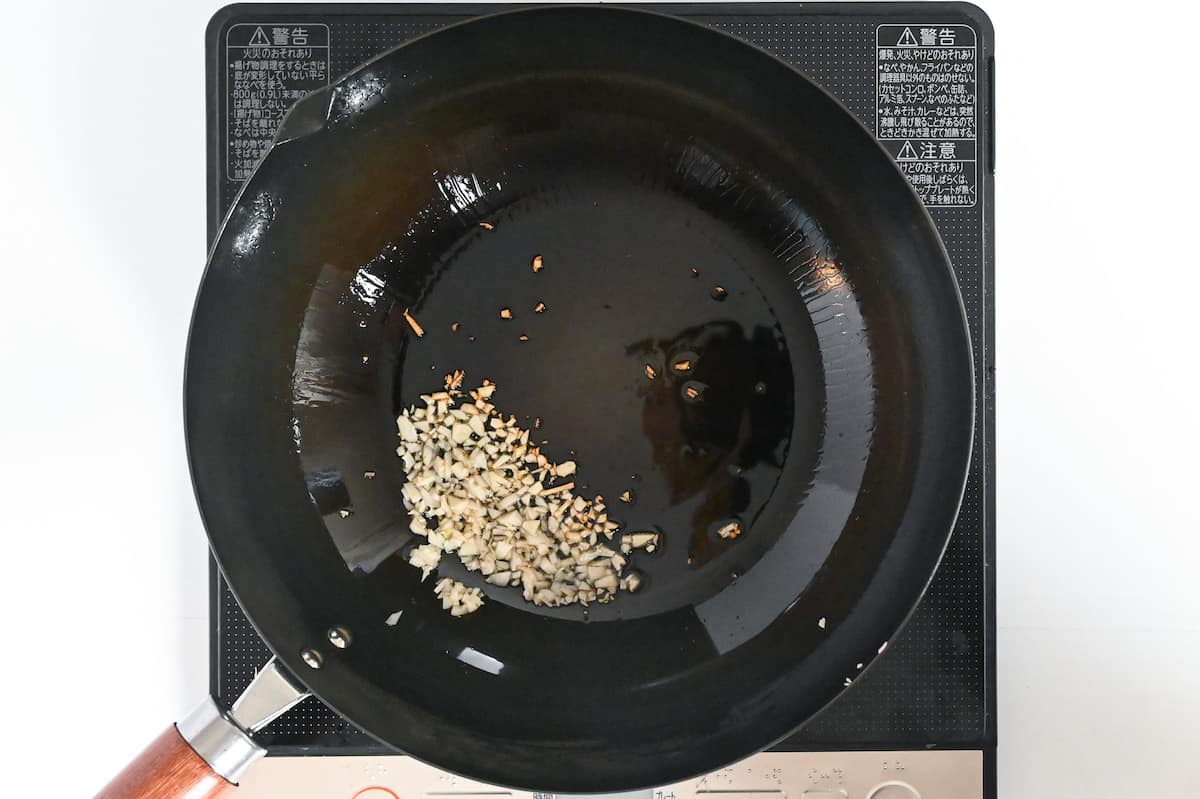
Add the pork and stir fry until both sides are lightly browned and the fat has turned golden and crispy.
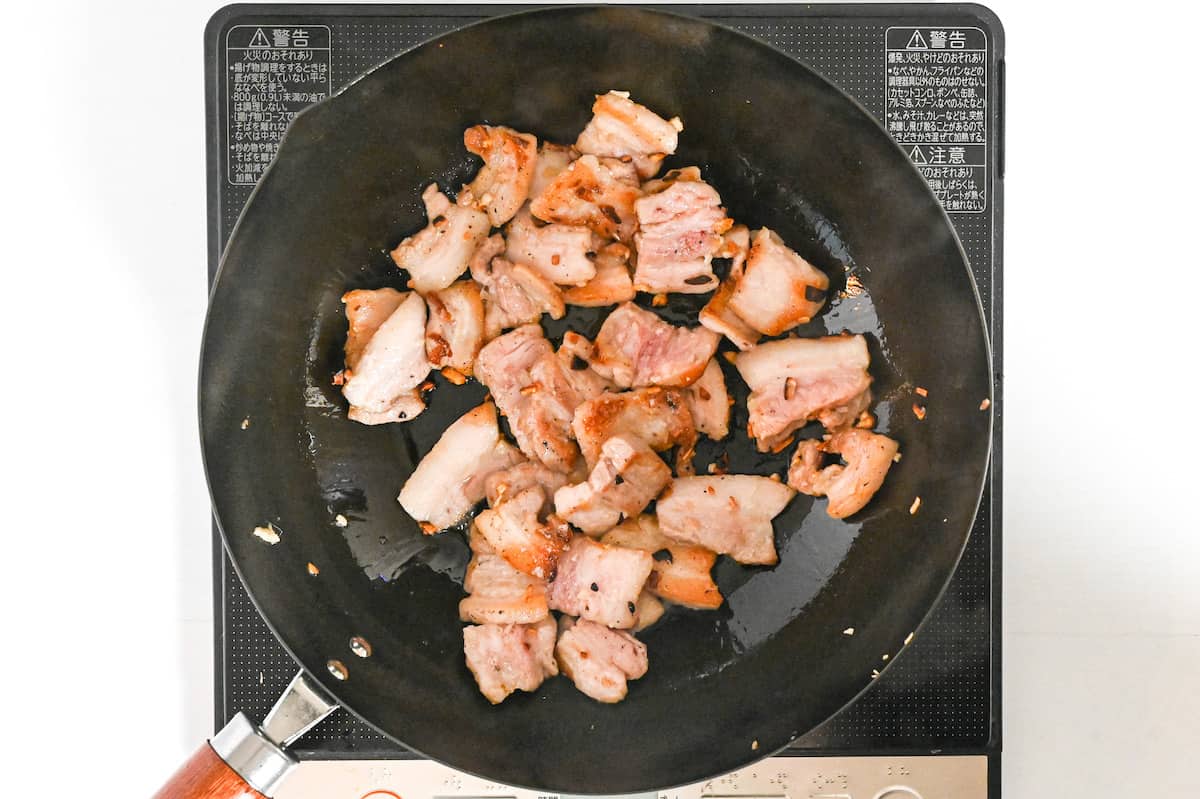
Once browned, add the onions and stir fry until slightly softened.
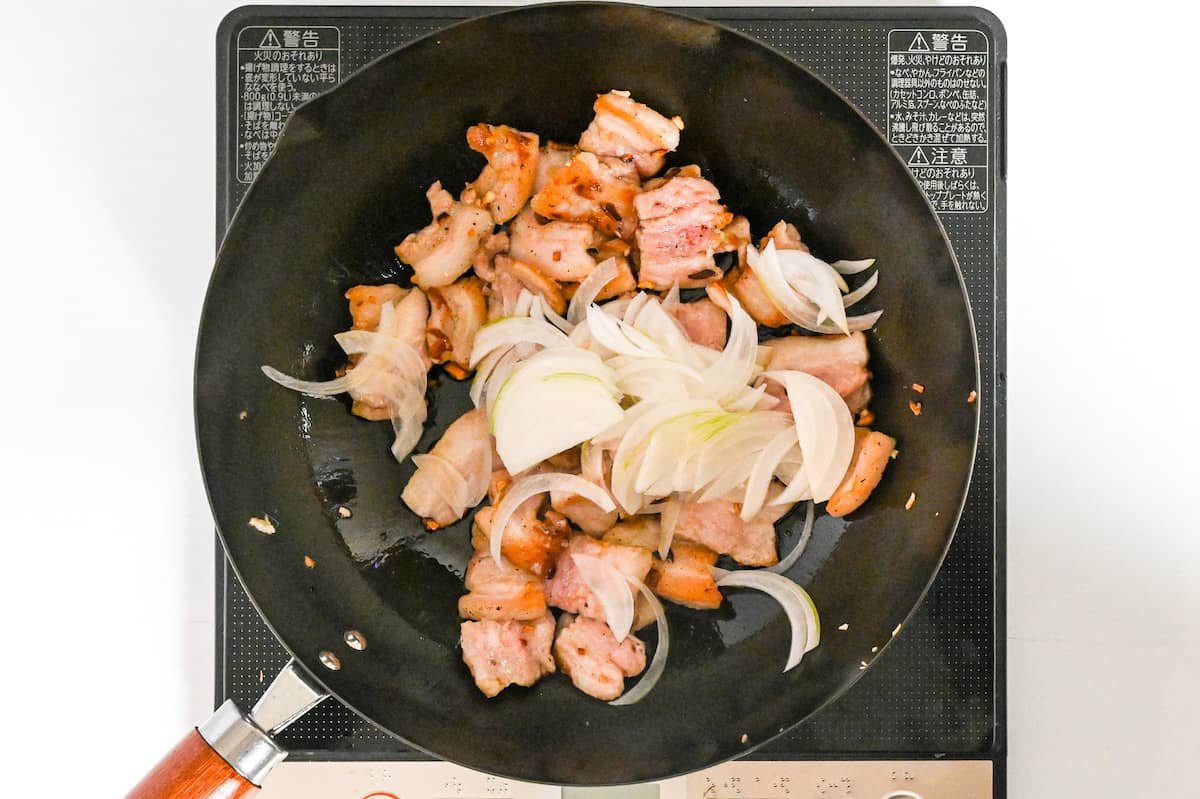
Add the kimchi to the pan along with oyster sauce and light brown sugar. Stir fry for about 1 minute.
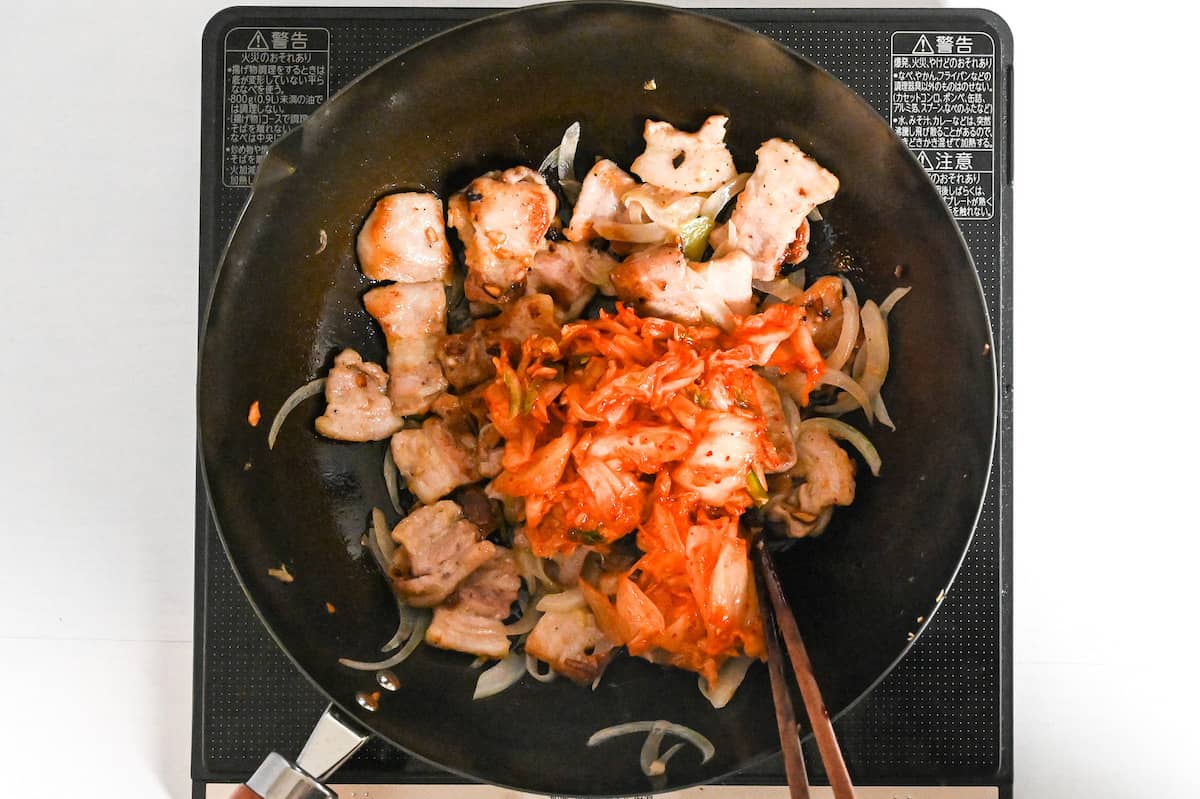
Remove from the heat and set aside for later.
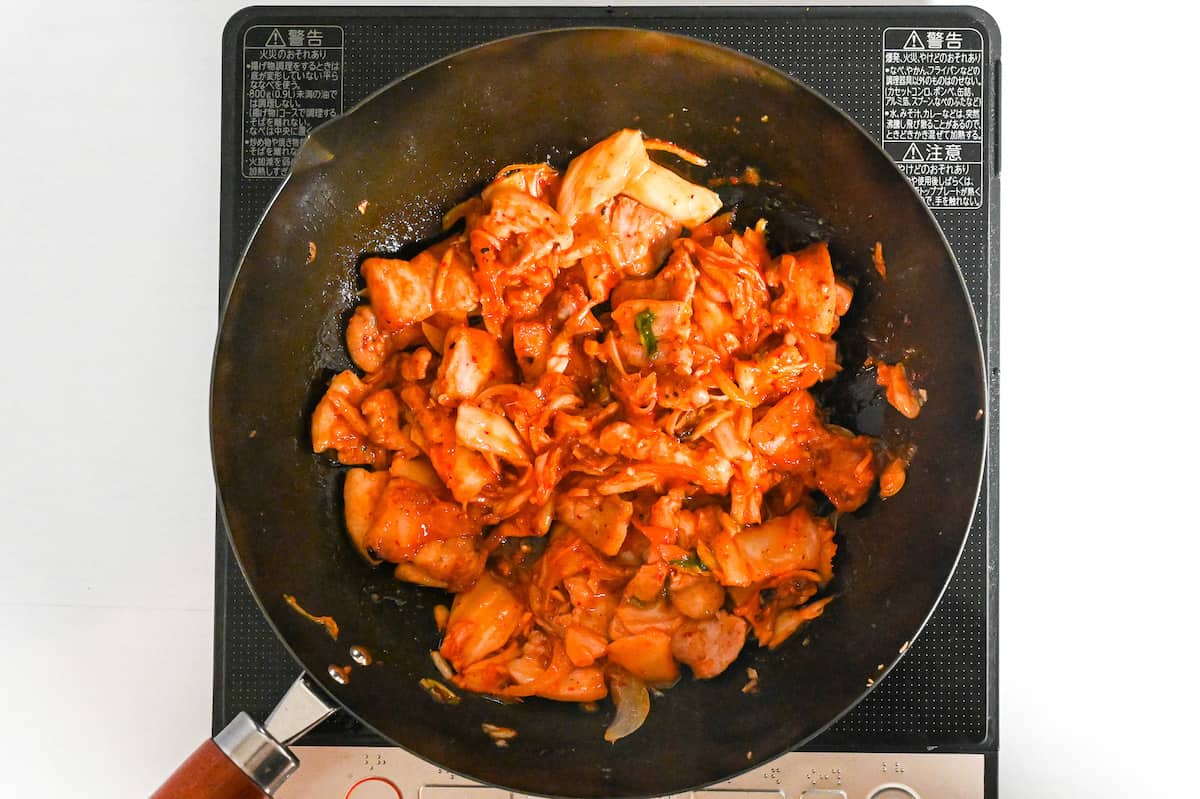
In a large pot, heat dashi stock over a medium heat.
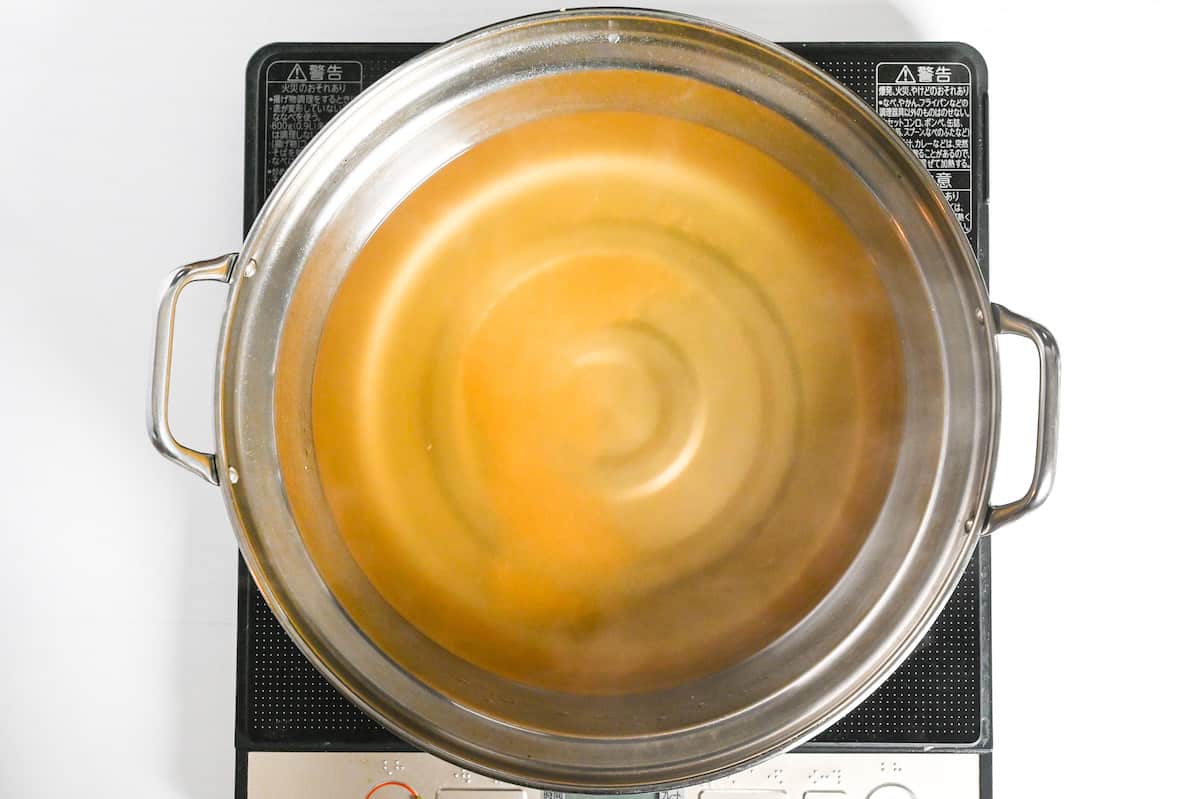
Add chicken bouillon powder, soy sauce, mirin, sake and awase miso paste. I recommend placing the miso paste on a mesh spoon, dip it in the broth and whisk to avoid lumps of miso in your broth.

Bring the broth to a boil and then lower to a simmer.

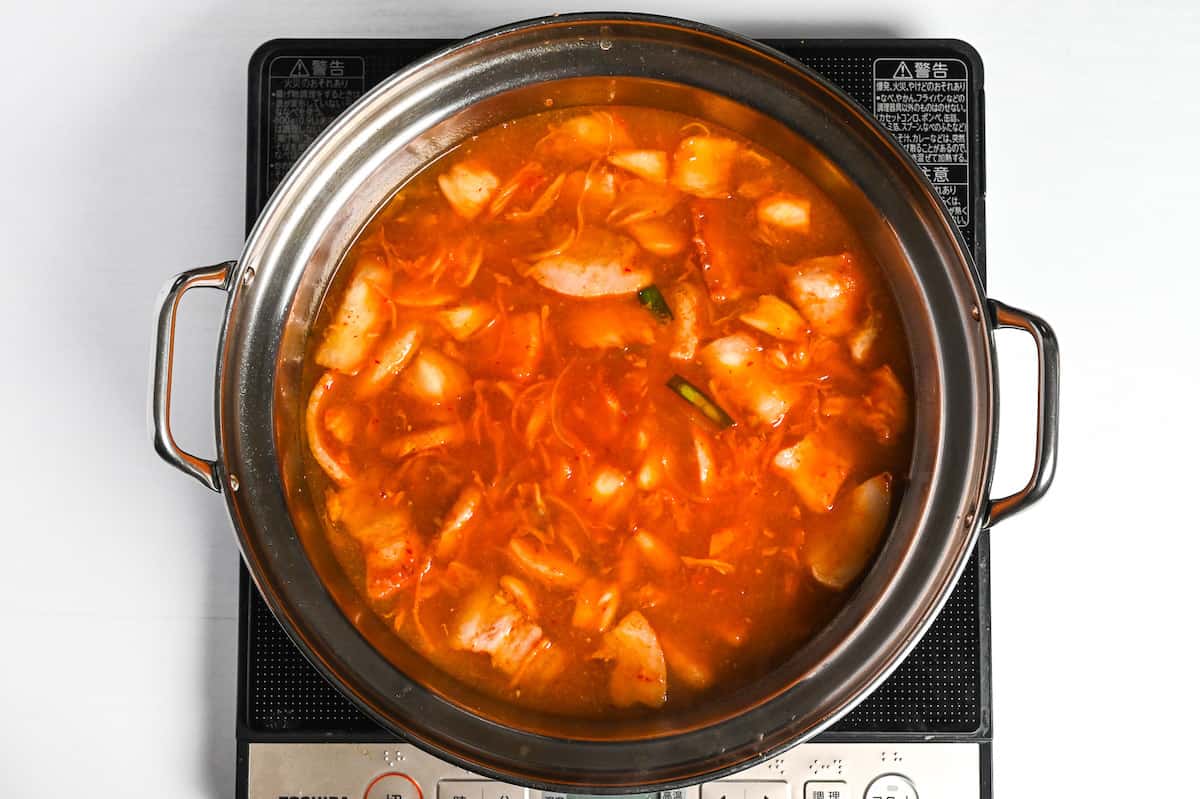
Empty the contents of the pan from earlier into the broth and mix thoroughly.
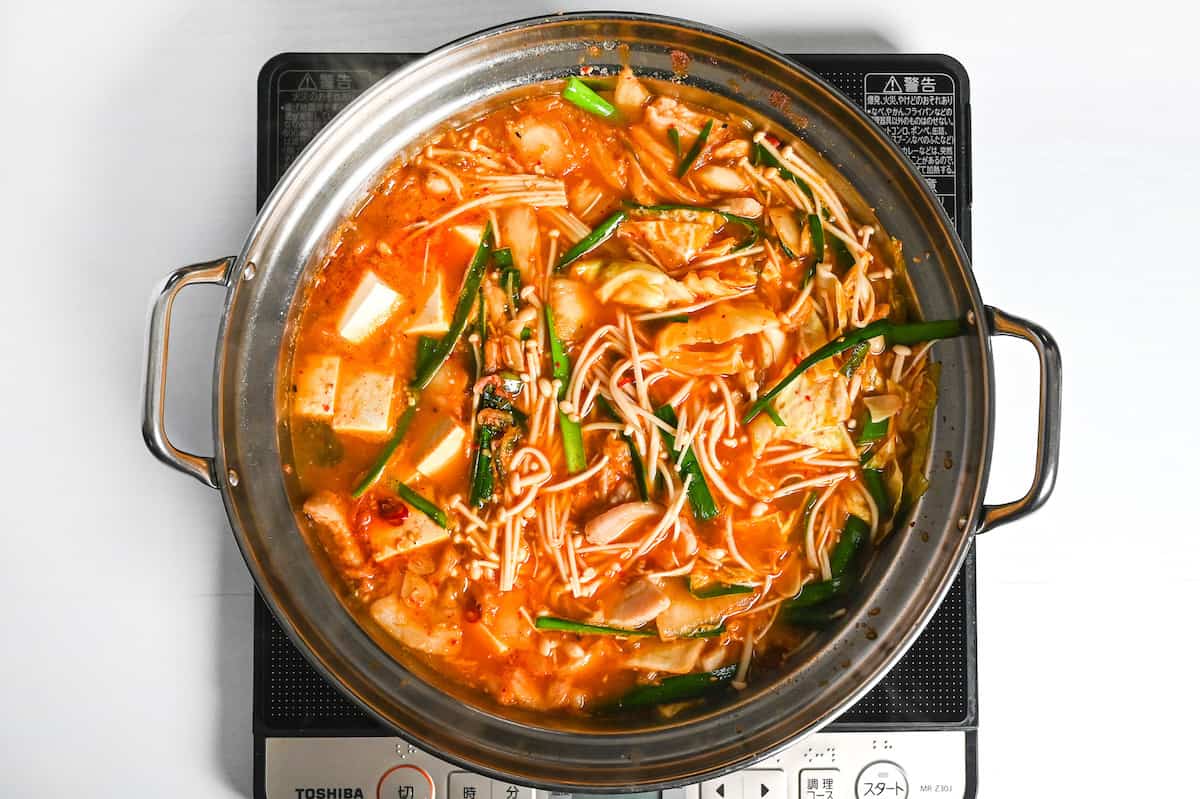
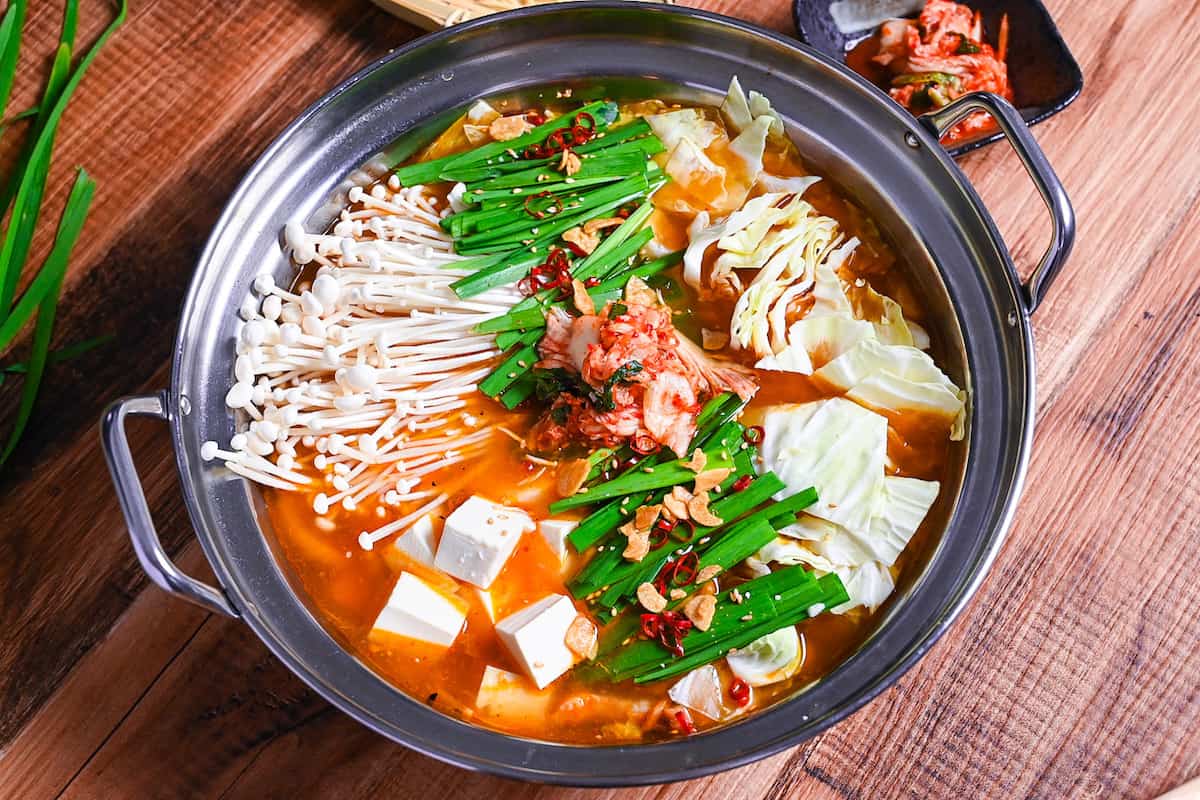
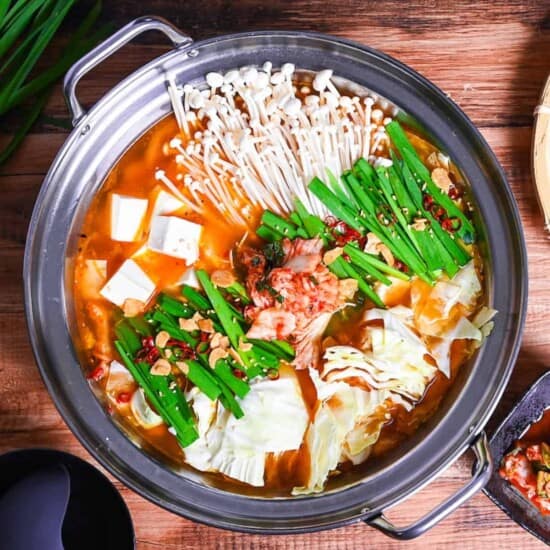
Add the tofu, vegetables and toppings of your choices. I used enoki mushrooms, cabbage, garlic chive, dry chilis, garlic chips and sesame seeds.
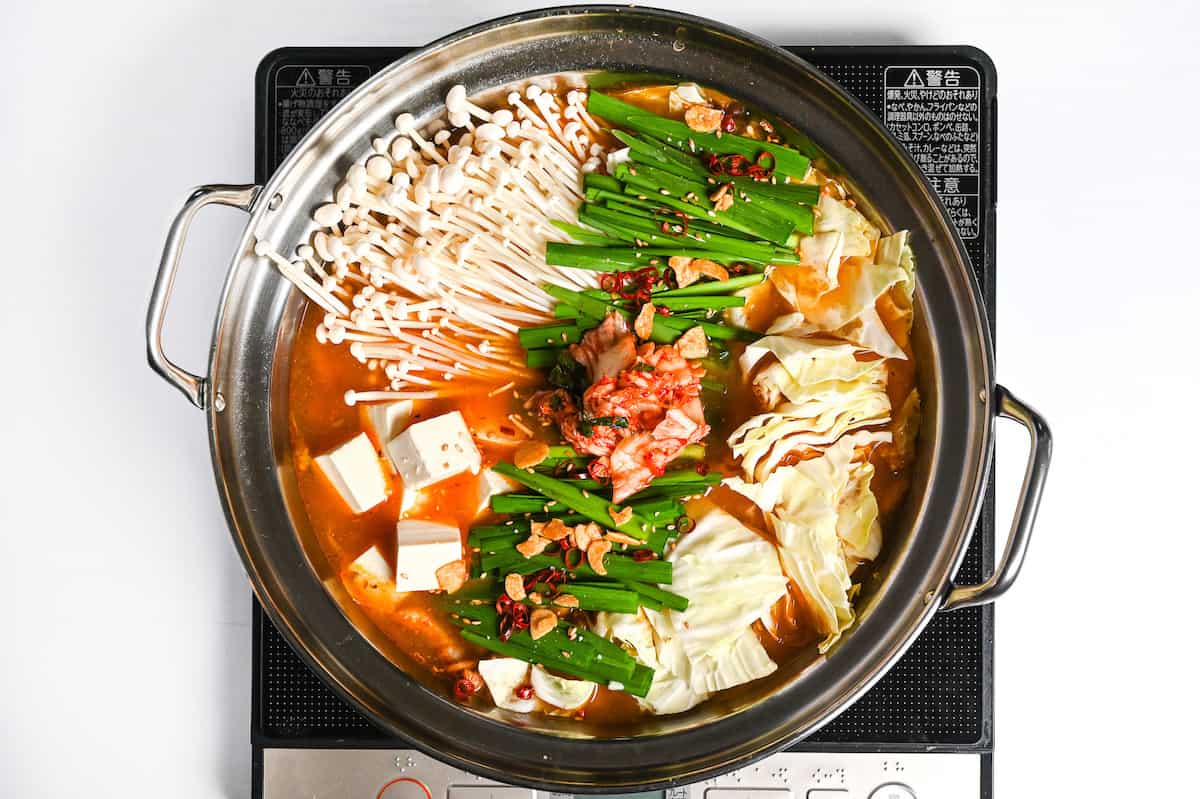
Continue to simmer until the cabbage is softened and the tofu is warmed through.
Serve and enjoy!
This is optional, but if you have leftover broth and don’t want to waste it, enjoy with cooked ramen noodles, udon noodles or rice!
Jump to Full Recipe Measurements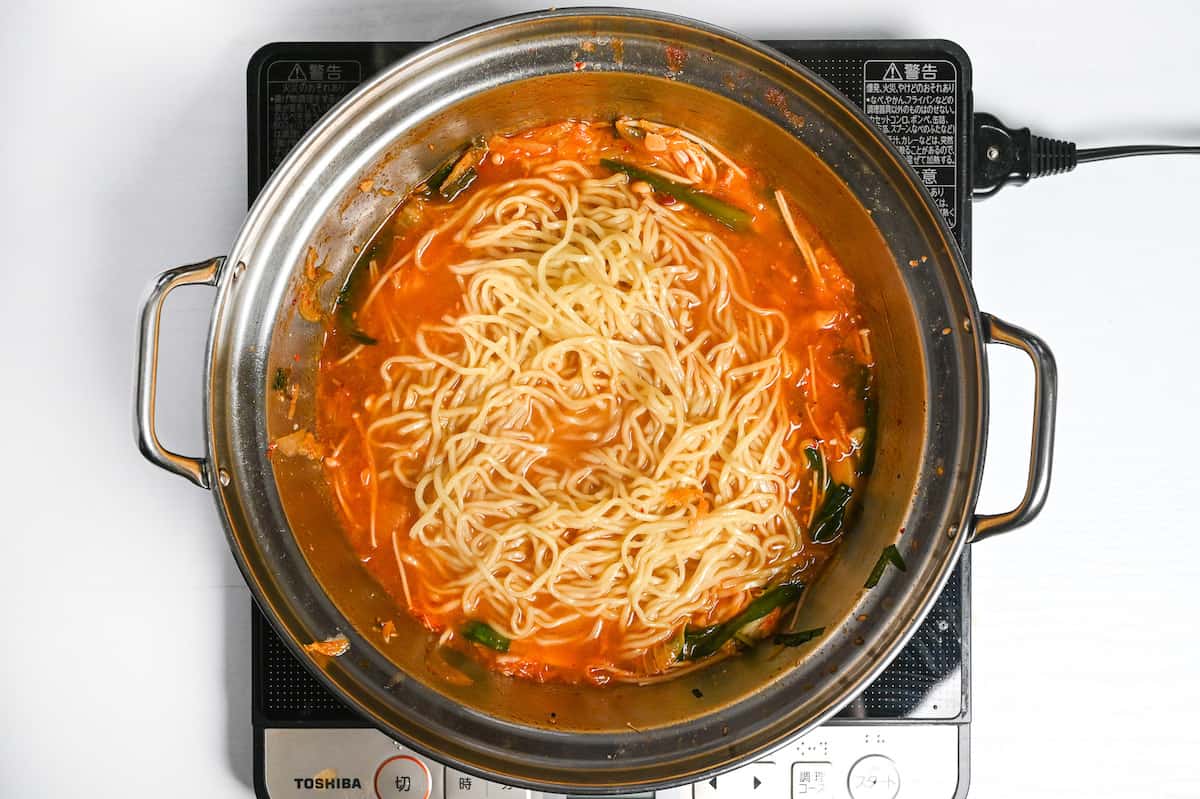
How to Store
Kimchi nabe’s shelf life at room temperature is estimated to be between half a day to a full day, assuming it’s stored in a cool location during winter. However, this shelf life shortens if the kimchi nabe is left out in summer or a heated room. It may even spoil, so leaving it at room temperature isn’t recommended.
In the refrigerator, kimchi nabe can last about 2 or 3 days at most. But since the entire pot can take a while to cool and may have uneven temperature distribution, it’s better to transfer the nabe to a container, like Tupperware, for storage.
If frozen, kimchi nabe can be preserved for about a month, but be mindful that the flavor will decline significantly over time.
However, kimchi nabe should be consumed by the end of the day if possible, and there’s no need to finish the soup for nabe dishes in general. This is because, whether it’s refrigerated or frozen, kimchi nabe has a tendency to infuse its aroma and color into the storage container. Because of this, I recommend glass storage containers if possible.
Storage summary
Room temperature – Not recommended.
Refrigerated – 2 to 3 days.
Frozen – Up to a month.
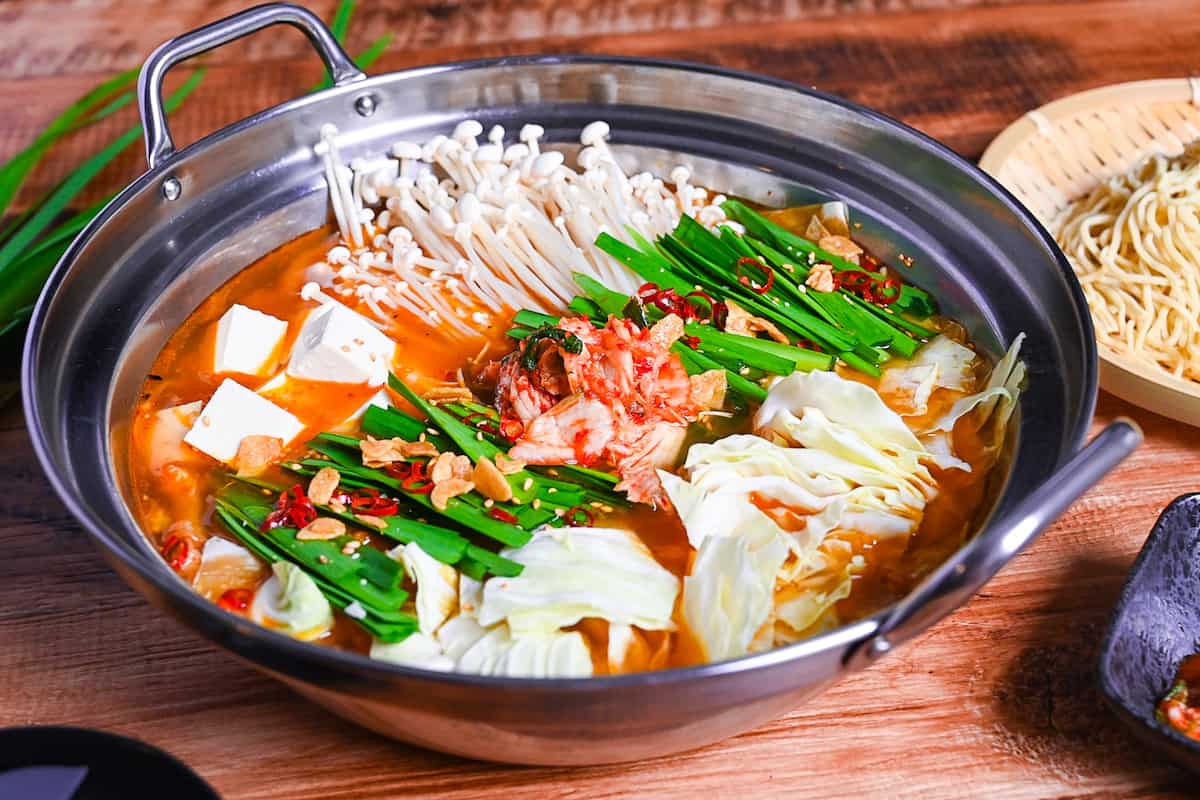
I hope you enjoy this Kimchi Nabe recipe! If you try it out, I’d really appreciate it if you could spare a moment to let me know what you thought by giving a review and star rating in the comments below. It’s also helpful to share any adjustments you made to the recipe with our other readers. Thank you!
More Japanese Hotpot Recipes
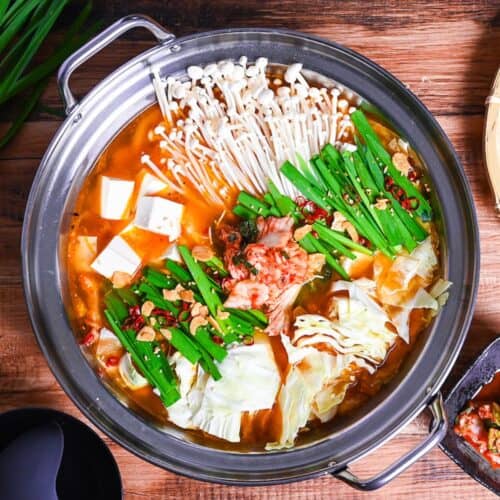
Kimchi Nabe (Kimchi Hotpot)
Ingredients
- 200 g slab skinless pork belly sliced
- 1 pinch salt and pepper
- 1 tbsp cake flour
- 1 tbsp toasted sesame oil
- 1 tsp garlic clove finely diced
- 1 tsp ginger root finely diced
- 50 g yellow onion thinly sliced
- 1 tsp oyster sauce
- 200 g cabbage kimchi
- 1 tsp light brown sugar
Broth
- 800 ml dashi stock
- 2 tbsp Chinese-style chicken bouillon powder (granules)
- 2 tbsp soy sauce
- 2 tbsp yellow miso paste (awase miso) (yellow)
- 2 tbsp mirin
- 2 tbsp sake
- 150 g firm tofu or silken if you prefer
- 100 g enoki mushrooms or mushroom of your choice
- 100 g green cabbage or napa cabbage
Toppings
- 30 g garlic chive(s)
- ½ tsp dried red chili pepper thinly sliced
- 1 tsp garlic chips optional
- 1 tsp white sesame seeds
- 2 portions cooked ramen noodles or udon noodles (optional)
Instructions
- Season 200 g slab skinless pork belly with 1 pinch salt and pepper on both sides.

- Sprinkle with 1 tbsp cake flour and rub over the surface of the pork until evenly coated.

- Drizzle 1 tbsp toasted sesame oil into a heated frying pan (medium-low) and add 1 tsp garlic clove and 1 tsp ginger root. Fry until fragrant.

- Add the pork to the pan and fry until both sides are browned and the fat is a little bit crispy.

- Add 50 g yellow onion and stir fry until slightly softened.

- Add 1 tsp oyster sauce, 200 g cabbage kimchi and 1 tsp light brown sugar. Stir fry for 1 minute.

- Remove from the heat and set aside for later.

Broth
- Add 800 ml dashi stock to a large pot and turn on the heat to medium.

- Add 2 tbsp Chinese-style chicken bouillon powder (granules), 2 tbsp soy sauce, 2 tbsp yellow miso paste (awase miso), 2 tbsp mirin and 2 tbsp sake, and bring to a boil.

- Once boiling, turn the heat down to simmer and add the contents of the pan from earlier.

- Add 100 g enoki mushrooms, 150 g firm tofu, 100 g green cabbage and 30 g garlic chive(s), and top with ½ tsp dried red chili pepper, 1 tsp garlic chips and 1 tsp white sesame seeds. Mix thoroughly.

- Simmer until the cabbage is softened and enjoy!

- Optional: Enjoy the leftover broth with 2 portions cooked ramen noodles!

Notes


Leave a rating and a comment