Disclaimer: This post may contain Amazon affiliate links. Sudachi earns a small percentage from qualifying purchases at no extra cost to you. See disclaimer for more info.
What is Hijiki Seaweed Salad?
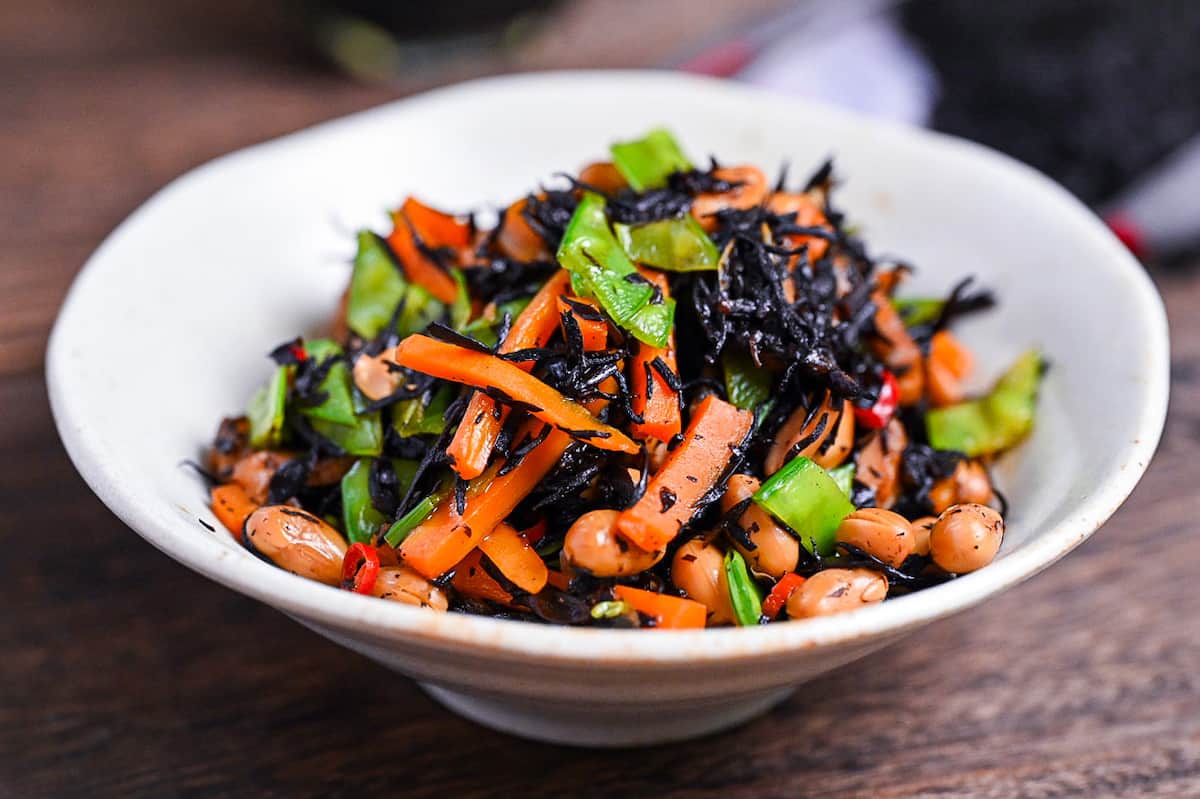
Hijiki salad, or Hijiki no Nimono (ひじきの煮物), is a Japanese dish centered around a type of seaweed known as hijiki. Typically, hijiki isn’t consumed raw. Instead, it’s sold dried, then rehydrated and stir-fried.
This dish often includes root vegetables, deep-fried tofu, soybeans, shiitake mushrooms, chicken, and more, all simmered in a mix of soy sauce, sugar, and dashi broth.
While “Hijiki no Nimono” might translate to “Hijiki salad” in English, its preparation diverges from typical salads, as it’s simmered rather than served raw.

How I Developed This Recipe
Hijiki no Nimono is a versatile dish in Japan, with ingredients differing across households.
In my version of the recipe, I’ve incorporated standard boiled soybeans along with carrots and chikuwa (a type of Japanese fish cake). To brighten the typically dark dish, I’ve added snow peas, and for a hint of heat, a touch of red pepper is sprinkled in.
Enjoy this recipe with a slightly mature taste!
Ingredients & Substitution Ideas
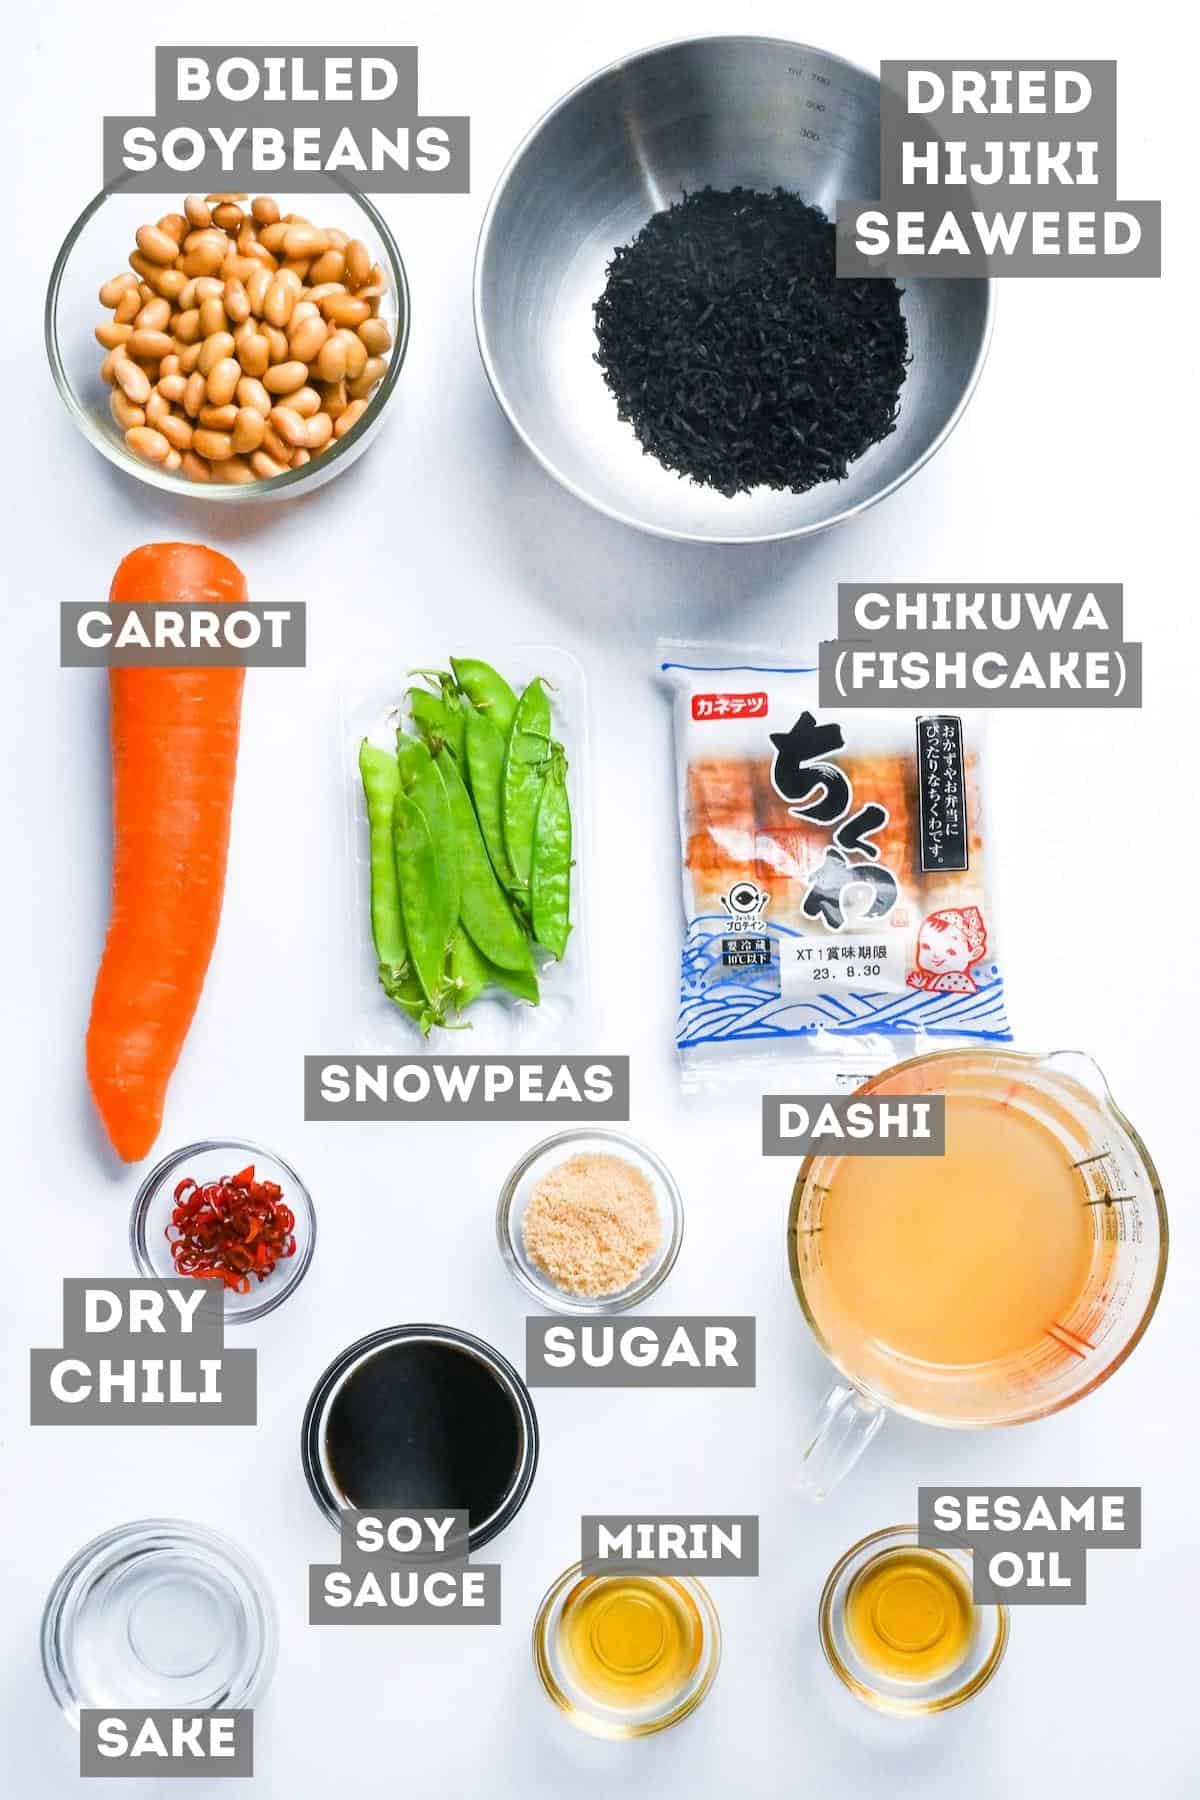
- Dried hijiki seaweed: The cornerstone of this dish. Fresh hijiki is extremely rare, but dried versions are readily available and used for this dish.
- Boiled soybeans: Canned soybeans boiled in water were my choice. If these are hard to find outside of Japan, consider boiling your own dry soybeans. Alternatively, canned pinto, chickpeas or kidney beans can serve as substitutes.
- Chikuwa: This Japanese fish cake encases fish paste around bamboo or metal rods before cooking. If chikuwa is not available in your area, consider skipping it or replacing it with other Japanese fish cakes like kamaboko.
- Snow peas: They infuse the dish with a burst of color and varied texture.
- Sesame oil: Kadoya’s sesame oil is recommended for that subtle flavor enhancement.
- Dashi stock: Whether you opt for the easy-to-use dashi bags and instant granules or prefer making your dashi from scratch (e.g., my favorite dashi, simple awase dashi, or vegan dashi), it’s entirely up to your preference.
- Sake: Don’t have sake on hand? Dry sherry or white wine are practical alternatives.
- Mirin: When on the lookout for mirin, the “hon mirin” (本みりん) variant is superior in flavor. I vouch for Hinode Hon Mirin for both its quality and affordability. For deeper insights, refer to my post on the “20 Most Useful Condiments and Seasonings for Japanese Cooking“.
- Sugar: While you can use your regular sugar, my recent dishes have seen a tilt towards using light brown cane sugar.
- Soy sauce: Kikkoman soy sauce is a solid pick for an economical choice without compromising taste. Check out our guide to soy sauce tailored for Japanese cuisine for a more in-depth understanding.
- Dried red chili pepper: This is an optional addition but is highly recommended for those who like a touch of heat.
Curious about the exact brands and products that bring my recipes to life? Discover the brands and ingredients behind my recipes at the Sudachi Amazon Storefront. Explore my handpicked pantry essentials and find your next kitchen favorites!
Jump to Full Recipe MeasurementsOmit the chikuwa and use a plant-based dashi stock to make this dish suitable for vegetarians and vegans!
Visual Walkthrough & Tips
Here are my step-by-step instructions for how to make Hijiki Salad at home. For ingredient quantities and simplified instructions, scroll down for the Printable Recipe Card below.
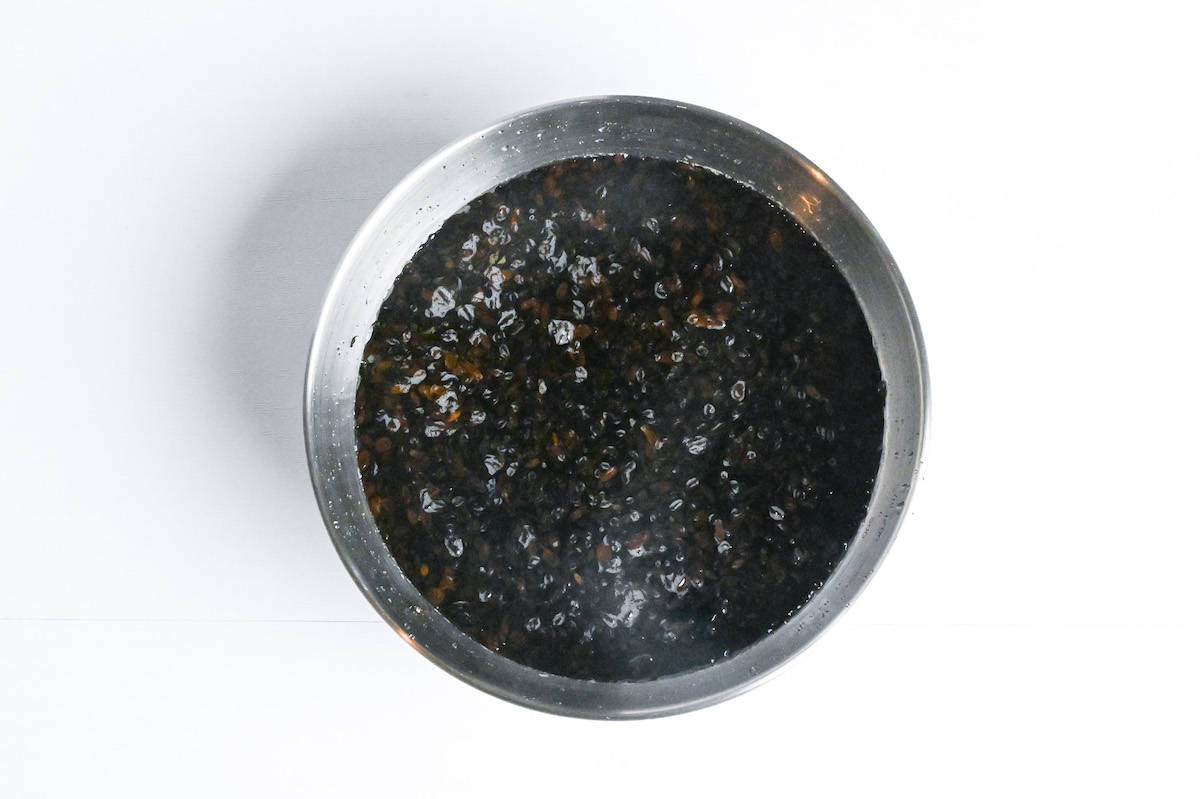
Hijiki is sold in dried form and needs to be rehydrated before cooking. Submerge it in a bowl of cold water and set aside while you prepare the other ingredients.
While you wait, start boiling a small pot of water.
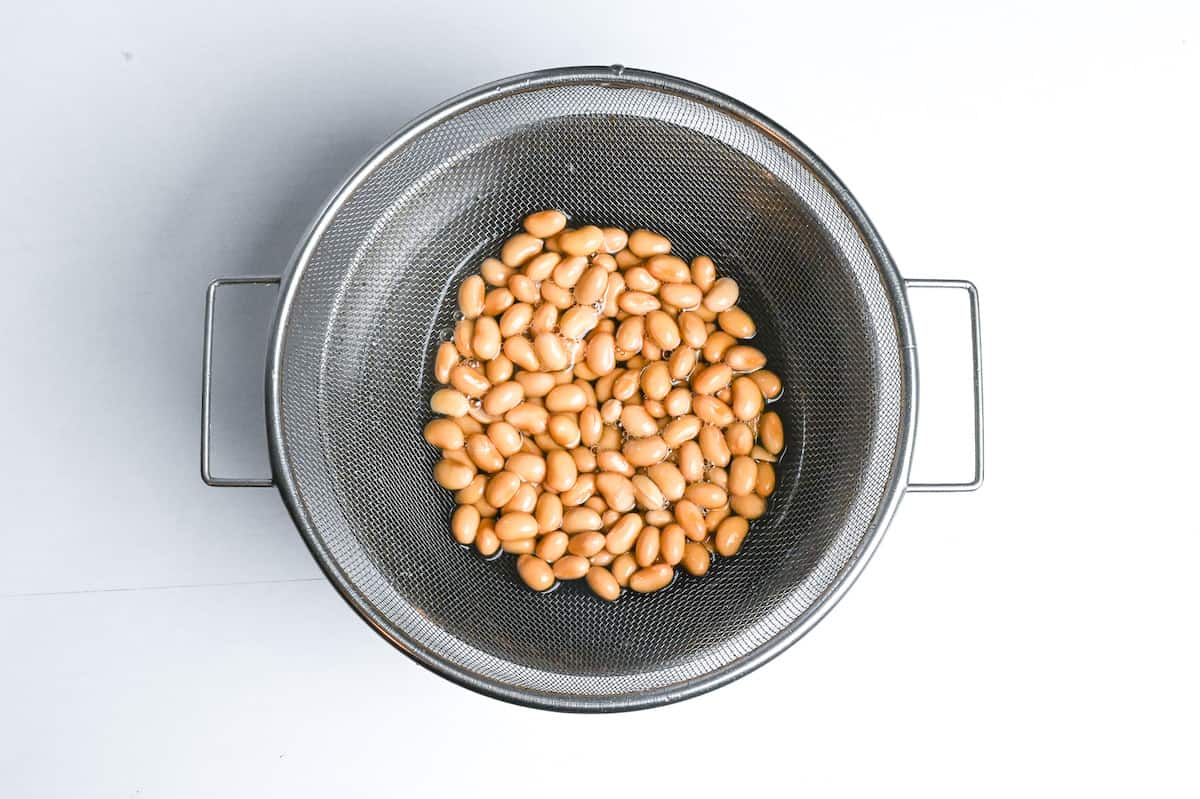
Drain the liquid away from the soybeans or canned beans of your choice.
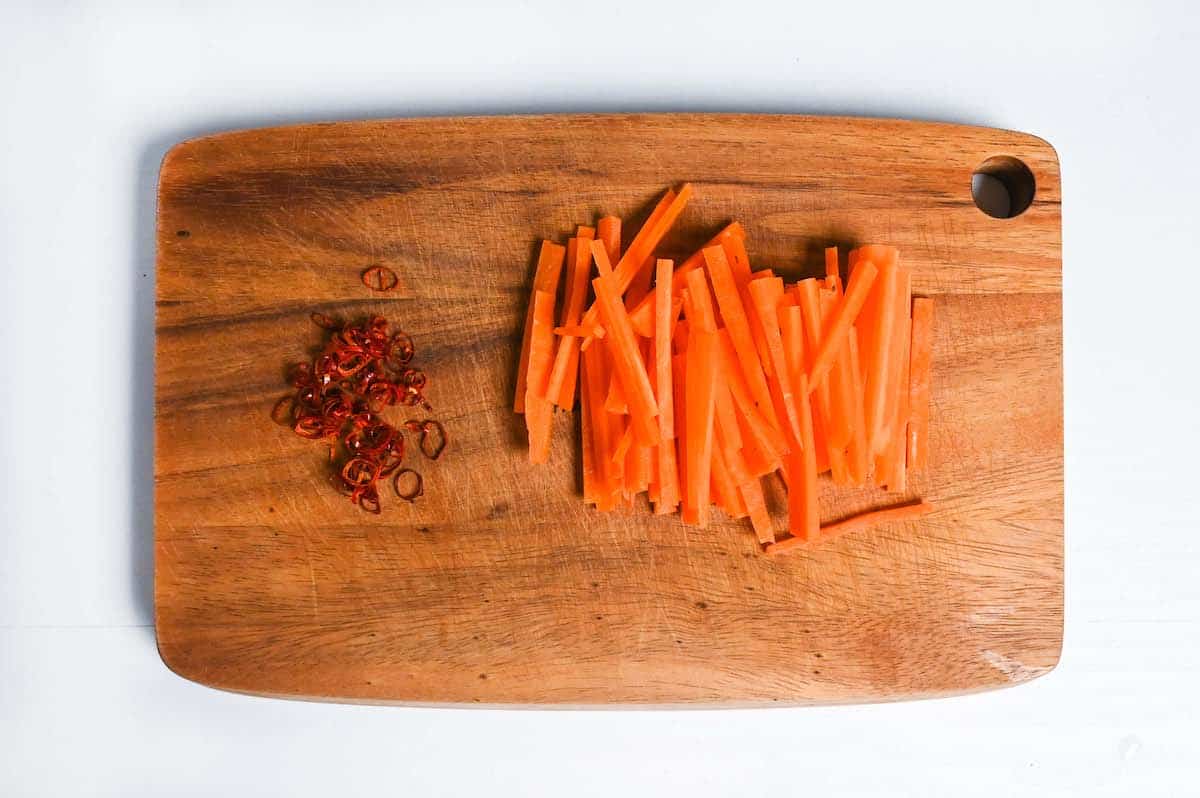
Wash and peel the carrot, then cut it into thin strips (julienne). Thinly slice the chili and chikuwa (fishcake). Chikuwa is not pictured, see step 5 for example of how it’s cut.
Once the pot of water has come to a rolling boil, add the snow peas and blanch for 1 minute.

After 1 minute, scoop the snowpeas out using a mesh spoon and run them under cold water to cool them quickly. Transfer to a chopping board and cut diagonally into thirds.
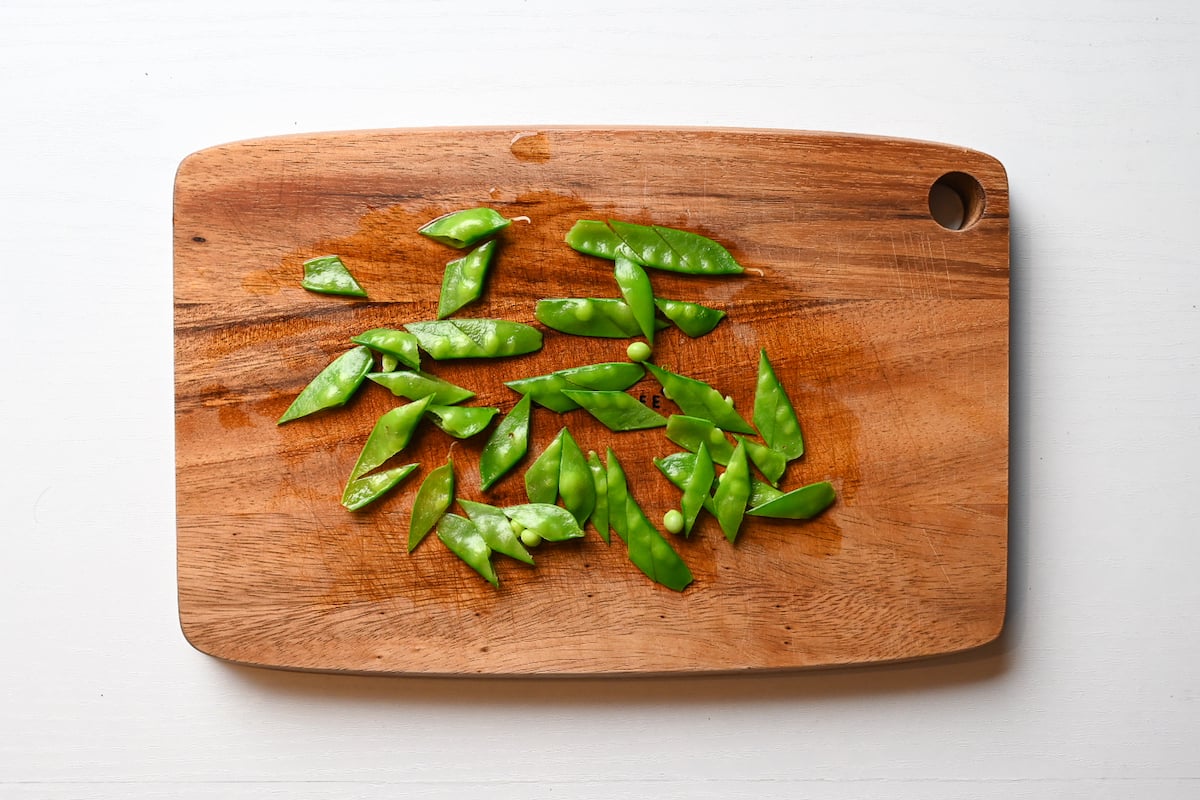
Set aside for later.
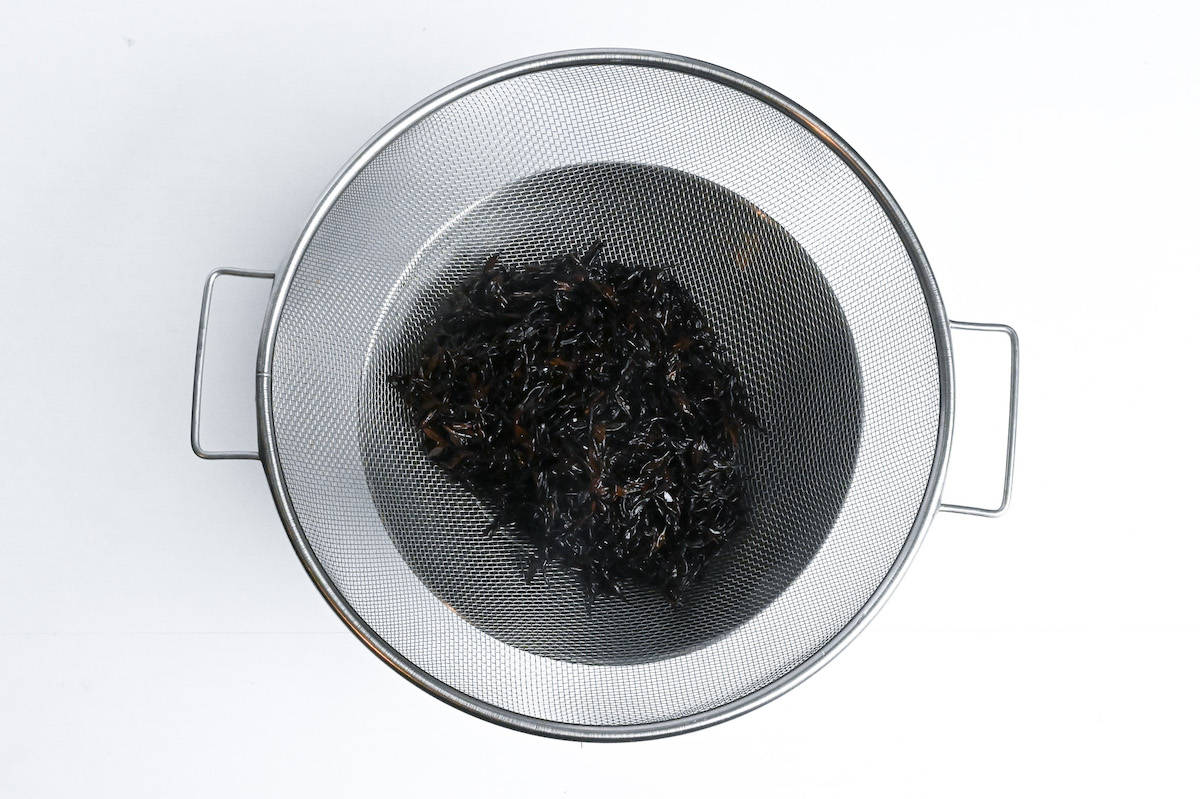
The hijiki should be rehydrated by now, so drain the water by pouring the contents of the bowl through a fine mesh sieve.
Heat a large frying pan or wok over medium heat and add a drizzle of sesame oil. Once hot, add the hijiki, carrots, soybeans, and chikuwa. Stir fry until the carrots are slightly softened.
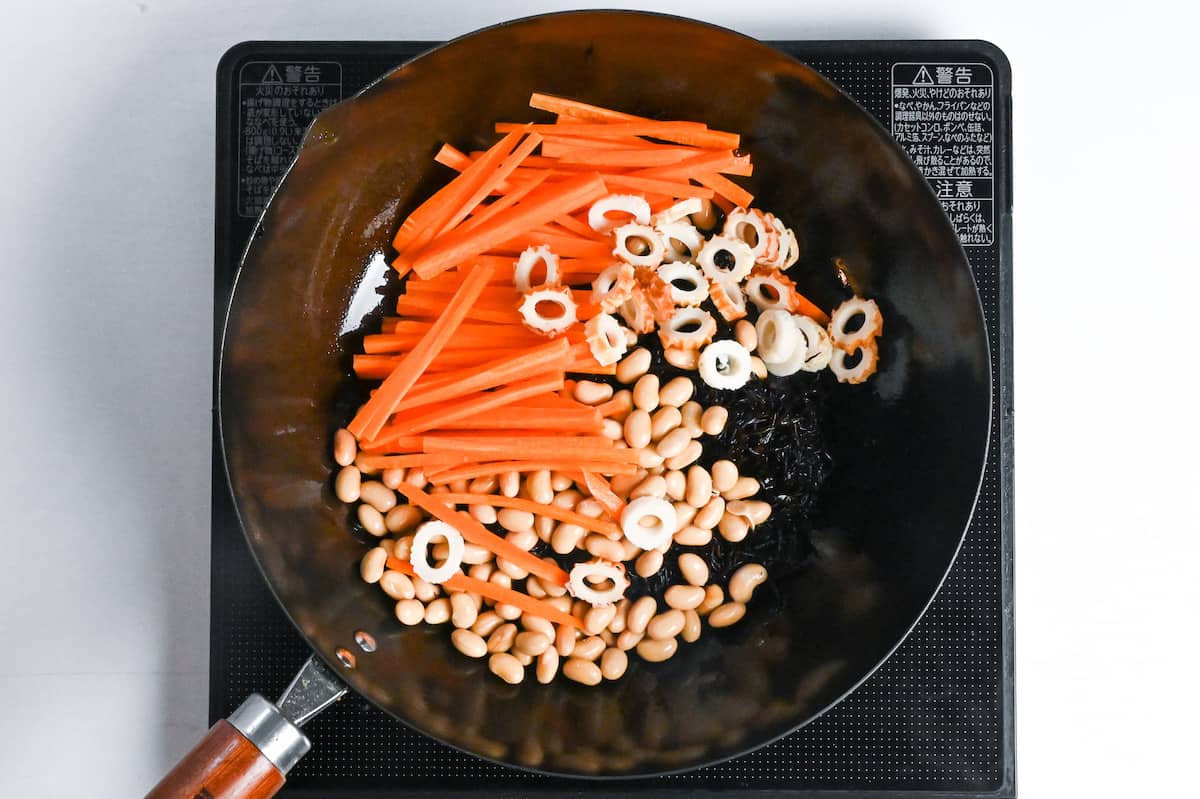
Add the dried chilis along with all the condiments (sake, sugar, mirin and soy sauce). Mix until evenly distributed.
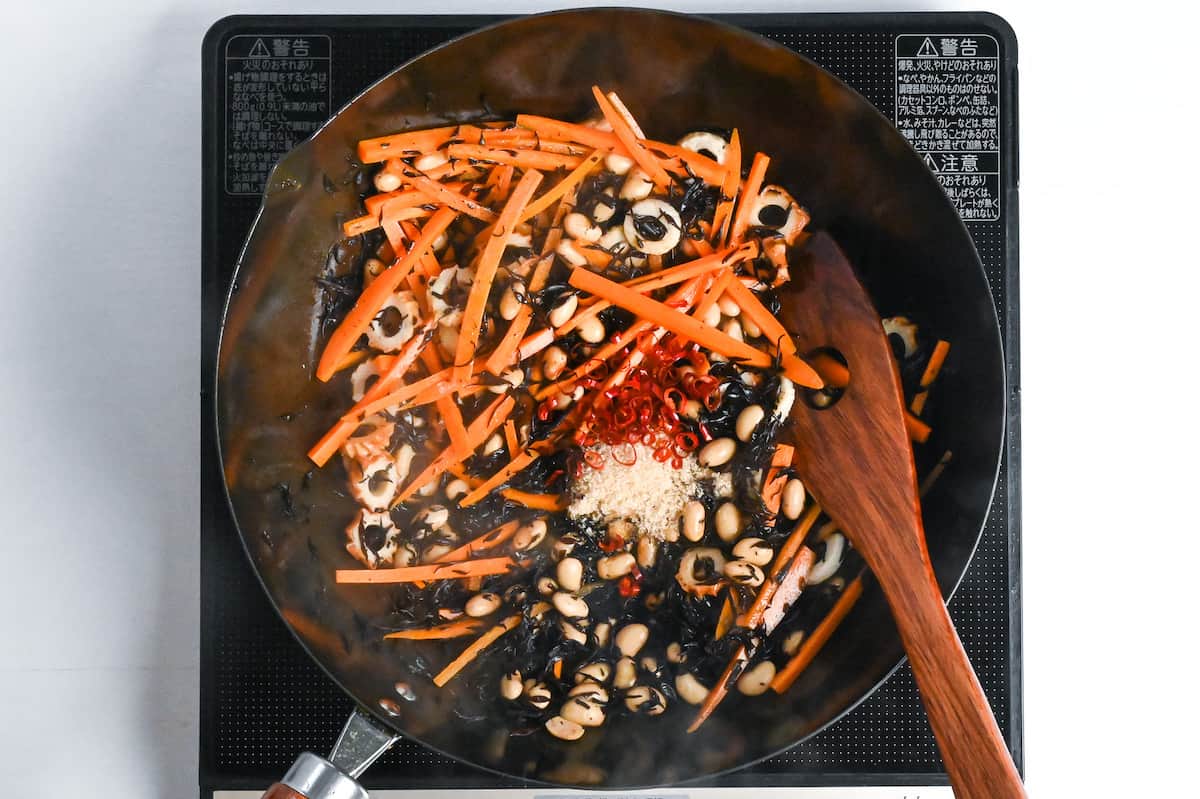
Add the dashi and increase the heat to high. Bring to a boil and then lower the heat to a simmer. Simmer until the liquid has almost disappeared and mix occasionally to ensure everything cooks evenly without burning.
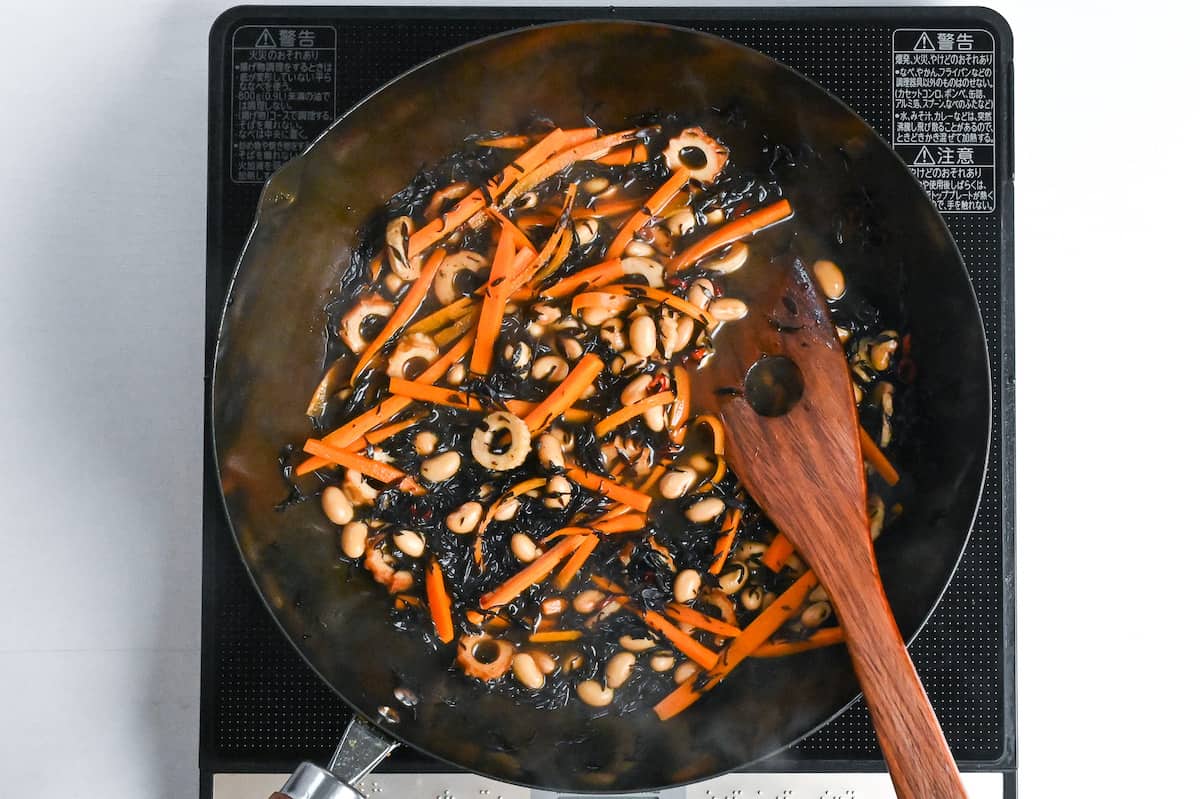
Once the liquid has almost gone, mix in the snow peas and remove from the heat.
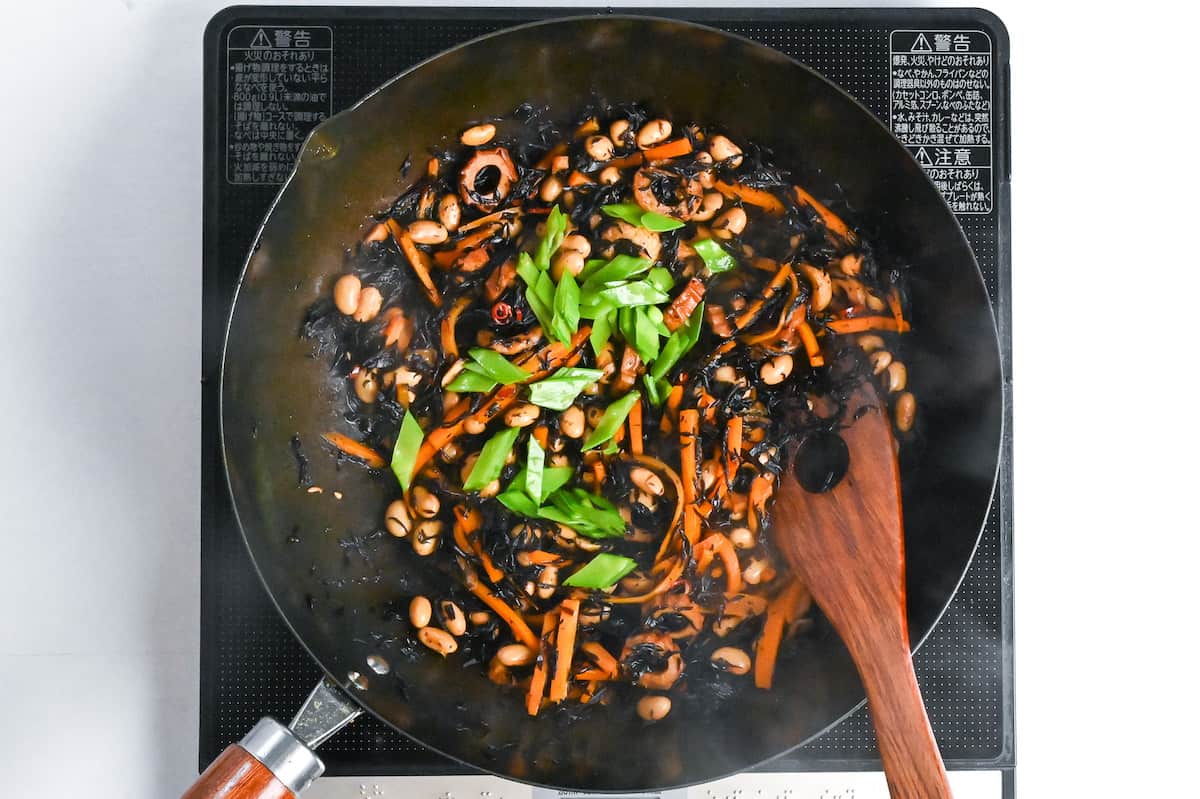
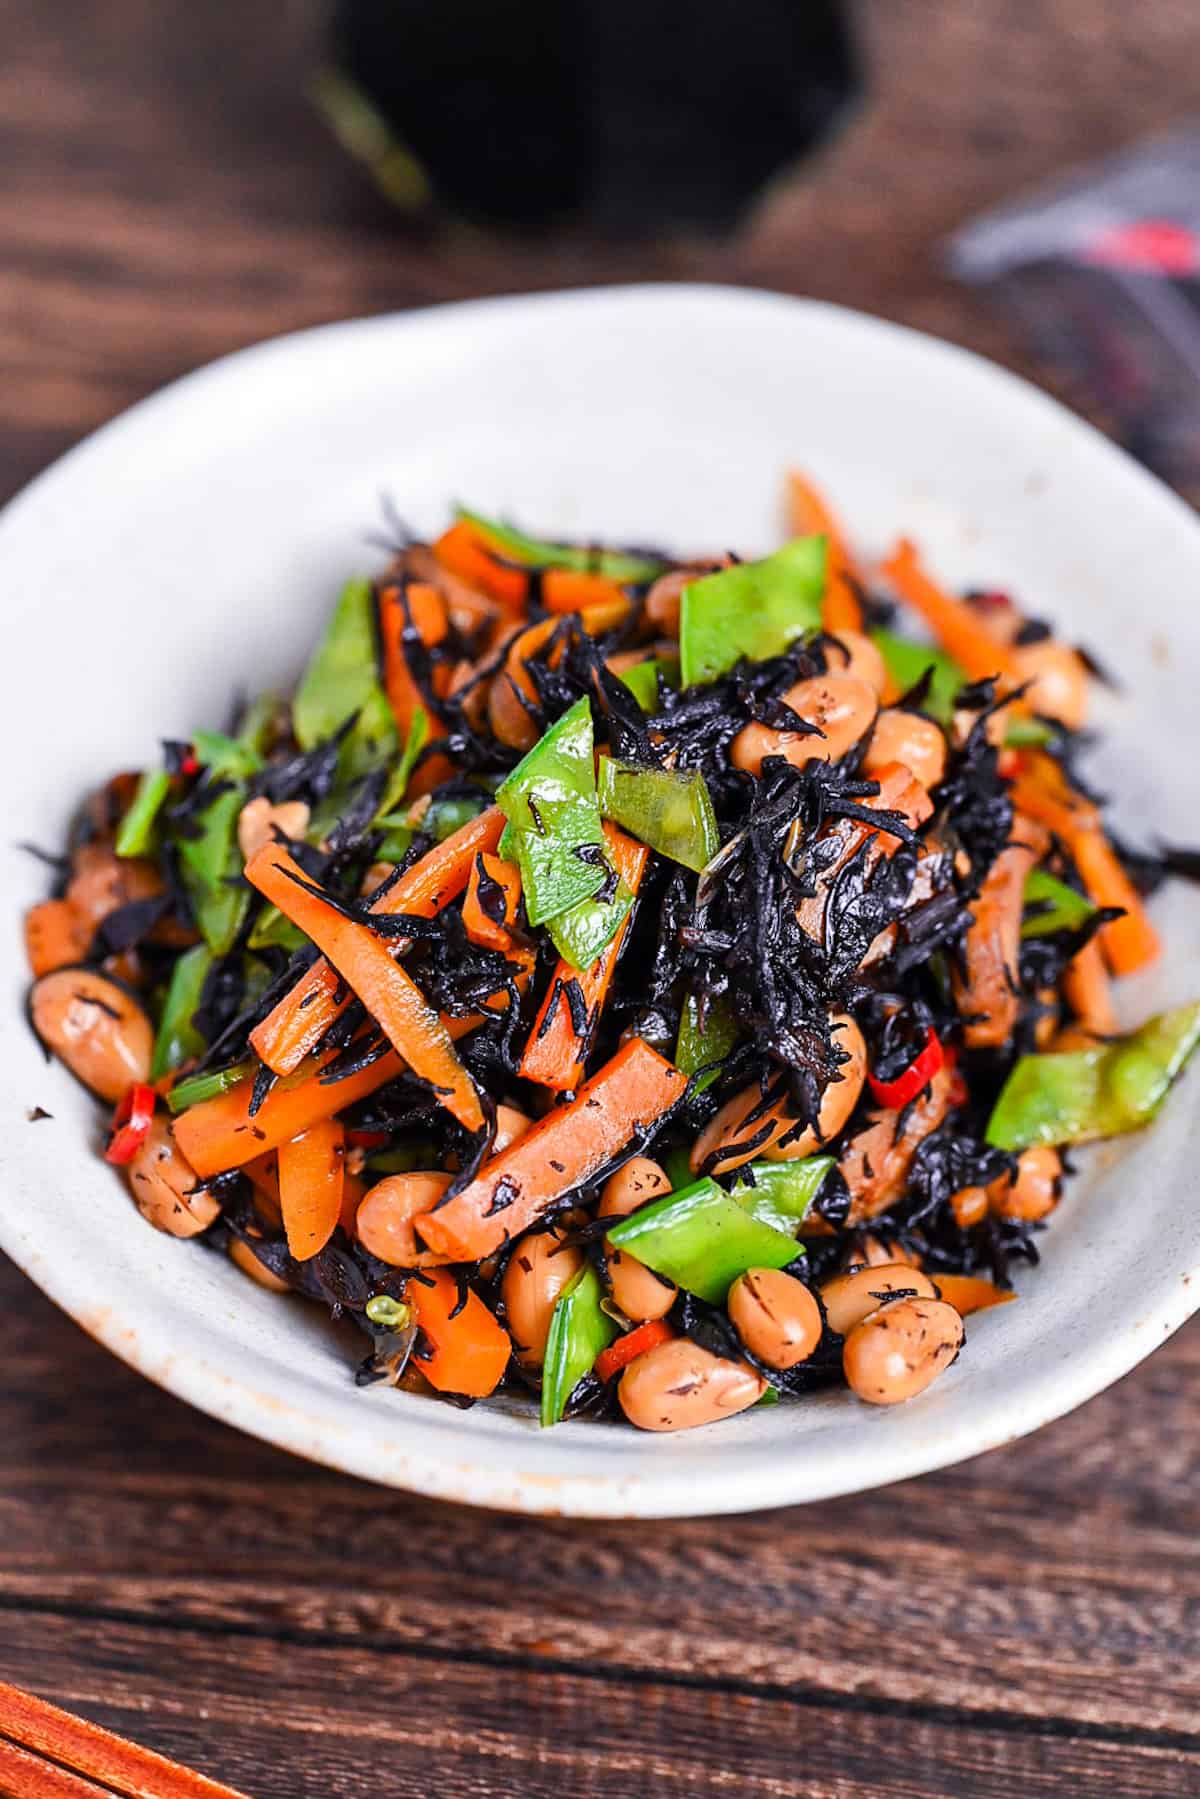
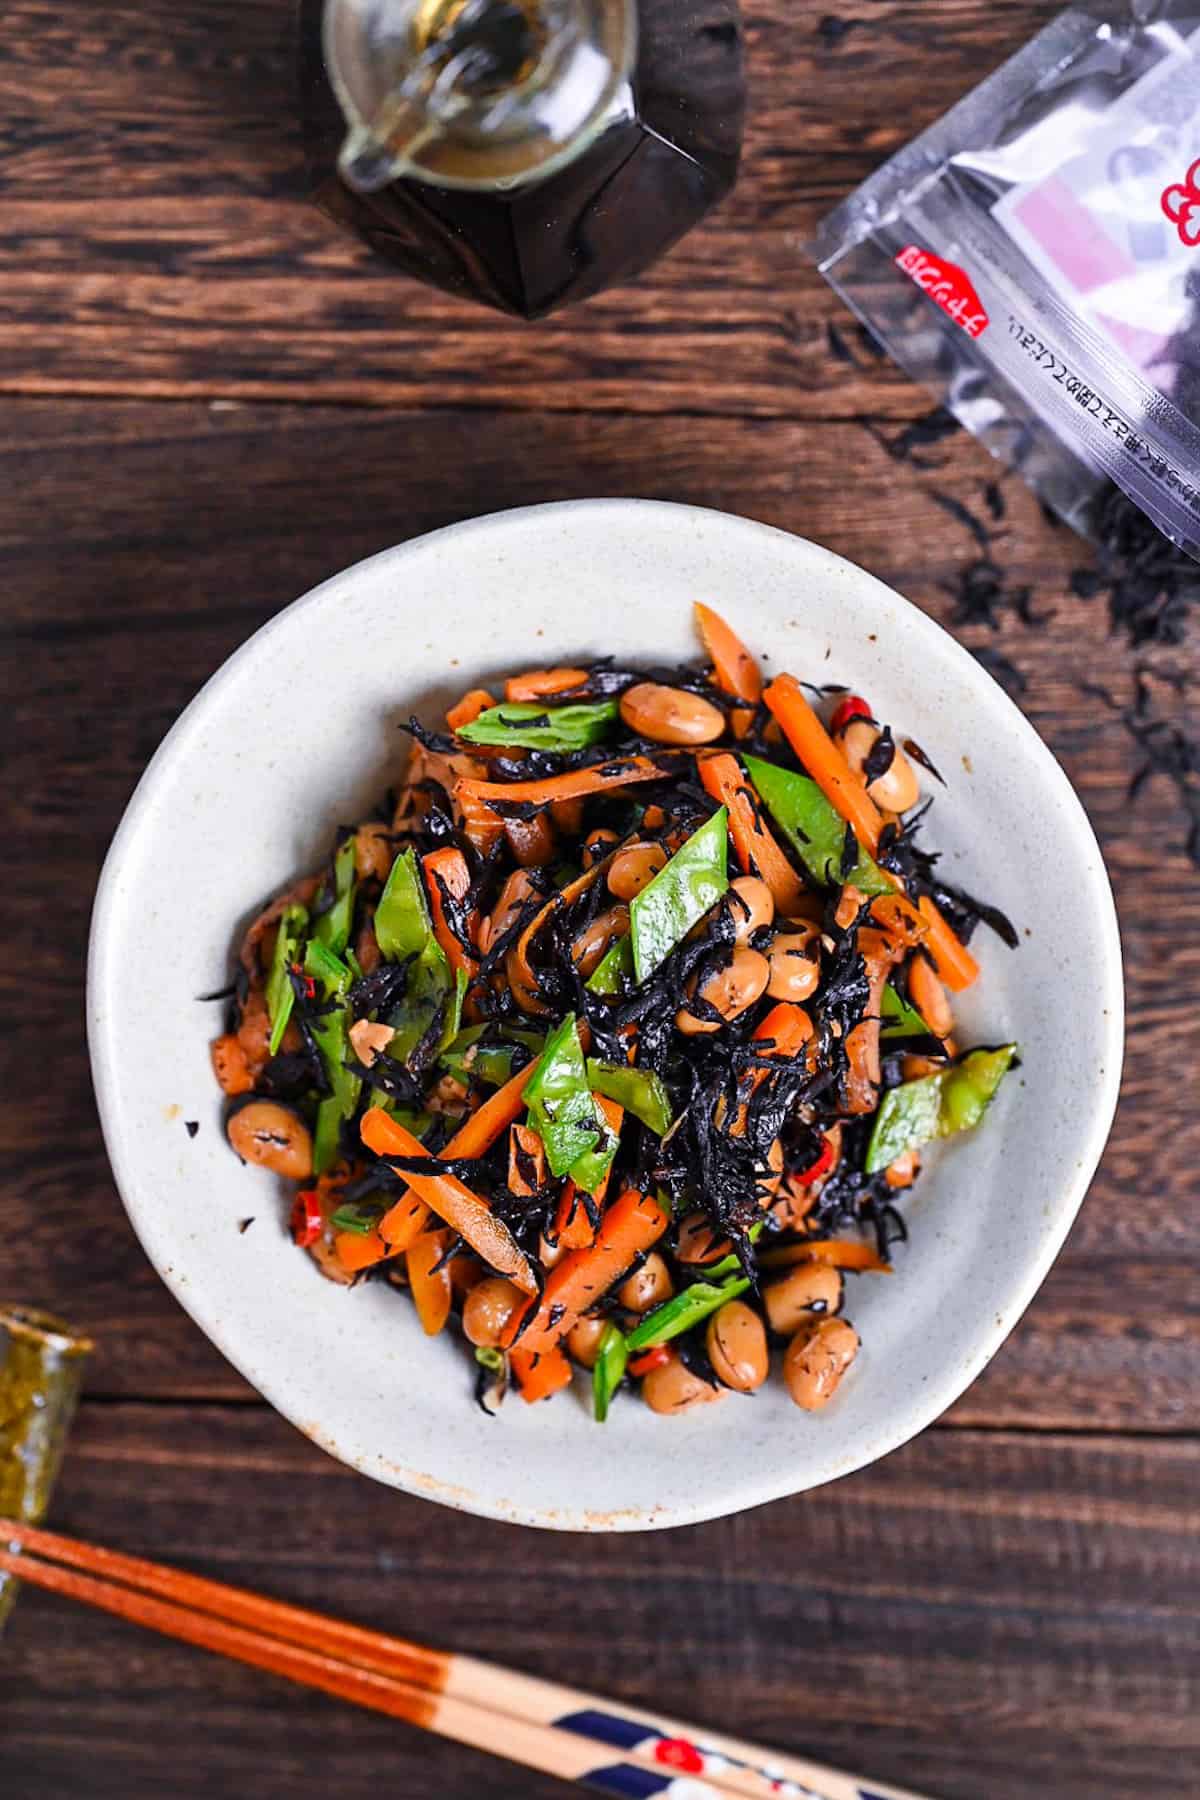
Divide into small dishes and serve as a side or in a bento box.
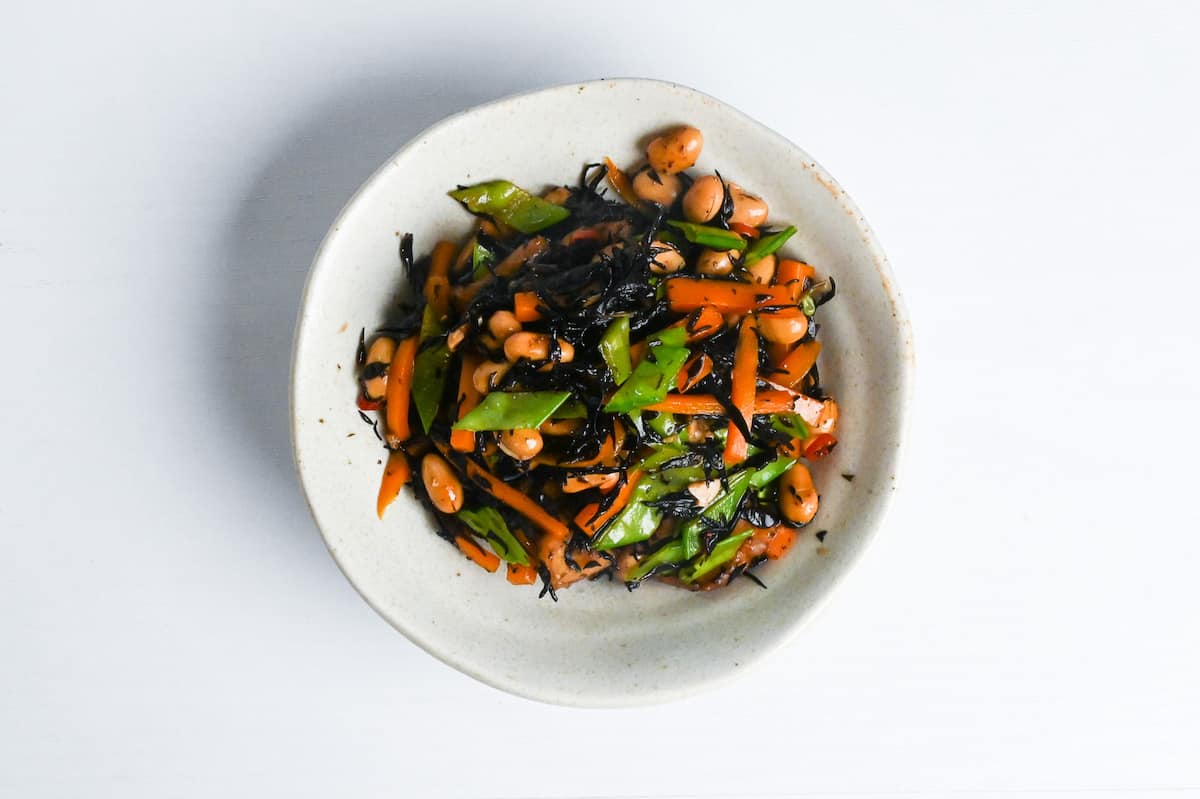
Enjoy!
Jump to Full Recipe MeasurementsHow to Store
Hijiki salad should never be left at room temperature. For refrigeration, let it cool slightly before placing it in a container. Using an airtight container, like Tupperware, is ideal.
Typically, its shelf life in the fridge is around three days. This versatile dish is delightful, hot and cold, and a handy side dish with any Japanese meal or bento.
If freezing, it’s more practical to store in individual portions. Wrap each serving in plastic wrap, then store inside a Tupperware container or Ziplock bag. When frozen, it’s best consumed within a month and thawed in the fridge. If you prefer it hot, you can thaw in the microwave.
Storage summary
Room temperature – Not recommended.
Refrigerated – Around 3 days.
Frozen – Up to 1 month.
FAQ
Hijiki is a dark brown edible seaweed that grows around the rocky coasts of Japan, China and Korea. It has been present in Japanese cuisine for centuries and is still enjoyed regularly to this day. Hijiki in Japan is most commonly sold in a dried form, which can then be rehydrated and incorporated into dishes and cooking.
Hijiki is usually sold in its dry form. Once rehydrated, it can be mixed into dishes and eaten as it is or used as an ingredient in cooking.
Hijiki has a strong savory, almost earthy taste. Unlike other types of edible seaweeds (like nori or wakame), hijiki is not so fishy or briny tasting. Some even compare the flavor to mushrooms.
Hijiki is most commonly used to make hijiki no nimono (hijiki salad), a dish that can be easily customized with various vegetables. Other ways to use it include mixing it with rice or adding it to other kinds of salads.
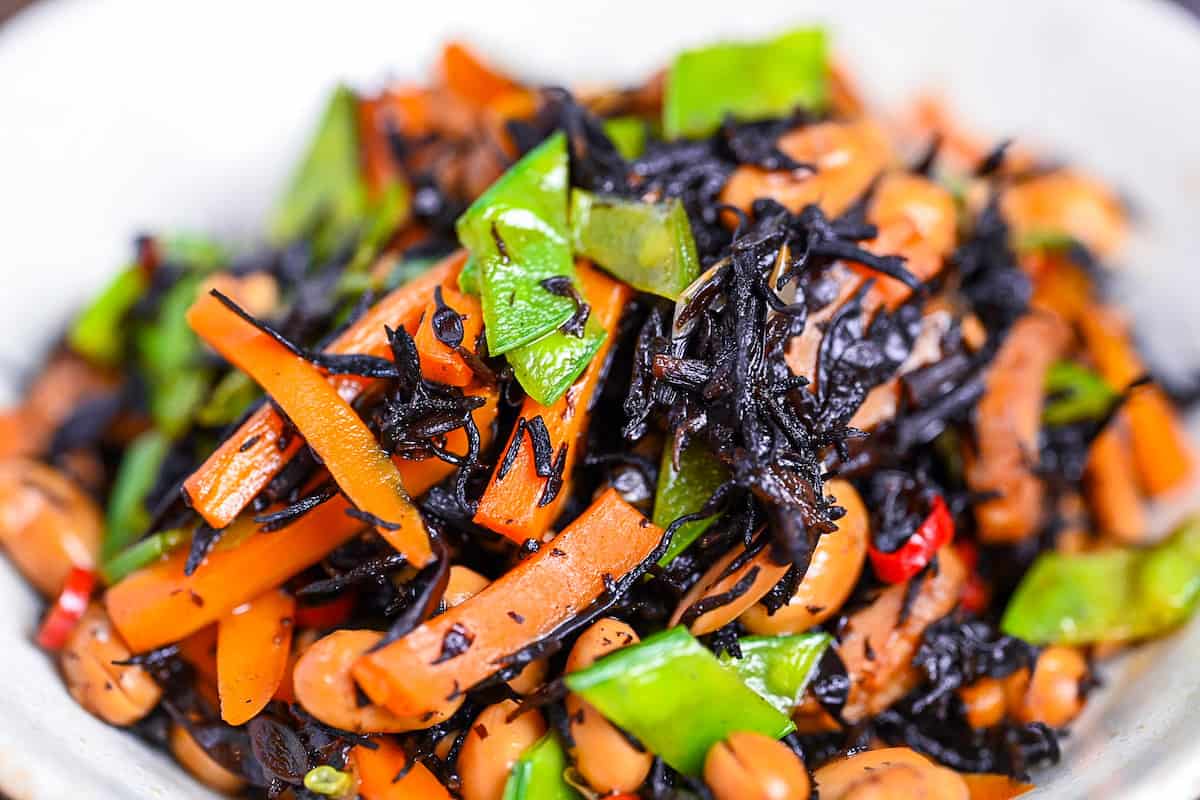
I hope you enjoy this Japanese Hijiki Salad recipe! If you try it out, I’d really appreciate it if you could spare a moment to let me know what you thought by giving a review and star rating in the comments below. It’s also helpful to share any adjustments you made to the recipe with our other readers. Thank you!
More Japanese Side Recipes
- Beef Shigureni (Simmered Wagyu with Ginger and Gobo)
- Dashimaki Tamago (Japanese Rolled Omelette with Dashi)
- Simmered Kiriboshi Daikon Radish
- Japanese Simmered Pumpkin (Kabocha no Nimono)
Want more inspiration? Explore my Side Dish Roundup Post for a carefully selected collection of tasty recipe ideas to spark your next meal!
Japanese Hijiki Seaweed Salad (Hijiki no Nimono)
Ingredients
- 20 g dried hijiki seaweed
- 100 g boiled soybeans (canned)
- 75 g carrot
- 1 chikuwa (Japanese fishcake) omit for plant-based diets
- 1 dried red chili pepper thinly sliced
- 10 snow peas
- 1 tbsp toasted sesame oil
- 2 tbsp sake
- 1 tbsp sugar
- 1 tbsp mirin
- 2 tbsp soy sauce
- 200 ml dashi stock use kombu/shiitake dashi for plant-based diets
Instructions
- Add 20 g dried hijiki seaweed to a bowl of cold water and leave to soak while you prepare the other ingredients. Start boiling a small pot of water.

- Pour 100 g boiled soybeans through a colander to drain.

- Peel and julienne 75 g carrot (thin strips), and thinly slice 1 chikuwa and 1 dried red chili pepper.

- Once the water is boiling, add 10 snow peas and blanch for 1 minute.

- Turn off the heat and use a mesh spoon to scoop out the snow peas. Run them under cold water to cool them down and cut them diagonally into thirds. Set aside for later.

- The hijiki seaweed should be rehydrated by now, so drain the water by pouring them through a fine mesh sieve.

- Heat a large frying pan on medium and add 1 tbsp toasted sesame oil. Once hot, add the hijiki, soybeans, chikuwa and carrot. Stir fry until the carrot is slightly softened.

- Add 2 tbsp sake, 1 tbsp sugar, 1 tbsp mirin, 2 tbsp soy sauce and 1 dried red chili pepper, and mix until evenly distributed.

- Add 200 ml dashi stock and turn up the heat to high. Bring to a boil and then lower to a simmer. Simmer until the liquid is almost gone and stir occasionally.

- Once the liquid is almost gone, add the snow peas, mix and remove from the heat.

- Serve and enjoy!


Leave a rating and a comment