Disclaimer: This post may contain Amazon affiliate links. Sudachi earns a small percentage from qualifying purchases at no extra cost to you. See disclaimer for more info.
Featured Comment:
“This is the best recipe. I tried it and it’s successful yummy.”
– @nxl3194 (from YouTube)
What is Matcha Ice Cream?
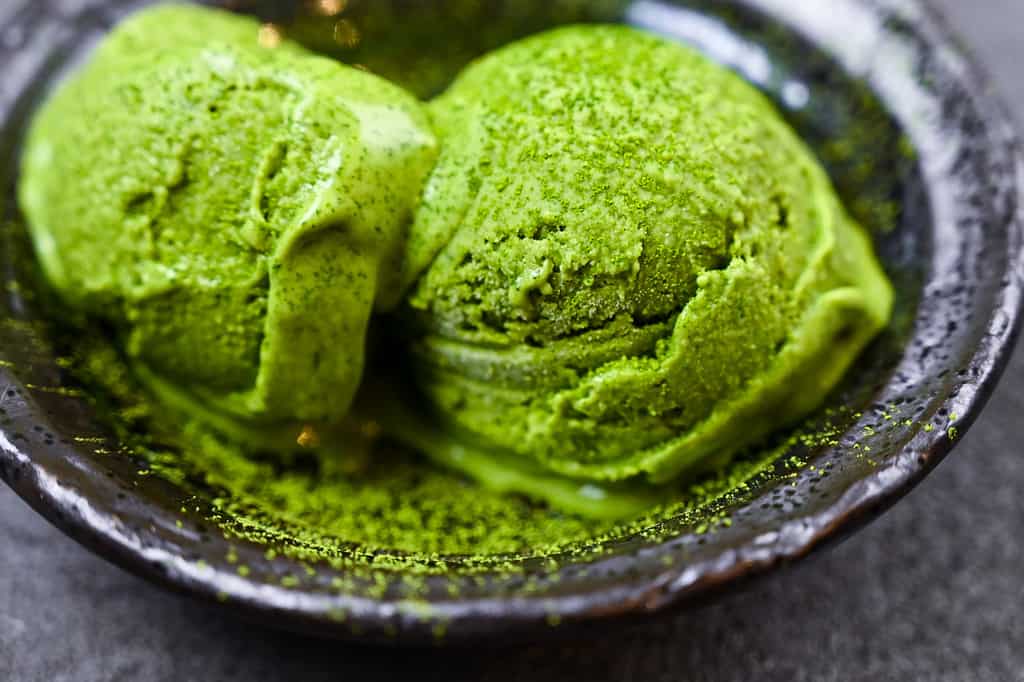
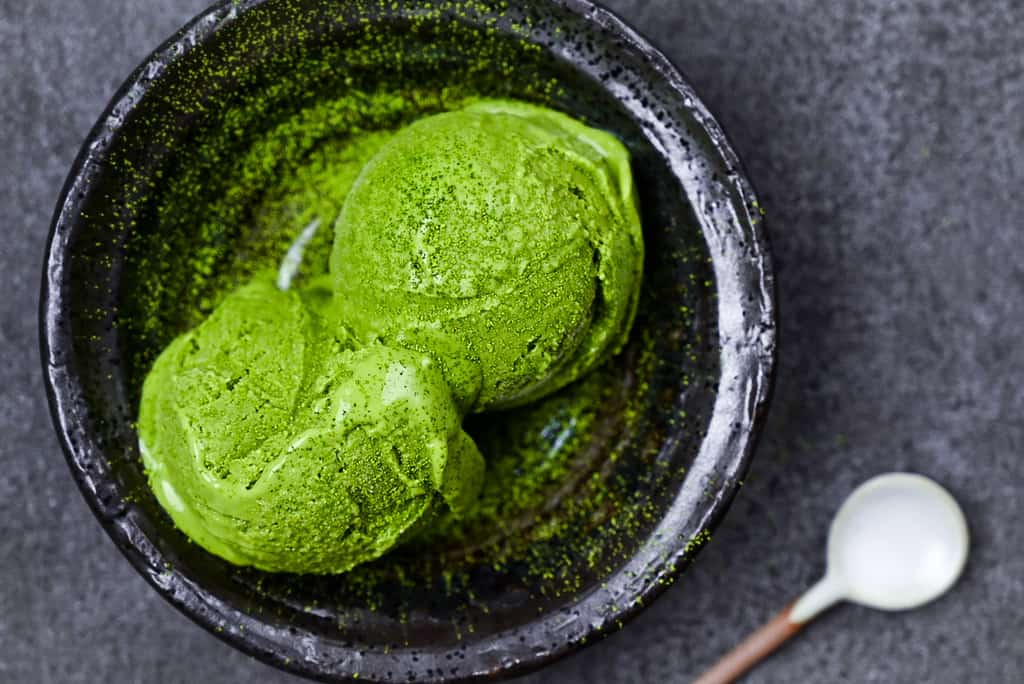
Matcha ice cream is a delicious dessert with a rich, earthy green tea powder. Matcha is made by grinding the leaves of the Camellia Sinensis plant into a fine powder. The leaves are grown in the shade for a few weeks before harvest to protect them from direct sunlight, maintaining their refreshing flavor and vibrant color. The stems and veins are then removed so that when it is grounded, it’s extremely fine.
Matcha can be quite expensive because of the care that goes into making it. The leaves are hand-picked and only the highest quality leaves are chosen. When it is grounded, it must be done slowly so that the taste isn’t altered by heat.
The flavor of matcha is quite strong, a little bitter, and earthy while still having a refreshing taste. It is a well-loved flavor in Japan and is commonly used for drinking, desserts, and snacks. Matcha ice cream is especially popular and can be eaten on its own or paired with a number of Japanese desserts such as parfait or anmitsu (a traditional dessert made with fruits and kanten jelly).
Types of Matcha
There are two main types of matcha.
- Ceremonial grade – This grade is made from the first leaves of the harvest, it has a refreshing flavor with a slight sweetness and very little bitterness. It is the most expensive type of matcha and is whisked with hot water to make matcha tea. As the name implies, the ceremonial grade is used for Japanese tea ceremonies.
- Culinary grade – Culinary matcha is made with slightly older leaves from the second harvest. The taste is more robust and slightly more bitter, which makes it ideal for use in sweetened beverages (such as matcha latte) and desserts.
Similar to coffee beans, matcha powder can vary in taste depending on where it is grown and how it is processed. This is true for both ceremonial and culinary grades. I advise testing different brands and choosing your favorite according to your preferences and intended usage.
Since matcha ice cream is sweetened with sugar and has a strong, creamy flavor, I recommend using culinary grade for this recipe. Save ceremonial grade for drinking.
How to Store Matcha Powder
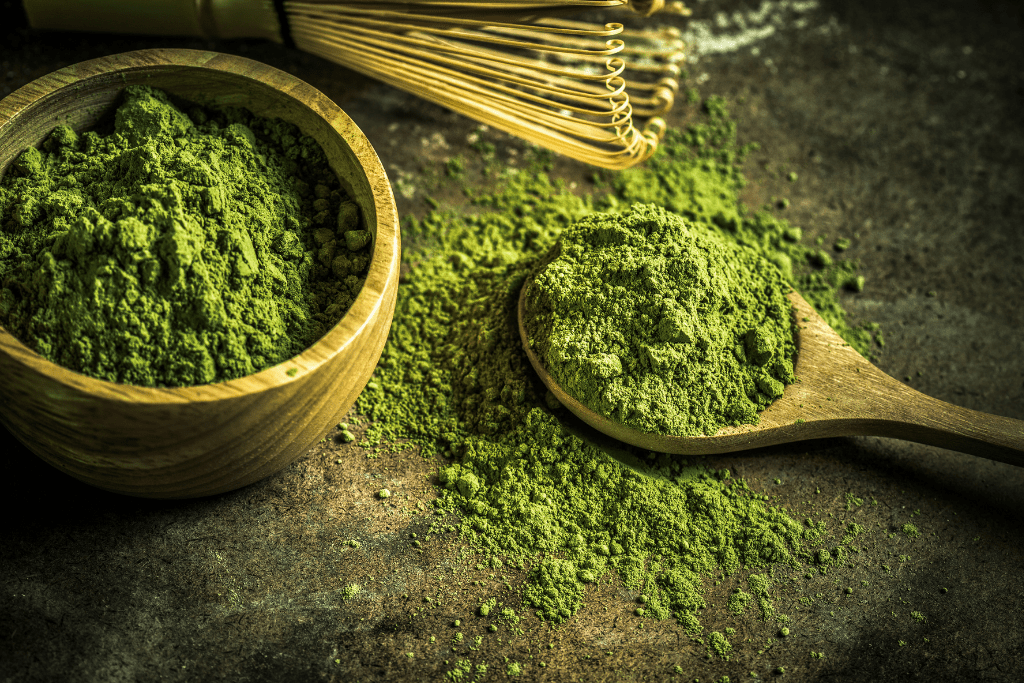
Once matcha powder is opened, it should be stored in an airtight, lightproof container and kept in the fridge or freezer. This is the best way to maintain the taste and color of matcha.
Matcha is very absorbent and tends to capture the moisture and smells around it. For this reason, it is crucial to keep it in an airtight container away from humidity and ingredients with strong odors, such as coffee or spices.
The repeated opening and closing of containers will cause oxidization and may allow humidity to enter the packaging, which will affect both the taste and texture. If you buy a large batch of matcha, it is recommended to divide it into smaller containers will prevent this to some extent.
Ingredients & Substitution Ideas
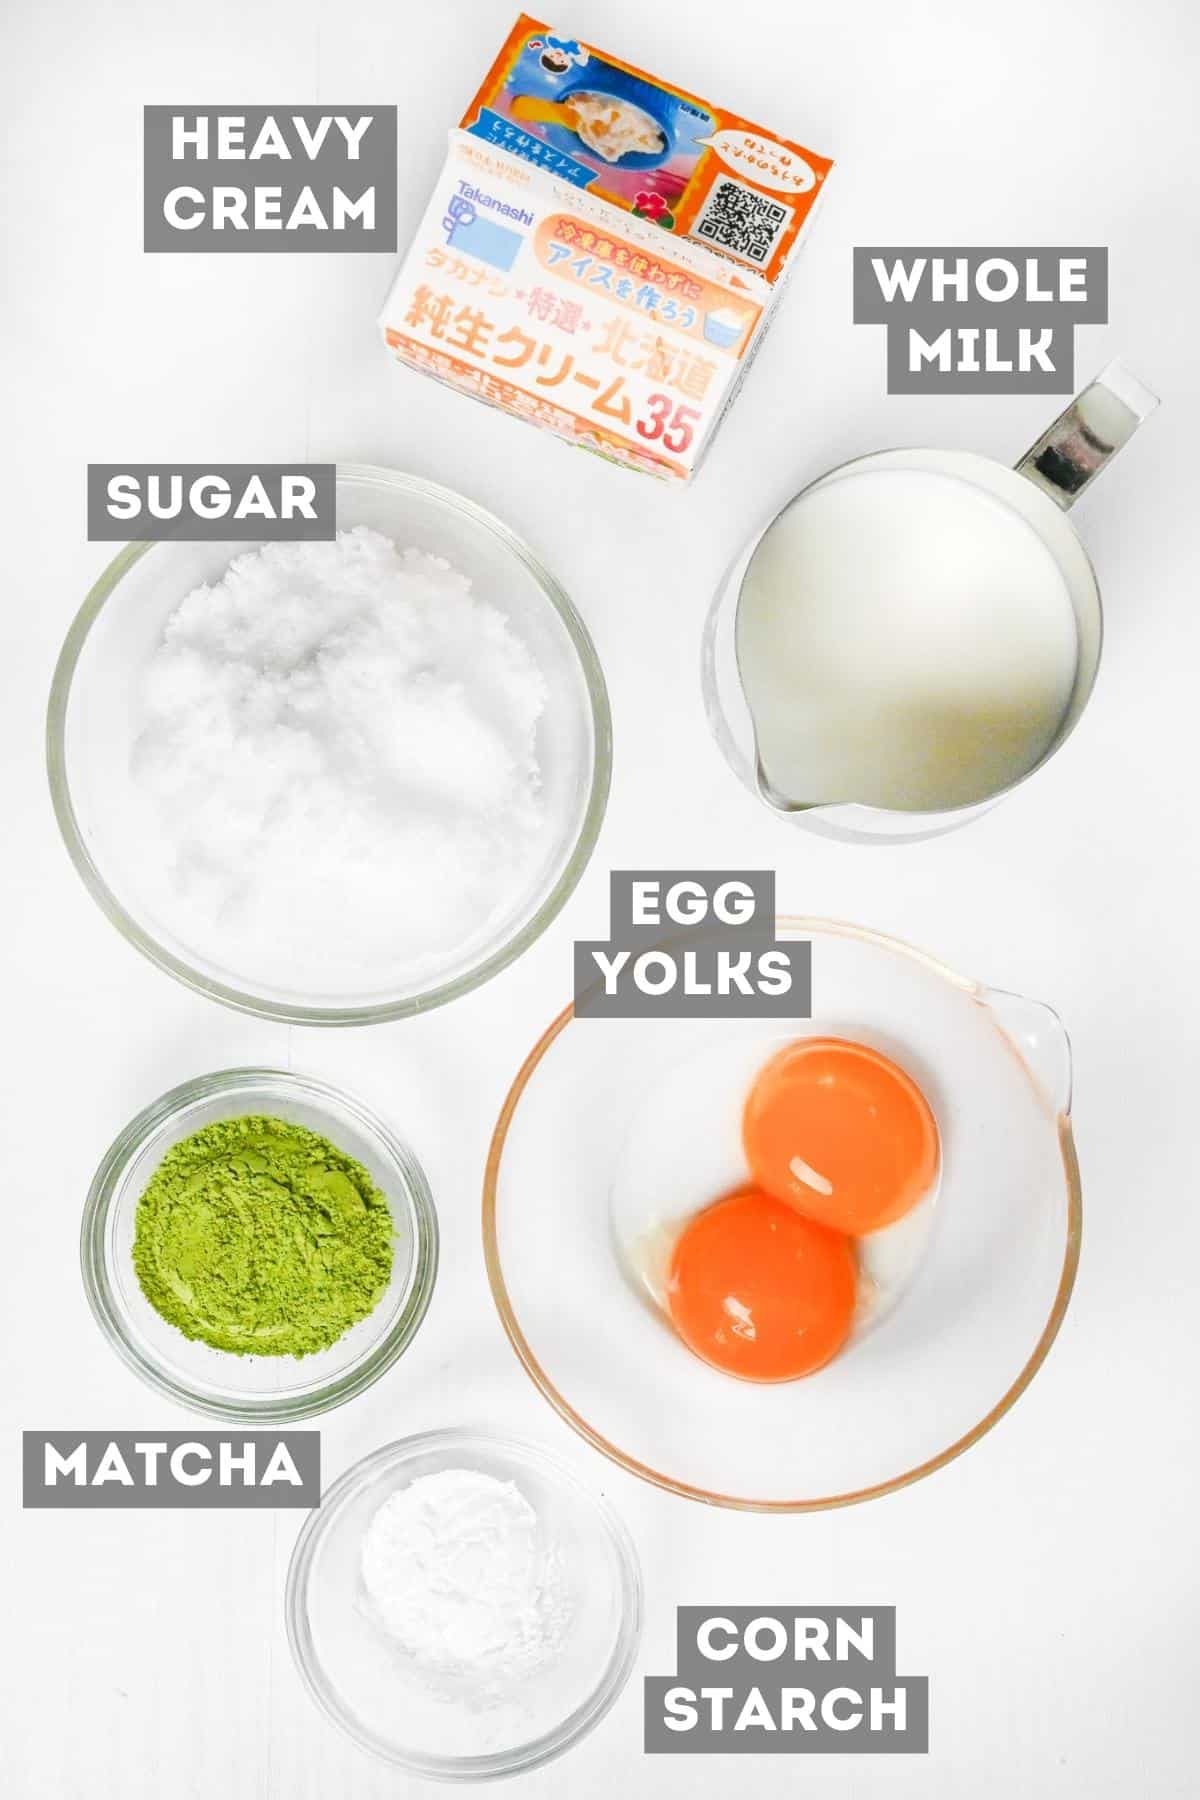
One of the best things about this recipe is the fact that it uses just a handful of simple, easy-to-find ingredients. To make this homemade matcha ice cream, you will need:
- Matcha powder – I recommend using a good quality culinary matcha powder for this recipe. Matcha that is bright and vibrant green will not only look better but taste better too. (Dull brown-ish matcha is not fresh and you will be able to tell by the taste!)
- Sugar – Regular white caster sugar is used not only to balance the taste of the matcha and add sweetness but also to lower the freezing point of the liquids in the ice cream. Adjusting the sugar can result in an ice cream that is either too hard or too soft so keep this in mind if you plan to adjust the sugar quantity.
- Egg yolks – Gives a richer and creamier flavor and texture. I recommend using pasteurized eggs for peace of mind.
- Whole milk and heavy cream – Combining these two ingredients results in a rich and creamy texture that can’t be beat! I don’t recommend using skimmed or low-fat milk in this recipe, but half-and-half can be used as a substitute. If using heavy cream, make sure it’s at least 35% milk fat for the best results.
- Cornstarch – Thickens the base mixture for the ice cream, which will help prevent ice crystals from forming when frozen.
Visual Walkthrough & Tips
Here are my step-by-step instructions for how to make Matcha Ice Cream at home. For ingredient quantities and simplified instructions, scroll down for the Printable Recipe Card below.
If you prefer to watch the process in action, check out my YouTube video of this recipe for a complete visual walkthrough!
Place a metal container with a lid in the freezer and chill. The night before is ideal, but just before you start will also kickstart the freezing process. I also recommend using a wide container rather than a tall one, this will also speed up the freezing process.
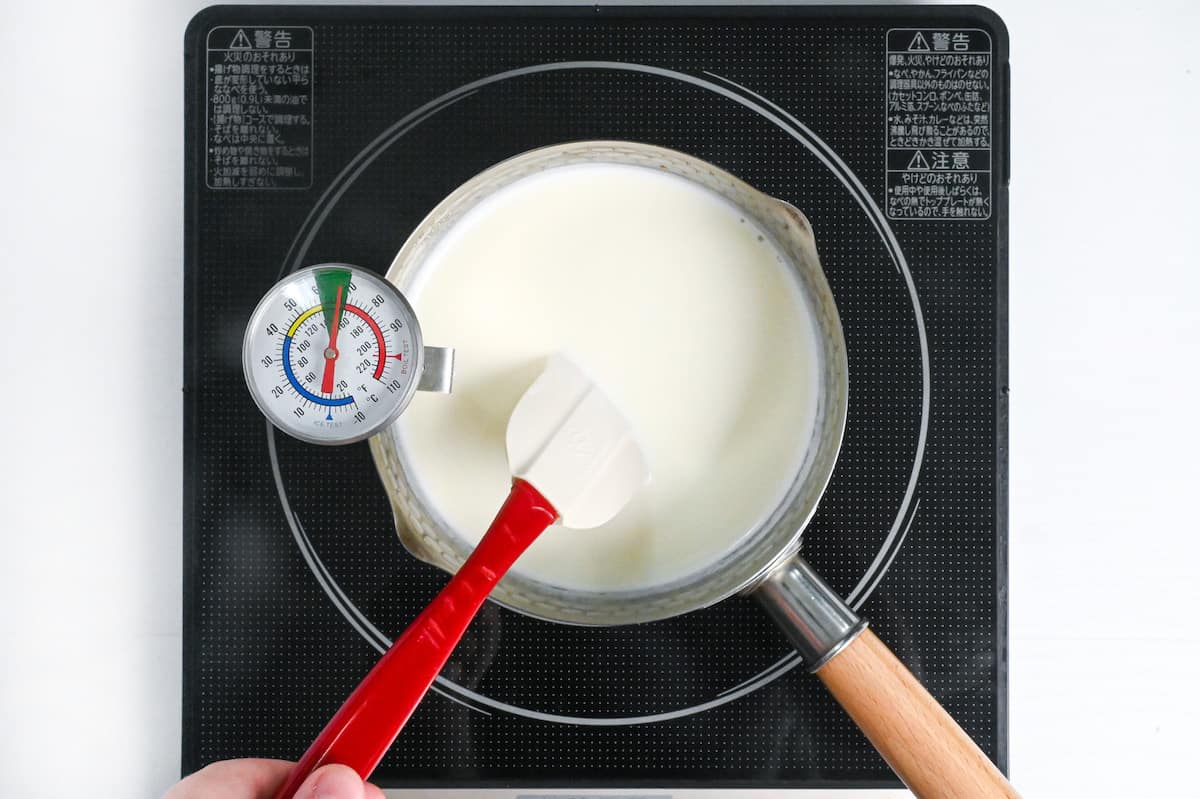
Pour the whole milk and heavy cream into a saucepan and heat on low. Stir continuously and bring the temperature to 60-70°C (140-158°F). If you don’t have a cooking thermometer, look out for small bubbles forming around the edge of the pan and then remove the pan from the heat. Be careful not to let the milk boil.
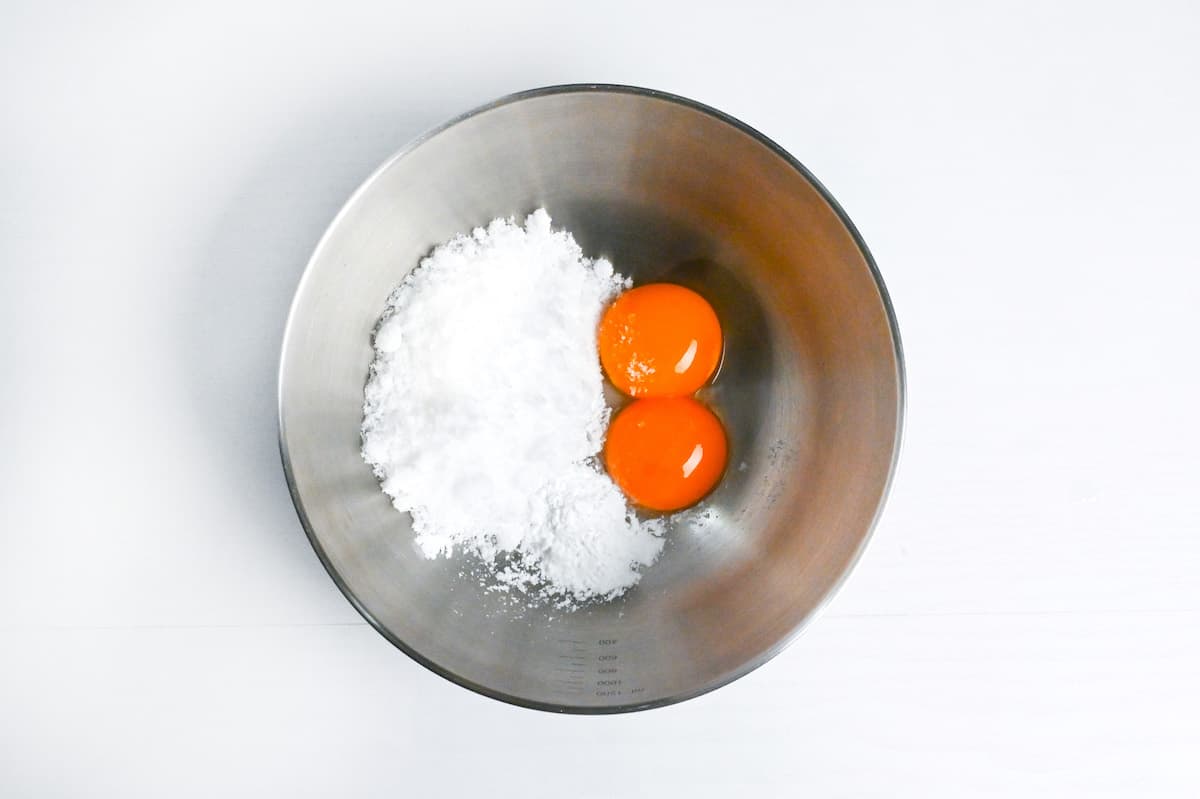
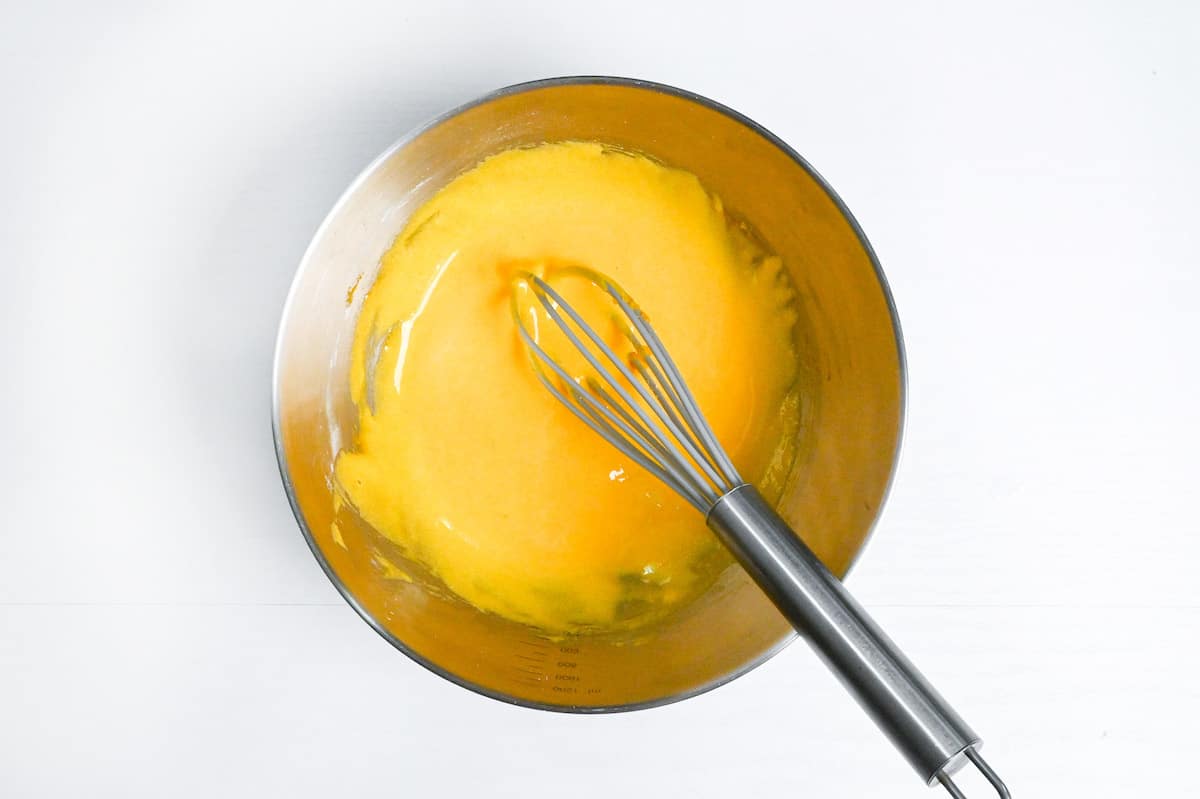
Add the egg yolks, sugar and cornstarch to a heatproof bowl and whisk until pale and smooth.
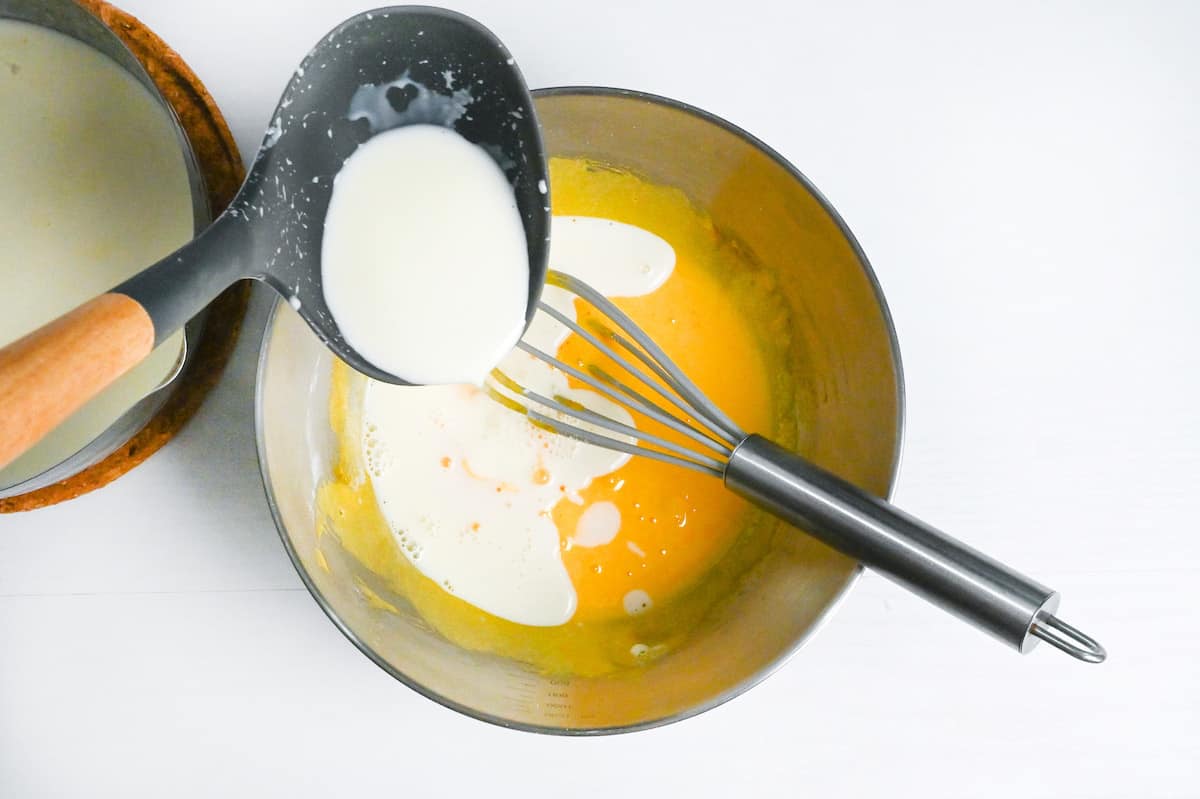
Pour a few tablespoons of the hot milk into the bowl while whisking. This will temper the eggs and prevent them from cooking too quickly and becoming lumpy.
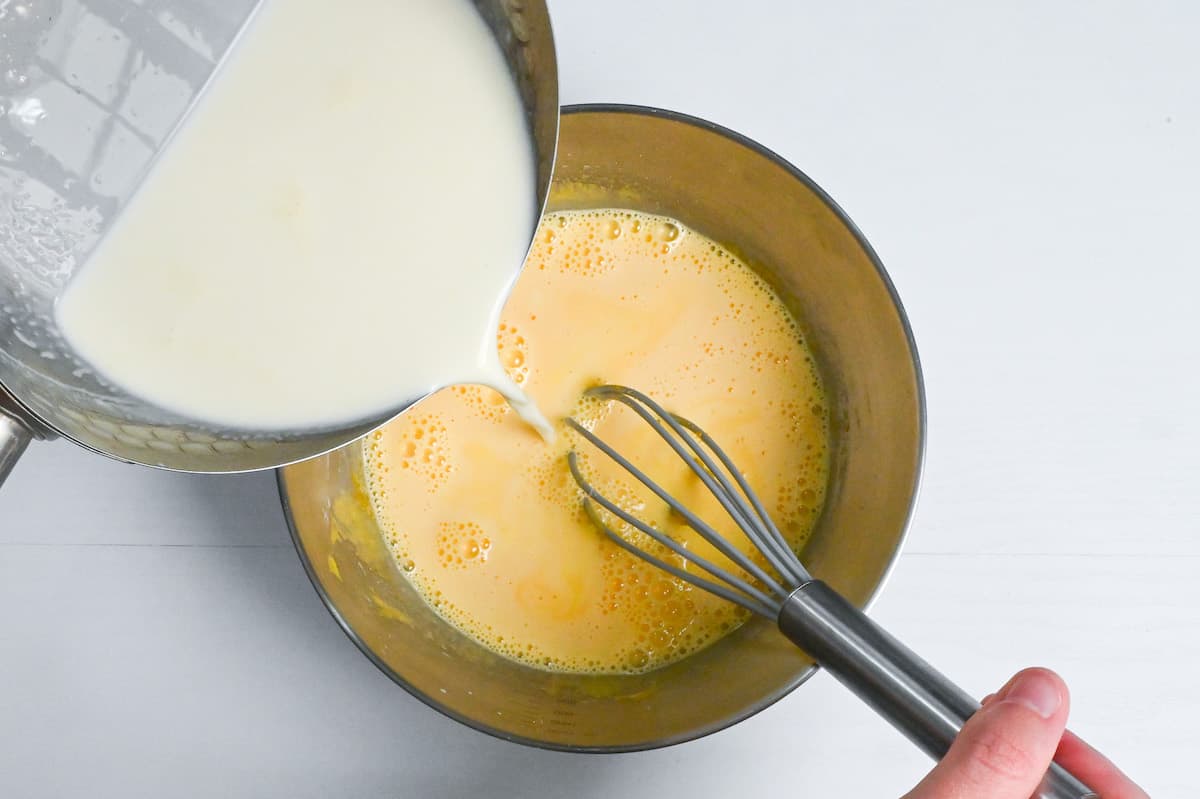
Once tempered, slowly add the rest of the milk and cream while whisking continuously.
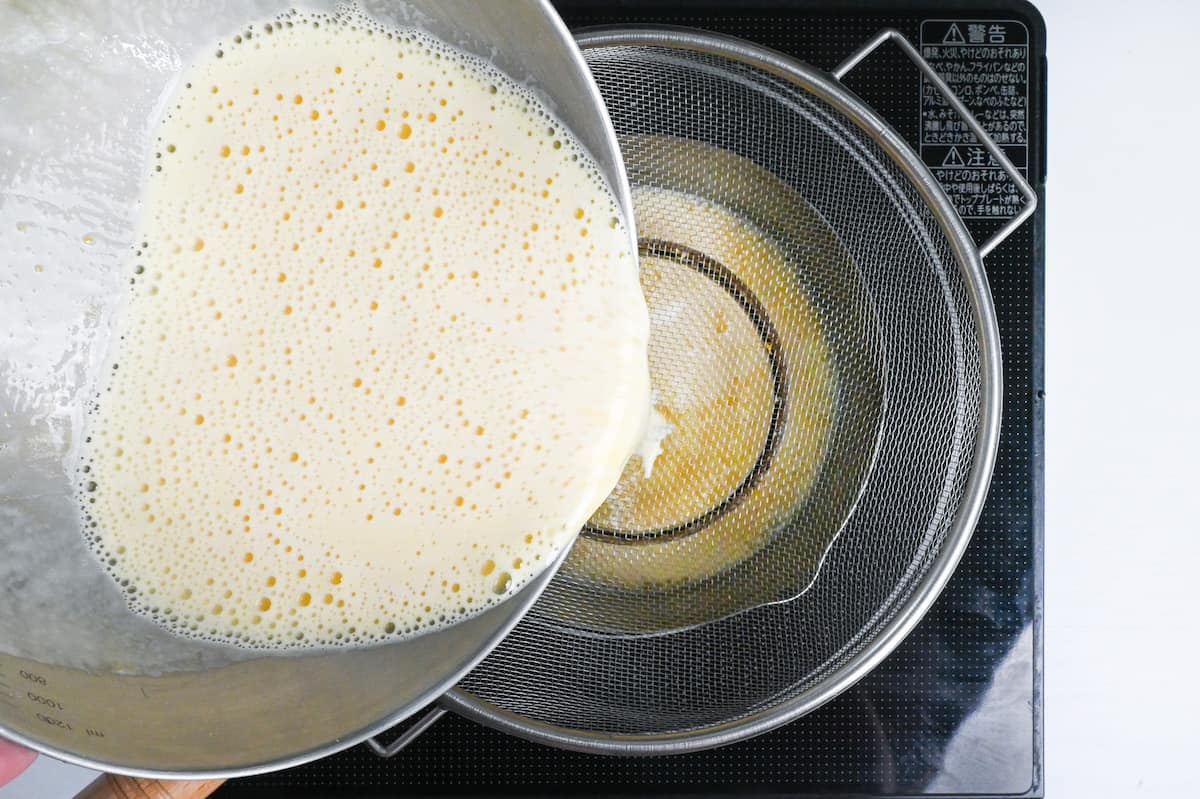
I like to wipe out the pan and pour the mixture back in using a sieve to ensure it’s lump-free.
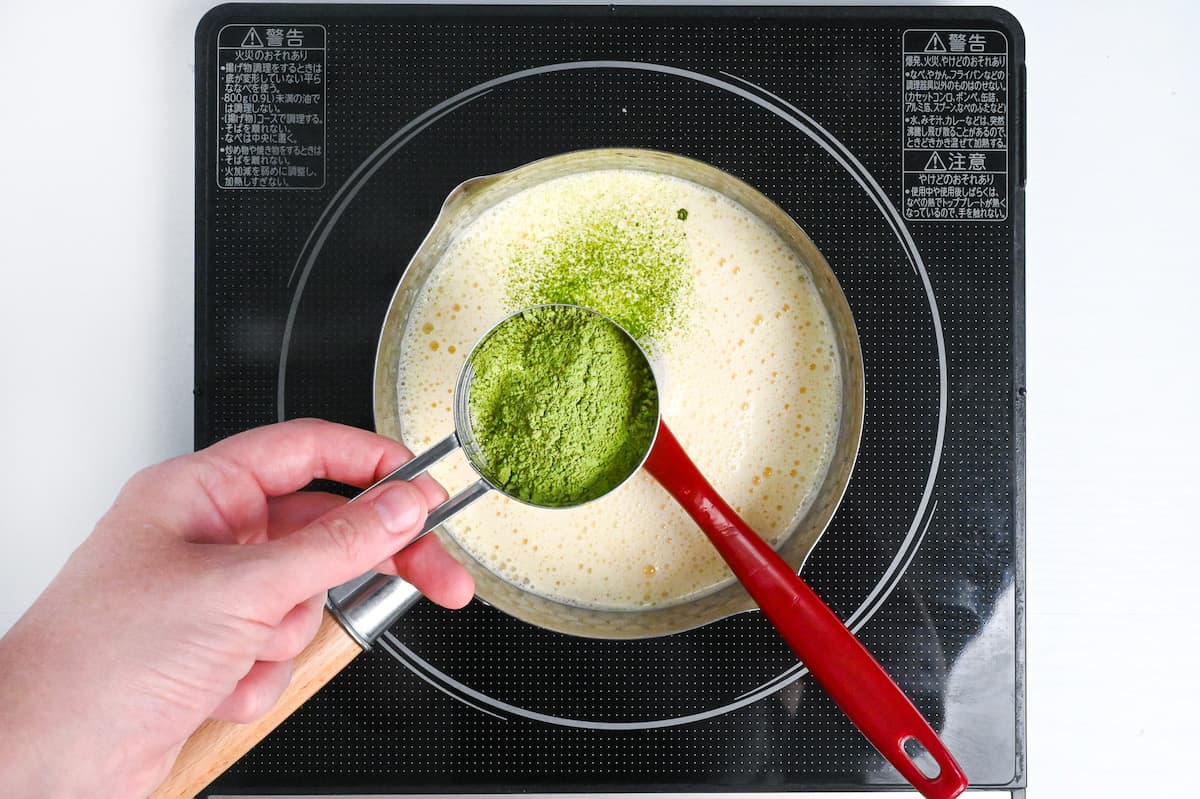
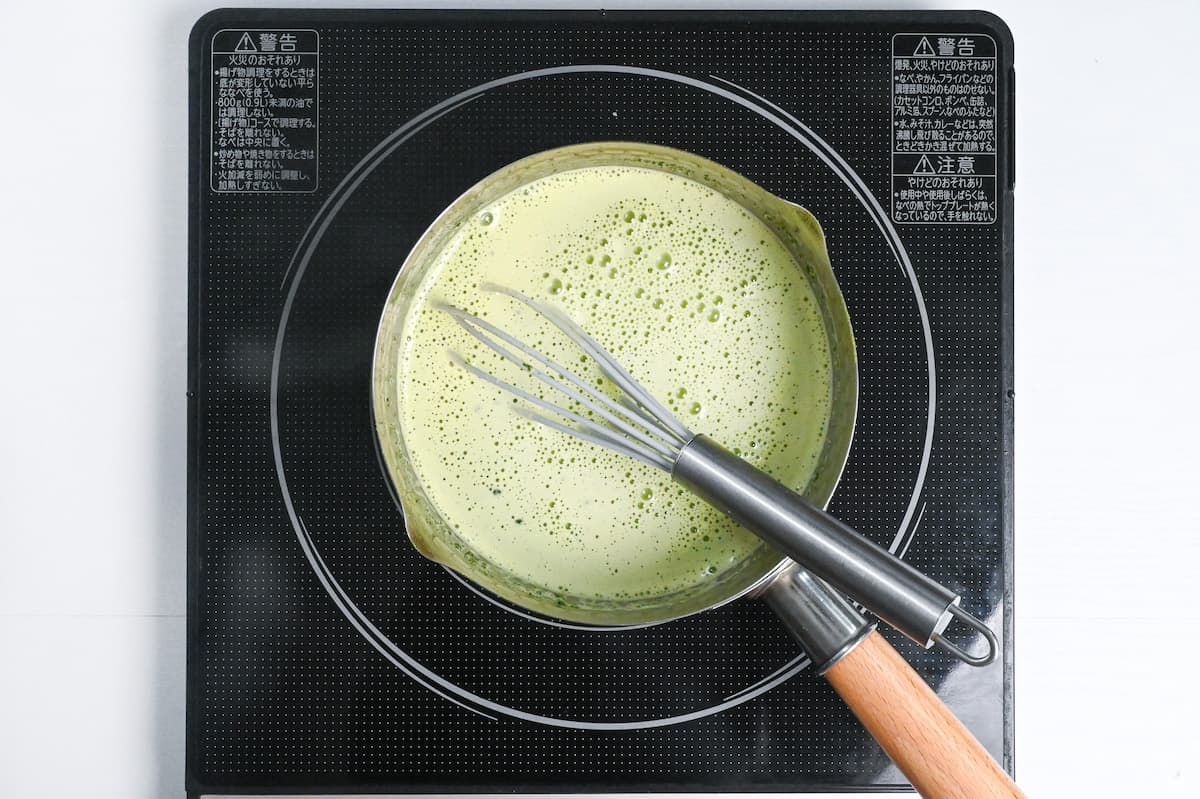
Sift the matcha powder into the ice cream mixture and then turn on the heat to low/medium-low.
Whisk until it’s fully incorporated. The mixture might become a little foamy, but the bubbles will disappear as it thickens.
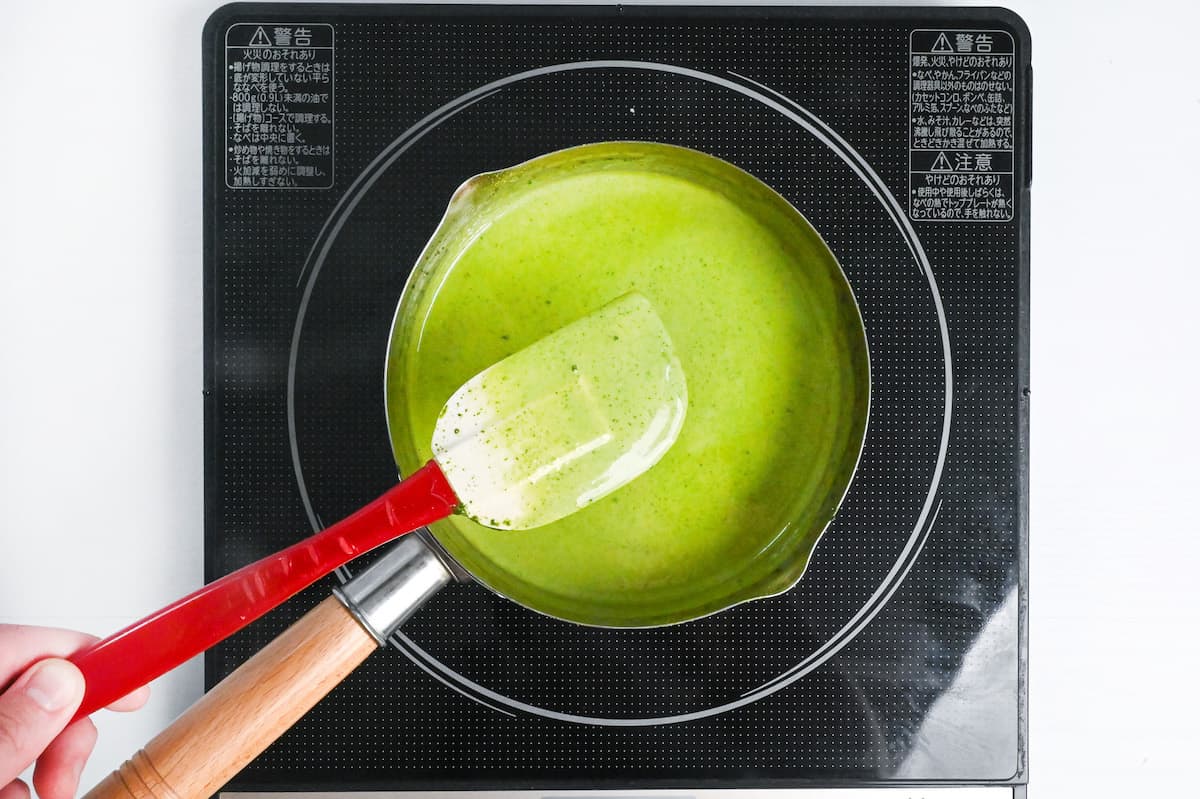
Stir continuously over the low heat and scrape the bottom occasionally to prevent burning. Remove the pan from the heat once the mixture reaches a thick, custard-like consistency that coats the back of a spoon.
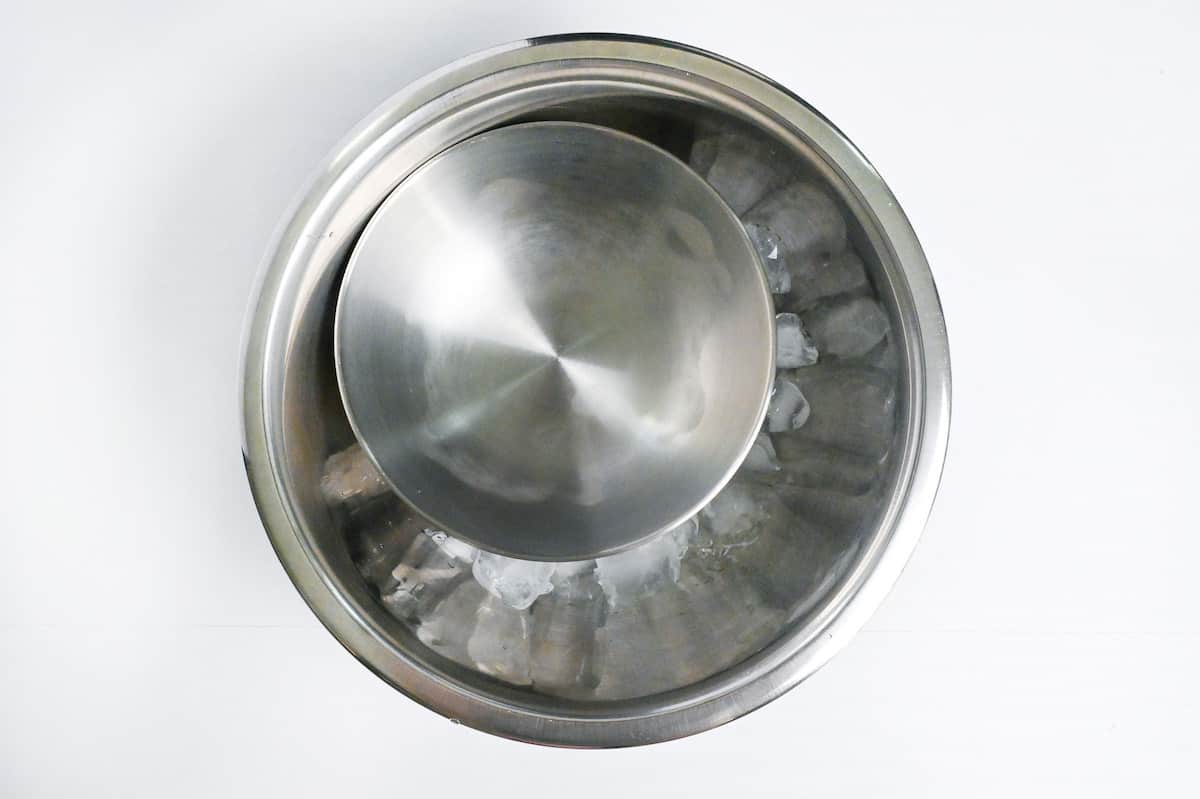
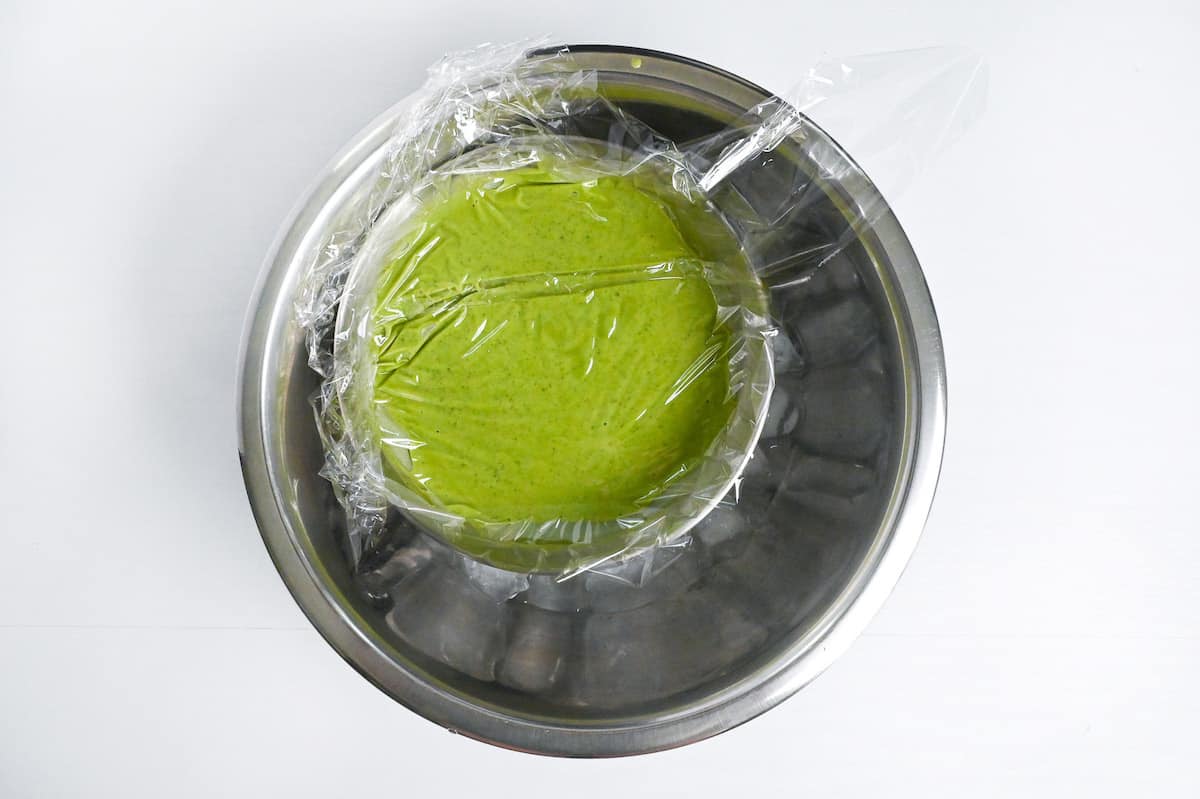
Place a metal bowl in an ice bath and pour the ice cream mixture inside. Lay a piece of plastic wrap over the top, touching the surface of the ice cream. This will stop a skin from forming on top.
Leave to cool for 10-20 minutes or until cool to the touch.
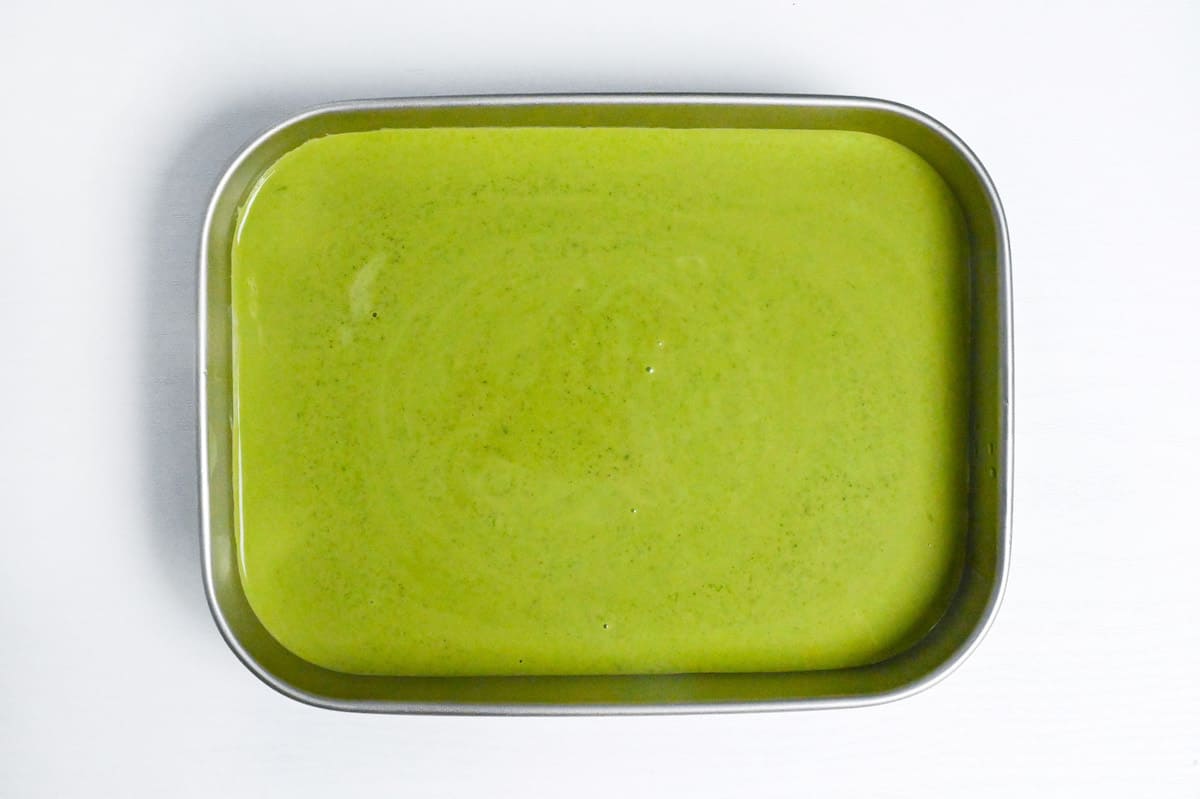
Take the chilled container from the freezer and pour the matcha ice cream mixture inside. Cover with a lid and place in the coldest part of the freezer for 30 minutes.
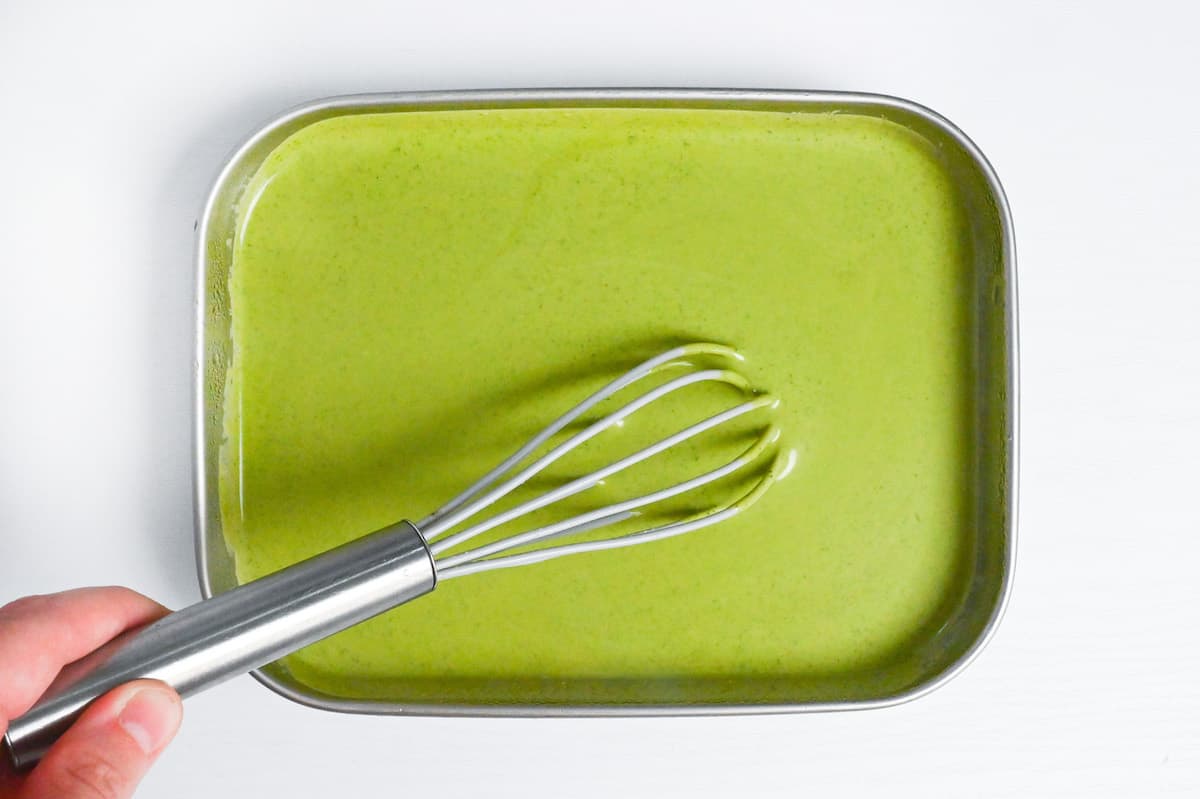
While the mixture is still soft, you can churn by whisking. Make sure to scrape down the sides and stir them into the middle so that the ice cream freezes evenly all over. I whisk for about 1 minute before placing it back in the freezer.
Continue to churn every 30-45 minutes for 3-4 hours (about 6 times in total). The more you churn, the smoother the ice cream will be so feel free to churn more if you have time.
Once it becomes too thick to whisk, switch to a spatula or spoon.
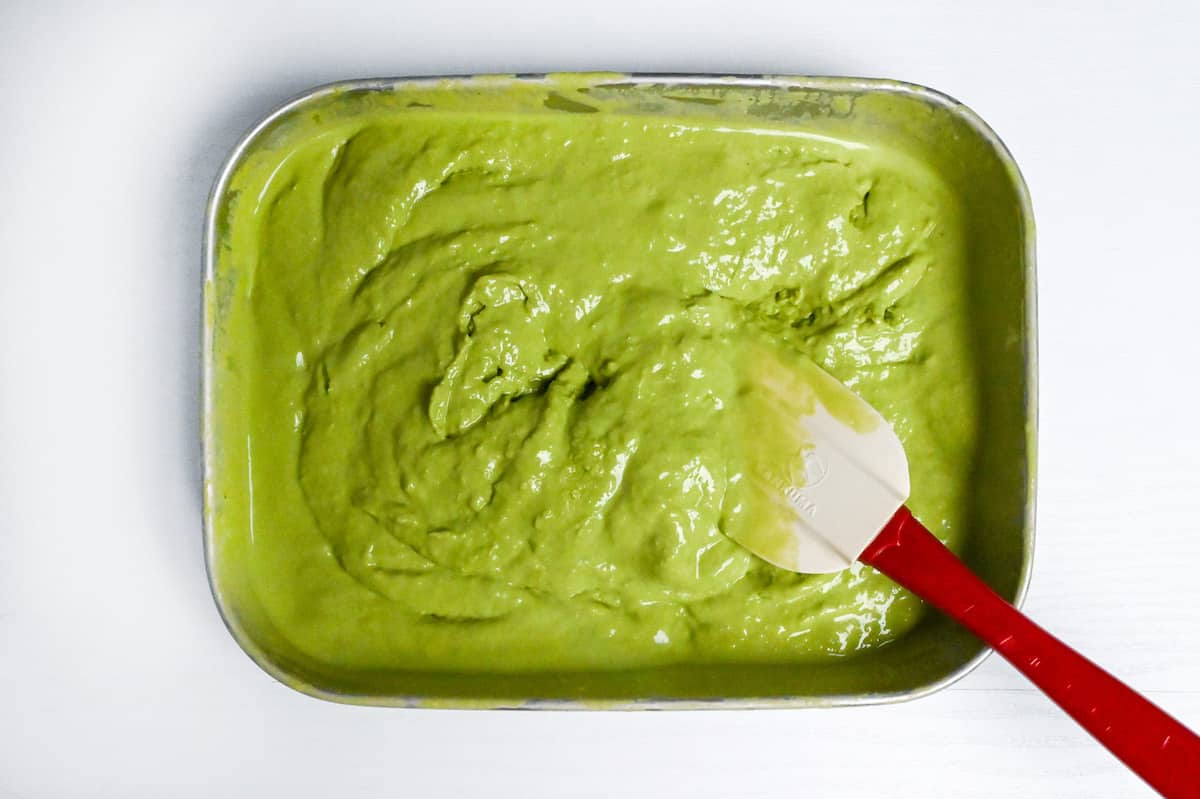
Once you’ve finished churning, freeze for about 2-3 hours. This can take longer, depending on the season or temperature of your freezer.
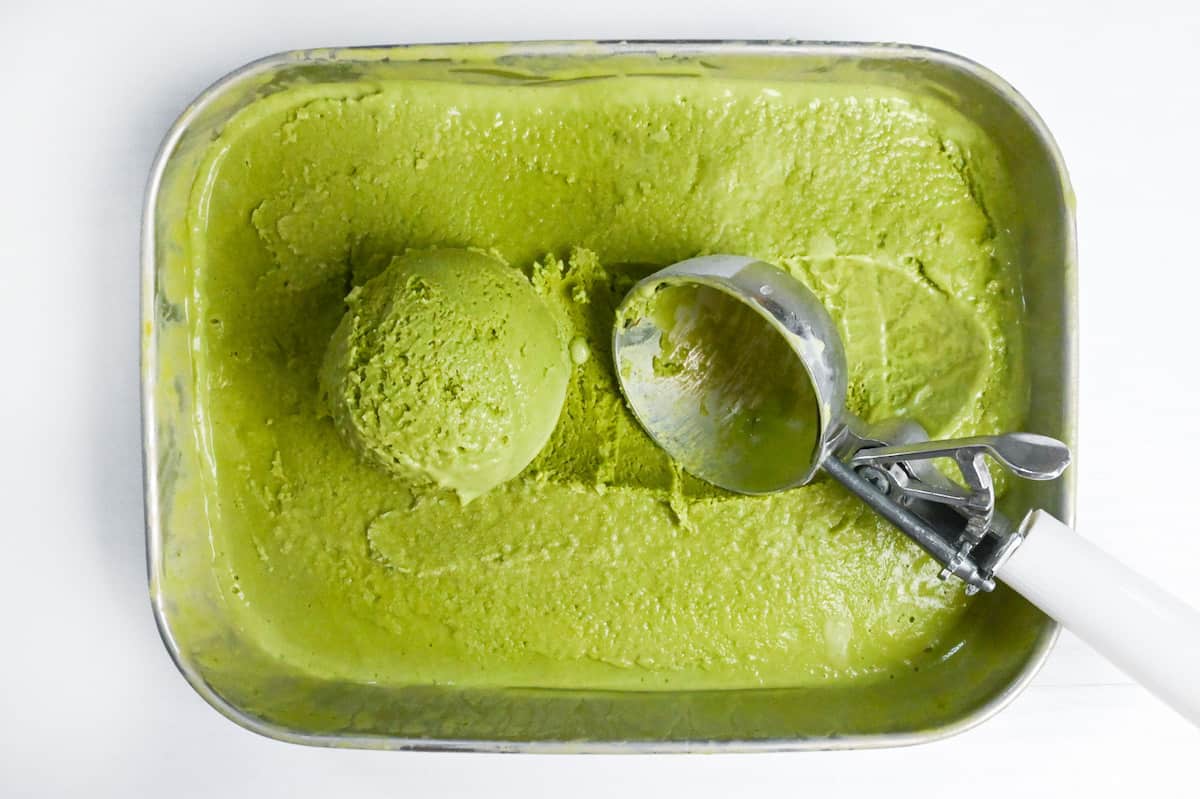
Remove your homemade matcha ice cream from the freezer 5-10 minutes before serving to make it easier to scoop.
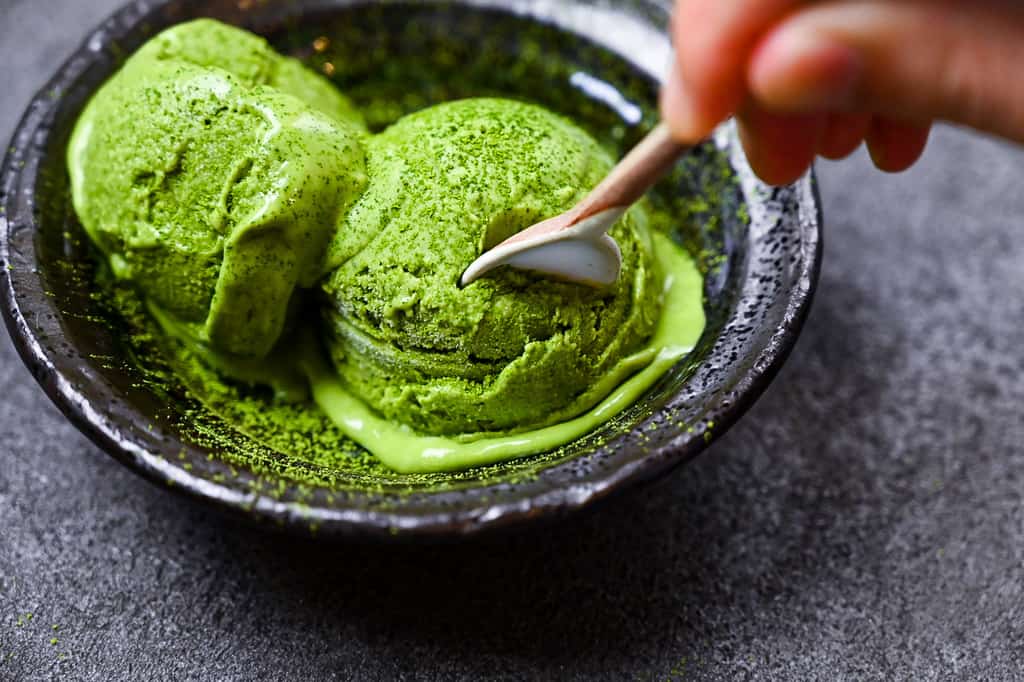
Serve on its own or as part of another dessert and enjoy!
This recipe is so good I recommend doubling it! Just keep in mind that it might take longer to freeze fully. If you decide to double or triple the recipe, you can speed up the freezing process by dividing it into batches.
Tips & Tricks
Here are my tips and tricks to help speed up the process of making ice cream from scratch at home!
- Use a metal container – Metal containers are ideal for freezing ice cream because they conduct heat extremely well. This is even more effective if you follow the next tip!
- Freeze the container in advance – Freezing the container while you make the ice cream will kickstart the freezing process when you add it in. If you remember, you can even place it in the freezer the night before!
- Use a wide container – A higher surface area helps ice cream freeze faster. Tall containers will take longer.
- Heat the milk and cream slowly – Prevent the milk and cream from splitting or curdling by bringing the temperature up slowly over a low heat. It takes more time, but you are less likely to scold the milk.
- Don’t boil – Boiling the milk will not only scold it and give it an unpleasant taste, but can also cause splitting or curdling. I recommend keeping the temperature under 70°C (158°F). If you don’t have a thermometer, just keep an eye out for small bubbles appearing around the edges.
- Cool the mixture thoroughly – Avoid adding hot ice cream mixture straight to the chilled container. I recommend cooling the ice cream in a bowl first (placing it in an ice bath will cool it even quicker). Some people say that chilling the ice cream in the fridge overnight will improve the texture too, so if you have time, feel free to do so!
- Use a timer – Setting a timer is a great reminder that it’s time to churn your ice cream!
- More churning = smoother ice cream – Regular churning helps break up the ice crystals and makes the ice cream smooth. I recommend churning 6 times every 30-45 minutes, but if you can churn more than that, please do! The more you churn, the smoother your ice cream will be.
How to Store
If you can wait, I recommend eating homemade matcha ice cream the next day. The flavors will settle and have more depth, and the texture will be properly set. Homemade ice cream should be stored in an airtight container to prevent freezer burn, and consumed within two weeks for the best flavor and texture.
FAQ
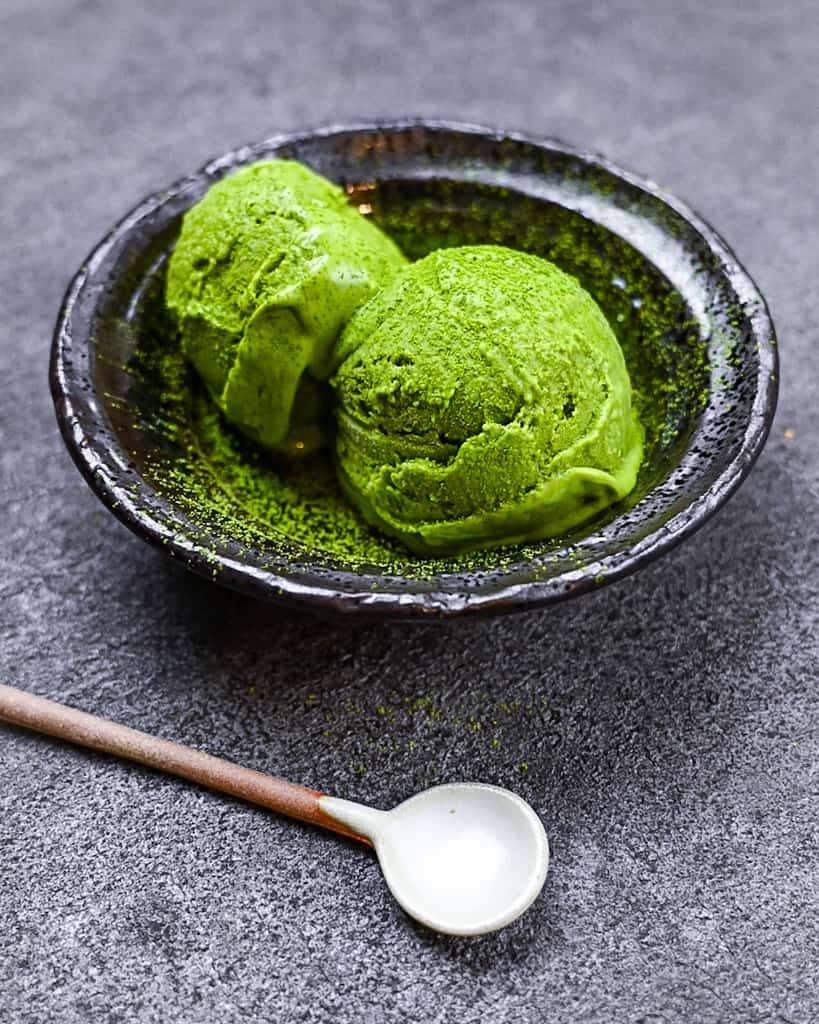
In terms of flavor, matcha ice cream ticks all of the boxes! It’s sweet, creamy, earthy, bitter and refreshing, perfectly balanced.
Matcha ice cream is usually shortened to “matcha aisu” (抹茶アイス) in Japanese.
Matcha ice cream is made of all the typical ice cream ingredients such as sugar, milk and cream, then simply flavored Japanese green tea powder (matcha). The strength of the matcha flavor depends on how much powder you use.
Matcha ice cream can be enjoyed on its own, but it is also great for making ice cream mochi, parfait or serving with traditional Japanese desserts such as “anmitsu”.
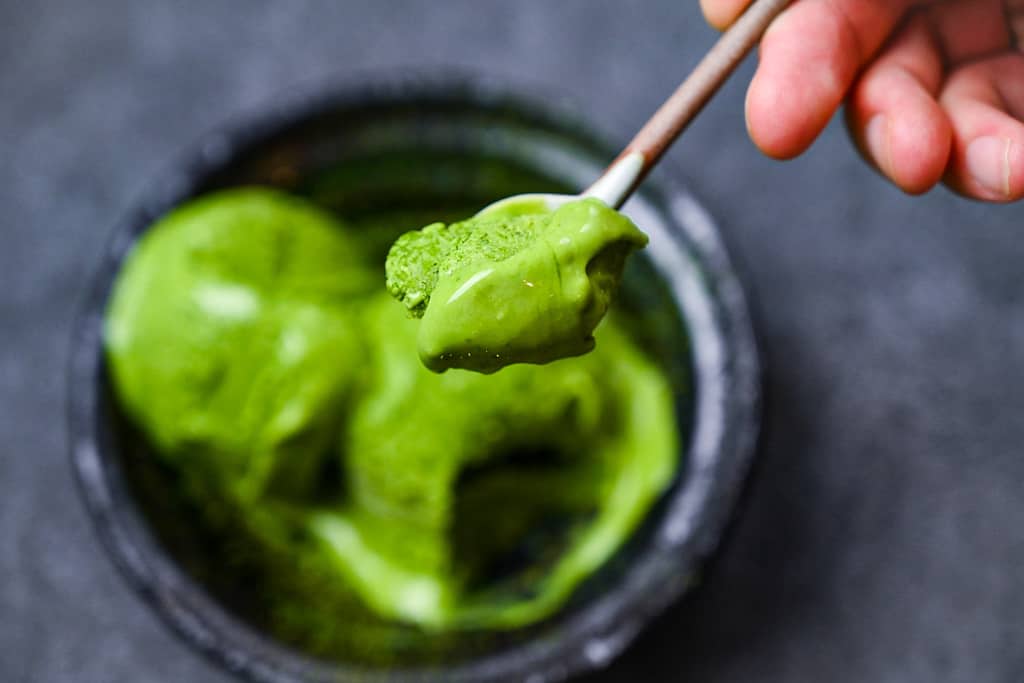
I hope you enjoy this Homemade Matcha Green Tea Ice Cream recipe! If you try it out, I’d really appreciate it if you could spare a moment to let me know what you thought by giving a review and star rating in the comments below. It’s also helpful to share any adjustments you made to the recipe with our other readers. Thank you!
More Matcha Recipes
- Cafe-Style Iced Matcha Latte
- Fudgy Dark Chocolate and Matcha Brownies
- Chewy Matcha and White Chocolate Cookies
- Fluffy Matcha Muffins
Want more inspiration? Explore my Japanese Dessert Roundup Post for a carefully selected collection of tasty recipe ideas to spark your next tea party!
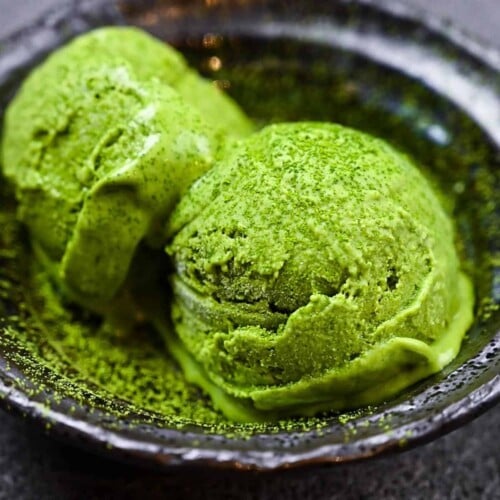
Matcha Green Tea Ice Cream
Ingredients
- 200 ml whole milk
- 200 ml heavy cream 35% milk fat or higher
- 2 pasteurized egg yolk
- 75 g sugar
- 1 tsp cornstarch
- 1 ½ tbsp matcha powder
My recommended brands of ingredients and seasonings can be found in my Japanese pantry guide.
Can’t find certain Japanese ingredients? See my substitution guide here.
Instructions
- Pour 200 ml whole milk and 200 ml heavy cream into a saucepan and heat on medium while stirring. Once bubbles start to form around the edges (or it reaches 60 °C (140 °F)–70 °C (158 °F)) remove it from the heat.

- Add 2 pasteurized egg yolk, 75 g sugar and 1 tsp cornstarch to a heatproof bowl and whisk until pale and smooth.

- Temper the egg mixture by adding 1 ladle of hot milk/cream to the bowl while whisking.

- Continue to whisk and gradually add the rest of the hot milk/cream.

- Wipe the residue off the pan and then pour the mixture back in through a sieve.

- Sift in 1 ½ tbsp matcha powder and then turn on the heat to low/medium low.

- Whisk thoroughly until the matcha is incorporated.

- Stir continuously using a silicone spatula and scrape the bottom to prevent burning. Once the mixture reaches a thick, custard-like consistency, remove from the heat.

- Transfer it to a steel bowl placed in an ice bath. Stir for a few minutes to release some of the heat, then cover the surface with plastic wrap to prevent a skin forming on the top. Leave to cool for 10-20 minutes.

- Once cool to the touch, transfer to a wide container with a lid and place in the freezer for 30 minutes. (Tip: It will freeze faster in a wide container rather than a tall one.)

- After 30 minutes, take it out from the freezer and whisk for 1 minute. Return to the freezer and churn every 30-45 minutes for 3-4 hours. (Set a timer so you don't forget!)

- If the mixture becomes too hard to whisk, switch to a spatula and make sure to scrape down the sides and mix them into the center.Once you've finished churning, freeze for about 2-3 hours. (It can take longer depending on the weather, the temperature of your freezer, and size of your container.)

- Remove from the freezer for 5-10 minutes before serving. (This will soften it slightly and make it easier to scoop.)

- Enjoy!


Leave a rating and a comment