Disclaimer: This post may contain Amazon affiliate links. Sudachi earns a small percentage from qualifying purchases at no extra cost to you. See disclaimer for more info.
What Are Udon Noodles?
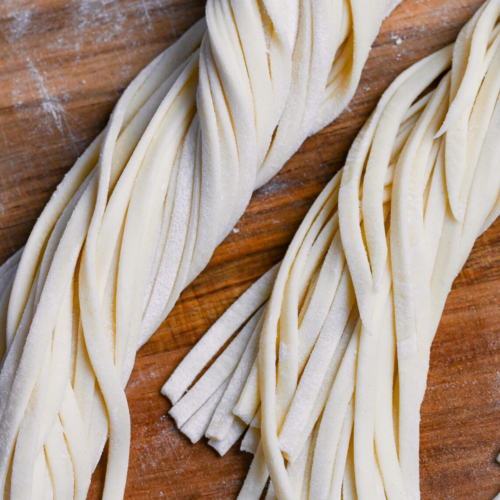
Udon (うどん) is one of Japan’s most popular noodles, made by a simple yet complicated process of kneading wheat flour with a small amount of salted water. It is a very versatile noodle that can be eaten hot in soups or stir fries, or cold in salads or with a dipping sauce.
Udon is said to have its roots in “konton (饂飩),” a dumpling-like food made from wheat flour with some fillings. This was introduced from China in the Nara period (710-794). It’s said that konton was eventually added to warm soup and eventually evolved into udon.
In modern Japan, udon is loved just as much as other noodles like soba and ramen! It’s a staple dish that’s eaten regularly in restaurants and at home.
You might think it’s easy to make it because the ingredients are just flour and salt water, but the simplicity of udon is what makes it so profound. In this article, I’m going to show you everything you need to know about making udon noodles from flour at home.


How I Developed This Recipe
When I take my first bite of homemade udon noodles, the chewy texture and firm bite transport me to another world. The experience is miles apart from anything I’ve tasted with dried, chilled, or frozen noodles.
Yes, making udon from scratch does take a little time, physical labor, and a cleanup job, but I truly believe it’s an experience everyone should have at least once. I promise you, the reward of slurping up these incredible noodles is well worth the effort!
In this comprehensive guide, I’ve gathered all the tips and tricks I’ve learned for making the perfect homemade udon noodles. The reading may seem long, but I promise it’s packed with interesting insights!
Key Ingredients & How to Choose Them
As I’ve mentioned many times, the only ingredients needed for udon noodles are flour, water, and salt. Therefore, it’s important to choose these ingredients carefully.
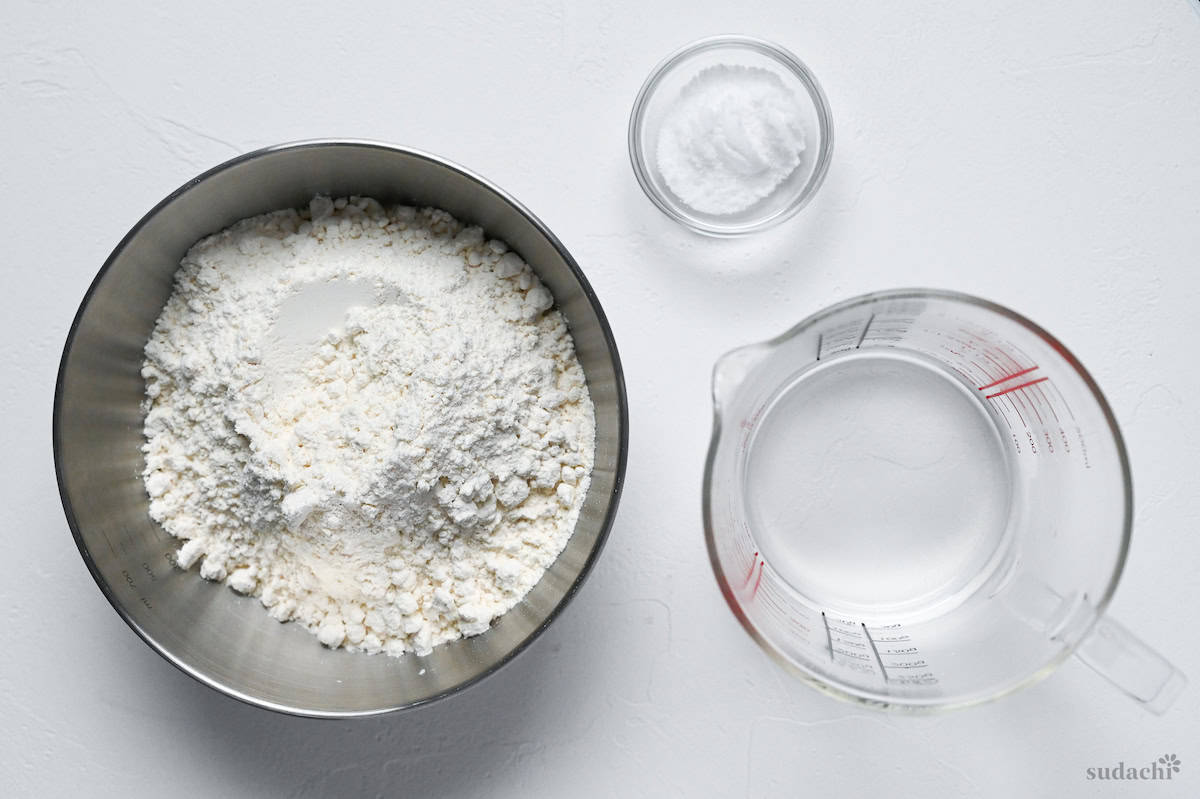
Here are the key points to consider when selecting these three ingredients.
1. Flour
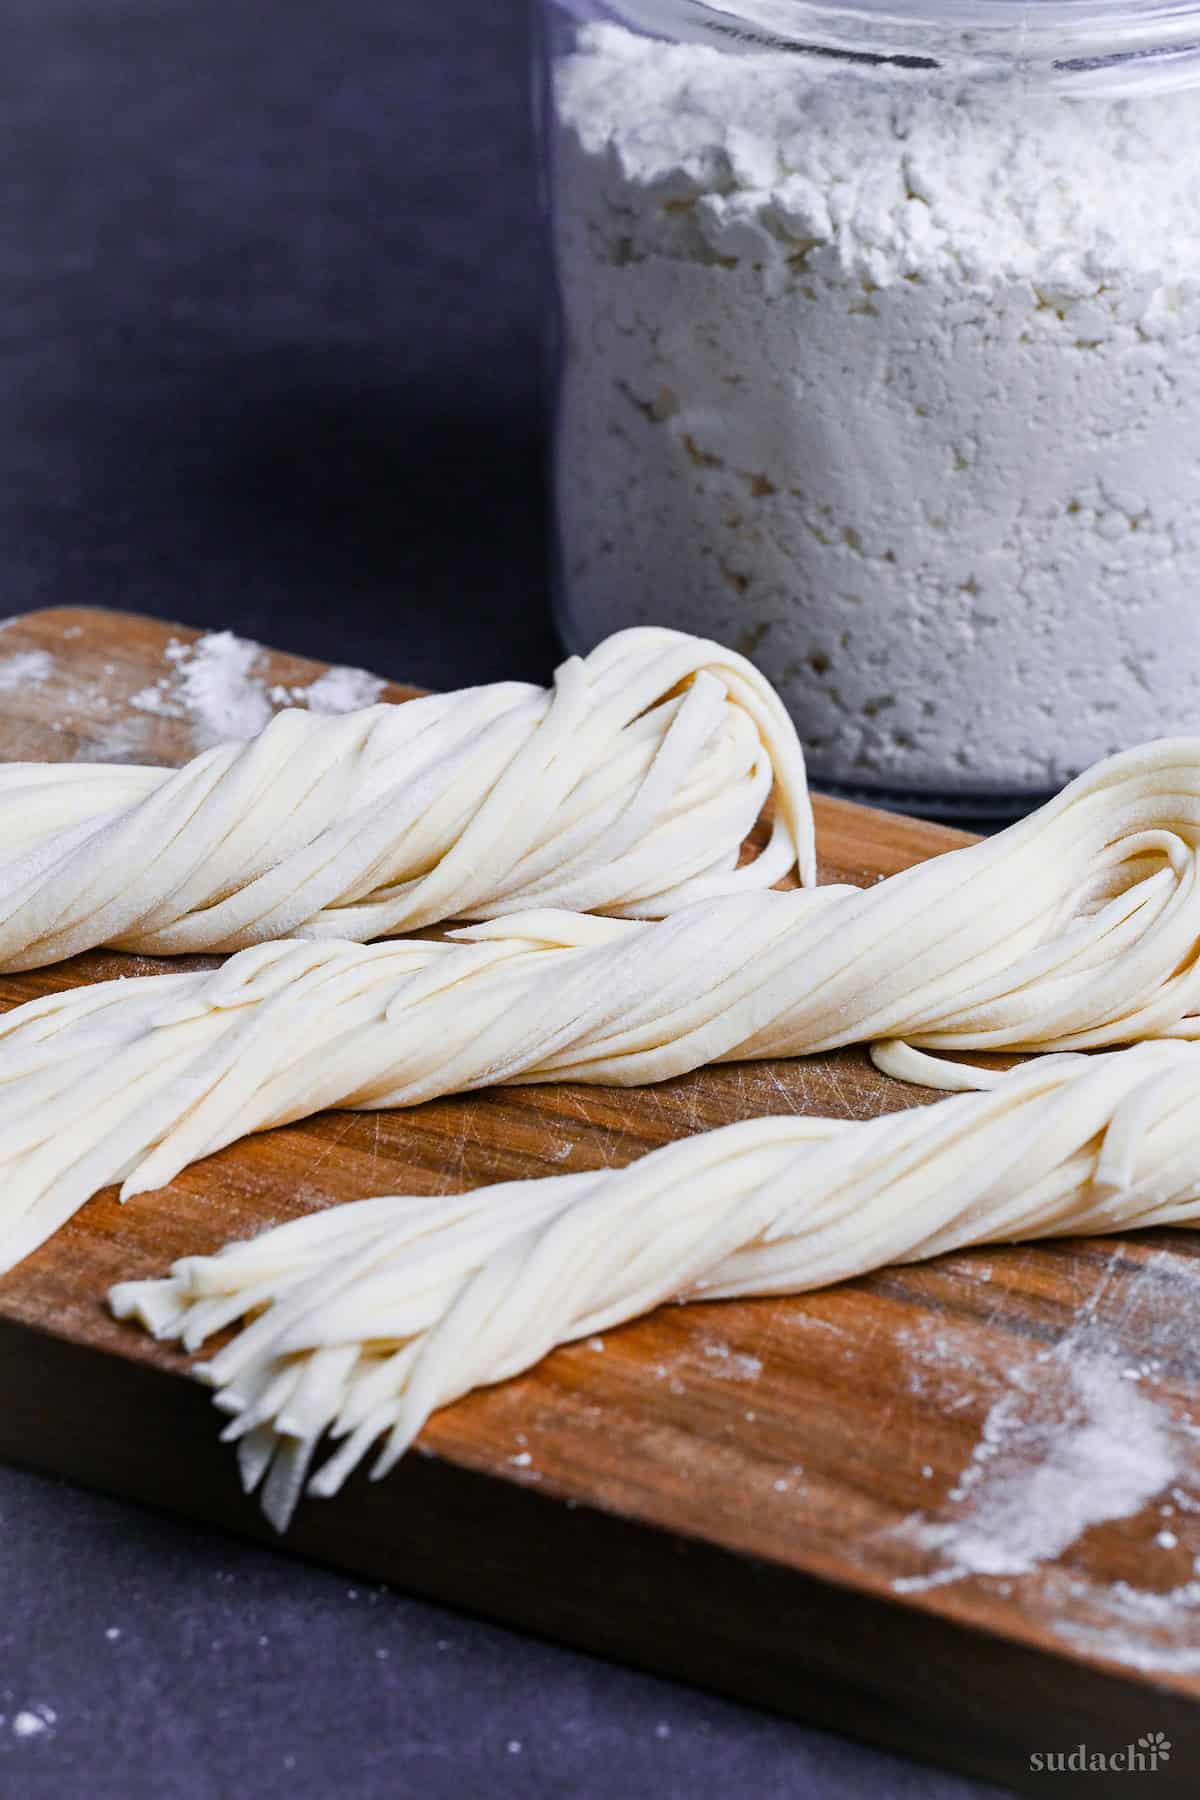
First, let me tell you that the flour used for udon is all-purpose flour. In Japan, it is called Churikiko (中力粉) because of its medium gluten content.
- Cake Flour (Hakurikiko): Low gluten content and fine particle size. When used in cooking, it produces a “fluffy” and “crispy” texture. Major uses of light flour include cakes and tempura.
- All-Purpose Flour (Churikiko): Everything in the middle. It is commonly used for udon and somen noodles due to its moderate viscosity and elasticity, resulting in a slightly chewy texture.
- Bread Flour (Kyorikiko): High gluten content and coarse particle size.
So, when making udon noodles, all-purpose flour is the best choice as it provides an elastic texture without being too hard. Be sure to use unbleached all-purpose flour for the best results.
Interestingly, many udon specialty restaurants in Sanuki, Kagawa Prefecture, also known as the udon kingdom, use an all-purpose flour made from Australian Standard White (ASW). While I don’t have a particular brand name or specific recommendation, the popularity of this Australian wheat in the region is noteworthy.
If you live in Australia, consider making udon using all-purpose flour made from ASW.
2. Water
You might think that all water is the same, but that’s not quite true! Guess what? In fact, there are two types of water: soft water and hard water. In Japan, most of the tap water and mineral water we drink is soft water, which is why udon noodles are also made with soft water.
Soft water has a low mineral content, which softens the texture of the noodles and allows them to stretch well. Hard water, on the other hand, has a high mineral content, which can make the noodles a bit harder and make them more difficult to stretch.
So if you can, I’d highly recommend using soft water when making udon noodles at home.
3. Salt
The first thing you need to do to make udon is mix water and salt to create a brine. So, it’s really important to use salt that’s easy to dissolve in water. I wouldn’t recommend using flaky, hard-to-dissolve coarse salt.
When it comes to the type of salt, I’d highly recommend using sea salt.
Sea salt is a great choice because it’s richer in minerals than refined salt. This not only adds a unique flavor to the udon, but it also makes the udon dough more elastic!
Equipment That I Used
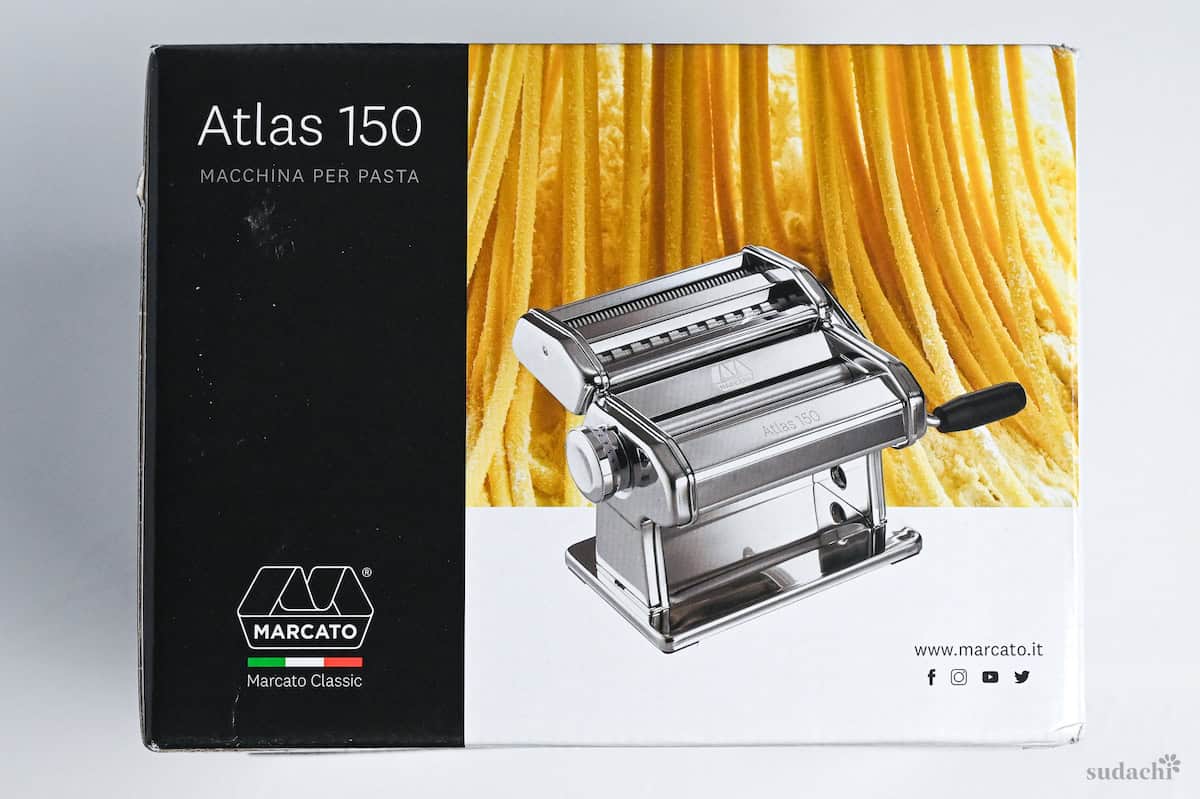
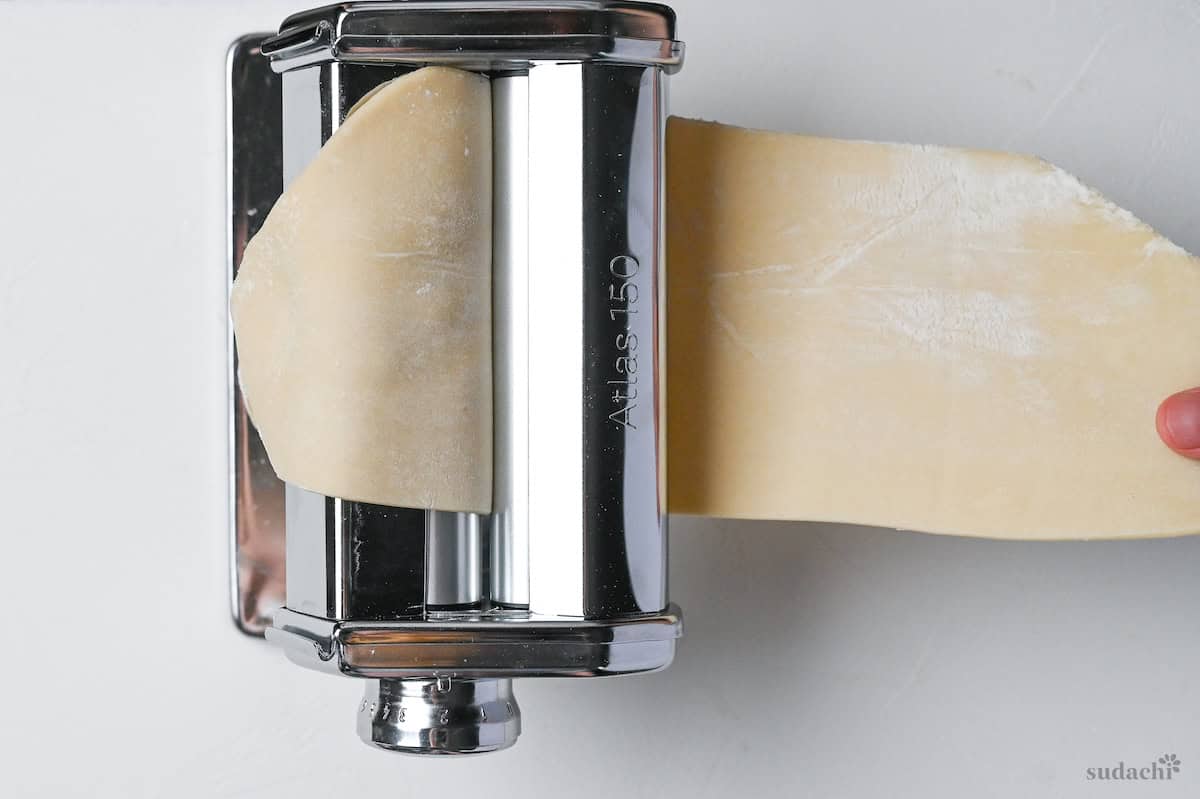
The good news is, you don’t need any special equipment when making homemade udon noodles! All I used was a manual pasta machine, and I’ve got my trusty Atlas 150 (it doesn’t have to be this one, though).
However, udon dough is really easy to work with and udon noodles are known for being thick, so the manual stretching and cutting method will work just fine as well!
That being said, I’ve found that it’s easier to make udon noodles with a pasta machine. And the best part is, you can use it to make pasta, ramen noodles, and soba noodles too! If you love noodles, I highly recommend getting one for your kitchen!
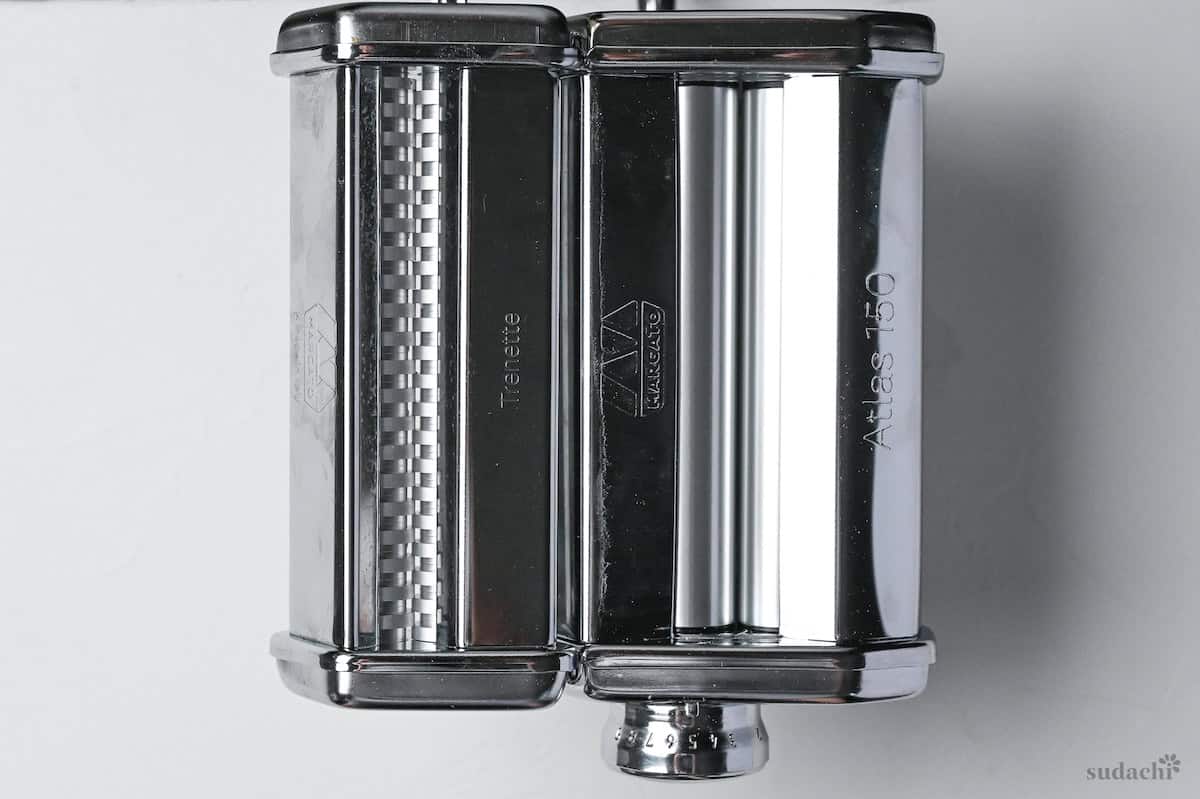
Oh, and if you use a pasta machine like I do, you can use a trenette or bigoli blade attachment to make this recipe.
Visual Walkthrough & Very Important Tips
Here are my step-by-step instructions for how to make Authentic Udon Noodles at home. For ingredient quantities and simplified instructions, scroll down for the Printable Recipe Card below.
This section aims to provide a comprehensive overview of the cooking steps and techniques with visuals. It also includes more in-depth tips and tricks and explains why I do what I do.
First, mix the salt and water together in a jug, stirring until the salt is completely dissolved.
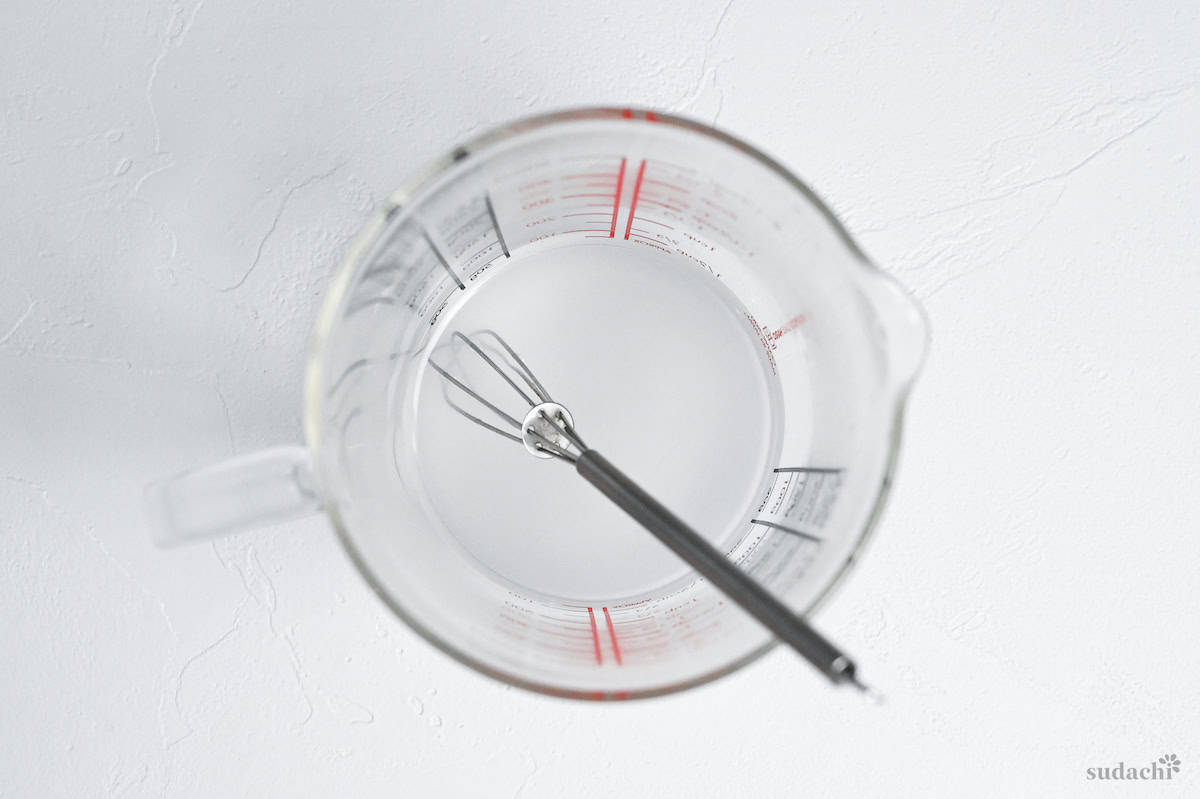
As I mentioned earlier, it’s really important to dissolve the salt well when making the brine to ensure it is evenly spread through the dough. Make sure you use a type of sea salt, that is easy to dissolve in water.
Salt is an absolutely essential ingredient for udon dough, as it helps to tighten the dough.
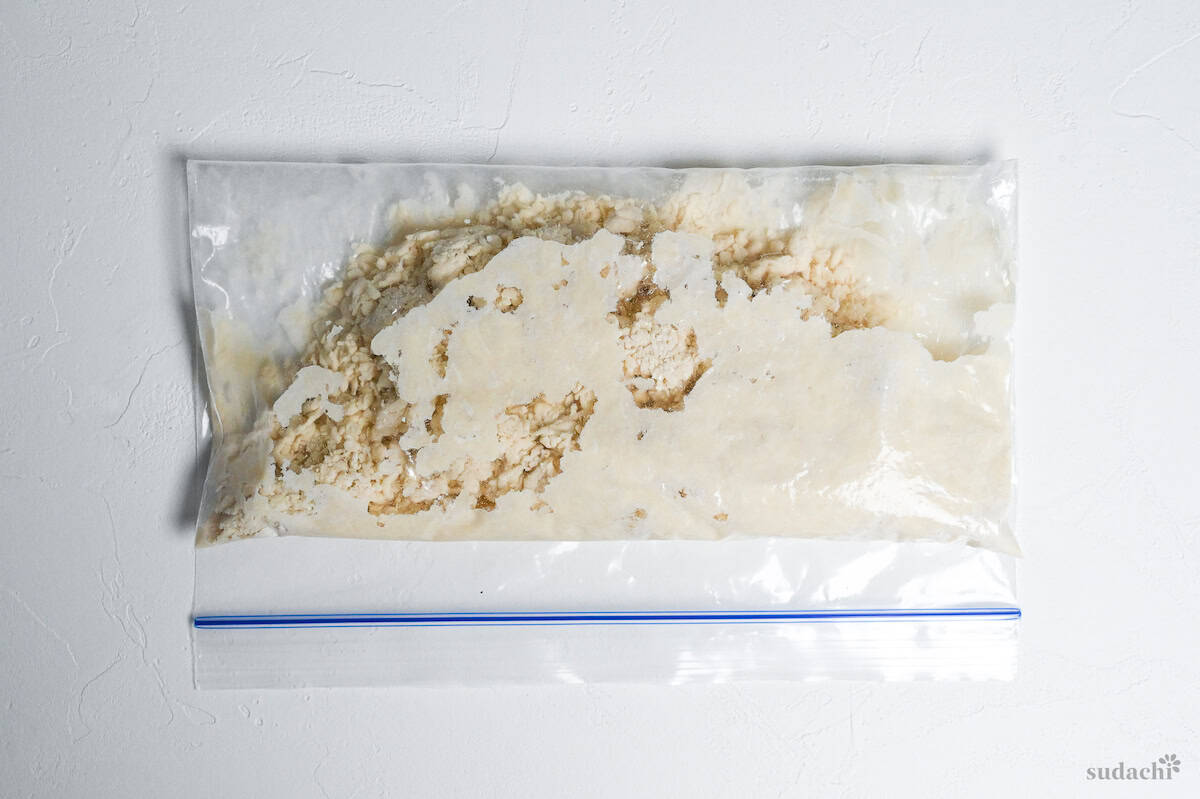
Next, put the all-purpose flour in a large plastic bag that seals (like a large ziplock).
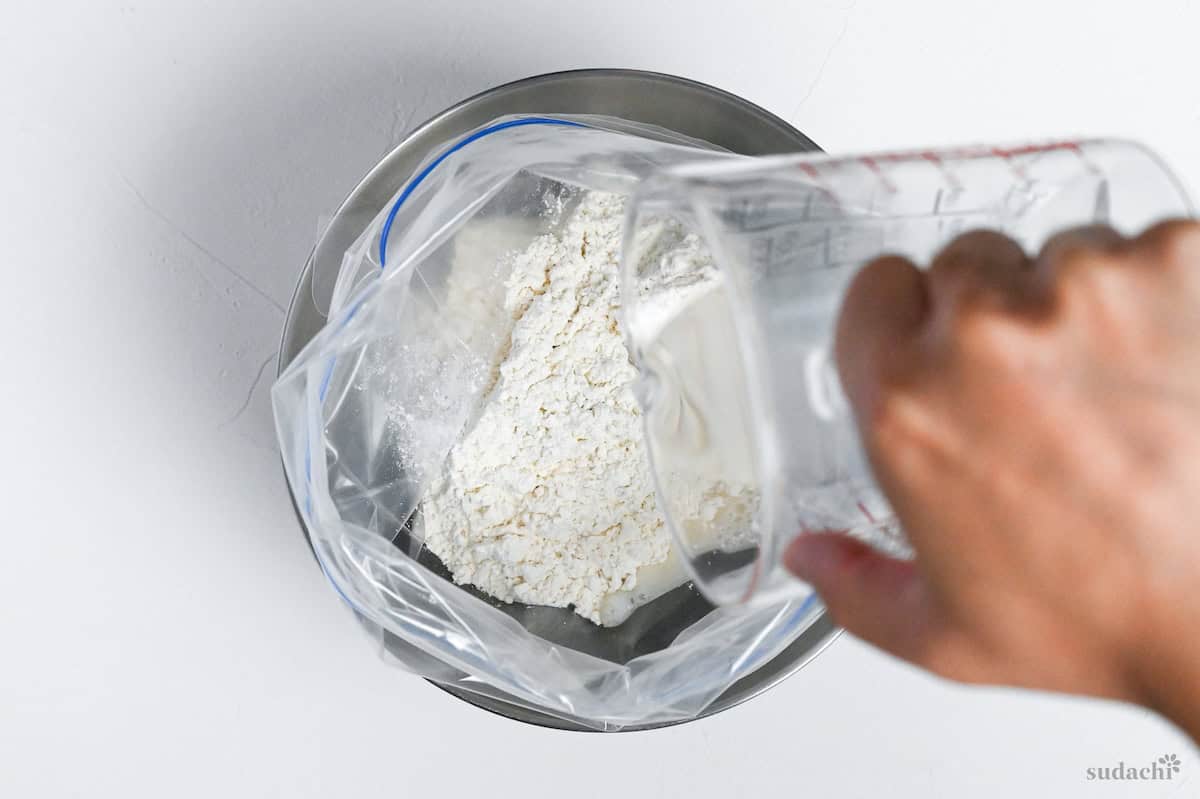
Pour in the salt water, seal the bag tightly, and shake it for about 3 minutes until small clumps form.
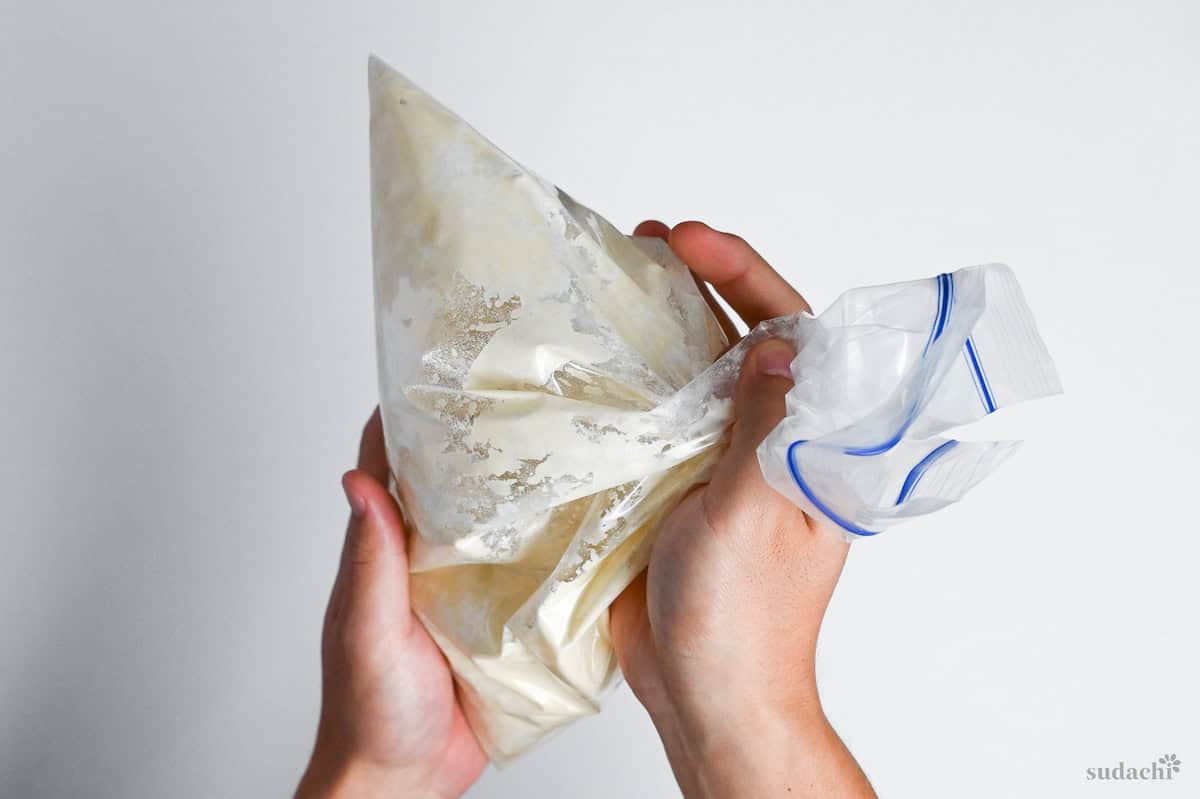
If you’d rather do it the old-fashioned way, you can pour the brine a little at a time and mix it by hand. I just think the bag method is easier, and you can do it without getting your hands dirty at this point.
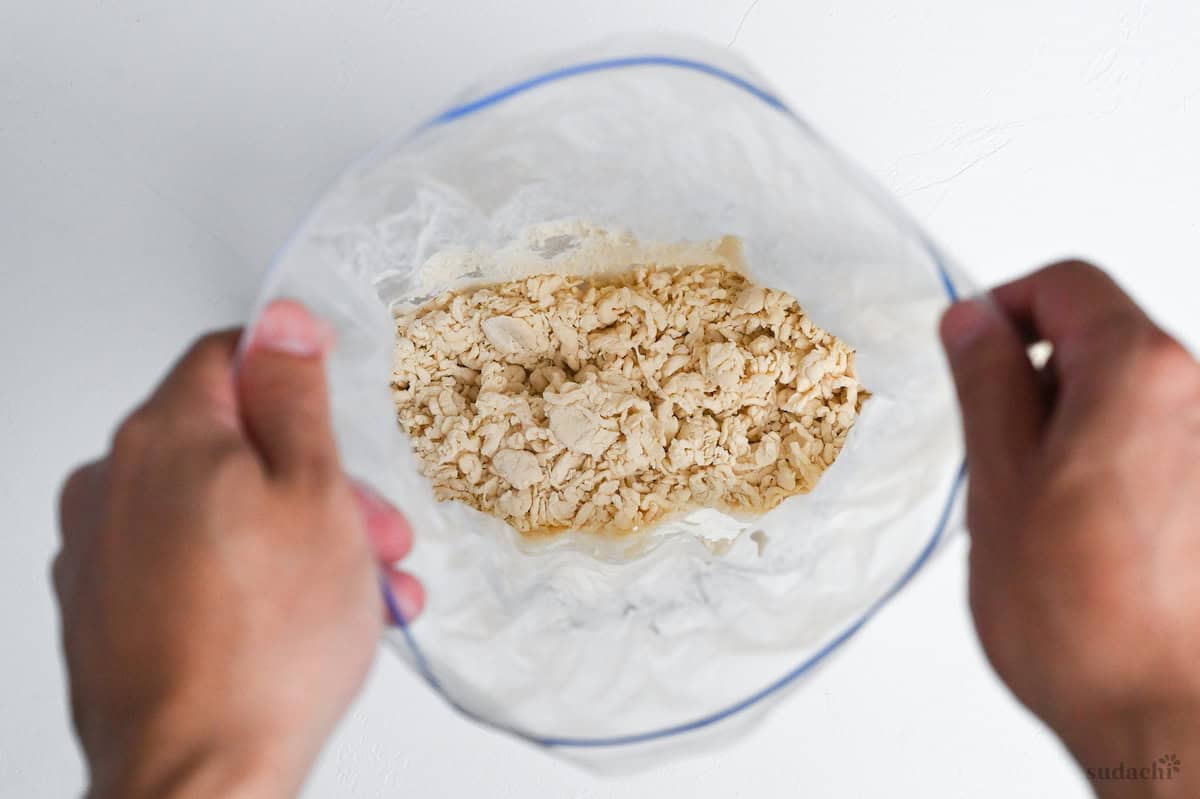
Then seal the bag and let it sit at room temperature for 30 minutes.
This resting time is really important because it allows the water to penetrate every nook and cranny of the dough. Also, don’t merge the dough together at this point; it should be left in a clump state.
After the 30 minutes are up, knead the mixture right in the bag until it forms a dough.
Place the sealed bag with the dough on the floor and step on it with your feet to spread it out. Once the dough is stretched and filling the bag, take it out, fold it into thirds, put it back in the bag, seal it, and step on it again.
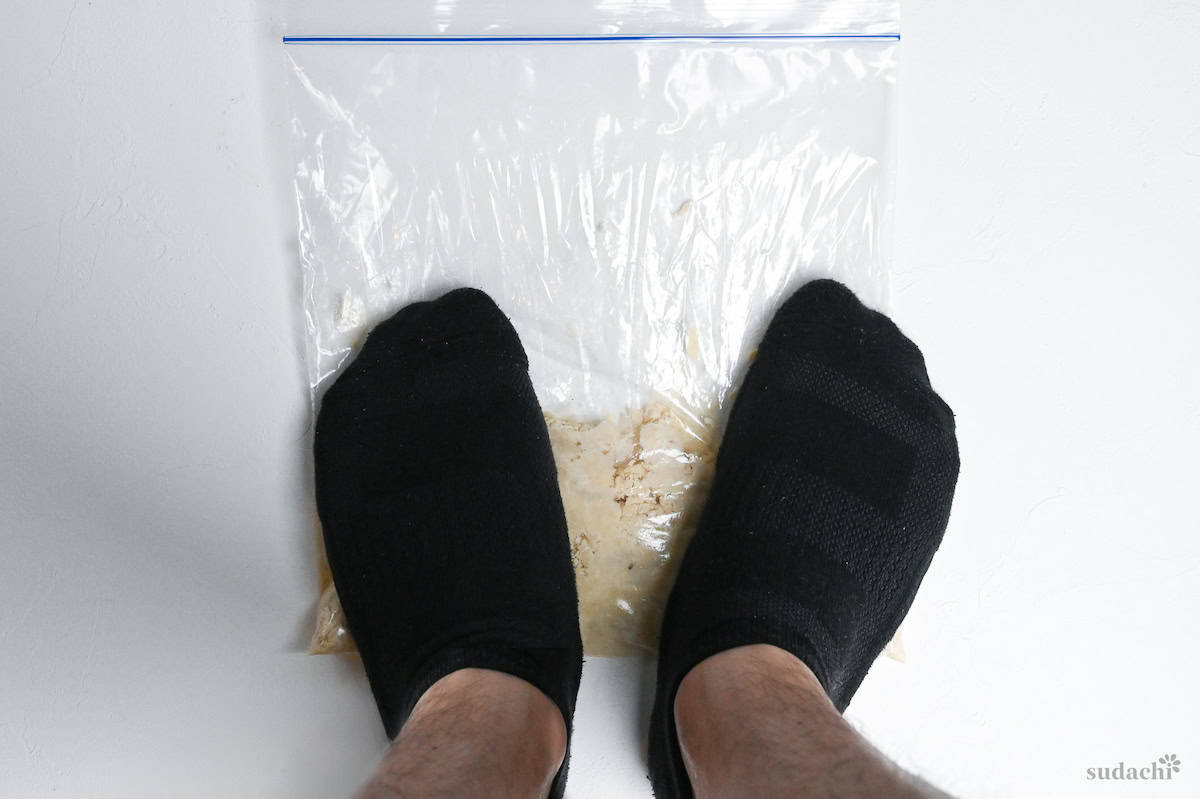
You might think that stepping on the dough with your feet is a little bit weird, but this is a trick that has been handed down in Japan for centuries to make delicious udon noodles. It’s a great way to get the dough ready for the next step!
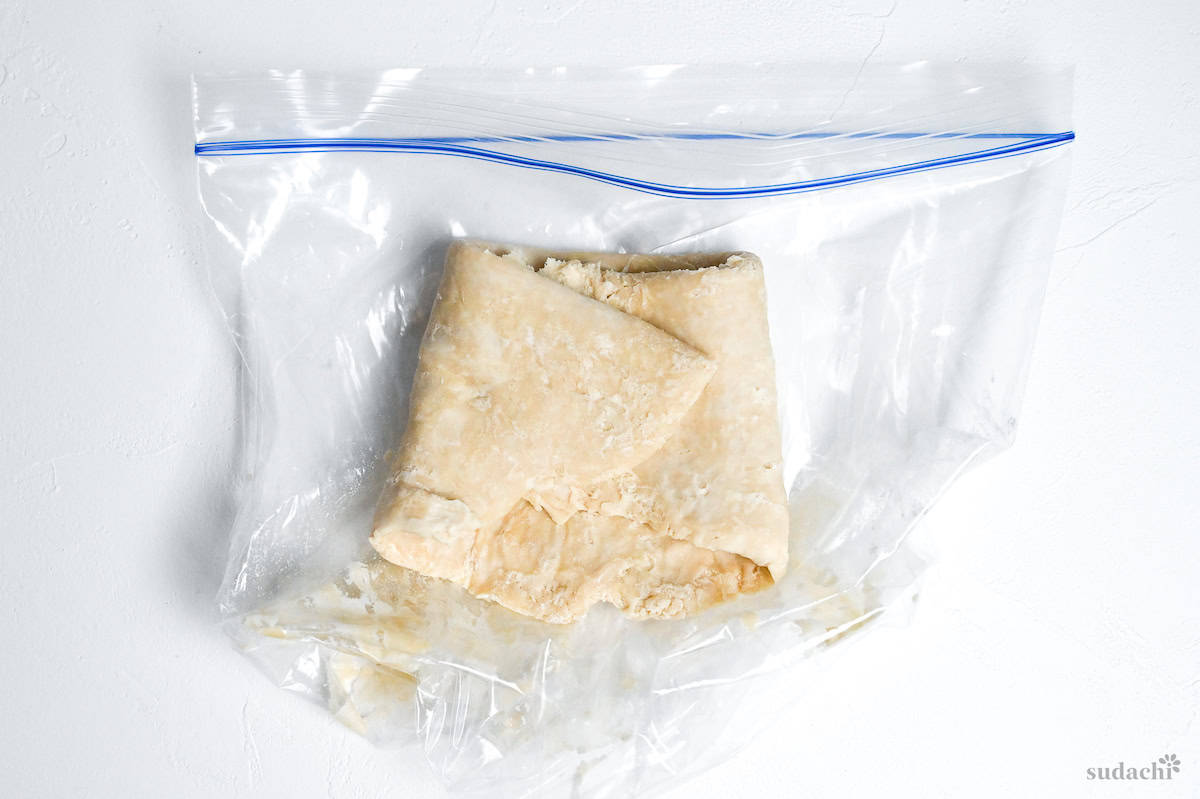
The purpose of foot-stamping is twofold: to promote the penetration of water into the flour and to train the dough to be tougher and more elastic by allowing the gluten to create a reticular structure.
When you’re foot-stamping, it’s best to use your own body weight and put your weight on your heel. This makes it easier to apply bigger pressure!
Repeat this folding and foot-kneading process for about 15 minutes until the dough feels smooth. Then seal the bag and let the dough rest at room temperature for 2 hours.
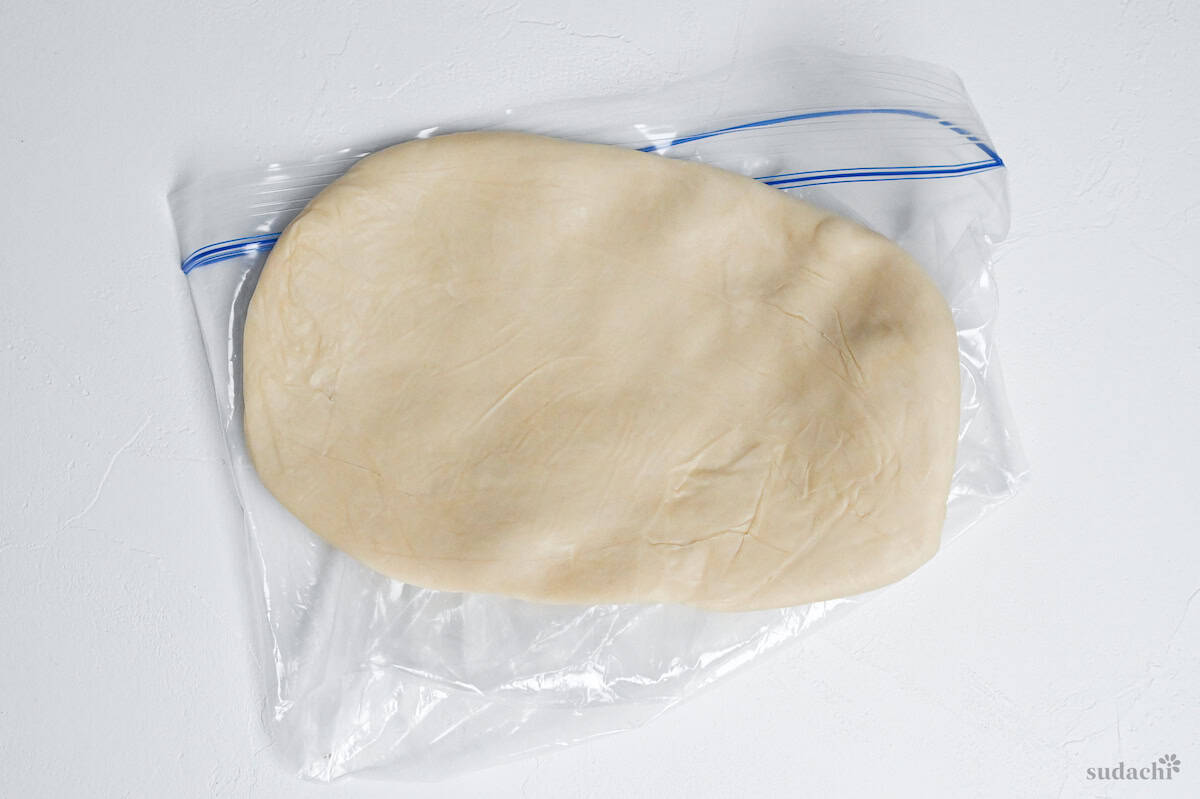
I said to let the dough rest for 2 hours, but you can leave it to rest for up to a day. Resting the dough for a longer period of time helps it to distribute the moisture more evenly, makes the surface of the dough smoother, and makes the boiled noodles much easier to slurp.
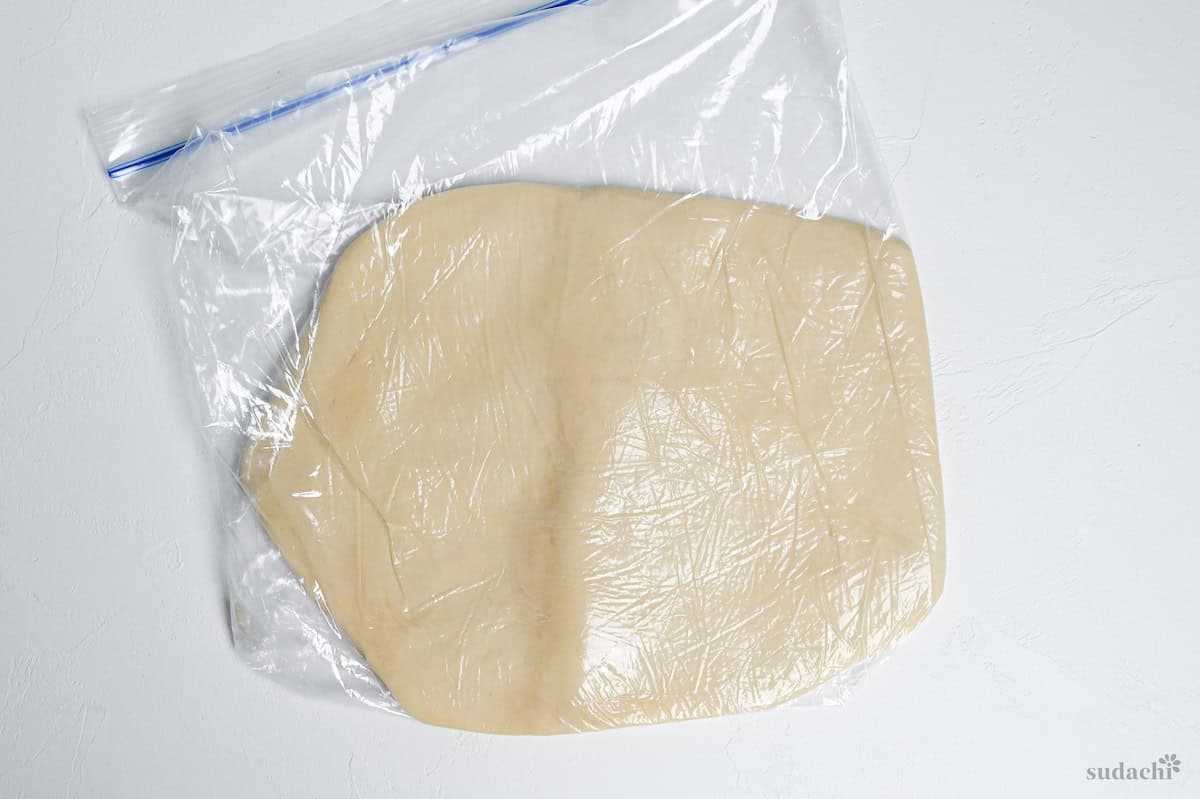
You can put the sealed bag in the refrigerator if you want to let it rest for more than half a day.
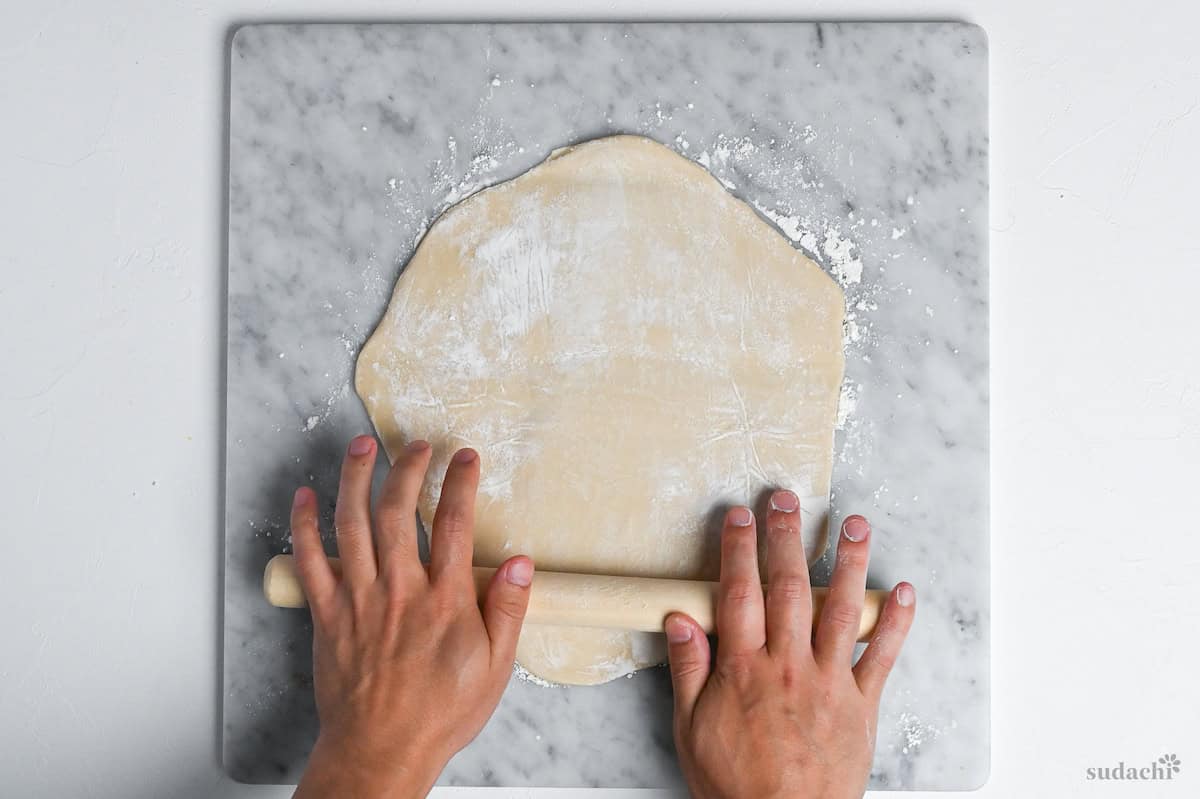
Once you’ve had a 2-hour rest, it’s time to get your hands dirty! Sprinkle a light coating of flour over a clean dry surface and roll out the dough with a rolling pin until it’s nice and thin.
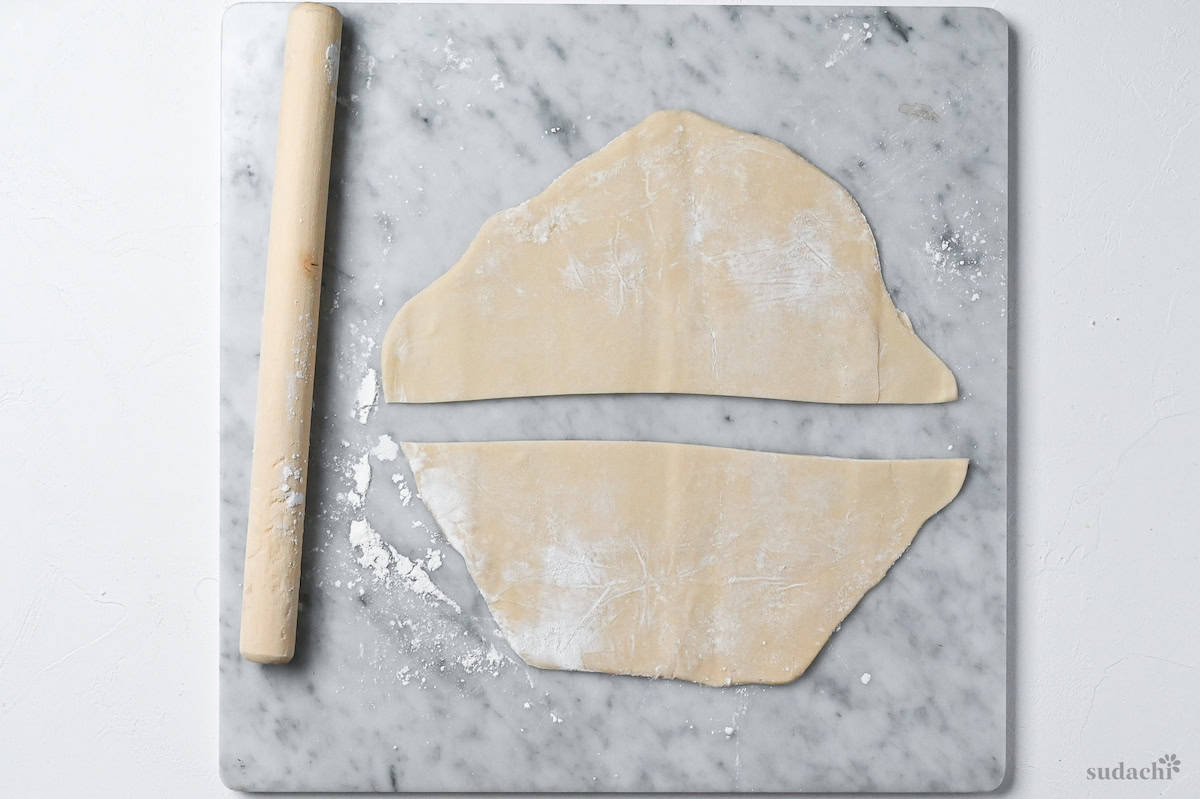
Cut the dough in half lengthwise so it’ll fit through your pasta machine. Even if you’re not using a pasta machine, cutting the dough into smaller pieces will make it more manageable to roll and cut.
Next, set the pasta machine to its widest setting (usually 0) and run the dough through once to flatten it.
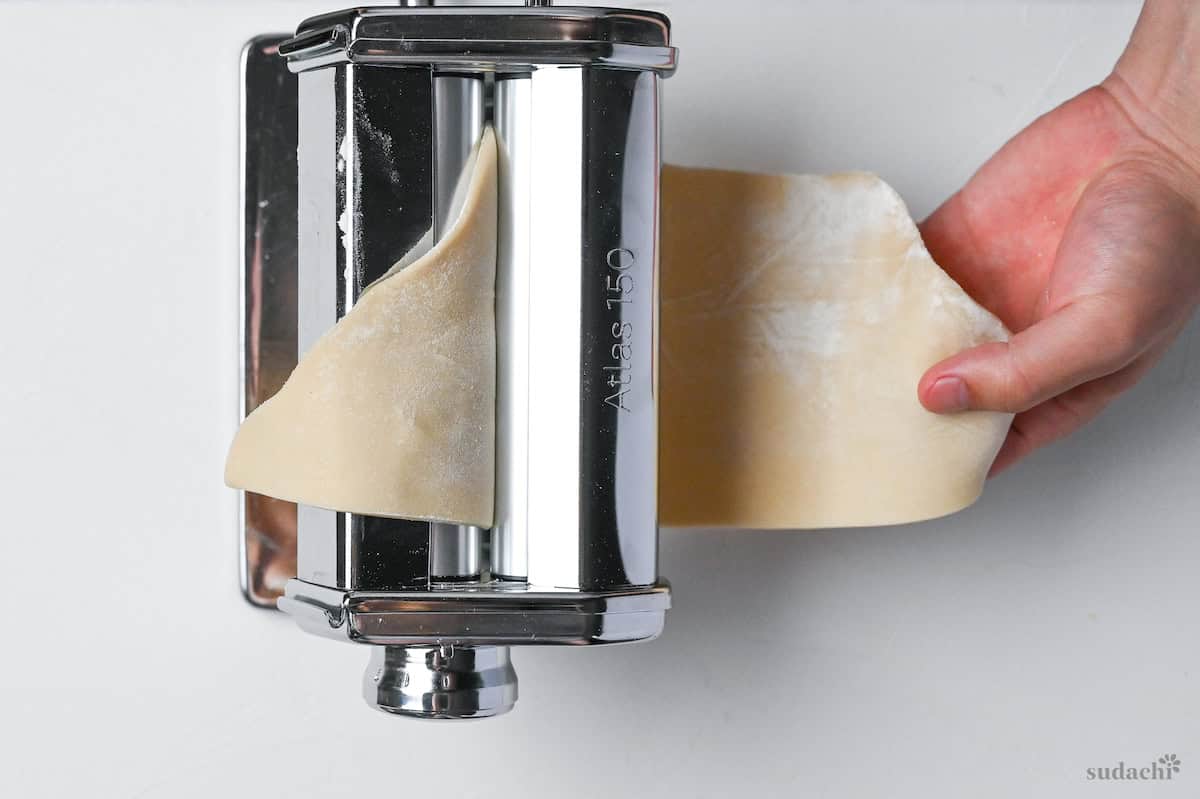
Then, adjust to a narrower setting (2 or 3) and run the dough through twice.
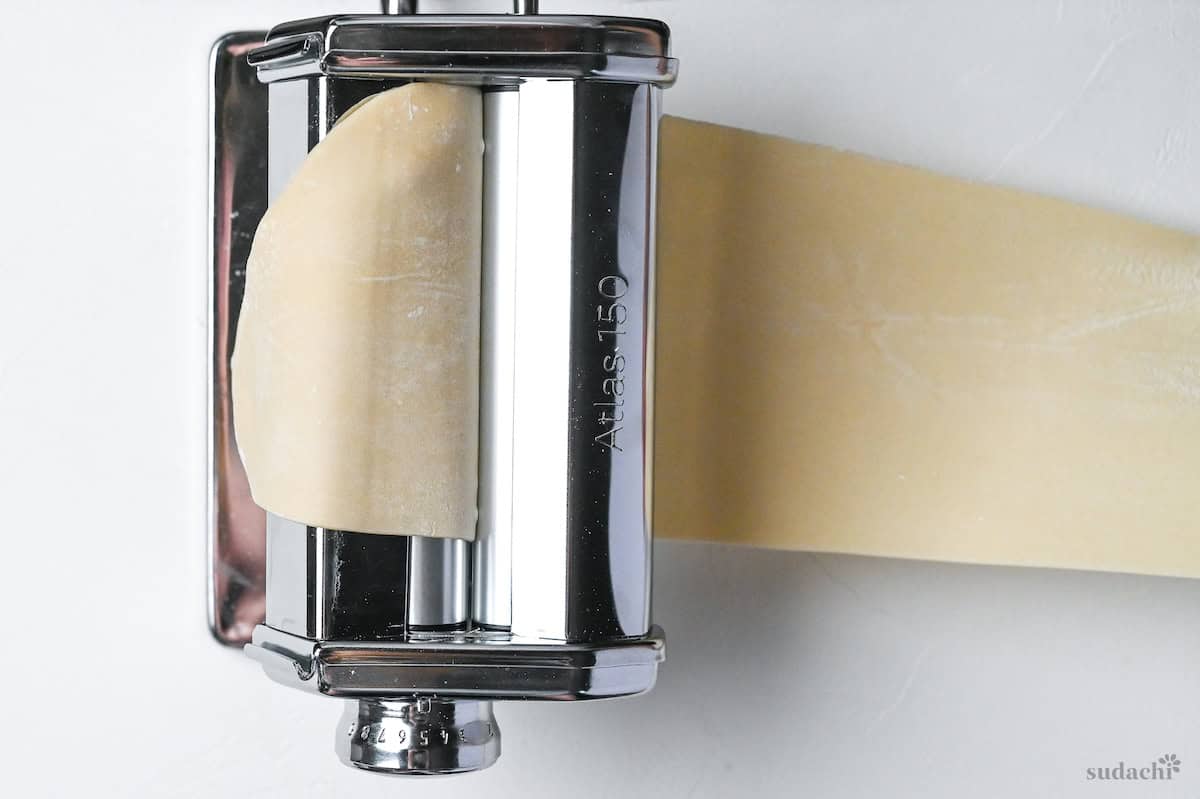
Then, repeat with an even narrower setting (4 or 5), then cut each piece in half so the noodles aren’t too long.
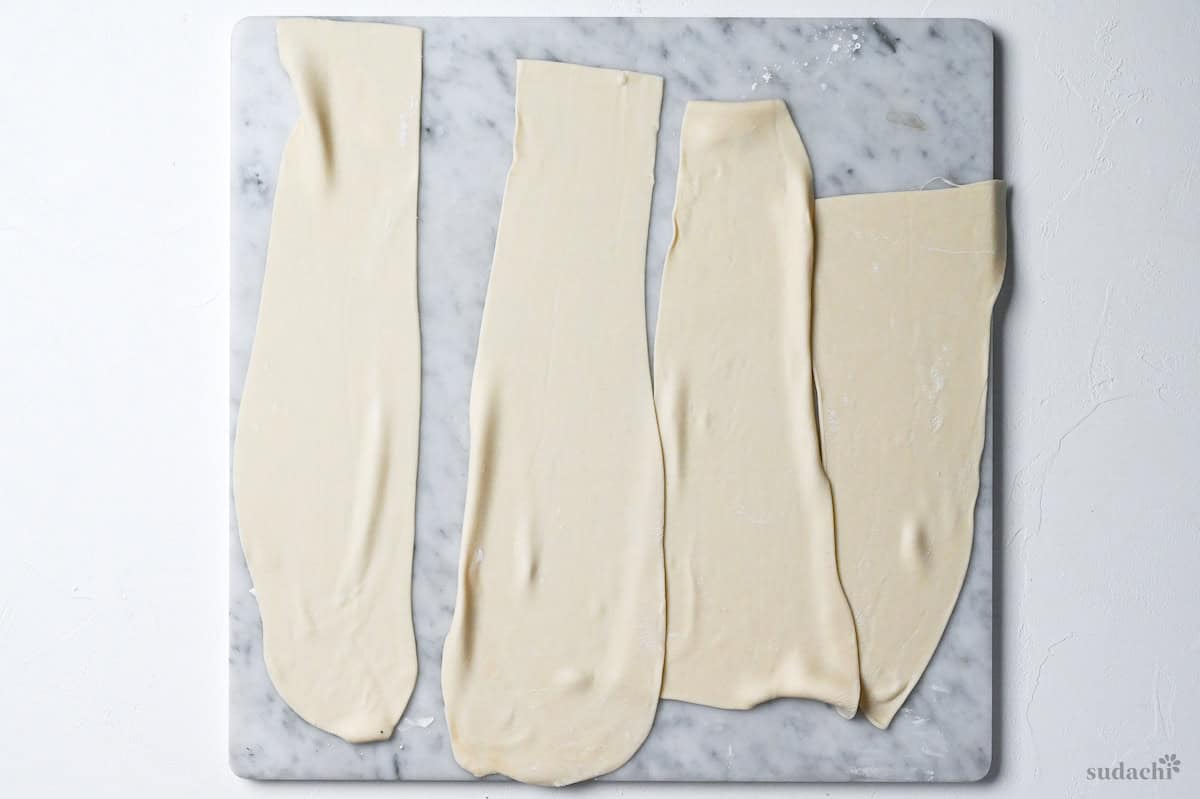
Lightly rub the surface with a bit of extra flour to stop them from sticking.
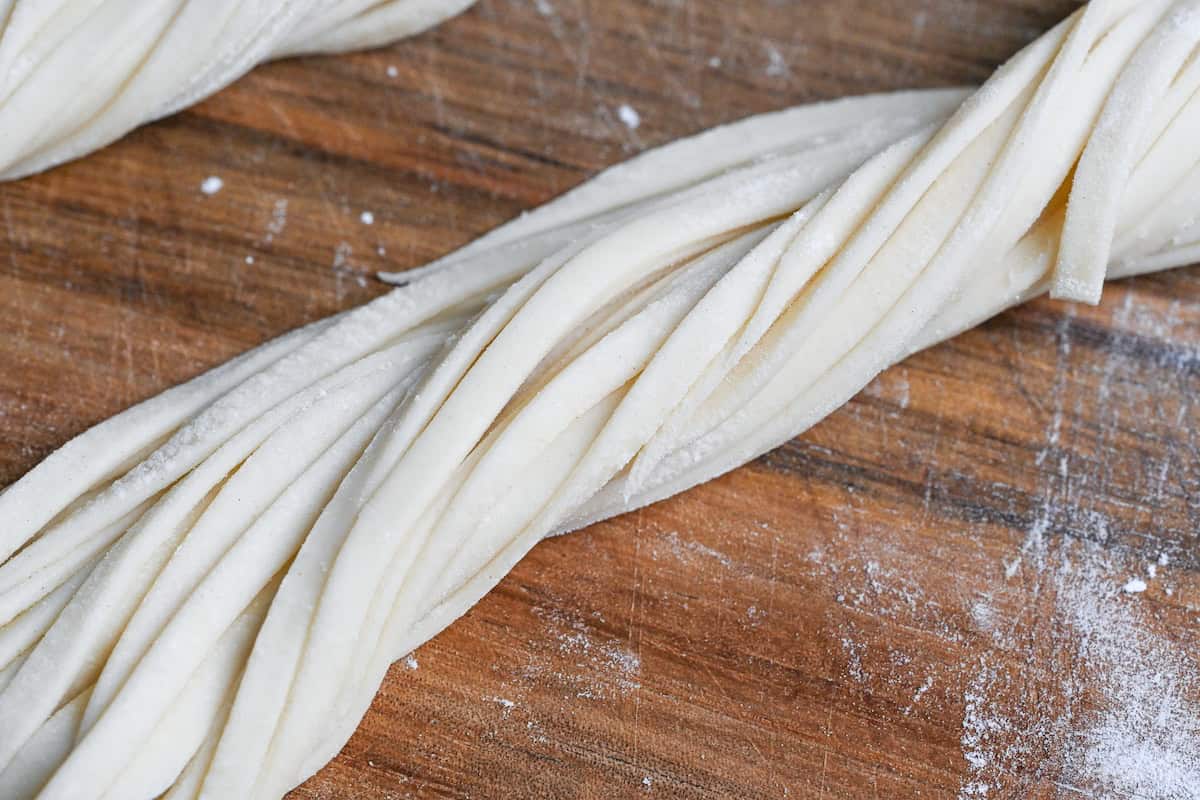
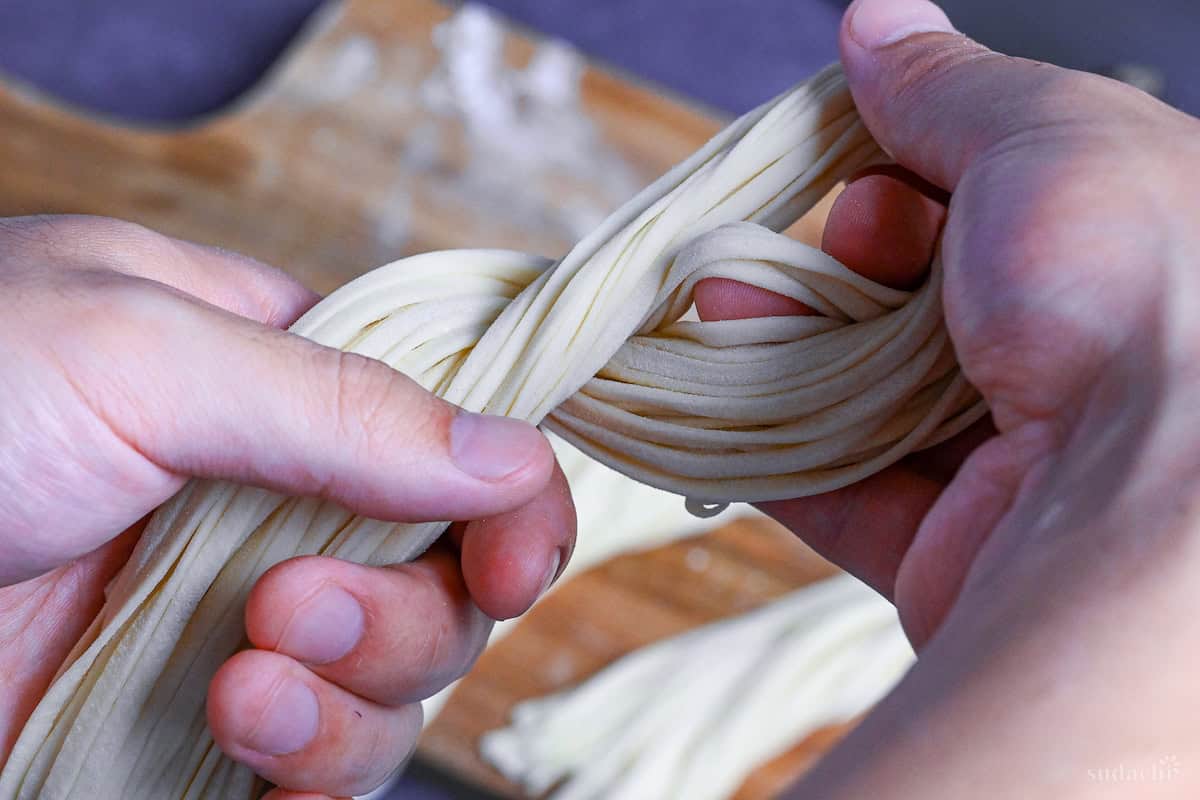
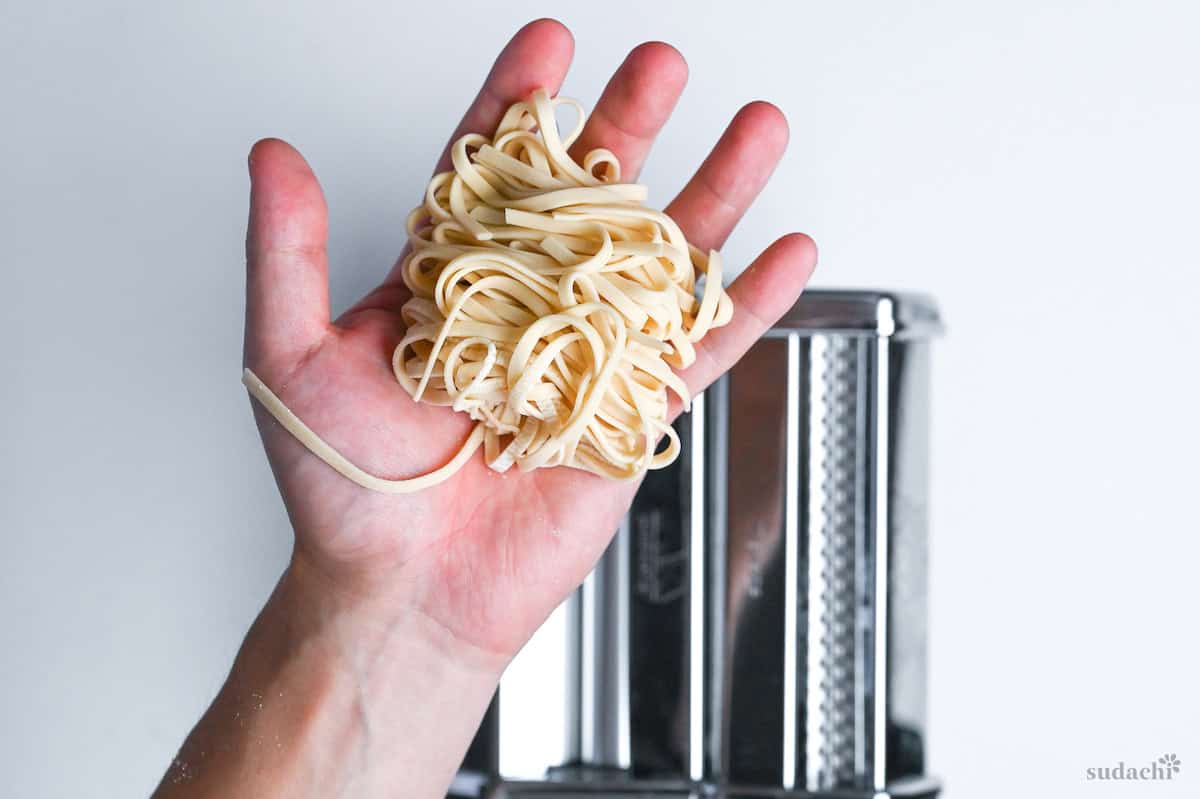
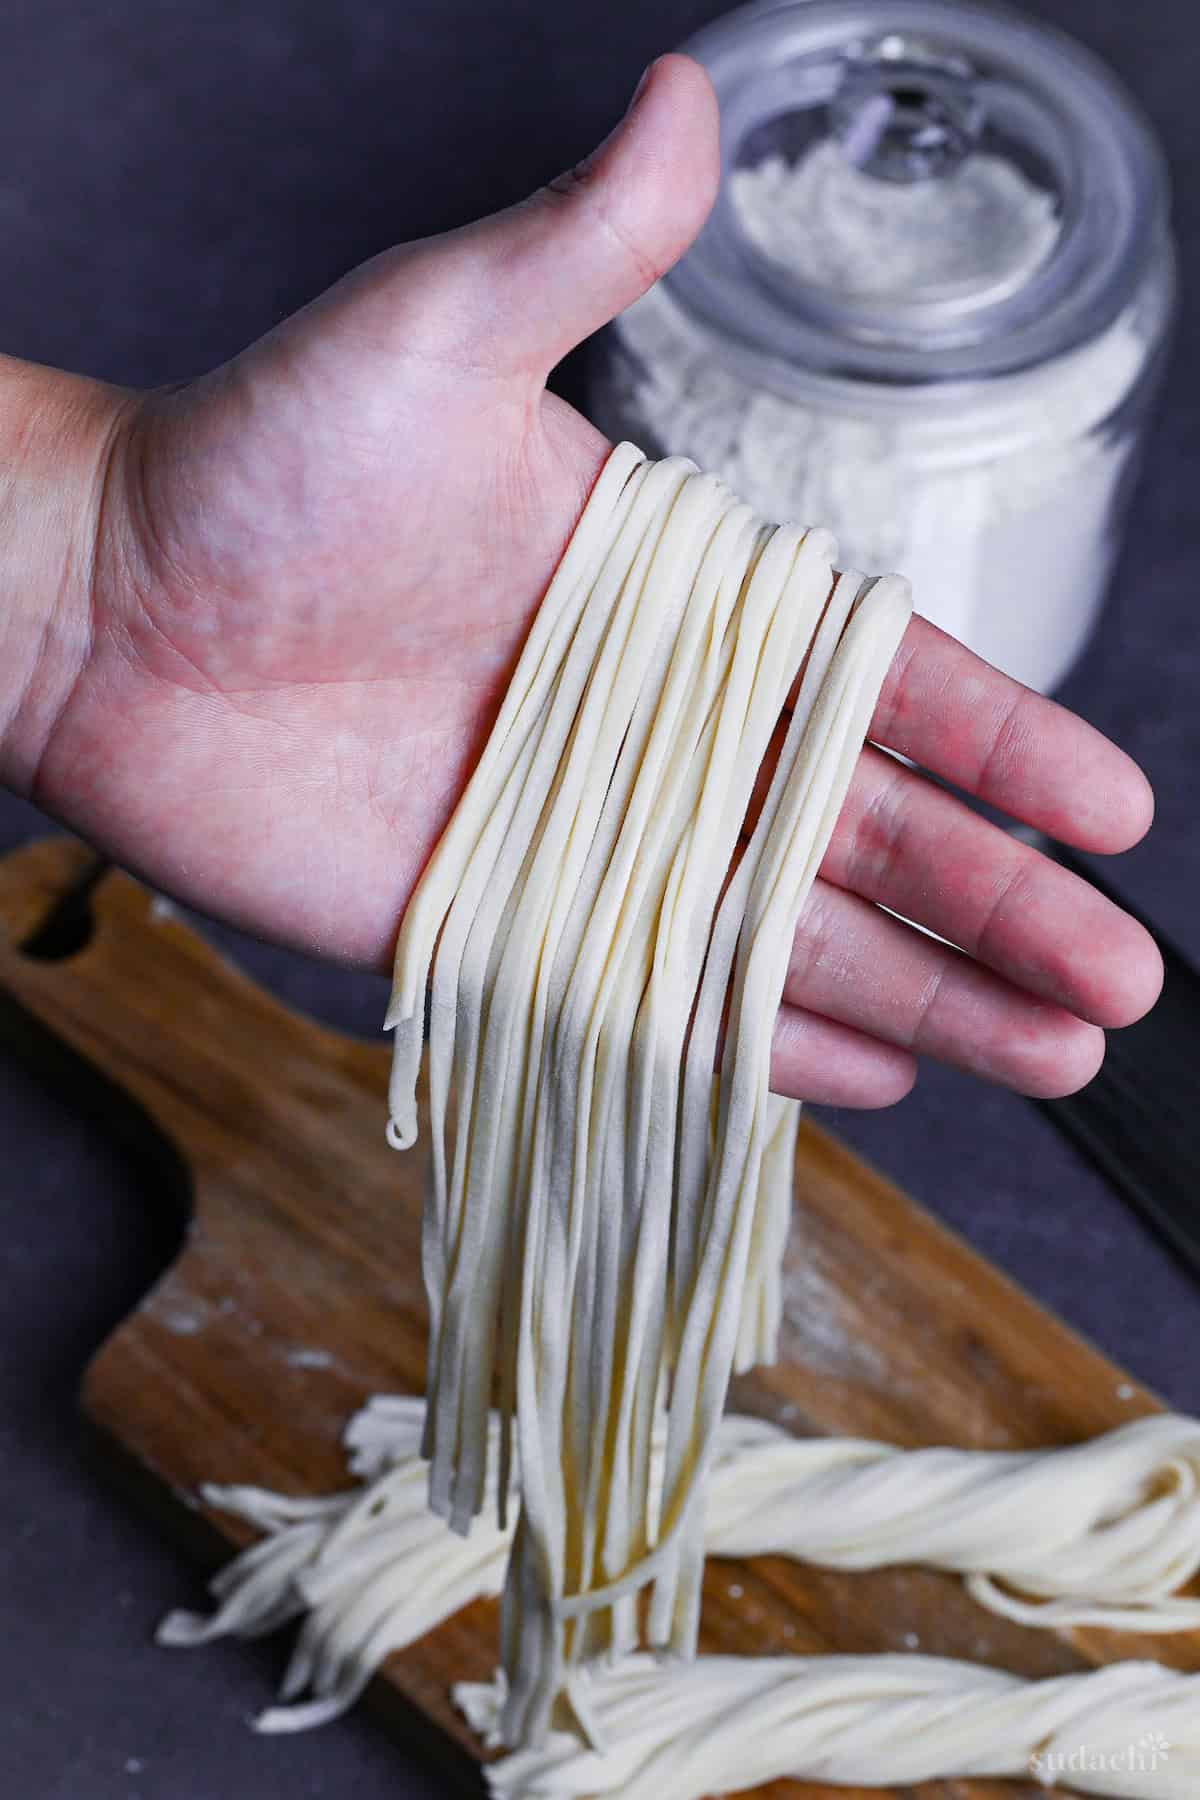
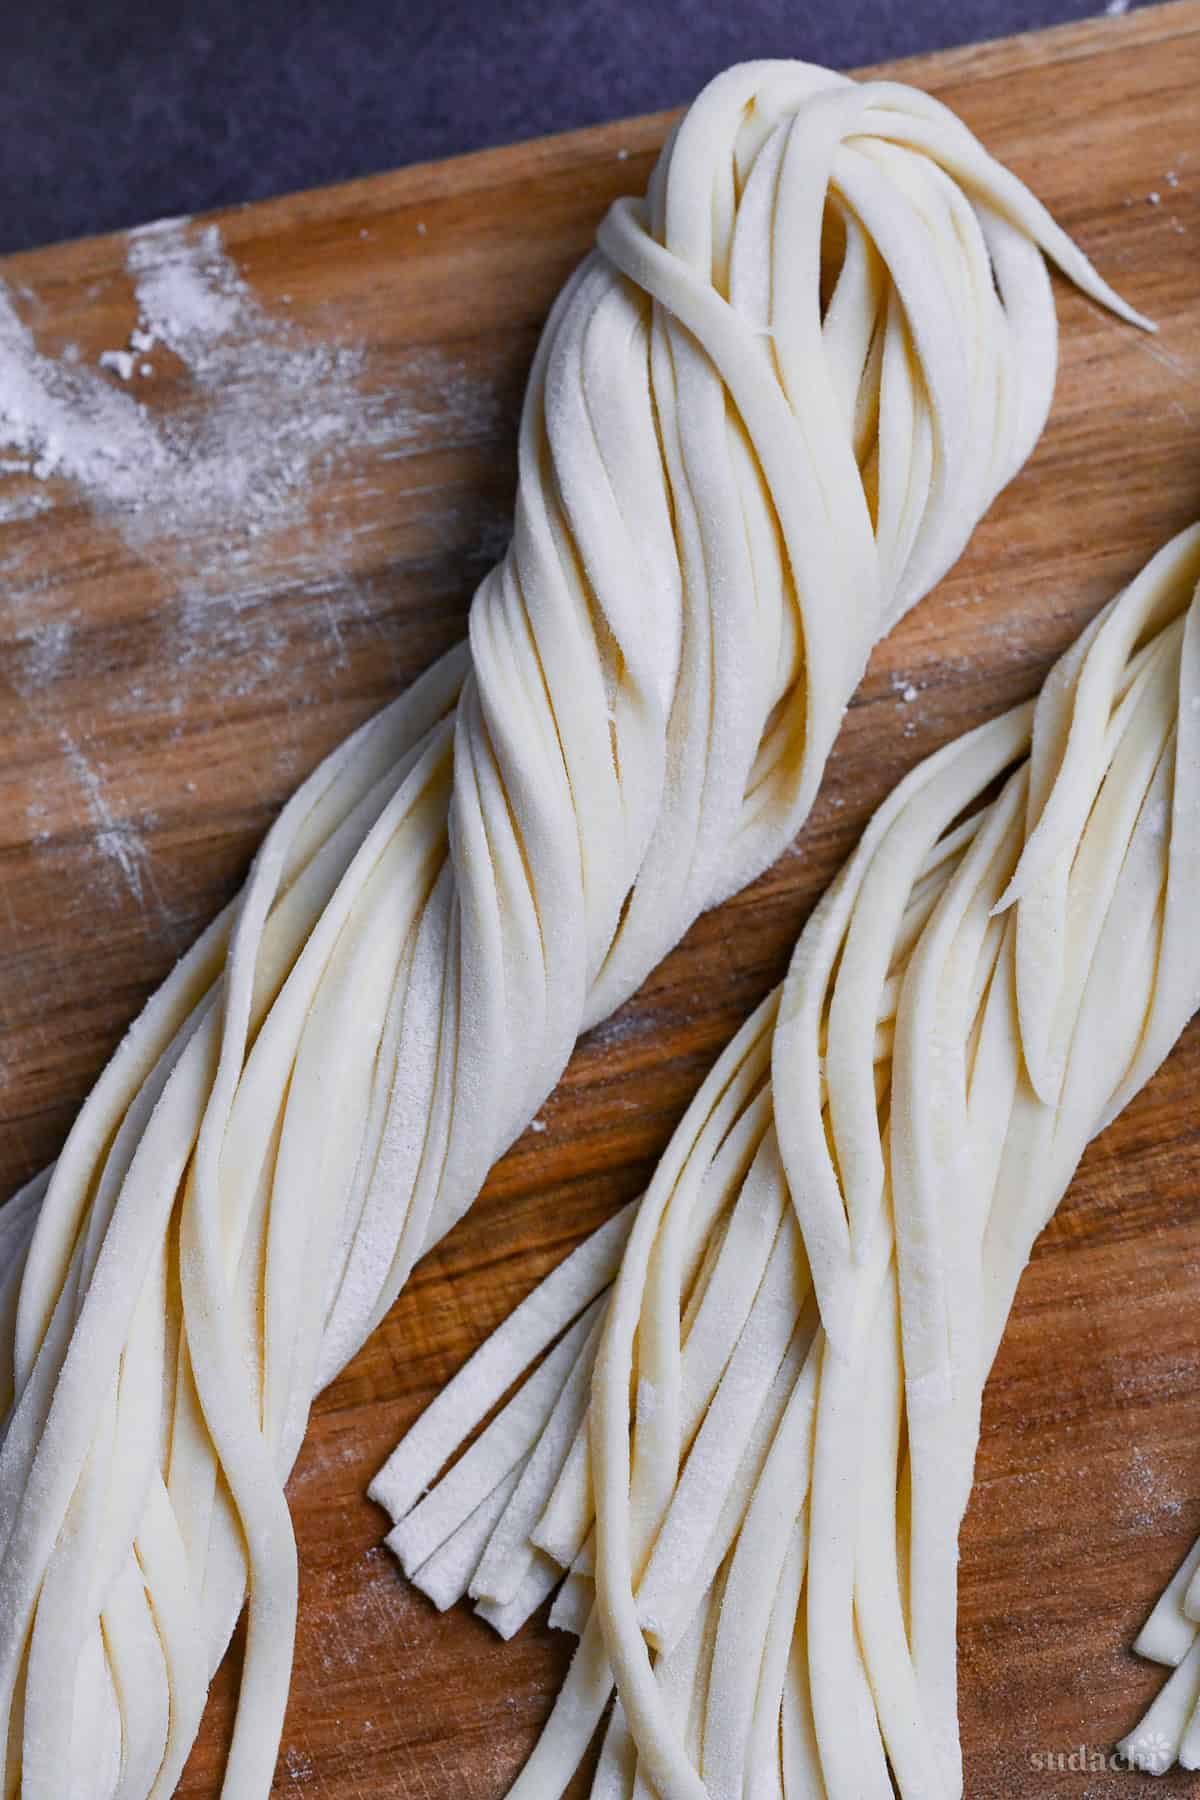
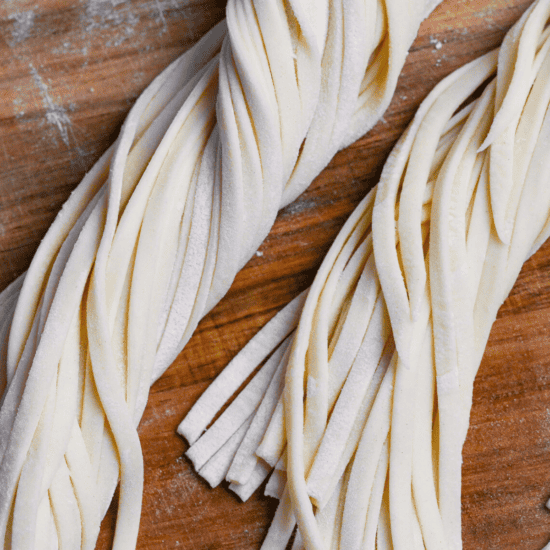
Lastly, attach the trenette (or bigoli) cutting blade to your pasta machine and run the thin dough sheets through to shape the udon.
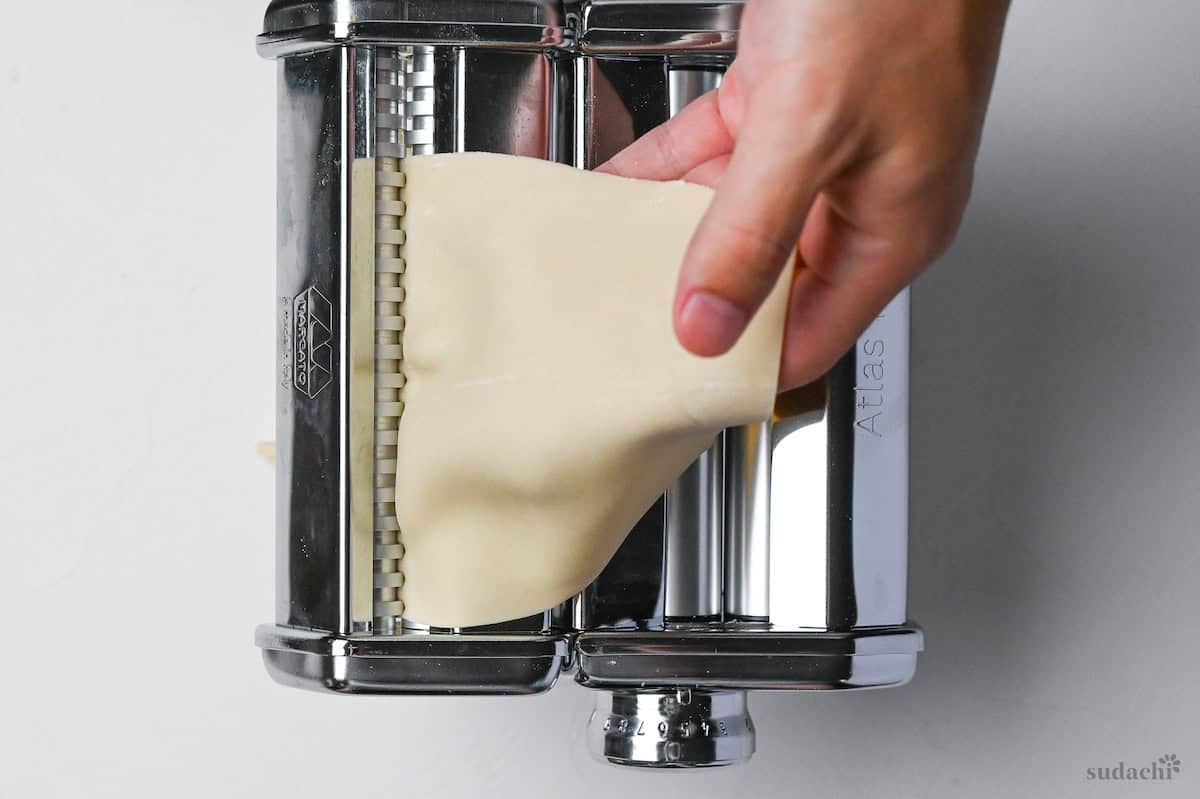
If you’re feeling extra creative, you can also fold the dough into a manageable size and cut it by hand into noodles about 3mm (⅛ inch) thick.
To cook the udon, bring a large pot of water to a rolling boil, add the noodles, and let them cook for 11 minutes.
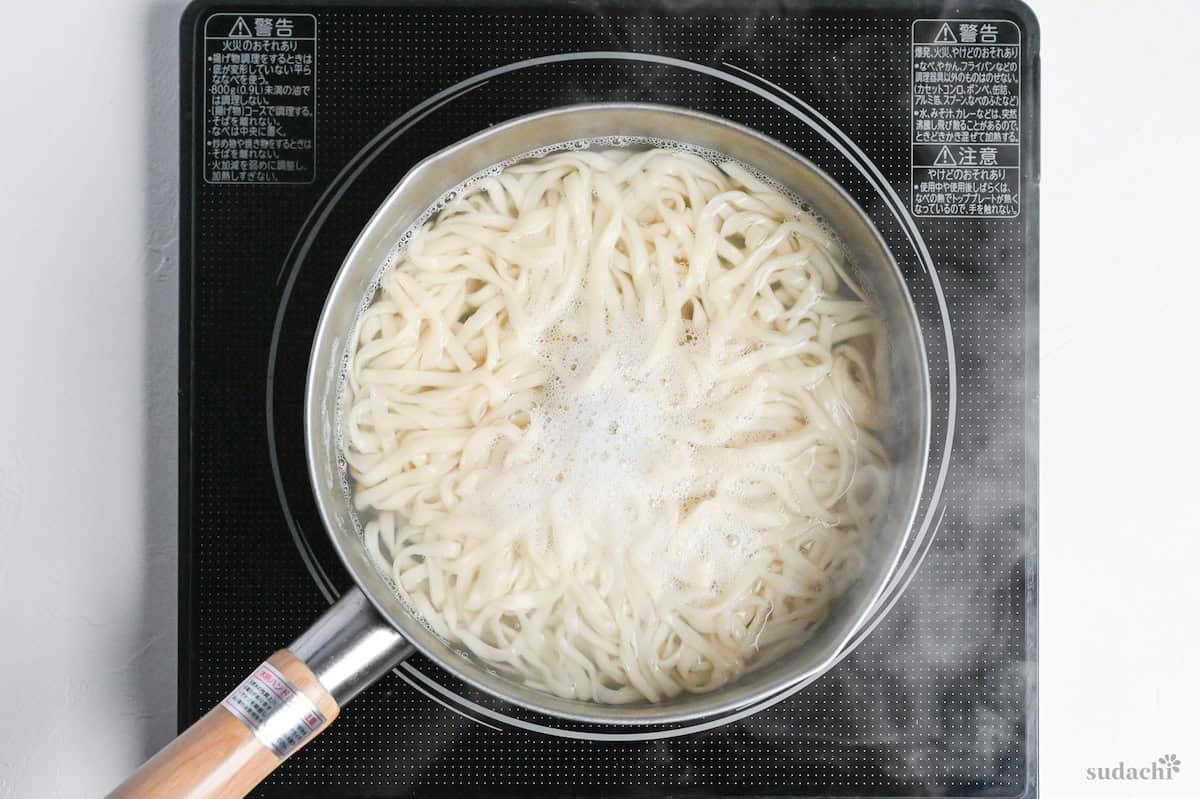
The key to making the best udon noodles is to boil them in plenty of water. It’s best to use the largest pot you have and let the noodles boil while allowing them to move freely.
Then simply drain the udon in a colander and rinse with cold water to wash off any excess starch. If you’re serving the udon hot, just pour some fresh, hot water over them after rinsing to warm them back up.
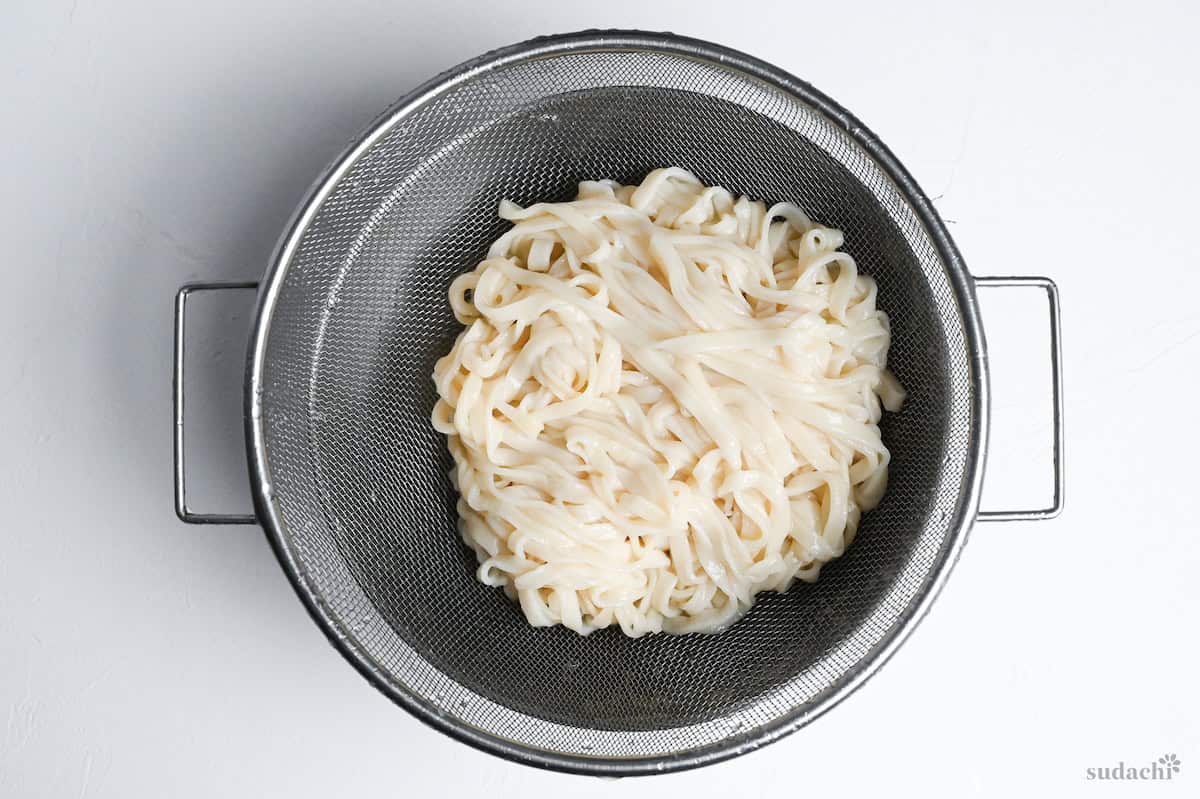
When I first made udon from scratch, I was amazed at how easy the whole process actually is!
You can say it’s a bit of a workout, but it’s so worth it for the deliciously chewy texture of homemade udon!
Jump to Full Recipe MeasurementsHow to Store
First and foremost, the basic premise is that if udon noodles are boiled, they will stretch over time and cannot be preserved. So, it’s really important to store them uncooked. Also, if you leave the raw noodles at room temperature, they’ll continue to mature, so it’s crucial to store them in the freezer. Refrigeration works for a short time (a few days if stored properly), but often the moisture of the noodles can be affected, either drying them out or making them wet and sticky. For this reason, freezing is the preferred storage method.
To store the noodles, just wrap each serving of udon noodles in a small piece of plastic wrap to prevent drying out. Then, just pop the wrapped noodles into a clean, zip-top sealed bag or airtight container for storing.
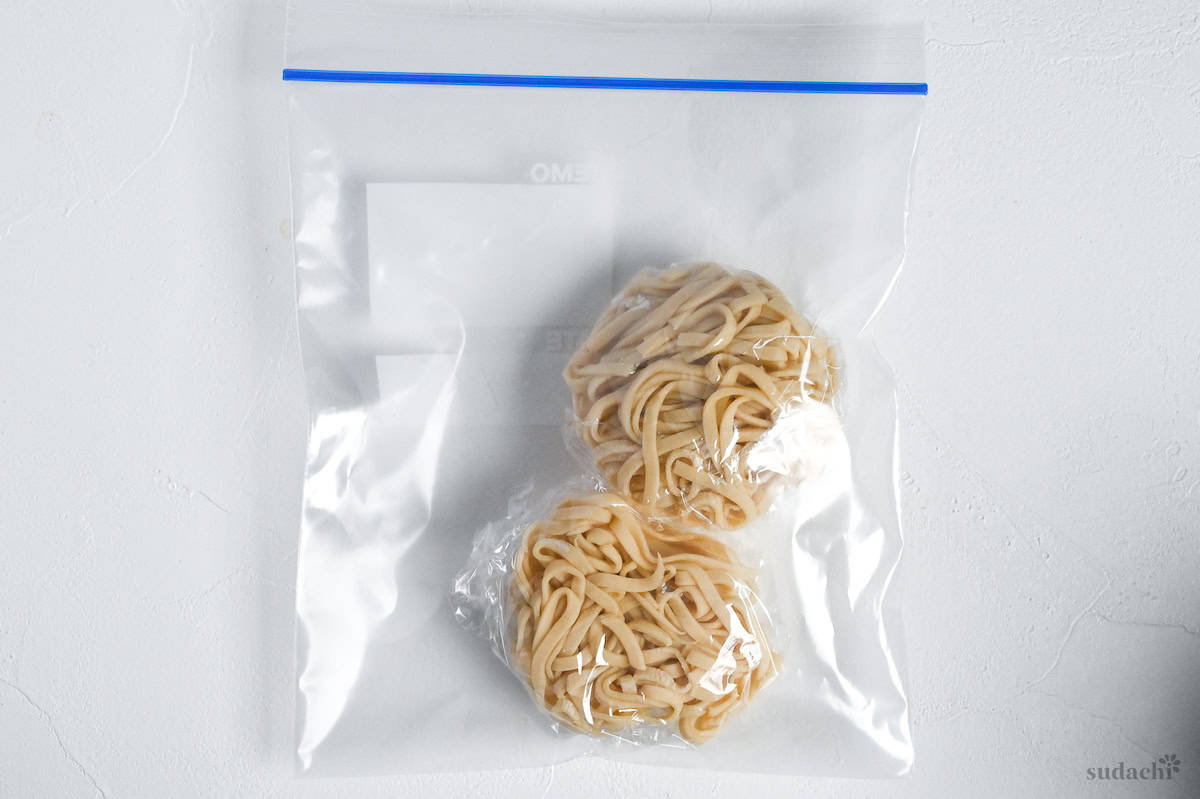
You can refrigerate your udon noodles for a few days, but I personally recommend freezing them anyway! Frozen udon noodles will keep for about a month, and they’re easy to boil in boiling water from frozen.
When you’re cooking those frozen homemade udon noodles, it’s important to take them out of the freezer right before you add them to boiling water. If you take them out too early, they’ll start to thaw and stick together.
When boiling the frozen noodles, just use your chopsticks to loosen them from each other.
Alternatives for Homemade Udon
If you’ve made it this far, you probably know just how much homemade udon noodles are on another level from store-bought ones. I highly recommend making udon noodles as a weekend project because it’s a great way to bond with your kids, family, friends, and loved ones. Even if you make a few mistakes, I think you can have a good time laughing with your family.
However, of course, it wouldn’t be practical to make homemade noodles every time you make an udon dish. I know it can be tough to make homemade noodles on weekdays when you have work.
But don’t worry! I’ve got you covered with my top picks for the best udon noodles to use when you’re not making them from scratch at home.
1. Frozen
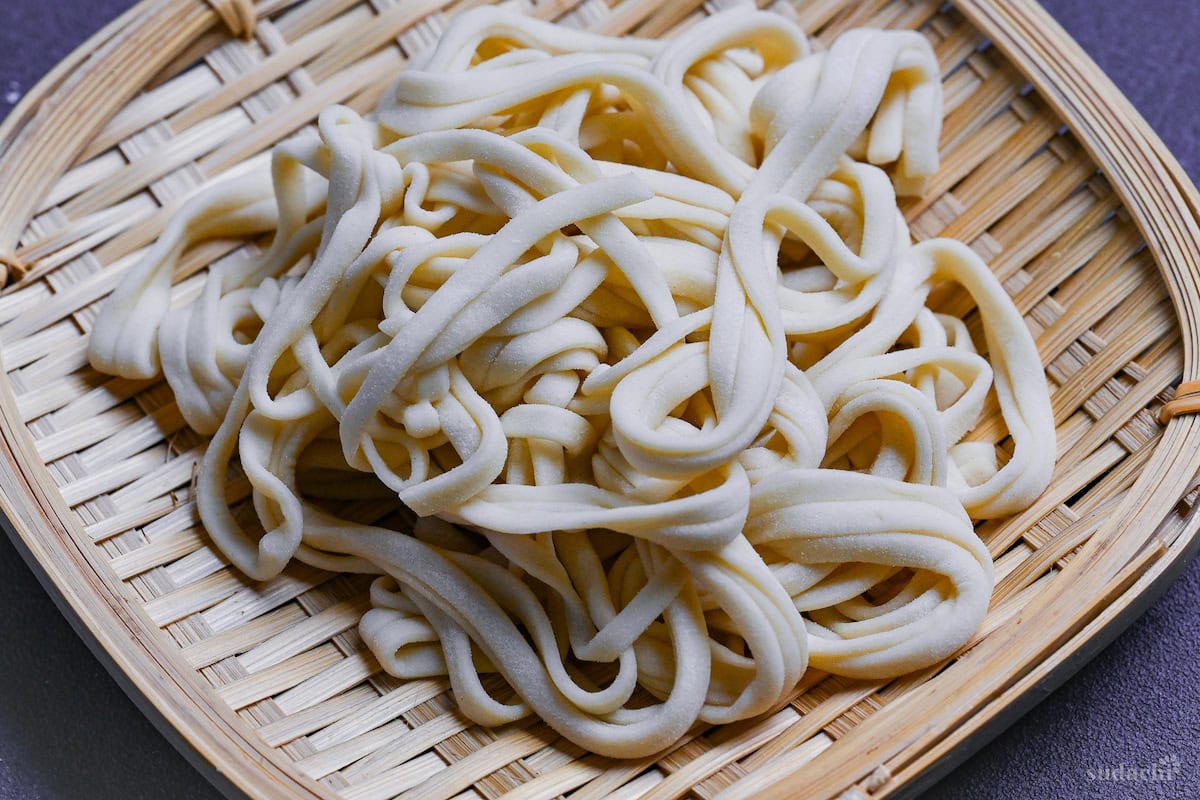
My absolute favorite is frozen udon noodles!
It might sound a little strange, but frozen udon, especially in Japan, is made by quickly freezing freshly boiled noodles, which gives them the most authentic texture. They’re also really convenient because you can just heat them in the microwave.
The only downside is that frozen udon might not be available in some countries. But if it is, I would definitely use it!
2. Dried
My second recommendation is dried udon noodles.
They’re a great option if you’re looking for something readily available as they’re probably sold in most basic supermarkets, and the taste and texture are also reasonably good.
The only downside is that the texture is not as good as frozen noodles, and the boiling time is very long compared to frozen or chilled.
If you’re in the US, I recommend trying Hime Udon!
3. Boiled/Chilled
On the other hand, I do not recommend pre-boiled udon noodles, known as “chilled udon” in Japan.
Firstly, pre-boiled udon has a not great texture and low chewiness, making it unsuitable for preparing soupy udon dishes.
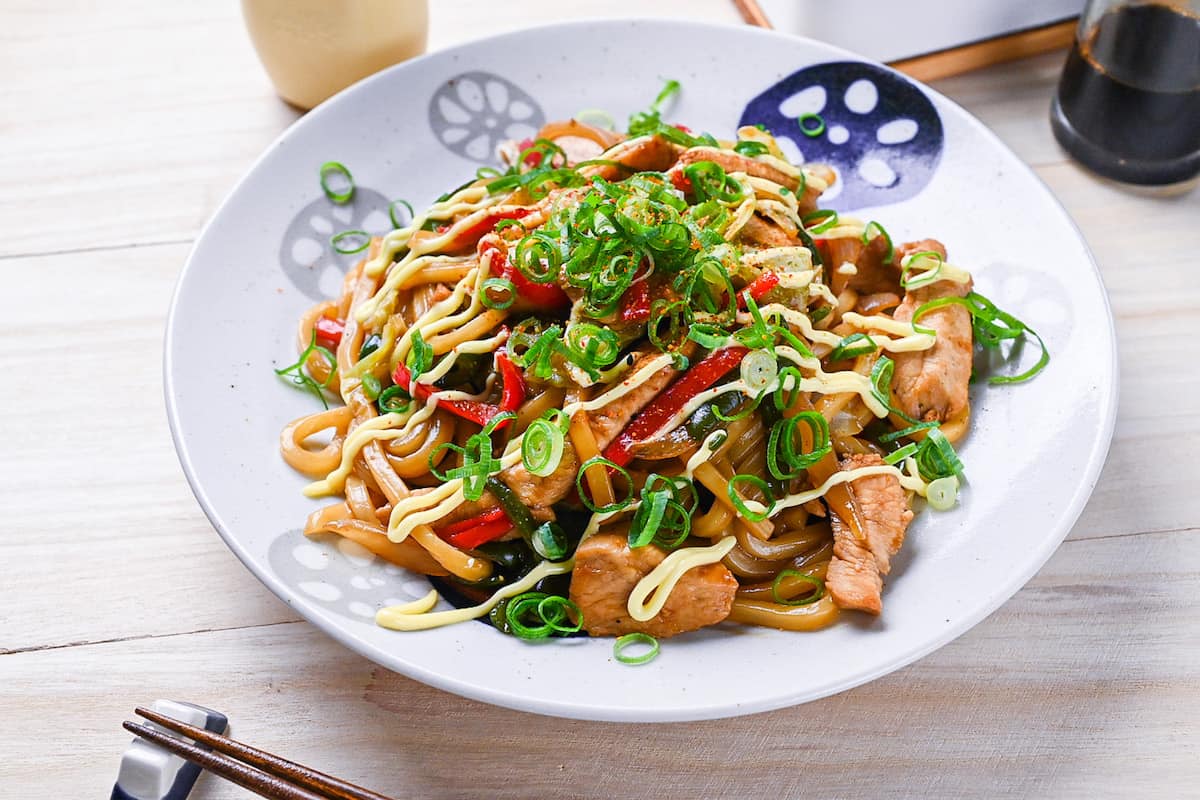
There is one exception, though! Pre-boiled udon noodles are perfect for stir-fry dishes like Yaki Udon because they can be put directly into the frying pan without any preparation.
FAQ & Troubleshooting
This can happen when you don’t use enough flour while stretching the dough or when there’s too much moisture in the dough. It’s really important to use enough flour when kneading the dough and to keep the moisture content just right. The water content might go up or down a little, but the general ratio for homemade udon is 50% of salt water to flour. My recipe uses a little less than this.
It’s often because you didn’t add enough flour during the stretching and cutting process. You can easily prevent this by dusting the noodles with a little extra flour after cutting them.
If you boil the noodles for too short a time, they’ll stay raw and hard. But if you boil them for too long, they’ll become overcooked and mushy. The perfect boiling time is about 10-12 minutes. Just keep an eye on the noodles as they cook and adjust the time accordingly.
No, allowing the dough to rest is essential. This allows the dough to settle and become easier to stretch.
It’s not essential, but it is 10 times easier than stretching by hand and likely to yield better results.
I hope you enjoy this Homemade Udon recipe! If you try it out, I’d really appreciate it if you could spare a moment to let me know what you thought by giving a review and star rating in the comments below. It’s also helpful to share any adjustments you made to the recipe with our other readers. Thank you!
Make These Dishes with Homemade Udon!
- Beef Udon Noodle Soup (Niku Udon)
- Japanese Curry Udon
- Zaru Udon (Cold Udon)
- Kitsune Udon (Udon Noodles with Deep Fried Tofu)
Want more inspiration? Explore my Udon Roundup Post for a carefully selected collection of tasty recipe ideas to spark your next meal!
Homemade Udon Noodles
Ingredients
- 75 ml water lukewarm
- 2 tsp sea salt
- 200 g all-purpose flour plus extra for dusting
My recommended brands of ingredients and seasonings can be found in my Japanese pantry guide.
Can’t find certain Japanese ingredients? See my substitution guide here.
Instructions
- Mix 75 ml water (lukewarm) and 2 tsp sea salt in a jug until dissolved.

- Measure 200 g all-purpose flour and place it in a large sealable freezer bag. Pour the salt water into the bag.

- Seal the bag and shake until there's no more dry flour and the small clumps of dough have formed.

- Rest at room temperature for 30 minutes.

- After resting, knead the mixture while it's still in the bag to form a uniform dough. Once it reaches this point, place the bag on the floor and continue to knead by stepping on it with your feet. Tip: Open the seal of the bag slightly to allow airflow and stop it from popping while you knead.

- Once the dough is flattened and filled the bag, take it out and fold it into thirds. Place it back in the bag and repeat the process of kneading by foot and folding for 15 minutes or until smooth.

- Push any air out of the bag and seal once more, this time resting for 2 hours at room temperature.

- Remove the dough from the bag and place it on a dry surface. Lightly dust both sides with flour, then roll it out as thin as you can with a rolling pin.

- Cut the dough in half (or thirds) lengthwise so that it will fit through the pasta machine.

- Set the pasta machine to the widest setting (usually 0) and run the dough through once. Then, reduce the thickness (2 or 3) and run the dough through twice. Finally, reduce the setting once more (4 or 5) and run it through again.

- The final thickness should be about 3mm (⅛ inch) thick. You can also roll it by hand if you don't have a pasta machine. Once rolled, cut the pieces in half horizontally so that the udon isn't too long.

- Attach the trenette cutting blade to the pasta machine and feed the sheets of dough through. Dust with more flour if the surface feels tacky. If cutting by hand, fold the dough to a manageable size, trim the edges and slice 3mm (⅛ inch) thick.

- Cook immediately or prepare for freezer storage. (See next set of instructions.)

How to Cook
- Bring a large pot of water to a rolling boil. Place the udon in the pot and boil for 11 minutes.

- Drain by pouring the udon into a colander, then rinse with cold water to wash off the excess starch. If serving hot, rinse once more with hot water to warm through.

How to Store
- Divide the udon into individual portions and then gently make a ball shape without pressing the dough. Be careful not to squeeze the noodles or they will stick together. Sprinkle with more flour if necessary. Wrap with plastic wrap and store in a sealable freezer bag. Store in the freezer for up to 1 month.



Leave a rating and a comment