



Featured Comment
Absolutely fantastic! The whole family loved it. It was my first attempt at tempura (did vegetables as well as prawns) and it didn’t turn out too bad.
★★★★★
– Sandypaw
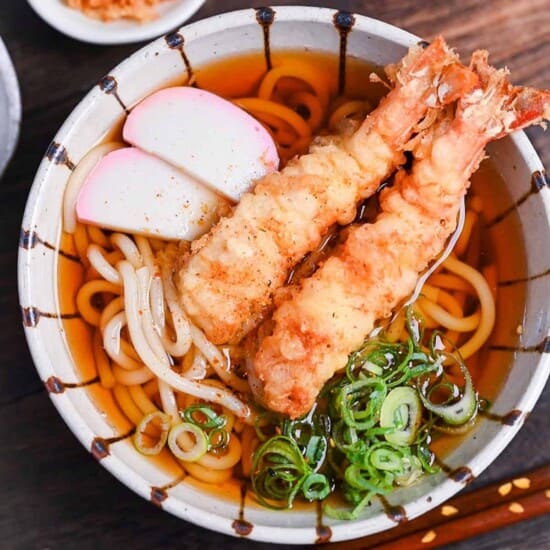
When you gently set a crisp shrimp tempura on a bowl of hot udon broth, the bottom starts softening right away as it soaks up the liquid. It might feel wrong to ruin that fresh fried crunch you just worked for.
But once the batter drinks in the broth, all that trapped frying oil melts out and layers deep savory richness into the clean soup. You get the soft underside and the still-crunchy top at once. That contrast, oil meeting dashi, is something no other udon dish gives you.

Ebiten udon
Recipe Snapshot
- What is it? Hot udon in a dashi broth with freshly fried shrimp tempura on top. Sink part of the tempura in and you get the drop from crisp above to soft below.
- Flavor profile: A clean katsuobushi-and-kombu dashi carrying the richness of the frying oil. The shrimp’s sweetness leads, and green onion and shichimi close the edges from behind.
- Why this recipe works: I reworked the batter and the shrimp prep until it held. Cold batter, minimal mixing, a salt-and-starch scrub, and a scored belly let the shrimp fry straight and light.
- How to make it: You fry it on the stovetop, no special gear beyond a pot and a thermometer. The trick is running shrimp prep and batter chill in the same half hour.
- What to expect: It makes 5 bowls and runs about 45 minutes. The single moment your hands slow is the shrimp, read by bubbles, sound, and pale color rather than the clock.
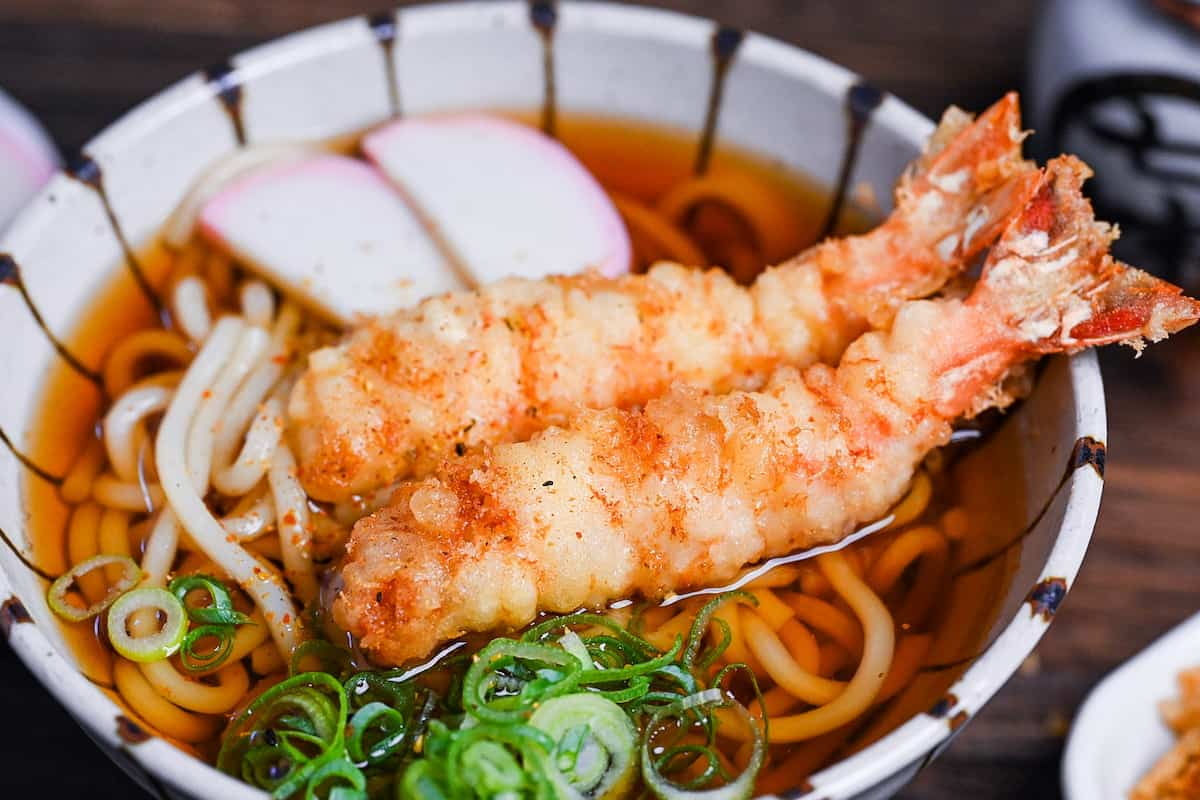
What is Shrimp Tempura Udon?
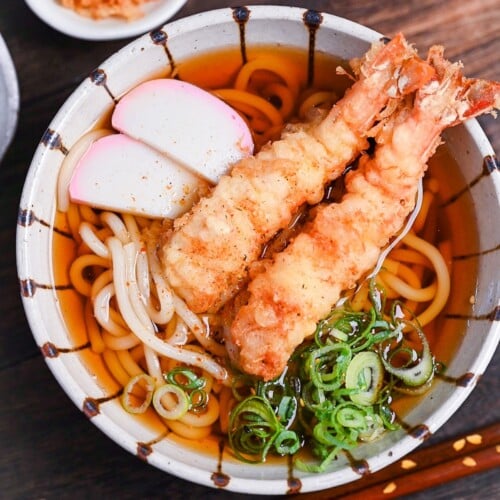
Shrimp tempura udon is a glorious bowl of warm udon noodles in dashi broth, crowned with a piece of shrimp tempura fried to order. It feels like the ultimate comfort in a single bowl. The crisp batter soaks up the soup on its lower half and softens. Far from being a mistake, this contrast between crunchy top and silky bottom is exactly what many of us in Japan look forward to. The oil that melts from the batter into the broth adds another layer of flavor.
The technique of deep-frying tempura reached Japan in the 16th century through Portuguese missionaries and traders in Nagasaki. The idea of placing tempura on noodles first appeared with soba, and you can spot it in Edo-period (1603-1868) comic poems from the early 19th century. When it comes to tempura udon specifically the story is a little later. Western-style tempura only spread widely to the Kansai region after the Meiji era (1868-1912) began in the second half of the 19th century, and the exact moment when shrimp tempura settled on top of udon remains unclear. In other words this bowl is not an ancient single dish but a relatively modern meeting of separate traditions.
When I mix a small batch of tempura batter I use just the yolk instead of a whole egg. Halving or quartering an egg is messy and imprecise, while the yolk alone gives me the right amount for a single portion and is easy to handle. For this dish I also make the batter a touch thicker than usual so the coating can absorb the dashi on purpose. Udon shops have long used a thicker batter precisely to let it drink up the soup and bring everything together, and I follow the same thinking. The state I love most is not all-crisp tempura but that pleasing contrast of crisp on top and soft, soup-laden underneath.
Shrimp Tempura Udon Ingredients
What You’ll Need for Udon
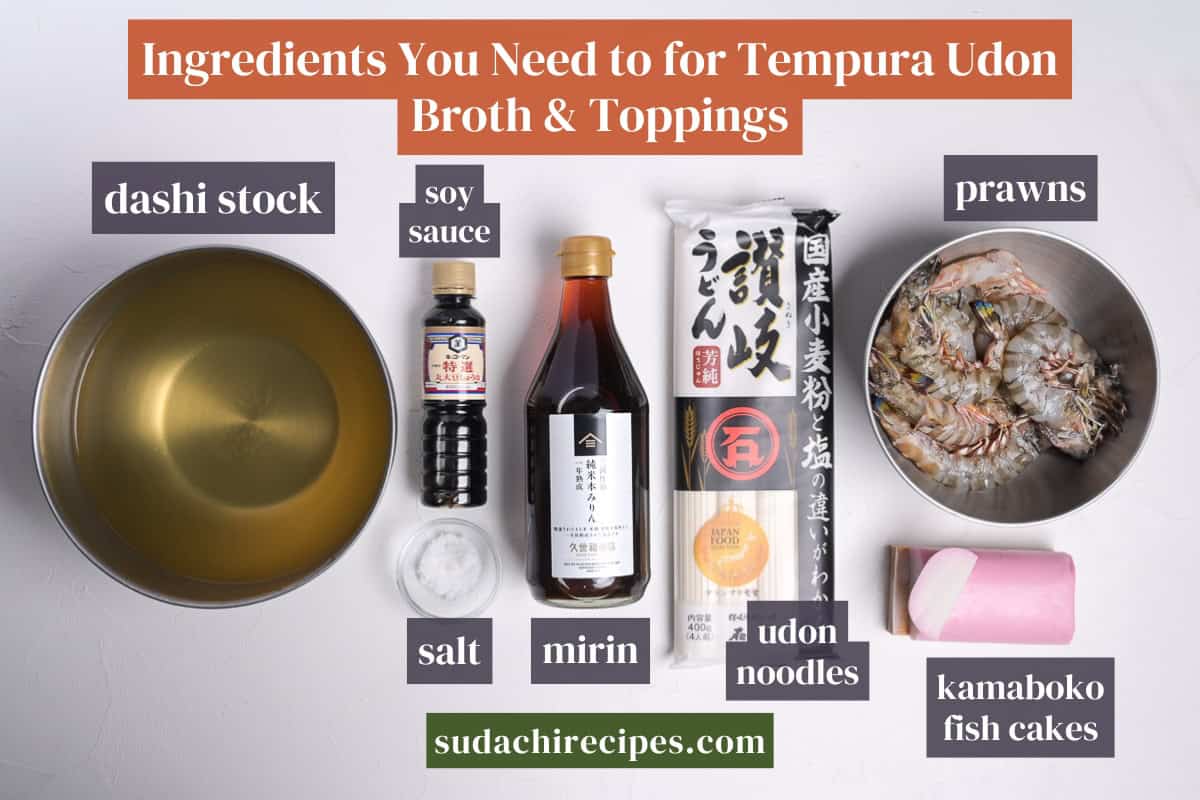
- Shrimp: What I reach for is black tiger, because it strikes the best balance of price, easy sourcing, and flesh that does not shrink away in the oil. In Japan, kuruma ebi prawns sits at the very top of the range. If you are choosing, go for large shrimp with real flavor of their own. Around a 16/20 count in US labeling is the size to aim for.
- Udon: At home, the most reliable choice by far is frozen Sanuki udon. Dried comes next. Even when the tempura and the broth are the stars, a noodle with real chew sets the floor of the whole bowl. If you want to take on handmade udon, that is its own project.
- Dashi: The foundation of the broth. Pull it as an awase dashi from kombu and katsuobushi and the umami stops being simple addition and turns into multiplication, holding the noodles and the tempura up from below. This is not the place to cut corners.
What You’ll Need for Tempura Batter
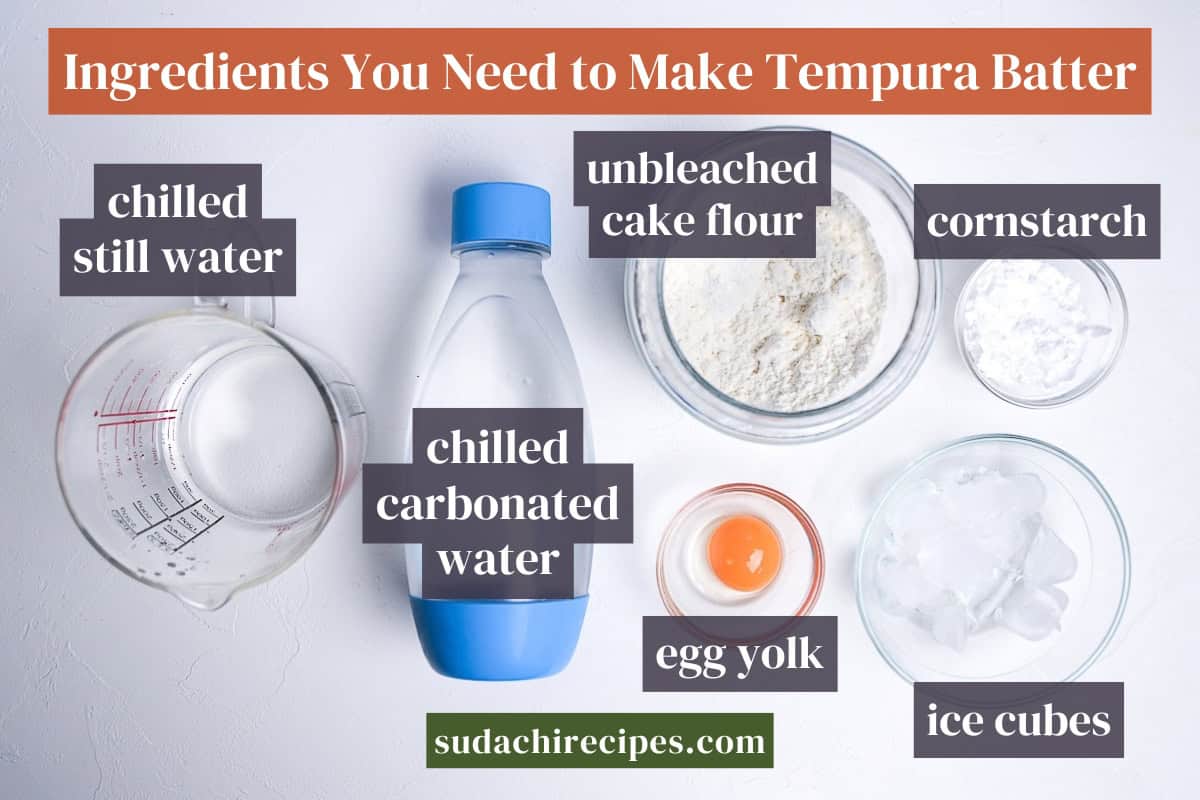
- Cake flour: A light batter comes down to preventing gluten development, so I use low-protein cake flour. There is a trap, though. Avoid bleached (chlorinated) cake flour, because it hurts the texture.
Substitution Ideas
- Shrimp → Kakiage, or vegetable tempura: When shrimp runs expensive that week, or you are just not big on it, swapping the whole topping is the realistic move. An onion-and-carrot kakiage, or tempura of sweet potato, eggplant, and asparagus, and the bowl still comes together completely.
- Dashi → Kombu and dried shiitake dashi, dashi packet, or granulated dashi: The swap works. Just do not leave the broth with nothing carrying the umami, or it goes flat all at once. Change how you pull the dashi if you like, but keep that base of umami in place.
- Cake flour → All-purpose flour: All-purpose flour will get you there. The protein runs a little higher, so you have to be even more careful not to overwork the batter. Mix less, keep it cold, and leave the lumps in.
- Udon → Soba: You can make this with soba noodles too. The broth and the tempura carry over cleanly, and you land in buckwheat territory instead of wheat.
- Kamaboko → Leave it out: Kamaboko is a garnish here, not a load-bearing part. If you cannot find it, drop it and nothing about the bowl suffers.
Have trouble finding Japanese ingredients? Check out my ultimate guide to Japanese ingredient substitutes!
How to Make My Ebiten Udon
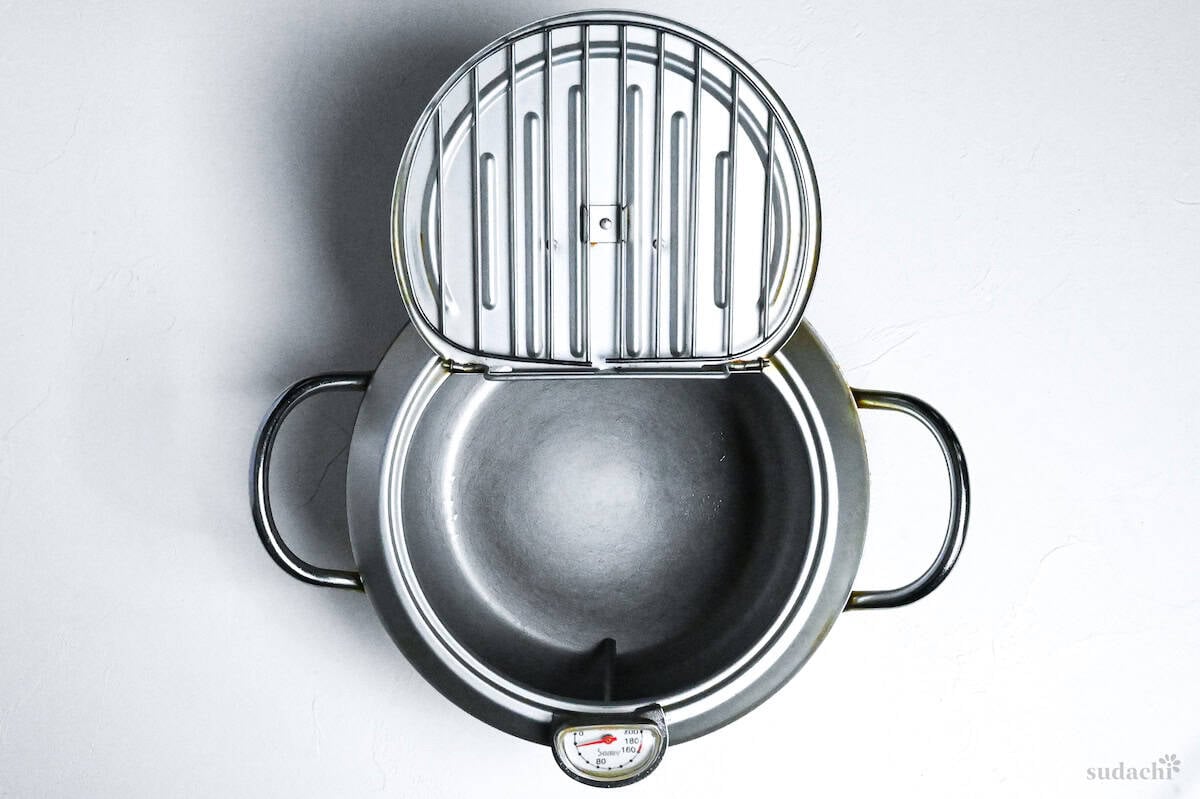
To develop this recipe, I used a tempura pot with a built-in thermometer.
i. Measure the batter water into a jug and put it in the fridge along with the unopened sparkling water. Sift the cornstarch and cake flour together into a bowl and chill that too. Both for 30 minutes.
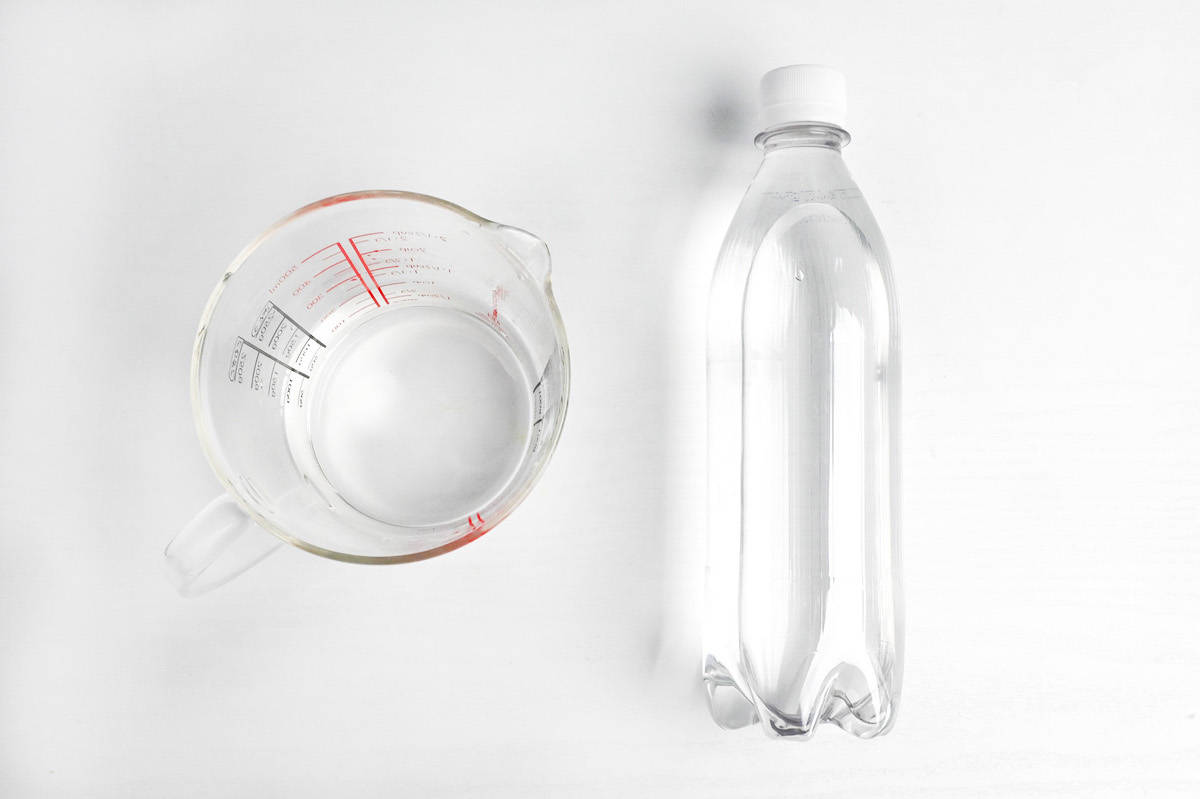
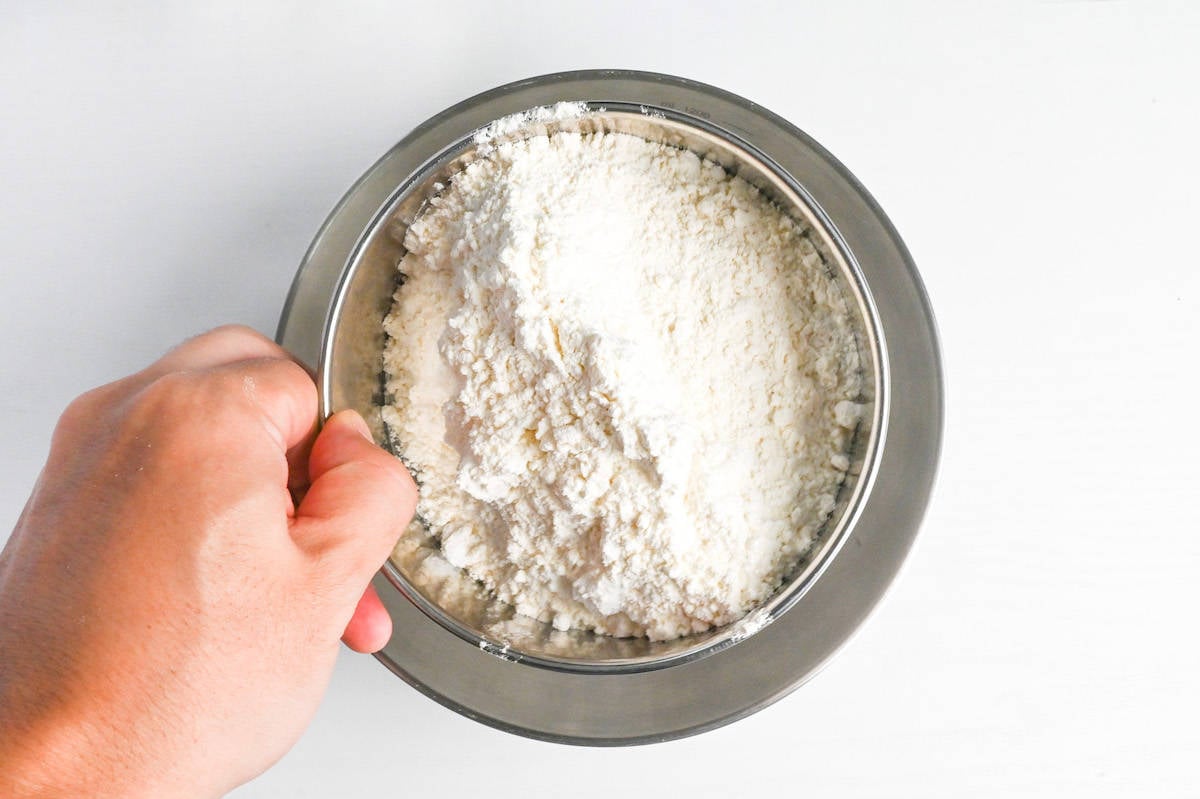
What tempura batter needs is gluten that never wakes up. Wheat protein links faster as it warms, and linked batter will not swap its water for oil in the fryer, so it fries heavy and pasty. So you chill it, and chilling the water beats chilling the flour, because water holds its cold longer at the same temperature. Keep the sparkling water sealed until it goes in, or the fizz escapes.
i. If you are using frozen shrimp, thaw them. Make a 3% salt brine and sink the shrimp in it. Shell-on shrimp take 10 to 15 minutes at room temperature, shelled ones 8 to 10. Pull them out while a slight core still remains in the center and move straight on. Bought raw or already thawed? Skip this step.
ii. Peel them. Leave the tail and the segment just before it. Curl the back gently, push a bamboo skewer in sideways at the second segment from the tail to hook the vein, and draw it out slowly. The vein often holds grit, so always take it out.
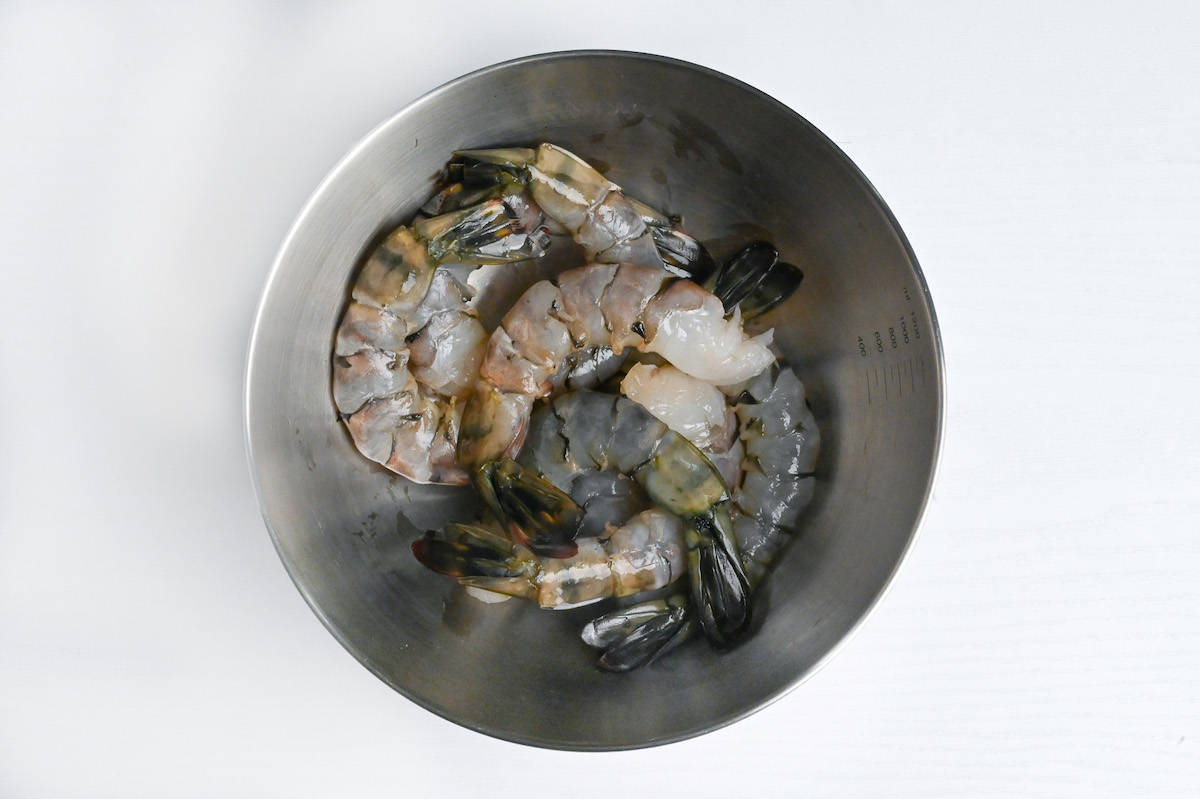
iii. Fold the tail, cut the tip off on an angle, and remove the pointed central spike. Lay the knife edge flat against the cut surface and run it from base to tip 2 to 3 times to push the water out of the tail.
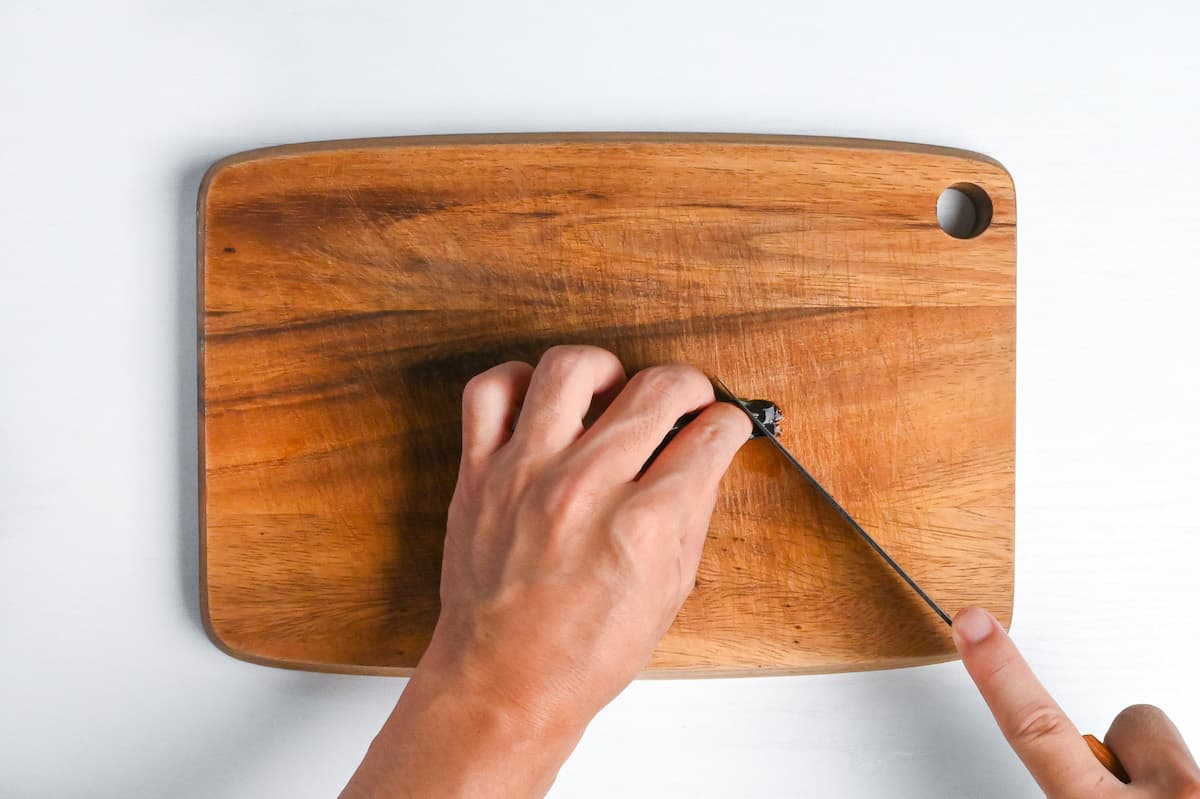
Draining the tail is not about looks, it is about not getting burned. Water trapped in the tail shell flashes to steam in 180°C (356°F) oil and expands about 1,700 times. When that happens inside a hard tube, it shoots oil out of the opening. The tail tip is also dangerous to whoever eats it if you fry it as is. Do not skip this.
i. Put the shrimp in a bowl with salt, potato starch, and a splash of water, and knead them gently by hand for 30 seconds to 1 minute.
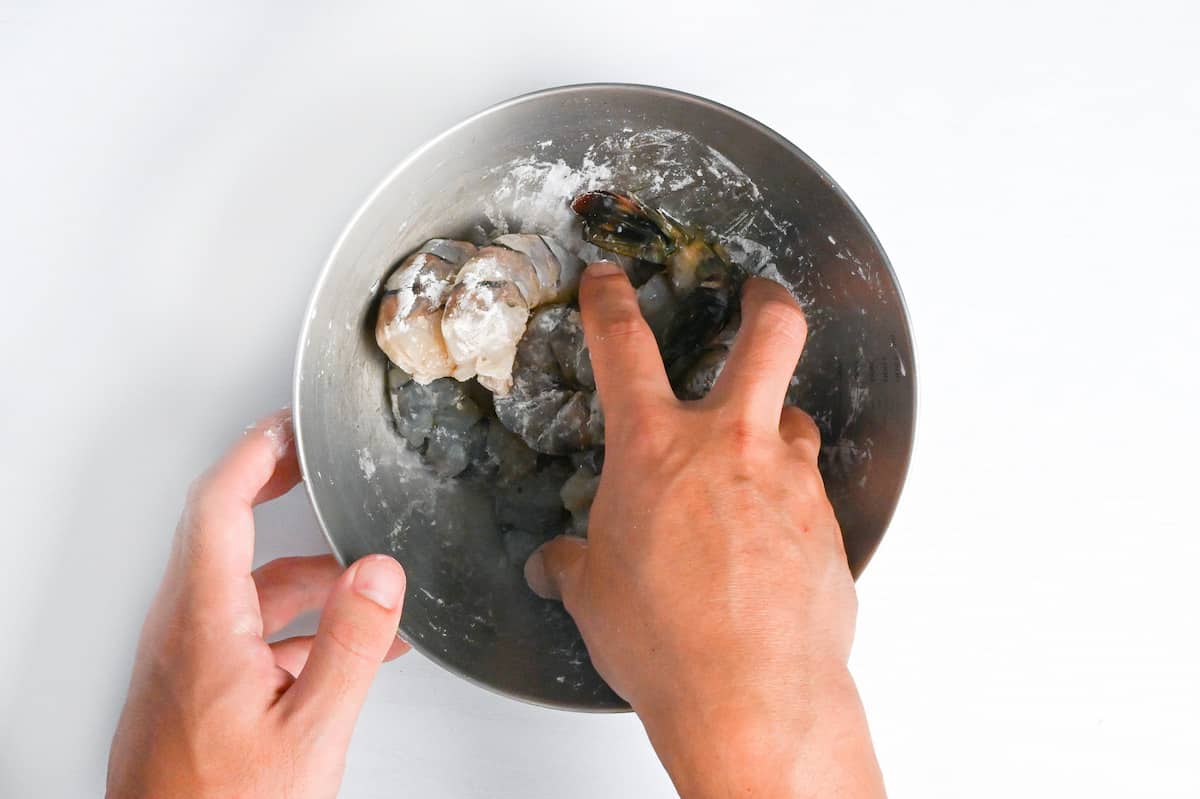
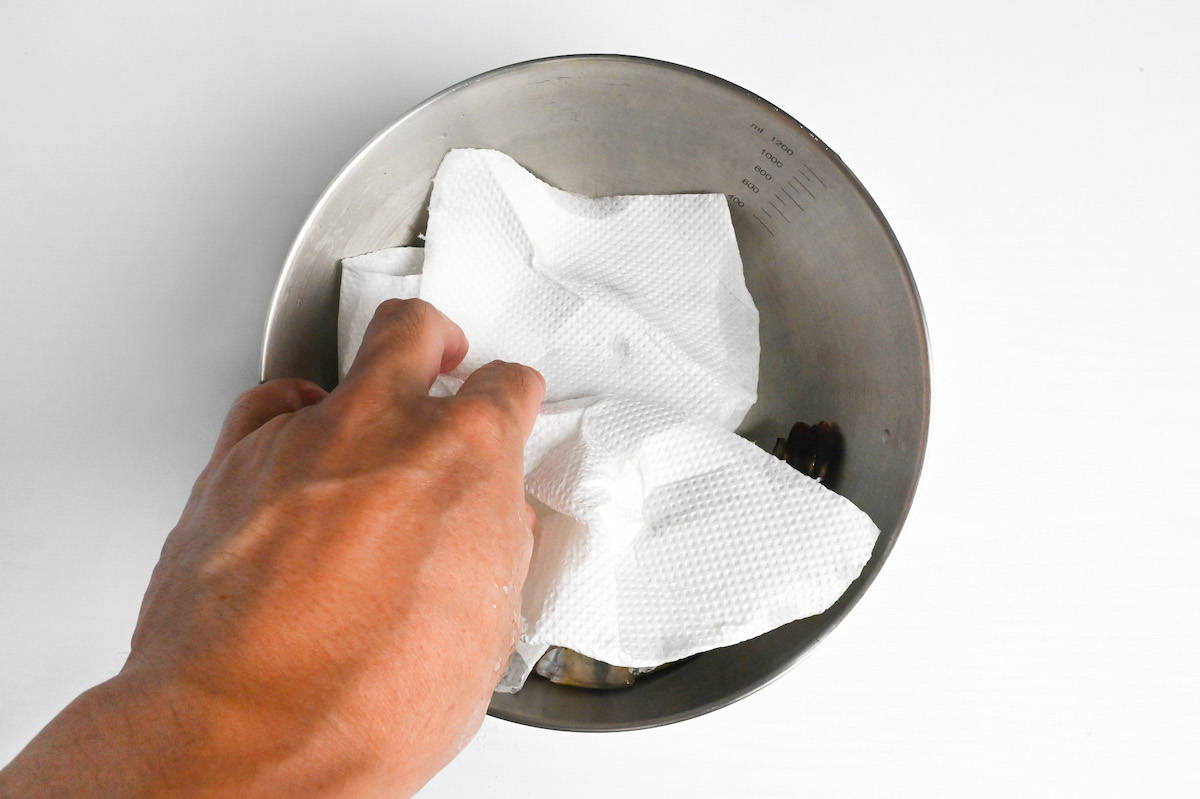
ii. Rinse under cold water 2 to 3 times, until the rinse water runs clear. Pat them dry hard with paper towel, and here pinch the tail between your fingers to push out any water that got back in during the rinse.
i. With the belly up, make 4 to 5 diagonal cuts across the body, halfway into the thickness. Use only the tip of the knife and pull it toward you rather than pressing down. Do not cut too deep, or the back that is left acts like a hinge and curls the shrimp even more when it fries.
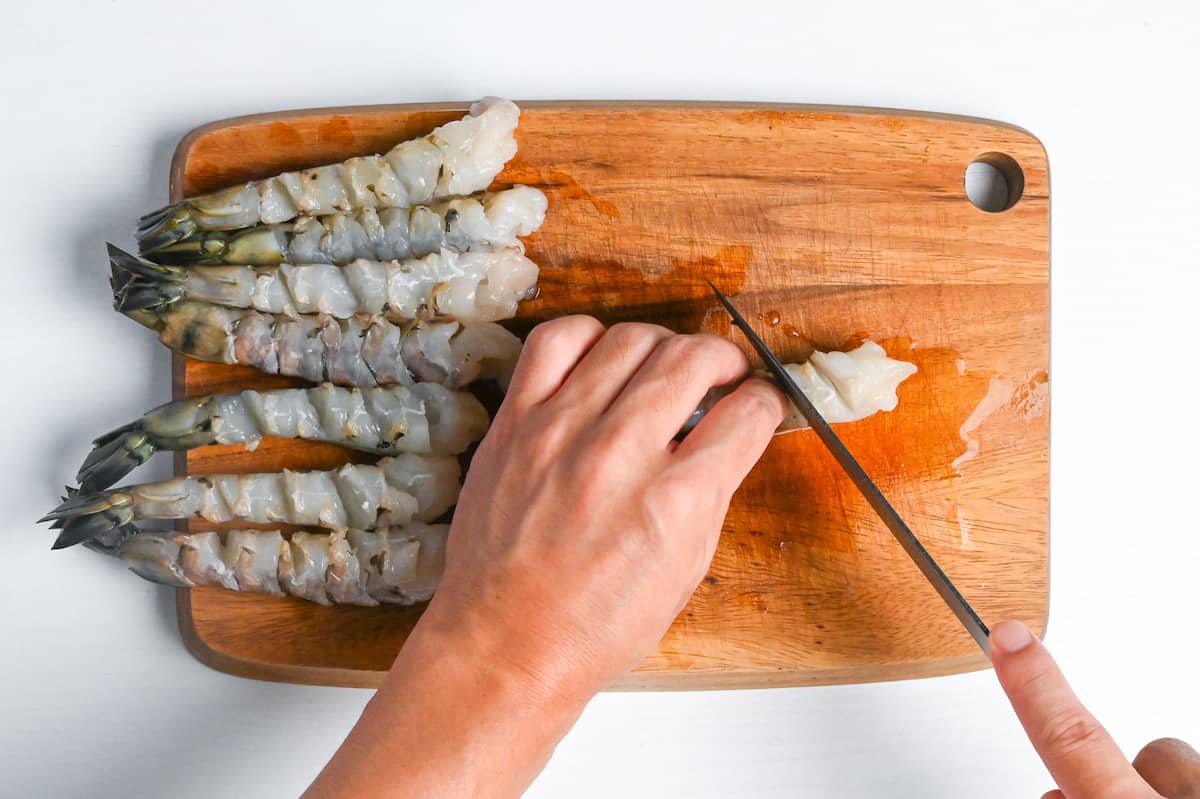
ii. Lay the scored shrimp belly-down on the board and press the back with the pads of your fingers in 3 to 4 spots, in turn. A small click tells you that spot is done. The goal is a shrimp that lies down straight on its own on the board.
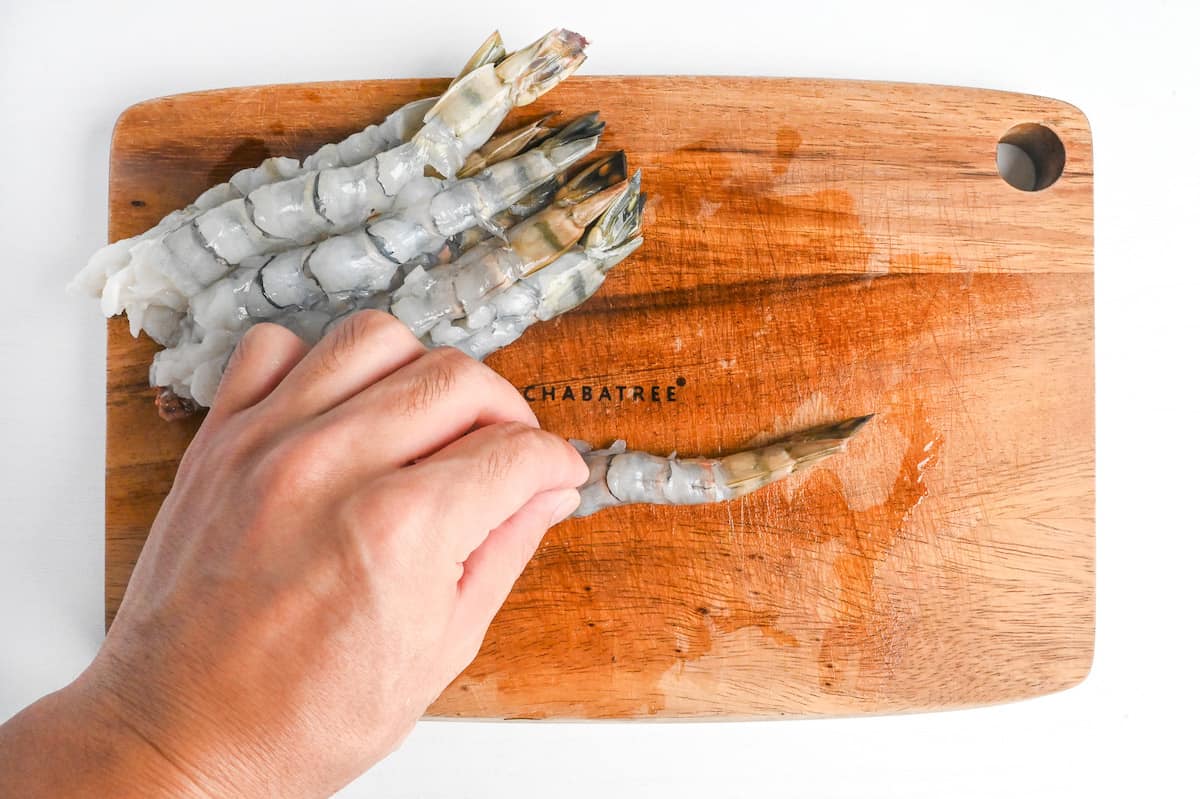
iii. Lay the shrimp on paper towel without overlapping, cover with another sheet, and rest in the fridge for 10 minutes (optional). The cuts have opened new surfaces, so you dry them once more here. Do not go past 20 minutes, or the off-smell comes back.
i. In a bowl, mix a little of the chilled water with the egg yolk, then add the rest of the cold water and the sparkling water. Instead of egg yolk you can use a little Japanese mayonnaise, an egg white, or about half a small beaten egg.
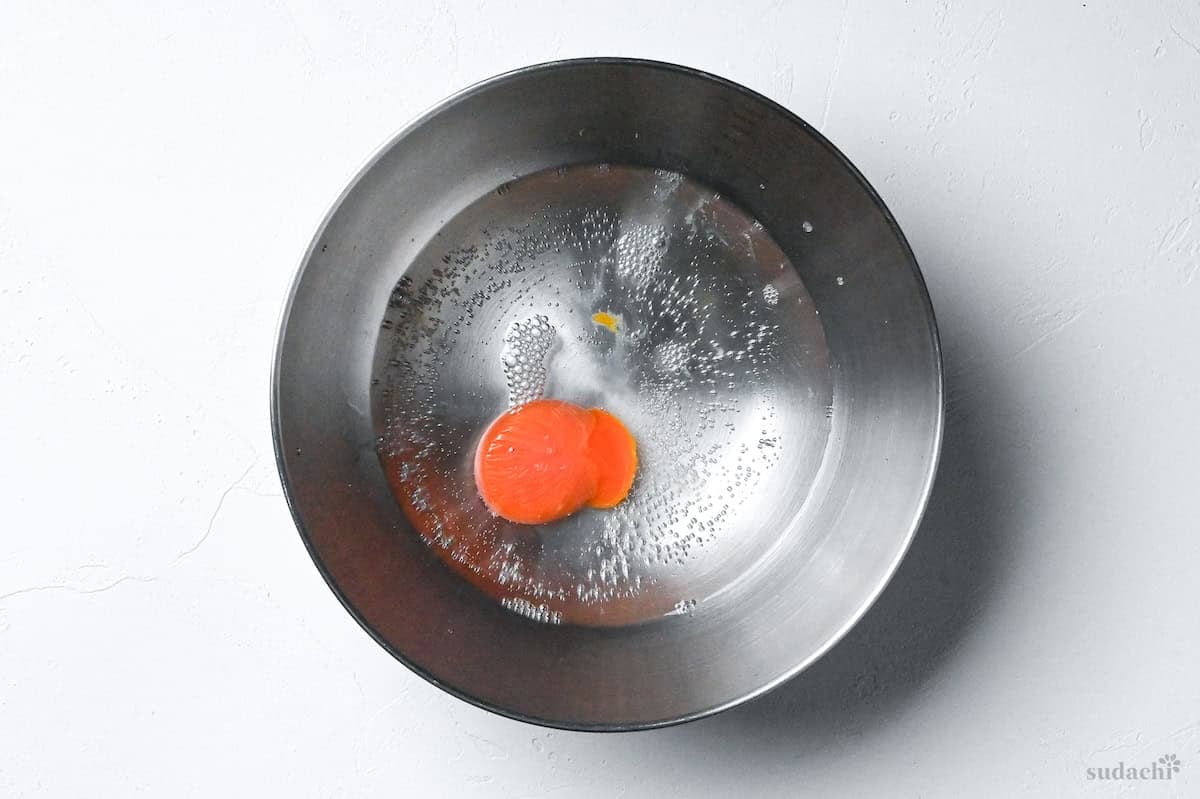
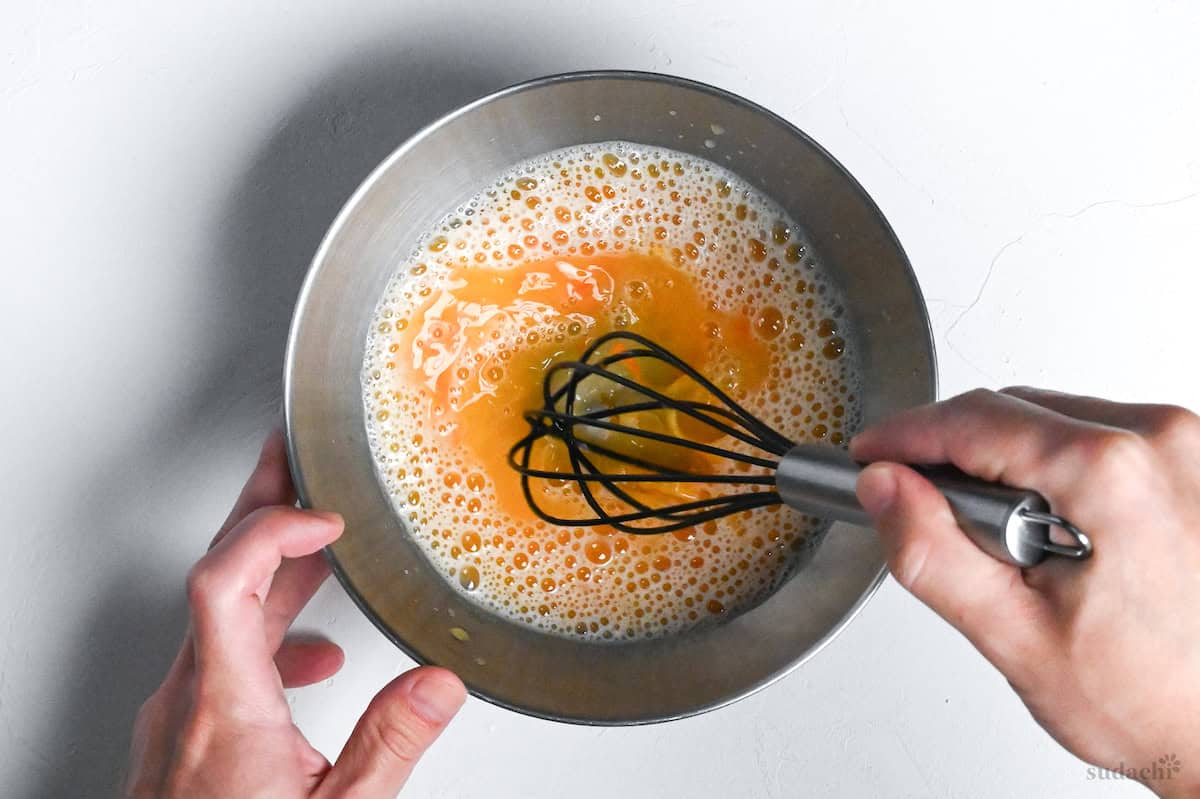
ii. Add the cake flour and cornstarch in thirds, mixing gently with chopsticks in a cross pattern. Do not whip it, do not overmix. If you like, drop in 2 ice cubes to keep it colder still.
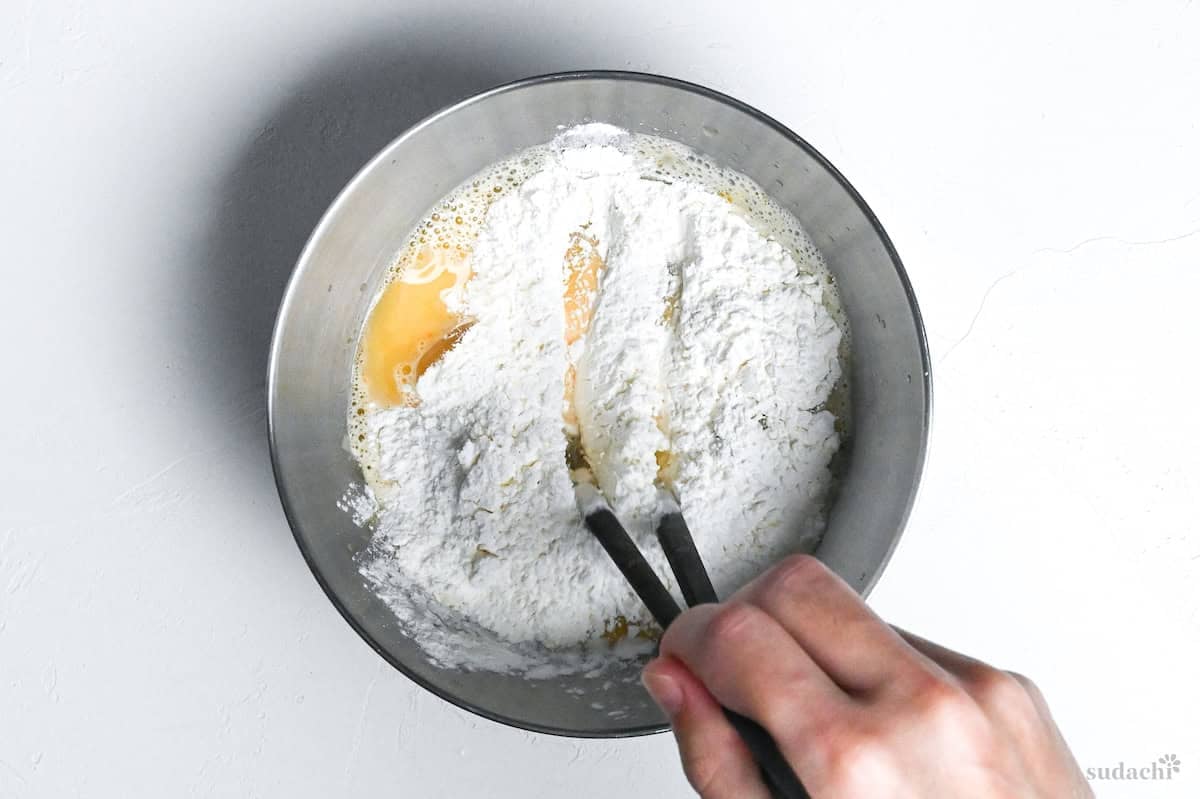

The more you mix, the more the gluten links and the heavier the batter gets. So a few lumps of flour still showing is exactly right. Do not try to mix it smooth. Make the batter right before you fry and keep it in the fridge until then, and do not make it ahead, because standing batter develops gluten over time.
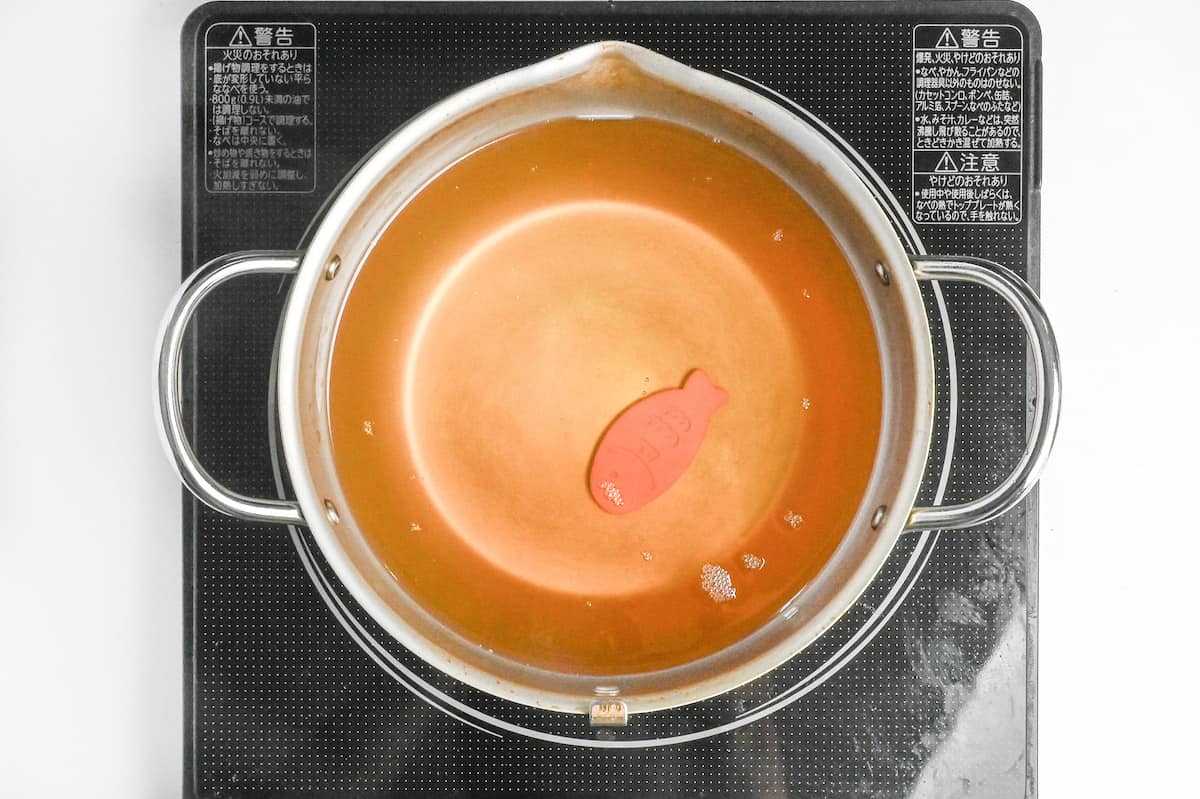
i. Preheat the oil to 180 to 190°C (356 to 374°F). Drop a bit of batter in to read the temperature. If it sinks to the bottom and rises straight back, it is around 160°C (320°F) and still too low. If it sinks partway and rises in the middle, it is around 180°C (356°F) and right. If it does not sink and scatters on the surface, it is too hot. Keep the batter in the fridge while you wait.
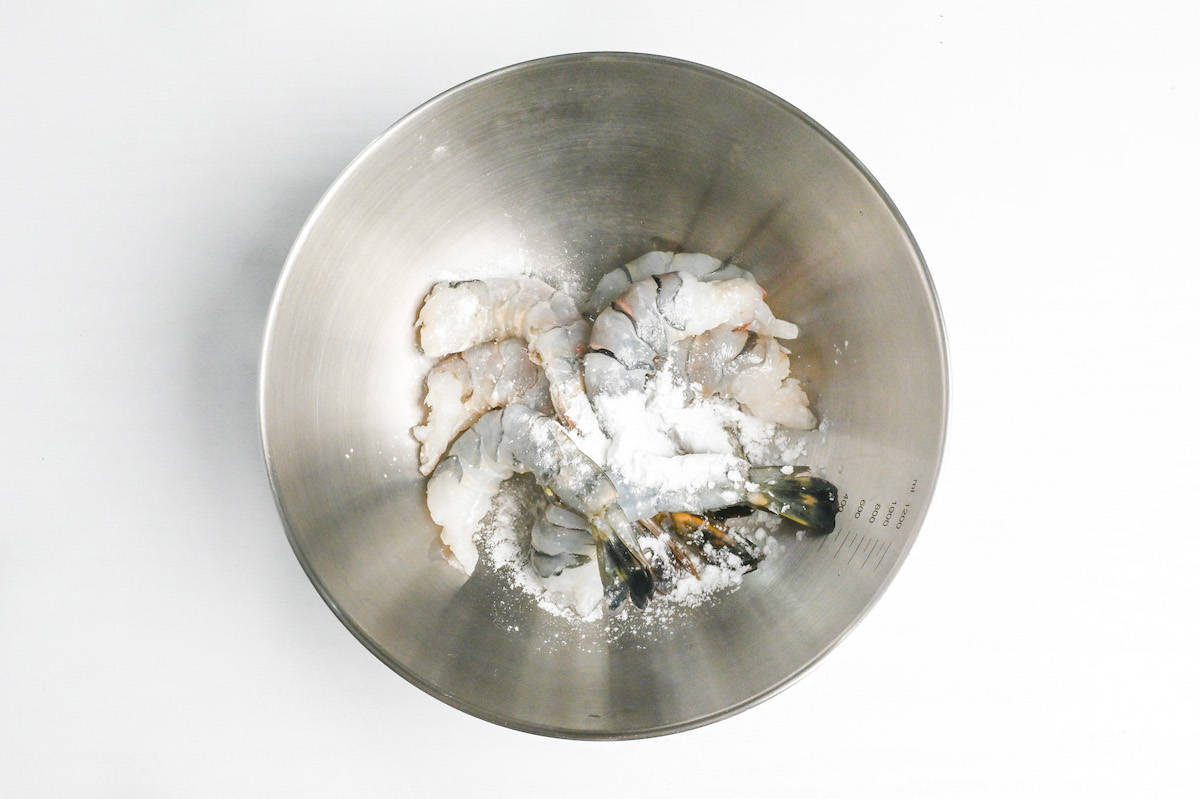
ii. Dust the shrimp thinly with cake flour for dredging and tap off the excess. Too much dusting flour goes powdery, so keep it thin and even.
iii. Dip in the batter and immediately lower them into the oil one by one. Add up to a third of the oil surface at once, which is 3 shrimp in a 24 cm pot. Crowd it and the oil temperature drops, and you get heavy batter that soaks oil without taking color. Between batches, put the batter back in the fridge.
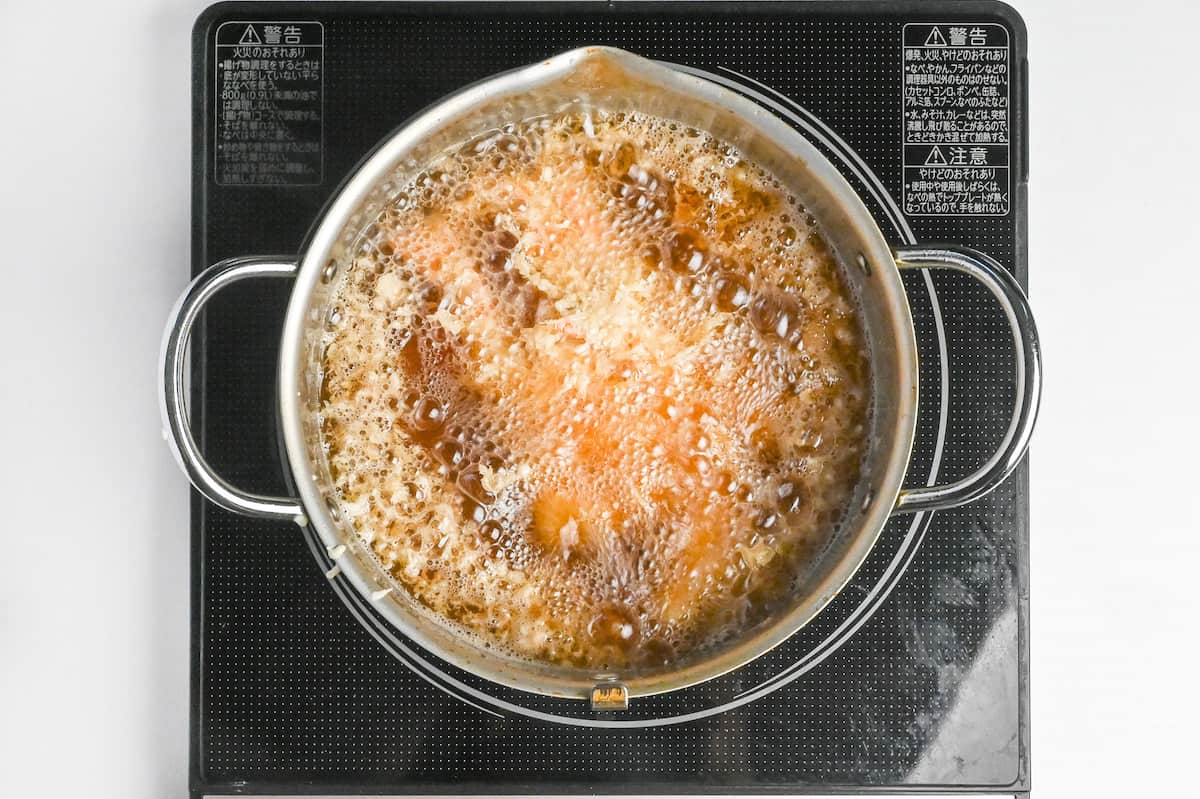
iv. Fry for about 2 minutes. It crisps, but do not push the color too dark. Pale, not deep brown. Lift onto a rack when done, spaced apart so the excess oil drains.
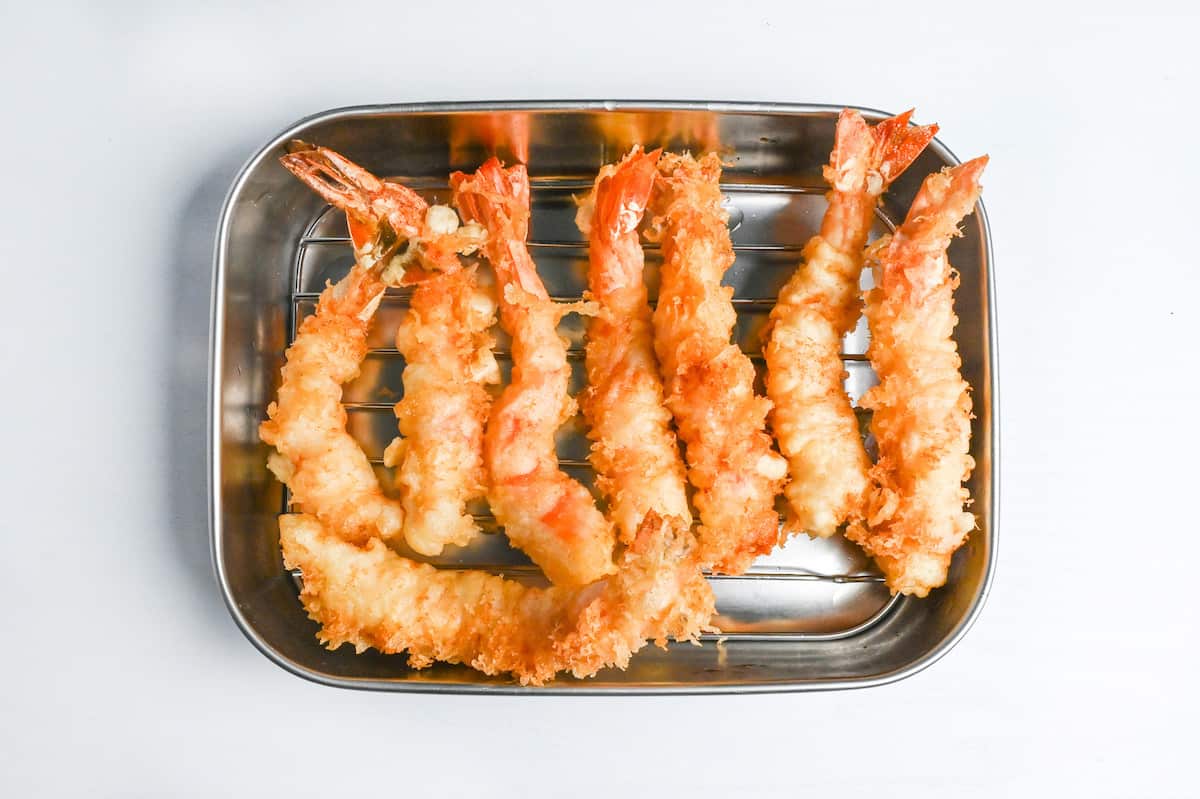
Shrimp is one of the hardest things to cook right, so you read bubbles, sound, and color instead of the clock. The big bubbles at the start turn fine and then thin out. The sound goes higher and lighter. Tempura is right at a pale color, so do not wait for deep brown. Shrimp turns red because a pigment that was blue-grey while raw, bound to protein, unfolds around 60°C (140°F) and shows its true red, which you can use as a doneness sign. A touch early beats a touch late.
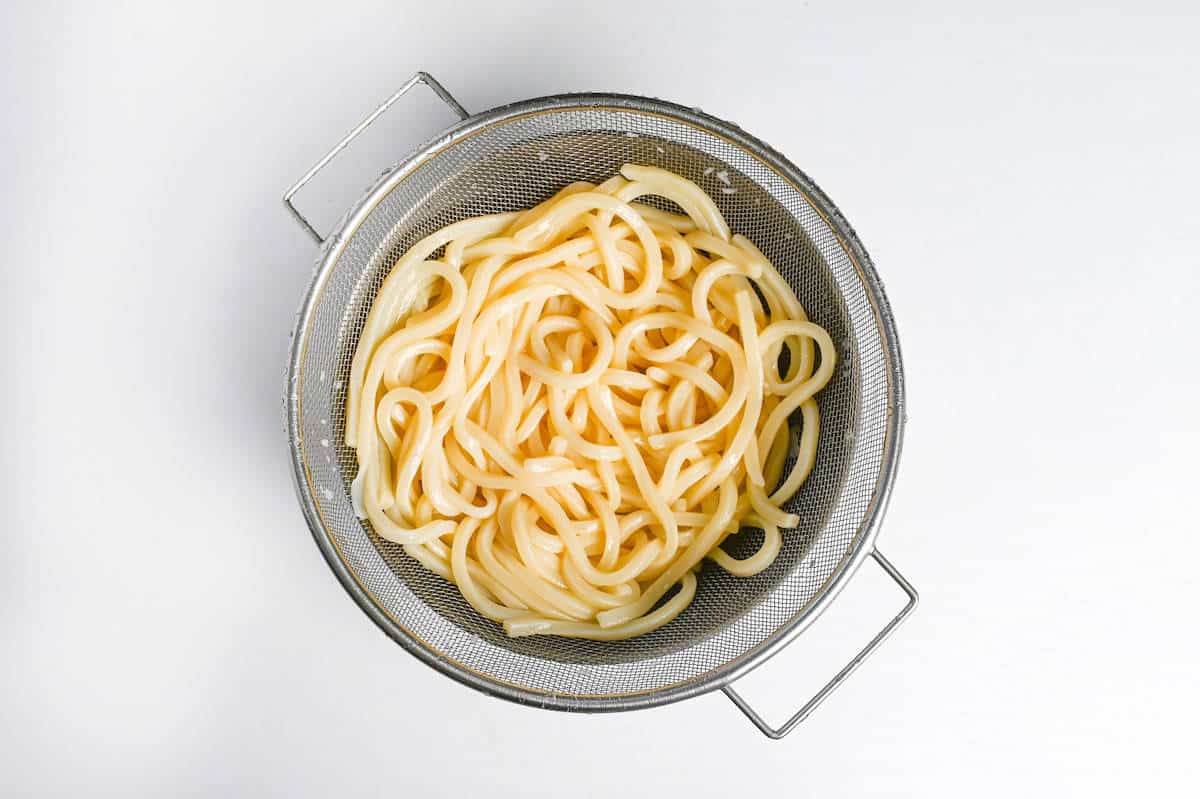
i. Boil the udon in a separate pot, following the package. Once boiled, drain in a colander and rinse the surface slime (the extra starch) off with hot water. Skip this and the broth turns cloudy and heavy.
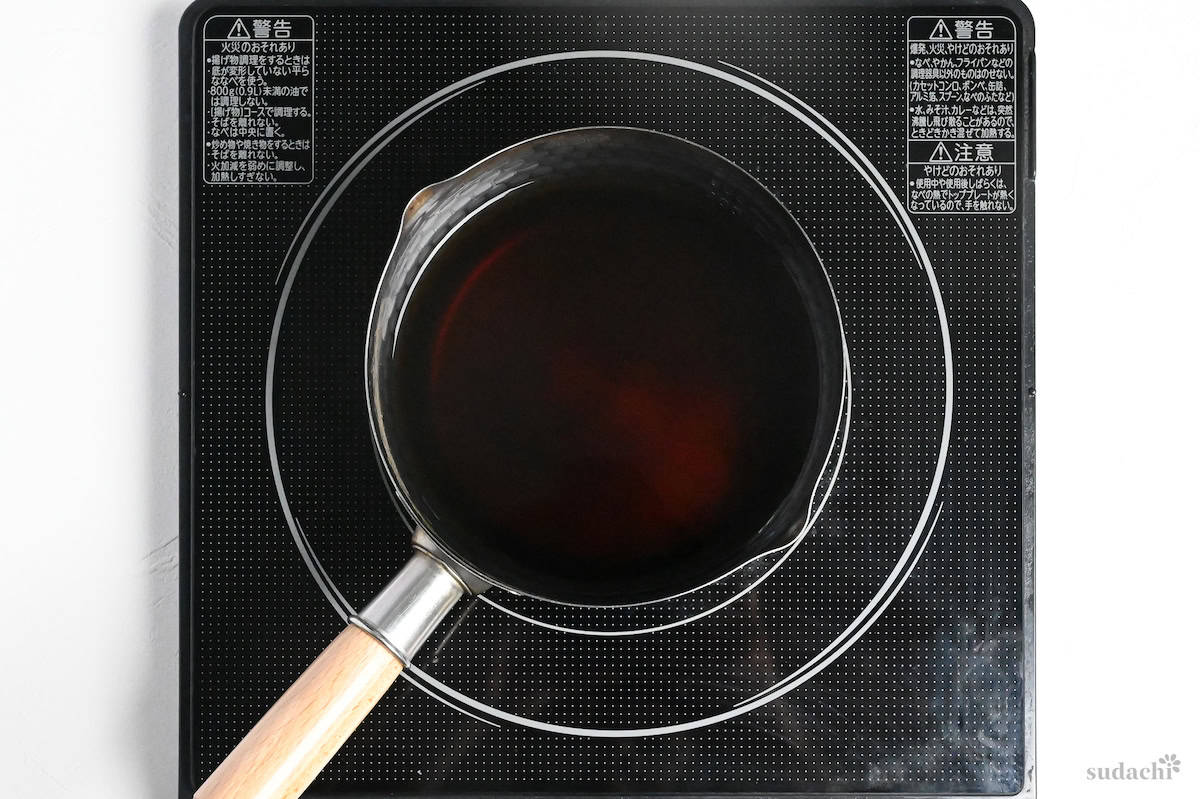
ii. Bring the dashi to a boil, then add the Japanese soy sauce and mirin. Simmer for 2 to 3 minutes.
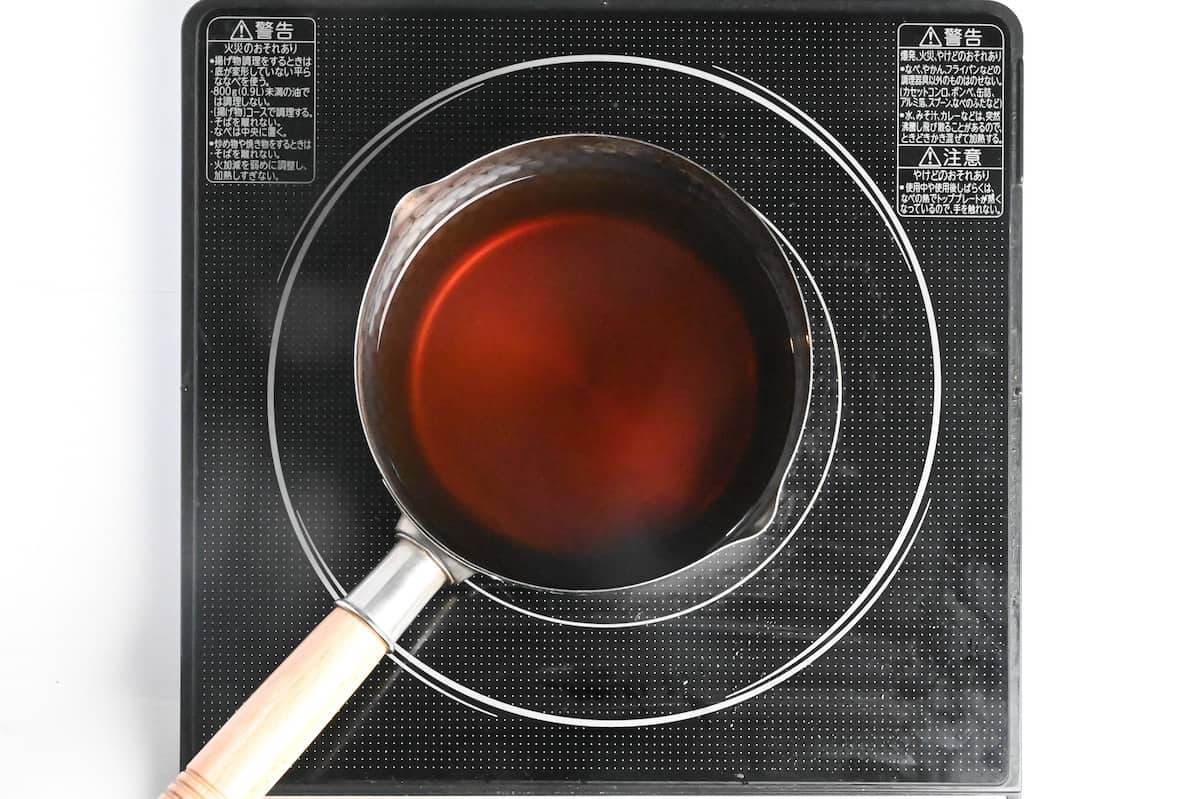
iii. Kill the heat and stir in the salt.
i. Divide the noodles among the bowls and pour the broth over the top.
ii. Set the fried shrimp tempura on the noodles, and add thinly sliced green onion, plus kamaboko if you have it. Dust with shichimi togarashi if you want heat.
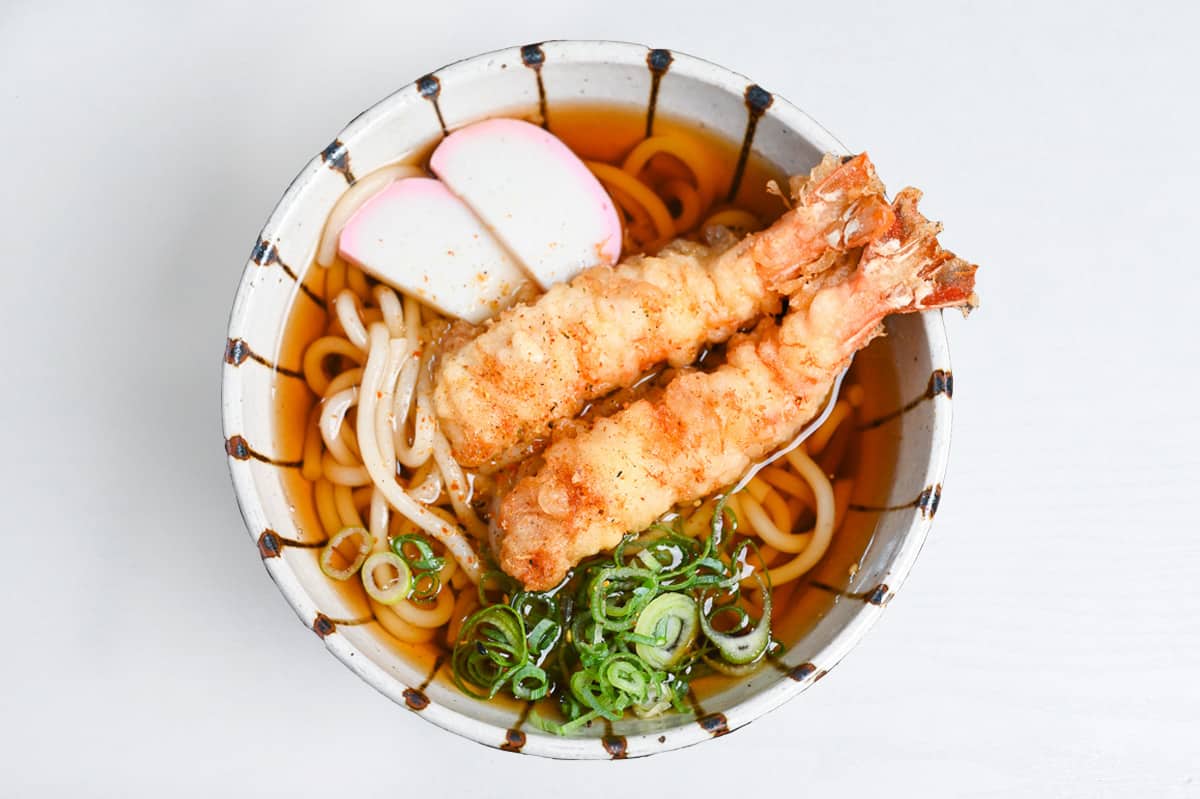
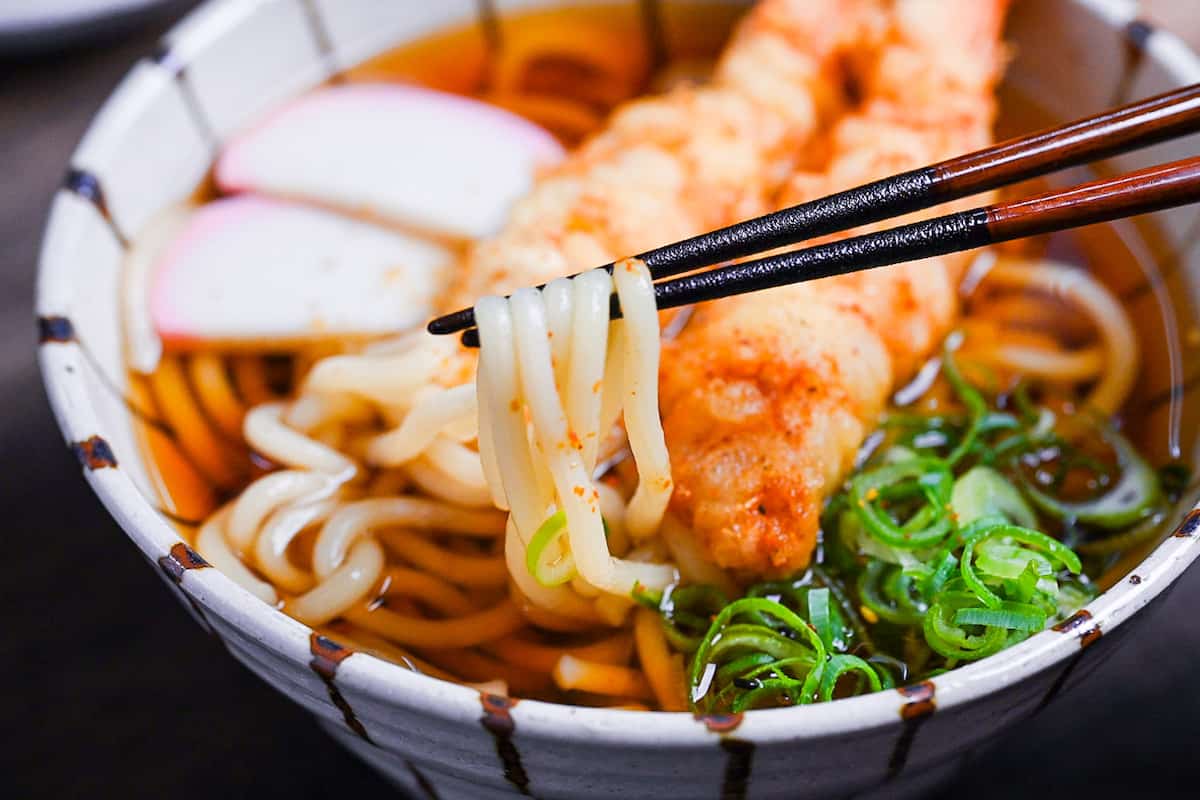
Put the shrimp tempura on last, right before you eat. The hotter and fresher it goes on, the more the crisp on top stands up. After that it is preference. If you want to keep the crunch, leave half of the shrimp up out of the broth. Me, I want the part where the batter has drunk the broth and gone soft, and I slurp it just like that.

Tips for the Best Tempura Udon
- Keep the batter cold to the very end. Almost every case of soggy tempura comes back to this one thing. Use ice water, stir it lightly with chopsticks right before you fry, and leave the lumps of flour in. Batter that has sat out of the fridge, or been made ahead, always turns heavy.
- Pull the shrimp early. Shrimp is the hardest thing here to cook right, and waiting for real color turns it tough. Take it while the color is still pale and the bubbles have gone fine and light. When in doubt, a touch early.
- Dry the shrimp as much as you possibly can. Water left inside the tail, and water on the surface of the flesh. Both of those are what bring the oil spitting and the batter sliding off. Push the water out of the tail with your fingers and pat it down hard with paper towel before it ever meets the batter.
You do not need to overthink it. Cold batter, dry shrimp, and no overcooking, and the tempura stands up just fine.
Storage & Meal Prep
Fridge: Broth keeps 3 to 4 days sealed. Cooked noodles hold 1 to 2 days, stored apart. Tempura is best fresh.
Freezer: Broth freezes about a month. Freeze shrimp in a single layer, they keep 2 to 3 weeks, with better texture than the fridge.
Meal prep: Prep the 3 parts separately. Only broth keeps ahead, boil noodles just before eating.
Reheating: Reheat broth to a boil. A toaster oven or an air fryer crisps frozen tempura again.
What to Serve With Shrimp Tempura Udon
- Spinach Ohitashi
- Easy Takuan (Pickled Daikon)
- Octopus and Cucumber Sunomono
- Yaki Onigiri (Grilled Rice Balls)
Prawn Tempura Udon Troubleshooting
The oil is too cool, or you are adding too much at once. Hold the oil at 180 to 190°C and add no more than a third of the oil surface at a time, which is 3 shrimp in a 24 cm pot. Crowd it and the oil temperature drops, so the batter soaks oil before it can take color. Between batches, wait until the oil climbs back to temperature before the next round.
Shrimp shrink and curl as they cook. Before frying, make 4 to 5 shallow cuts across the belly and press with your fingers to stretch the tendons out. The cuts only reach the surface, so pressing the deeper tendons is what decides it. Once the shrimp lies down straight on the board, it should fry straight.
Rinse the surface slime (the extra starch) off boiled noodles under running water, and combine them with the broth only right before you eat. Leave noodles sitting in the broth and they keep drinking it and going soft. For a hot bowl, rinse them, then warm them quickly in hot water or broth before you plate up.
More Japanese Udon Recipes
If you are hungry for more udon, take a look at my Japanese udon recipe collection and find your next bowl.
Did You Try This Recipe?
I would love to hear your thoughts!
💬 Leave a review and ⭐️ rating in the comments below. 📷 I also love to see your photos – submit them here!
Shrimp Tempura Udon Soup (Ebiten Udon)

Ingredients
Shrimp and Prep
- 10 large shrimp black tiger or similar, 20 to 30 g each, US 16/20 count
- ½ tsp salt for cleaning
- 1 tbsp potato starch (katakuriko) or cornstarch, for cleaning
- 2 tbsp water for cleaning
Tempura Batter
- 75 ml water thoroughly chilled
- 50 ml carbonated water thoroughly chilled
- 15 g cornstarch
- 75 g unbleached cake flour or pastry flour, low-protein, around 7-8%, plus a little for dusting
- 1 egg yolk or ½ tbsp Japanese mayonnaise, 1 egg white, or about ½ a small beaten egg
- 2 ice cubes optional
- cooking oil for frying, at least 5 cm deep in a pot around 24 cm across
Broth, Noodles and Toppings
- 1000 ml dashi stock
- 75 ml Japanese soy sauce (koikuchi shoyu)
- 2 tbsp mirin
- ½ tsp salt
- 5 portions udon noodles frozen recommended
- finely chopped green onions to taste
- kamaboko fish cake 2 to 3 slices per serving, optional
- Japanese chili powder (shichimi togarashi) optional
The ingredient brands and tools I trust are in my Japanese pantry guide and my cooking tools guide.
Can’t find certain Japanese ingredients? See my substitution guide here.
Instructions
- Chill 75 ml water and 50 ml carbonated water in the fridge. Sift 15 g cornstarch with 75 g unbleached cake flour into a bowl and chill it as well, 30 minutes. Prep the shrimp in the meantime.

- Peel each shrimp, keeping the tail and 1 segment above it, and remove the vein. Trim the folded tail on an angle, take out the spike, and run the flat of the knife along the cut to squeeze the tail water out.
- Toss 10 large shrimp with ½ tsp salt, 1 tbsp potato starch (katakuriko), and 2 tbsp water, kneading by hand 30 seconds to a minute. Rinse under cold water until it comes off clear, then pat very dry.
- Turn each shrimp belly-up and slash it crosswise in 4 to 5 spots, halfway deep. Flip it belly-down and press along the back in 3 to 4 places until it lies flat.Optional: Spread the shrimp on paper towel in a single layer, lay a second sheet on top, and chill 10 minutes.
- Whisk 1 egg yolk into the water and carbonated water. Fold in the dry mix in 3 additions with chopsticks, stopping while lumps remain. Drop in 2 ice cubes if you like.
- Heat the oil to 180 °C (356 °F) to 190 °C (374 °F). Dust each shrimp lightly with cake flour and shake off the excess.
- Dust each shrimp with a thin layer of cake flour, dip them into the batter and slip them into the oil one by one, no more than 3 at a time in a 24 cm pot. Fry about 2 minutes to a crisp, pale finish, then drain on a rack. Chill the batter again between batches.
- Boil the 5 portions udon noodles in a second pot per the package, drain, and rinse the surface starch away under hot water.
- Boil 1000 ml dashi stock, stir in 75 ml Japanese soy sauce (koikuchi shoyu) and 2 tbsp mirin, and simmer 2 to 3 minutes. Turn off the heat, and season with ½ tsp salt.
- Portion the udon into serving bowls and ladle the broth over the top. Crown each with the shrimp tempura, scatter green onions and 2 to 3 slices of kamaboko if using. Finish with shichimi togarashi to taste. Serve immediately and enjoy!

Absolutely fantastic! The whole family loved it. It was my first attempt at tempura (did vegetables as well as prawns) and it didn’t turn out too bad.
Thank you so much! I’m glad your family enjoyed the recipe 🙂
Can’t wait to try this as it’s not way to find here and the Japanese restaurant I ordered it from was a Covid casualty.
Possibly my favorite dish regardless of cuisine when good soba noodles are subbed in for udon. They give an added flavor dimension.
Hi Rick,
Thank you for your comment! I hope this recipe brings back some of that flavor you’ve been missing and enjoy making this recipe!
Yuto