

How I Developed This Recipe
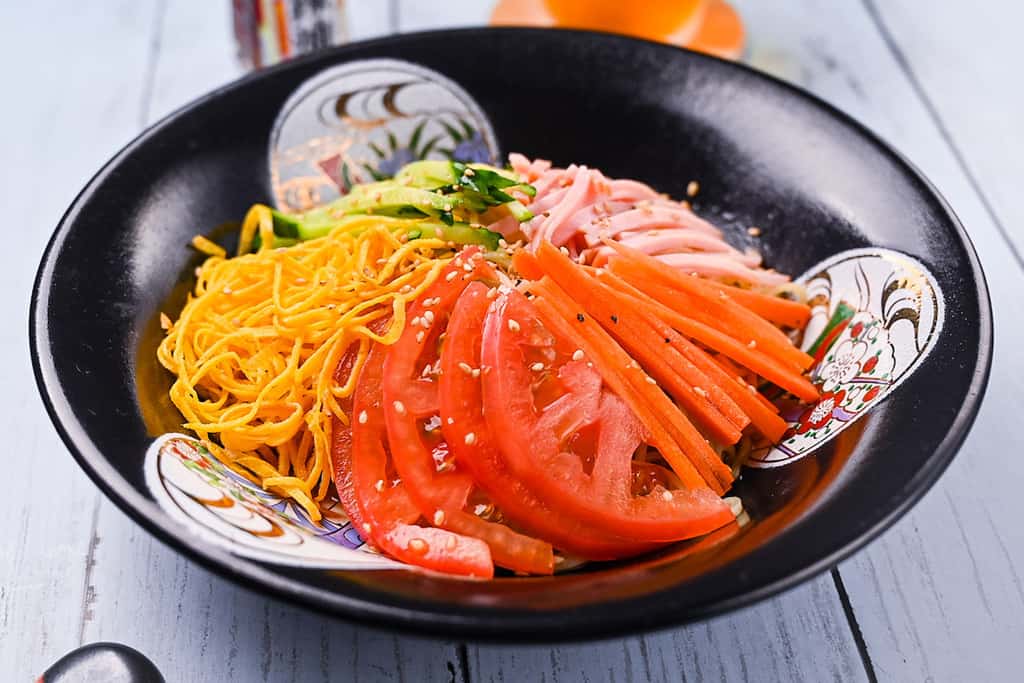
Ever thought about why most Japanese ramen noodles never have an egg in them? Ramen usually gets that springy texture from kansui, a unique alkaline solution. But there are exceptions, such as Sapporo-style miso ramen and hiyashi chuka.
Even in Japan, few home cooks bother making egg noodles from scratch for their miso ramen. But if you’ve found this recipe, you’re clearly someone who refuses to settle for “good enough,” aren’t you? I’m here to bridge that gap.
In this recipe I will reveale how to make authentic egg-based ramen noodles without kansui. Whether you’re chasing perfect miso ramen, craving hiyashi chuka, or simply can’t track down lye water locally, these noodles are for you.

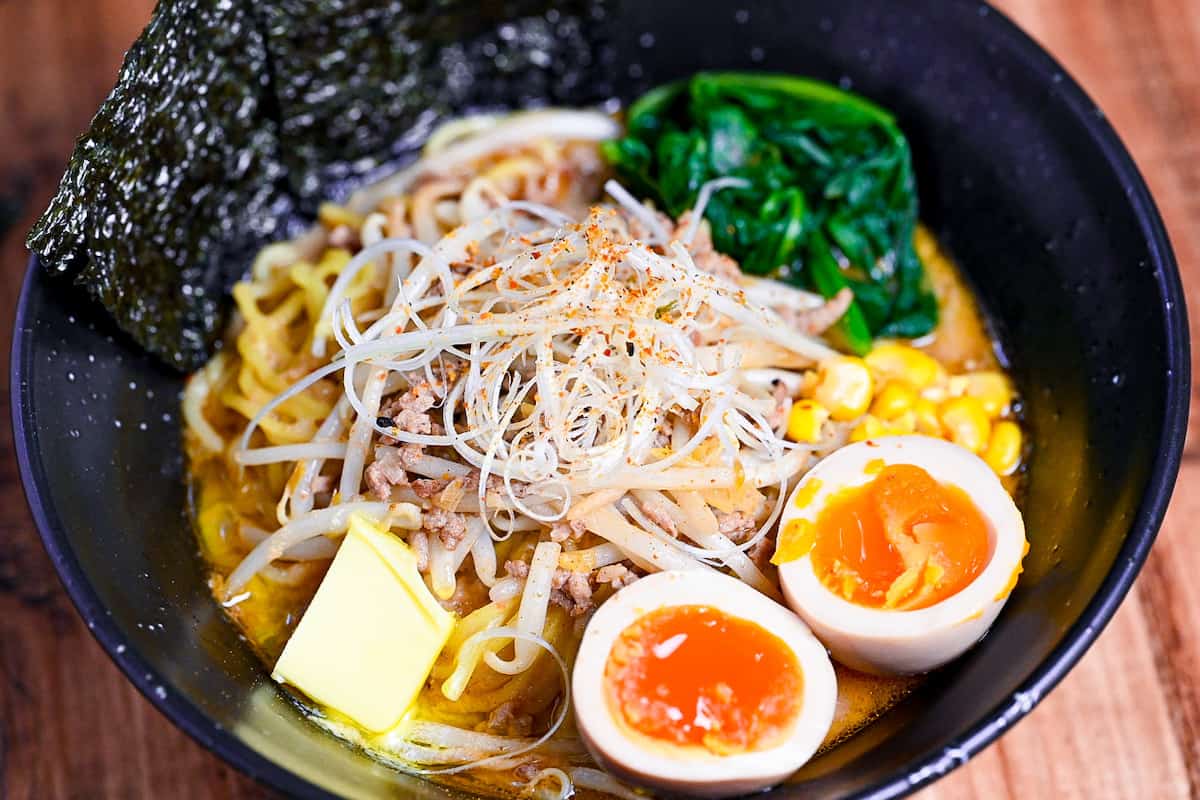
Why Sapporo Miso Ramen Uses Egg Noodles?
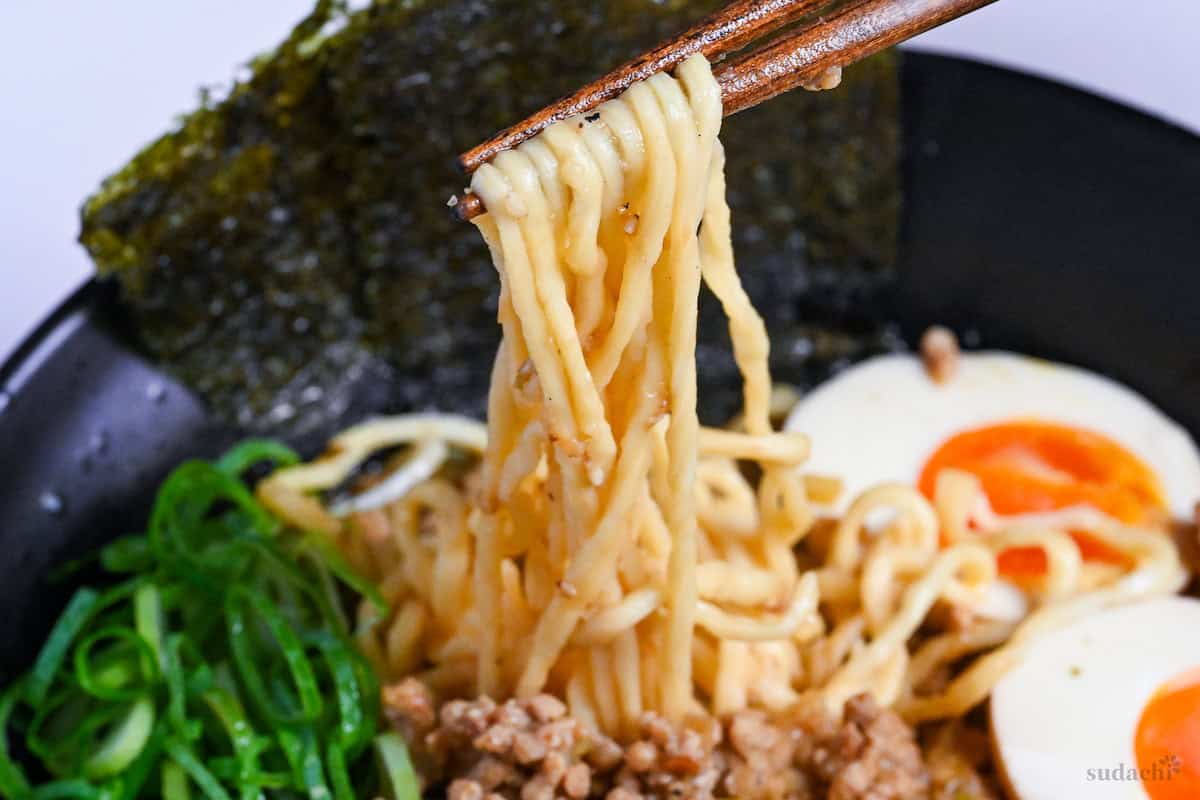
Can you imagine Sapporo miso ramen without its distinctive golden, curly noodles? These noodles aren’t just an aesthetic choice. They’re a practical solution born from Hokkaido’s brutal winters.
The curly shape solved a real problem. In the 50s, exhausted laborers finishing grueling winter workdays could barely grip chopsticks properly. It’s the outdoor food stall we’re talking about. Curly noodles, however, clung to chopsticks, preventing frustrated diners from losing their meal.
Meanwhile, the original thin, straight noodles in light soy broth would cool instantly in sub-zero temperatures, leaving customers with a lukewarm meal, so the rich miso broth was ideal.
Then adding eggs created beautiful yellow strands and provided practical benefits: moisture, gloss, and resistance to overcooking. These benefits complemented the rich, slow-cooling miso broth that Sapporo needed perfectly.
In 1955, a company perfected the formula by using a dough with a high water content and bread flour. This created the medium-thick, elastic noodles that define Sapporo ramen today. Every distinctive element can be traced back to one factor: thriving in Japan’s harshest climate.
Key Ingredients & Substitution Ideas

- Bread flour: I go for high-protein bread flour (12 %+). If you don’t have bread flour, you can mix half and half all-purpose and vital wheat gluten, or you can use “bread machine” flour.
- Egg: Whole eggs tint the dough a natural gold and add subtle richness, while yolks only deepen color if you crave more pop. Powdered yolk or pasteurized liquid egg works in a pinch, but steer clear of whites alone.
- Water: Soft or filtered water are preferred to let wheat flavor shine and keeps the dough supple, hard water can toughen it.
- Salt: Fine sea or kosher salt tightens the gluten and gently seasons each strand. Dissolve it fully in the liquid to avoid gritty spots, and skip iodized salt.
Visual Walkthrough & Tips
Here are my step-by-step instructions for how to make Egg Ramen Noodles at home. For ingredient quantities and simplified instructions, scroll down for the Printable Recipe Card below.
This section aims to provide a comprehensive overview of the cooking steps and techniques with visuals. It also includes more in-depth tips and tricks and explains why I do what I do.
Start by sifting bread flour (or high-gluten flour) into a large mixing bowl.

In a separate container, crack one egg and measure the weight.

Add water until the total liquid weight reaches 105g, then add salt and whisk it thoroughly.
This precise weighing really matters! Miso ramen noodles usually use 35-40% hydration (including the weight of the egg). My recipe uses 35% (300g flour x 0.35 = 105g).

When making egg noodles, some people include kansui while others don’t. I’ve tested both approaches, and adding kansui creates a much darker, less appealing color compared to the bright golden noodles we want.
So for egg-based noodles, I decided to skip kansui results in cleaner-tasting noodles with the vibrant yellow color.

Stir vigorously until the salt completely dissolves. This step is crucial for even distribution, and you’ll know it’s ready when the liquid turns a uniform, clear yellow with no cloudiness.
Make a well in the flour and pour in the egg little by little while mixing.

Use chopsticks to mix the flour into the liquid. The mixture should look like wet breadcrumbs.

Shaggy, slightly moist, and not yet fully sticky.

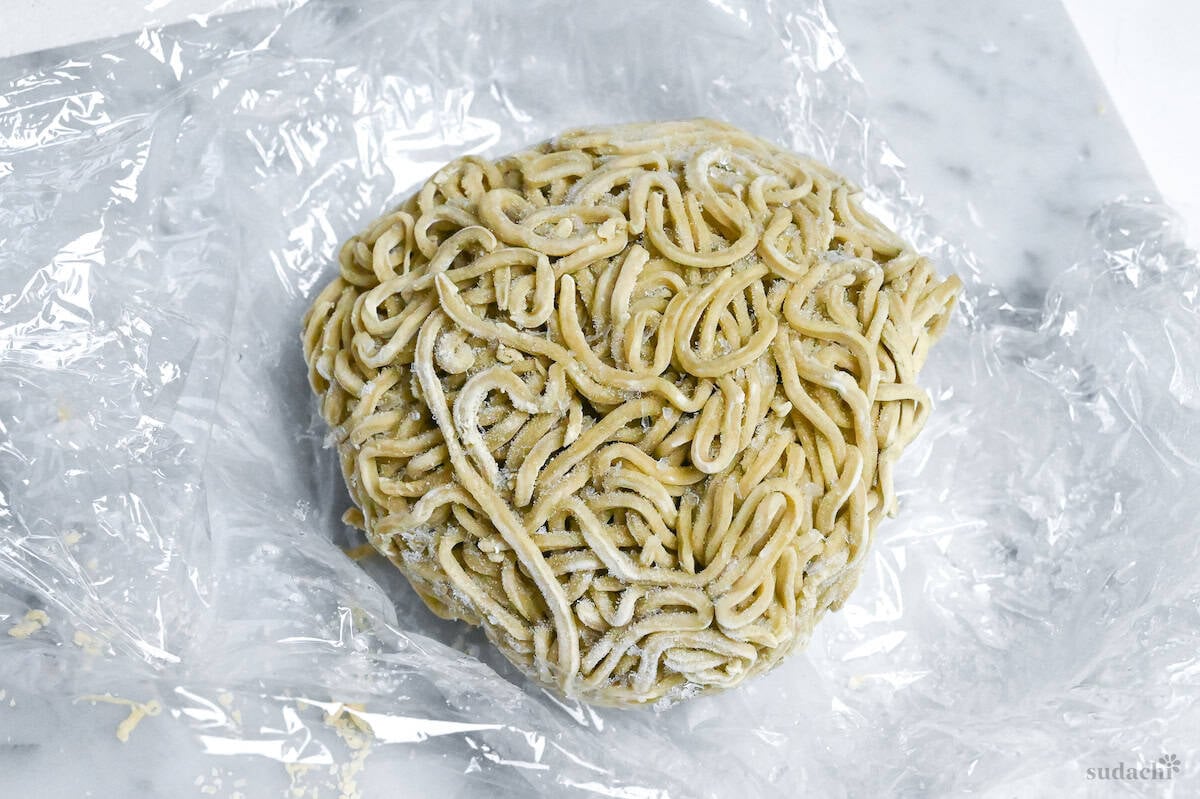
When the mixture becomes crumbly and resembles breadcrumbs, put it in a sealable bag and let it rest for 30 minutes.

This bench time allows the flour to fully hydrate and the gluten bonds to relax, making the next kneading phase much more manageable.
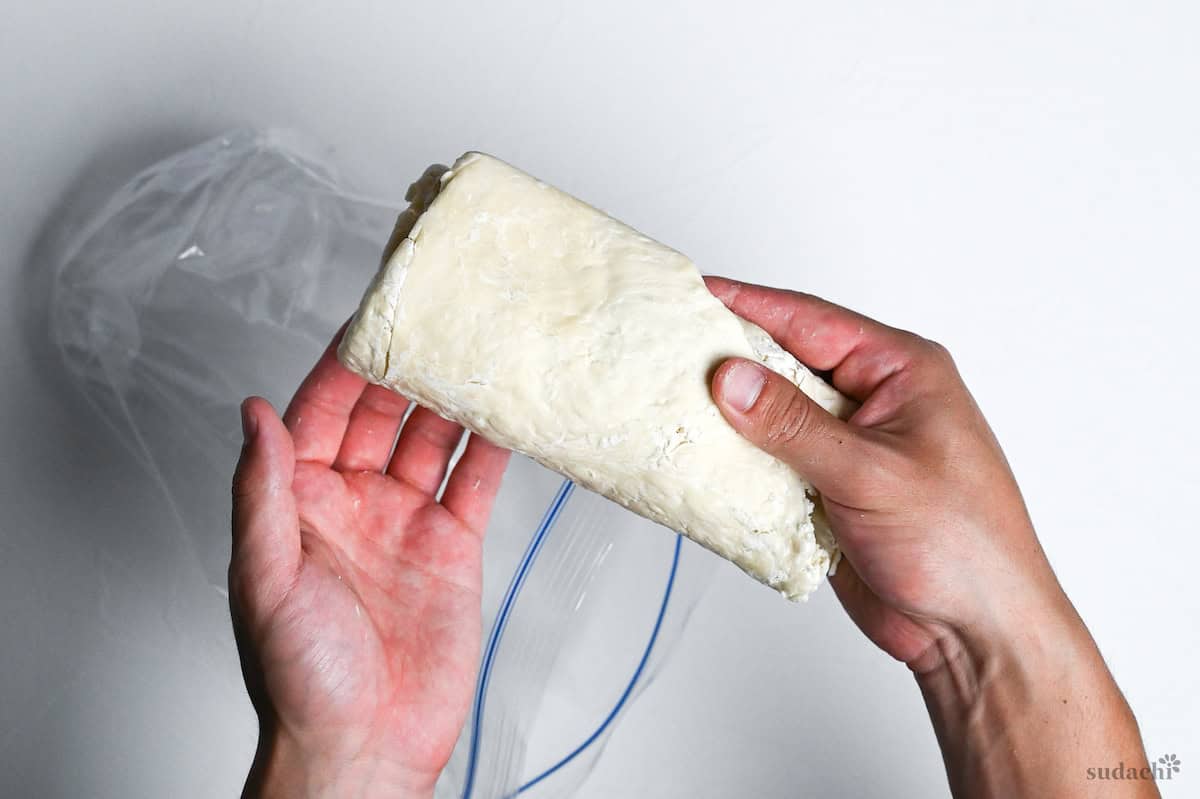
Here’s where Asian technique gets interesting. Place the wrapped dough on the floor and press down on it to flatten it (of course, over the bag).
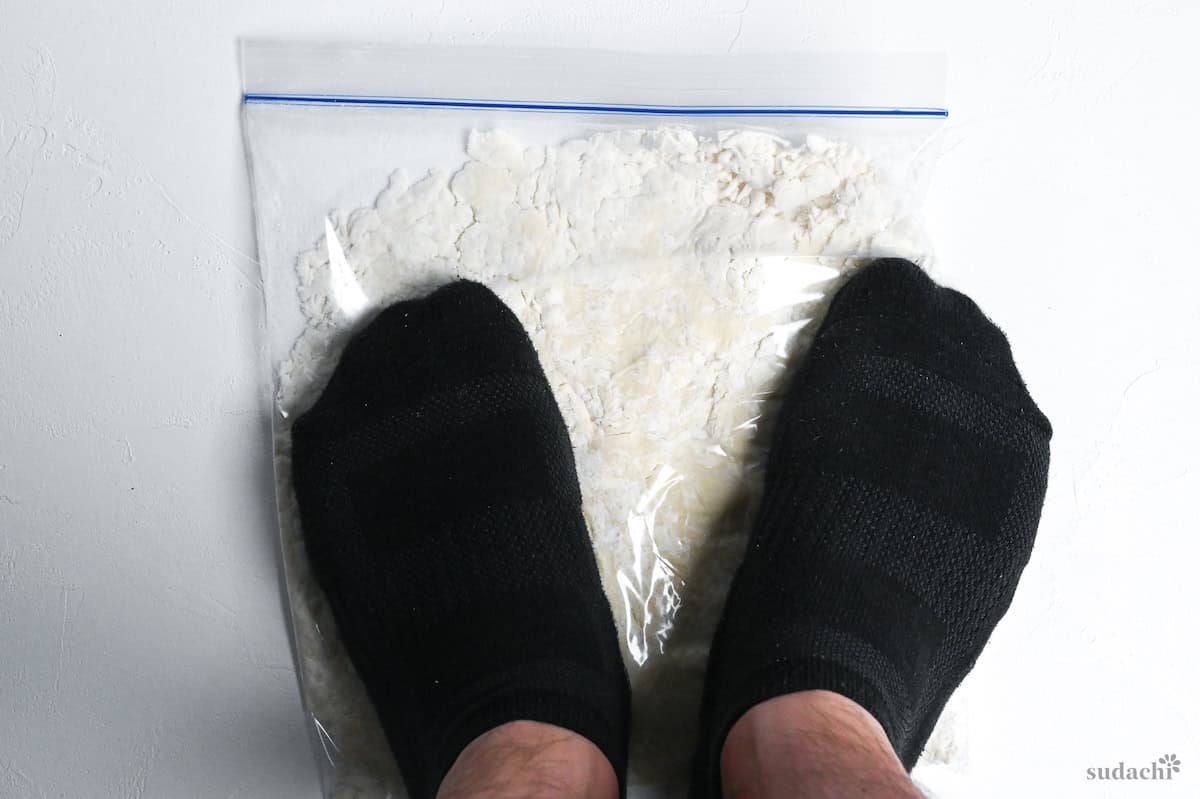
Fold it over and step on it again. Do this until the dough has smooth surface and not crumbly.

This traditional technique allows you to apply consistent, even pressure across the entire dough surface without tiring your hands. The weight distribution creates more uniform gluten development than hand kneading alone.
If you don’t want to do it, you can knead by hand, but it will take a lot more time and effort.
Seal the kneaded dough tightly in the bag and refrigerate it for at least overnight, preferably 24 hours.

During refrigeration, the dough’s internal structure reorganizes. Gluten chains align more uniformly, and the dough develops a more stable, elastic quality that prevents tearing during rolling.
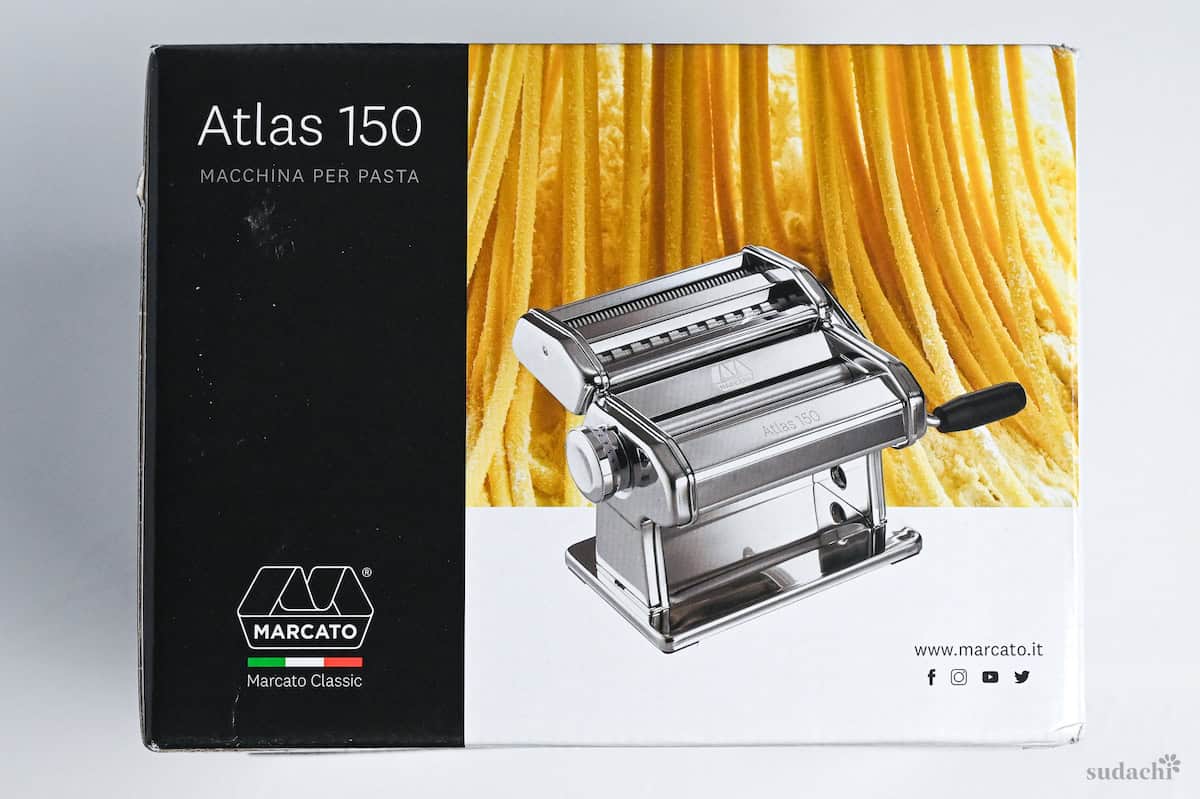
Time to use the pasta machine! I use a Marcato Atlas 150.
First, dust the surface of the dough with starch (potato, corn, tapioca starch, or any starch will work).

Try to roll it thin by hand first.

Cut the dough into 4 equal pieces.

Set your pasta machine to its thickest setting (for mine, it’s 0) and slowly pass one portion of dough through.


Slowly decrease the thickness setting, and pass the dough through each setting once until you reach 1.5 mm thick (for me, it’s dial number 5).


Switch to your pasta machine’s cutting attachment. Sapporo miso ramen noodles are about 2-3 mm wide.

The candidates with the Atlas 150 are either the standard 1.5 mm spaghetti or the 3.5 mm trenette attachment.
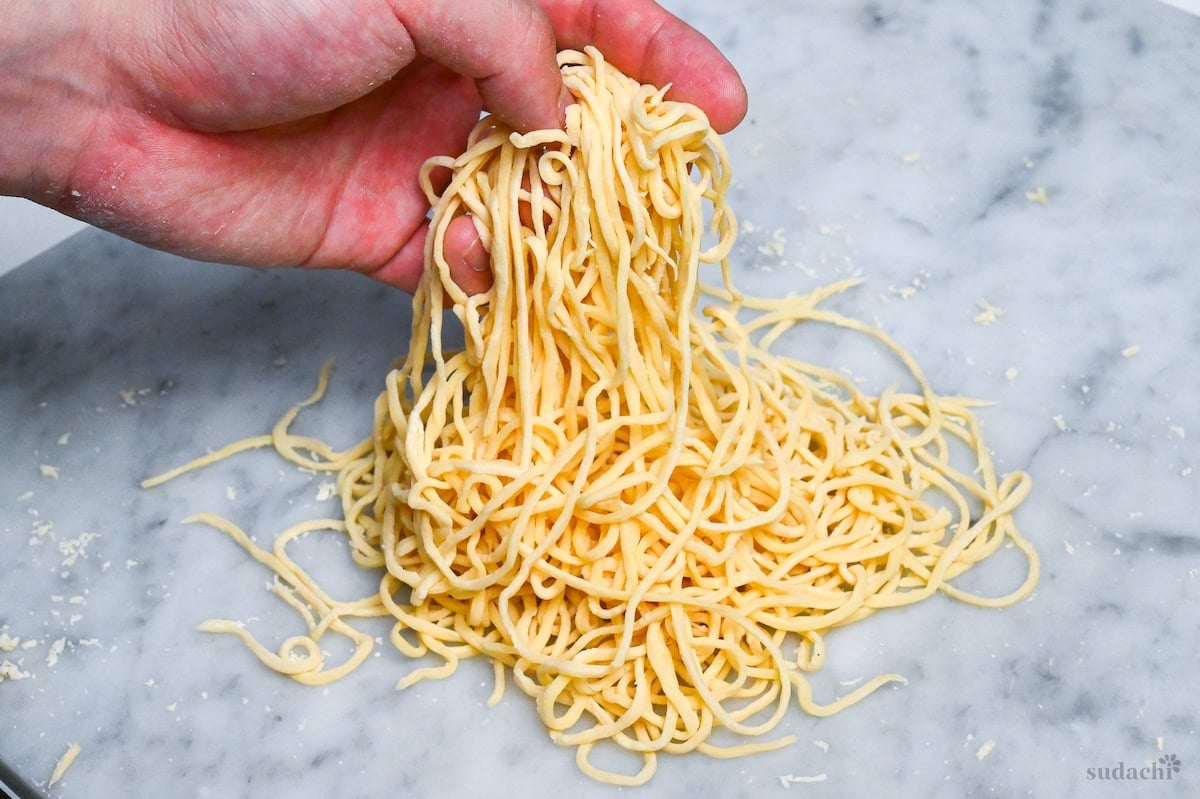
So, I decided to go with spaghetti attachment. Feed the dough sheet through the cutter at a steady pace, catching the emerging noodles with your hands.

Sprinkle the cut noodles with starch right away. This will stop them from sticking. Handle them gently but thoroughly, making sure each strand is coated.
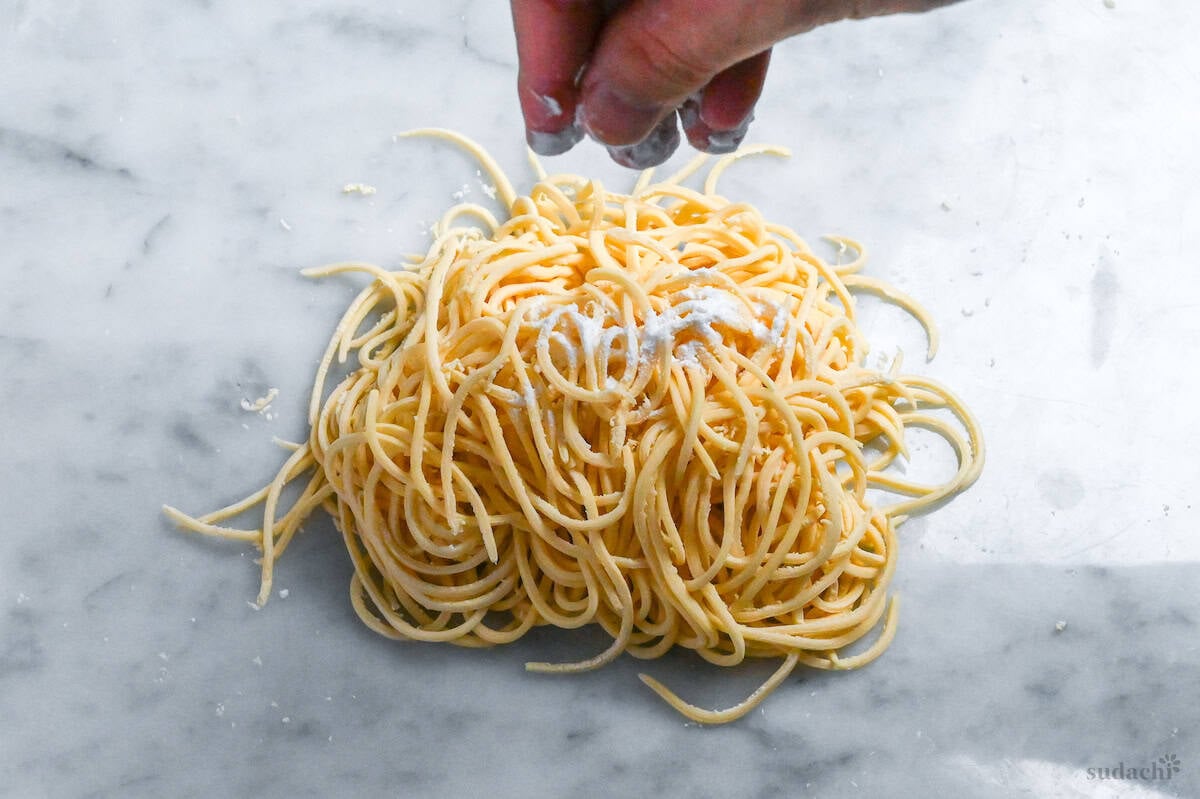
At this point, you have straight noodles that look good but lack that signature Sapporo curl.
Here’s how to make your noodles wavy. Gently press a portion of noodles in both hands using a massaging motion. Apply pressure from above and below, then let go and break up, repeating this 2-3 times.


The key is controlled pressure. If you’re too aggressive, the noodles will stick together, but if you’re too gentle, they won’t develop the right waves.

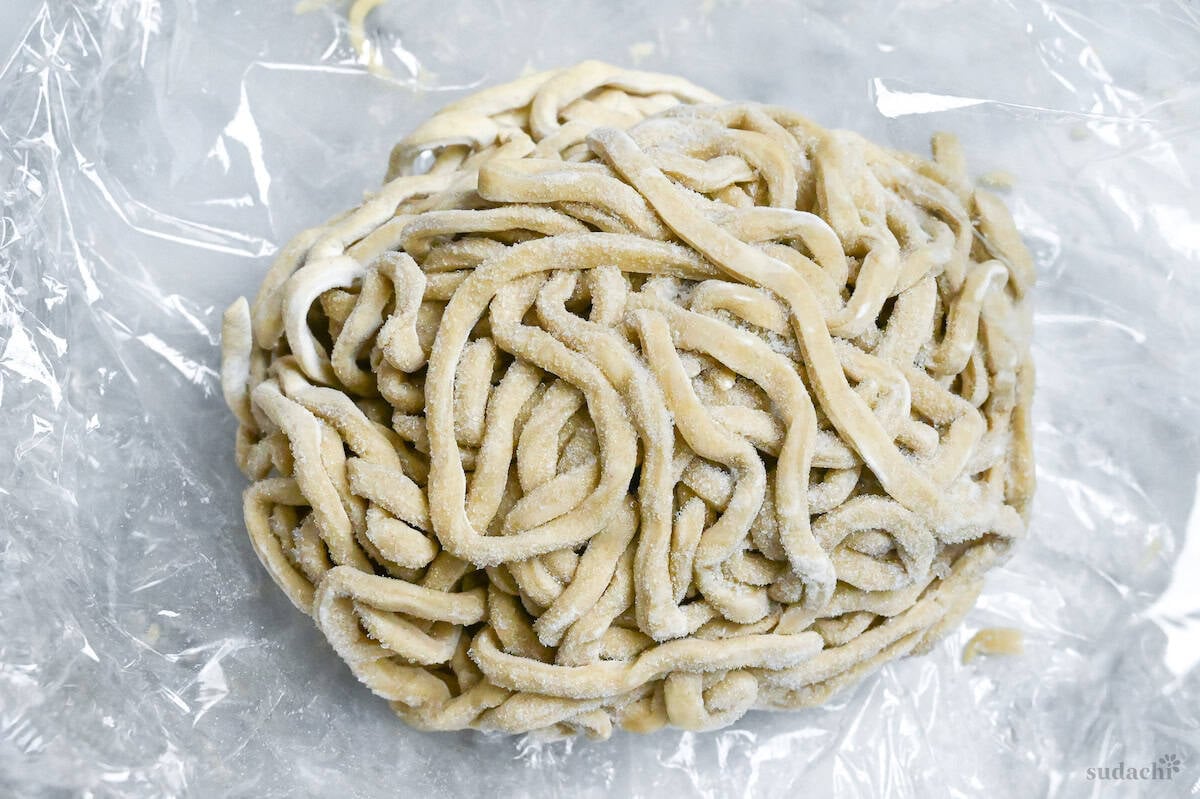
For the best texture, place your finished curly noodles in a container or bag and refrigerate for 2-3 days.
During refrigeration, air gradually escapes from the dough, creating denser, more resilient noodles. The texture becomes more defined, and the noodles develop that characteristic firm bite that holds up beautifully in rich miso broth.
Bring a large pot of water to a rolling boil and cook the noodles for 1 minute and 30 seconds.

Drain quickly and immediately add to your prepared miso ramen broth.

Essential Tips & Tricks
- Measure your total liquid (egg + water) so it measures 35% of the flour weight. This high-hydration sweet spot keeps Sapporo-style noodles springy.
- Whisk salt and kansui into the beaten egg until fully dissolved.
- Don’t skip the overnight rest. Refrigerating the dough for at least 12 hours is essential for proper texture and easier rolling.
- Apply gentle, gradual pressure when creating curls. Squeezing too hard will cause noodles to stick together permanently.
- Boil in a roomy pot for about 1 minute 30 seconds and drain well. If starting from frozen, cook straight from the freezer and add up to 1 extra minute. Thawing first is a one-way ticket to mush!
With these simple tips in mind, you’re set for success every time you make these egg noodles.
Storage Tips
- Dust each noodle portion with starch, seal in an airtight bag, and refrigerate for up to 5 days. Texture peaks on days 2-3 as the gluten tightens.
- Freeze any extra noodles within 24 hours. Lay portions flat, squeeze out air, and stash for up to 1 month. Cook straight from frozen and add about 1 extra minute to the boil time. Make sure to break them up while cooking.
- Keep noodles away from pungent foods. They readily absorb fridge odors, so double-bag if they share space with garlic or leftovers.
Recipes To Use These Noodles
Troubleshooting
This indicates insufficient water or inadequate kneading, which prevents proper gluten development. Make sure to measure water accurately according to the recipe, knead thoroughly until the dough becomes smooth and elastic, and allow proper resting time.
Use plenty of starch dusting throughout the entire process. Dust the dough before rolling, the pasta machine rollers, and immediately coat cut noodles generously with more. For high-hydration dough like this recipe, dust each portion of noodles as soon as they’re cut.
Fresh handmade noodles cook much faster than dried store-bought ones. Cook for exactly 1 minute and 30 seconds in rapidly boiling water, using a timer to avoid guessing. If you prefer firmer noodles, try a bit less.

I hope you enjoy this Egg Noodles recipe! If you try it out, I’d really appreciate it if you could spare a moment to let me know what you thought by giving a review and star rating in the comments below. It’s also helpful to share any adjustments you made to the recipe with our other readers. Thank you!

Egg Noodles for Ramen (Chijire Tamago Men)

Ingredients
- 300 g bread flour or high-gluten flour
- 105 g egg + water whole egg plus filtered water, total 35% of flour weight. E.g. 50g egg + 55g water = 105g total liquid weight.
- ½ tsp salt fine sea or kosher, avoid iodized
- potato starch (katakuriko) or cornstarch for dusting
My recommended brands of ingredients and seasonings can be found in my Japanese pantry guide.
Can’t find certain Japanese ingredients? See my substitution guide here.
Instructions
- Sift 300 g bread flour into a large bowl and make a well in the center.

- Place a measuring jug on digital scales and set the weight to zero. Crack an egg into the jug to weigh it, and then top up with filtered water so that the total is 105 g egg + water. (See note if doubling or tripling the recipe.)
- Add ½ tsp salt and whisk until the salt is completely dissolved and everything is combined.
- Pour the mixture into the well in the flour little by little while whisking with chopsticks.
- Whisk until large shaggy crumbs form.
- Transfer to a sealable ziplock bag and rest for 30 minutes at room temperature.
- After 30 minutes, place the bag on the floor and knead it with your feet until it has pressed together to form a dough.
- Remove the dough from the bag and fold it in half. Return it to the bag and knead with your feet again. Continue to fold and knead until the dough becomes smooth.
- Return the dough to the bag, seal securely and refrigerate overnight, preferably 24 hours if time permits.
- Transfer the dough to a clean surface and dust the top with potato starch (katakuriko). Roll it as thin as you can by hand and then cut it into 4 smaller pieces so that they fit the width of your pasta machine.
- Starting with the widest setting (for me, it's "0"), roll each piece through the pasta machine. Reduce the thickness and repeat until your dough is about 1.5mm thick. (For me, I roll until I reach setting "5").
- Attach a 2-3mm cutting attachment and feed each piece through.
- Sprinkle each batch with potato starch (katakuriko) to prevent sticking.
- Gently knead and scrunch the noodles to create the wave effect. If you notice the noodles sticking together, add more starch.
- Bring a pot of water to a rolling boil and boil the noodles for 1 minute 30 seconds. Alternatively, wrap and refrigerate for 2-3 days, or freeze for up to 1 month.
- Enjoy!

Notes
- If doubling or tripling the recipe, keep in mind that the total weight of water + 1 egg should always be 105g. Using 2 eggs would mean 2 eggs + water = 210g, 3 eggs + water = 315g and so on.
- Dissolve the salt fully in the liquid before mixing.
- Lower the pasta machine rollers one notch at a time. Skipping settings can tear sheets and jam the gears.
- Dust freshly cut noodles generously with starch to stop high-hydration strands from sticking.
- Store dusted noodle portions airtight for up to 3 days in the fridge or 1 month in the freezer. Cook from frozen and add about 1 extra minute.
- Recommended ramen recipes: Miso, Shoyu, Hiyashi Chuka, and Vegetarian Miso.
Leave a rating and a comment