What is Miso Ramen?
Miso ramen is one of the four major types of ramen dish in Japan, the others being tonkotsu ramen (pork bone broth), shoyu ramen (soy sauce base broth) and shio ramen (salt based broth). As the name suggests, miso ramen is served in a broth flavored with miso.
Miso is a fermented paste made from soybeans, barley, and rice. The miso in ramen soup gives it a rich and full flavor, and ingredients and seasonings change depending on the region and restaurant.
Vegetarian miso ramen is hard to find in Japan, but in this article, I’ll share my special recipe for spicy vegetarian miso ramen that I made from scratch.

How I Developed This Recipe
Creating a vegetarian or vegan version of Japanese dishes is a challenging and enjoyable experience for me. This is because very few modern Japanese dishes are entirely plant-based, and it is a test of creativity to develop a recipe that meets this criterion.
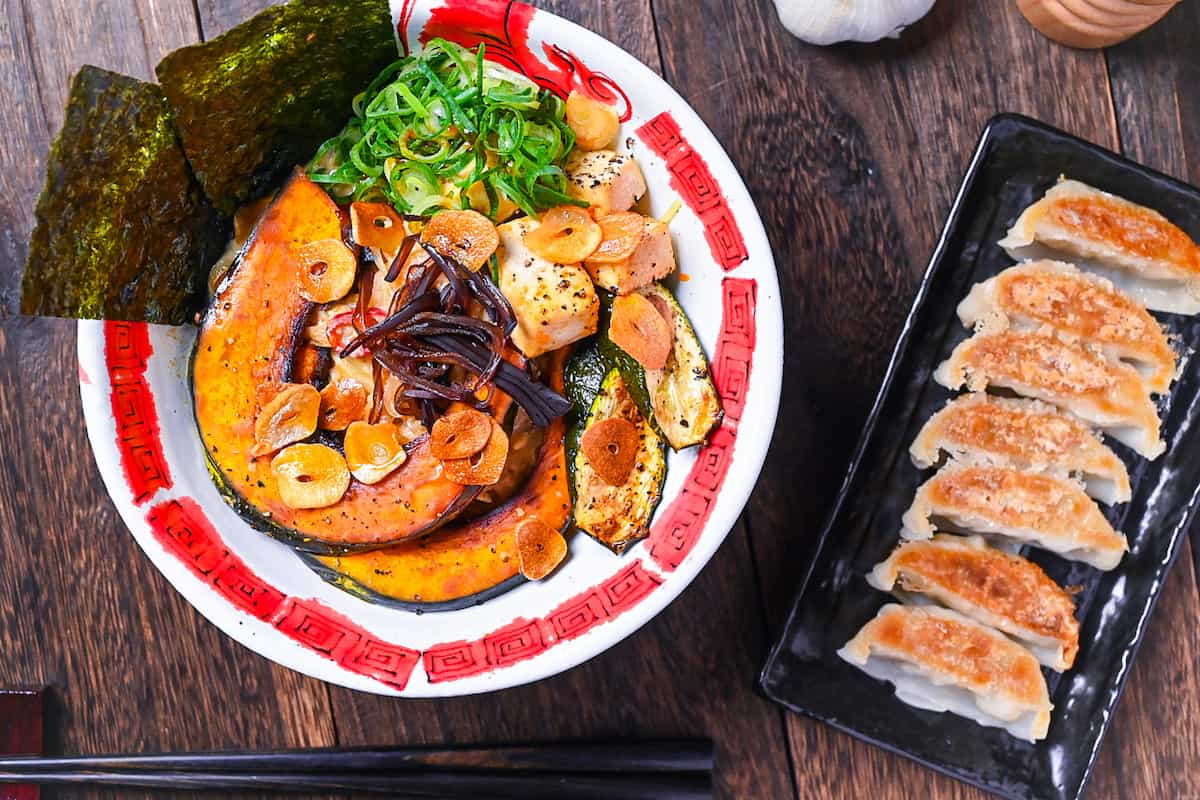
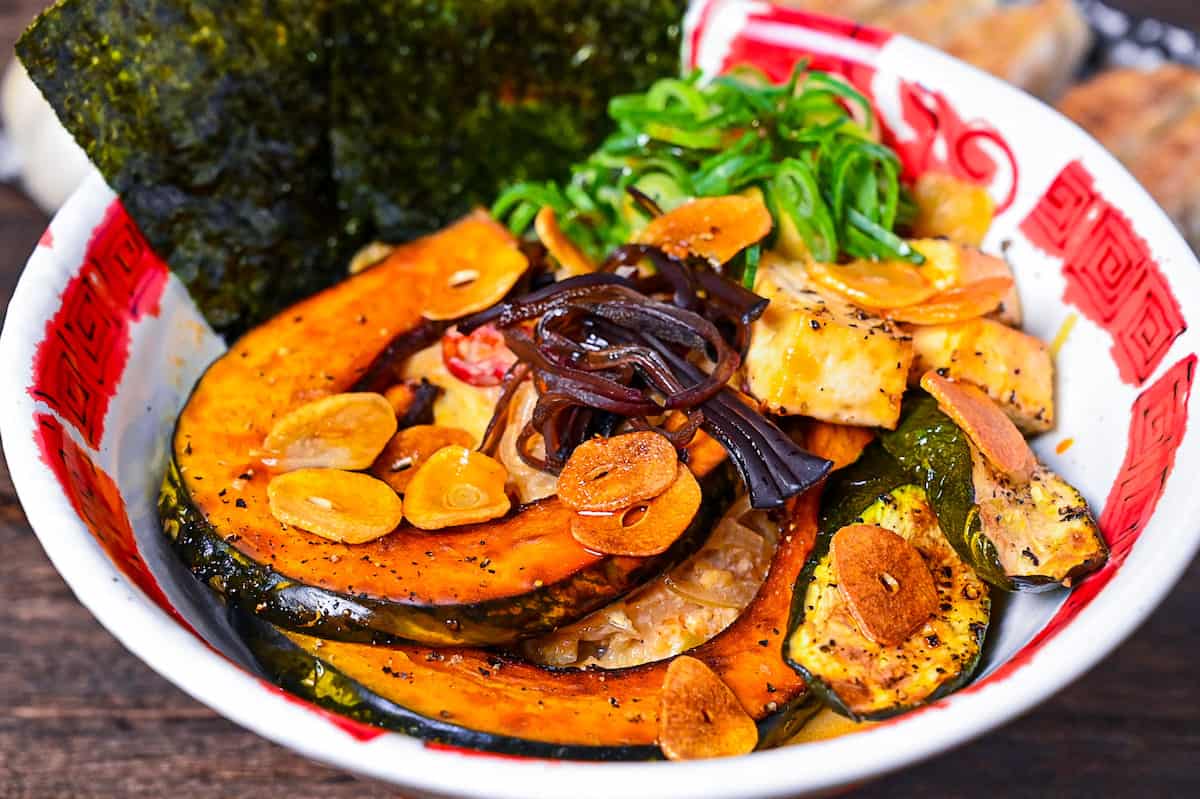
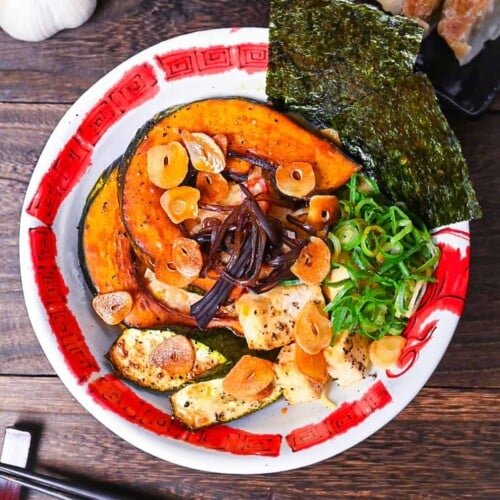
For this recipe, I use dried shiitake mushrooms and seaweed for the soup base and add miso paste, peanut butter, and soy milk for depth and creaminess. I roast tofu, kabocha, and zucchini in the oven and use wood ear mushrooms, scallions, nori, and garlic chips for toppings. Roasting the toppings is convenient and adds texture and color to the dish.
After experimenting with various seasonings and ingredients, I am quite satisfied with the result. I would suggest you give it a try!
Visual Walkthrough & Tips
Here are my step-by-step instructions for how to make Plant-based Miso Ramen at home. For ingredient quantities and simplified instructions, scroll down for the Printable Recipe Card below.
The first step is to place the kombu and dried shiitake in a bowl water and leave them to soak to make your dashi. This will take about 30 minutes. Some people like to soak it longer (even overnight!) for a stronger flavor, and if you have time then by all means do, but 30 minutes is enough for you to make a delicious dashi for your broth.
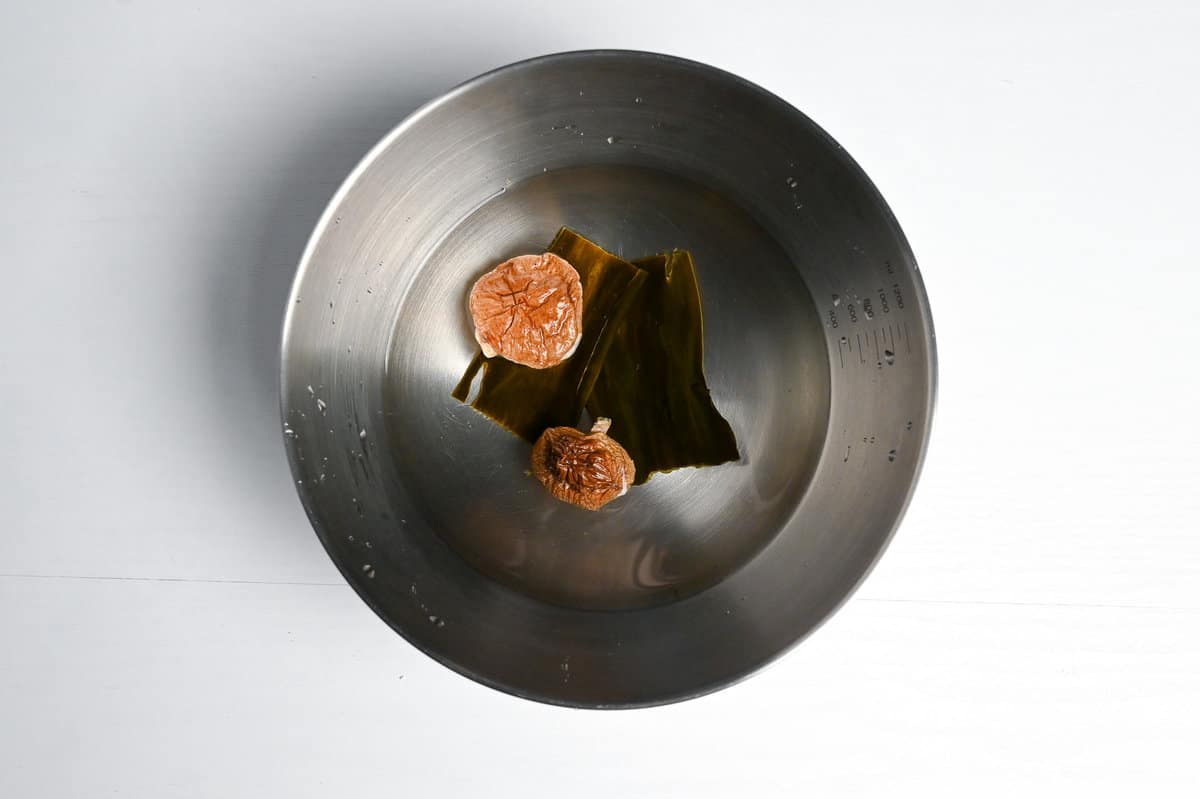
While the dashi ingredients are soaking, this gives you 30 minutes to prepare your other ingredients!
Preheat your oven to 200°C (392°F).
While it’s preheating, wrap the tofu with kitchen paper and place it on a microwavable plate. Microwave for 1 ½ minutes at 600W. This is a shortcut method to evaporate the excess moisture in the tofu, so you won’t need to press it! I like this method because the tofu doesn’t become squashed or misshapen.
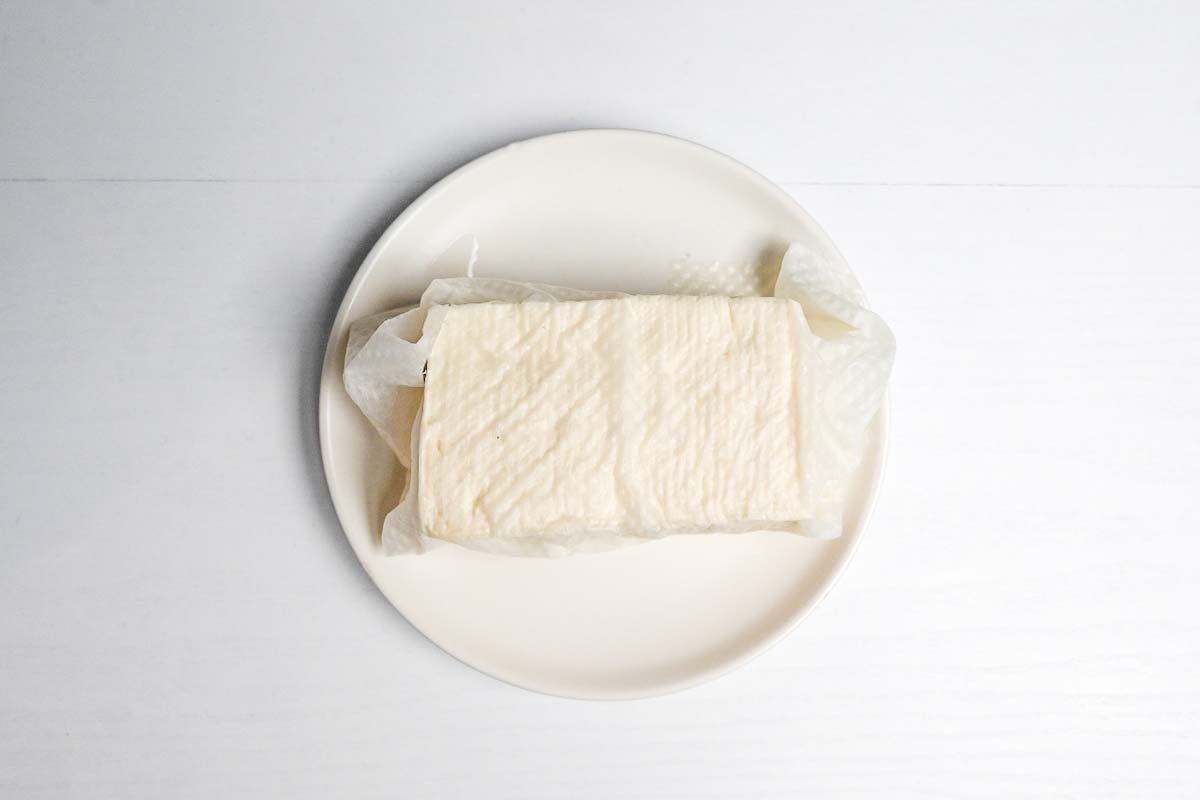
Once you’ve microwaved it, leave it to cool for a few minutes and then cut it into cubes.
Cut the kabocha into thin slices and the zucchini into thick diagonal slices. I find that one medium-sized zucchini makes 4 slices, and I usually put two pieces in each portion. It’s important to cut the zucchini thick because it’s a very watery vegetable that tends to shrink when cooked.
Place the tofu, kabocha, and zucchini on a baking tray lined with baking paper. Use a pastry brush to brush them with olive oil on both sides. This will ensure they’re all coated evenly without being too oily. Lastly, sprinkle both sides generously with salt and pepper.
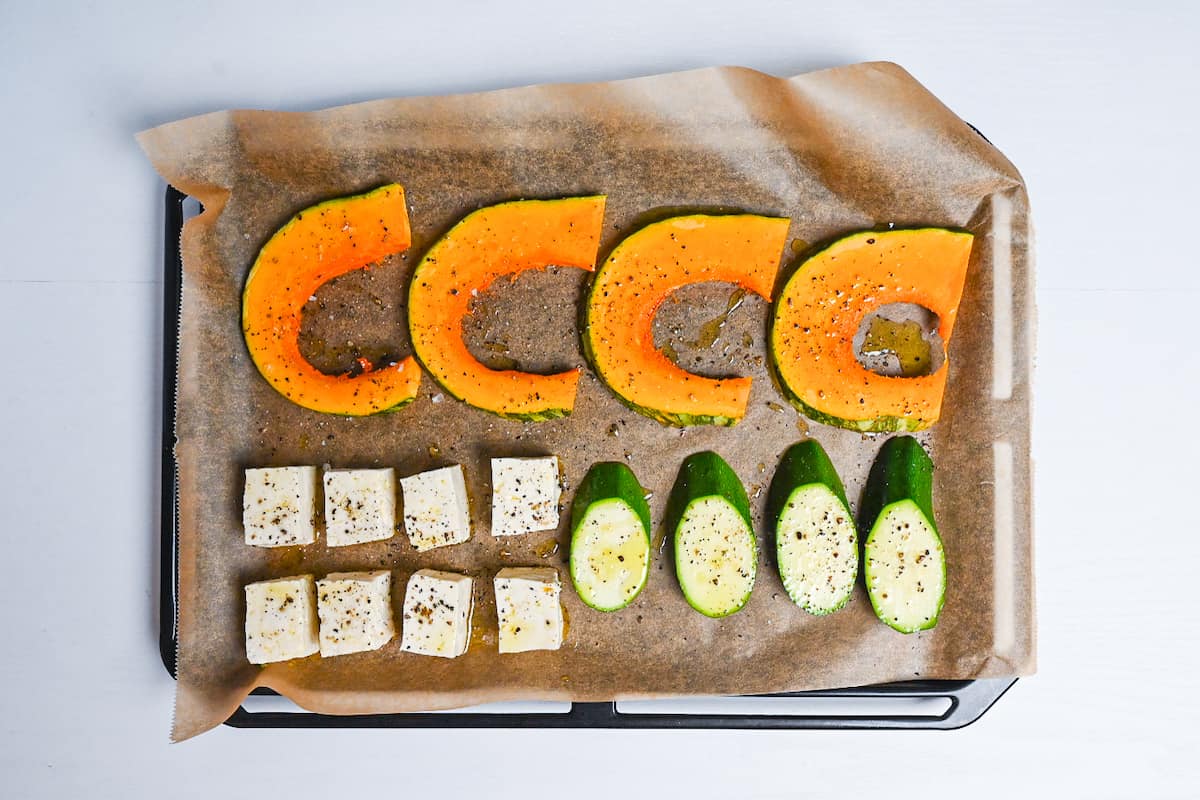
It’s important to use baking paper to prevent them from sticking to the tray!
Once your oven is heated, place the baking tray in the oven on the middle shelf and bake for 20 minutes.
Heat a large frying pan on low and add sesame oil. While it’s heating, thinly slice the garlic cloves.
Once it’s hot, add the garlic to the pan and fry until crispy. It’s important to maintain a low heat here so that the oil and garlic don’t burn. Not only are we making garlic chips to sprinkle over the finished dish, but we’re also flavoring the oil for cooking.
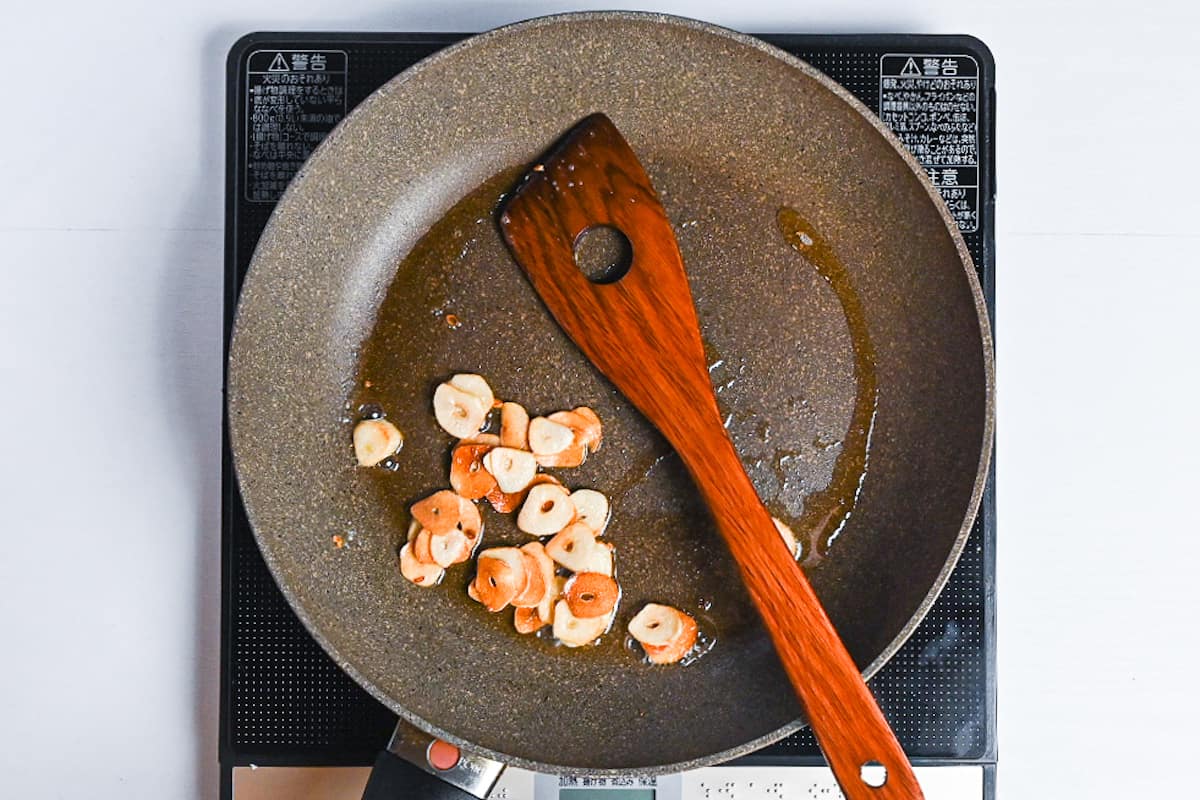
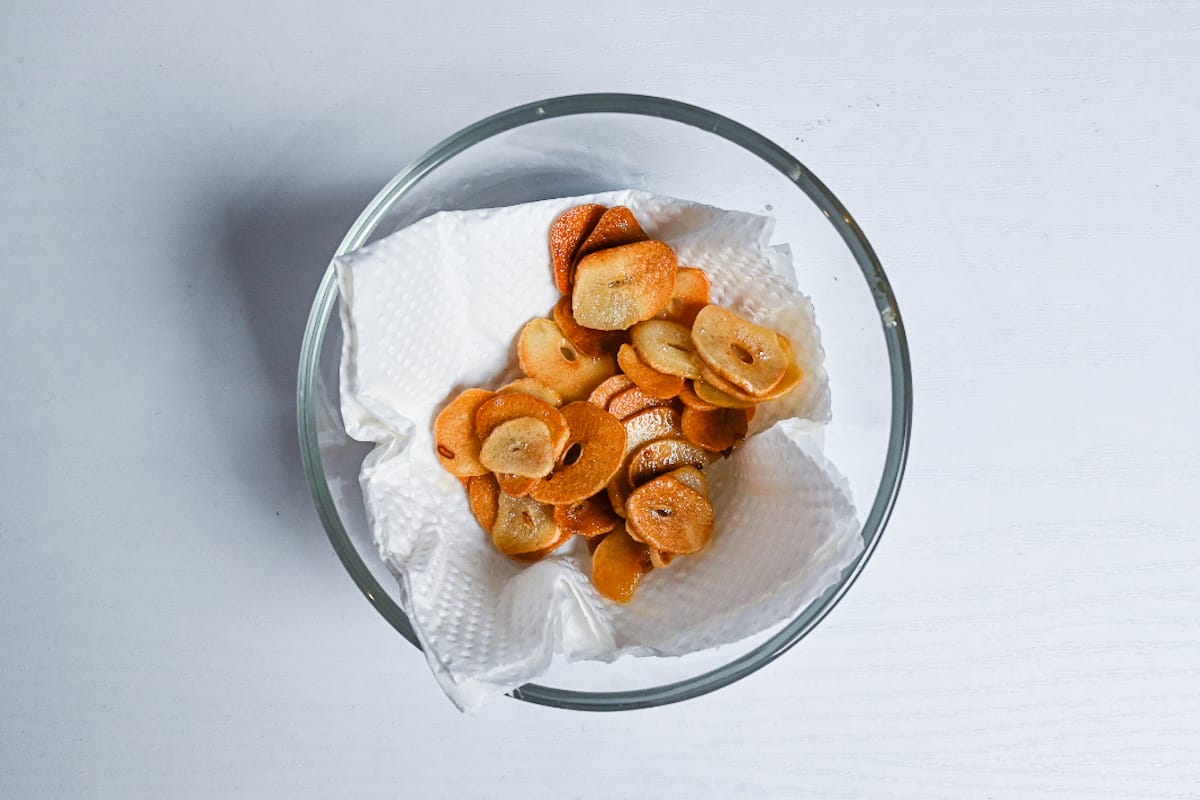
Once the garlic is crispy and brown, scoop them out with a mesh spoon and place them on kitchen paper to dry them and absorb the excess oil.
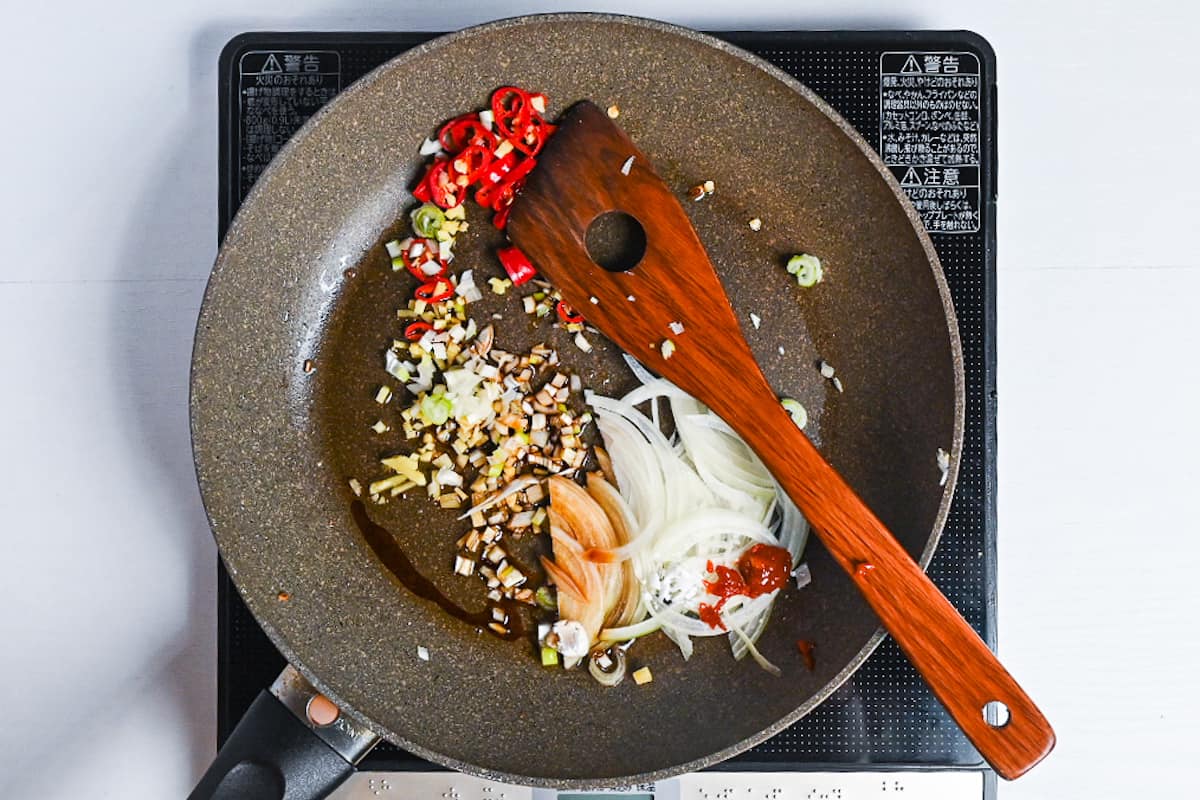
In the same pan, add sliced chili, finely diced ginger, finely diced spring onion (white part), thinly sliced white onion, salt, soy sauce and tobanjan. Increase the heat to medium and fry until the onion is softened.
Once the onion is soft, add ground sesame seeds and mix thoroughly.
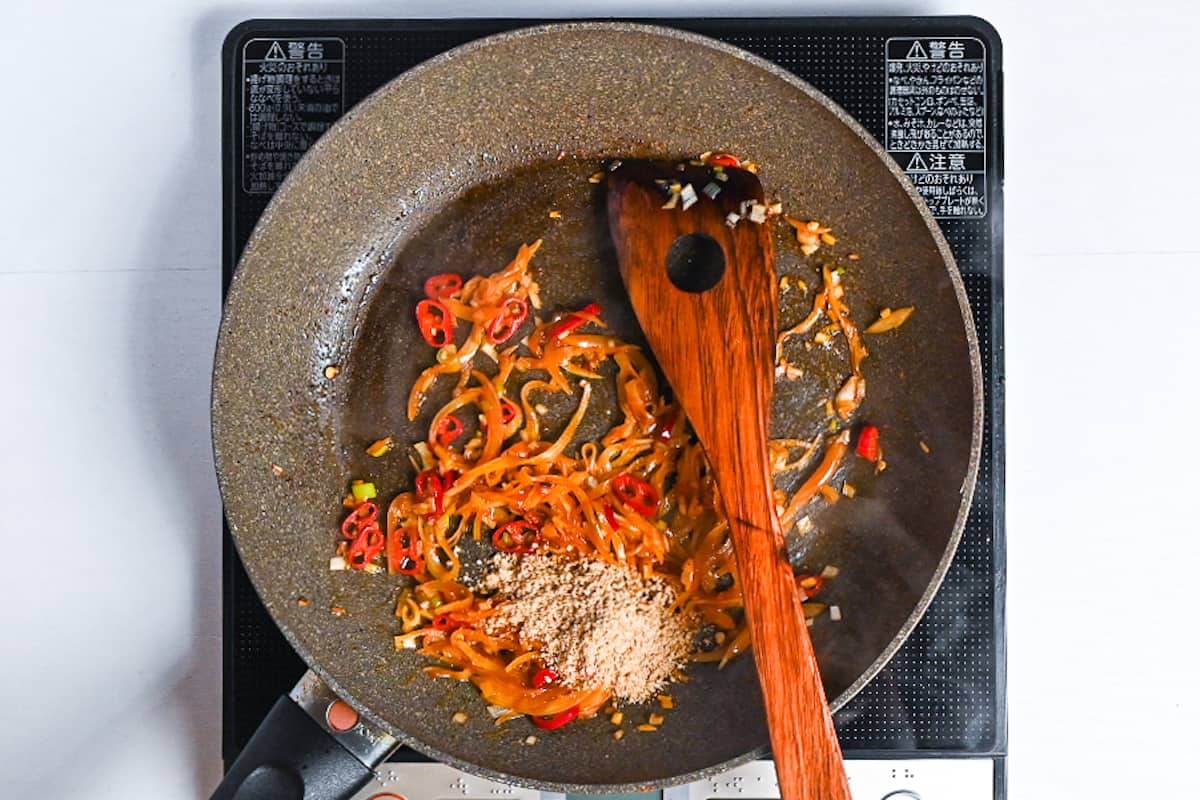
Turn off the heat until the kombu and shiitake dashi is ready.
Once your dashi ingredients have been soaked for 30 minutes, pour all the contents of the bowl into the pan and heat on low.
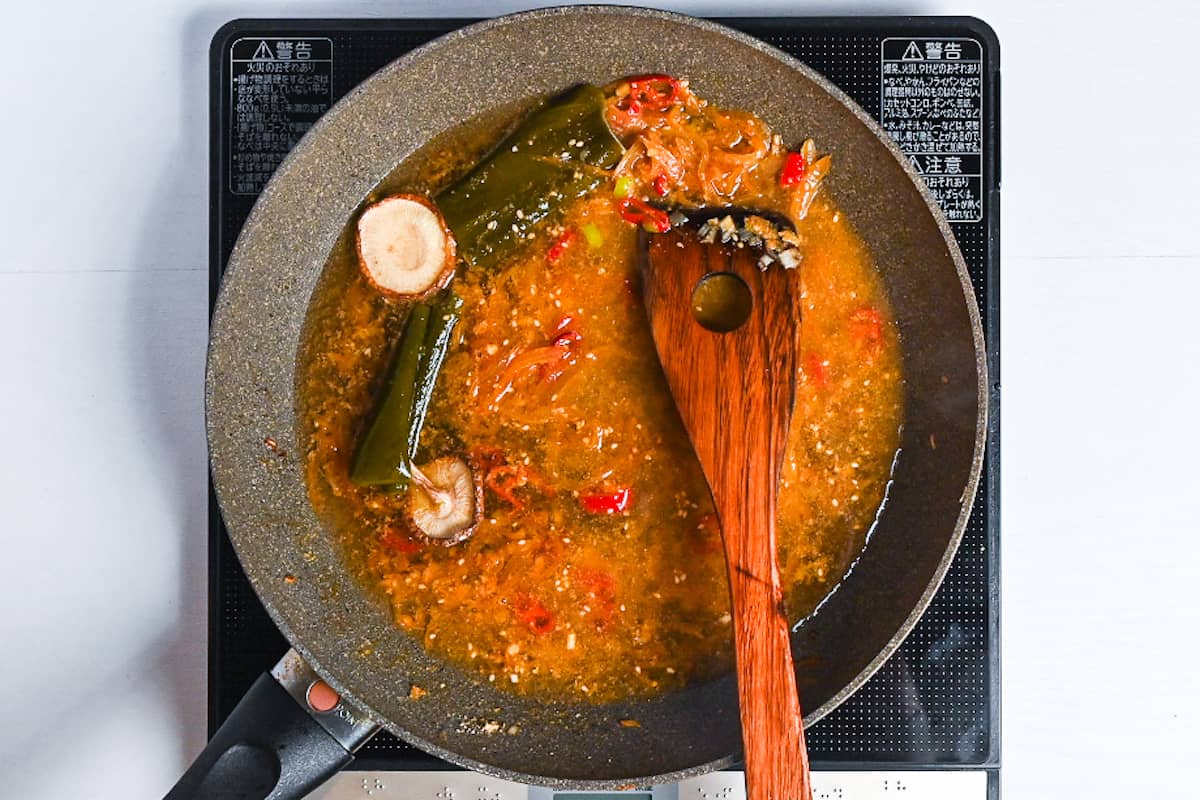
Warm it through for about 5 minutes but be careful not to let it boil.
Remove the kombu and shiitake mushrooms and discard. Scoop a few tablespoons of the broth from the pan and pour it into a small bowl. Add miso paste and smooth peanut butter to the bowl and whisk until it becomes a smooth thin paste.
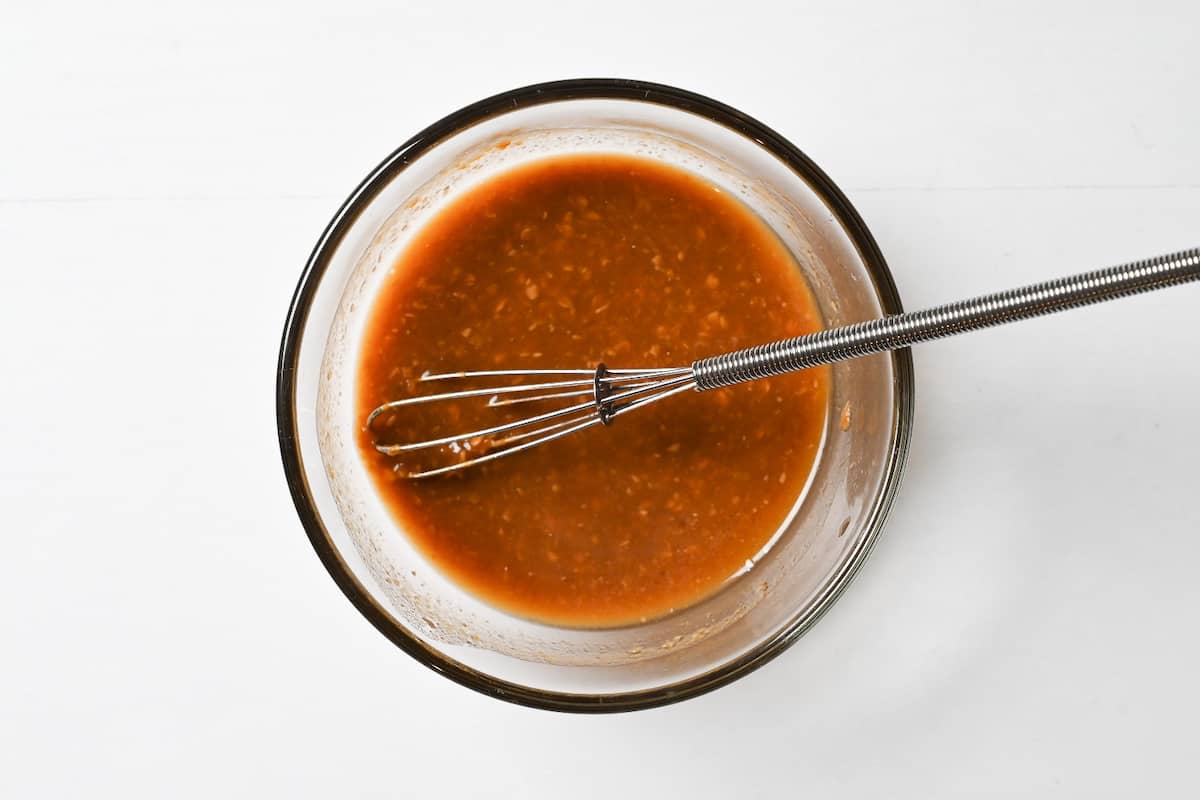
It’s important that the consistency is thin so that it easily incorporates into the broth. If it’s too thick, you will end up with random chunks of miso paste or peanut butter in your soup, so feel free to add more broth before adding it if necessary.
Pour the contents of the bowl into the pan and mix well.

Finally, add the soy milk and continue to heat until it’s warmed through. Again, don’t let it boil. To prevent the soy milk from curdling, warm it up over a low heat to about 60-65°C (140-150°F). Once it’s hot, turn off the heat (don’t leave it to simmer). Reheat right before serving if necessary.
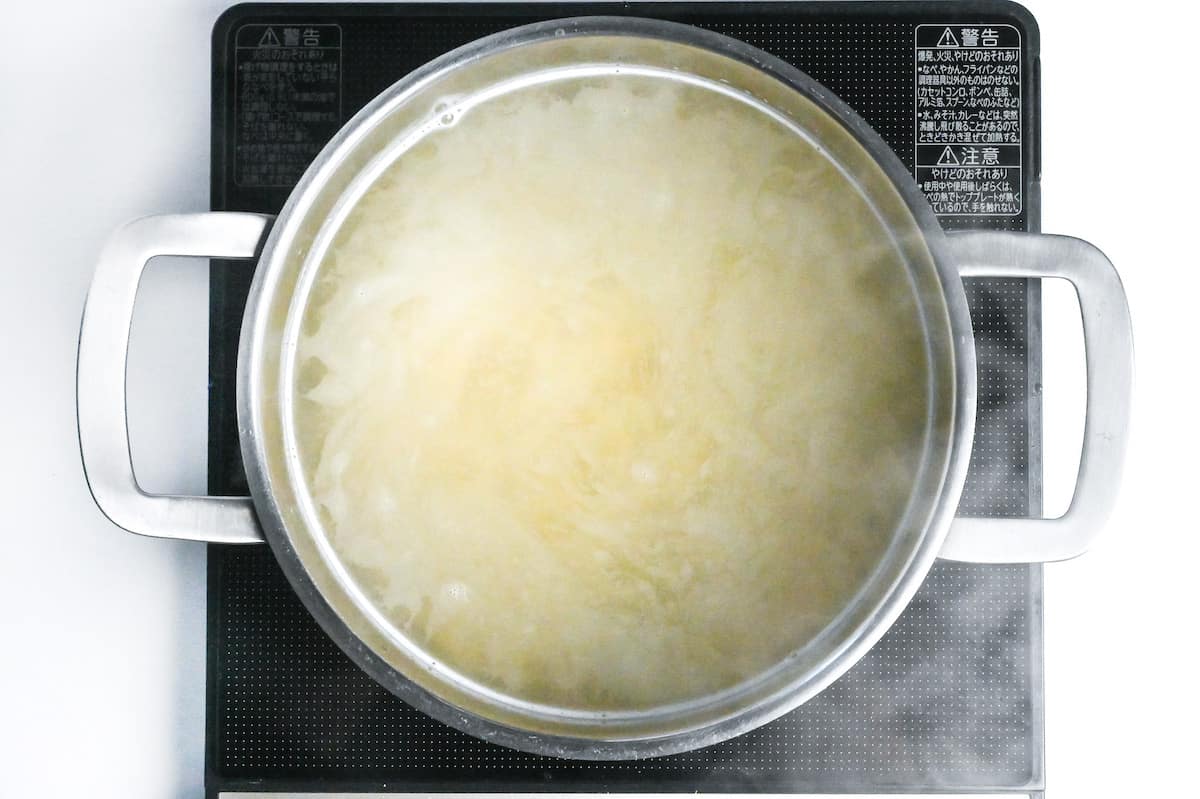
Cook your ramen noodles according to the instructions on the packaging. It’s important to use a large pot of water so that the noodles have plenty of space to move around as they cook. This will help prevent them from becoming sticky and starchy.
Make sure the water is brought to a rolling boil before adding the noodles, and cook over high heat for the time stated on the packaging.
Place the cooked noodles in the bowl.
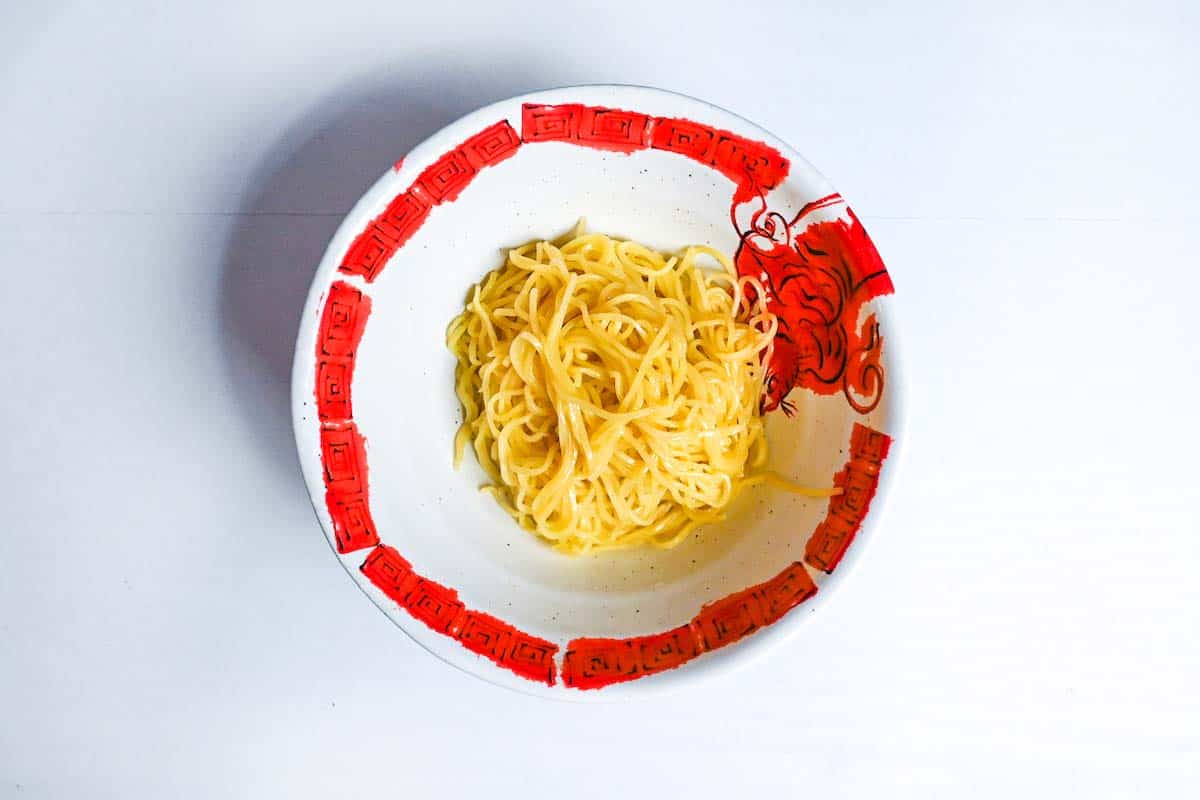
Add the soup.
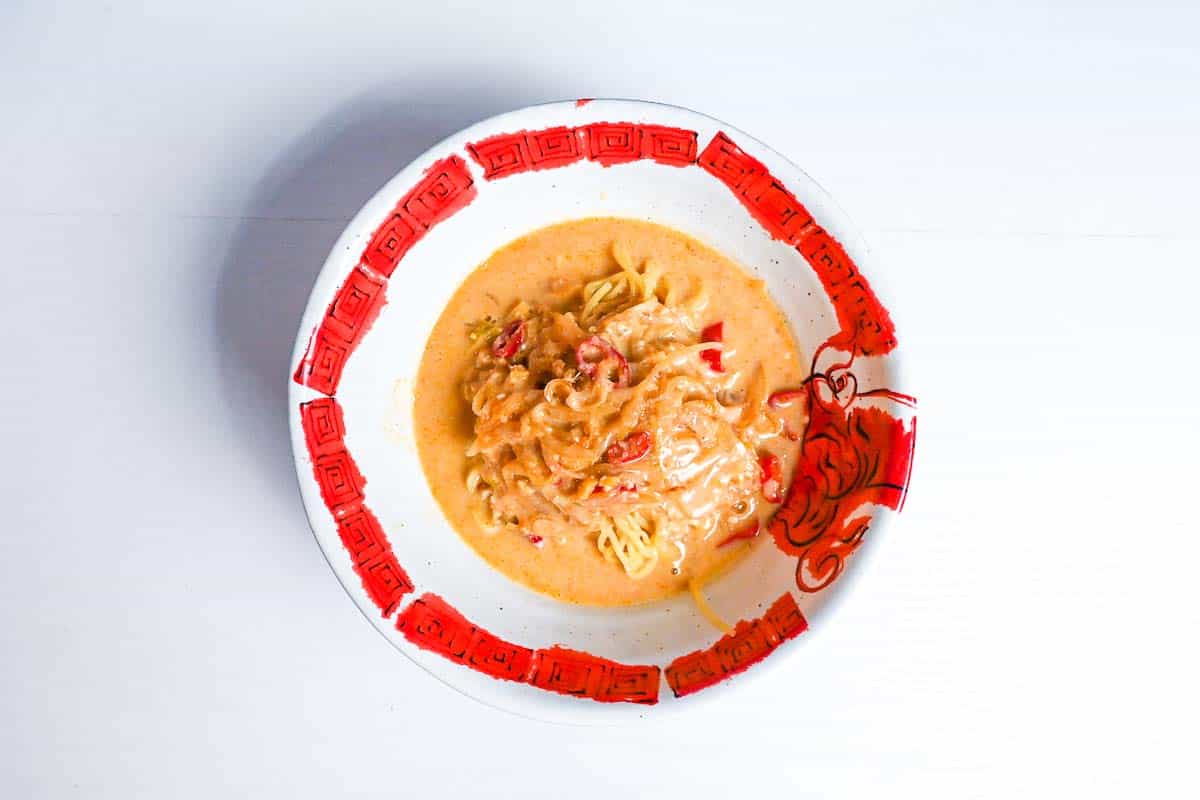
Arrange the baked kabocha, zucchini and tofu on top.
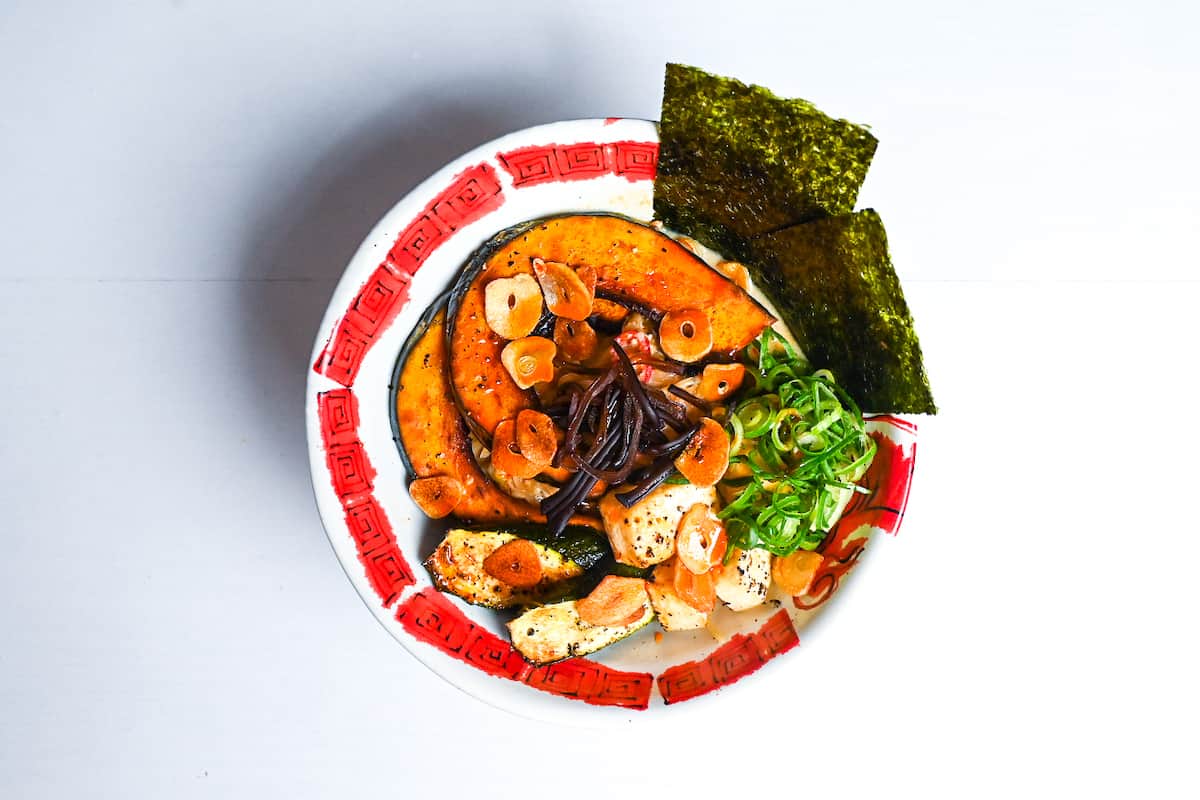
Garnish with thinly sliced wood ear mushroom, chopped spring onion, nori, and crispy garlic chips.
Drizzle with chili oil and enjoy!
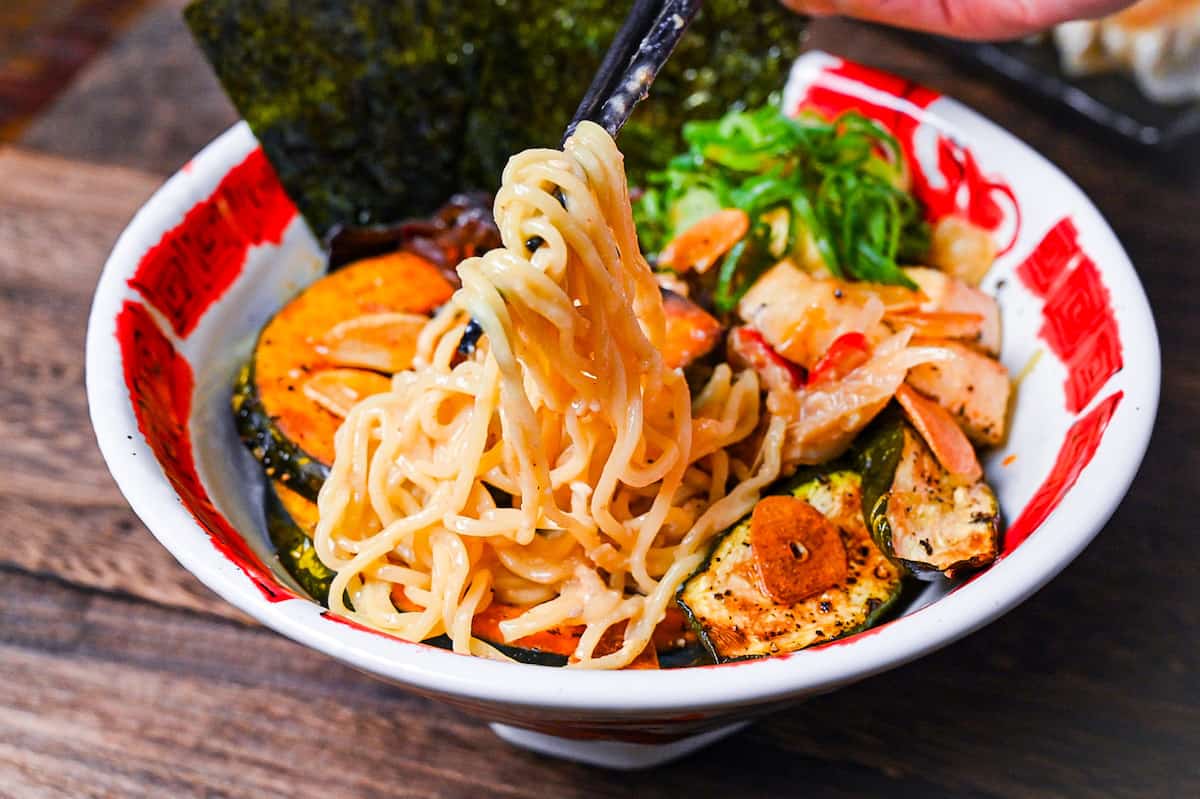
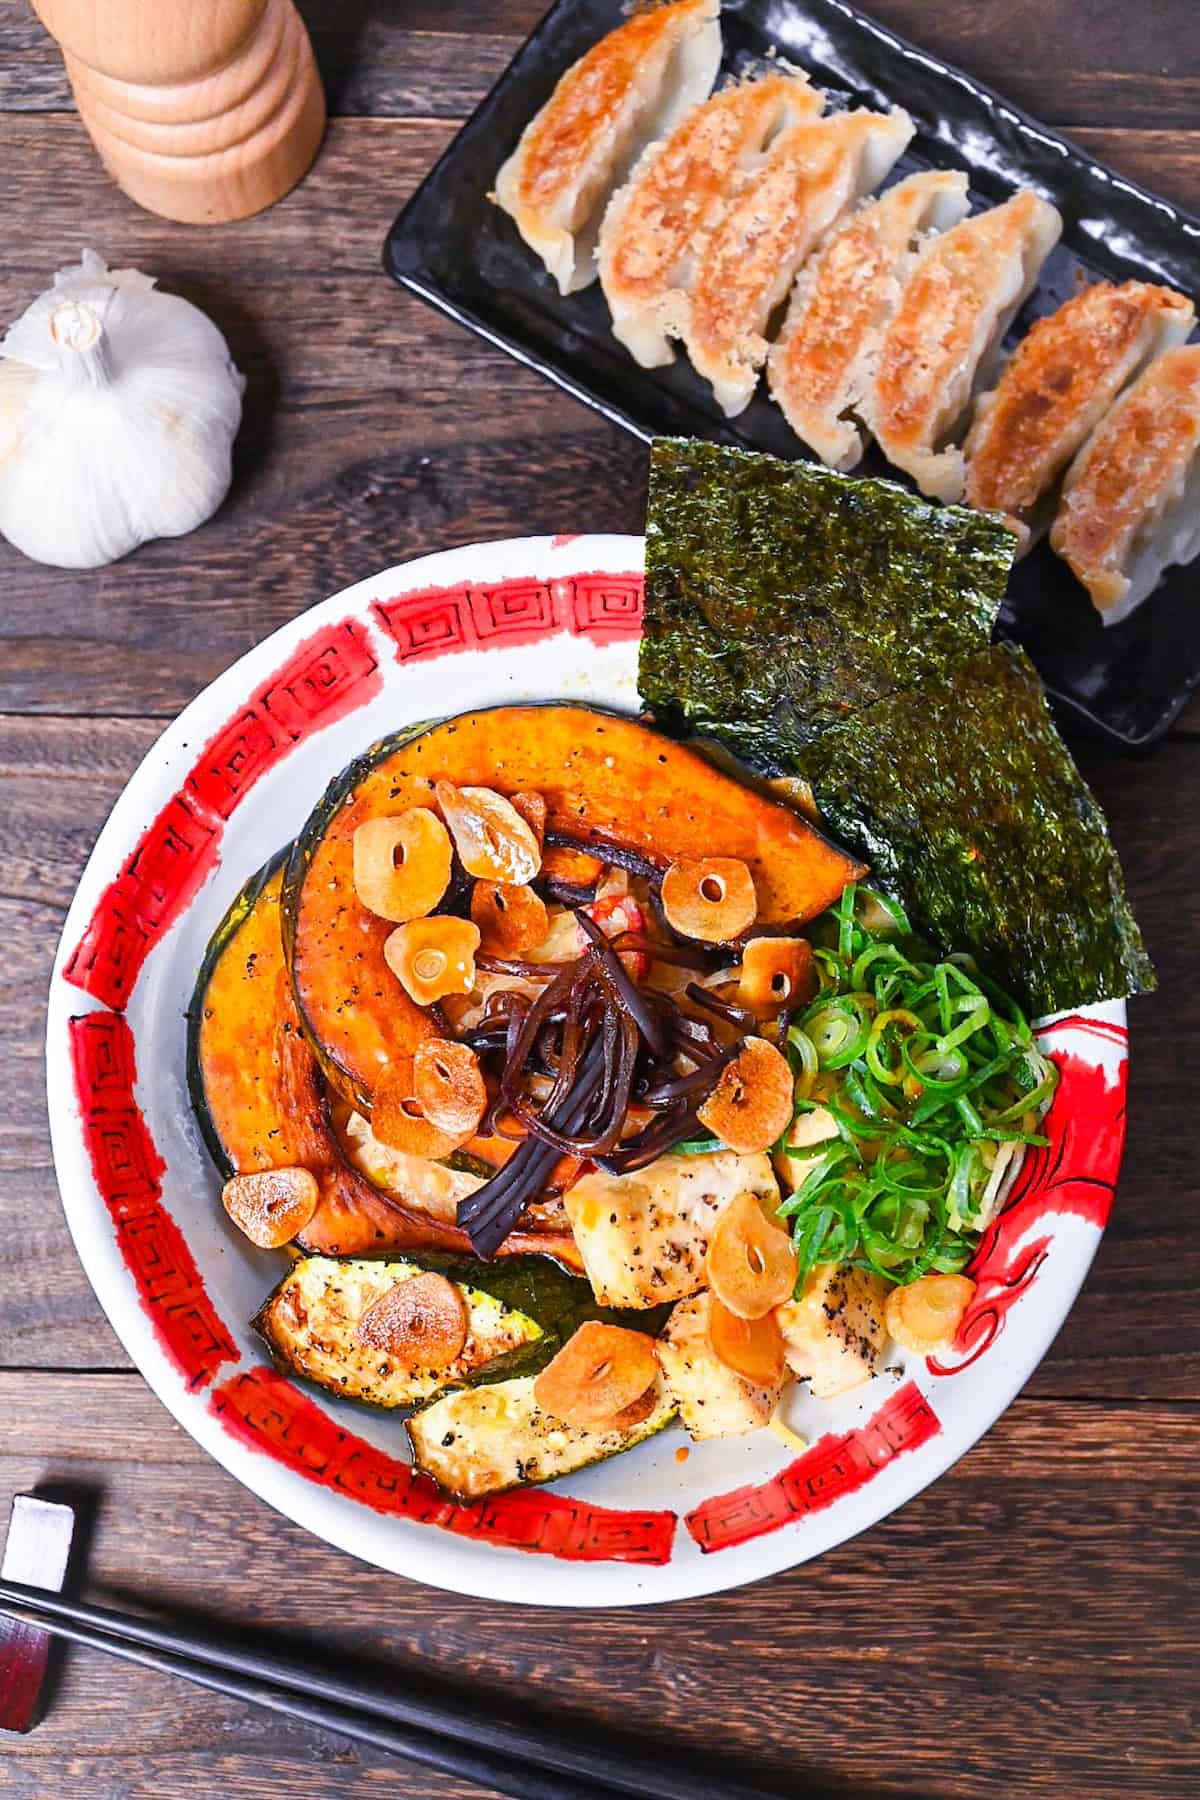
I hope you enjoy this Spicy Vegetarian Miso Ramen recipe! If you try it out, I’d really appreciate it if you could spare a moment to let me know what you thought by giving a review and star rating in the comments below. It’s also helpful to share any adjustments you made to the recipe with our other readers. Thank you!
More Plant-based Recipes
- Plant-Based Mabo Nasu (Japanese Mapo Eggplant)
- Kenchin Jiru (Traditional Japanese Vegetable Soup)
- Ginger Miso Soup (Plant-based)
- Tofu Gyoza
Want more inspiration? Explore my Plant-Based Recipe Roundup Post for a carefully selected collection of tasty recipe ideas to spark your next meal!
Spicy Vegetarian Miso Ramen
Equipment
- Red dragon ramen bowl (Optional)
- Noodle strainer (Optional)
Ingredients
Dashi
- 300 ml water
- 5 g dried kelp (kombu) kombu
- 2 dried shiitake mushroom
Toppings
- 100 g firm tofu
- 50 g kabocha squash thinly sliced
- 200 g zucchini cut into 4 thick, diagonal slices
- 1 tbsp olive oil
- 1 pinch salt and pepper
- 1 tsp chili oil (rayu)
- 1 tbsp green onion (negi) green part, thinly sliced
- ½ sheet sushi nori seaweed cut into halves or quarters
- 1 tbsp boiled wood ear mushroom thinly sliced
- 2 portions ramen noodles
Broth
- 2 tbsp toasted sesame oil
- 3-4 cloves garlic sliced
- 2 red chili pepper fresh or dry, thinly sliced
- 1 tbsp ginger root finely diced
- 2 tbsp green onion (negi) white part, finely diced
- ¼ tsp salt
- 2 tsp soy sauce
- 1 tsp chili bean sauce Chinese chili bean paste
- 50 g yellow onion thinly sliced
- 1 tbsp ground sesame seeds
- 1 tbsp smooth peanut butter
- 2 ½ tbsp yellow miso paste (awase miso) make sure it's suitable for vegetarians such as Marukome's "Ryoutei no Aji"
- 100 ml soy milk
Instructions
- Soak the shiitake and kombu in a bowl of water for 30 minutes to make the dashi. If you use dried wood ear mushrooms, soak them now in a separate bowl.

- Preheat the oven to 200 °C (392 °F). Wrap the tofu in kitchen paper and place on a microwavable plate. Microwave for 1 ½ minutes at 600W and then leave to cool for a few minutes. Once cool enough to touch, cut into cubes.

- Place the sliced kabocha, zucchini and tofu on a baking tray lined with kitchen paper. Drizzle with olive oil and brush to evenly coat, sprinkle with salt and pepper both sides. Once the oven is hot, place the tray on the middle shelf and bake for 20 minutes.

- Take a large pan and add the sesame oil. Heat on low and add the garlic slices, then fry until crispy and golden.

- Once the garlic chips are done, carefully scoop them out trying to leave as much oil in the pan as possible and place them on kitchen paper to absorb the excess oil.

- In the same pan, add chili, ginger, spring onion, white onion, salt, soy sauce and tobanjan. Turn up the heat to medium and stir fry until onion is slightly softened.

- Once the onion is softened, add ground sesame seeds and mix thoroughly. Turn off the heat until the dashi has finished soaking.

- When the dashi is ready, pour the contents of the bowl (including the kombu and shiitake) into the pan and warm through on a low heat for about 5 minutes. Be careful not to let it boil.

- Scoop out a few tablespoons of the broth and pour it into a small bowl. Add peanut butter and miso paste and mix until lump free. The consistency should be quite thin so feel free to add more broth if it’s too thick.

- Remove the kombu and shiitake mushrooms and pour the contents of the small bowl into the pan. Mix thoroughly.

- Next, add soy milk and continue to cook over a low heat until warmed through to about 60 °C (140 °F) – 65 °C (149 °F) to prevent curdling. Once hot, turn off. (You can reheat right before serving if necessary.)

- Bring a large pot of water to boil over a high heat. Add the ramen noodles and cook for the time stated on the packaging.

- Divide the cooked noodles into bowls, add the soup and the toppings.

- Garnish with garlic chips, chopped spring onion (green part), nori and thinly sliced wood ear mushroom. Finish with a drizzle with chili oil.

- Enjoy!
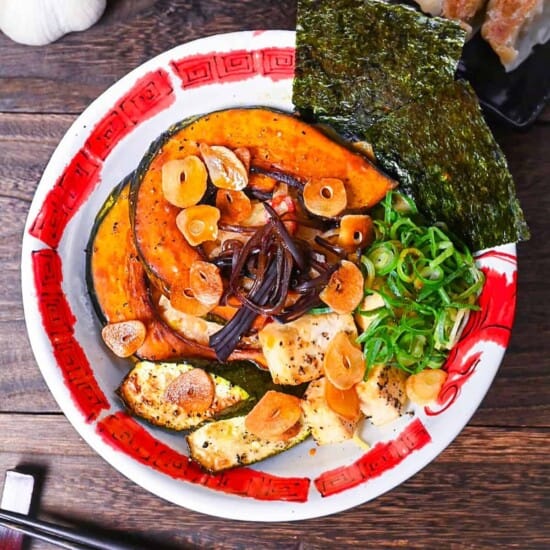


Liebe Grüße aus München. Deutschland.
Hallo.
Ich habe sehr große Freude am zubereiten dieses Rezeptes gehabt.
Vielen lieben dank.
Es war mit mehr Aufwand verbunden was mich nicht stört.
Ich liebe kochen und ich freue mich über neue Rezepte.
Es war sehr köstlich und ich habe schon ein paar Rezepte hier nachgekocht.
Immer voller Vorfreude und einem lächeln im Gesicht.
Vielen Dank.
Liebe Grüße Kathleen 🙂
Hallo Kathleen,
Vielen Dank, dass du dieses Rezept gemacht und dein Bild geteilt hast!
Sieht toll aus!
Yuto
Sehr gerne Yuto.
Daumen hoch. 🙂
Liebe Grüße aus München