Disclaimer: This post may contain Amazon affiliate links. Sudachi earns a small percentage from qualifying purchases at no extra cost to you. See disclaimer for more info.
Featured Comment:
“I loved all the detail you put into this recipe. It really made my dinner party a success. The only thing I changed was tripling the onion because we really like onion.”
– Laura
What is Katsudon?
Katsudon (カツ丼) is a popular rice bowl dish topped with breaded deep-fried pork cutlet and onion simmered in soy sauce and dashi broth and drizzled with egg. It is one of the most well-loved Japanese donburi dishes among children and adults.
While Katsudon is most commonly made with pork, you can also make it with chicken. This dish is usually served in:
- Canteens
- Soba restaurants
- Udon restaurants
- Bento shops
- Convenience stores…etc
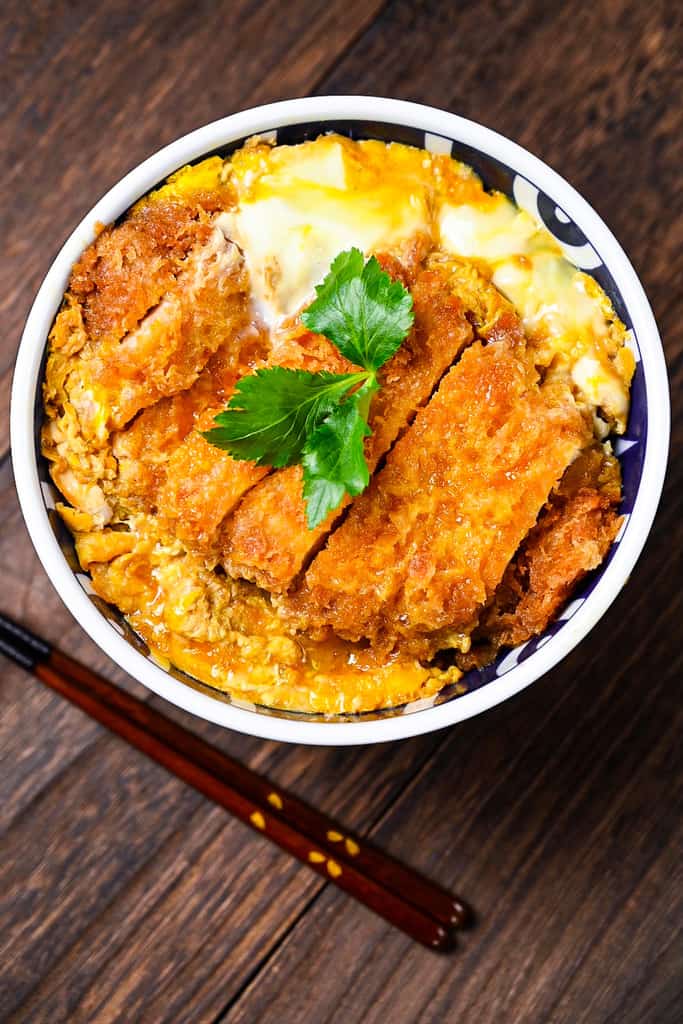

How I Developed This Recipe
I honestly believe Katsudon is the undisputed king of all bowl dishes, a true culinary masterpiece. To create a recipe that lives up to this grand title, I experimented a lot, tweaking and refining every detail.
I chose kombu (kelp) for the broth to preserve the pork’s rich flavor, steering clear of dried bonito flakes. This subtle choice makes a big difference, allowing the pork’s taste to shine through. And the egg – it’s just the right amount of sweetness, creating a delightful embrace around the crispy pork cutlet.
This Katsudon recipe is something I’m proud of. I’m excited for you to try it and experience the blend of flavors and textures that, to my mind, make it a top comfort food.
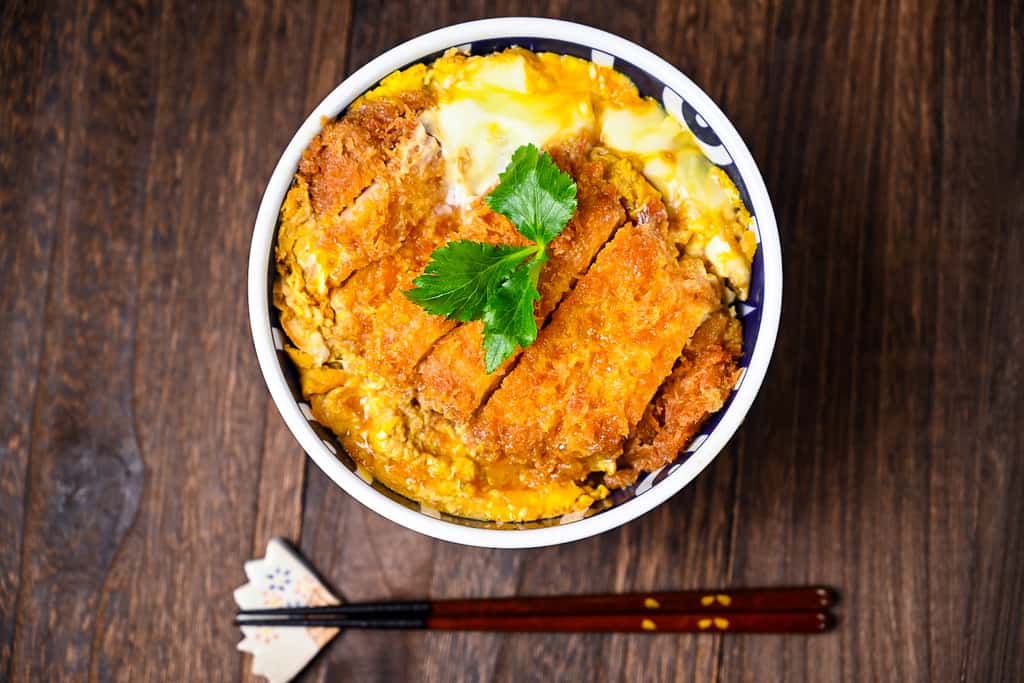
Ingredients & Substitution Ideas
- Boneless pork chop – In Japan, pork cut for tonkatsu is available in all supermarkets, but overseas, boneless pork chops are the easiest to use.
- Panko breadcrumbs – European-style breadcrumbs can also be used, but if you want to make a more authentic version, Japanese-style breadcrumbs are the best. By the way, panko breadcrumbs can be easily made at home. If you want to know how to make them, check out my Panko 101 article.
- Cooking oil – Use a neutral flavored oil with a high smoke point such as vegetable, canola, rice bran, peanut or white sesame oil.
- Dried kelp – Also known as kombu in Japanese, used to add depth to katsudon broth. However, if you don’t have it at home, you can use other dashi or just substitute water. To learn more about kombu, please see the Kombu 101 article.
- Yellow onion – Add depth and natural sweetness to the dish. White onions are also fine, but red onions are not recommended for aesthetic purposes.
- Mirin – When purchasing mirin, it is recommended to look for “hon mirin” (本みりん) for the best flavor. I recommend Hinode Hon Mirin as a high-quality and affordable option. See my 20 Most Useful Condiments and Seasonings for Japanese Cooking post for more recommendations.
- Sugar – The sugar you usually use is fine, but I’ve been using light brown cane sugar for most dishes lately.
- Chicken bouillon powder – I use it as a base for the soup. I use Youki’s additive-free Garasupu all the time.
- Soy sauce – If you are looking for something reasonably priced, you can’t go wrong with Kikkoman soy sauce. Please see our guide to soy sauce article to learn more about how to choose soy sauce in Japanese cuisine.
- Eggs – The recipe is based on medium-sized eggs, but it does not matter so much whether they are S or L size.
- Cooked Japanese short-grain rice – Short-grain Japanese rice is best used for donburi dishes. Recommended Japanese rice available in the U.S. and how to cook Japanese rice in a pot are explained in the How to Cook Japanese Rice Recipe.
- Japanese wild parsley – Also known as mitsuba, this is to garnish at the end. You can also use chopped green onions instead.
Curious about the exact brands and products that bring my recipes to life? Discover the brands and ingredients behind my recipes at the Sudachi Amazon Storefront. Explore my handpicked pantry essentials and find your next kitchen favorites!
Jump to Full Recipe Measurements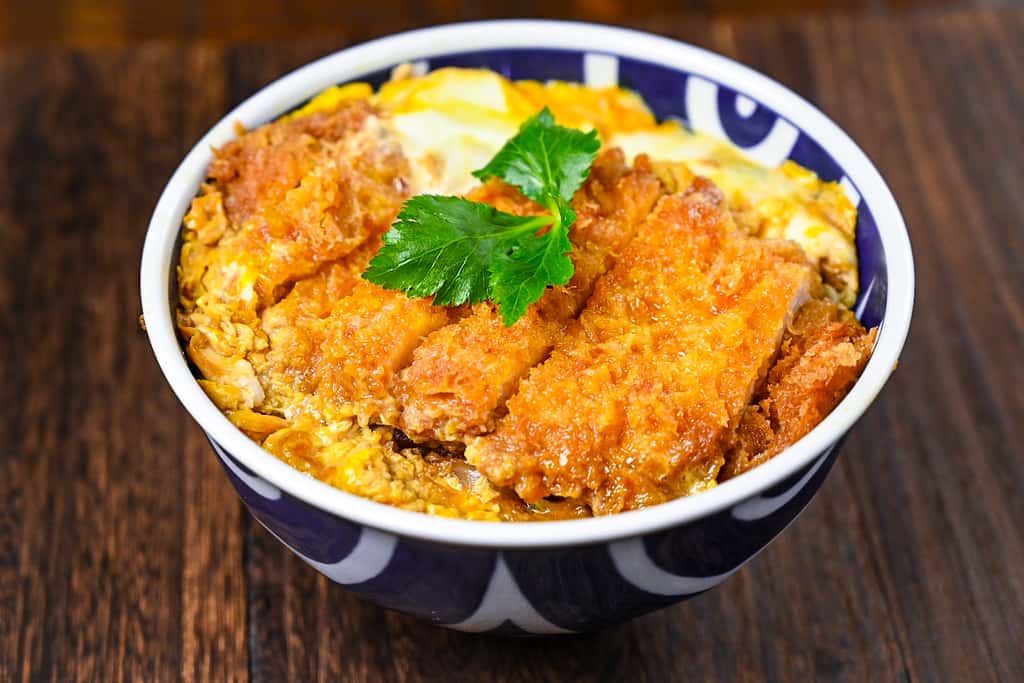
Visual Walkthrough & Tips
Here are my step-by-step instructions for how to make Japanese Katsudon at home. For ingredient quantities and simplified instructions, scroll down for the Printable Recipe Card below.
Soak a piece of dried kelp (kombu) in water for 30 minutes to 1 hour. I recommend cooking your rice while you wait for the kombu to soak.
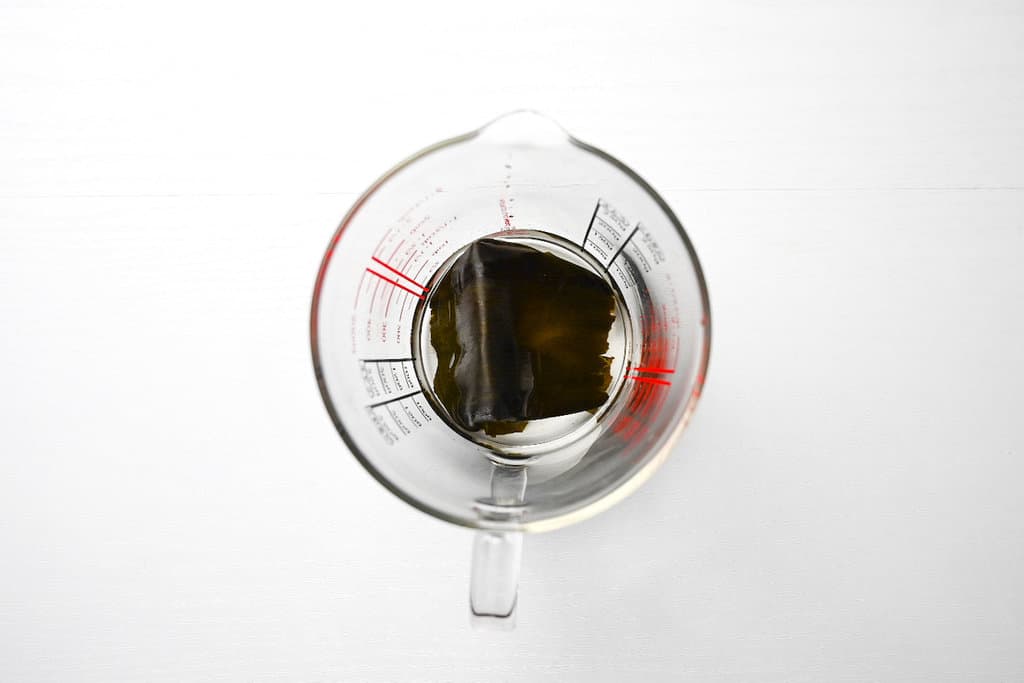
Dashi (Japanese soup stock) is essential in Japanese cooking and adds umami and authentic flavor to any dish in which it’s added. Rather than using regular dashi made with bonito flakes, I make kombu (dried kelp) dashi for this recipe. This is because I want to add umami to the broth without the fishy taste that comes with regular dashi.
Start preheating your oil for deep-frying to 170°C (338°F).
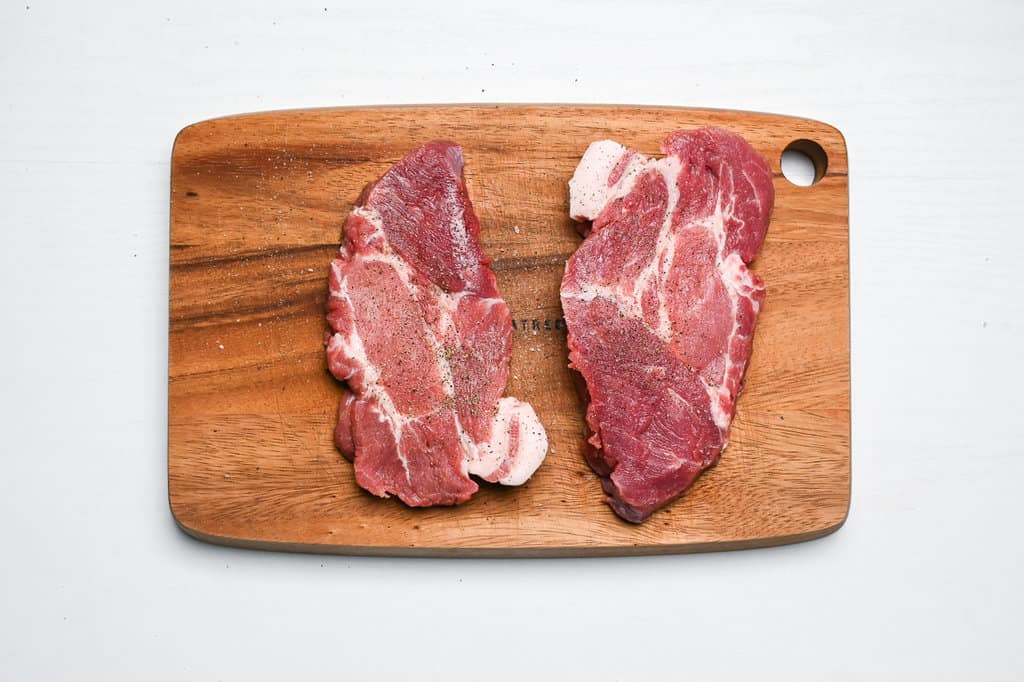
While you wait, take your pork and sprinkle a pinch of salt and pepper on each side. Use the tip of a sharp knife to cut incisions in the fatty parts the pork. This will help prevent curling.
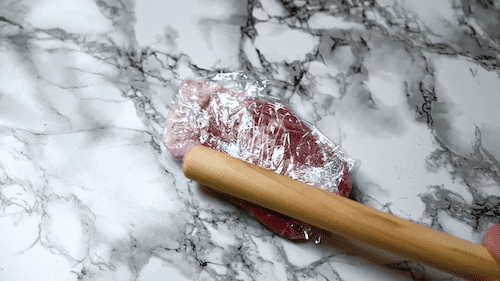
Wrap each pork chop with plastic wrap, and use a tenderizer or rolling pin to pound it until about 2cm (3/4 inch) thick. Making the pork thinner will help it cook quicker and more evenly, while the pounding itself tenderizes the meat.
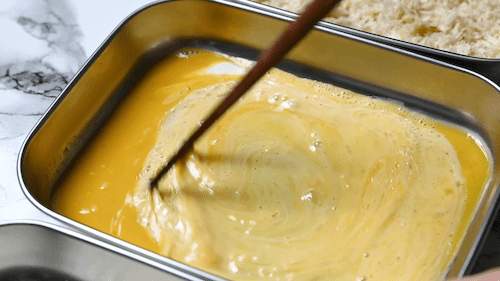
Take three plates/wide containers and add all-purpose flour to one and panko breadcrumbs to another. Crack an egg into the last one and add a small amount of cooking oil and milk. Whisk thoroughly until the egg, oil and milk has combined.
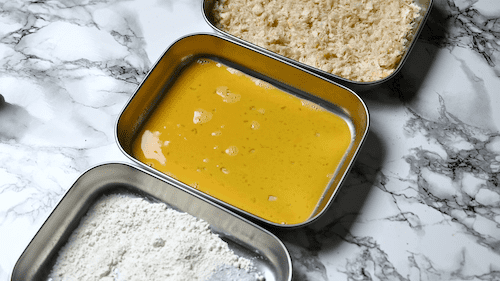
While simply using a whisked egg with nothing added is common and fine to do, adding a small amount of oil helps the egg stick better to the meat. It also makes a barrier that helps keep the flavor inside. Many Japanese restaurants use this simple tip! As for the milk, its used to soften the pork even further and stretch the eggs a little further if making a lot of katsu!
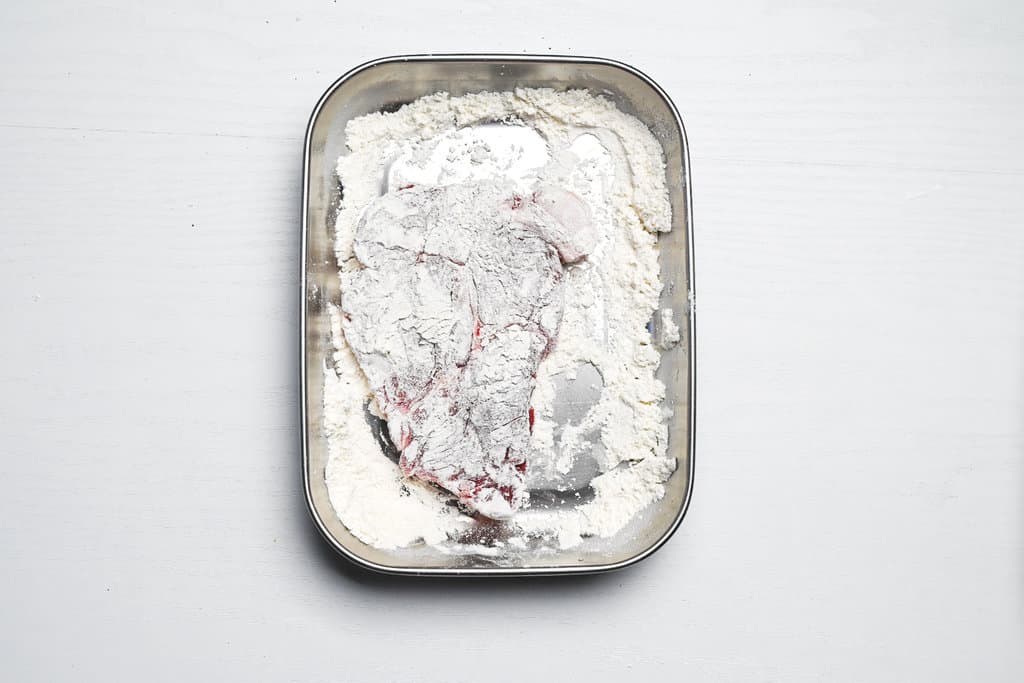
First, coat the pork with flour. Make sure it’s fully covered with no gaps, and then pat the surface gently to remove the excess. If there is too much flour, it is actually more likely to create a gap between the meat and the batter, or even cause the batter to fall off. Best practice is to coat thin and evenly.
Next, coat in egg. Again, make sure it’s fully covered with no gaps.
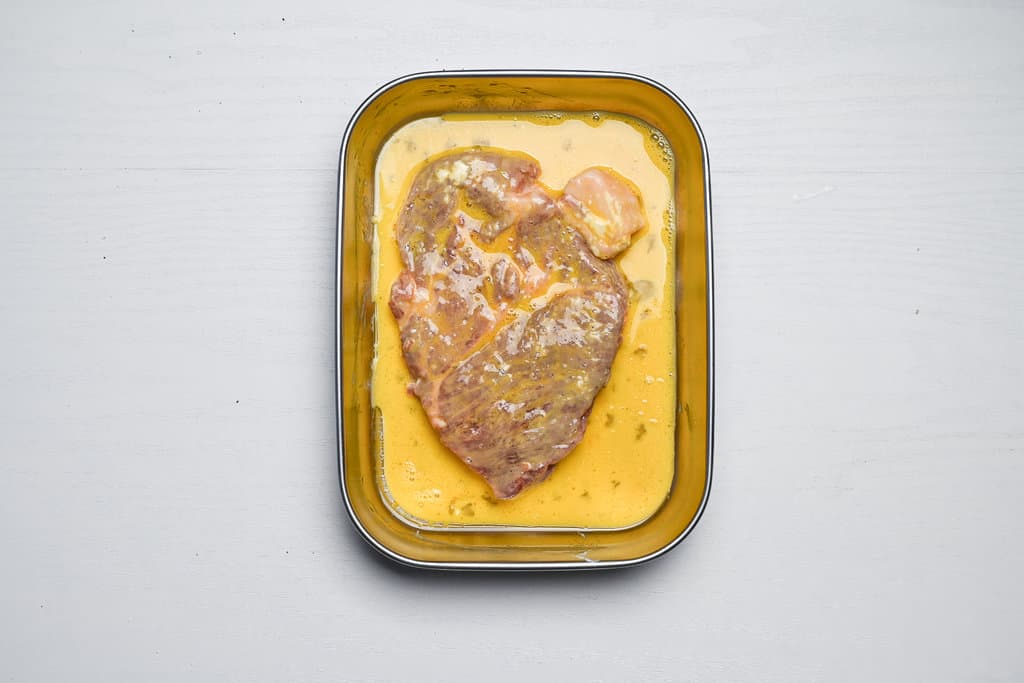
Finally, coat in the panko breadcrumbs. You can be generous here and gently press them down to secure them.
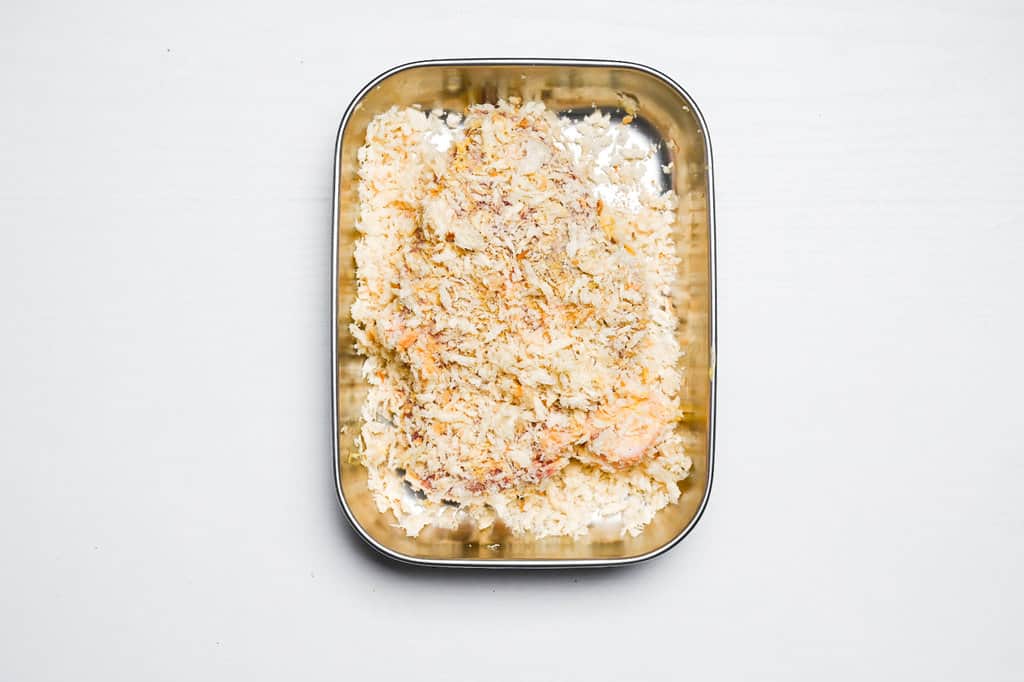
Once the oil is heated, add the breaded pork and cook for 4 minutes on each side or until golden brown.
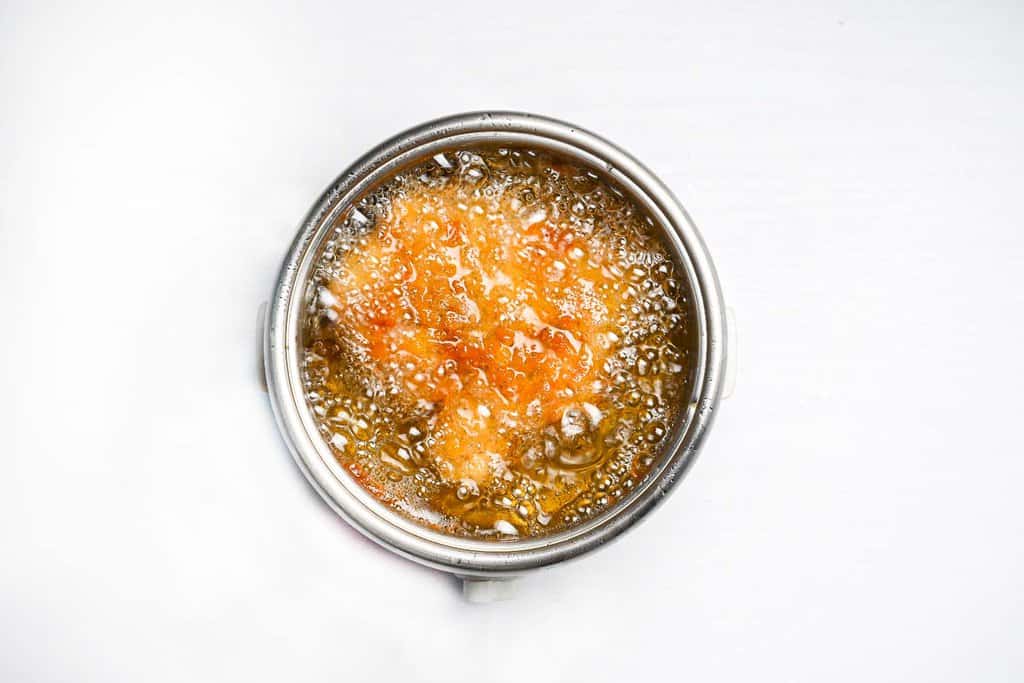
If you don’t have a kitchen thermometer, you can test the oil by adding a crumb of panko. If it sizzles and floats then the oil is hot enough (if it sinks then it needs to heat up more).
When you add the katsu, it will crackle loudly due to the moisture in the raw meat. The loud bubbling and cracking will subside when the meat is cooked through.
If in doubt, use a thermometer to check the internal temperature of the meat. Pork should reach 63°C or 145°F before removing it from the heat source.
Transfer the cooked katsu to a wire rack and leave it to rest. Not only does this allow the excess oil to drain off, but it also allows the juices in the meat to redistribute, leaving you with a juicy and tender cutlet.
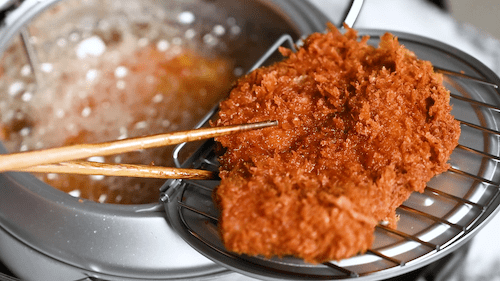
Take your kombu dashi and pour the contents of the jug (including the sheet of kombu) into a frying pan. Bring to a simmer and remove the kombu, then add mirin, light brown sugar and chicken bouillon powder. Mix until the ingredients have dissolved into the broth.
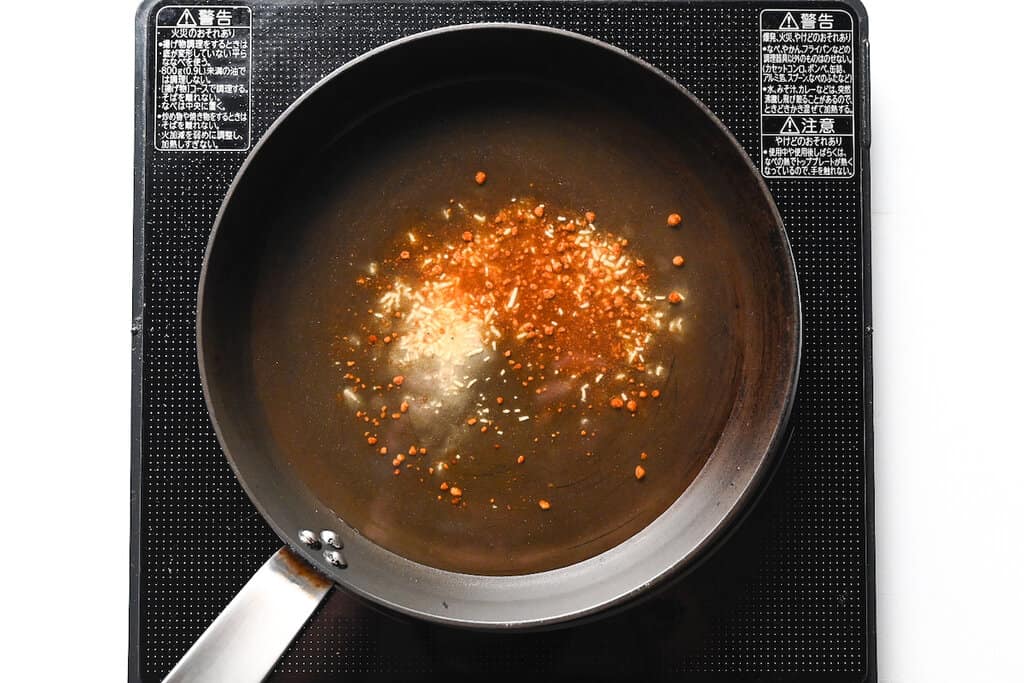
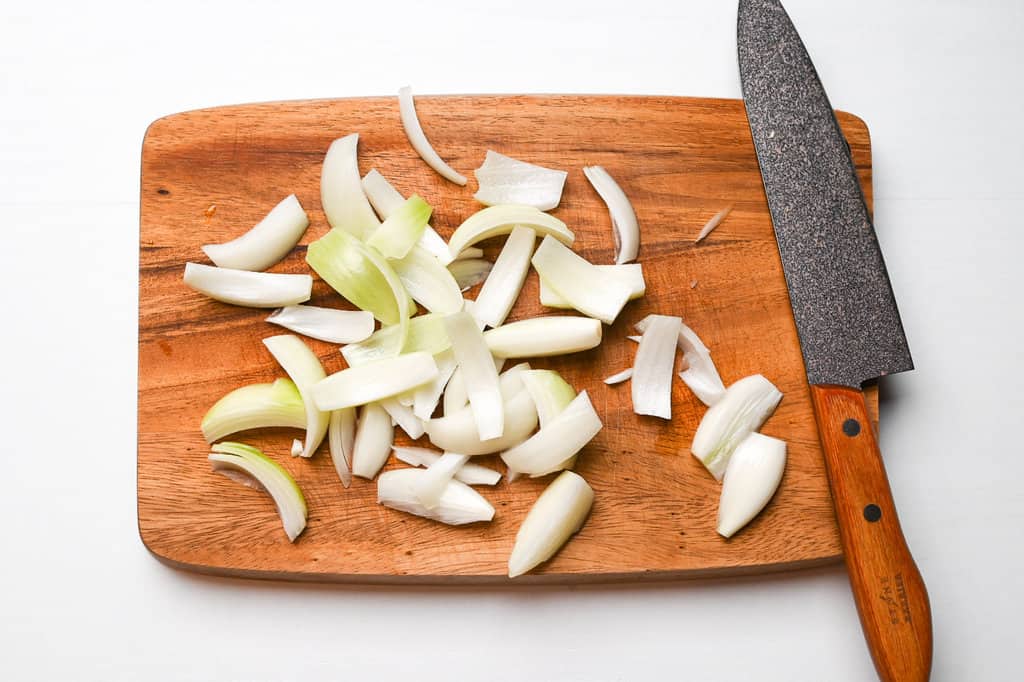
Cut the onion into thin wedges and add them to the broth. Simmer over a medium heat until softened to your preference.
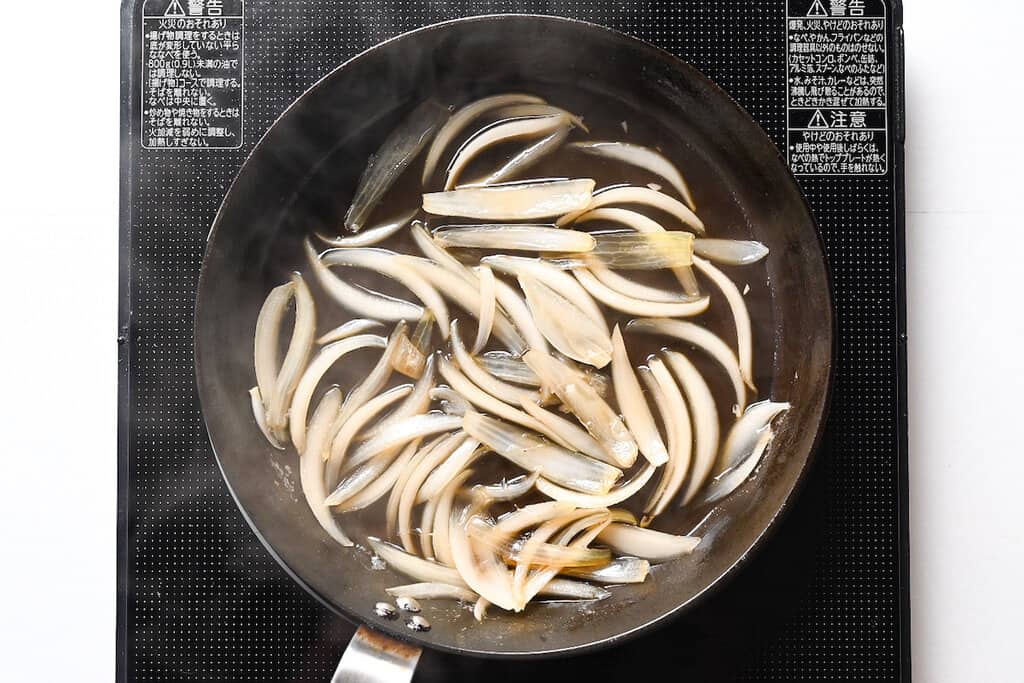
Cook the onions thoroughly to release their natural sweetness to the dish and create a deeper flavor!
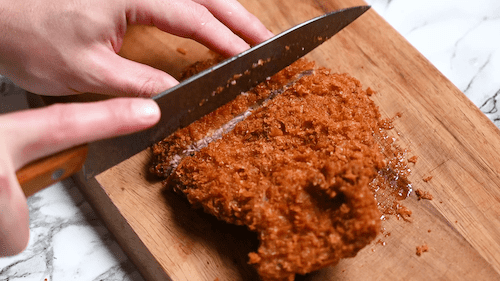
Cut the katsu into strips about 2cm (3/4 inch) thick and place it on top of the onion.
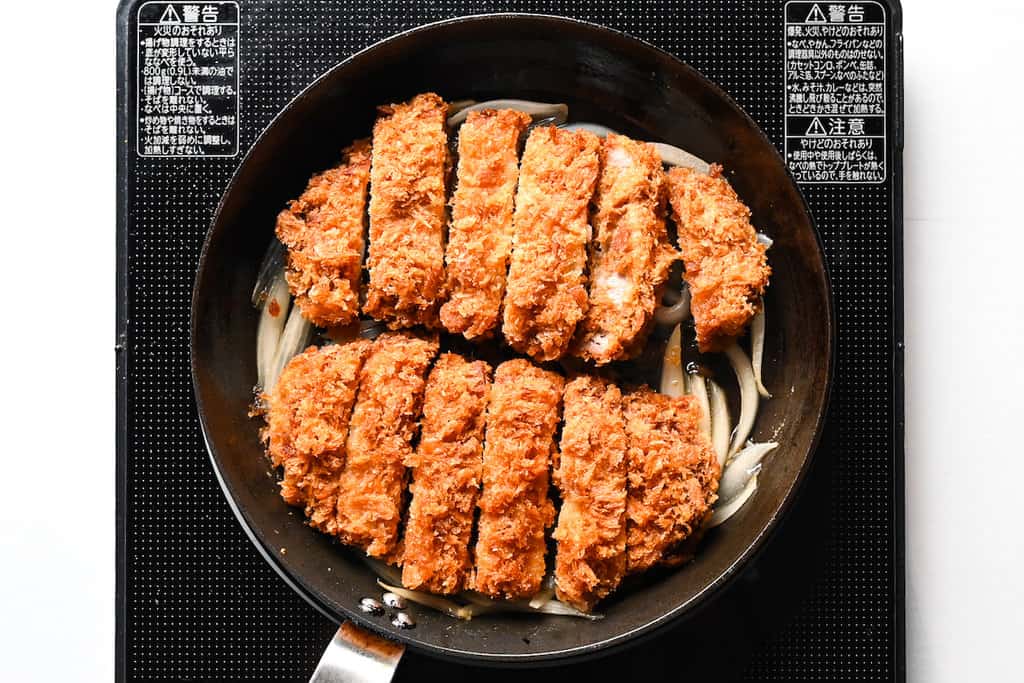
First, separate the eggs so the whites and yolks are in separate bowls.
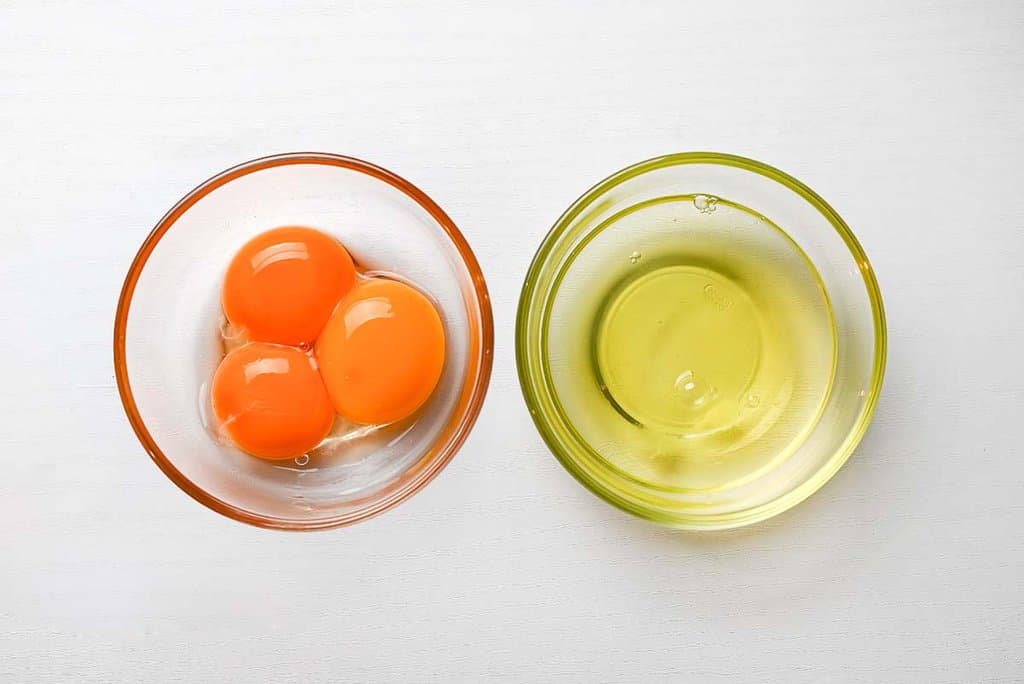
Lightly whisk the whites and then pour them around the katsu.
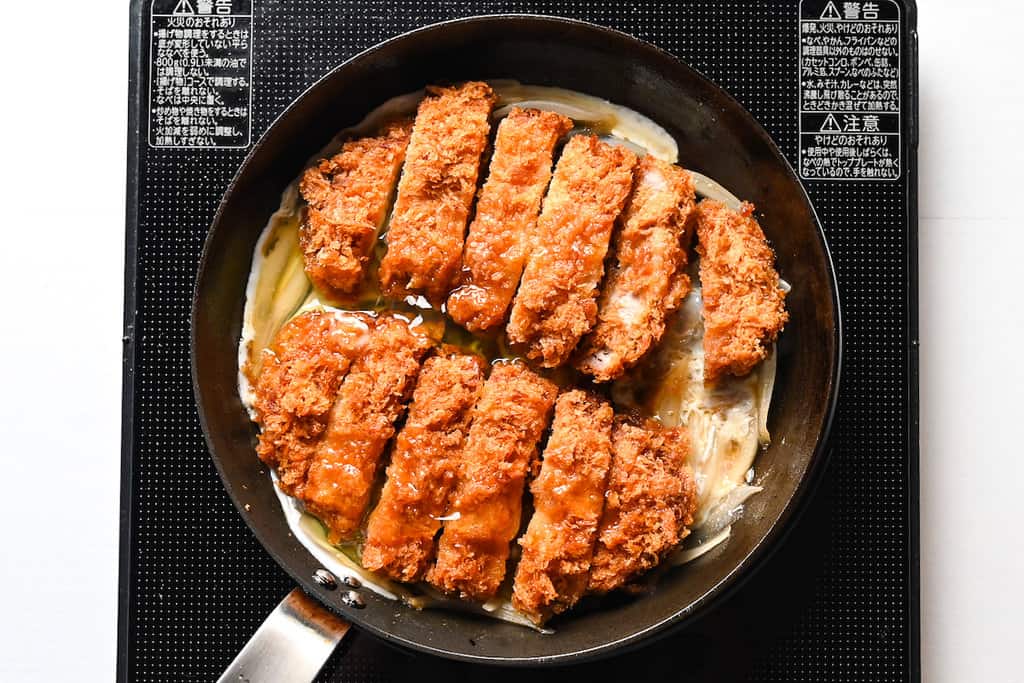
The key to making silky tonkatsu is not to beat the egg too much before adding the pan. If you whisk the egg too much, it will become foamy and airy rather than silky and soft.
Place a lid on top and steam for about 1 minute.
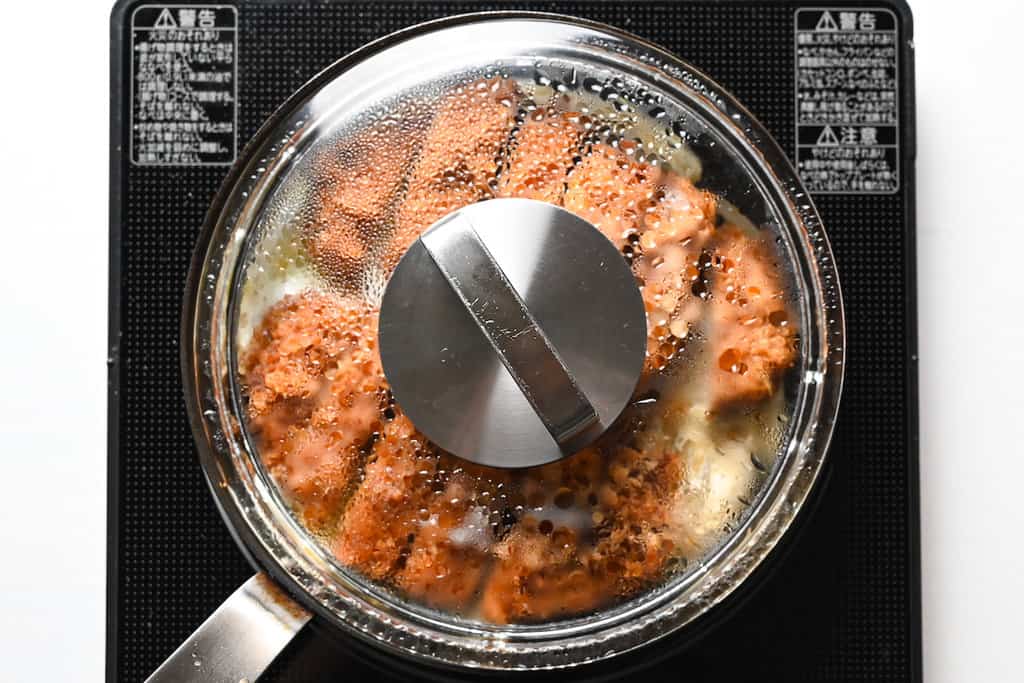
After pouring the beaten egg around the pan, try not to interfere. If you touch the egg before it hardens, it will mix with the dipping sauce and prevent the egg from binding properly.
In addition to this, the egg will break, and the presentation will be messy, so I recommend not mixing or touching the egg once it’s added to the pan.
Whisk the yolks and then pour them around the katsu.
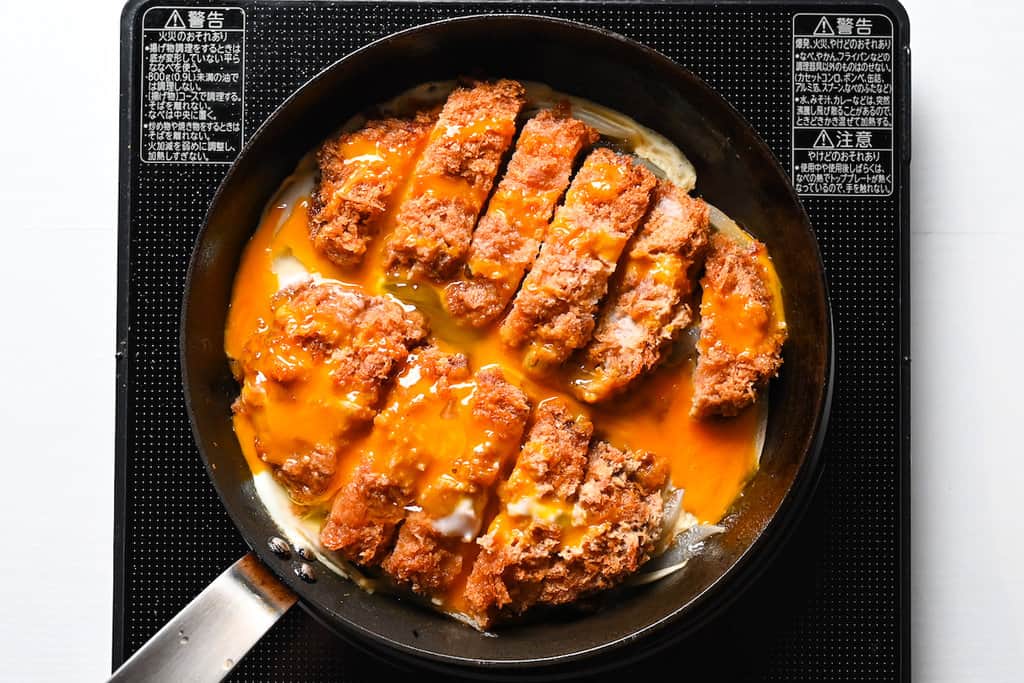
Runny egg yolks are my favorite way to serve up eggs. However, if you add the whites and yolks at the same time, then the yolk can become firm and, in my opinion, overcooked.
To overcome this, I first separate the egg whites and yolks and add the whites to the pan. Once cooked, I turn off the heat, whisk the yolks and drizzle them over the dish. If you place a lid on the pan for 1-2 minutes, the yolks will cook a little in the residual heat. This method ensures the whites are cooked and the yolks are still runny, resulting in silky and delicious steamed egg surrounding the katsu!
Turn off the heat and place a lid on top. Leave the yolks to cook in the residual heat until it’s cooked to your preferred firmness.
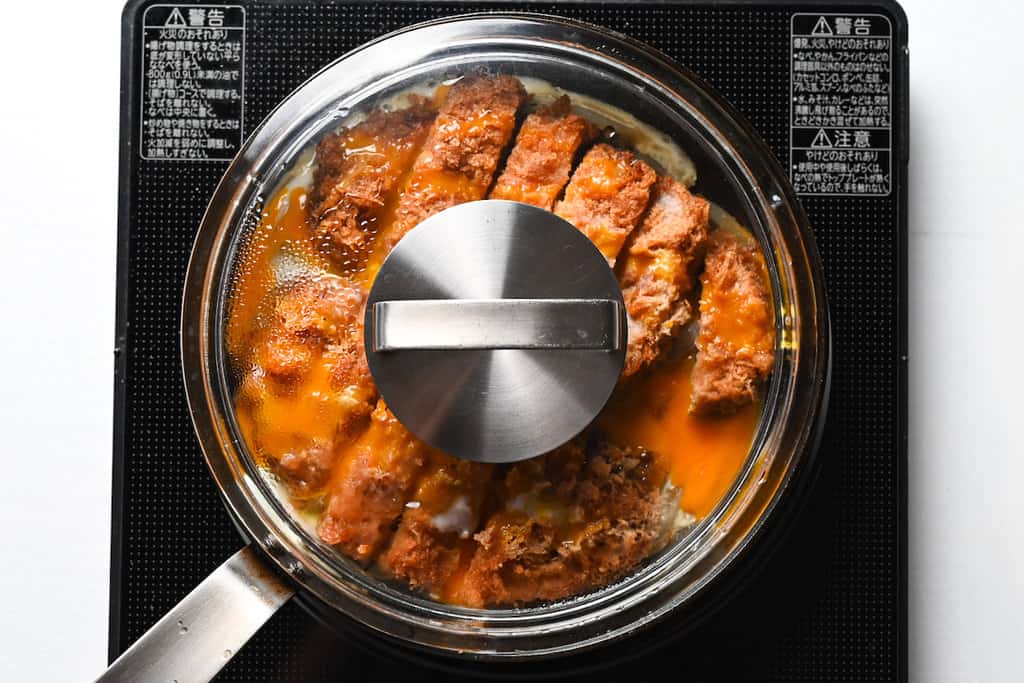
Fill serving bowls with rice two-thirds of the way up. Place the katsu and egg on top and garnish with Japanese wild parsley (mitsuba).
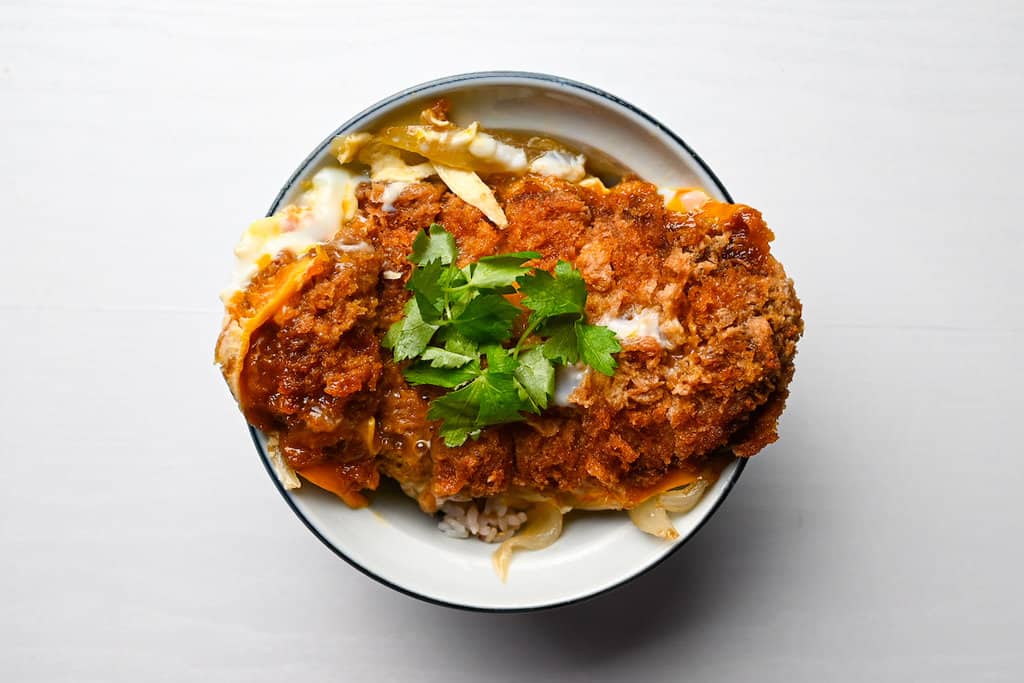
Enjoy!
Jump to Full Recipe MeasurementsFAQ
The roots of Katsudon, a beloved Japanese dish, aren’t entirely certain, but four intriguing theories offer some insight:
Theory 1: Katsudon was first served in Kofu, Yamanashi Prefecture, around the 1900s at Okumura Honten, a well-known soba restaurant.
Theory 2: In 1913, Masutaro Takahata, founder of Europe House, introduced his unique sauce Katsudon in Tokyo after culinary training in Germany, later serving it at his restaurant in Waseda-Tsurumaki-cho, Fukui Prefecture.
Theory 3: In 1919, a student at Sancho-an in Waseda, Tokyo, invented a way to repurpose a leftover pork cutlet. He placed the cutlet in a rice and egg bowl, which could be a precursor to katsudon.
Theory 4: In 1921, Keijiro Nakanishi at Cafe House in Waseda, Tokyo, created a dish by layering diced pork cutlet and reduced sauce on rice, naming it Katsudon.
No one knows which is the truth, but it’s interesting to note that two theories come from Waseda.
It can be unclear to differentiate between tonkatsu and katsudon, as they both feature a crispy pork cutlet as their star ingredient. However, they are unique dishes with distinct flavors and presentations.
Tonkatsu is an iconic dish that consists of a tender pork cutlet usually served with shredded cabbage and rice. The key flavor enhancer is a fruity tonkatsu sauce drizzled over the cutlet. When ordered in the traditional “teishoku style,” the meal includes miso soup and pickles. Our tonkatsu recipe offers detailed instructions for those interested, including how to make the unique sauce from scratch.
On the other hand, katsudon features the tonkatsu placed on a bed of rice in a large bowl, known as a “donburi.” Unlike tonkatsu, this cutlet is cooked further in broth and then layered with egg, which imparts a different flavor profile, albeit sacrificing some crispiness. My preferred recipe uses subtler kombu dashi made with dried kelp, avoiding the fishier notes associated with bonito flake dashi. A final garnish of “mitsuba,” a Japanese wild parsley, completes the dish.
In conclusion, while both tonkatsu and katsudon feature a breaded pork cutlet, they differ in their preparation methods and accompaniments. Each dish offers a unique experience to explore the diverse facets of Japanese cuisine.
Katsudon is a popular dish in Japanese TV shows, including animes and dramas. The dish has gained international recognition after being featured in two popular animes, “My Hero Academia” and “Yuri!!! on Ice”, as the favorite dish of the main characters.
In Japanese, the word “katsu” not only refers to pork cutlet, but also means “to win” (勝つ). As a result, it is common for people to eat katsudon before or after exams, tests, or competitions as good luck or a reward for winning.
In detective dramas, a classic scene involves a suspect eating katsudon in the interrogation room. This tradition began in the 1955 movie “Keisatsu Nikki” where a policeman treats katsudon to civilians who have been eating and drinking without paying or stealing. However, this is a fictional tradition created by show business and not a real-life practice of the police.
Japanese donburi dishes are always made with short-grain Japanese white rice. It’s easiest to use a rice cooker, but we also have a guide on how to cook Japanese-style rice on the stove here.
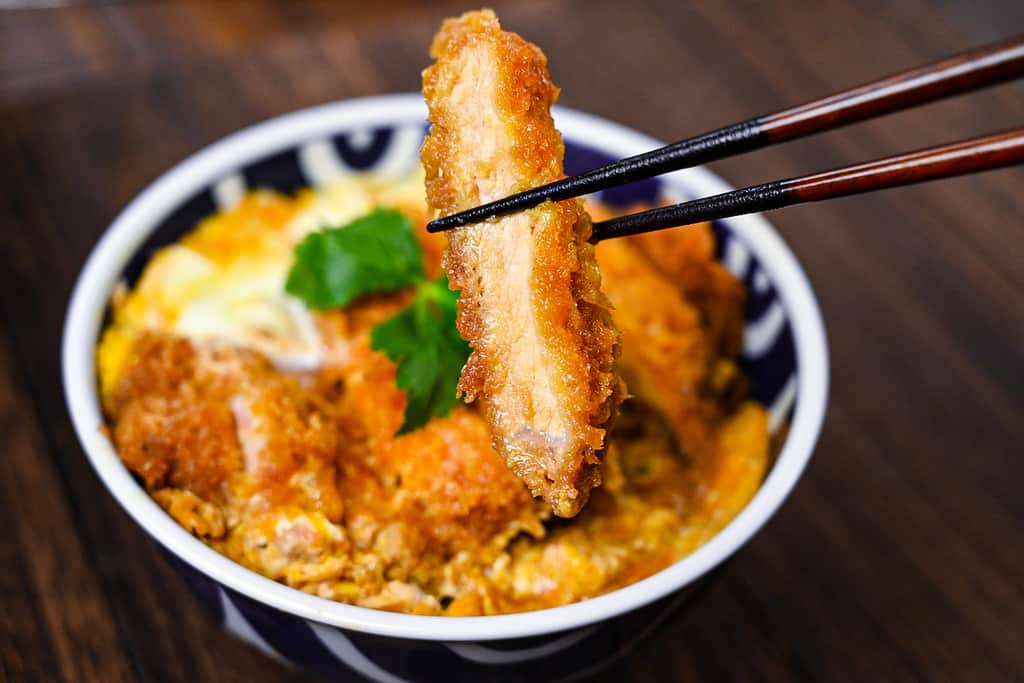
I hope you enjoy this Katsudon recipe! If you try it out, I’d really appreciate it if you could spare a moment to let me know what you thought by giving a review and star rating in the comments below. It’s also helpful to share any adjustments you made to the recipe with our other readers. Thank you!
More Rice Bowl Recipes
- Oyakodon
- Gyudon
- Teriyaki Chicken Don
- Tofu Donburi (Vegan)
- Tanindon (Japanese Pork and Egg Rice Bowl)
Want more inspiration? Explore my Donburi Roundup Post for a carefully selected collection of tasty recipe ideas to spark your next meal!
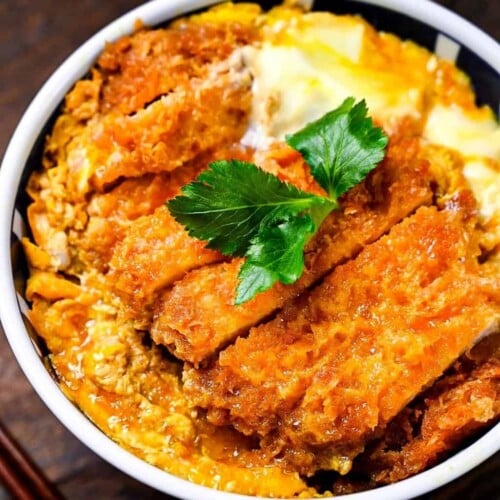
Katsudon (Japanese Pork Cutlet Bowl)
Ingredients
For the Katsu
- 2 boneless pork chop
- 2 pinches salt and pepper
- 4 tbsp all-purpose flour
- 1 large egg
- 1 tsp cooking oil
- 1 tbsp whole milk
- 50 g panko breadcrumbs
- cooking oil for frying
Katsudon
- 5 g dried kelp (kombu) kombu
- 150 ml water
- 100 g yellow onion
- 50 ml mirin
- 1 tbsp light brown sugar
- 1 tsp Chinese-style chicken bouillon powder (granules) I use youki garasupu
- 2 tbsp soy sauce
- 3 egg room temperature
- 2 portions cooked Japanese short-grain rice
- Japanese wild parsley (mitsuba) mitsuba, optional, to garnish
Instructions
Make kombu dashi
- Take a jug and submerge 5 g dried kelp (kombu) in 150 ml water. Soak for 30 mins to 1 hour or until the kombu has rehydrated.

Katsu
- Preheat oil to 170 °C (338 °F).
- Make incisions in the fatty parts of 2 boneless pork chop to prevent curling and sprinkle a pinch of salt and pepper on each side.

- Pound the pork chops to tenderize the meat, they should be about 2cm thick.

- In a wide container, add 1 large egg, 1 tsp cooking oil and 1 tbsp whole milk. Whisk thoroughly.

- Prepare two more plates or containers, one with 4 tbsp all-purpose flour and one with 50 g panko breadcrumbs.

- Coat the pork with flour on both sides, brush off any excess.

- Next, dip them into the egg mixture.

- Finally, transfer the pork to the panko and coat all over. Press the surface lightly to secure the panko.

- Test the oil temperature with a crumb of panko, if it sizzles and floats then the oil is ready. Carefully place the coated pork into the oil and cook for about 4 minutes on each side (8 minutes total) or until golden brown. When the oil stops making a crackling sound, that usually means they’re ready.

- Place the katsu on a wire rack to let the excess oil drain off.

- Cut into 2cm slices and set aside for later.

Donburi
- Cut 100 g yellow onion into wedges.

- Once the kombu is rehydrated, place a saucepan on the stove and pour in the contents of the jug. Turn on the heat to a low setting and slowly bring to almost boiling (small bubbles will appear around the edge, but don't let it boil).
- Remove the kombu, add 50 ml mirin, 1 tbsp light brown sugar, 1 tsp Chinese-style chicken bouillon powder (granules) and mix.

- Add the onion to the pan and turn up the heat to medium, cook until the onion is softened.

- Add 2 tbsp soy sauce and stir to distribute it, then lay the katsu over the top.

- Separate 3 egg into two bowls and whisk the whites.

- Pour the egg whites around the pan (don’t add the yolks yet).

- Place a lid on the pan and allow the eggs to steam for about 1 minute.

- Lightly whisk the egg yolks and then pour them around the pan.

- Place the lid back on and turn off the heat. Allow the egg to cook in the residual heat until it’s cooked to your preferred firmness.

- Dish up 2 portions cooked Japanese short-grain rice into serving bowls and place the katsu and egg mixture on top.

- Garnish with Japanese wild parsley (mitsuba) "mitsuba" (optional).
- Enjoy!



Easy to follow, turned out great. Thanks
Thank you for your comment and rating 🙂 Glad you liked it!
I loved all the detail you put into this recipe. It really made my dinner party a success. The only thing I changed was tripling the onion because we really like onion.
Thank you so much! I’m glad you and your guests enjoyed my recipe, I’m also happy to hear that you could easily adjust it to suit your tastes. Thank you for the generous rating too!
Is there something I can substitute for the chicken bullion? I am allergic to chicken….
Sorry to hear about your allergy, vegetable stock powder would also work in this case. Hope you enjoy the recipe!
Made this for my wife just last night, right before her very important test, partly cause Ive wanted to make it for a while, but well, it seemed like the perfect opportunity
We eat Oyakodon quite often,since it’s both delicious, cheap and easy to make in the middle of the week, and while this is slightly more labour intensive, it wasjust as easy! Loved the way the sauce was made, since I’ve made it in a pot before, and tried in a pan this time, really made it more syrupy!
Thank you!
Thank you so much! I’m glad you enjoyed the recipe. Katsudon is the perfect dish to eat before a test, I hope your wife aced it!
I have made this twice now, and it’s delicious. I like the explanation of the name, the origin of the dish, and your personal experience with it. You do a fantastic job on this on this and the other recipes you share. I’ve tried a few others and they are just as good. Thank you for presenting all of this.
Thank you so much for your kind words. Glad to hear you’re enjoying the content and recipes, it means a lot!