Disclaimer: This post may contain Amazon affiliate links. Sudachi earns a small percentage from qualifying purchases at no extra cost to you. See disclaimer for more info.
What is Zenzai?
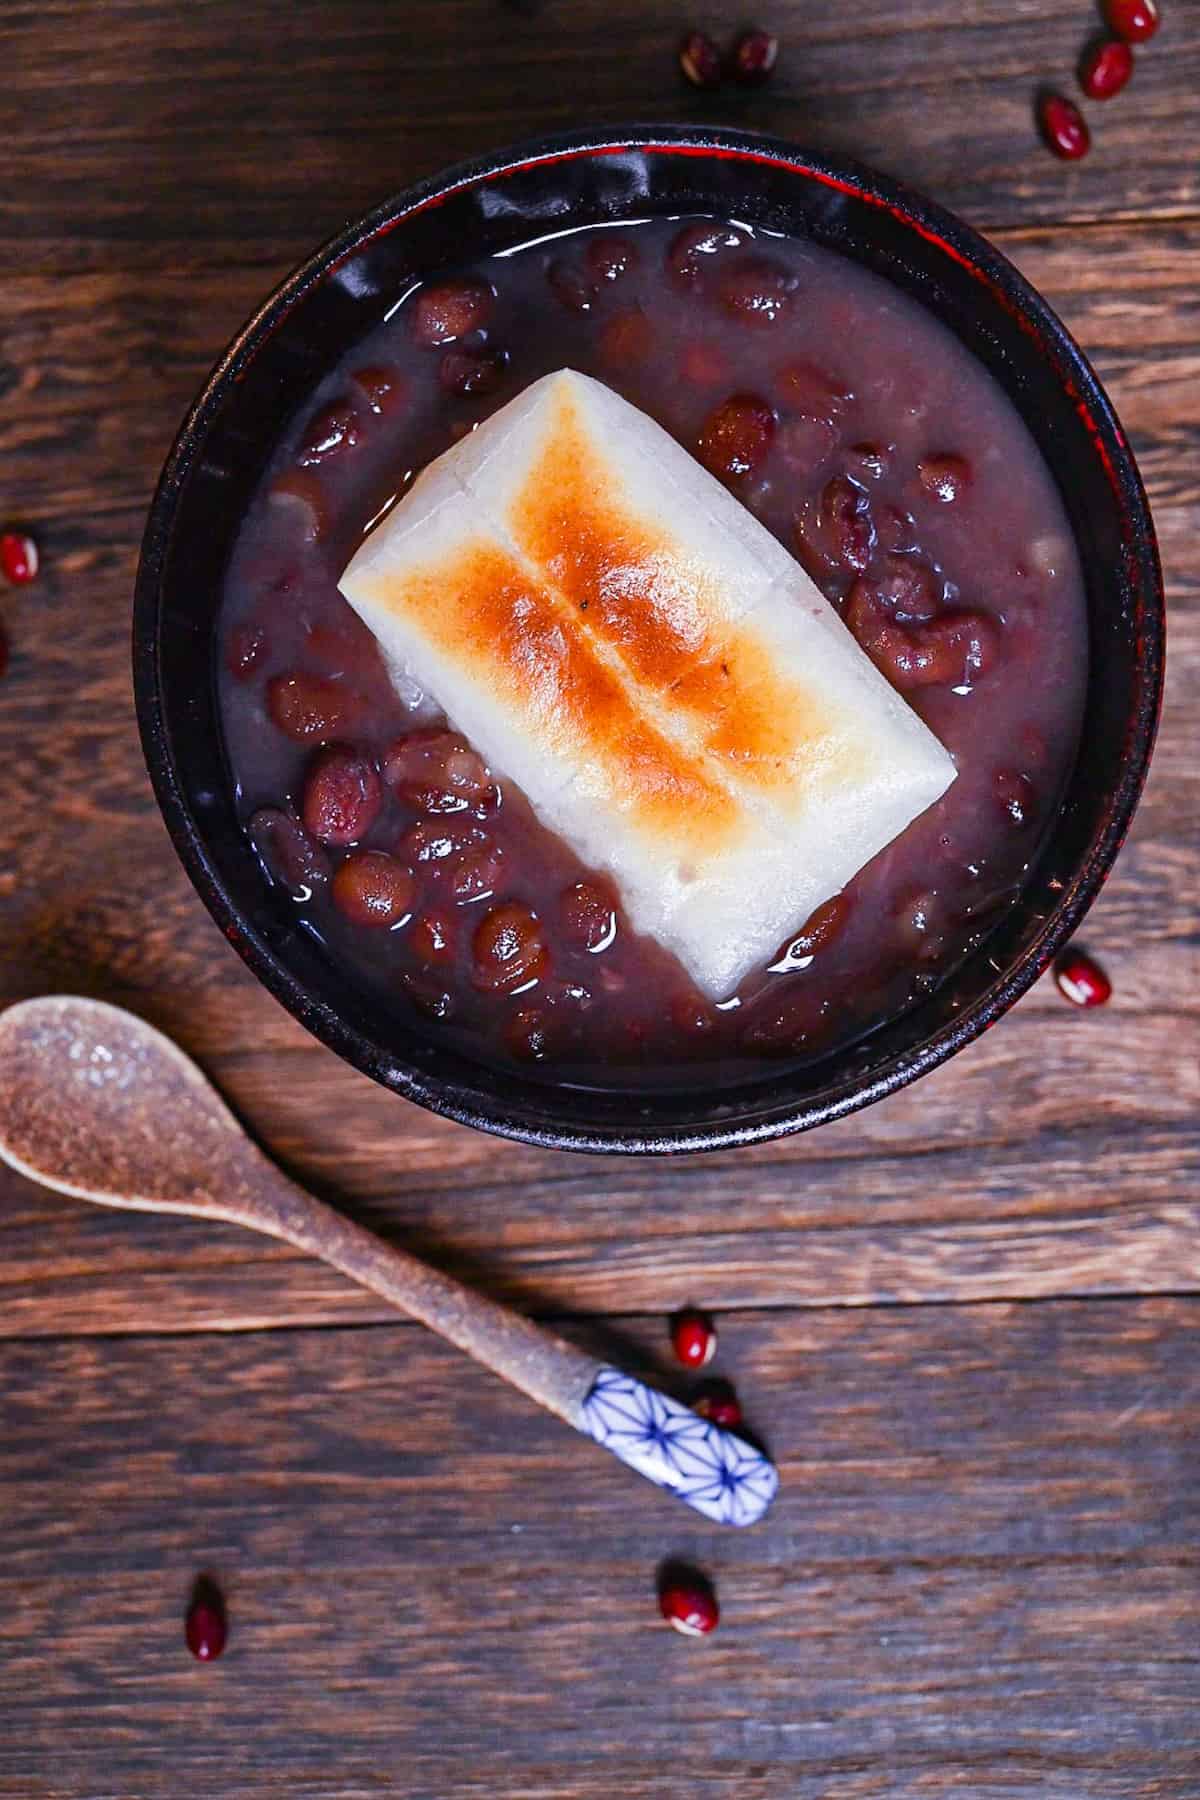
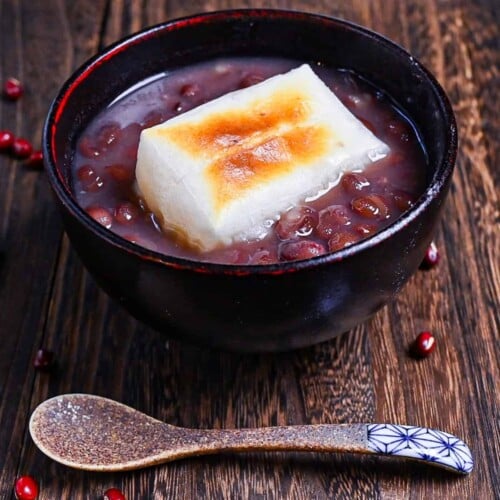
Zenzai is a traditional Japanese dessert soup made by simmering adzuki beans (red beans) until soft and adding sugar. It is usually topped with toasted mochi (rice cake) or shiratama dango (rice dumplings). Sometimes even candied chestnuts (kuri kanroni) are added.
It can be eaten both hot or cold and is enjoyed across Japan all year round, however it’s most commonly enjoyed in Winter, particularly soon after the New Year after celebrating “Kagami Biraki” on January 11th.
When I think of Zenzai, I can’t help but think of being outside on a cold winter’s day while holding a steaming bowl of Zenzai to keep warm. It’s a comforting and nostalgic dish to many Japanese people.
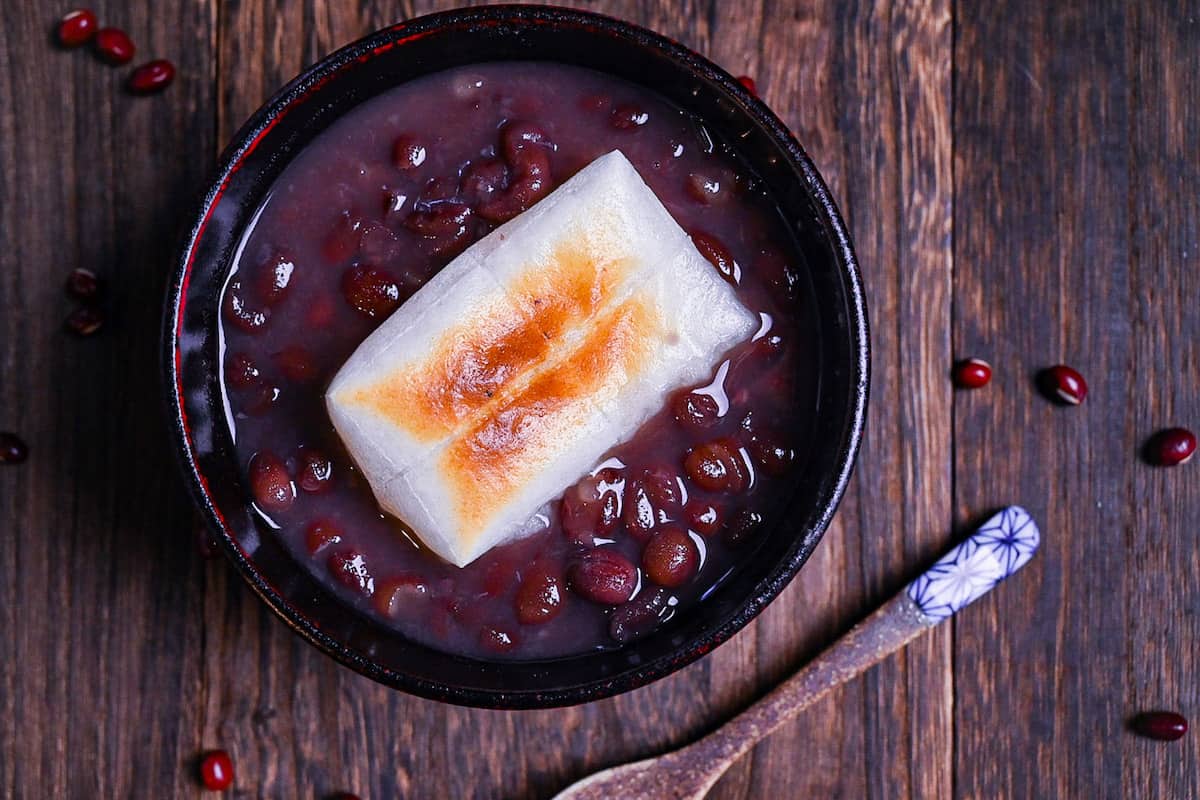
A Brief History of Zenzai
There are two popular theories about the origin of Zenzai. One is that it is derived from “Jinzai-mochi” in the Izumo region of Shimane Prefecture. In the Izumo region, gods are believed to gather from all over Japan in October of the lunar calendar, and at this time a Shinto ritual called “Kamiarisai” is held in Izumo. Jinzai mochi were served during the festival and the word “jinzai” became “zunzai” in Izumo dialect, then later “Zenzai,” and was then introduced to Kyoto.
Izumo as the birthplace of “Zenzai” has been mentioned in several documents from the early Edo period (1603-1868).
Another theory is that it derives from the Buddhist term “Zenzai,” which means “wonderful”. The story goes that a monk who ate this sweet, once a luxury item, was so surprised by its deliciousness that he exclaimed, “Zenzai!” (wonderful!) and thus, the name of the dish became “Zenzai”.
Whatever the origin, I can’t deny that zenzai is a truly wonderful dish!
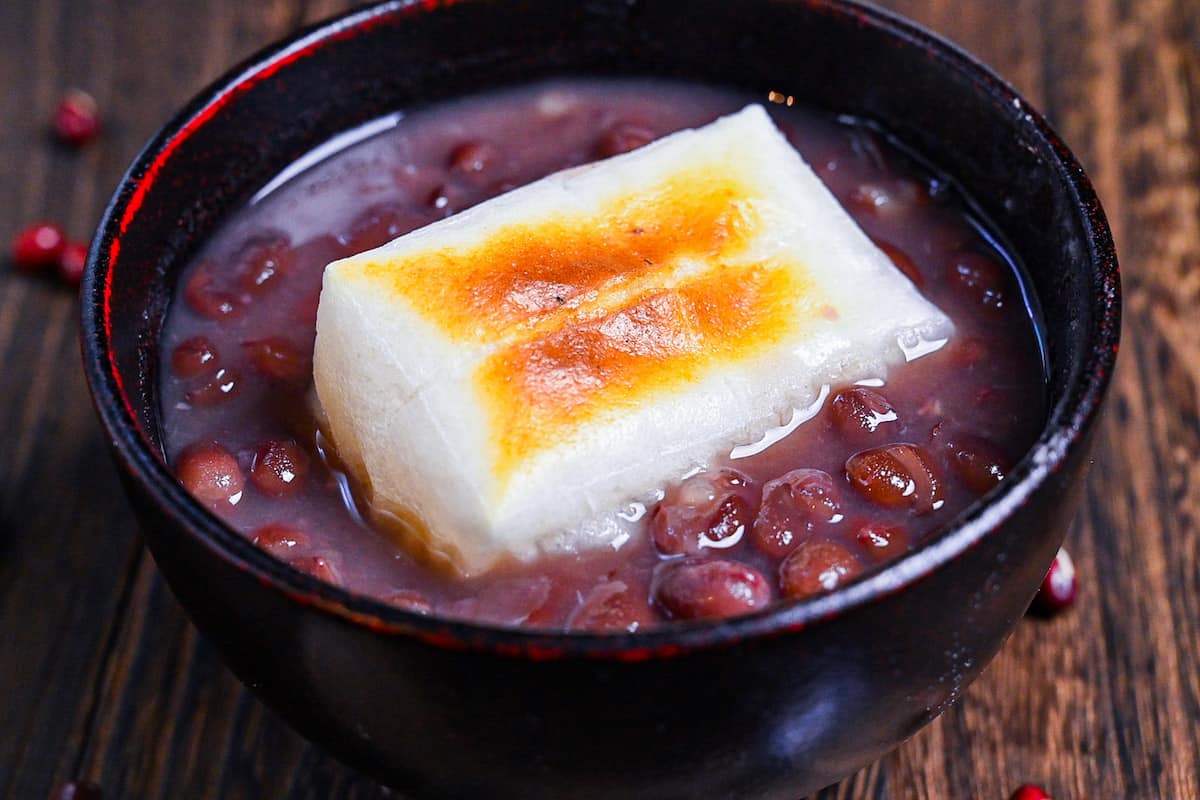
What’s the Difference Between Zenzai and Oshiruko?
Both Zenzai and Oshiruko are types of red bean soup, but what is the difference? Well, unfortunately, it’s not so straightforward, but I will explain the best I can.
The difference between Zenzai and Oshiruko depends mostly on the region. In the West of Japan (Kansai), “Zenzai” refers to red bean soup with the whole beans still intact (chunky) while “Oshiruko” is made by blending the beans into a paste and removing the skins resulting in a red bean soup that is smooth and silky.
On the other hand, if you travel over to the East of Japan (Kanto, Tokyo, and surrounding areas) you will find that actually, both of these are called “Oshiruko” and Zenzai is a separate soupless dish made by topping toasted mochi topped with thick red bean paste.
| Zenzai vs. Oshiruko | Kanto (East) | Kansai (West) |
|---|---|---|
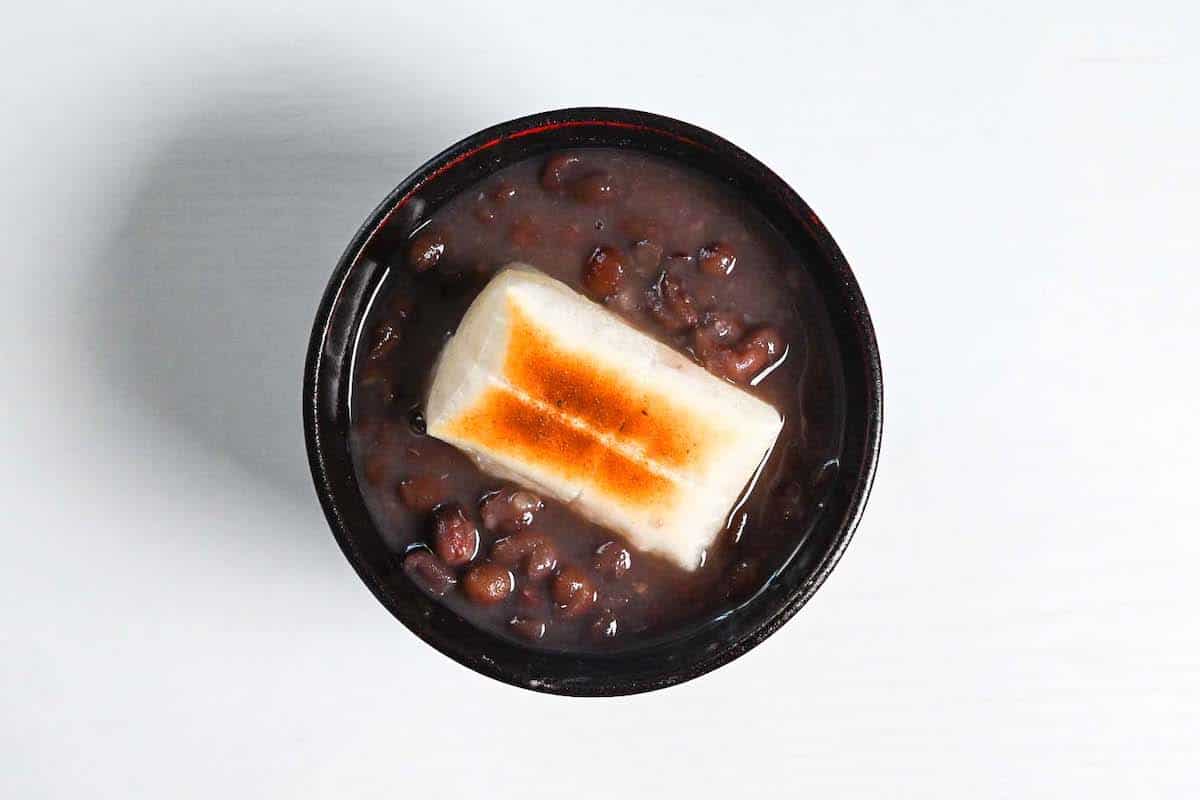 Whole and crushed adzuki beans in soup | Oshiruko | Zenzai |
 Smooth adzuki bean soup (skins removed) | Oshiruko | Oshiruko |
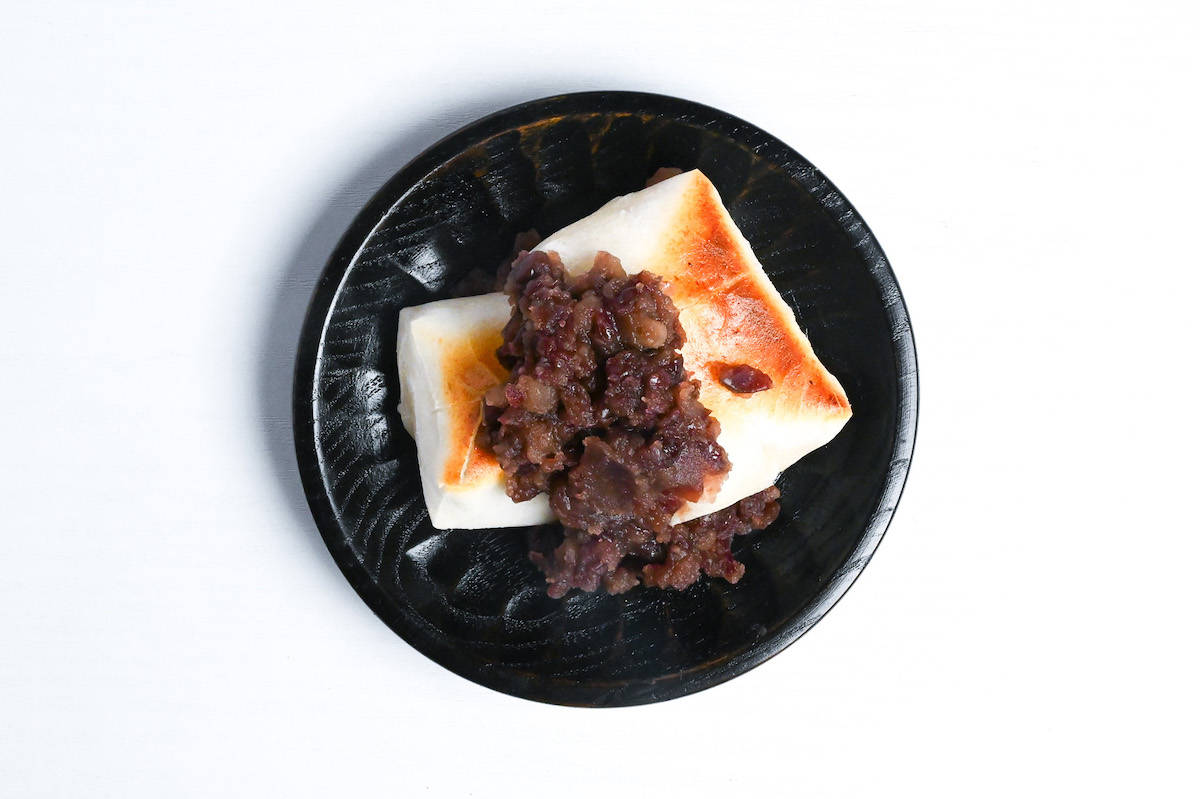 Adzuki beans over toasted mochi (no soup) | Zenzai | Kameyama |
Furthermore, in the Kyushu region, red bean soup with mochi is “Oshiruko” whereas adding shiratama dango makes it “Zenzai”. In Hokkaido, “Zenzai” and “Oshiruko” are the same thing, they also have a “kabocha oshiruko” made with Japanese pumpkin!
I live in Aichi prefecture which is in central Japan, here we follow Kansai’s terms. Here are some pouches of oshiruko (left) and zenzai (right) that I bought at my local supermarket.
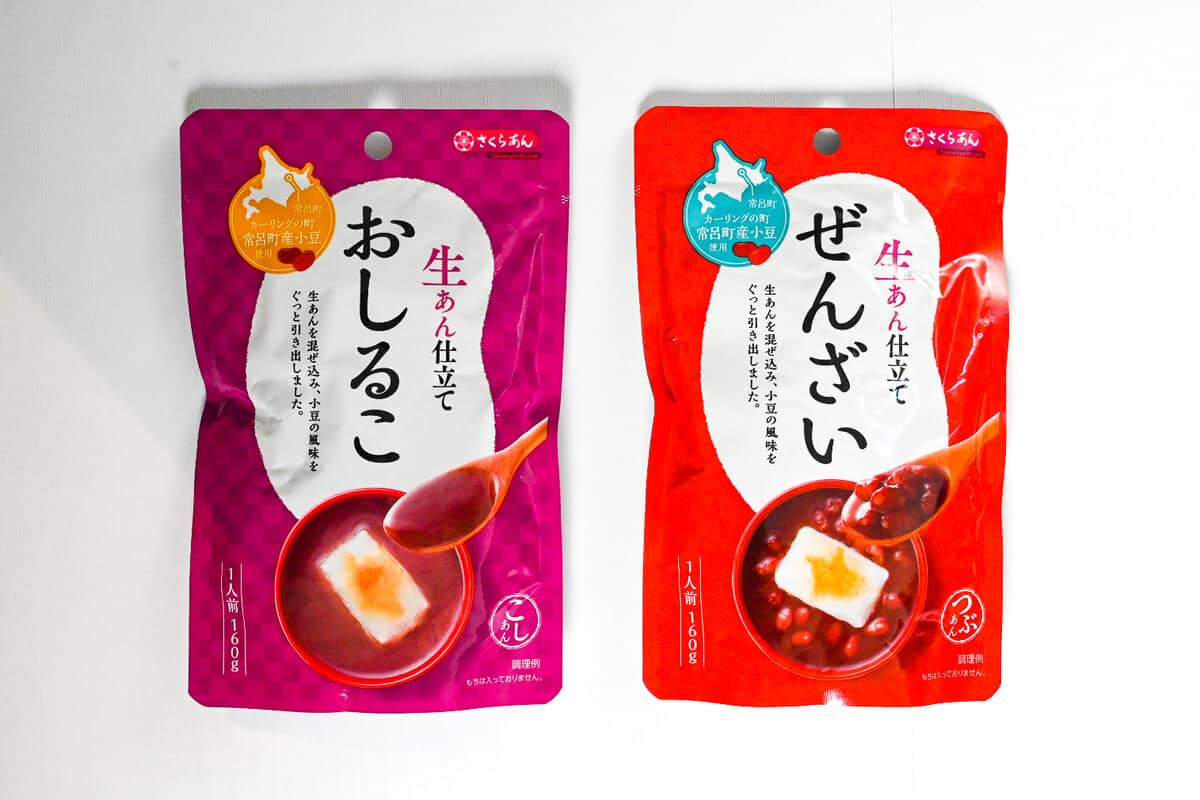
The package states that oshiruko is made with “koshian” (smooth red bean paste) while zenzai is made with “tsubuan” which is chunky red bean paste that contains whole beans.
As long as you have adzuki beans and sugar, you can make either at home. Zenzai with whole beans is easier though, and that’s what I’m going to show you how to make today!
Kagami Biraki
During the New Year’s celebrations in Japan, homes and businesses are often decorated with Kagami Mochi. “Kagami Mochi” can be translated as “mirror rice cake” and is made up of two round rice cakes of different sizes. The smaller one is stacked on top of the bigger one and then topped with a type of Japanese bitter orange called a “daidai” (although, these days “mikan” or satsuma/mandarin orange is commonly used instead). The two mochi are said to represent the going and coming years, yin and yang, the sun and moon, etc.
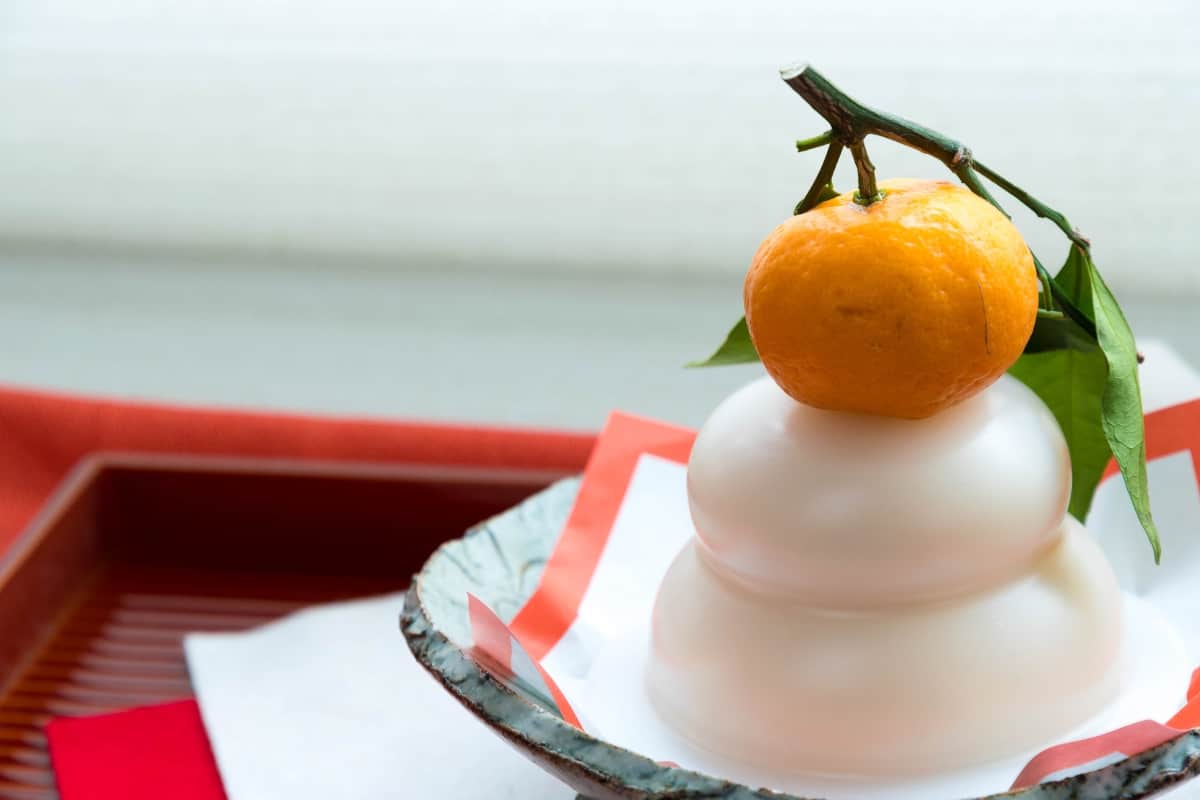
The Kagami Mochi is broken into smaller pieces on January 11th, a day known as “Kagami Biraki” or “Opening the Mirror”. It is important to note that kagami mochi should be broken by hand, often using a hammer. Cutting with a knife is considered bad luck.
It is common to toast the kagami mochi and serve it in Zenzai or Oshiruko on January 11th or the days following.
Ingredients & Substitution Ideas
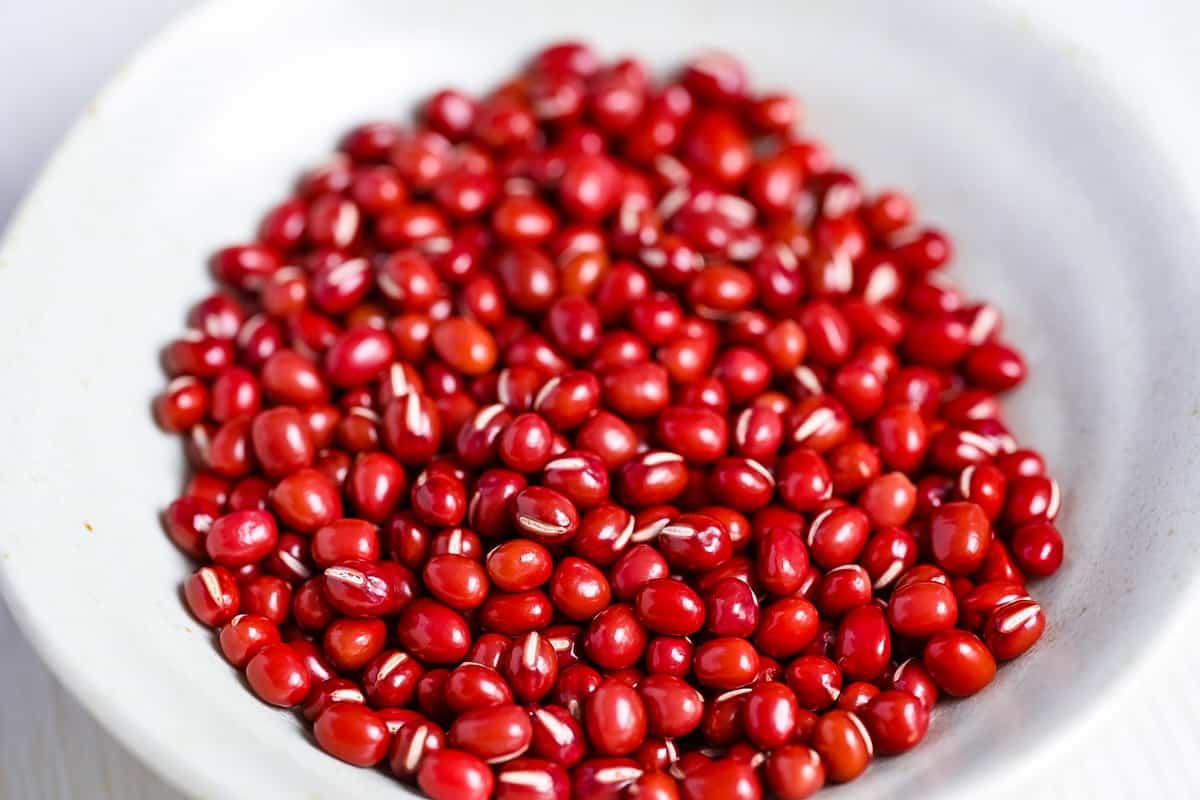
Zenzai only requires a handful of ingredients. For this recipe, you will need:
- Adzuki Beans: Also spelled “azuki” or “aduki”, these are the key ingredient and can’t be substituted. Use good quality adzuki beans for this recipe. Make sure to check the best-before date, old beans will not soften enough no matter how long you cook them (speaking from experience!). I used dainagon adzuki beans this time (which are a little bigger and more luxurious variation of regular adzuki beans), but regular adzuki beans work perfectly well.
- Water: Use to boil the adzuki beans and thin the soup.
- Sugar: Zenzai is a simple dish that relies on the flavor of the beans and the sweetness of the sugar, the type of sugar you choose will affect the final taste of the soup. You can use white sugar, light brown sugar or a mixture of both. Experiment using your favorite type of sugar to create a Zenzai that perfectly suits your tastes! I like to use a mixture of white sugar and light brown cane sugar. Avoid dark brown sugar as this can overpower the taste of the beans.
- Salt: A pinch of regular sea salt helps bring out the flavor of the beans and balances the sweetness.
- Mochi: Toasted mochi is often added to Zenzai, especially on January 11th (Kagami Baraki) when the kagami mochi (rice cakes) displayed over Japanese New Year are broken into pieces. It’s also common to add kirimochi (affiliate link) or shiratama dango instead. Some people add candied chestnuts for a touch of decadence. Feel free to omit if you can’t get these ingredients.
Visual Walkthrough & Tips
Here are my step-by-step instructions for how to make Zenzai at home. For ingredient quantities and simplified instructions, scroll down for the Printable Recipe Card below.
Unlike many other beans, adzuki beans don’t need to be soaked before cooking. The first step is to wash them. I place them in a strainer over a mixing bowl, add cold water and swish them around. Drain the water and repeat 1-2 more times.
If you notice any damaged beans, remove them at this point.
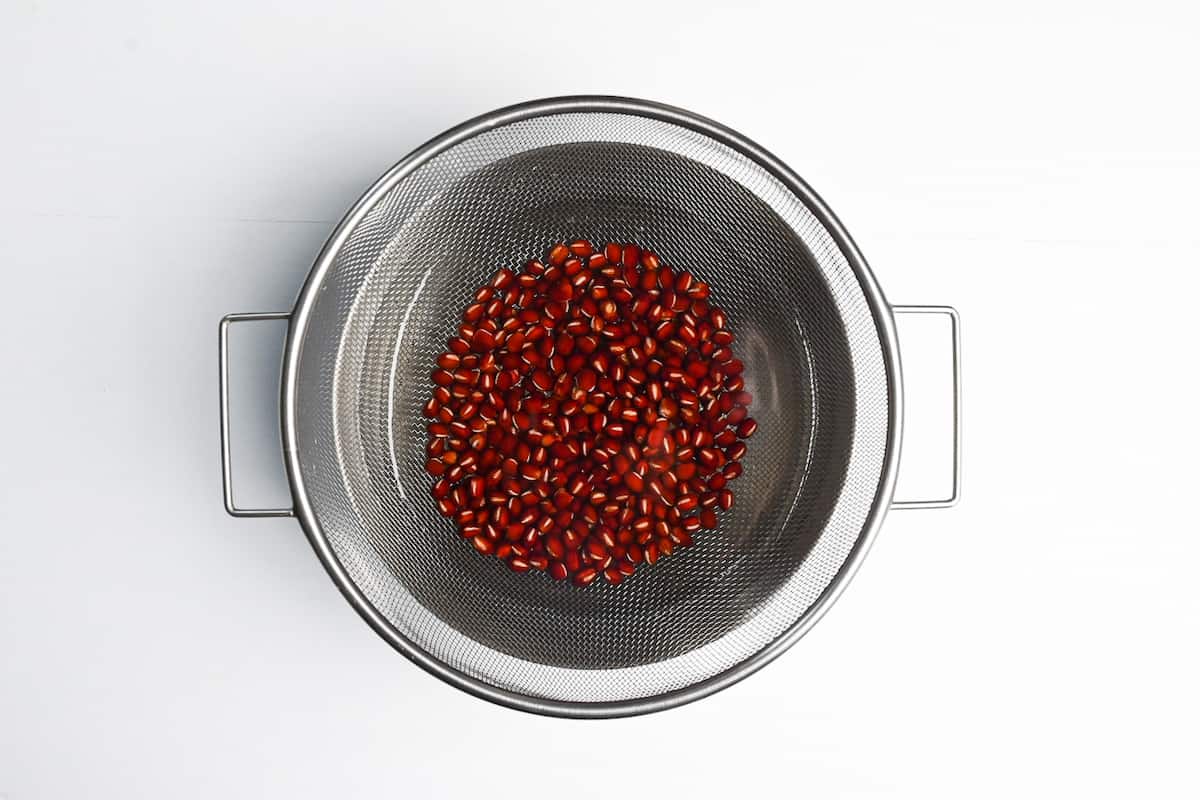
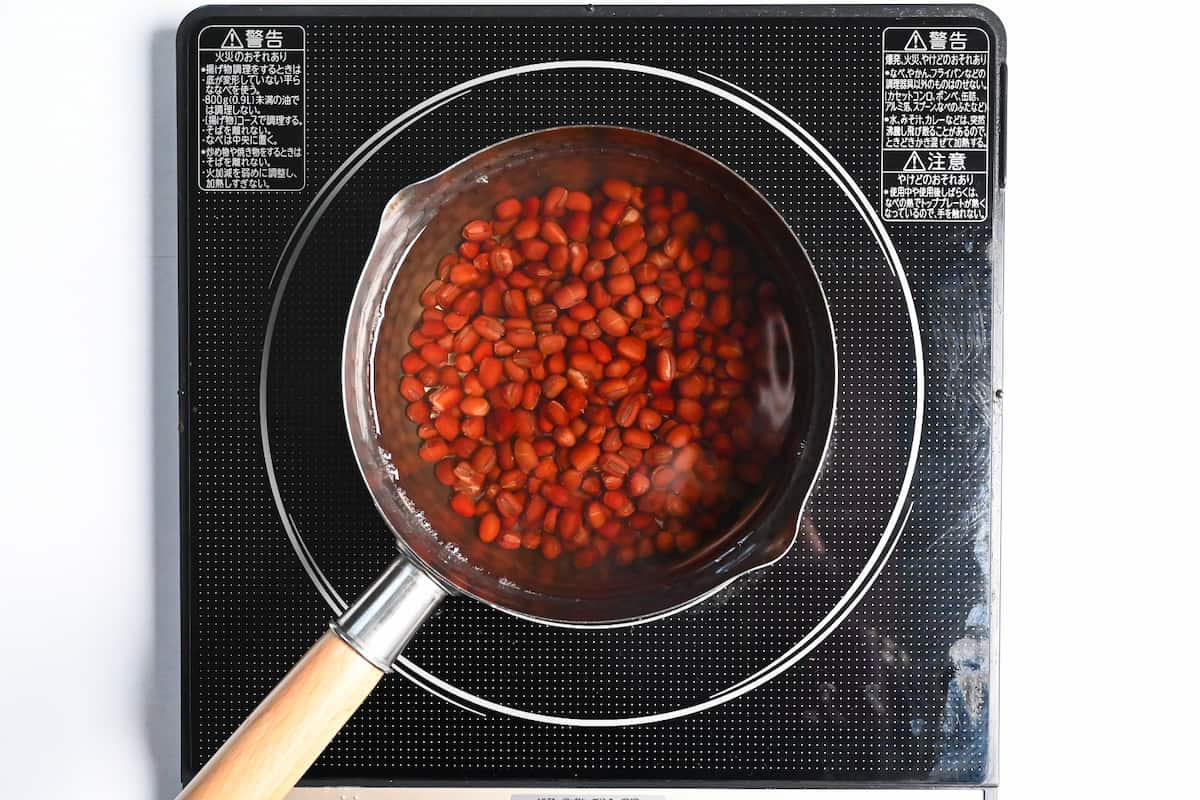
Once the beans are washed, transfer them to a saucepan and pour in fresh cold water. The water amount should be 3-4 times the amount of beans and the beans should be fully submerged.
Bring to a boil over a medium heat and then lower to a simmer. Simmer the beans for about 20 minutes.
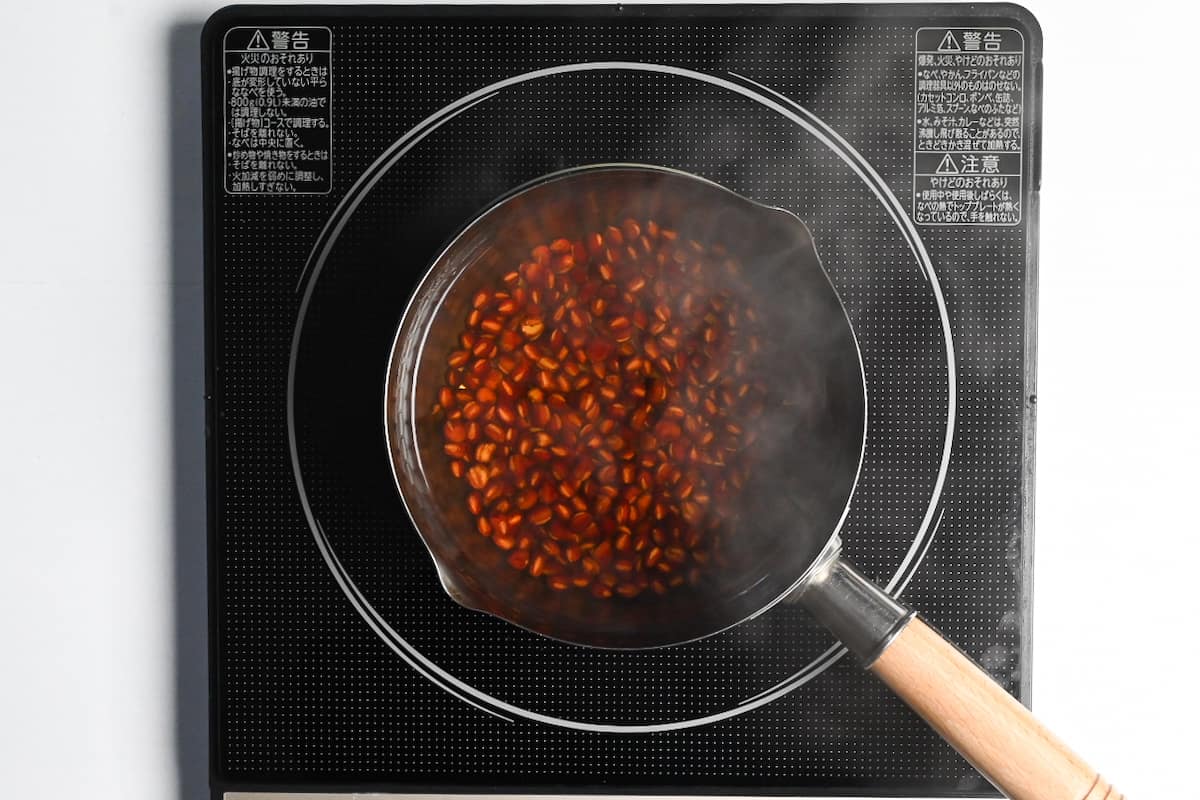
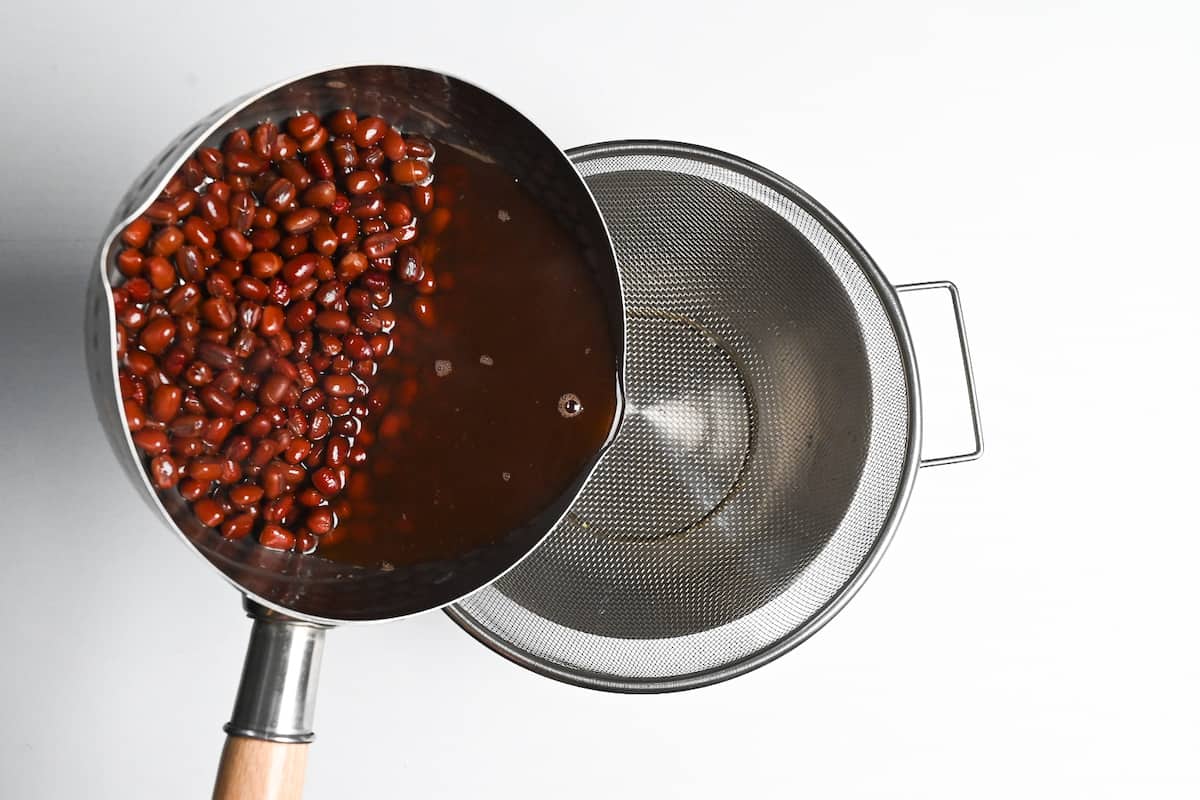
After 20 minutes have passed, drain the water from the beans. This will remove any astringency and give your Zenzai a cleaner more refined flavor.
Add fresh water and return to the stove.
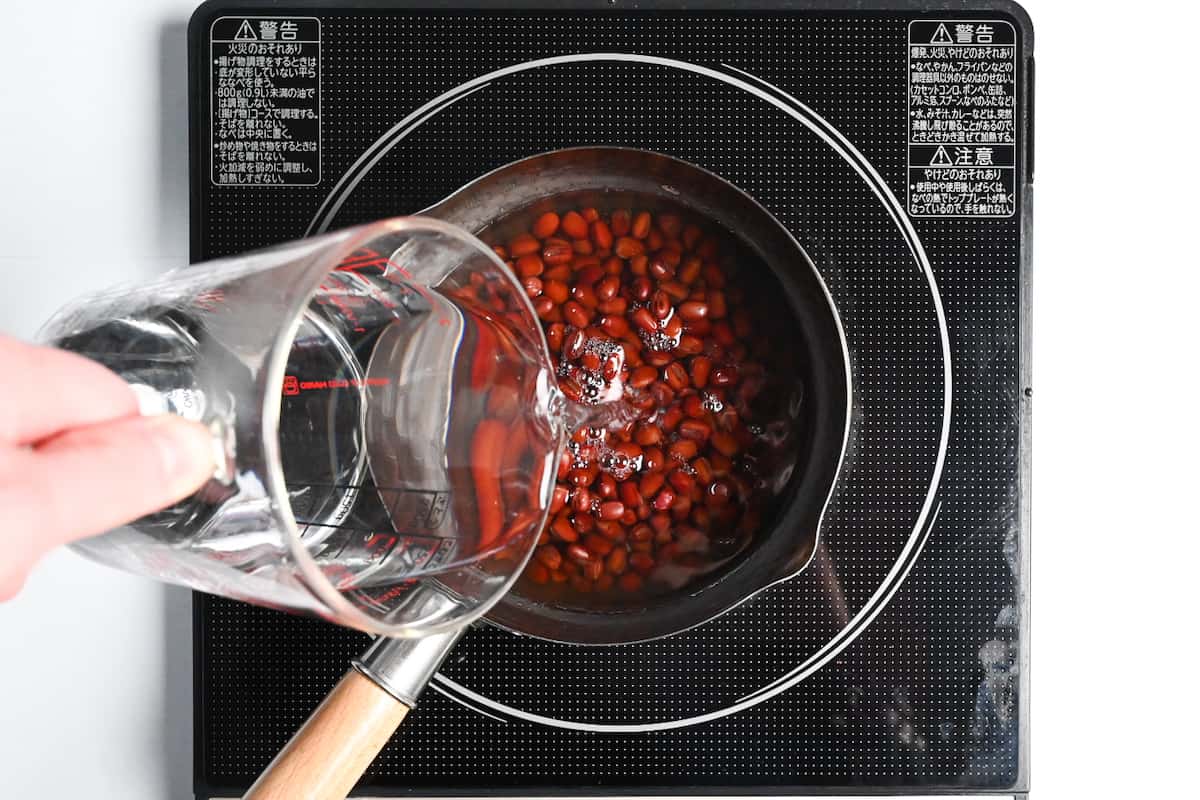
Bring to a boil over a medium heat once more, then lower to a simmer. Place a Japanese drop-lid (otoshibuta) on top, this will stop the beans moving around too much and getting broken. It will also stop the liquid from evaporating too much. If you don’t have a drop lid, you can make one using baking paper or foil, check out my instructions on how to make a drop lid here.
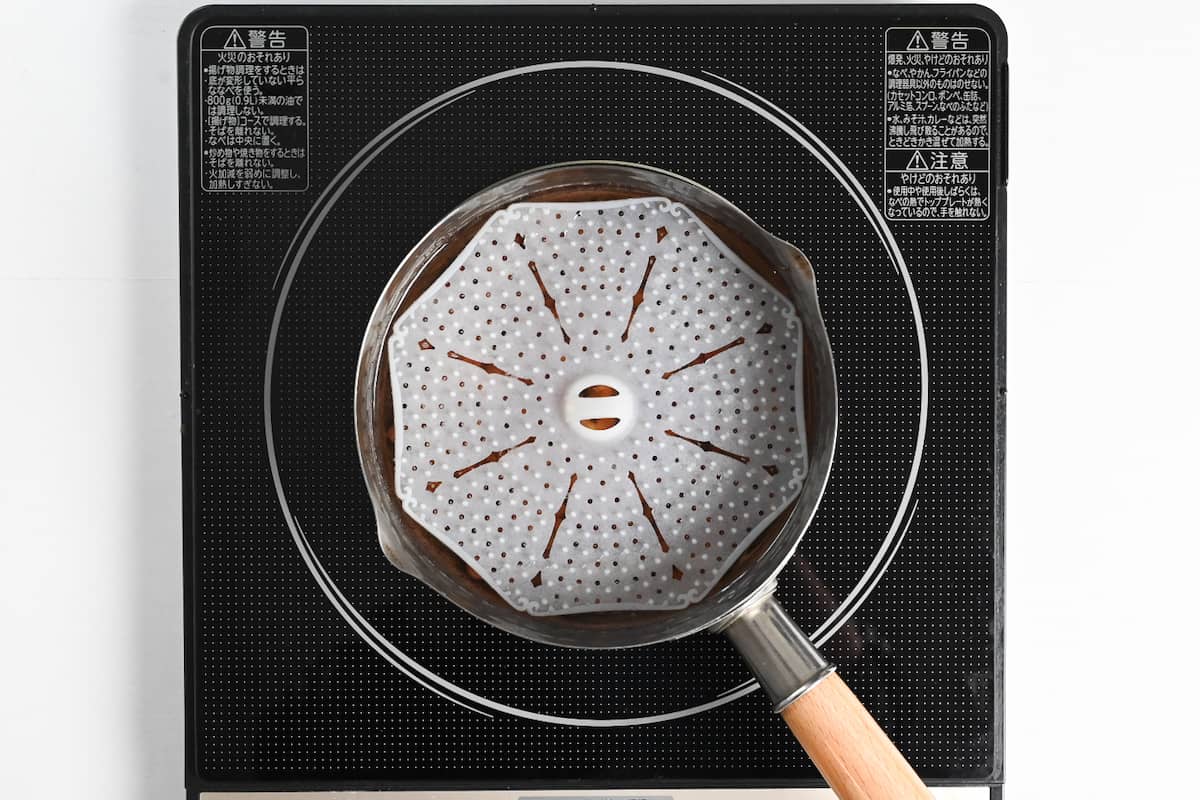
The time it takes for the beans to soften can vary depending on the age and quality of the beans, but in general they will take between 40-70 minutes in the second simmer.
If scum appears around the top, scoop it out with a mesh spoon. (You might need to remove the drop lid to make this easier.)
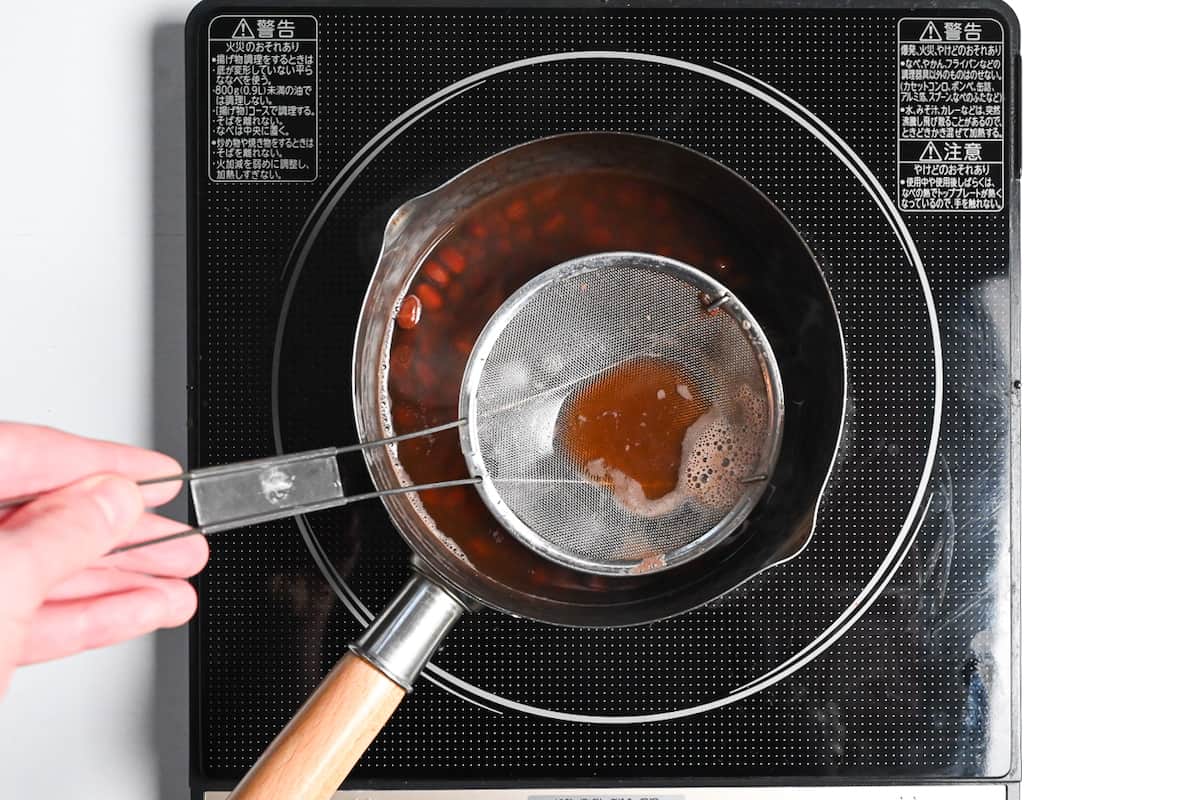
Make sure the beans are always fully submerged in the water to ensure they’re cooked evenly. Check the pan regularly and if necessary, add more water. I added about 200-300ml extra over the course of one hour (100ml at a time).
After about 40 minutes, test the beans by taking one out and running it under cold water to prevent burning your fingers. Squash the bean between your thumb and index finger, it should be soft enough to spread like a paste. If it’s still firm at all, then continue to cook for another 10-15 minutes and test again. Repeat until the beans are fully cooked.
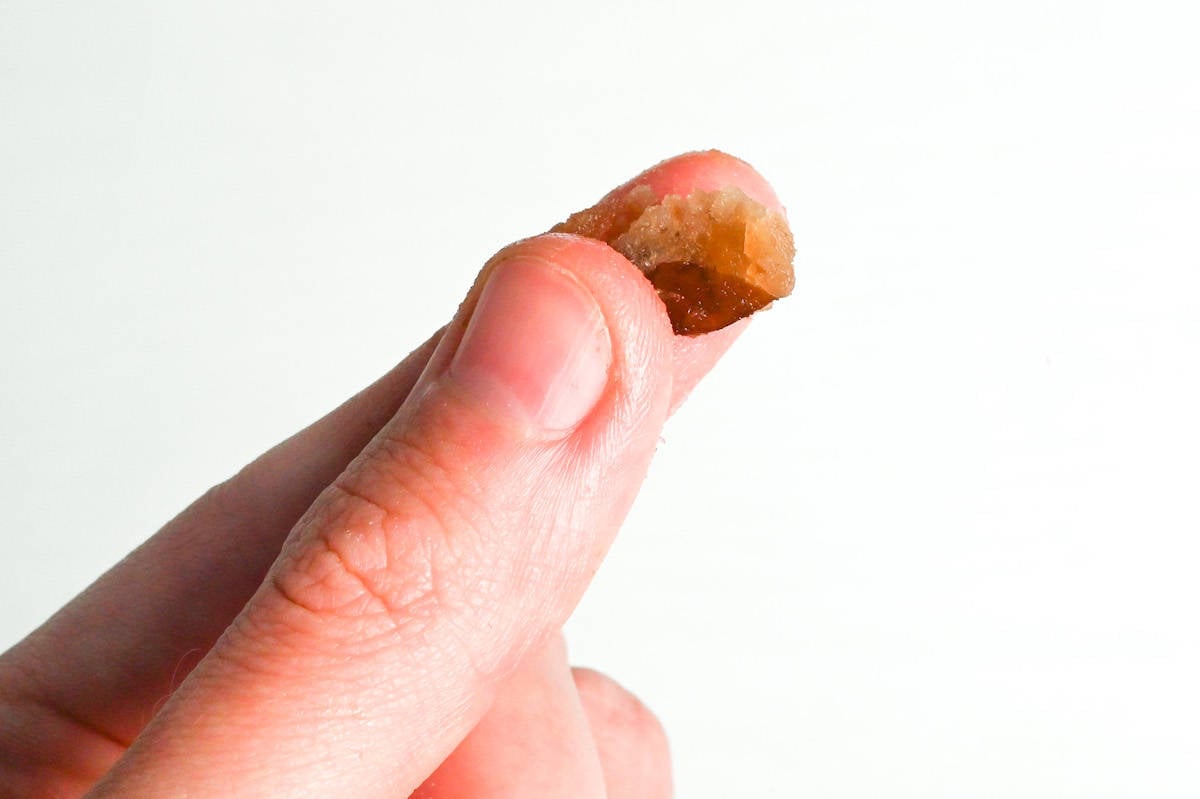
Note: Make sure the beans are fully cooked before adding the sugar. If you add the sugar too soon, the beans won’t soften any further!
Once the adzuki beans are soft all the way to the core, add the sugar.
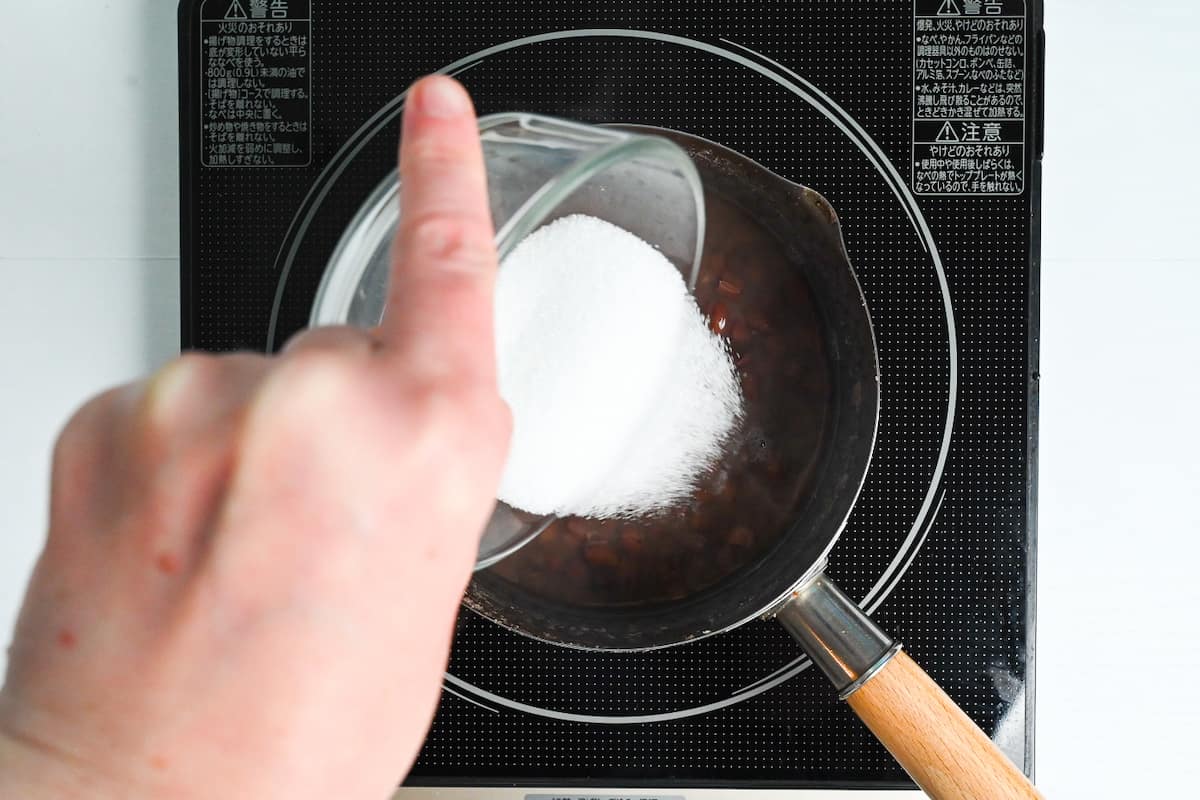
Mix until the sugar is fully dissolved and do a taste test. You can add more sugar if you like.
Once you’re happy with the sweetness, add a generous pinch of salt. This will balance the flavor.
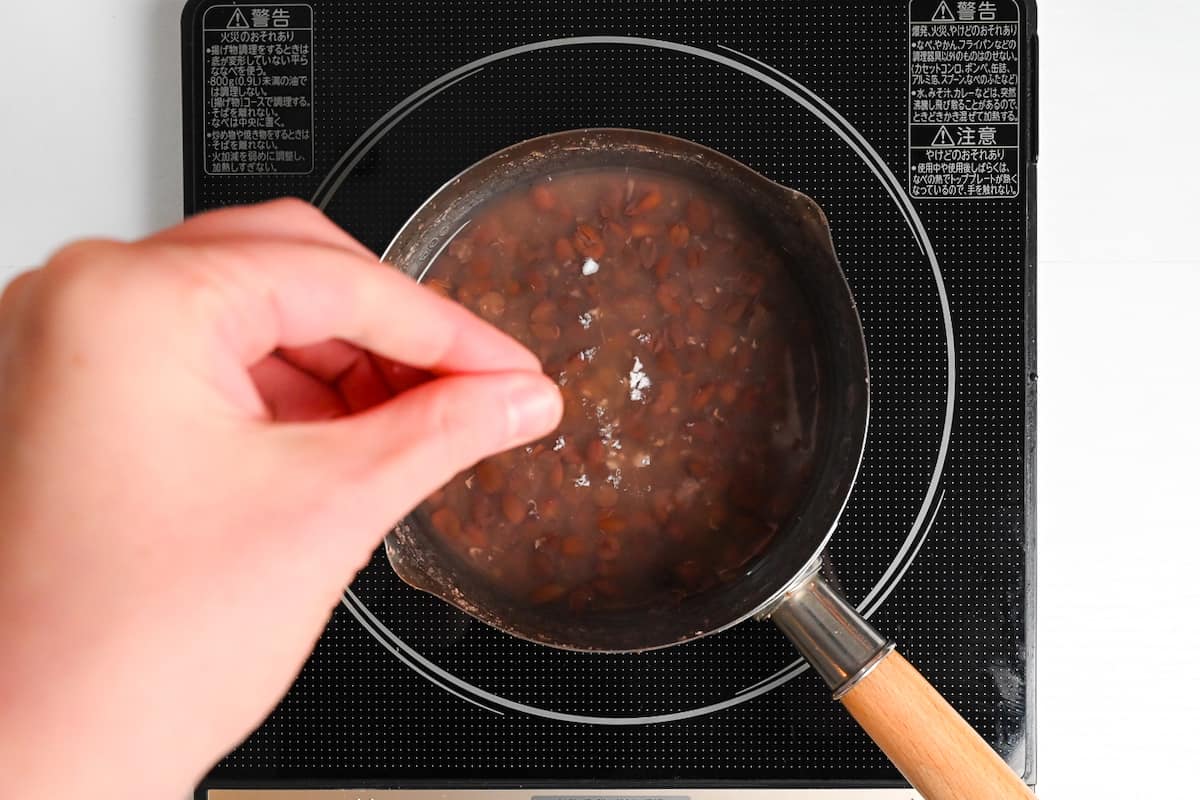
Mix thoroughly and remove the pan from the heat.
Unwrap the mochi and place it on a piece of foil over a baking sheet (this protects your oven from any mess!). Toast it in a toaster oven or under a grill/broiler. Once golden on top, flip it over and repeat. Make sure to keep an eye on it because they can burn quite easily.
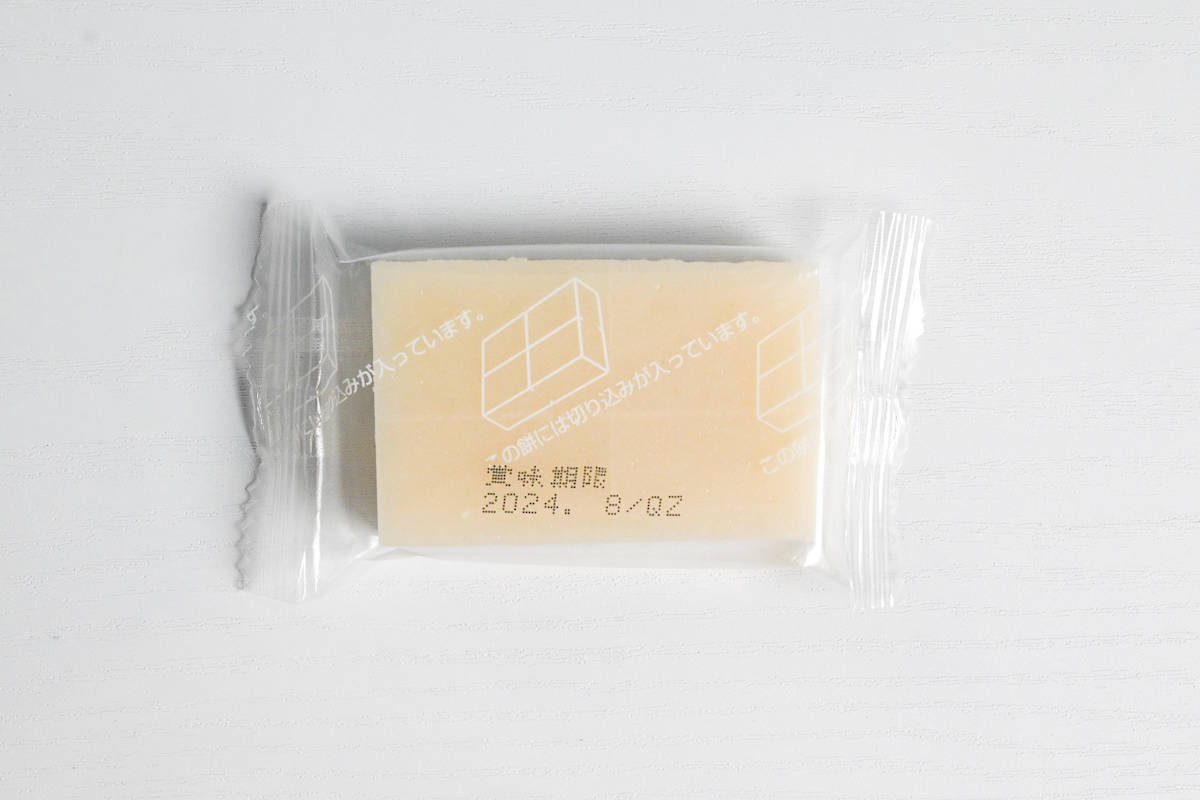
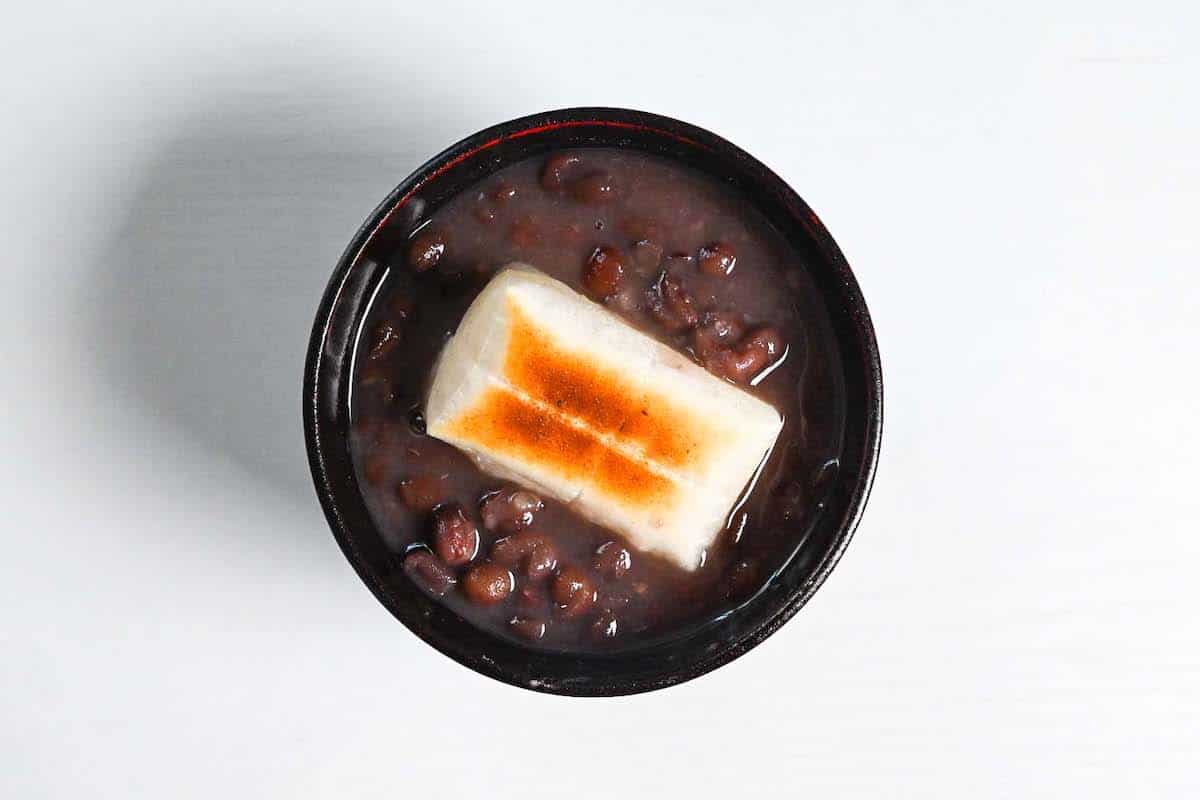
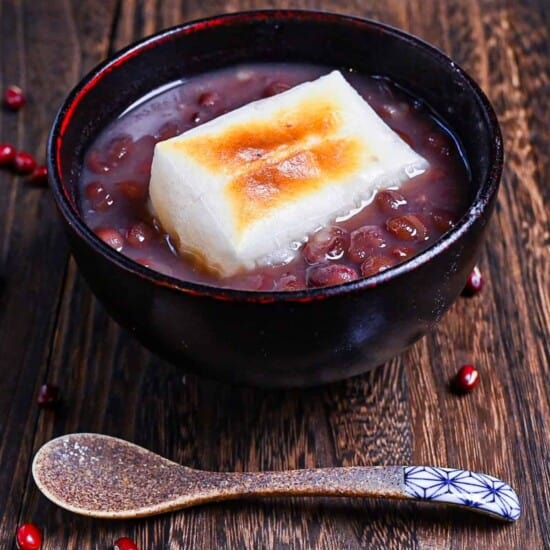
Place the mochi in a bowl and pour the Zenzai around it, this will ensure the mochi is visible (dropping the mochi in the soup will cause it to sink).
Enjoy!
Jump to Full Recipe MeasurementsTips for Boiling Adzuki Beans
Boiling adzuki beans is easy, but here are a few tips to ensure the best taste and texture while saving a bit of time!
- Soaking adzuki beans is not necessary, however, it will speed up the cooking time by 10-20 minutes depending on how long you soak them (this can range from 1 hour to overnight). I choose not to because the beans keep their shape better when they’re not soaked, but if you want to reduce the cooking time then soaking is a good way to do so!
- Cooking time depends on the age and quality of the beans, so try to use newer, high quality beans. (I made the mistake of using old beans once and they didn’t soften enough, even after cooking for 2 hours!)
- After 20 minutes of simmering, pour the first batch of water away and replace with fresh water. This removes astringency and improves the taste of the beans.
- Start with cold water to ensure even cooking. Starting with hot water will cause the outside to cook too quickly and more likely to make the beans fall apart before the center is cooked.
- Make sure not to add any sugar until the beans are completely soft to the core, adding sugar too early can stop the beans from cooking properly.
How to Store
To store, cool the zenzai to room temperature before placing it in a container in the fridge. You can speed up the cooling process by pouring it into a wide container (just make sure it’s heatproof). Zenzai (without mochi) can be kept in the fridge in a sealed container for about 3 days. Mochi should be toasted right before serving and shouldn’t be left in the soup or stored.
You can also freeze zenzai in batches for up to 1 month. Defrost in the fridge overnight to maintain the flavor of the beans as sudden reheating can cause the flavor to deteriorate. If you choose to freeze it, you could even pour it into popsicle molds and enjoy it frozen! (If you plan to freeze it, you might want to add more sugar as the sweetness doesn’t come through as strongly when it’s cold.)
The best way to reheat zenzai is to pour it into a pan and gently reheat it on the stove. It can also be microwaved, but be careful not to overheat.
Storage summary
Room temperature – Not recommended.
Refrigerated – 3 days.
Frozen – 1 month.
FAQ
Zenzai is a traditional Japanese dessert soup made with adzuki beans and sugar. It’s often served hot and enjoyed in the winter months with a piece of toasted mochi (rice cake) or small rice dumplings called shiratama dango.
Zenzai is most commonly eaten in winter, especially after Kagami Biraki (breaking the New Year’s mochi) on January 11th as we toast the mochi and serve it in the soup. However, Zenzai is enjoyed any time of year, there is even a chilled version called Hiyashi Zenzai that is more commonly eaten in summer.
Unlike many other kinds of beans, it’s not necessary to soak adzuki beans. I tested this recipe with both soaked and unsoaked beans. I couldn’t notice any difference in taste, but the unsoaked ones kept their shape better whereas soaked ones cooked faster and were slightly softer with more broken beans.
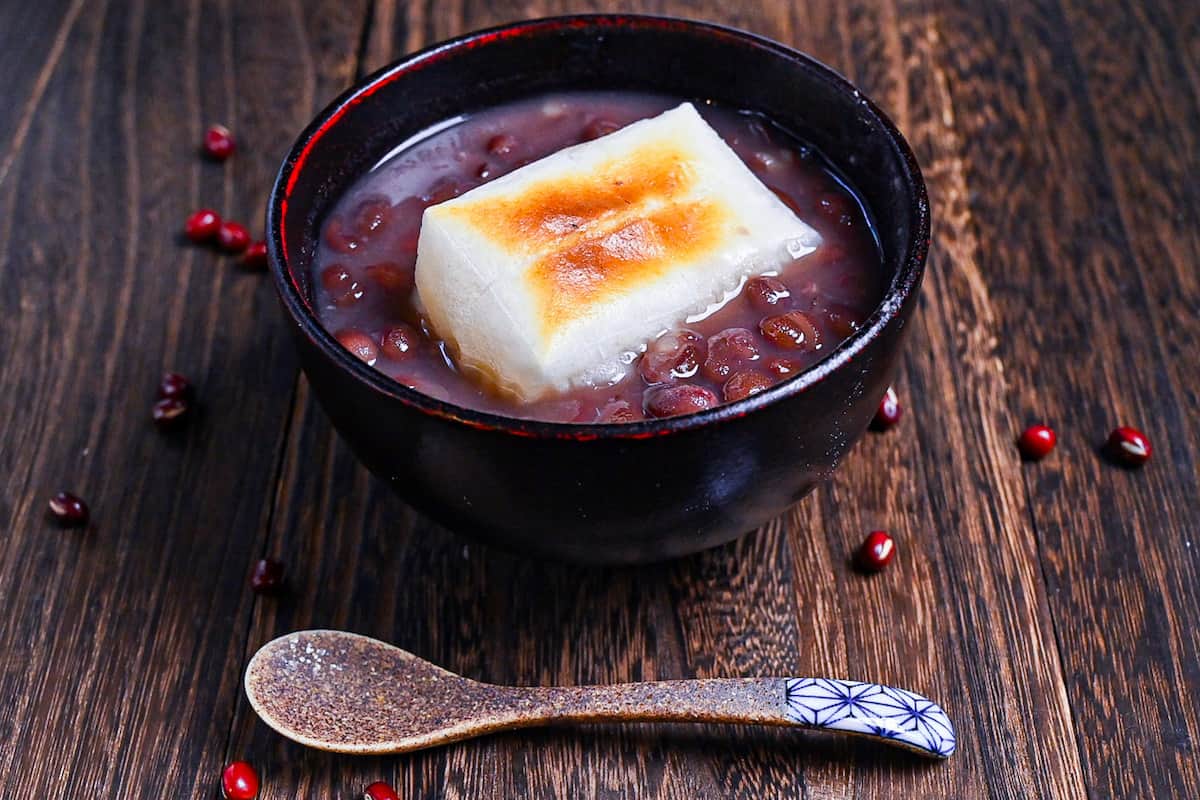
I hope you enjoy this Zenzai recipe! If you try it out, I’d really appreciate it if you could spare a moment to let me know what you thought by giving a review and star rating in the comments below. It’s also helpful to share any adjustments you made to the recipe with our other readers. Thank you!
More Red Bean Recipes
- Homemade Tsubuan (Chunky Red Bean Paste)
- Dorayaki (Red Bean Pancakes)
- Ichigo Daifuku (Strawberry Mochi with Red Bean Paste)
- Sakura Mochi
Want more inspiration? Explore my Japanese Dessert Roundup Post for a carefully selected collection of tasty recipe ideas to spark your next tea party!
Zenzai (Japanese Red Bean Soup with Toasted Mochi)
Ingredients
- 200 g dry adzuki beans
- cold water for washing and boiling
- 180 g sugar increase or decrease by 10% depending on your preferred sweetness.
- 1 pinch salt
- 5 pieces cut rice cakes (kirimochi) optional
My recommended brands of ingredients and seasonings can be found in my Japanese pantry guide.
Can’t find certain Japanese ingredients? See my substitution guide here.
Instructions
- Pour 200 g dry adzuki beans into a sieve placed over a large mixing bowl. Fill the bowl with water and swish the beans around to wash them. Repeat 1-2 times and remove any damaged beans.

- Drain the beans and add them to a saucepan. Fill the pot with cold water so that the beans are covered by 2.5cm (1 inch) of water. Bring to a boil then reduce the heat and simmer for 20 minutes.

- Use a colander to drain the beans and discard the first batch of water.

- Return the beans to the saucepan and fill with fresh cold water (enough to cover the beans by 2.5cm/1"- approx 500ml per 100g of beans). Bring to a boil over medium heat once more, then reduce to a simmer.

- Place a drop lid on top of the beans to keep them submerged and simmer for 40-70 minutes. Check them from time to time to make sure the beans are always fully submerged, add more water if necessary (about 100ml at a time). Remove any scum that forms on the surface using a mesh spoon.

- Once 40-60 minutes have passed, test a bean by running it under cold water and then squashing it between your thumb and forefinger. If you can spread it like a paste it’s ready. If not, continue to simmer and test a bean every 10-15 minutes until thoroughly softened.

- When the beans are soft enough, add 180 g sugar and mix over the heat until dissolved.

- Taste test to check the sweetness, if it's not sweet enough you can add more sugar. Once you're happy with the sweetness, add a generous pinch of salt to balance the flavour.

- Toast the kirimochi on both sides using an oven toaster or grill/broiler feature on your regular oven. I usually place mochi on a piece of foil to prevent sticking. Place the toasted mochi in the center of the serving bowl and pour the red bean soup around it. Enjoy!



Informative explanation. Recipe was great – really delicious and nostalgic flavour
So glad you liked it! Thanks for trying my recipe and for your kind words!
Do you have recipe or link for the mochi you used
Hi Caitlin,
Thank you for the comment!
I currently don’t have a recipe for kiri-mochi, but I will make sure to add it to my to-do list!
For the time being, I used pre-packaged kiri-mochi (such as Sato no Kirimochi). You can find the link in “Ingredinets & Substitution Ideas” section in the post!
Yuto