What is Kakiage?
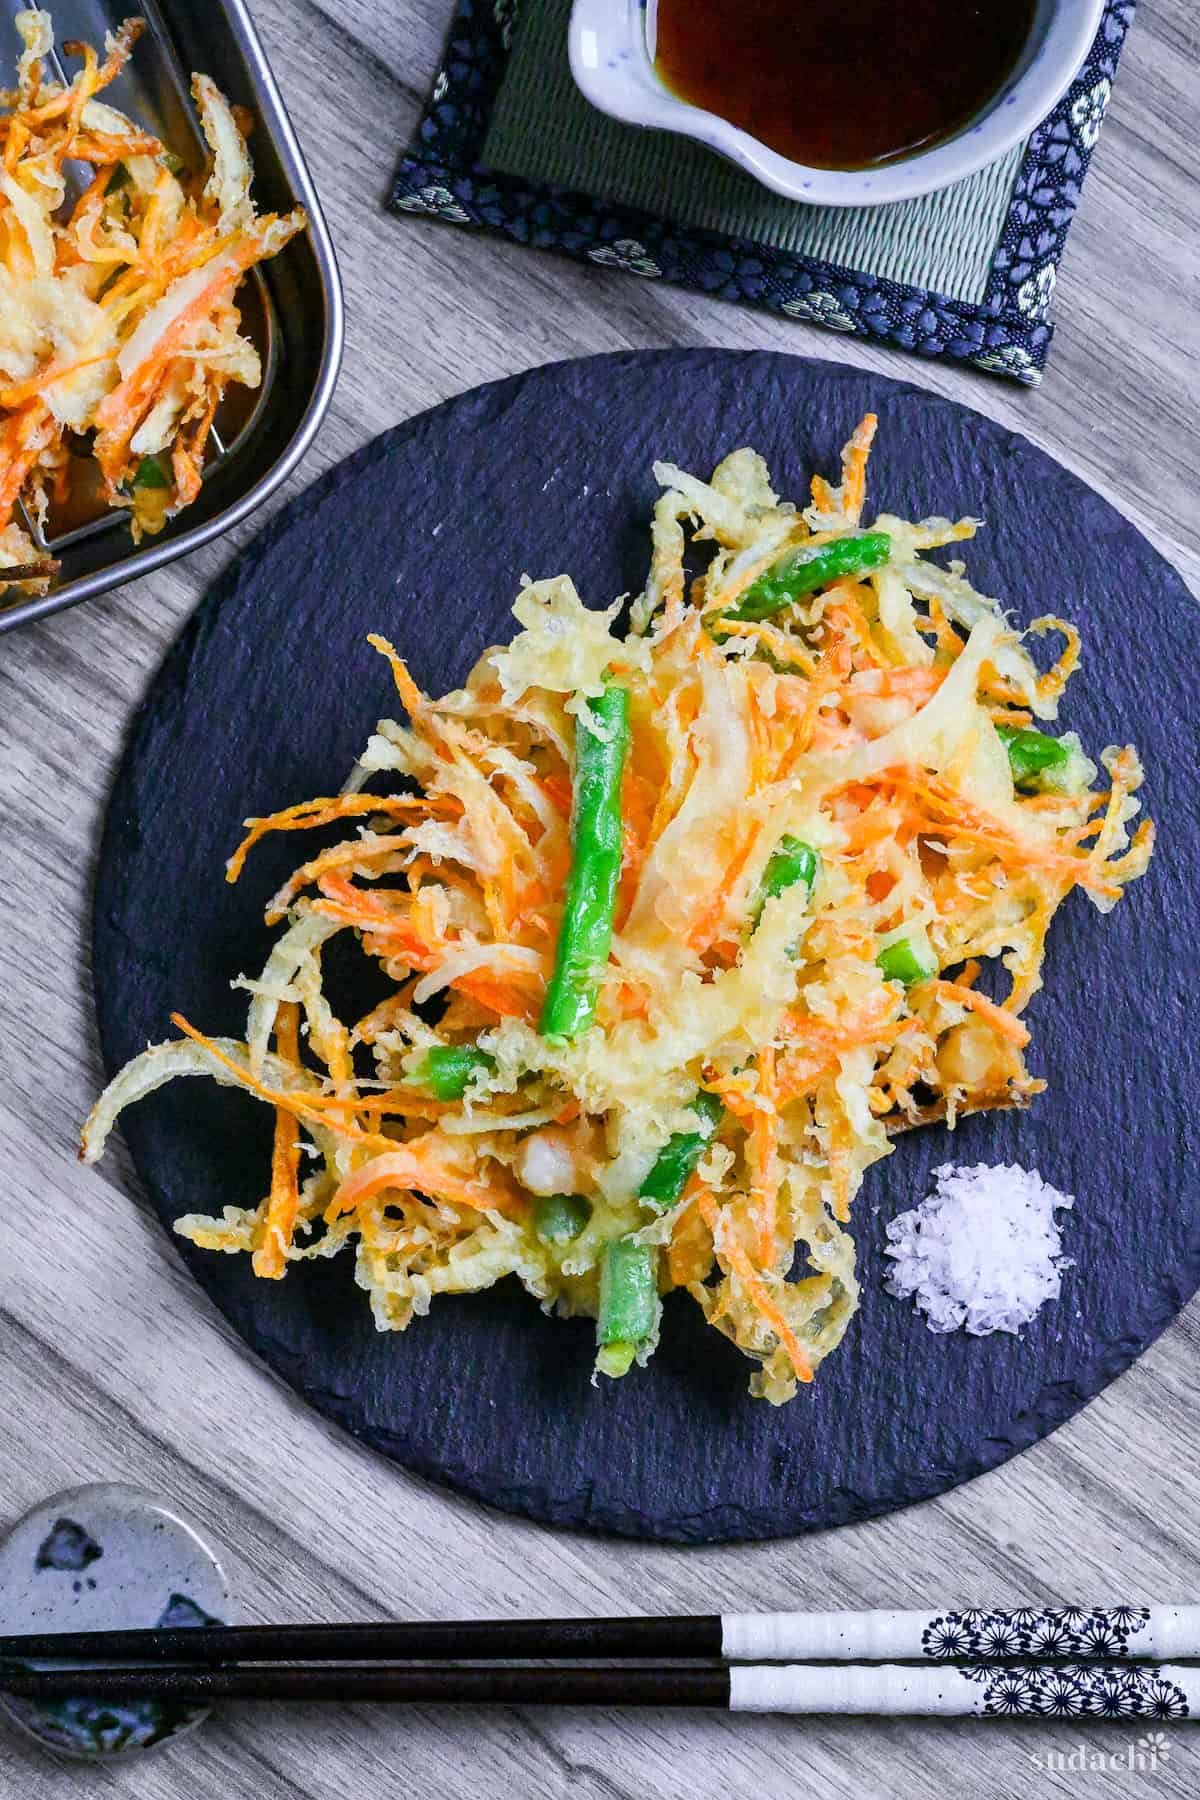
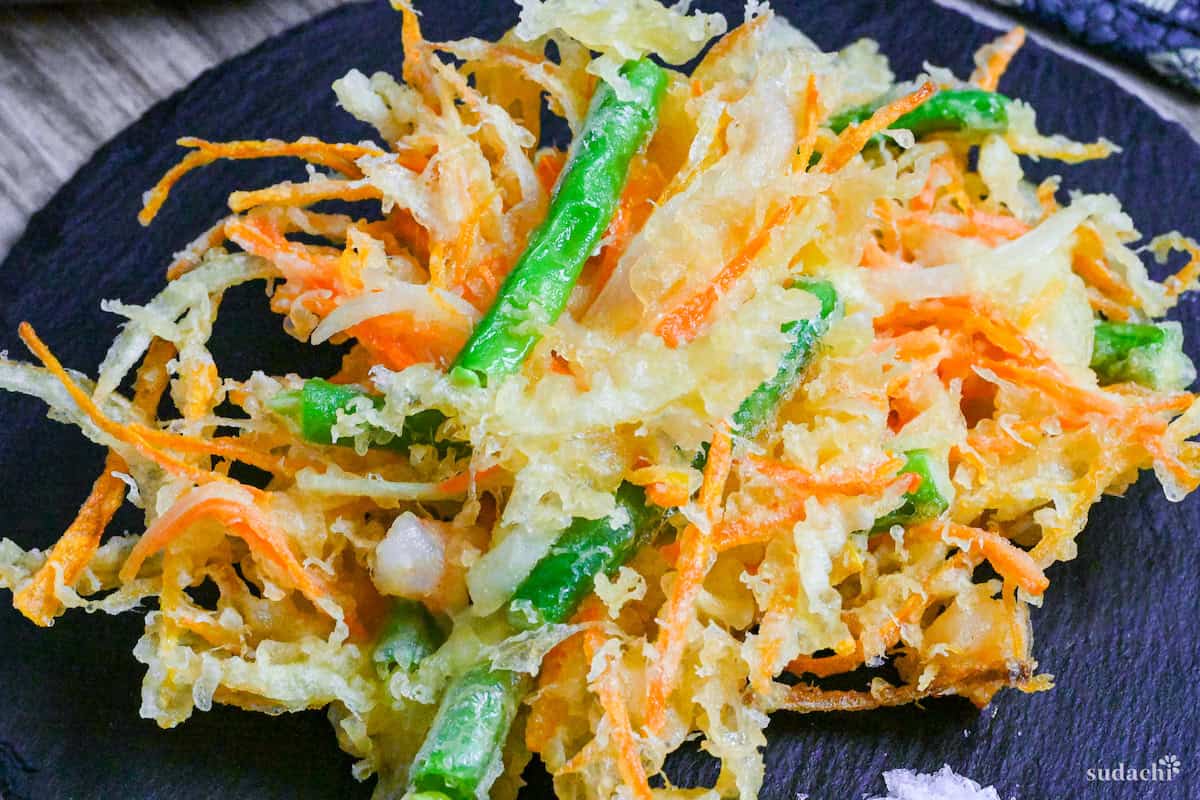
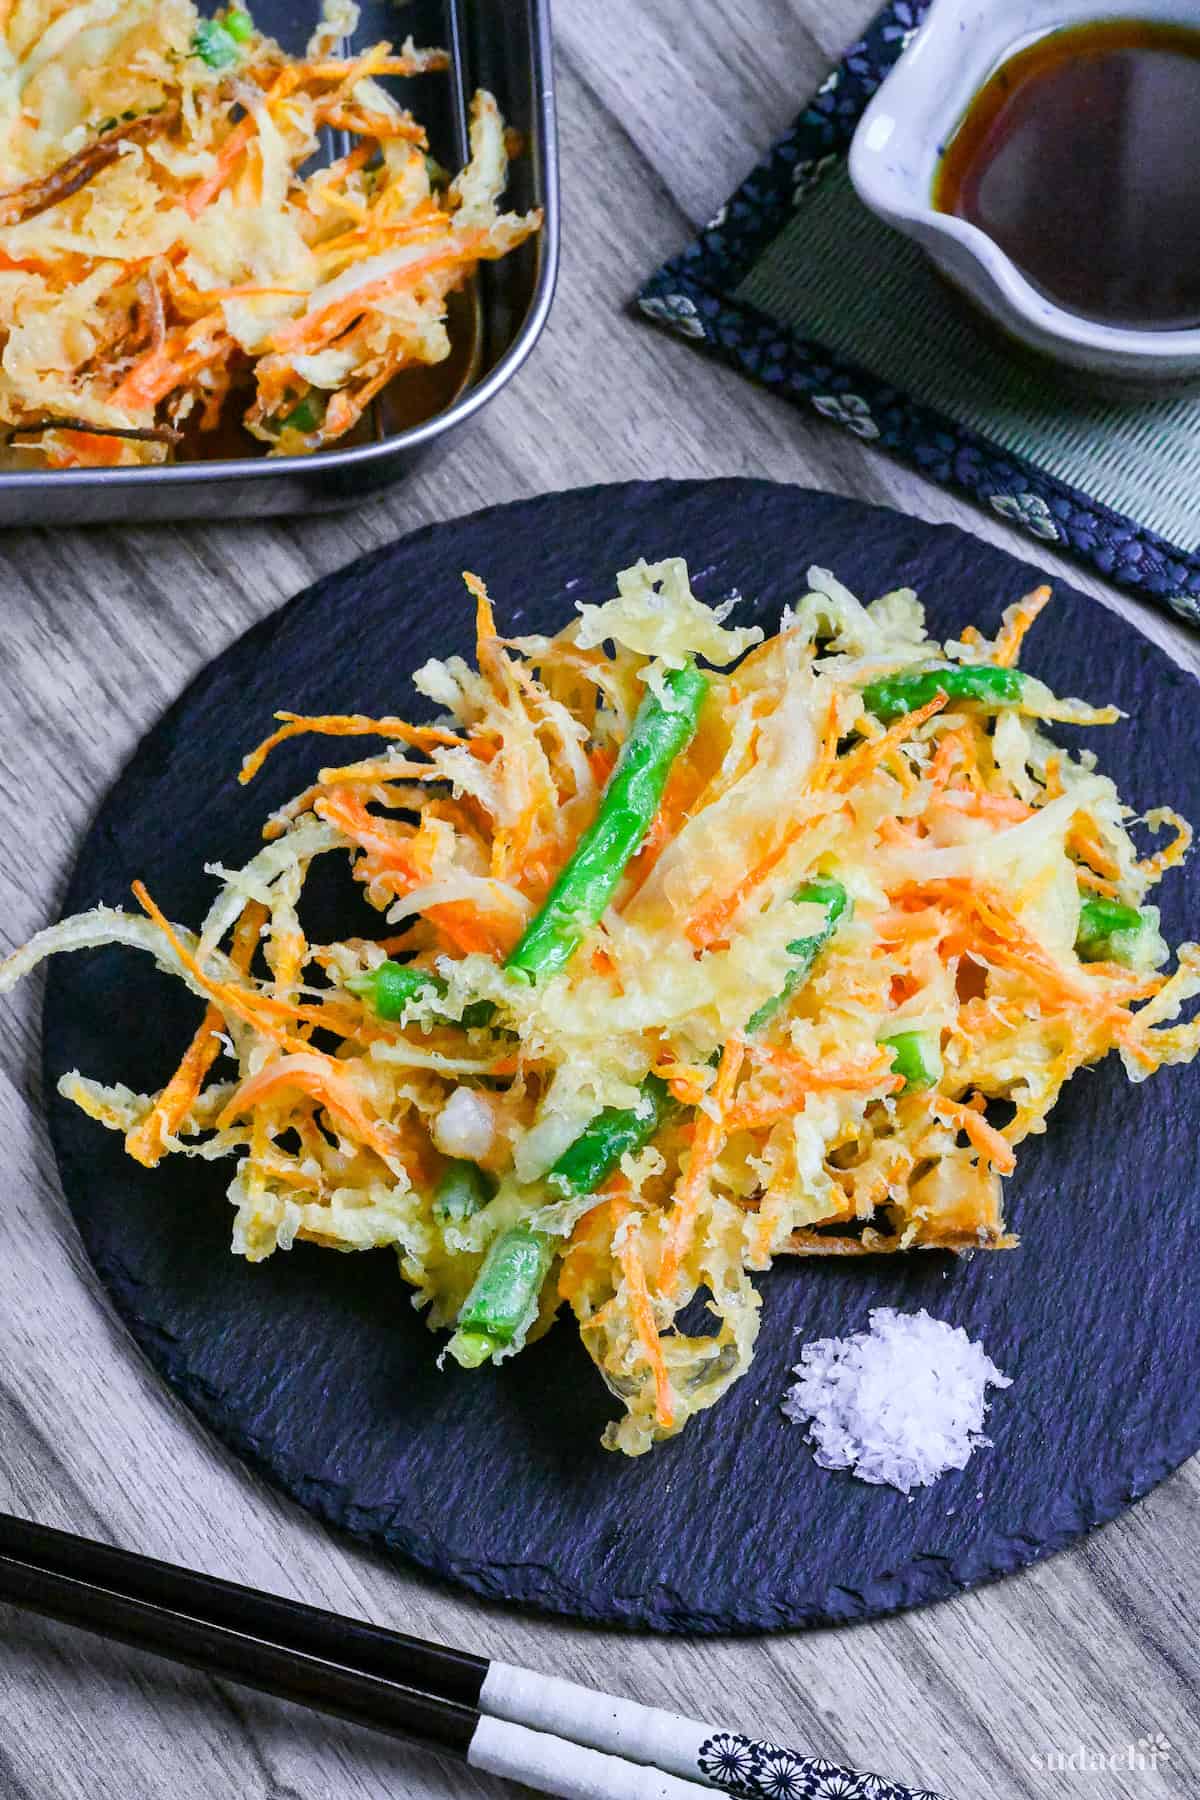
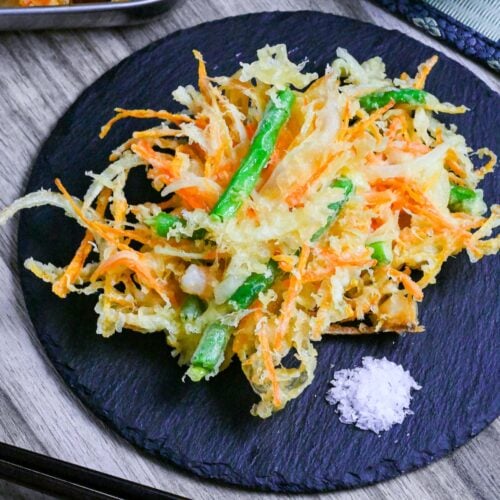
Kakiage (かき揚げ) is a delicious tempura dish made up of small pieces of vegetables and seafood wrapped in tempura batter and deep-fried in oil.
There are so many variations, and you can use a variety of vegetables cut in julienne style (matchsticks).
However, it can be a challenging tempura dish that is prone to failure. In this guide, I will provide tips for each step to help you minimize the risk of failure as much as possible.

How I Developed This Recipe
I was simply over the moon when I finished this recipe.
What made me so happy was that I had managed to make the lightest, crispiest batter I’d ever made! For this recipe, I tried lots of different things in my own kitchen and read lots of culinary science thesis on tempura in Japanese.
Keep reading to learn how to make a super crispy batter and a fail-proof kakiage!
Filling Ideas: Choose Your Favorite!
As I mentioned before, there are so many different ways to make kakiage!
My suggestion is to use your favorite ingredients from your local area. There’s no need to feel pressured to use unusual ingredients from Japan. Here, I’ll show you some examples of ingredients you can use for kakiage.
- Onion: This is a total must-have item! I didn’t like onions much as a kid, but I could always make an exception when it came to kakiage. After being fried, onions are just so sweet! In Japan, yellow onions are the most common, but really, you can use other kinds of onions.
- Shrimp: I recommended cutting shrimp into small pieces. Any type of shrimp will do! You could also try using other seafood like squid or scallops! Of course, if you’re vegetarian, feel free to omit seafood in the recipe.
- Carrot: Of course, the sweetness after frying is delicious, and I highly recommend it for its color. I recommend julienne for cutting so that it cooks quickly.
- Sweet Potato: This is a great one for those who want to add a little more sweetness to their life! You can use it shredded or in small cubes. You could also opt for regular potatoes!
- Greens: I used green beans, which are vibrant with a wonderful crunch, but you can add green color with other ingredients, too! You can use shiso leaves, wild parsley, edible chrysanthemum, snow peas, asparagus, or edamame.
- Mushroom: If you can get your hands on some, I highly recommend using thinly sliced shiitake mushrooms. I also encourage you to use other local mushrooms cut into thin slices.
- Other Popular Ingredients: Some of our favorites in Japan include burdock root, pumpkin, chikuwa fish cakes, and sweetcorn. Feel free to get creative!
Visual Walkthrough & Tips
Here are my step-by-step instructions for how to make Authentic Kakiage at home. For ingredient quantities and simplified instructions, scroll down for the Printable Recipe Card below.
This section aims to provide a comprehensive overview of the cooking steps and techniques with visuals. I will also include more in-depth tips and tricks than the recipe card.
Start by measuring out some cold water into a jug and placing it in the fridge to chill. I also put a bottle of sparkling water in the fridge. Both the cold water and sparkling water must be chilled for at least 20-30 minutes, but longer if you have the time.
This is how you reduce gluten production, as higher temperatures lead to stronger gluten formation.
A gluten-rich batter will be heavy, soggy, and not crispy. I’ll show you all kinds of tricks after this, but almost all of them will be ways to reduce this gluten.
Next, mix cornstarch and cake flour in a bowl.
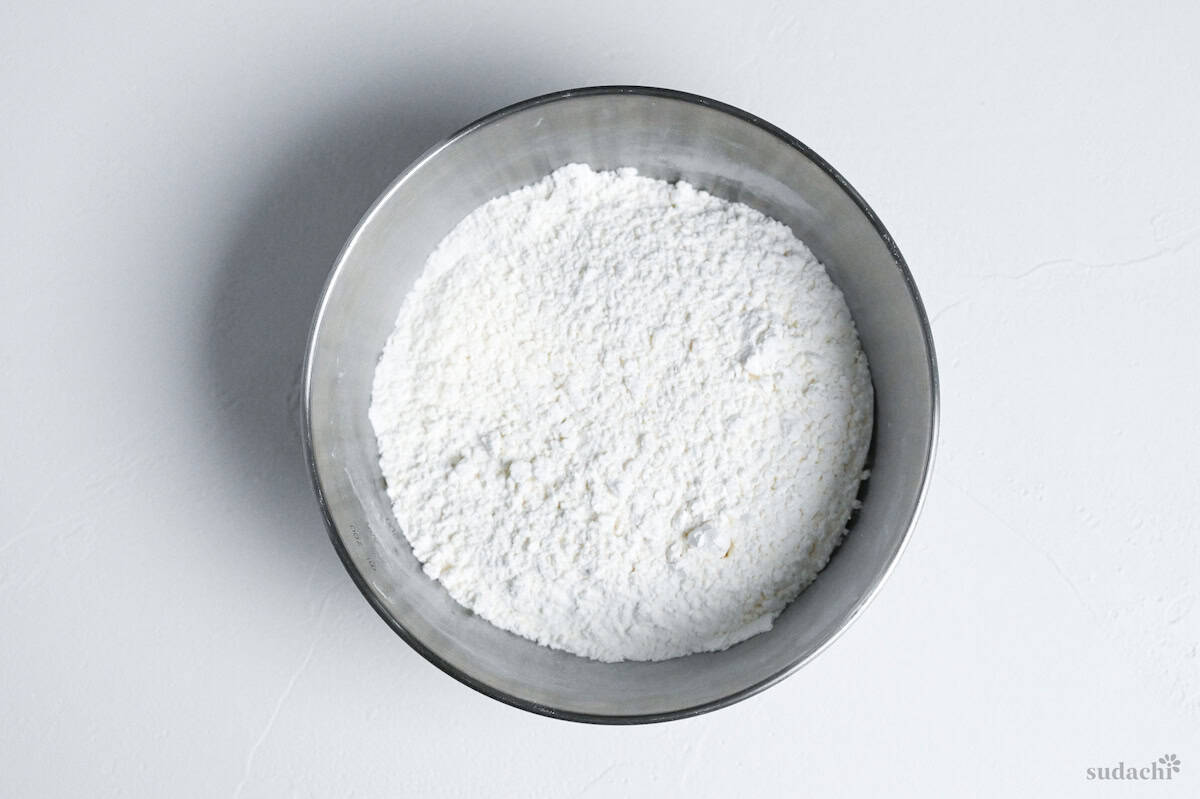
According to a 1998 study, “Effect of Various Starches on the Frying Properties of Koromo of Tempura,” cornstarch has the highest moisture dispersal rate and lowest oil absorption rate, resulting in a crispy and light batter.
Also, use cake flour, which has a low percentage of gluten, in your tempura batters at all times. Never use any other types like bread flour.
And again, to keep everything really cold, I place this bowl in the freezer for the same duration as the water. Chilled flour is essential for preventing gluten from forming!
While waiting for the water and flour to chill, prepare the ingredients. Wash, cut, and thoroughly dry them using kitchen paper to remove any excess moisture. Cutting the ingredients thin and small will help them cook more quickly.
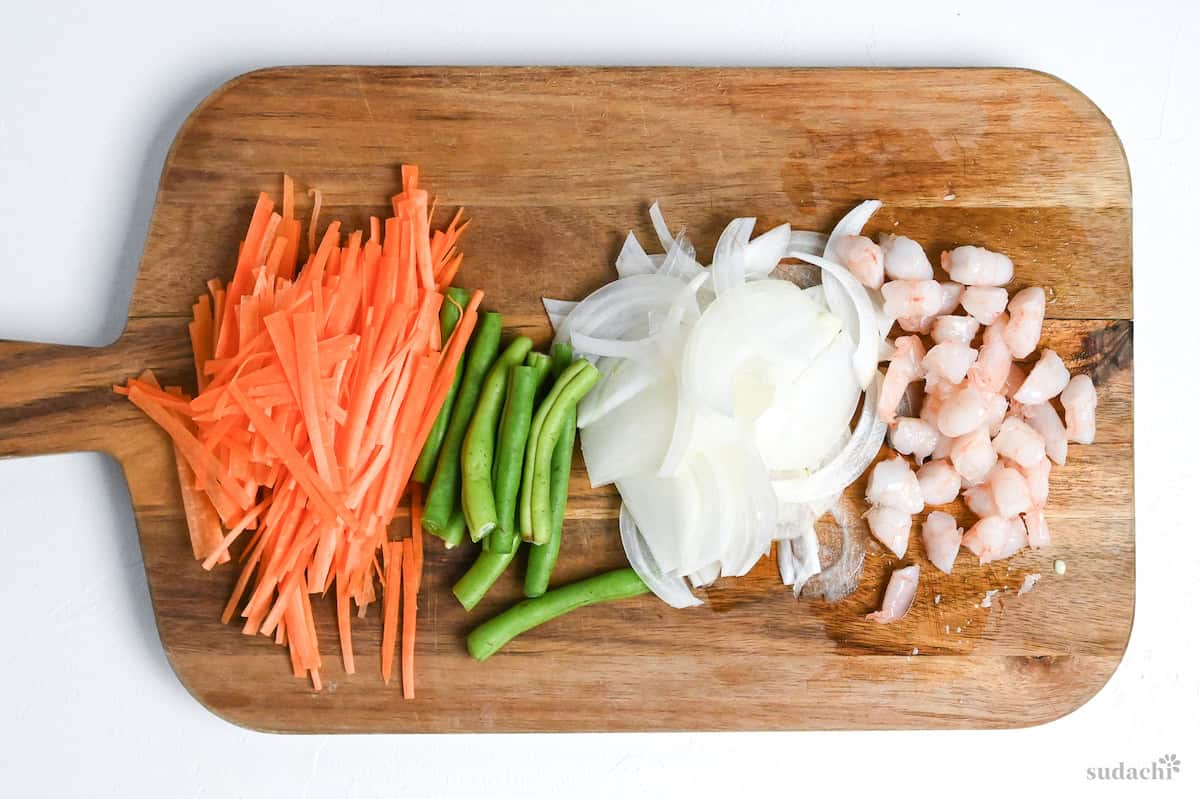
Then, lightly coat them with flour in a bowl. This will help the batter adhere to the surface without falling off.
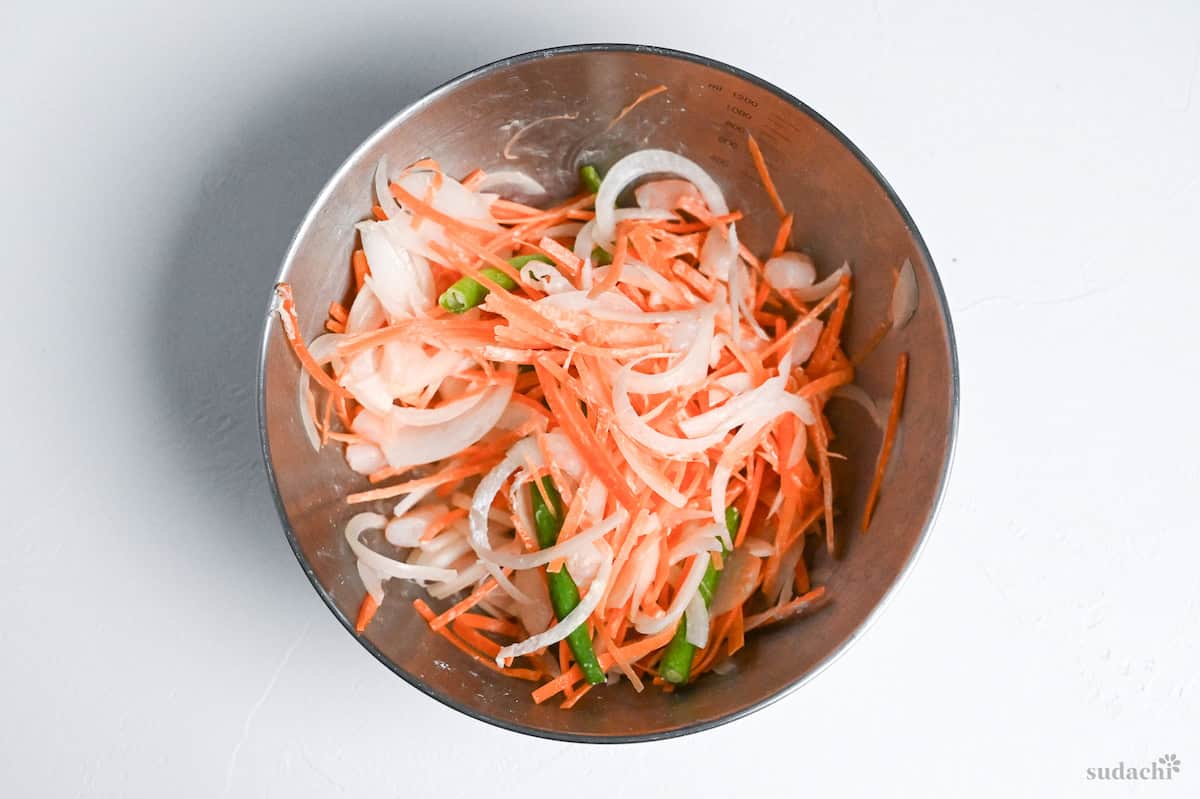
This time, I went with onion, shrimp, carrots, and green beans.
Preheat oil in a small frying pan to 170-180℃ (340-355°F).
Using a smaller pan and frying one batch at a time helps prevent mistakes and ensures that each piece of kakiage is cooked perfectly. If you’re making kakiage for the first time, don’t make more than one at a time.
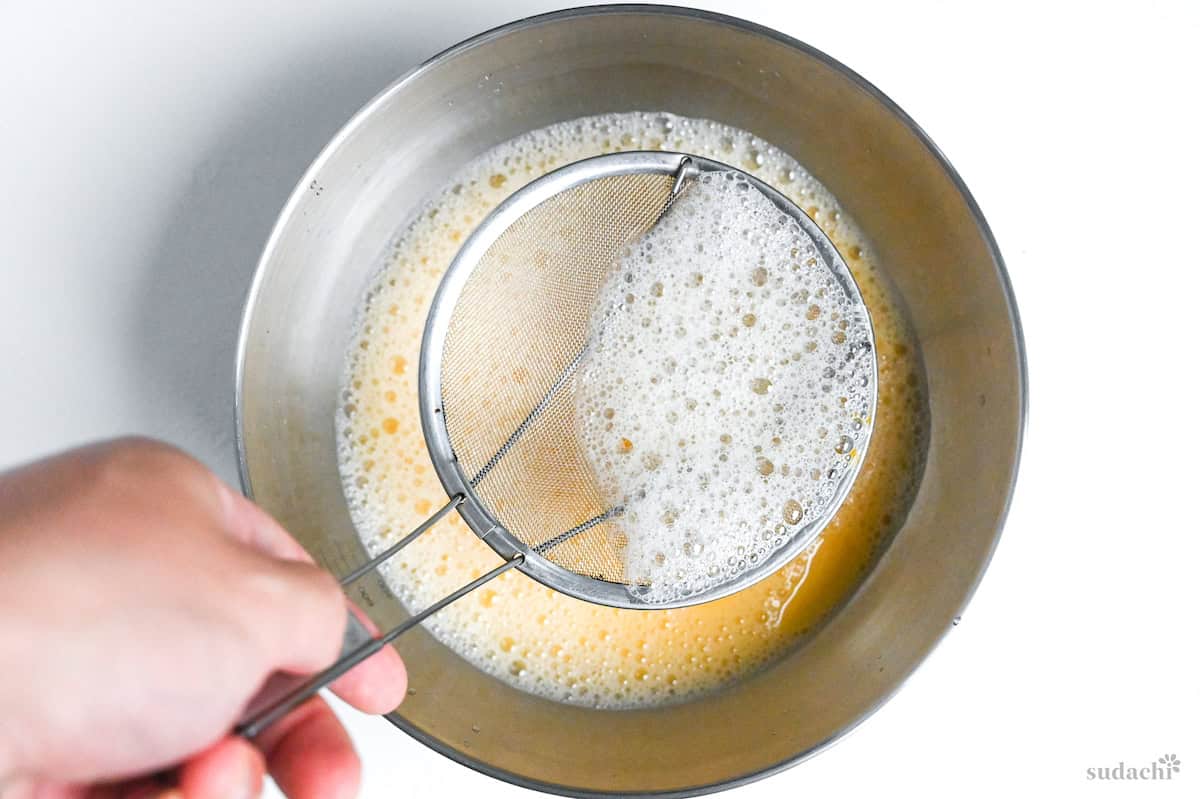
Combine the chilled water and sparkling water with ice cubes in a large bowl. Crack an egg into the bowl and whisk it. If any foam forms, scoop it out with a spoon. The egg makes the batter puff up and allows it to fry crispily.
Then, sift in the chilled flour mixture in thirds, gently combining it with chopsticks by drawing crosses through the mixture.
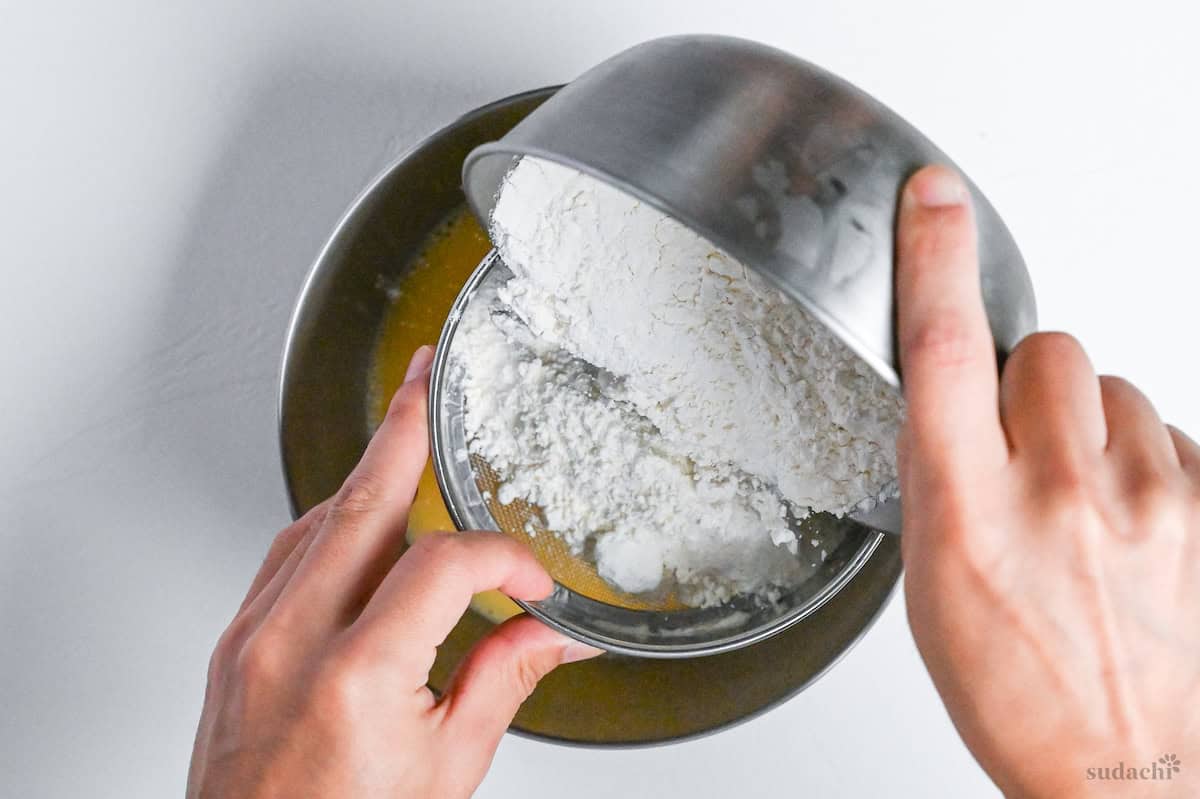
Adding the flour separately prevents it from becoming sticky. Yes, less gluten!
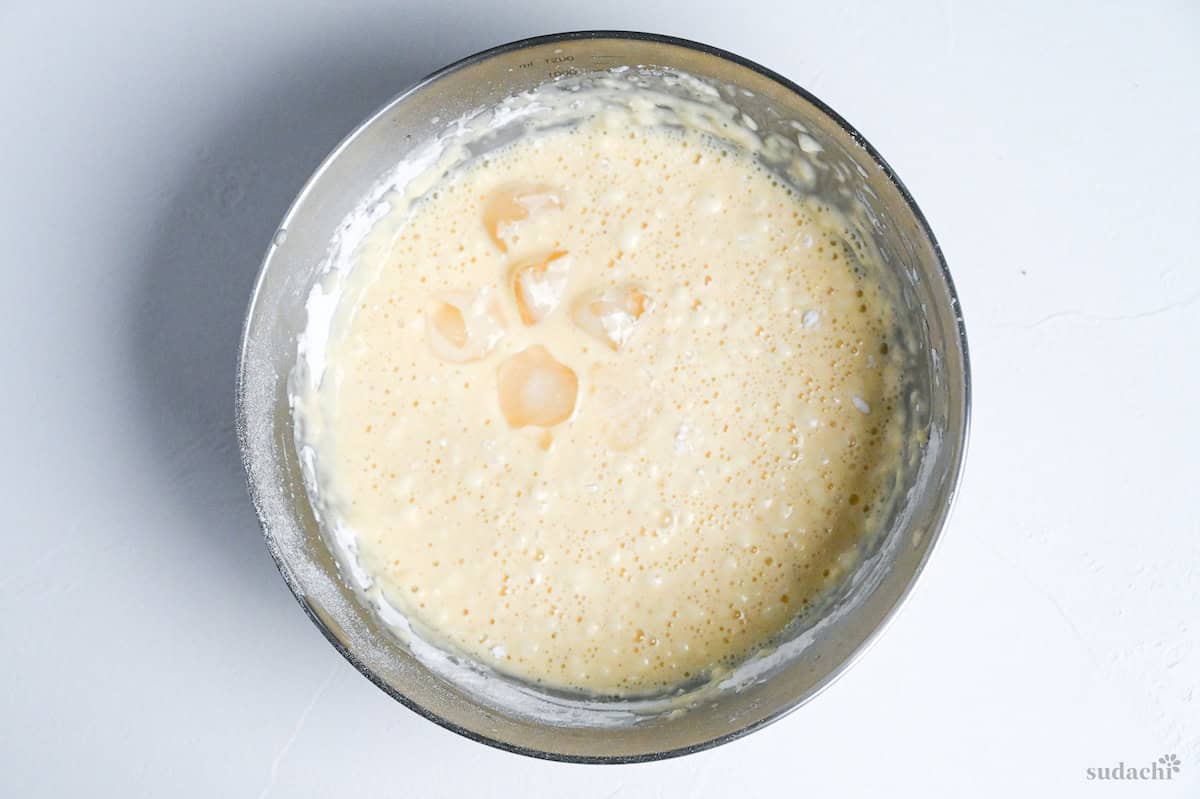
Resist the urge to overmix or whisk to keep the batter light and airy. It does not matter if some lumps are left. Rather, a smooth batter is no good, so it is fine to have powder and lumps left here.
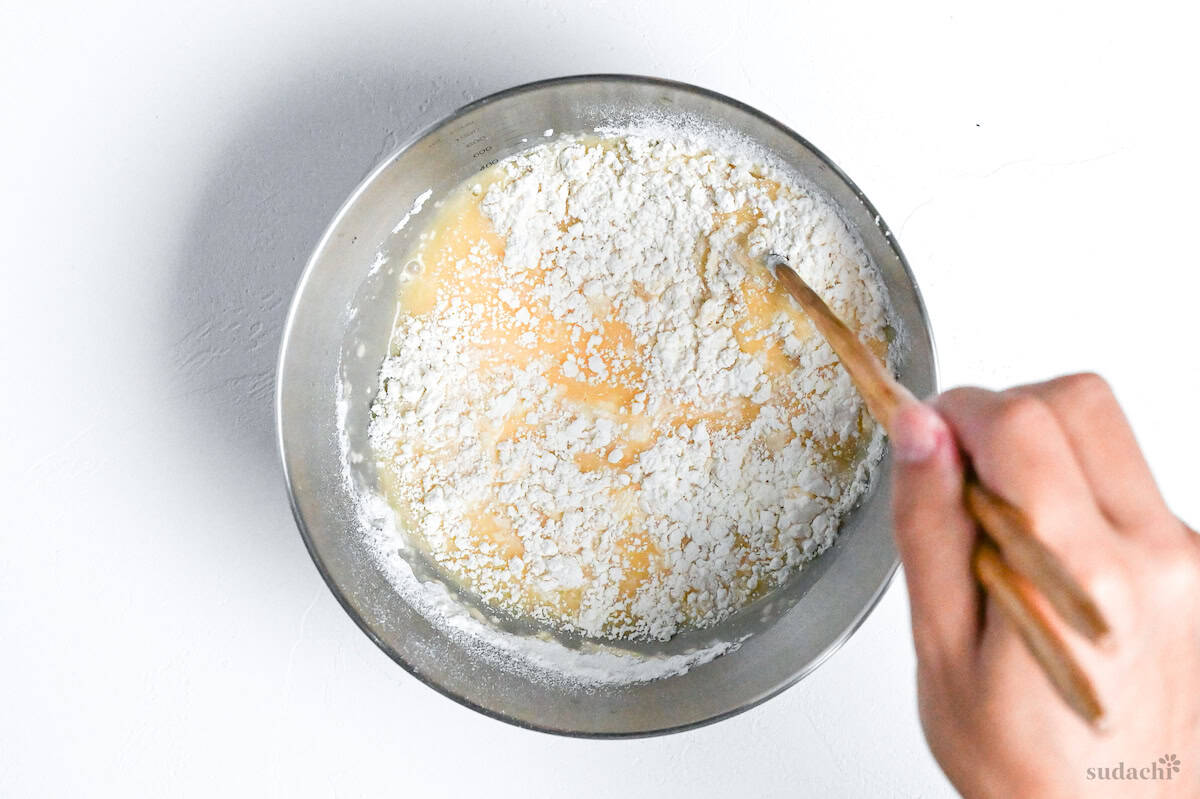
I like to add a few ice cubes to keep the batter nice and cold too.
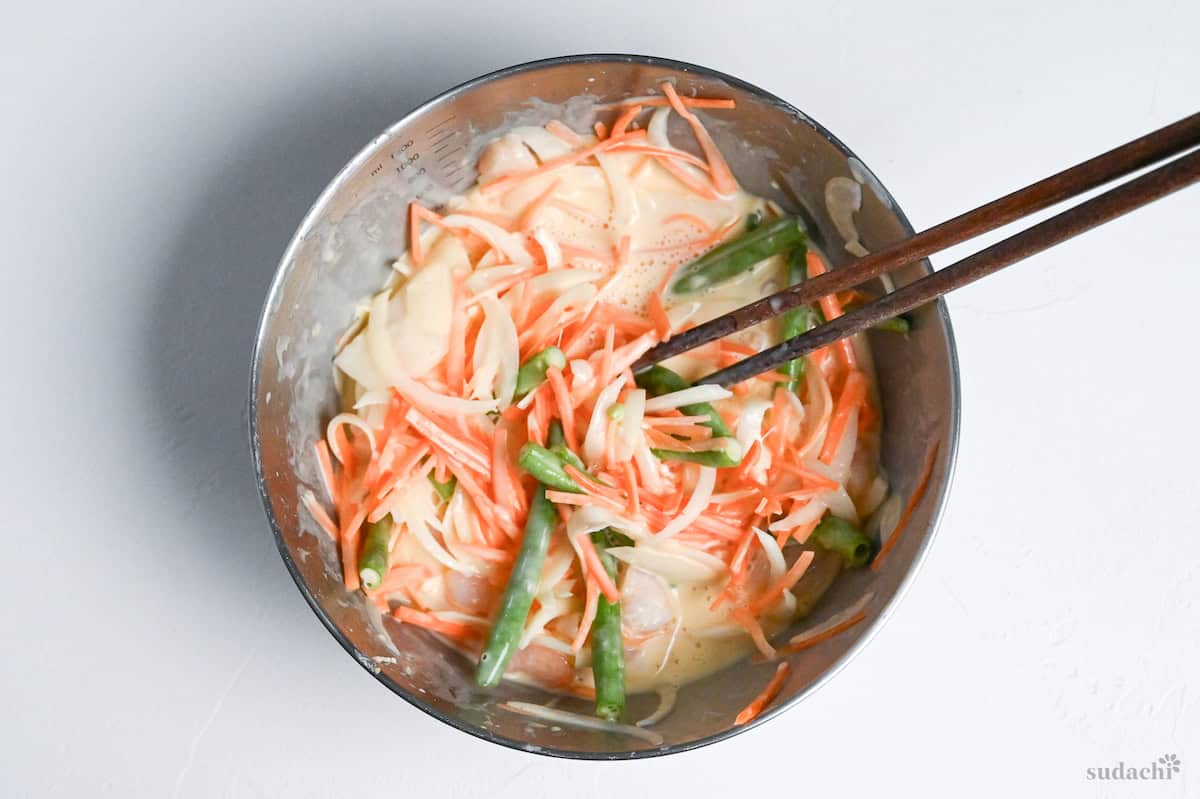
Once the oil is preheated, mix the prepared vegetables and shrimp into the batter bowl.
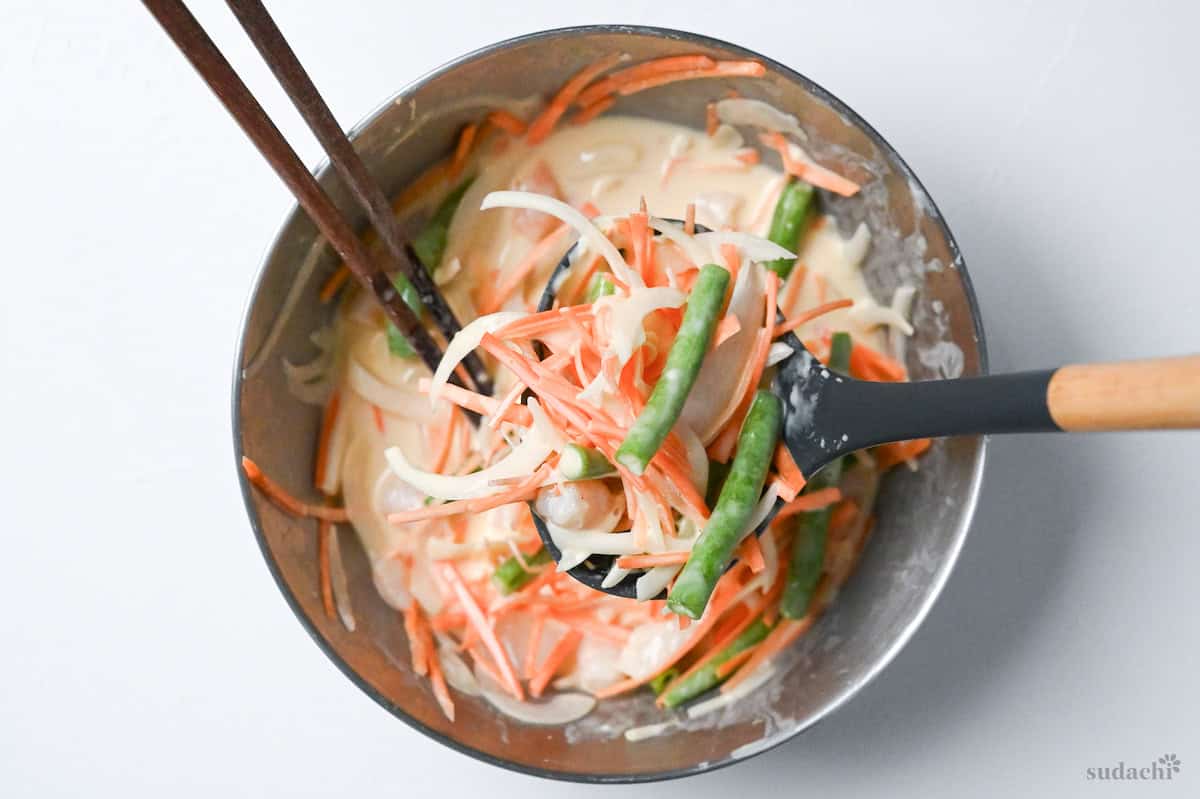
Then, scoop a ladleful of the batter-coated mixture and slide it gently into the hot oil. There’s no need to overload the ladle with batter—just batter-coated ingredients.
Professional tempura chefs use chopsticks to break apart the mixture once it is in the oil and then shape it again. But, if you attempt this method at home and don’t move quickly enough, the delicate mixture will fall apart and never hold its shape again.
So, it is safer to simply drop the mixture in the oil and avoid touching them unless you are very confident in your skills.
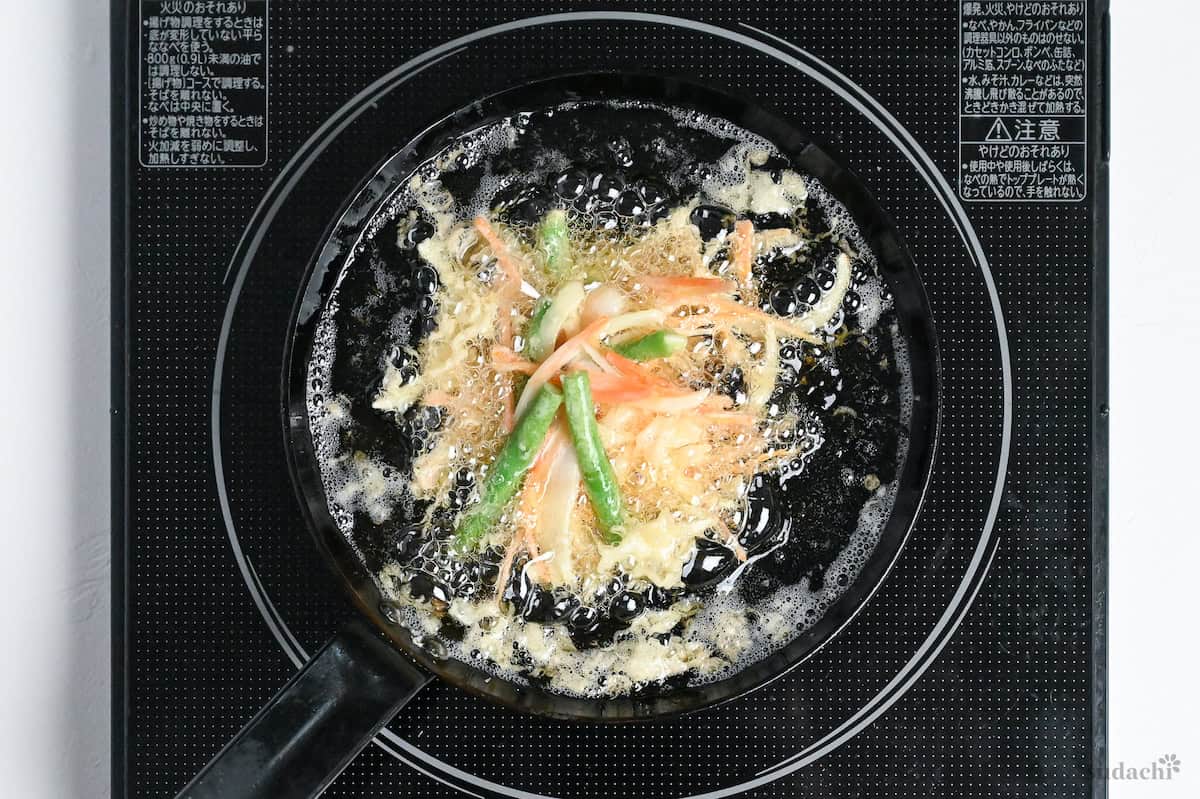
Fry each piece for about one minute on each side, then drain on a wire rack. Continue this process, frying one batch at a time.
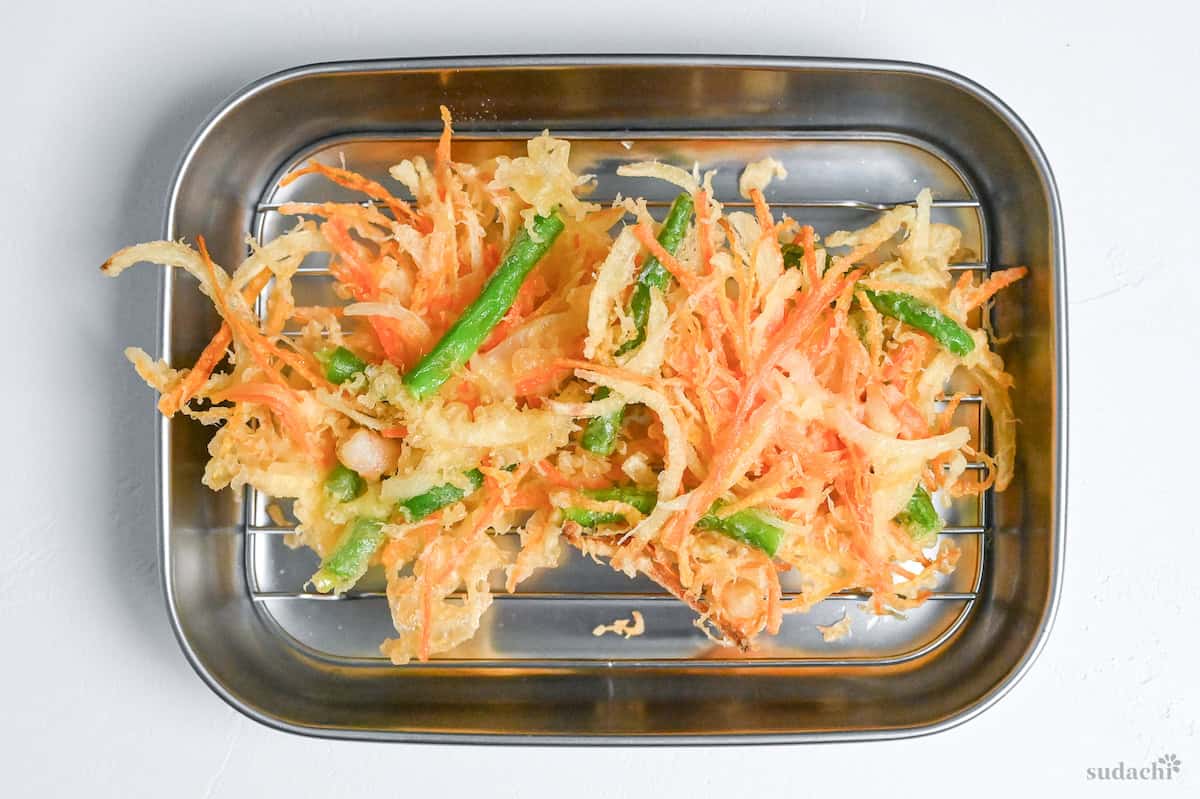
If you want to eat kakiage as is, my recommendation is to simply dip it in some salt. Kakiage has a strong sweet and savory flavor from the vegetables, so I think it is best to enjoy the taste of the ingredients as they are.
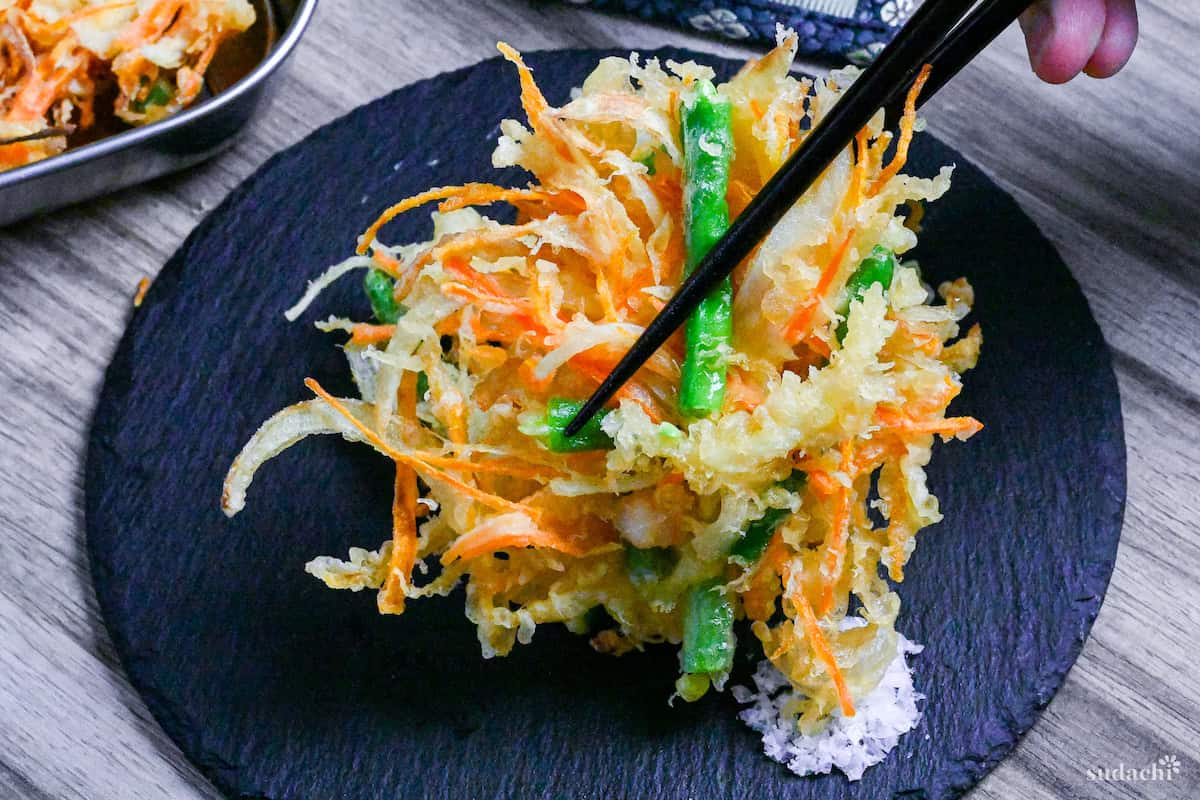
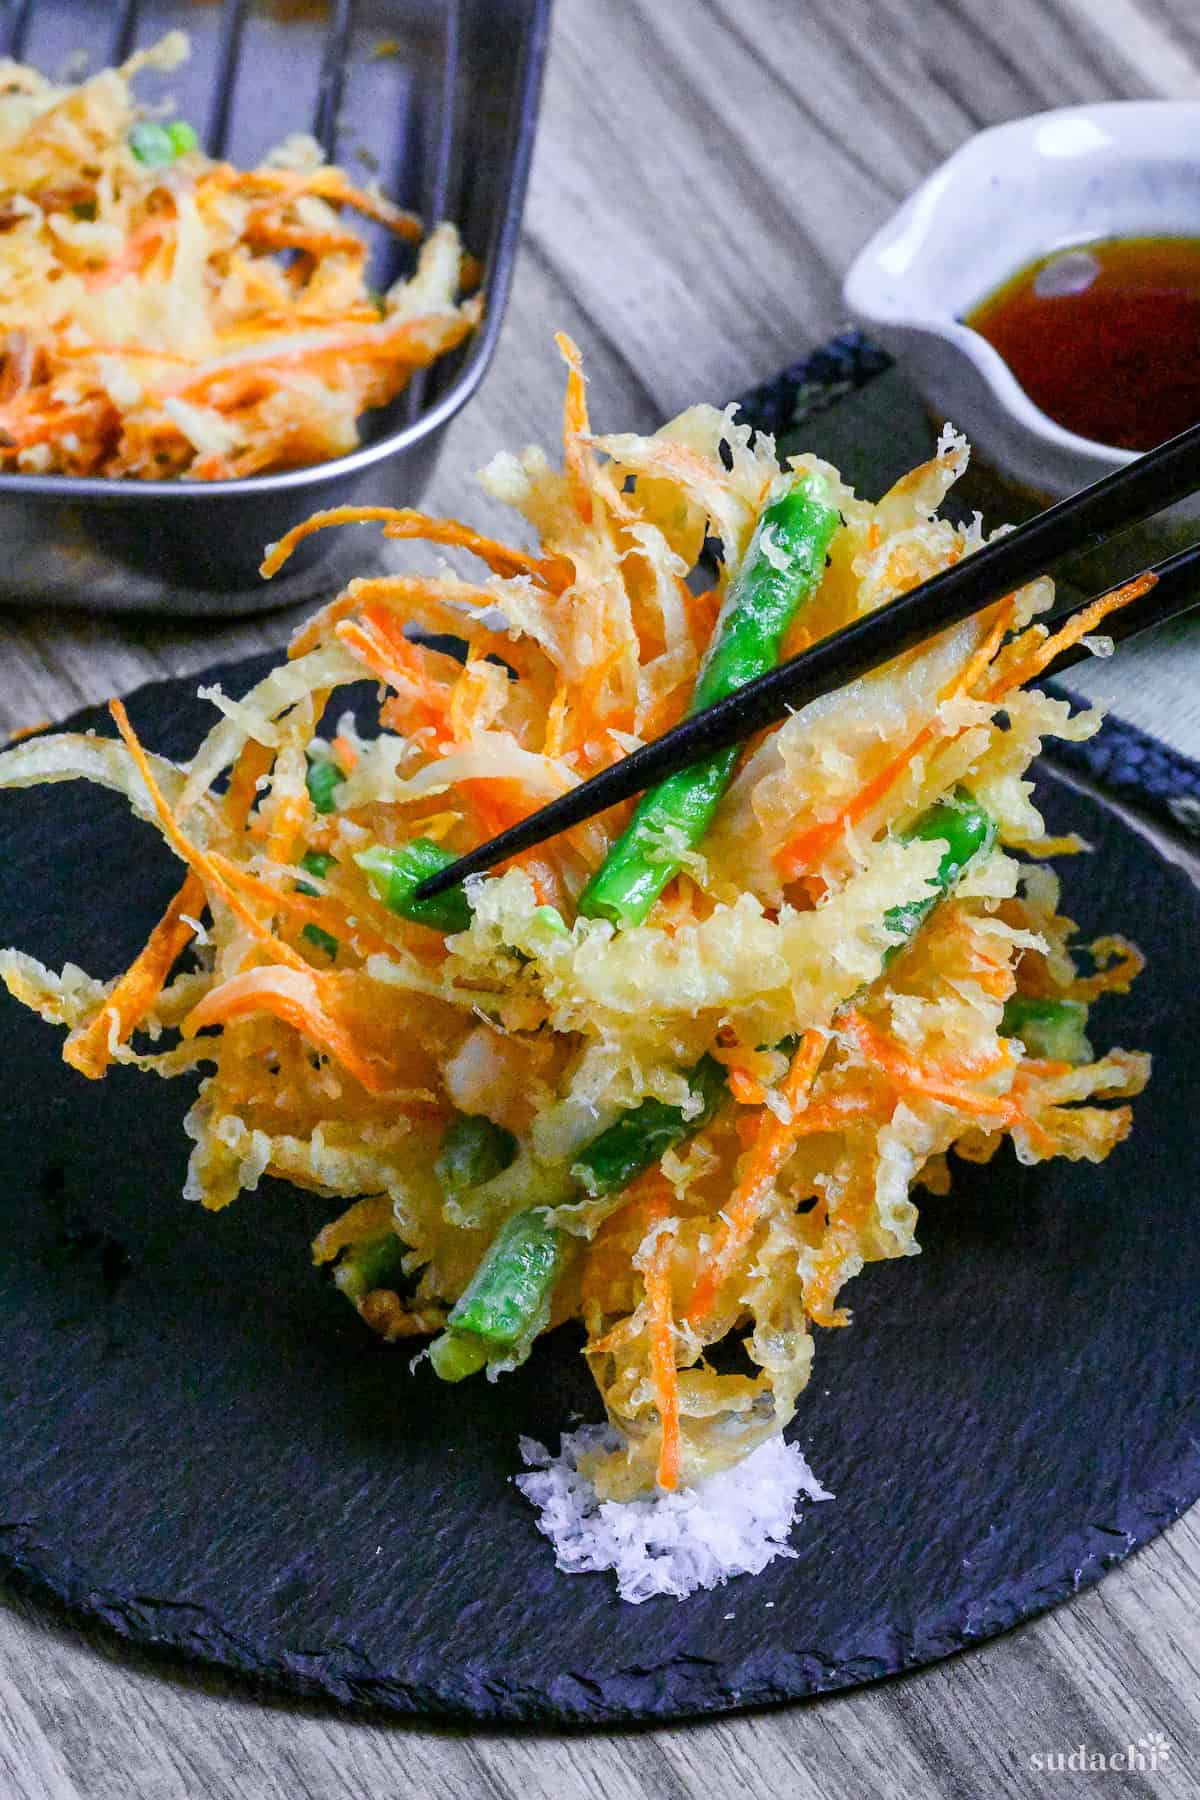
But, you can also eat it dipped in tempura dipping sauce or on top of kake udon or kake soba noodles.
Jump to Full Recipe MeasurementsFAQ
Here are answers to frequently asked questions I have received across all platforms, including here, YouTube, Instagram, and Pinterest. If you have any questions, feel free to send them to me anytime! It will be a big help for everyone in this community!
For best results, I recommend using my eggless tempura batter recipe instead of modifying this one, as it’s specifically designed to work without eggs. That way, you’ll get the best texture!
How to Store
As a general rule, there is a significant difference in the quality of tempura when it is freshly fried and when it is stored, more than any other deep-fried dishes. So, it is best to make the amount you can eat fresh.
However, if you have to store it, you can refrigerate it for about two days or freeze it for about a month. I recommend reviving the crispiness in the oven or under the grill.
I hope you enjoy this authentic Kakiage recipe! If you try it out, I’d really appreciate it if you could spare a moment to let me know what you thought by giving a review and star rating in the comments below. It’s also helpful to share any adjustments you made to the recipe with our other readers. Thank you!
More Tempura Recipes
Authentic Kakiage (Mixed Vegetable Tempura)
Equipment
- Japanese-style fryer
Ingredients
Batter
- 150 ml water chilled
- 100 ml carbonated water chilled
- 150 g cake flour chilled
- 30 g cornstarch chilled
- 1 egg
- 3 ice cubes
- cooking oil for deep frying
Filling/Serving Suggestions
- ½ yellow onions thinly sliced
- ½ carrot julienned (matchsticks)
- 6 boiled shrimp cut into 1 cm pieces (omit for vegetarians)
- 5 green beans halved lengthways
- 1 tbsp cake flour
- sea salt optional for dipping
- tsuyu sauce (noodle soup base) diluted, optional for dipping
My recommended brands of ingredients and seasonings can be found in my Japanese pantry guide.
Can’t find certain Japanese ingredients? See my substitution guide here.
Instructions
- Before you start, make sure the batter ingredients are thoroughly chilled. Mix 150 g cake flour and 30 g cornstarch in a bowl and place in the freezer for 30 minutes. You can use this time to cut the vegetables.

- Dry the cut ½ yellow onions, ½ carrot, 6 boiled shrimp and 5 green beans with kitchen paper and place them in a bowl. Sprinkle with 1 tbsp cake flour and mix until evenly coated.

- Preheat a small pan of cooking oil to 180 °C (356 °F). Use a small pan and fry one at a time to improve the shape. While you wait for the oil to heat up, crack 1 egg into a bowl and add 150 ml water and 100 ml carbonated water. Whisk gently until combined.

- If the egg mixture becomes foamy, scoop the bubbles out with a spoon.

- Pour the chilled dry ingredients into a sieve. Sift into the egg mixture one-third at a time and draw crosses using chopsticks to help prevent over mixing. It's okay if the final result has a few lumps.

- Add 3 ice cubes to the batter.

- Pour the batter into the bowl with the vegetables and shrimp and mix until evenly coated.

- Once the oil is hot, scoop up a ladleful of mixture and carefully slide it into the hot oil. Be careful not to scoop up too much batter, focus on lifting up the ingredients.

- Fry for 1 minute and 30 seconds on each side.

- Transfer to a wire rack to drain any excess oil. Continue to fry one kakiage at a time.

- Serve with sea salt or diluted tsuyu sauce (noodle soup base) for dipping and enjoy!


Hi! can I make the batter without the egg?
Hi Angel,
Thank you for your question! For best results, I recommend using my eggless tempura batter recipe (https://sudachirecipes.com/shojin-age/) instead of modifying this one, as it’s specifically designed to work without eggs. That way, you’ll get the best texture!
Yuto