


Featured Comment
Best oyakodon recipe hands down. I’ve been scouring the internet for different kinds of oyakodon recipe. But this really recipe stands above the rest.
★★★★★
– Joel
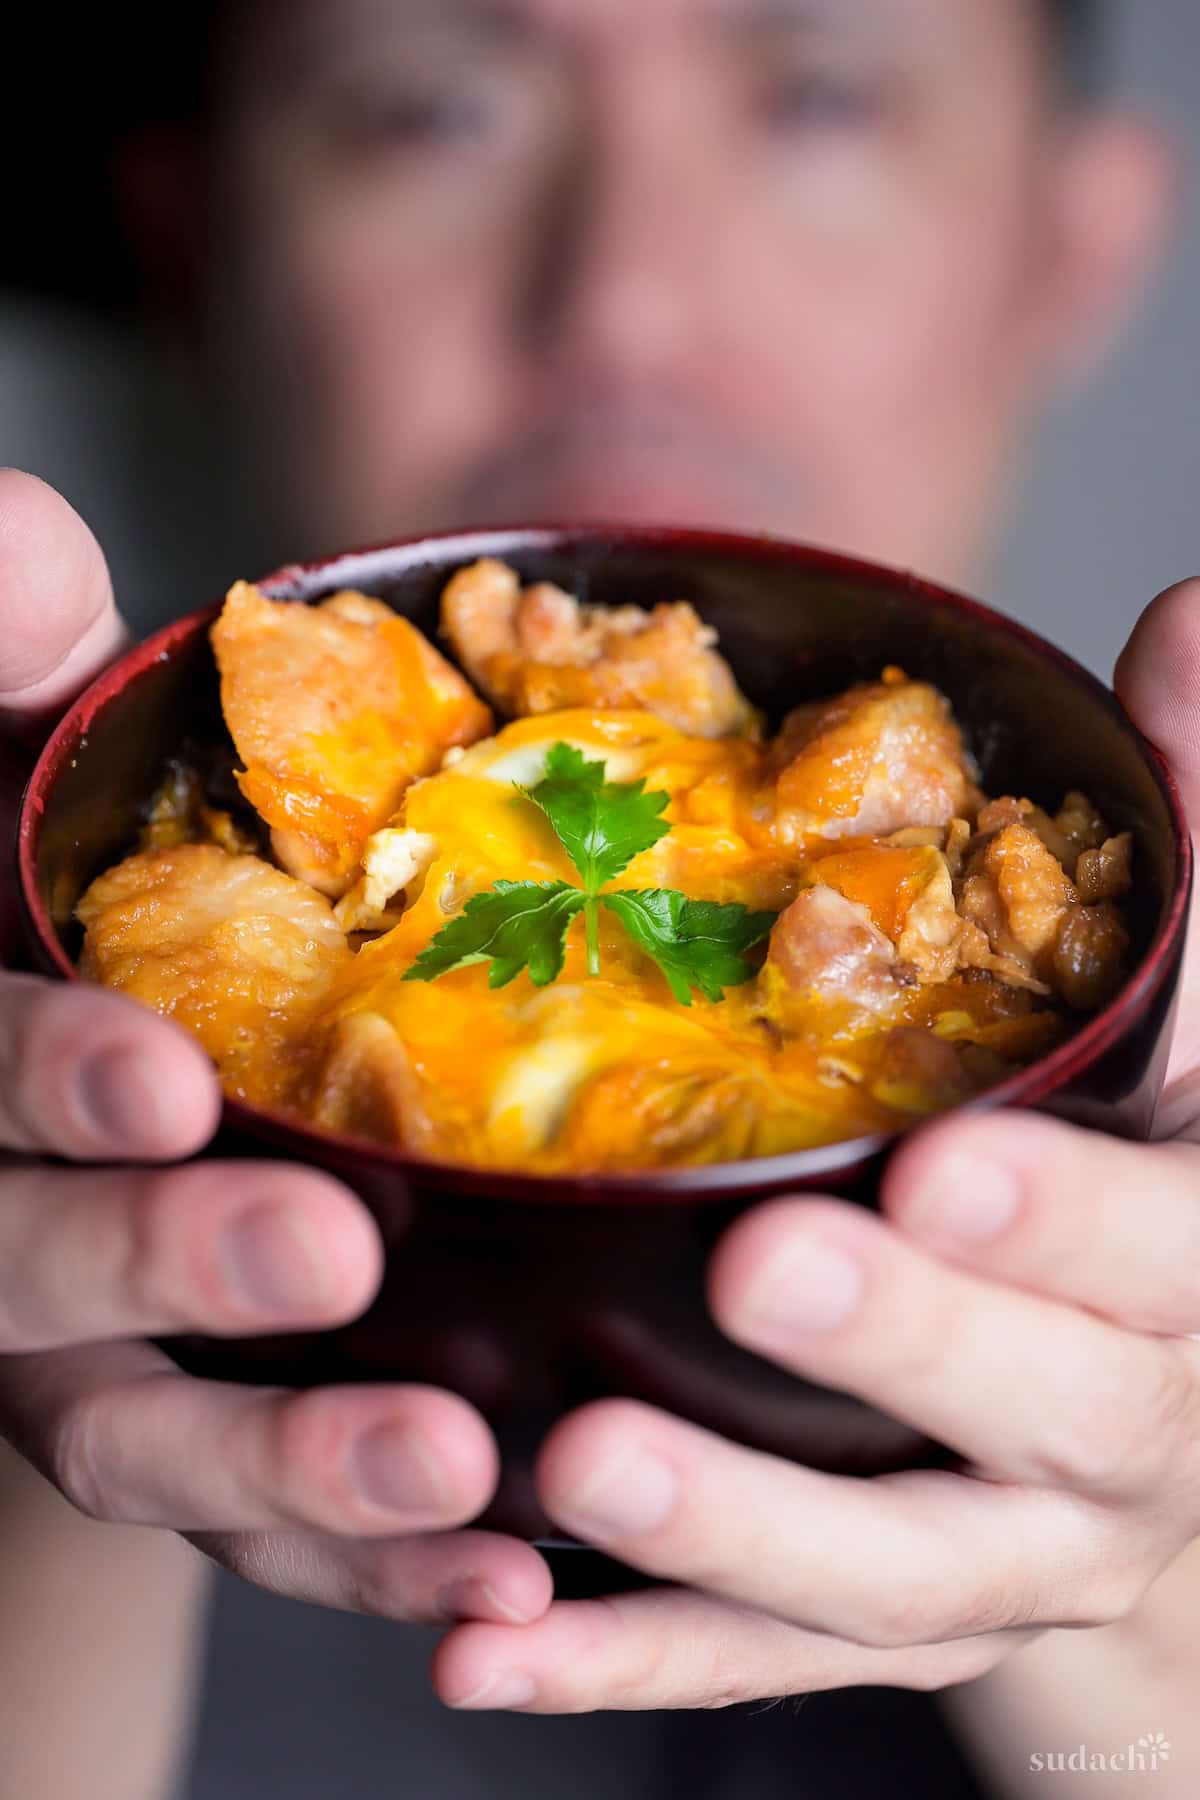
Many of my readers would agree this recipe shouldn’t be touched (but forgive me for updating the photo!). Experience the soothing warmth of jammy eggs and savory dashi that everyone is talking about.
They keep coming back to this oyakodon, and they’ve made it a “cult” favorite alongside my Japanese curry rice. Want in? Discover the “two-stage” egg trick below.
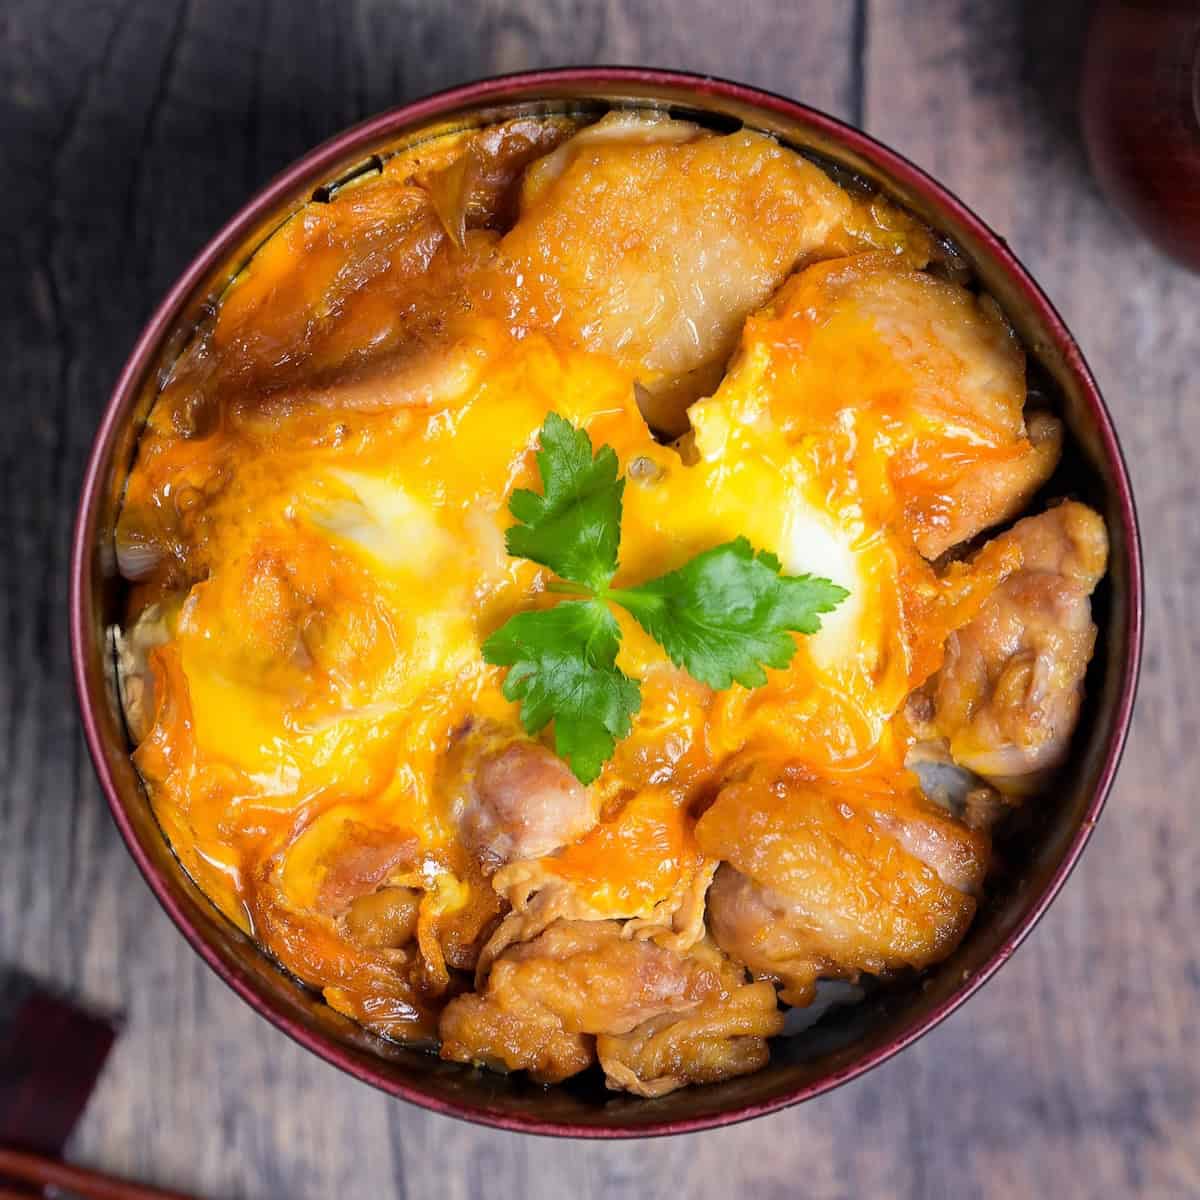
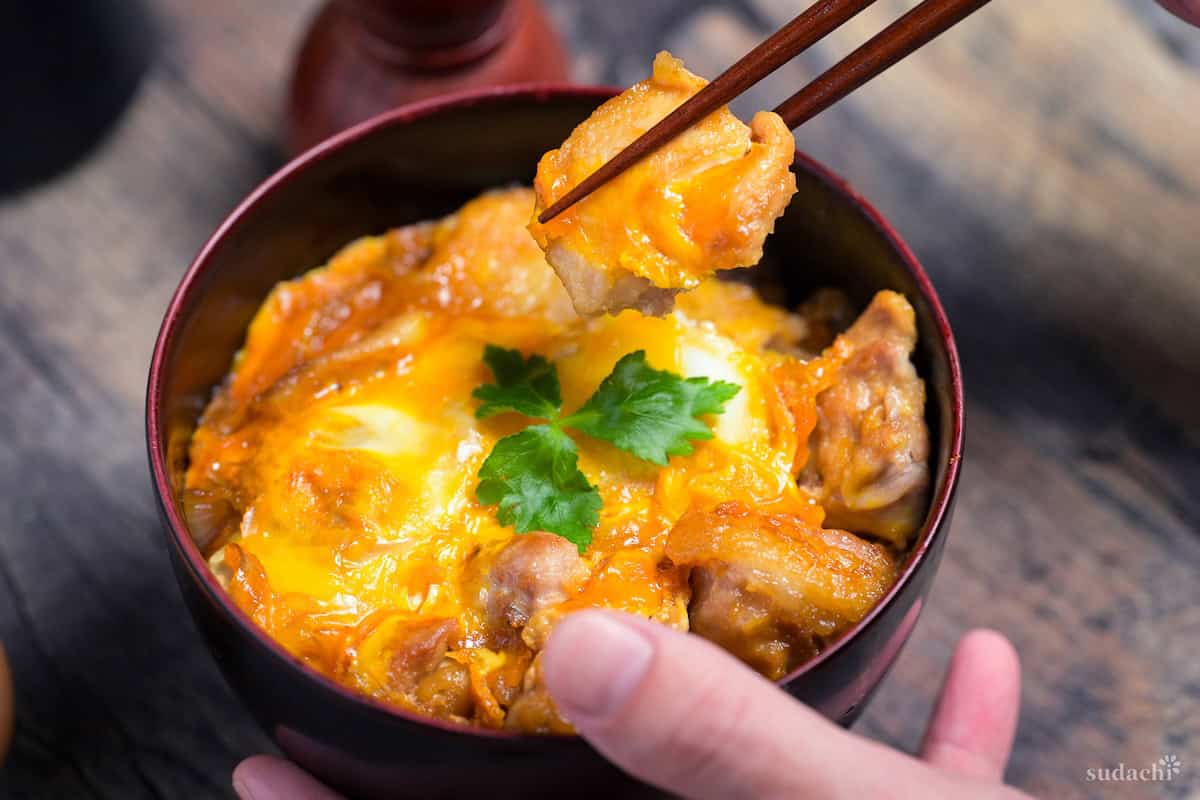
Oyakodon
Recipe Snapshot
- What is it? A classic Japanese donburi featuring tender chicken thigh and silky tamagotoji (egg binding) over short-grain rice, simmered in dashi-enriched soy-mirin broth.
- Flavor profile: Deep umami, glossy sweet-savory sauce, and a round, comforting finish.
- Why you’ll love this recipe: My two-stage egg integration eliminates overcooking, creating a “unified bite” where silky eggs and broth perfectly coat every grain of rice.
- Must-haves: High-quality dashi stock, pasteurized eggs, and a shallow pan with a tight lid.
- Skill Level: Easy: simple one-pan simmer + steam, just follow timing for perfect egg coagulation.
Summarize & Save this content on:
What is Oyakodon?
Oyakodon (親子丼) is a staple of Japanese donburi dishes consisting of chicken and onions simmered in a savory-sweet dashi broth and finished with a layer of beaten eggs. The defining technique is tamagotoji (卵とじ), where eggs are poured over the simmering ingredients to create a soft, semi-set binder that encapsulates the meat before the entire mixture is served over a bowl of steamed rice.
The name translates literally to “parent-and-child bowl,” referencing the use of both chicken and egg. This naming logic is a common theme among donburi dishes. For instance, the seafood-style ikura (marinated salmon roe) and salmon bowl follows a similar “parent-and-child” pairing, and swap the chicken for pork, and you’ve got “tanindon (他人丼)” (literally “strangers in a bowl),” since pork and egg aren’t related.
According to a nationwide survey conducted by the Japan Society of Cookery Science (日本調理科学会), involving 1,371 respondents and examining home-cooked rice bowl dishes over a one-year period, oyakodon, gyudon, katsudon, and tendon were the most commonly prepared donburi. The study also found that 78% of respondents served one or more side dishes, most often soup alongside pickles, vegetables, or seaweed dishes.
Oyako Don Ingredients

- Chicken thigh (boneless, skin-on): In this oyakodon recipe, chicken thighs are your built-in insurance against dry meat. A light flour coating and a quick sear on the skin side creates savory browned bits that melt into the dashi sauce and make the bowl taste “restaurant-level” without extra effort.
- Eggs (room temperature, pasteurized if needed): These create the signature silky, half-set texture that makes oyakodon feel so comforting. Fresh eggs hold their shape better when you pour them into the pan, giving you those soft, creamy curds instead of watery scrambled bits.
- Onion: A standard yellow or white onion provides the essential aromatic backbone and natural sweetness balance for your simmering liquid.
Substitution Ideas
- Chicken breast (or chicken tenderloins) is a leaner substitute for thigh that still works. It will be slightly less succulent than thighs, so add your eggs early to prevent the meat from overcooking.
- Naganegi can work in place of yellow onion, giving you a more traditional Kansai-style oyakodon with a slightly sharper aroma. You’ll get easier access to yellow onions outside Japan, so this swap is only practical if you’re in Japan.
- When you don’t have homemade dashi, the easiest backup is a good-quality dashi tea bag or instant dashi granules, but please note that granules contain salt, so taste the broth and reduce soy sauce a little if it starts to lean too salty.
- If you can’t find mitsuba, simply finish your bowl with chopped green onion for a similar fresh.
- If you don’t have true (hon) mirin, you can use mirin-style seasoning or a simple mix of sugar and sake (or water).
Have trouble finding Japanese ingredients? Check out my ultimate guide to Japanese ingredient substitutes!
How to Make My Japanese Chicken and Egg Bowl
If you prefer to watch the process in action, check out my YouTube video of this oyakodon recipe!

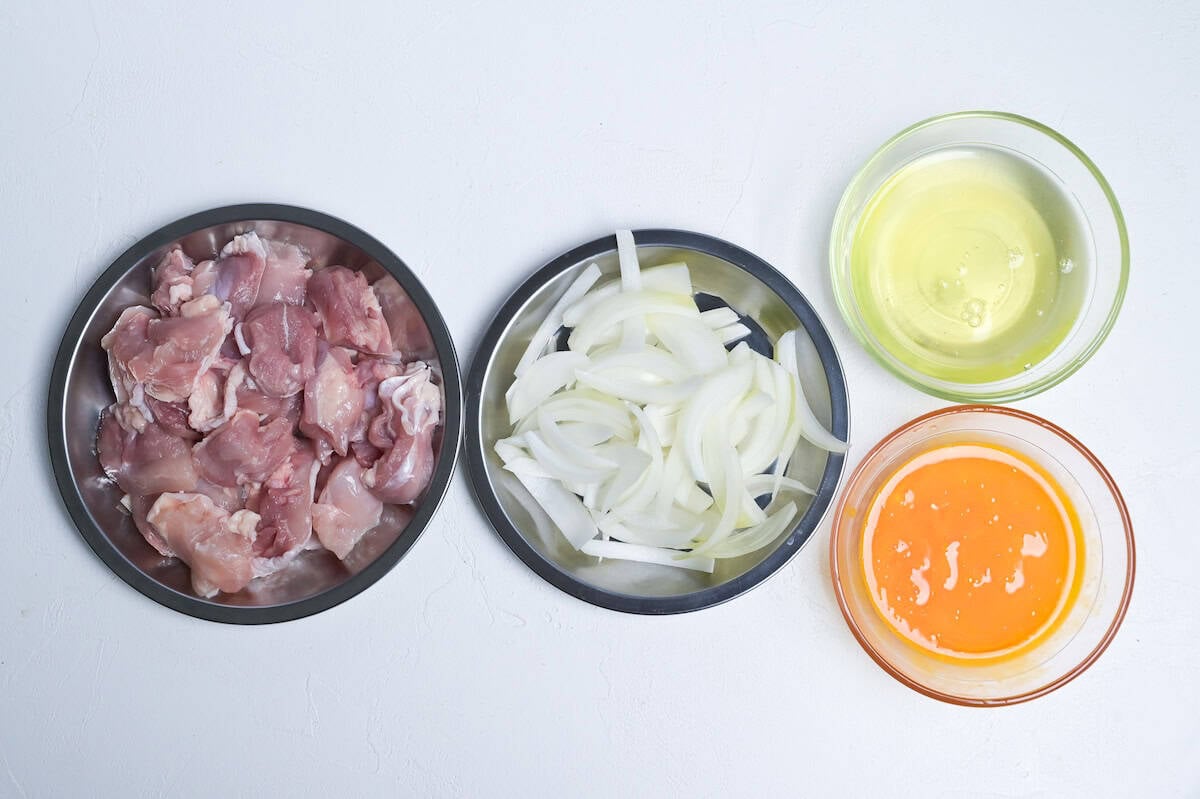
Before you start (Mise en place):
- Pat chicken thighs dry and cut into small bite-size pieces (uniform 3-4cm (1.5-inch) pieces).
- Slice onion wedges (Slice with the grain (pole to pole) and you’ll get sweet, structured crescents that hold their shape through simmering. Slice across the grain and you release more enzymes, amplifying sharpness but creating softer texture. I went with-the-grain for this recipe).
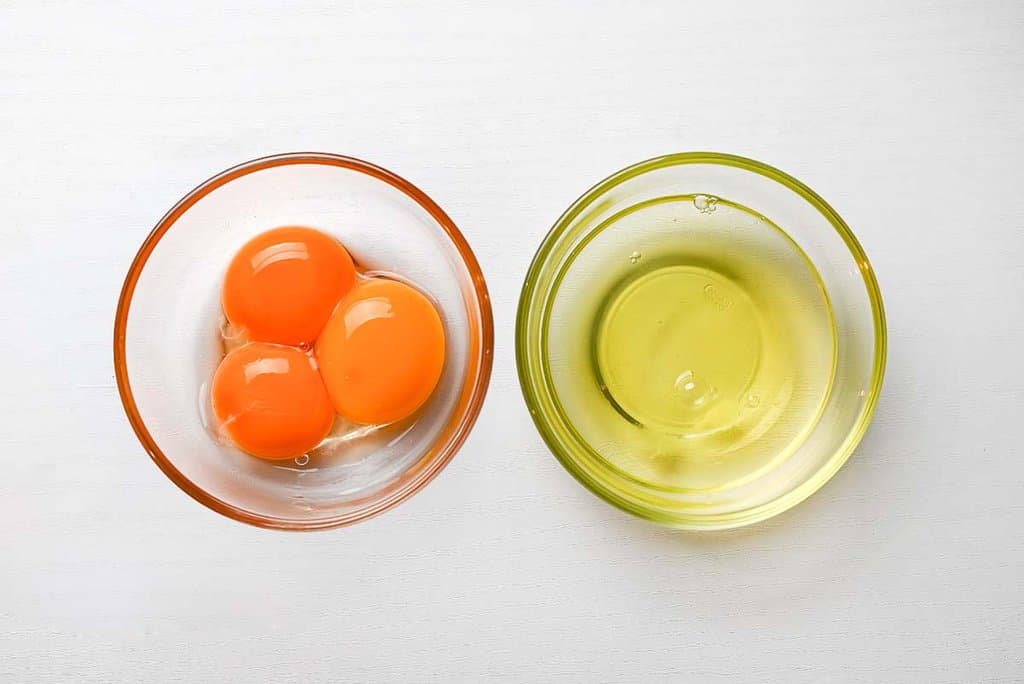
- Keep egg whites and yolks in separate bowls.
- Cook Japanese rice (or Calrose).
For a two-serving batch, I’d use for a shallow lidded skillet about 22-24 cm (9-10 inches) across. If you want to cook per serving, you can use an oyako nabe (those traditional single-serving pans with a handle) like below. It’s really not required, but I wanted to show you.
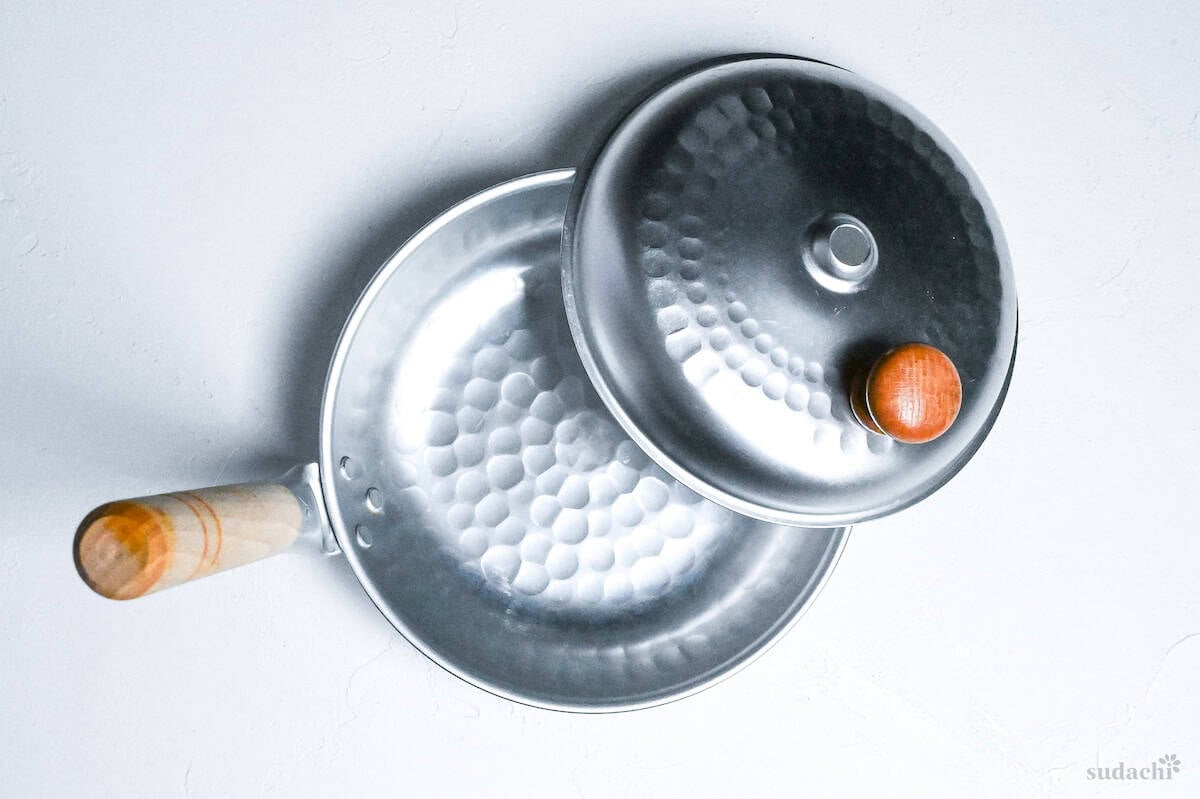
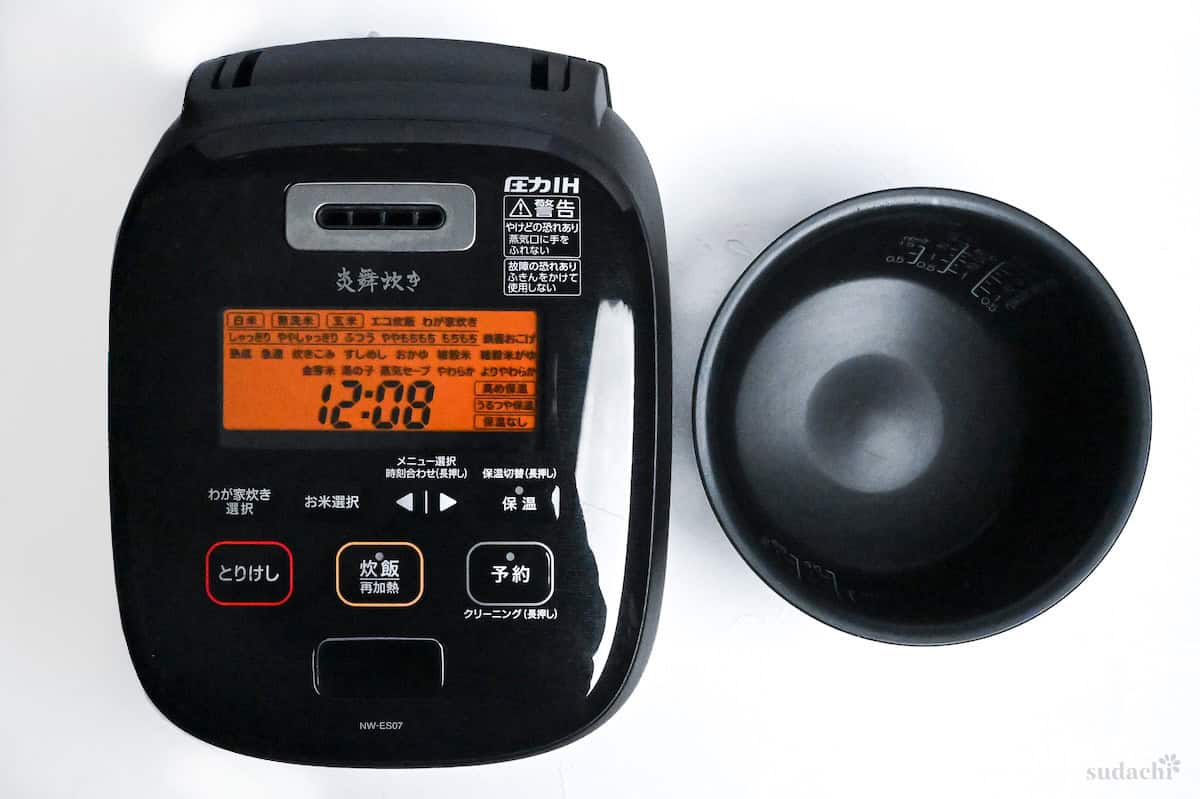
And I used a rice cooker to cook my rice as usual.
i. Sprinkle the chicken lightly with salt, then toss with just enough all-purpose flour to look matte, not snowy. That thin layer speeds Maillard browning and helps control moisture loss so the meat stays juicy when it later simmers.
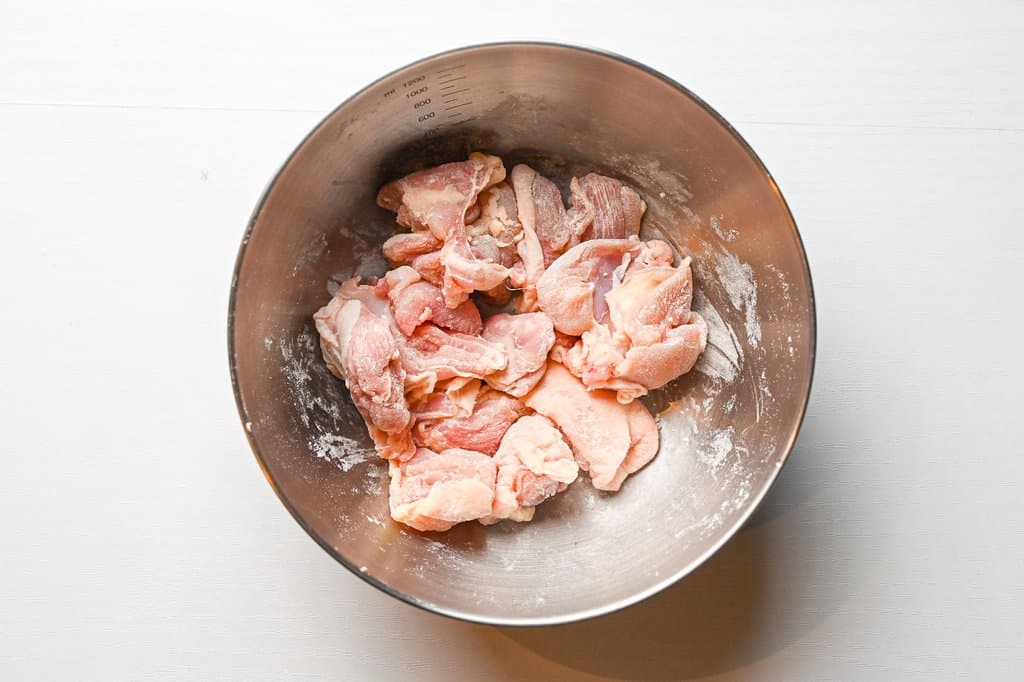
ii. Go too heavy-handed with flour, though, and you’ll end up with gummy, pasty coating. Aim for translucent coverage where you can still see pink peeking through.
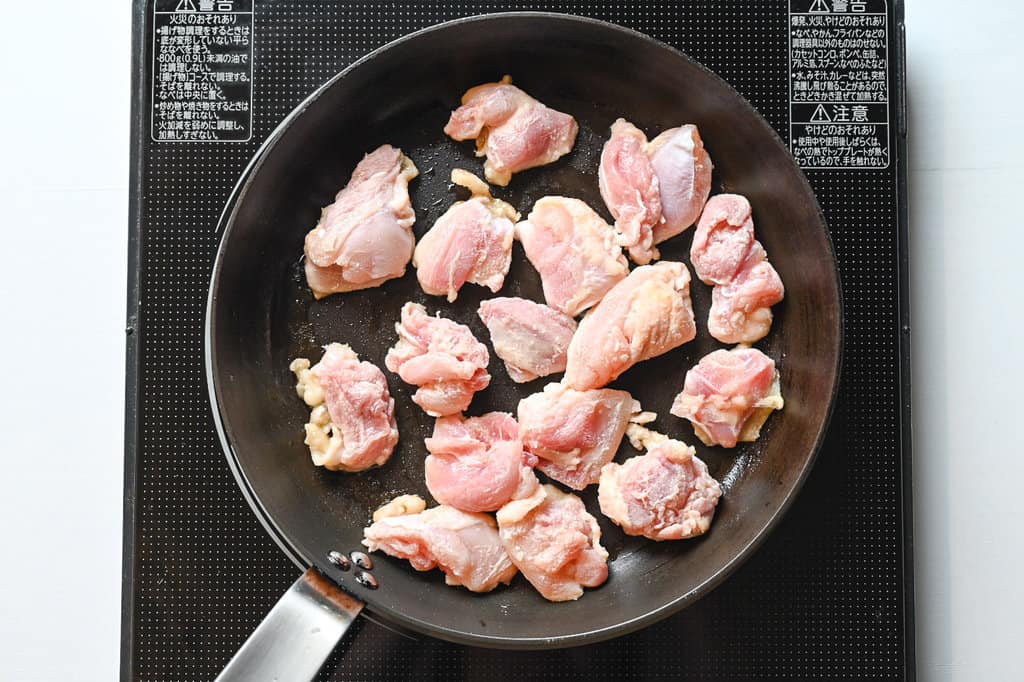
i. Heat a large skillet over medium and add just enough oil to shimmer across the bottom. No smoke, just shine. Lay the chicken pieces skin-side down (if using skin-on). Let them sit untouched for 2 to 3 minutes until they develop a crisp, golden-brown crust.
ii. Flip each piece and quickly sear the other side, about 1 minute. You’re not cooking the chicken through just yet as you’ll finish it properly in the next step.
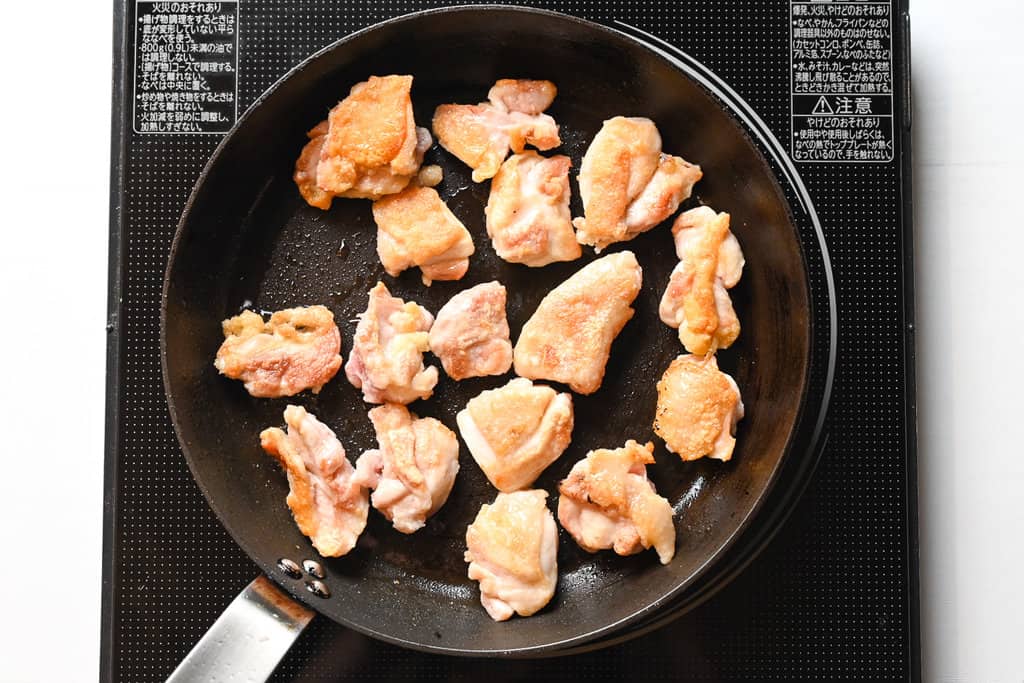
iii. Transfer the chicken to a plate.
i. Using the same pan (all those browned bits = flavor gold), wipe out excess oil with a paper towel. Pour in your dashi, mirin, light brown sugar, and Asian-style chicken bouillon powder.
Chicken bouillon powder varies by brand. My brand is 1 tsp per 200 ml, so check the label and if yours is more concentrated (e.g., 1 tsp per 300 ml or 1 cup), use touch less to avoid oversalting, and if it’s less concentrated, use a little more (and adjust to taste).
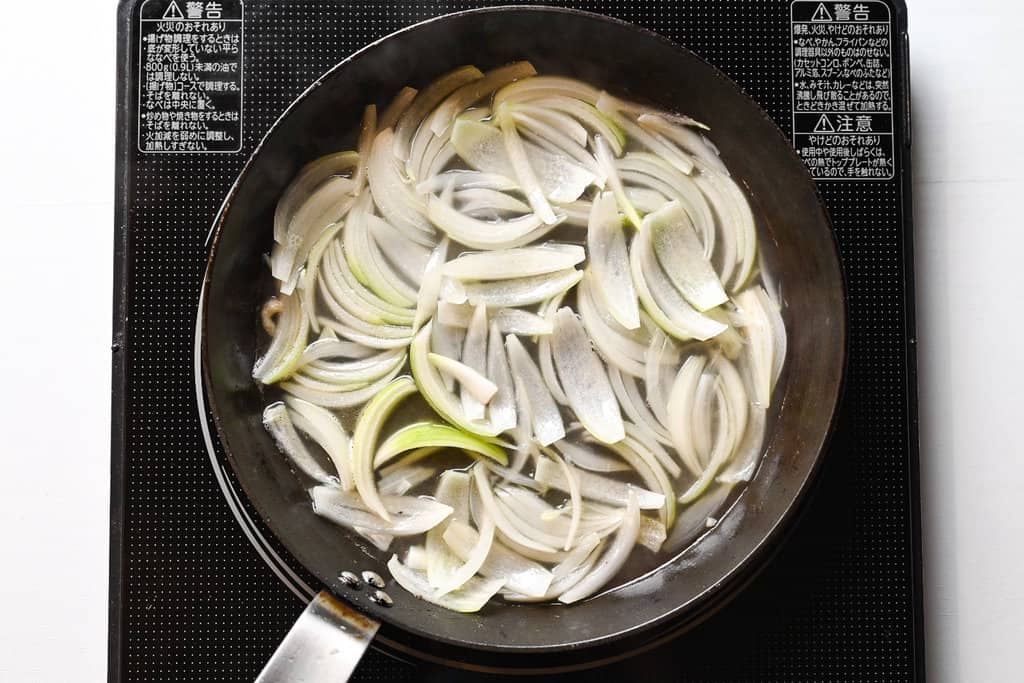
ii. Add the onion slices and let them simmer gently until they turn translucent and their natural sweetness blooms, about 3 to 4 minutes on medium-low heat. Slow heat breaks down cell walls without destroying them, transforming sharp raw onion into silky-soft crescents that practically melt on your tongue.
- If you already have leftovers, or if you want to make something more sophisticated, try making it with homemade dashi stock.
- If you want convenience with a clean flavor, make it with tea bag-style dashi packets.
- If you want to use flavor enhancers, the easiest way is to use dashi granules mixed with water. But remember: granulated dashi contains salt, so plan to reduce soy sauce a tiny bit later.
If you want to make your own homemade dashi stock, check out my YouTube dashi guide.

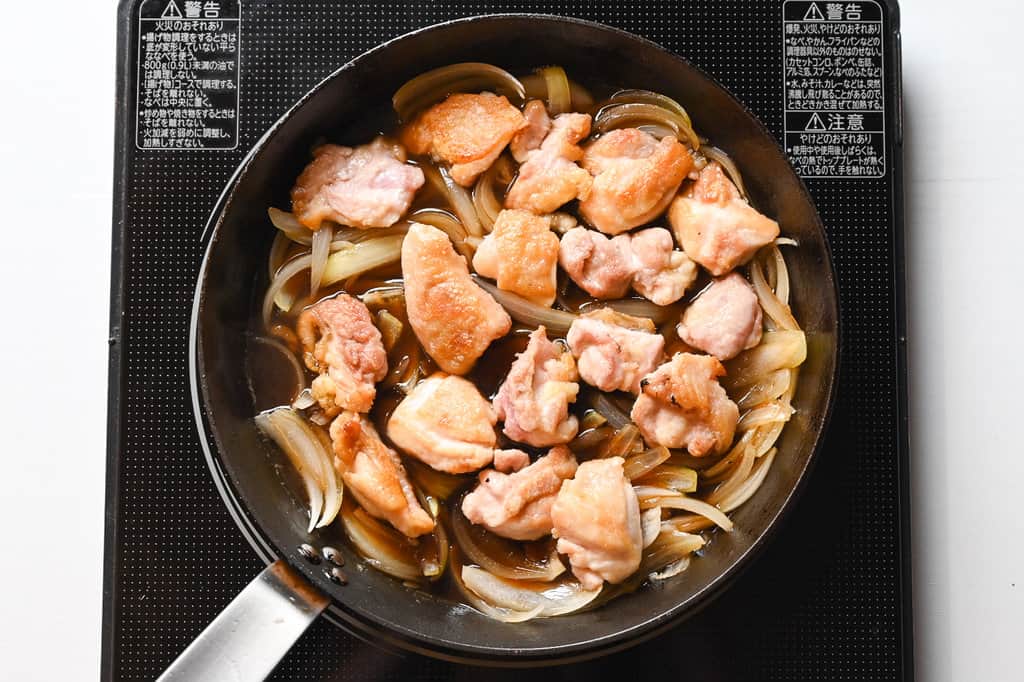
i. Once the onions soften, pour in the soy sauce and nestle the seared chicken back into the pan, coating each piece in that umami-rich broth.
I’m using koikuchi (regular Japanese soy sauce) as default here, but if you want that refined, pale-gold look, you can switch to usukuchi (Japanese light soy sauce). Just use slightly less as usukuchi actually has a stronger salty flavor despite its lighter color.
ii. Taste & fine-tune the sauce now! This is your chance to add a splash of soy sauce/sugar/water before the eggs are added. But remember that eggs will be added and this mixture is served on top of mounded plain rice, so it needs to be a bit rich and salty at this point for a balanced bowl.
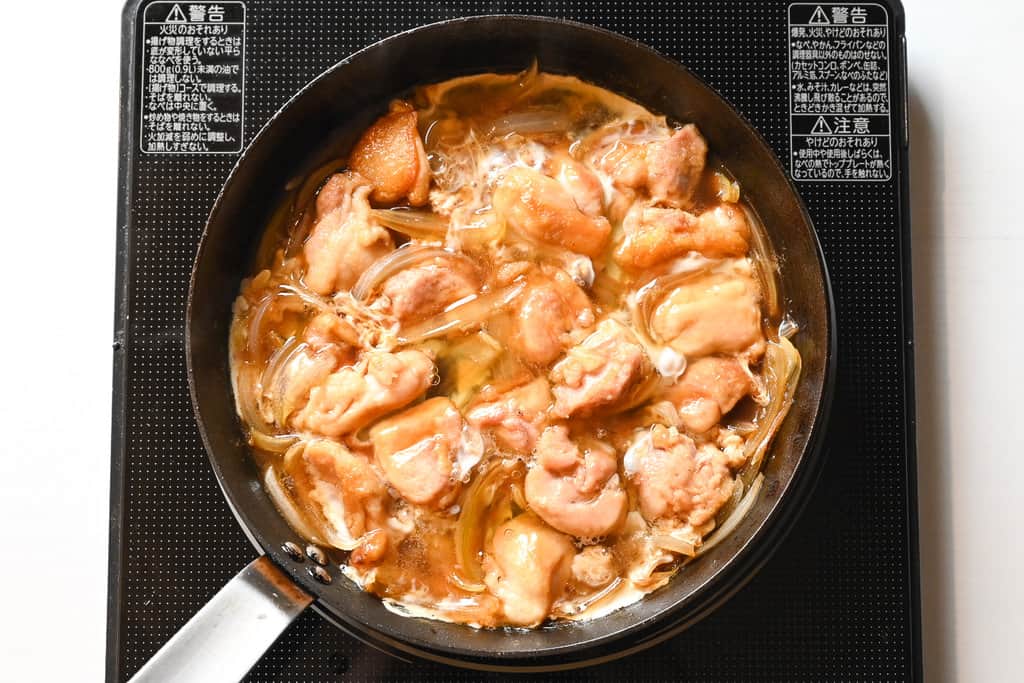
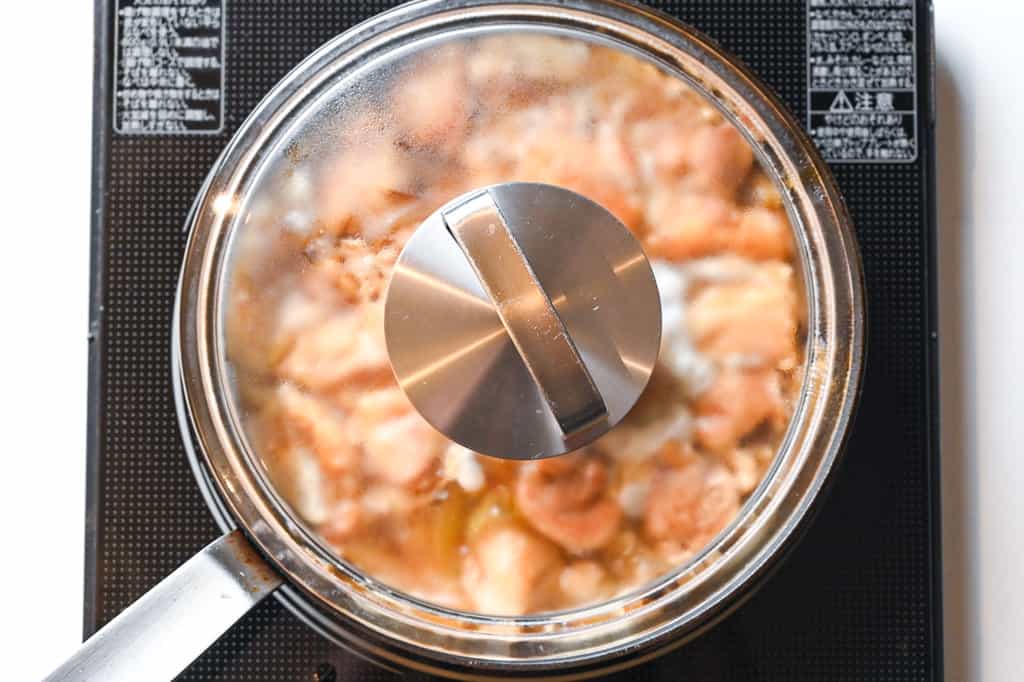
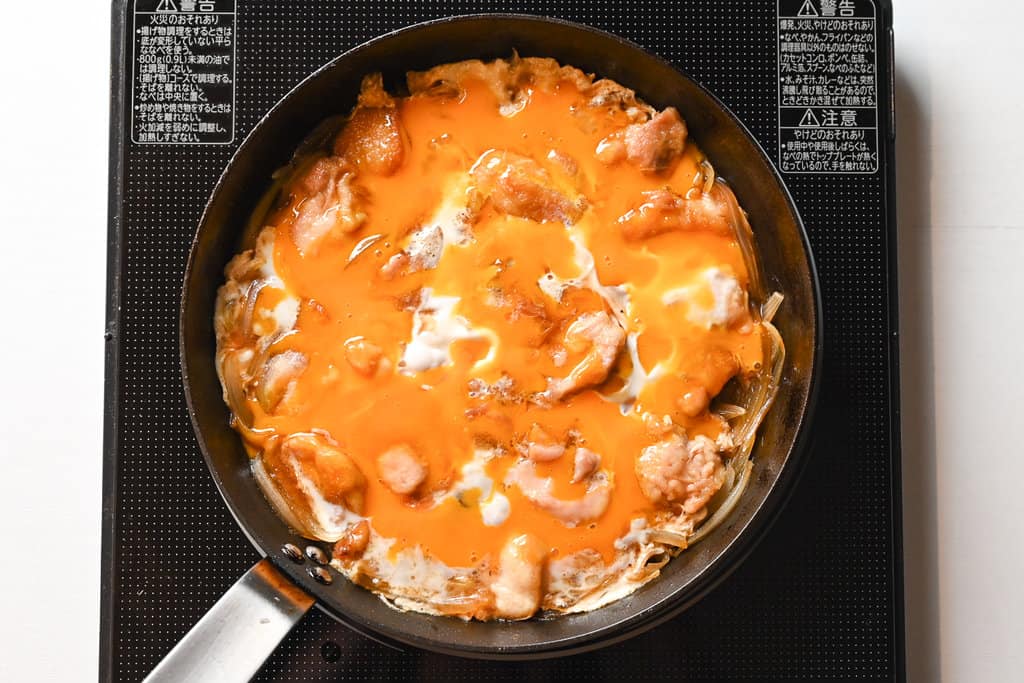
i. Pour the egg whites in a slow circle over the chicken and onions, then cover and drop to medium-low.
ii. Steam-braise 2-3 minutes, until the whites turn opaque and mostly set while the surface gently trembles.
iii. If the whites stay clear, turn heat up until you see small bubbles, then cover again.
Egg whites and yolks require different amounts of time to reach their ideal textures. While egg whites need enough time for their core to reach approximately 82°C (180°F) to firm up, the yolks begin to thicken and set much sooner, at just 70°C (158°F).
So by adding them separately, whites form the structural foundation, while yolks (coming next) create that luscious, creamy top layer.
i. Uncover and set heat to the lowest setting (if your stove is funny with small flames, you can simply turn it off). Loosen yolks just until fluid (don’t whisk foamy) and drizzle them over the set whites.
ii. Cover for around 1 minute, then turn off and let carryover heat finish until partially set but still looking creamy. If it’s still too loose, rest covered 30 seconds more.
If you accidentally left it too long and it becomes too firm, spoon a little broth over and serve fast.
iii. The classic oyakodon texture is soft-set, almost custard-like, but if you prefer firmer eggs, leave the lid on longer. Your call.
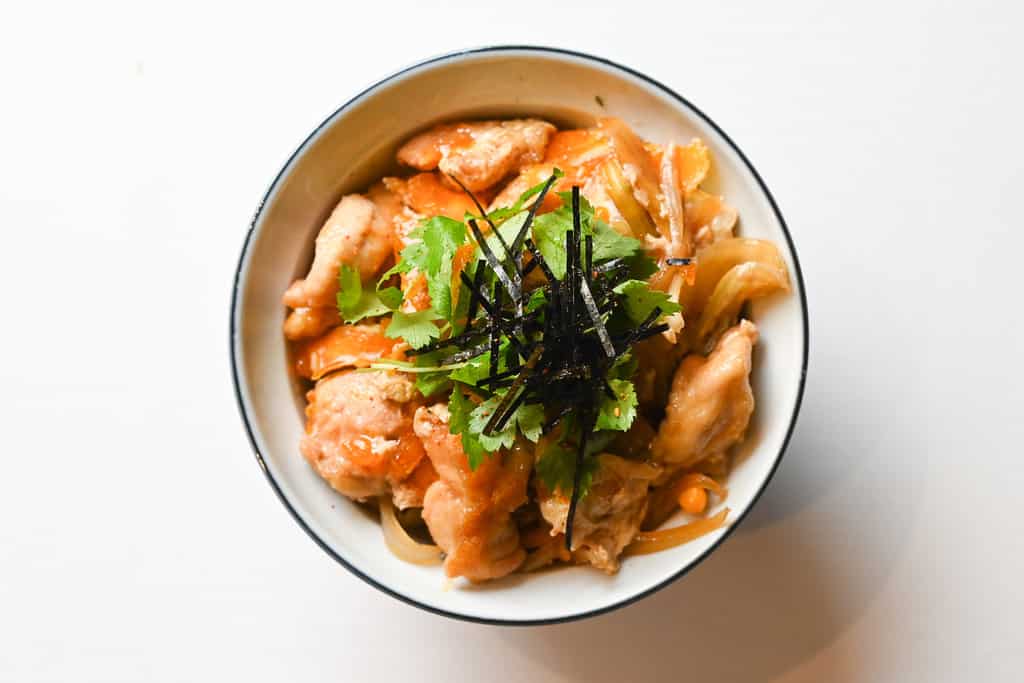
i. Spoon hot rice into your donburi bowl, then use a large spoon or flexible spatula to transfer the chicken-egg mixture on top. The goal is that gorgeous drape of golden egg cascading over fluffy white rice.
ii. Scatter fresh mitsuba (Japanese parsley) over the top. No mitsuba? Chopped green onions or even Italian parsley work in a pinch.
- Shredded nori seaweed (kizami nori)
- A sprinkle of shichimi togarashi (seven-spice blend)
- I sometimes follow the lead of my yakitori don recipe and lay a sheet of nori directly on the rice before adding the chicken-egg topping. It creates a hidden layer of savory that makes people say “wait, what is that?” in the best way.
If you follow the default recipe, it will yield 2 regular main donburi servings, or 4 side (what we call mini-don in Japanese) servings.

Essential Tips & Tricks
- Select a relatively shallow pan to encourage moisture evaporation and a balanced sauce-to-solid ratio. A deep pot traps steam and prevents the sauce from reaching its ideal reduction consistency.
- Keep the simmer gentle and manage liquid level (don’t flood the pan) so the sauce stays clingy for the bowl.
- Use the two-pour egg technique to build layered textures of stable curds and jammy yolks. Adding all at once risks a dry, overcooked finish lacking signature silkiness.
- Leverage carryover cooking by turning off the heat when eggs are 80% set to achieve a velvety finish. Stove-cooking to 100% doneness creates rubbery curds.
With these simple tips in mind, you’re set for success every time you make ultimate oyakodon.
Storage & Meal Prep
Fridge: Not so recommended, but you can store the topping (chicken + onion + egg) in an airtight container for up to 24 hours if you must, and keep rice in a separate container, otherwise the rice turns soggy fast. Expect the egg to firm up and weep a little liquid.
Freezer: Not recommended.
Meal Prep: Prep ahead by cutting chicken, slicing onions, and preparing/measuring the dashi + seasonings, or cook the chicken-and-onion base in advance and do the tamago-toji fresh right before eating. Prepping the full bowl ahead is not recommended.
Reheating: Gently reheat the separated topping in a covered skillet or microwave with a splash of dashi to prevent moisture loss.
What to Serve With This Recipe
Oyakodon FAQ
This happens when the pan is too hot for too long, or when the eggs get stirred/agitated-egg proteins tighten and separate moisture. Make sure the broth is bubbling right before you pour, then immediately drop to the lowest and cover so the eggs set gently with steam. Visually, you want soft ripples and opaque whites, not vigorous boiling.
Salty usually means over-reduction (water evaporated and concentrated the soy), while too sweet often comes from sugar/mirin reading stronger once reduced. If it’s too salty, add a splash of hot water to dilute and bring it back to a gentle simmer. If it’s too sweet, add a tiny drops more soy sauce, then simmer briefly to rebalance. Always adjust before the final egg stage so you don’t overcook the eggs while fixing flavor.
You can, but breast meat dries out faster due to lower fat content, so you’ll need to take extra care. Cut breast into smaller pieces against the grains (increases surface area for faster cooking), reduce simmering time, and consider adding a tiny bit of butter or sesame oil at the end to compensate for missing richness.
More Donburi Recipes
- Karaage Don (Fried Chicken Rice Bowl)
- Sukiyaki Don
- Garlic Teriyaki Chicken Bowl
- Butadon (Pork Bowl)
For more authentic tastes, check out these Japanese donburi recipes that range from traditional favorites to creative modern twists.
Did You Try This Recipe?
I would love to hear your thoughts!
💬 Leave a review and ⭐️ rating in the comments below. 📷 I also love to see your photos – submit them here!

Easy Oyakodon (Japanese Chicken and Egg Rice Bowl)
Ingredients
- 300 g boneless chicken thigh skin-on preferred, or breast possible
- 1 pinch salt
- 1 tbsp all-purpose flour for coating
- 1 tsp cooking oil neutral flavor
- 100 ml dashi stock
- 3 tbsp mirin
- 1 tbsp light brown sugar or granulated sugar
- 1 tsp Chinese-style chicken bouillon powder or regular chicken bouillon powder
- ½ onion yellow or white, thinly sliced
- 2 tbsp Japanese soy sauce (koikuchi shoyu)
- 3 eggs room temperature
- kizami nori (shredded nori) optional garnish
- Japanese wild parsley (mitsuba) or chopped green onion, optional garnish
- 2 portions cooked Japanese short-grain rice or Calrose
My recommended brands of ingredients and seasonings can be found in my Japanese pantry guide.
Can’t find certain Japanese ingredients? See my substitution guide here.
Instructions
- Cut 300 g boneless chicken thigh into bitesize pieces and place them in a bowl. Sprinkle with 1 pinch salt and 1 tbsp all-purpose flour, and mix until evenly coated.

- Heat a frying pan on medium and once hot, add 1 tsp cooking oil. Place the chicken thigh pieces skin-side down in a single layer and fry until crispy and golden, about 2-3 minutes.
- Flip and sear on the other side. When there is no more pink visable, turn off the heat and transfer the chicken to a plate.

- Wipe the pan with kitchen paper to remove any excess oil and pour in 100 ml dashi stock, 3 tbsp mirin, 1 tbsp light brown sugar, and 1 tsp Chinese-style chicken bouillon powder. Mix well, then add ½ onion (thinly sliced) to the broth and simmer over medium heat until softened.
- Pour 2 tbsp Japanese soy sauce (koikuchi shoyu) around the pan and add the chicken pieces back in, evenly spaced apart.
- Separate the whites and yolks of 3 eggs into two bowls.

- Whisk the egg whites and pour them around the pan. (Do not add the yolks yet.)
- Place a lid on top and cook for a few minutes, or until the whites are just starting to turn opaque.
- Reduce the heat to the lowest setting and remove the lid. Whisk the egg yolks and pour them around the pan. Place the lid back on and continue to steam-cook until the eggs reach your preferred doneness. (Authentic oyakodon should have eggs that are only just cooked, slightly runny yolks are recommended.)
- Use a spatula to divide the egg into pieces that will fit on top of your serving bowls. Dish up 2 portions cooked Japanese short-grain rice, then use a spatula or large serving spoon to scoop the egg and chicken mixture onto the rice.
- Drizzle any leftover sauce in the pan evenly over each portion and garnish with kizami nori (shredded nori) and/or Japanese wild parsley (mitsuba). Enjoy!
Best oyakodon recipe hands down. I’ve been scouring the internet for different kinds of oyakodon recipe. But this really recipe stands above the rest.
Can’t wait to cook more of your food!
Hi Joel,
Thank you so much for your kind words! It means a lot!
Yuto
Yummy n simple
Hi Marcelliana,
Thank you so much for trying this recipe! Looking great! I’m glad to hear you enjoyed it. 🙂
Yuto
I have also tried several recipes, what makes yours stand out is separating the eggs, a great idea!
Free range chicken from the south west of France, mitsuba cut fresh from the terrasse and Koshihikari from Niigata, what could be better 😉
Hi Tony,
Thank you for sharing your experience! You’re indeed cooking with the finest! I’m glad to hear the egg separation technique worked well! 🙂
Yuto
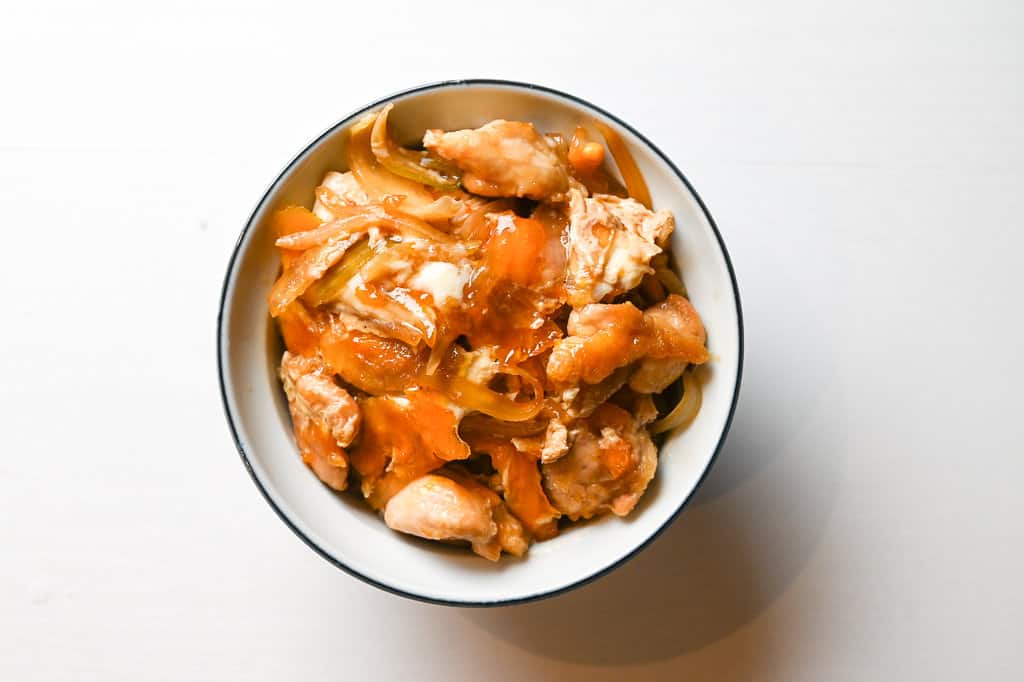
This is the best oyakodon recipe ever. Problem solved! – and I have tried many. Before, the chicken turned out too hard, too blonde, too dry, or onions too dark, too strong, too something, the dashi too much too little, the egg too raw too cooked – too many toos with little possibility to control the end result in the making. Now this here is the ultimate answer. (Picture shows a ‘deconstructed’ oyakodon / zosui because I had rice leftover from yesterday.)
Hi Isa,
Thank you so much for leaving your lovely comment here too! So happy to hear that you found this recipe the best! I also love how you creatively adapted it into a deconstructed style with your leftover rice! 🙂
Yuto
Am stress testing this recipe currently , made it five times in a row with various degrees of sloppiness . Turns out perfect every single time.
Thank you Yuto-san!!
Hi Isa,
Thank you so much for testing the recipe so thoroughly! Hearing that it works reliably even with different approaches is the greatest compliment a recipe developer could receive!
Yuto
… and repeat! Perfect as always.
Thank you for making my Oyakodon again, Isa! Looking delicious as always! 🙂
Perfect recipe! Delicious and comforting and easy to put together. Thank you for sharing!
Hi Ash,
Thank you for trying this dish! I’m so glad you found it both delicious and easy to make. Comments like yours make sharing recipes truly rewarding!
Yuto
Thanks for your tip of separating the eggs…. brilliant.
This is one of my favourite dinners.
I can’t get bonito flakes here so I use dried shiitake instead.
Hi Trish,
Thank you for trying this recipe! I’m happy the egg tip helped and I bet the shiitake adds amazing depth too! 🙂
Yuto
Mahalo will make this soon!
Thank you, Faith! I hope you will enjoy! 🙂
Oh my gosh! Was not expecting that. We cooked this up and given the limited ingredients we were thinking ‘boring rice with a dry omelette on top’
But NO WAY where did that flavour come from!
Outstanding and a new firm favourite simple dish to go to
Hi Peter,
Thank you so much for trying my oyakodon recipe too! I’m so happy it turned out to be a pleasant surprise and that it’s become a new favorite in your home! It means a lot! 😊
Yuto
Absolutely delicious! I used chicken breast and followed the instructions to not overcook. The chicken stayed moist the whole time. I added another egg than the recipe called for, just because we love eggs and I was using a huge pan. Also way easier than I anticipated. Made on a Tuesday night! This will be a go-to for sure from now on.
Hi Shannon,
Thank you for trying my oyakodon recipe! I’m really happy you enjoyed the recipe and made it your own with the extra egg. 🙂
Yuto
This was absolutely delicious! I came here from your YouTube channel. I’ve been wanting to make this for a while, but wasn’t sure if my husband would enjoy it. Turns out it’s also a 5 from him as well!
This is definitely going to be in my rotation because it’s an ultimate comfort food ❤️ Thank you so much for sharing the recipe!
Cheers from Utah state 🙂
Hi Ranae,
Thank you so much for trying this recipe and for taking the time to leave feedback from YouTube! That really means a lot. I’m so happy to hear it was a 5 from both you and your husband and that it’s going into your regular rotation! 🙂
Yuto
So Yummy 😋 thank you for the tips especially about separate the egg white and yolk.
Hi May,
So glad you enjoyed it! I’m happy to hear the egg white and yolk tip made a difference! Thank you so much for trying the recipe and sharing your photo, looks great! 🙂
Yuto
I am over the moon in love with this recipe. All the flavors come together to create a very satisfying taste experience. Thank you for the rice cooking recipe as well because it is now my goto for making the perfect rice. WOW! I had no idea I had been cooking rice wrong all this time. This whole recipe is a game changer. Thank you so much for sharing.
Hi Cindy,
Wow, thank you for this! Nothing better than hearing a recipe hits on every level. The fact that the rice method was a game changer for you means so much, that’s exactly why I love sharing these things. Really appreciate you taking the time to share that! 🙂
Yuto