

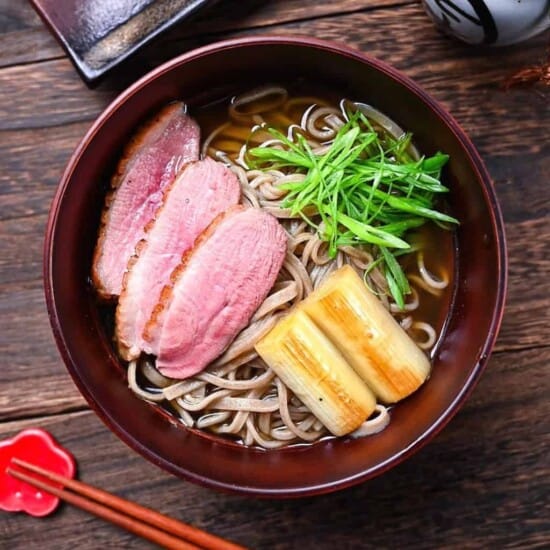


At a soba restaurant, the Kamo Nanban Soba stands out as the most expensive dish on the menu. Duck isn’t a common meat in Japan, so people usually eat it out. Many people have never cooked duck before.
However, as long as you can find some duck breast, you can make it at home. The flavor soars to heights that kake soba or kitsune soba simply can’t reach when the fat rendered from the roasted duck melts into the broth and blends with the sweetness of the seared onions.
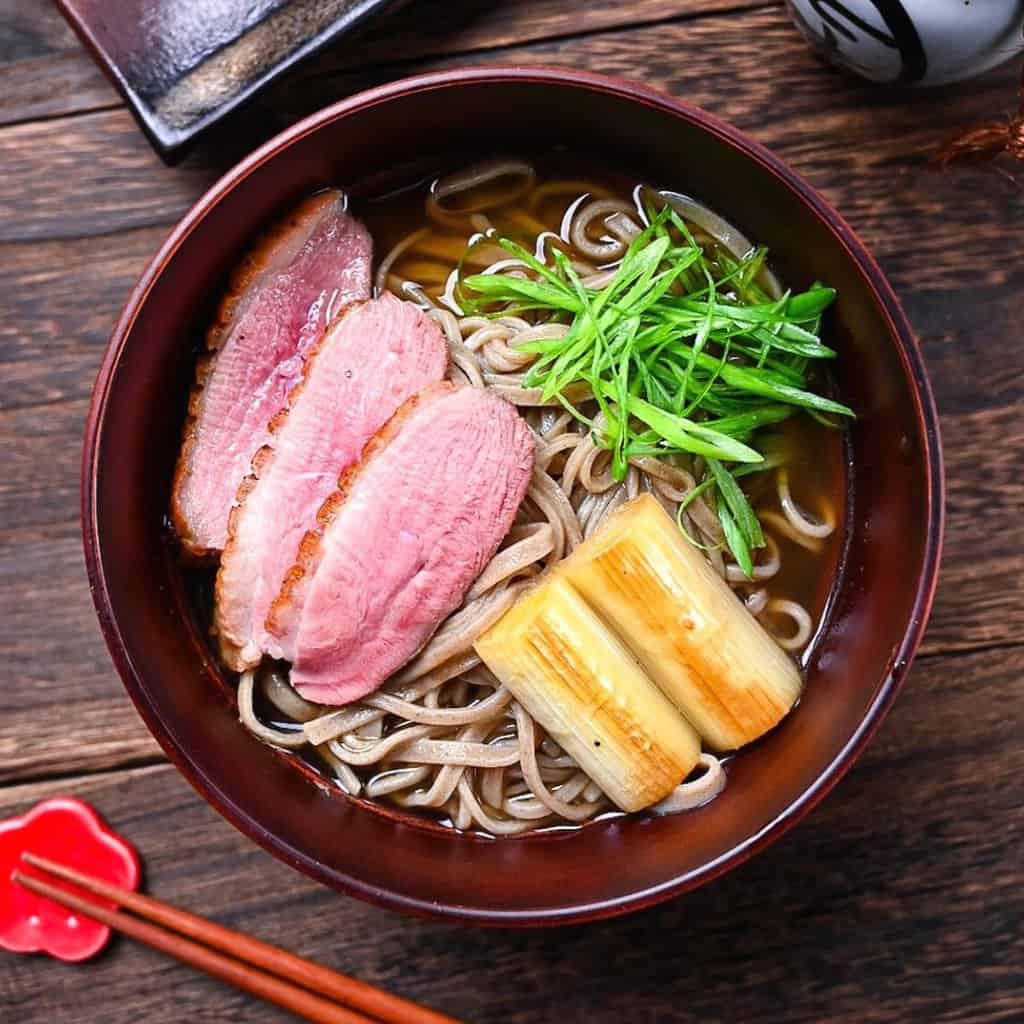
Duck soba
Recipe Snapshot
- What is it? Japanese soba featuring seared duck meat and charred negi served in warm soba broth. It’s a winter staple at soba restaurants in Japan.
- Flavor profile: The duck fat, with its intense umami and sweetness, creates a broth with a depth that sets it apart from ordinary kake soba.
- Why this recipe works: By placing the duck in a cold skillet before turning on the heat and searing it all at once, you only need to decide when to remove it from the heat once. Instead of discarding the trimmed scraps and rendered fat, adding them to the broth creates an extra layer of duck flavor on top of the dashi.
- How to make it: Sear the duck, let it rest, and then sear the negi in the rendered duck fat. The sauce is simply a combination of reduced mirin, two types of soy sauce, and dashi.
- What to expect: Serves 4-5. It takes 10-14 minutes to sear the duck, followed by 10-15 minutes of resting. It’s not particularly difficult.
What Is Kamo Nanban Soba?
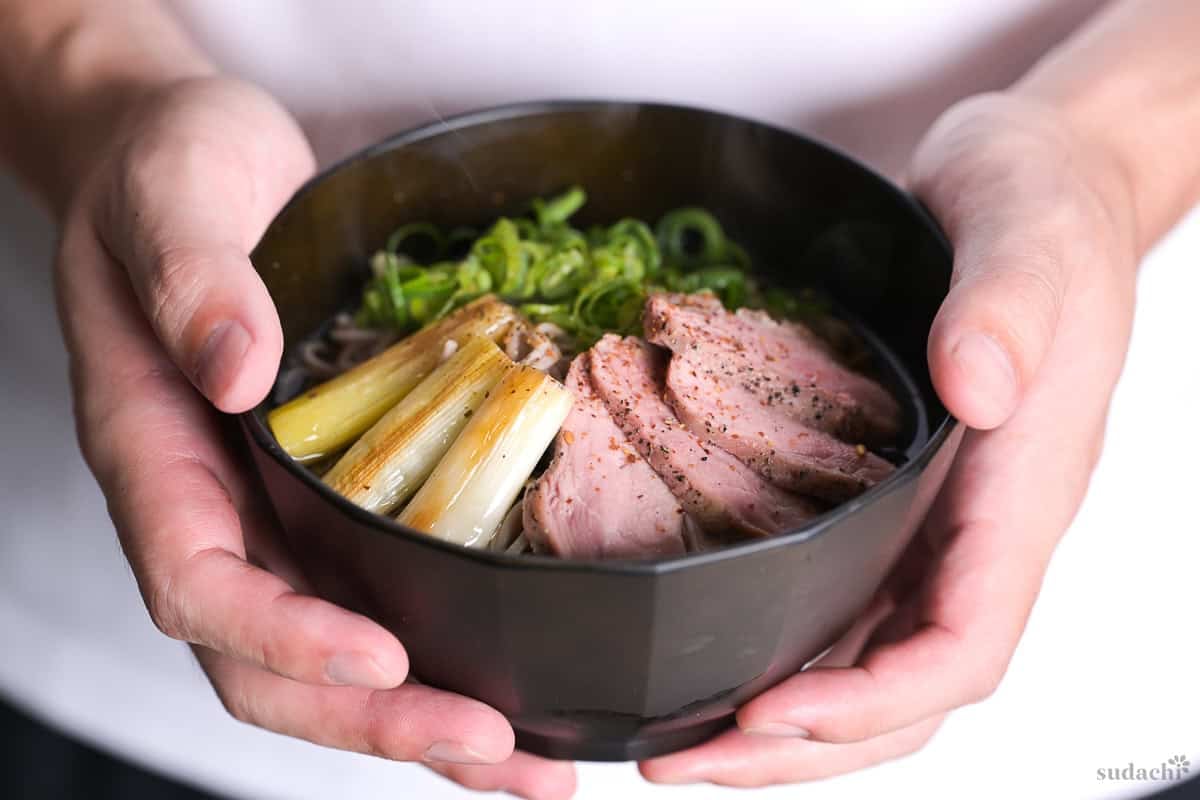
Kamo Nanban Soba (鴨南蛮そば) is a soba dish with warm broth, grilled duck meat, and charred leek on top. The “Nanban” in the name doesn’t refer to a Western-style dish, like “Chicken Nanban,” or chili peppers. It actually refers to the negi. Back in the Edo era (1603-1868), soba shops used a slang term for negi for the dish’s name, and it’s been that way ever since.
They say it started in the early 1800s at a soba shop in Bakurocho, Tokyo. The dish’s first known appearance in print dates to a comic novel published between 1812 and 1818, which fits the early 1800s timeframe.
Since domestic ducks weren’t easy to come by until the 1900s, it’s thought that the duck used in the early versions of Kamo Nanban was actually wild. Kamo Seiro and Kamo Nanban Soba are similar, but there’s a key difference. In Kamo Seiro, cold soba noodles are dipped in a warm duck dipping sauce. In Kamo Nanban Soba, both the broth and the noodles are served hot.
Duck Soba Ingredients
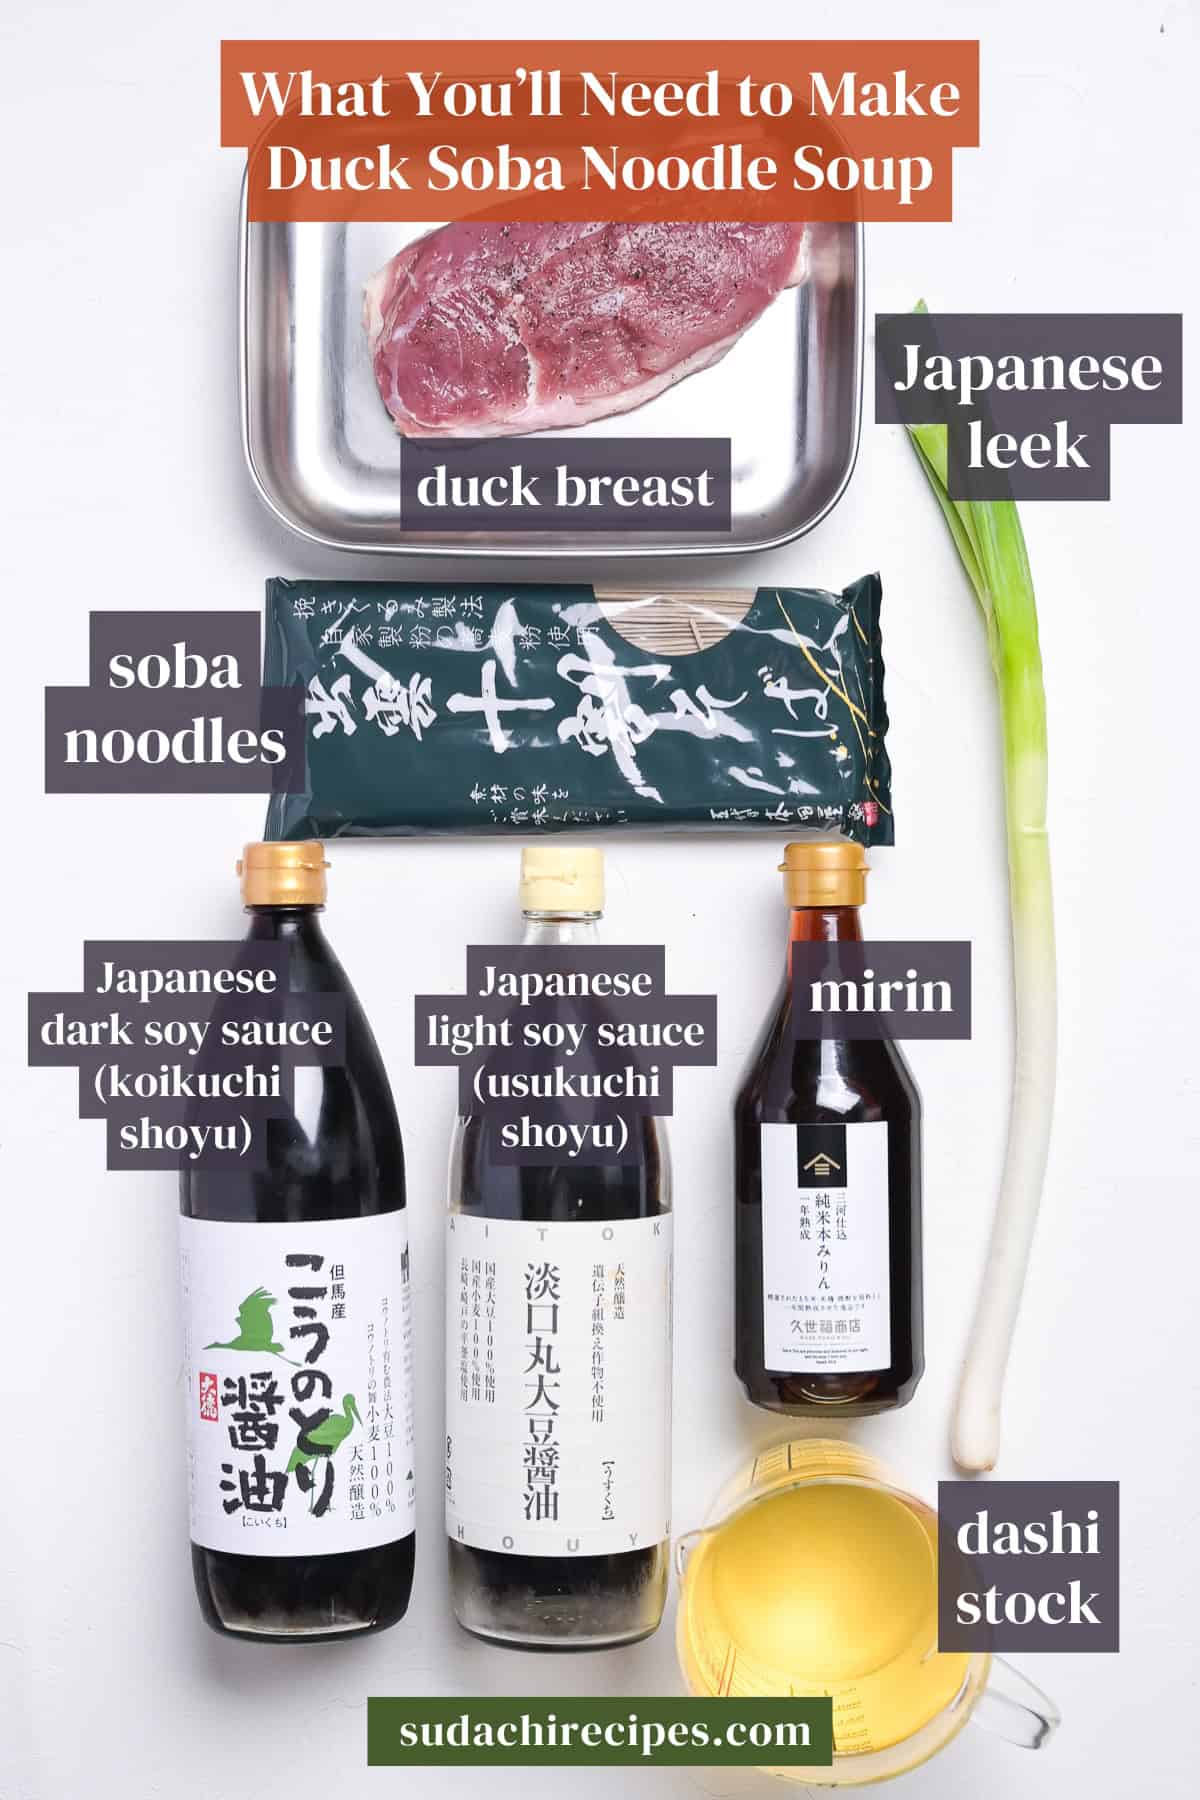
- Duck breast: Buy it in a whole piece with the skin on. The duck sold in Japan and the duck commonly available abroad are different breeds and have different flavors. In any case, since the imported variety is easier to find no matter where you are, I’ve been making this recipe with that from the very beginning. In Japan, frozen duck from Thailand or Hungary is commonly available. Frozen is fine, but be sure to place it in the refrigerator the day before and let it thaw slowly overnight.
- Japanese leek (negi): Use the white part. Since the thickness contributes to the texture, choose ones that are about as thick as your thumb. The thin green onions sold as “scallions” or “spring onions” are actually different from the ones used in this recipe. If you can’t find them, Western leeks are the best substitute. They become quite sweet when cooked, so they pair well with this dish.
- Two types of soy sauce (dark and light): I use both dark and light soy sauce in my sauce. The dark soy sauce adds color, depth, and aroma, while the light soy sauce allows you to add saltiness without clouding the sauce. However, despite the look, light soy sauce has a higher salt content than dark soy sauce, so if you keep adding it just because it’s lighter in color, the dish will become too salty.
Substitution Ideas
- Duck breast → Chicken thigh: This is a time-honored substitution for a dish known as “Kashiwa Nanban.” While the skin releases fat, providing a satisfying richness. Adding shiitake mushrooms can help enhance the depth of flavor.
- Japanese leek (naganegi) → Leeks: Since regular leeks become sweet when cooked, they are an ideal substitute for this dish. Since they have a dense texture and take longer to cook through, you should either increase the cooking time by 1.5 times or cut them in half lengthwise and sear them on the cut surfaces.
- Japanese light soy sauce → Make it using only dark soy sauce: The color becomes darker, and the sauce looks richer. The saltiness is also slightly reduced, so taste it at the end and add salt if necessary to achieve the level of saltiness that’s just right for you.
Have trouble finding Japanese ingredients? Check out my ultimate guide to Japanese ingredient substitutes!
How to Make My Duck Soba
Before you start (Mise en place):
- If you use frozen duck, transfer it to the refrigerator the day before and let it thaw for 24 hours. Avoid leaving it at room temperature or defrosting it in the microwave, as this causes the flavor to leach out along with the drippings.
- Remove the duck from the refrigerator 30 to 60 minutes before cooking and let it come to room temperature (up to 30 minutes in the summer). If you start cooking while the center is still cold, the inside will remain raw by the time the skin is done.
- Cut the white part of the leek into 5-cm pieces.
i. Trim off any excess protruding fat, tendons, and the thin membrane on the meat side. Be sure to save all the trimmings though! They’ll come in handy later for the sauce. If left intact, the thin membrane on the meat side will shrink during cooking and cause the meat to curl.
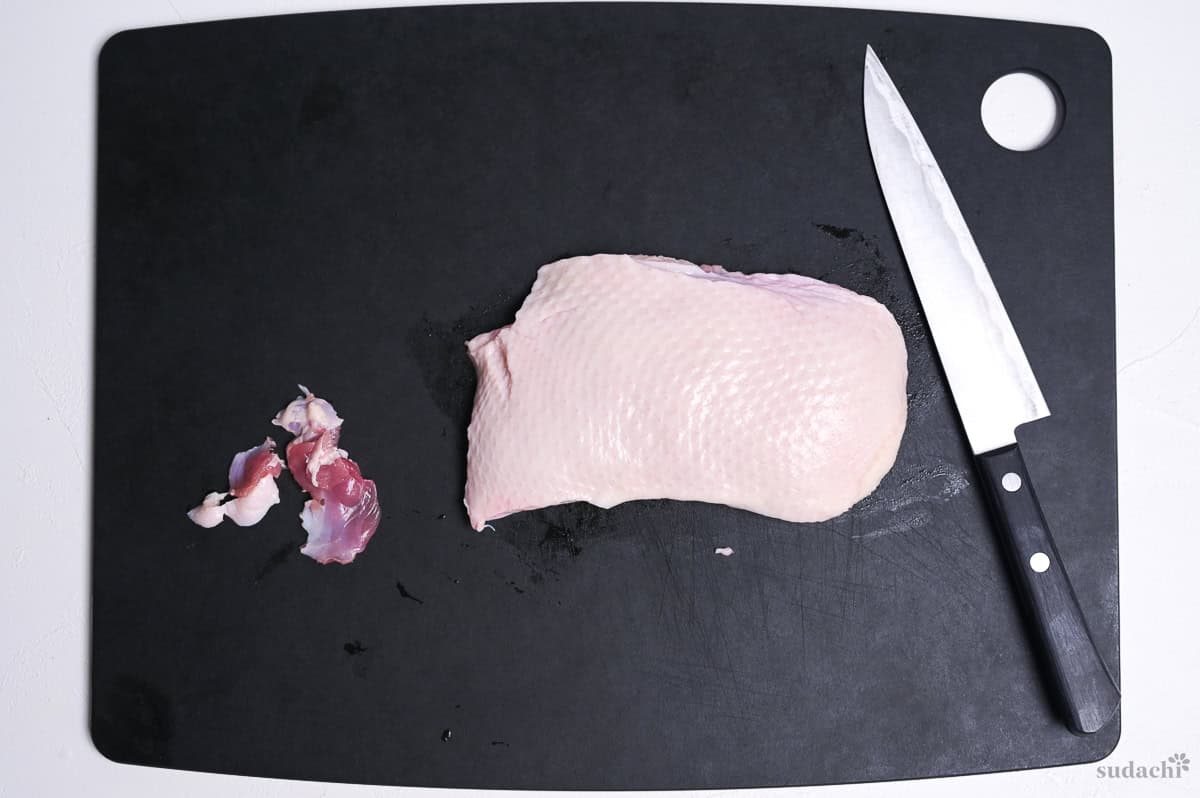
ii. Make shallow diagonal cuts in the fat on the skin at 0.5 cm intervals. Rotate the duck and make another set of cuts in the opposite direction to create a crisscross pattern. The cuts should be 2-3 mm deep, reaching about two-thirds of the skin’s thickness. It’s easier to score straight from the fridge.
Do not cut too deeply into the meat, as this will cause the juices to escape and make the meat dry.
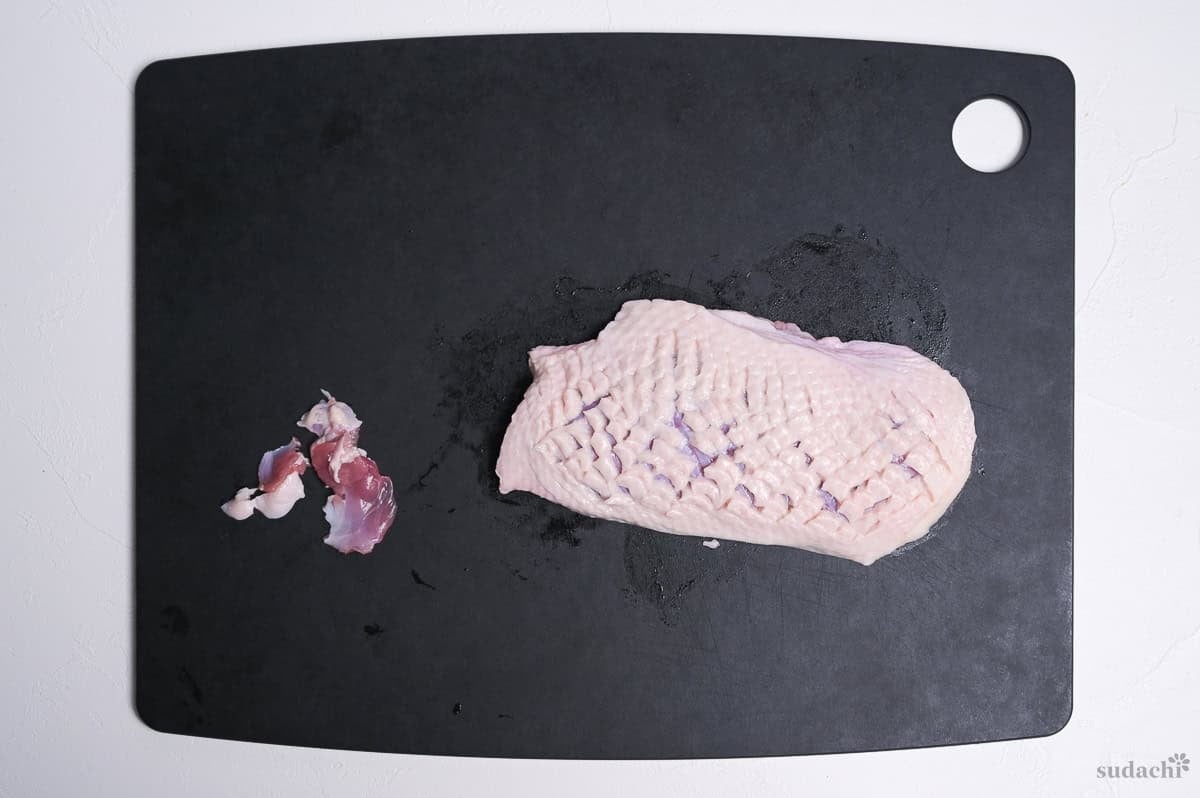
iii. Place in a sealable container and rest on the counter to bring to room temperature before you start cooking. Usually 30-60 minutes depending on season and environment.
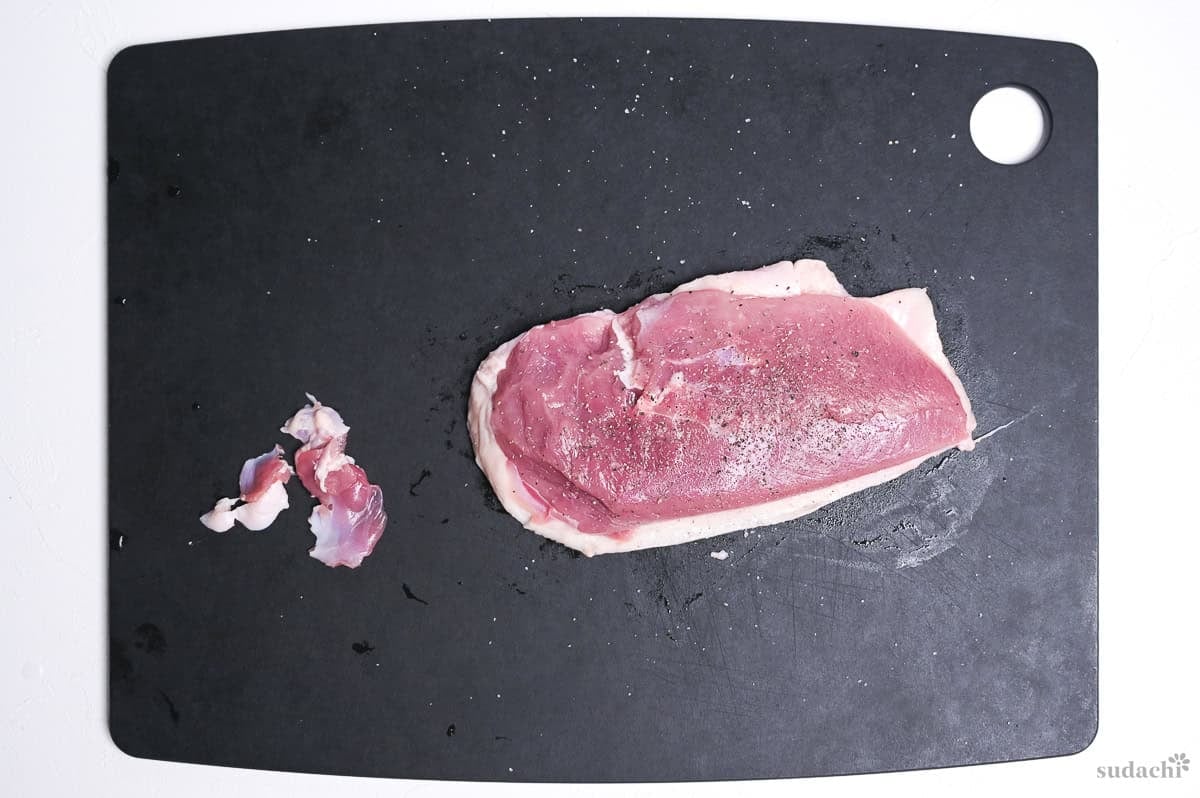
iv. Once it reaches room temperature, pat the surface dry and sprinkle salt on both sides. Sprinkle black pepper only on the meat side.
i. Place the duck skin-side down in a cold skillet. Then turn on the heat to low to medium-low. When it starts to sizzle, set a timer for 10 minutes. Do not preheat the skillet.
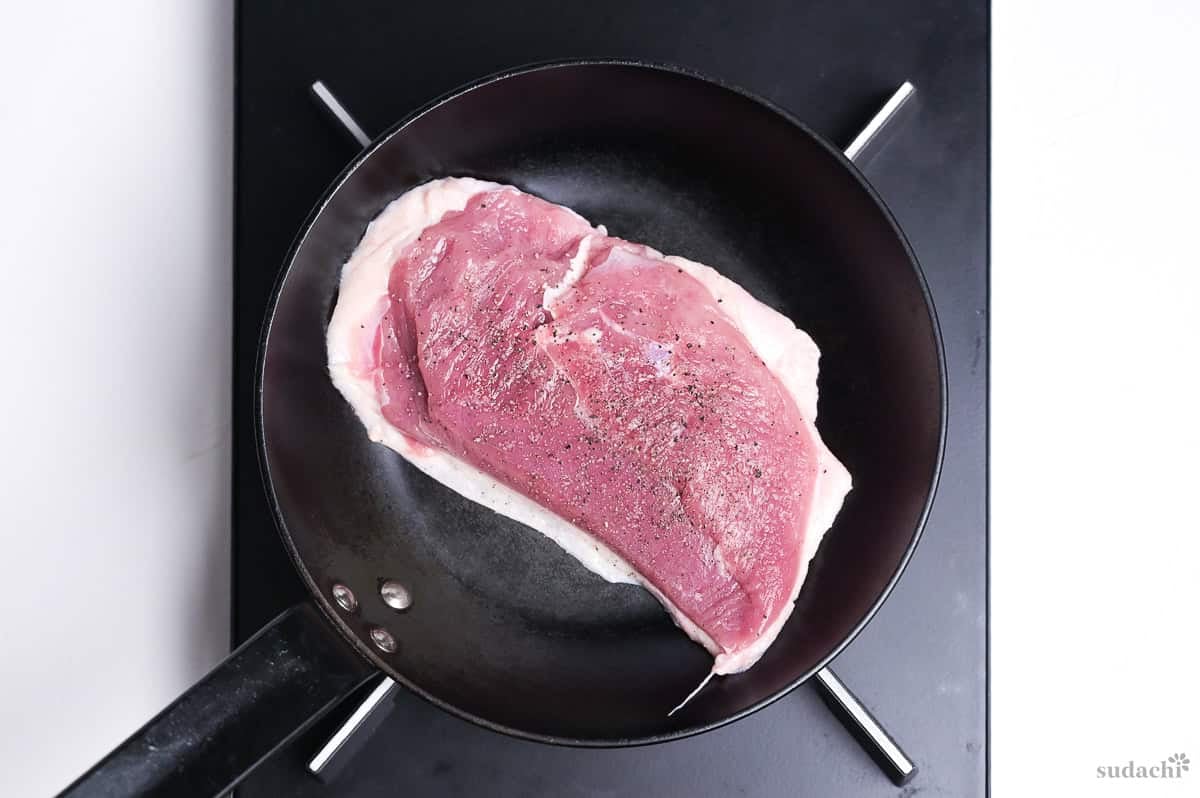
ii. Gauge the heat by the sound. If you hear loud sizzling sounds like “crackling” or “sputtering,” the heat is too high. A gentle “bubbling” sound is just right. If you continue cooking at a high heat, the outside will burn while the inside remains raw-the very outcome you want to avoid.
Using electric stove? since electric stoves take a while to heat up, you won’t hear any sounds for the first 2-3 minutes after turning on the heat. Start counting the 10 minutes once the sounds begin.
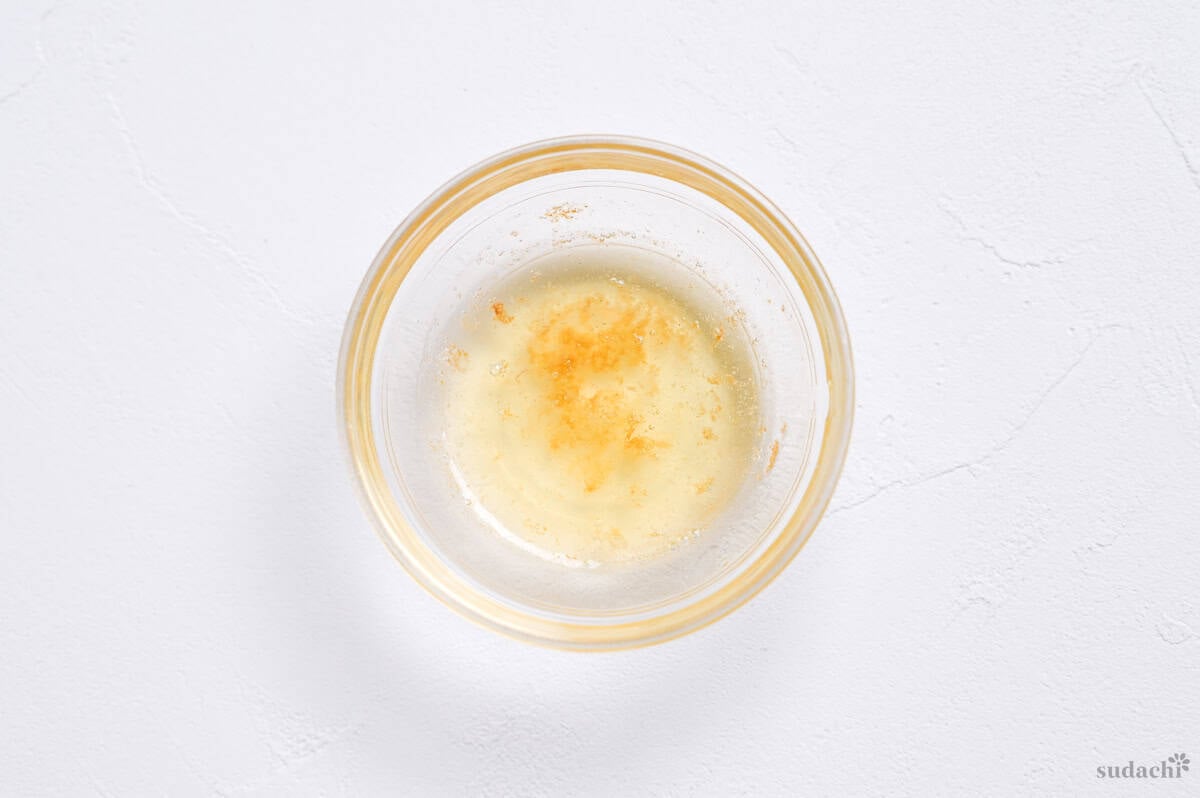
iii. Every 3-4 minutes, tip out the rendered fat into a heatproof bowl. Don’t throw the fat away though!
iv. Once 10 minutes have passed, spend the next 2 minutes scooping the fat that has pooled at the bottom with a spoon and drizzling it over the flesh side while cooking. This allows gentle heat to penetrate from above and prevents the surface from drying out.
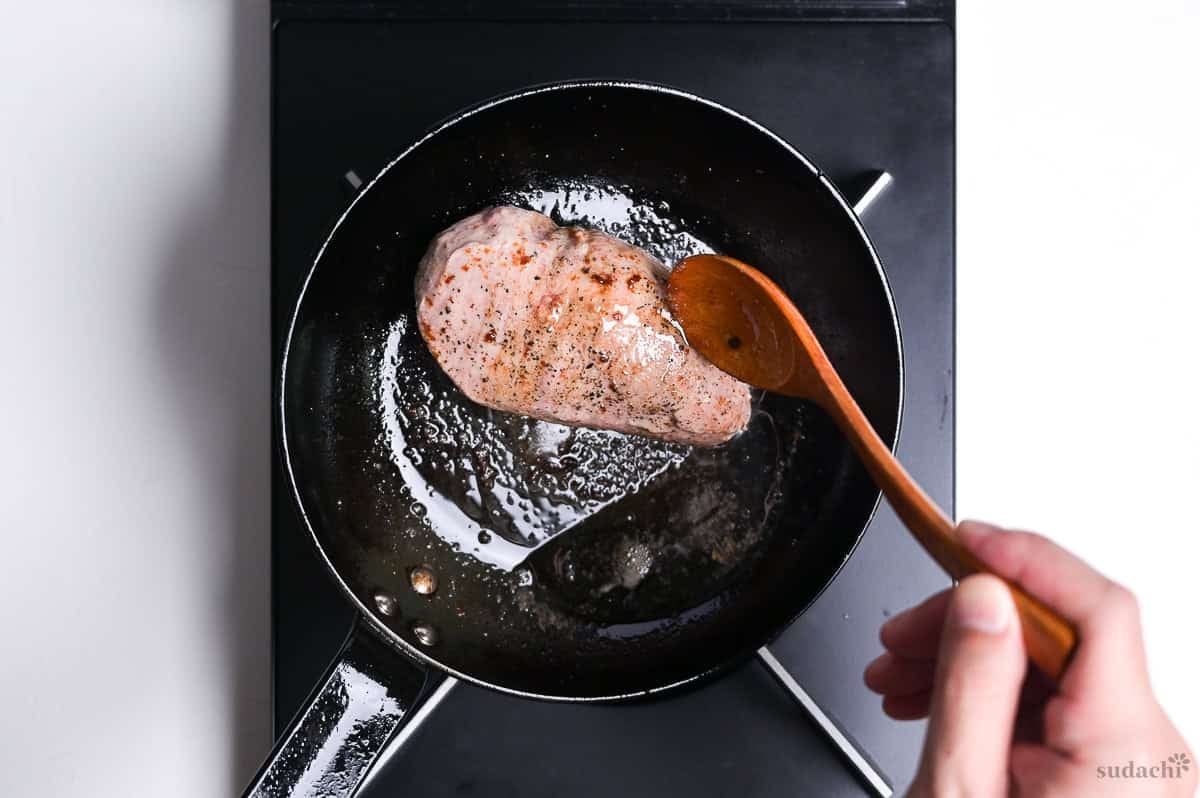
v. When the skin is a deep golden brown, flip the duck and cook the flesh side for just 40-60 seconds to sear it. Be careful not to cook it too long, or the rosy color will disappear in an instant.
Since the subcutaneous fat in duck melts at low temperatures, high heat isn’t necessary to render the fat. All it takes is time. If the heat is too high, the skin’s surface will burn before all the fat has rendered. By starting with a cold skillet, the fat renders completely before the skin burns.
i. Place the duck skin-side up on a plate and loosely cover it with aluminum foil. Do not wrap it tightly. Let it rest for 10-15 minutes in a warm place, such as next to the stove.
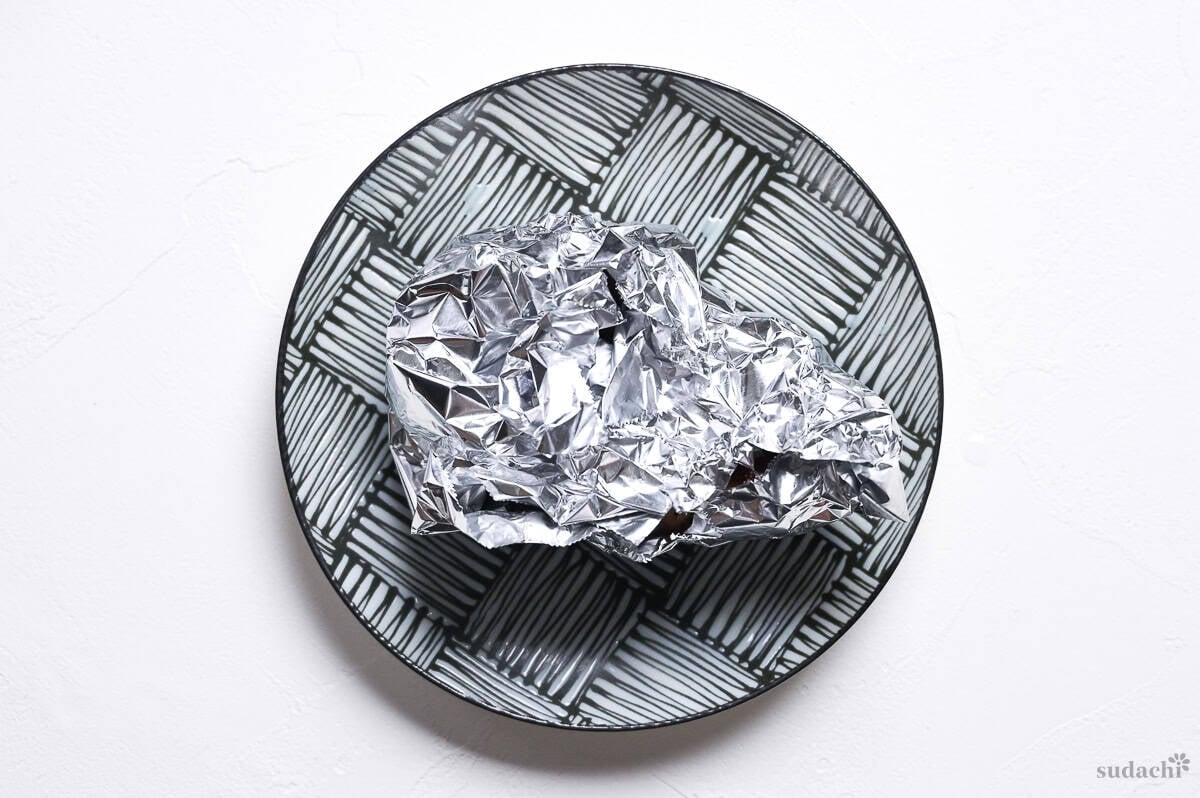
ii. You can gauge the right time to remove it from the heat to some extent by touch. Press the center of the meat; remove it when it has almost no spring and is still nearly raw. It will firm up as it rests. If you have a thermometer, that’s the most reliable method: remove it from the heat at 50-52°C, and it’s perfect if the center reaches 55-58°C by the end of the resting period.
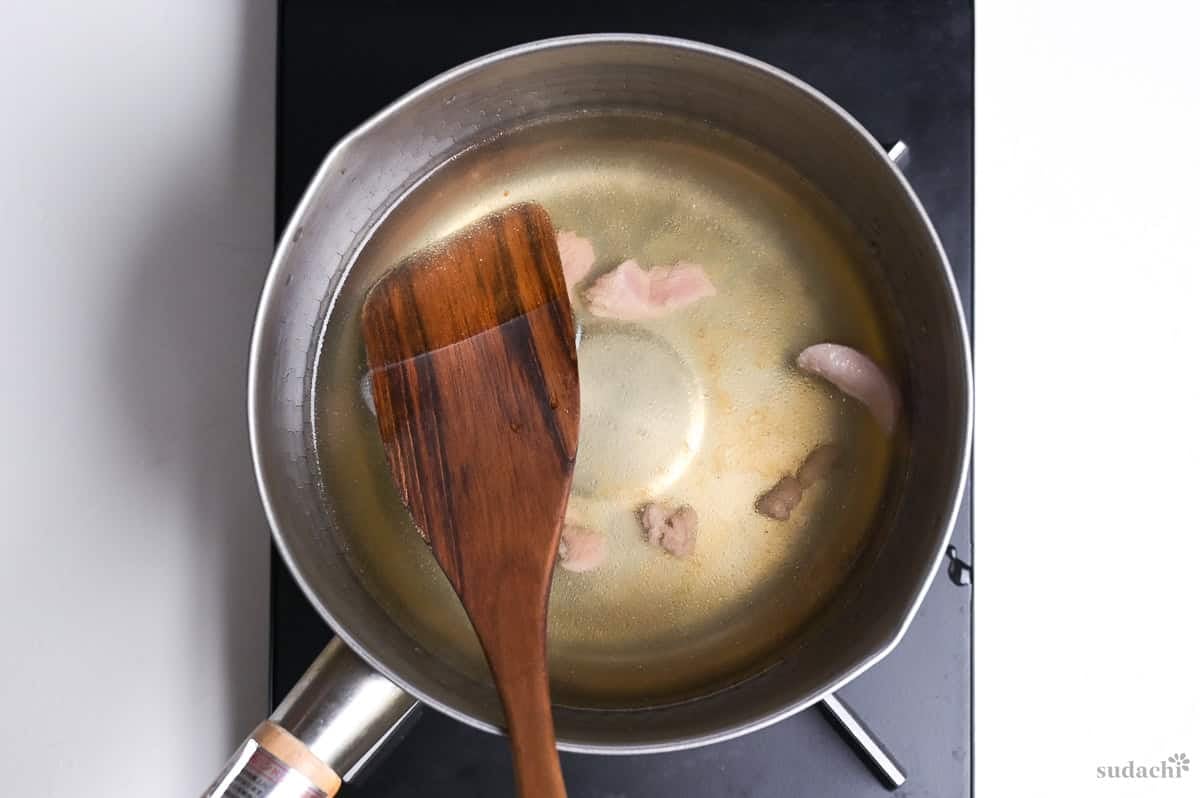
i. Optional step: Sear the duck trimmings from earlier in a skillet until lightly browned.
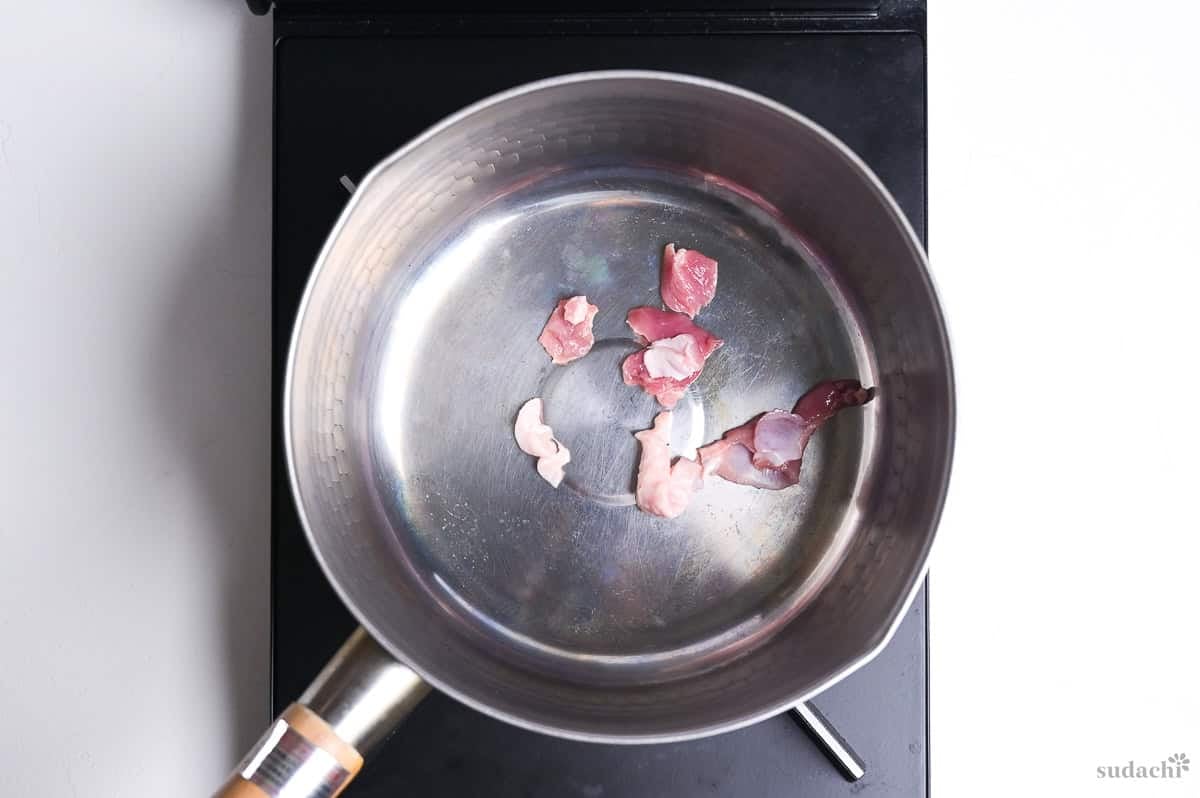
ii. Add the dashi broth, bring to a gentle simmer and then turn off the heat. Let sit for 10 minutes. This is a great way to repurpose the trimmings, as it infuses the broth base with duck umami.
iii. While you wait, reuse the skillet used to sear the duck breast, and char the sliced green onions in the rendered fat.
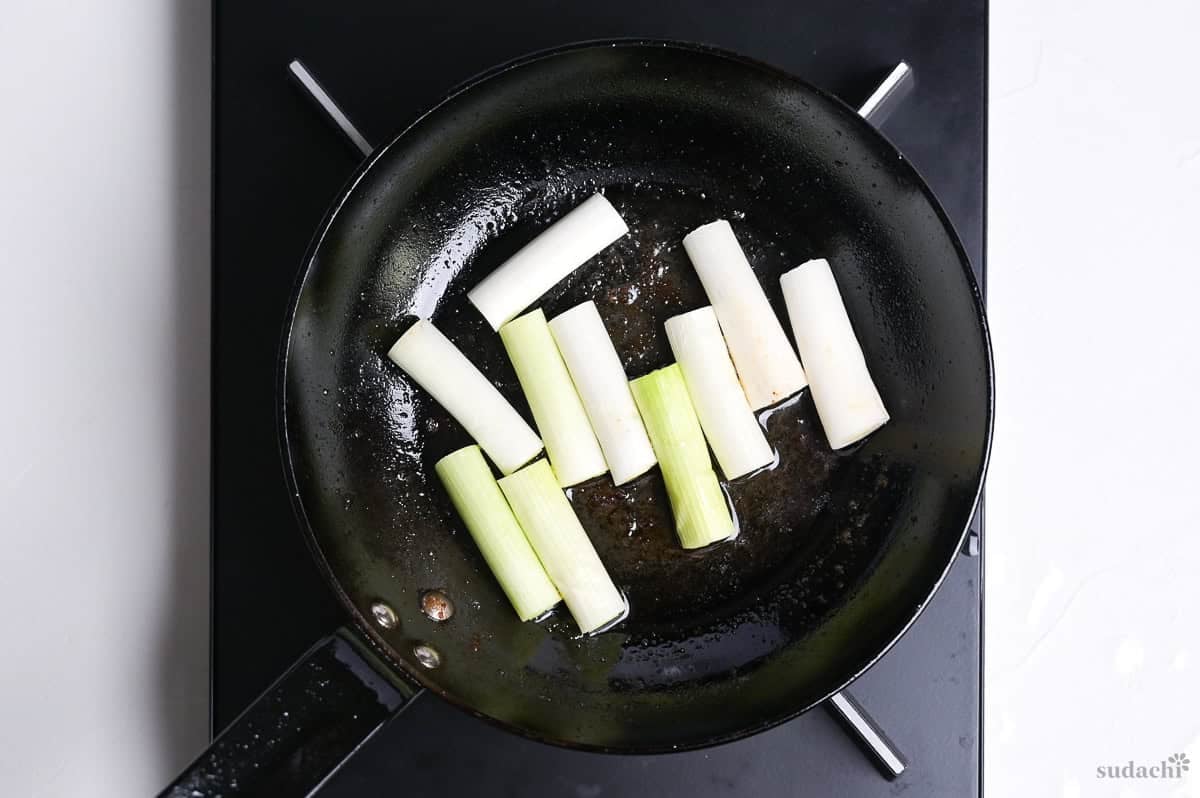
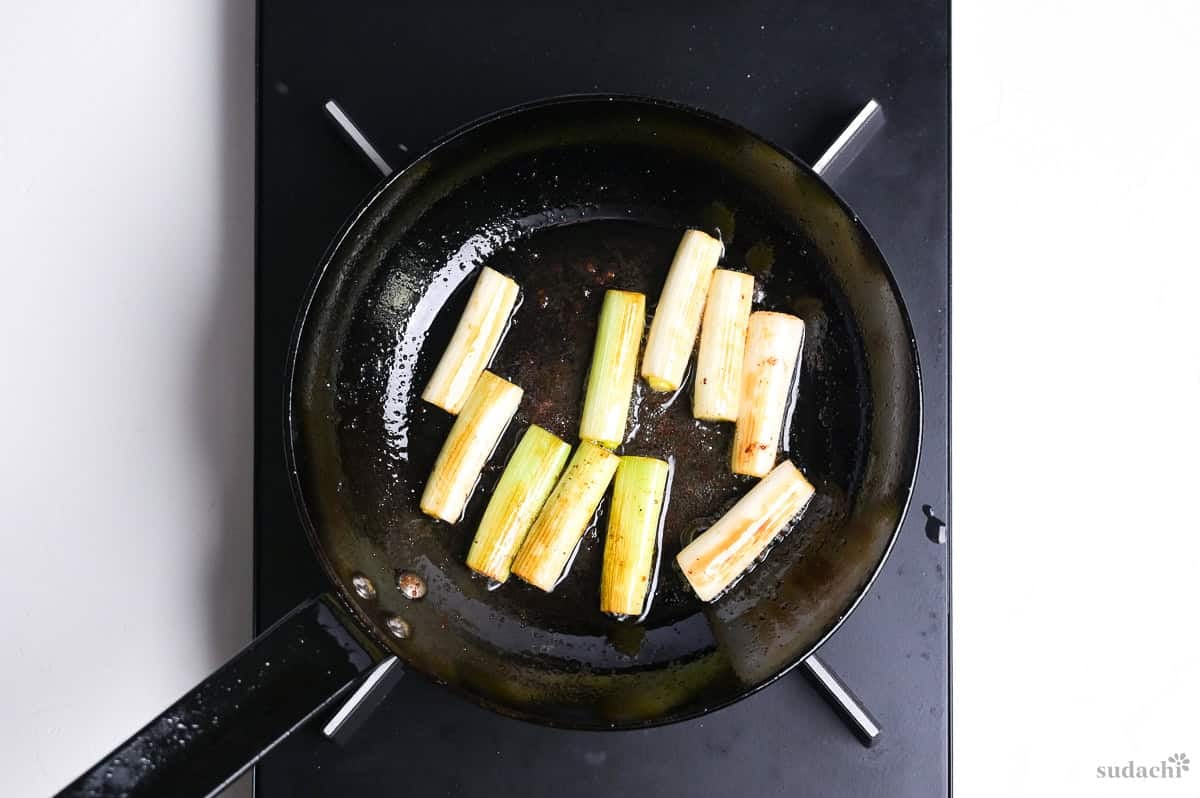
iv. Cook undisturbed on each side until charred, then turn. Repeat until nicely browned all over and the core becomes translucent and tender, about 6 minutes total. This is the key to this dish, so be sure to sear them thoroughly to bring out the sweetness of the onions.
i. In a separate pot, add the mirin and boil over medium heat for 2 minutes to burn off some of the alcohol. Judge this by the smell. Fan the steam with your hand, if a strong odor reaches your nose, it means the alcohol is still burning off.
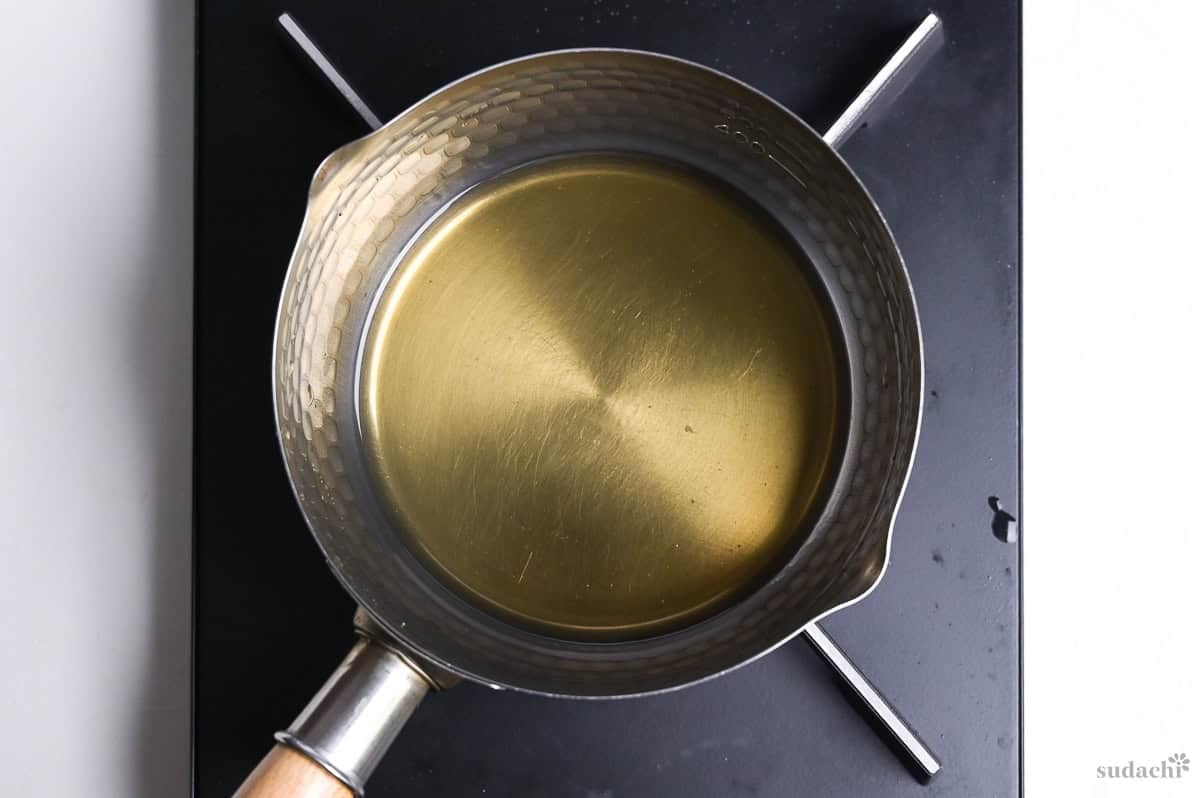
ii. Add the two types of soy sauce to the reduced mirin and bring to a gentle boil just once to mellow the sharpness.
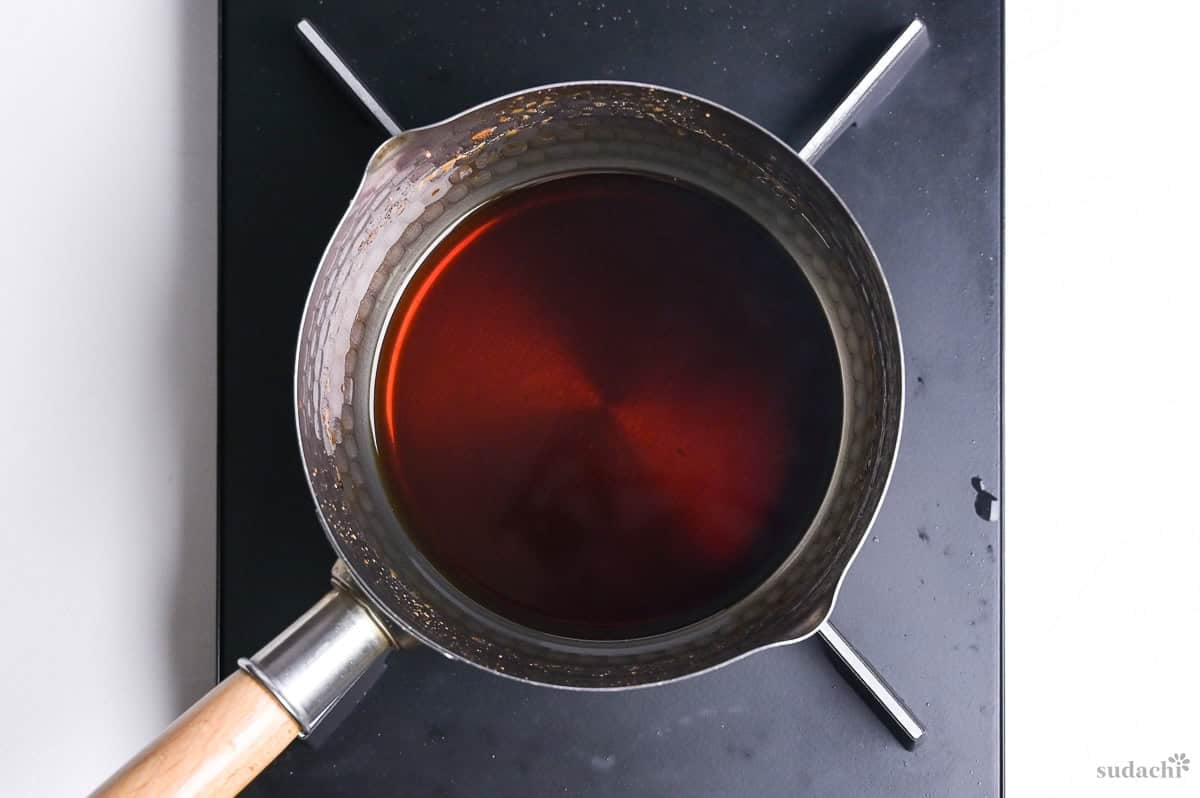
iii. Remove the offcuts from the dashi and pour it into the mirin and soy sauce mixture. Add the seared leeks, and heat until fine bubbles form along the edge of the pot. Do not let it come to a rolling boil.
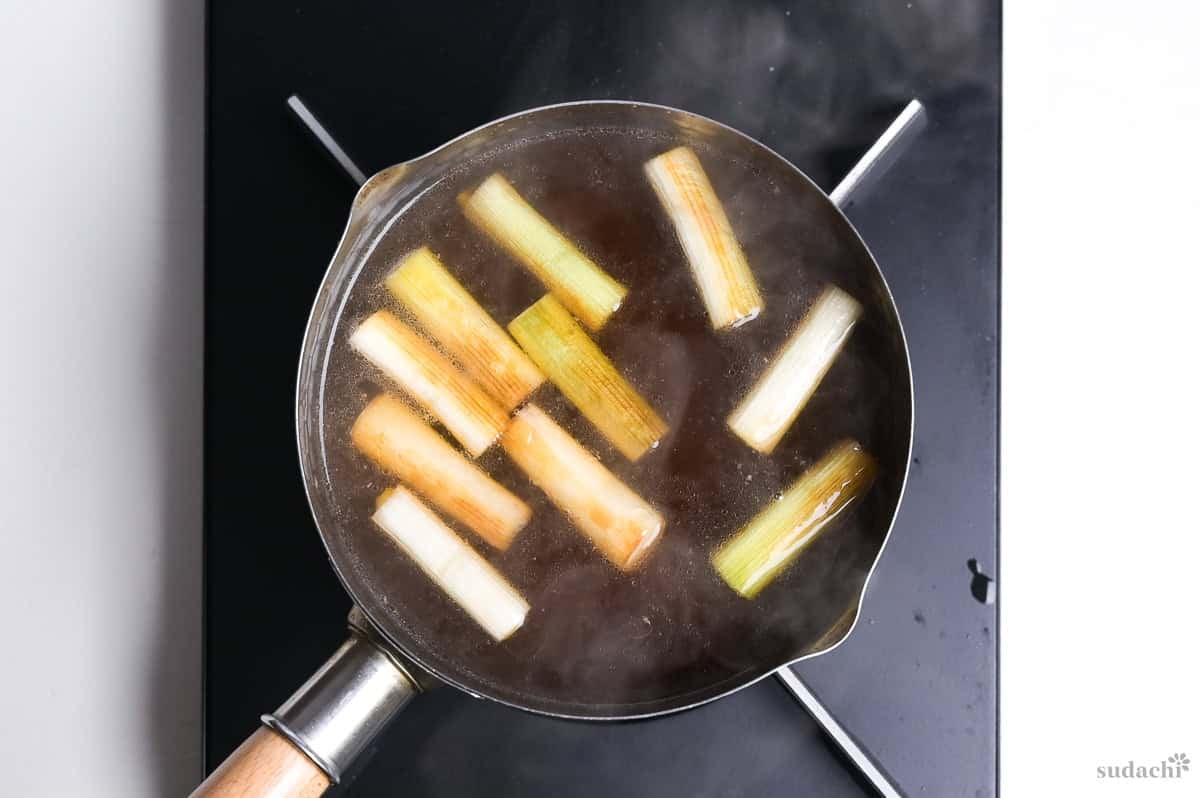
iv. As a guideline for seasoning, taste the sauce on its own, it should feel “slightly strong.” This is because the flavor will be diluted once the soba and toppings are added.
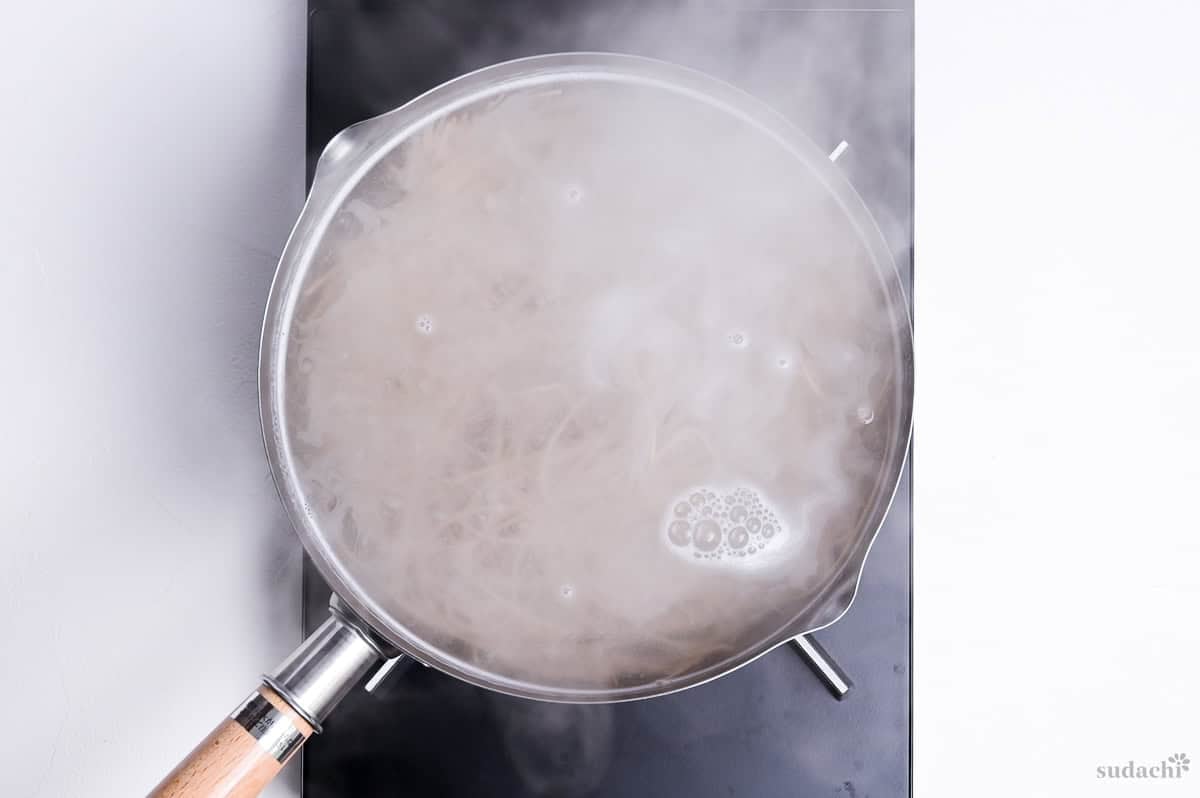
i. Once the broth is ready, boil the soba last. Use plenty of water, add no salt, and follow the cooking time indicated on the package.
ii. As soon as they’re done, drain them in a colander, gently rub them under running water to remove the starch from the surface, and then rinse them thoroughly in ice water to firm them up.
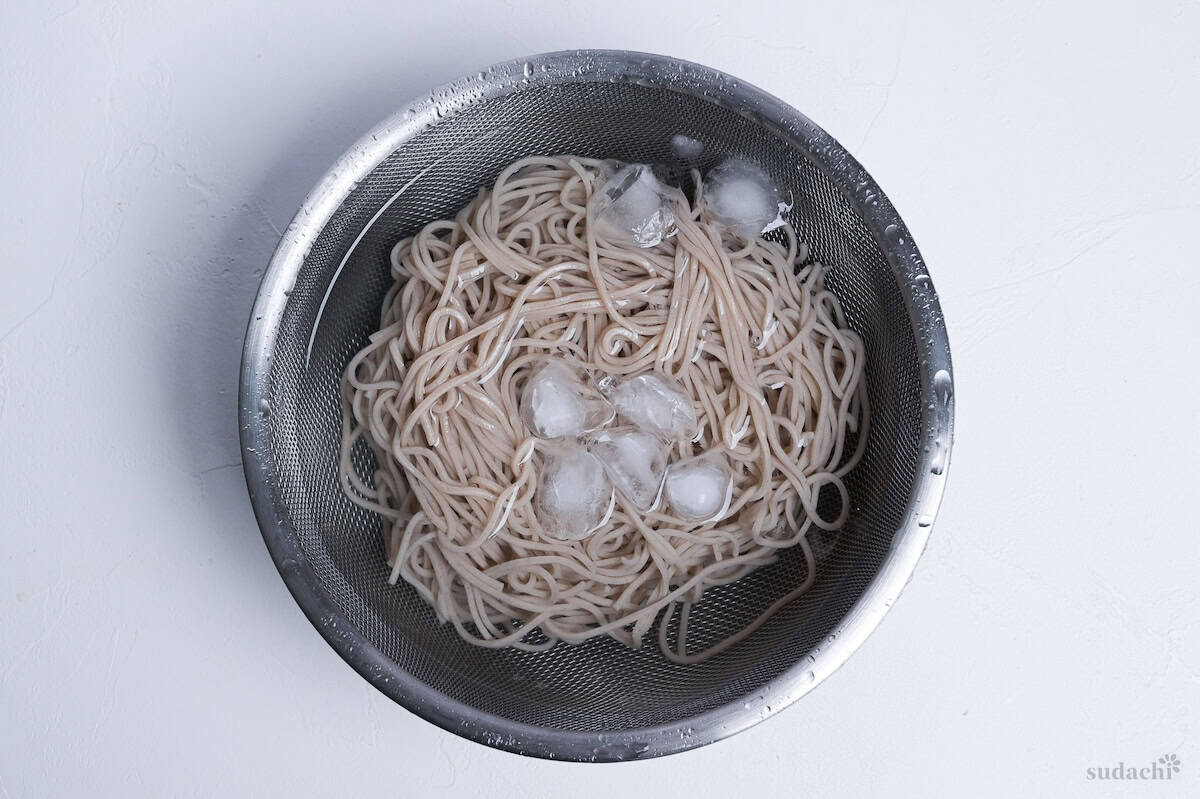
iii. Just before serving, dip the chilled soba in boiling water for 10-15 seconds to warm them up, then drain them well.
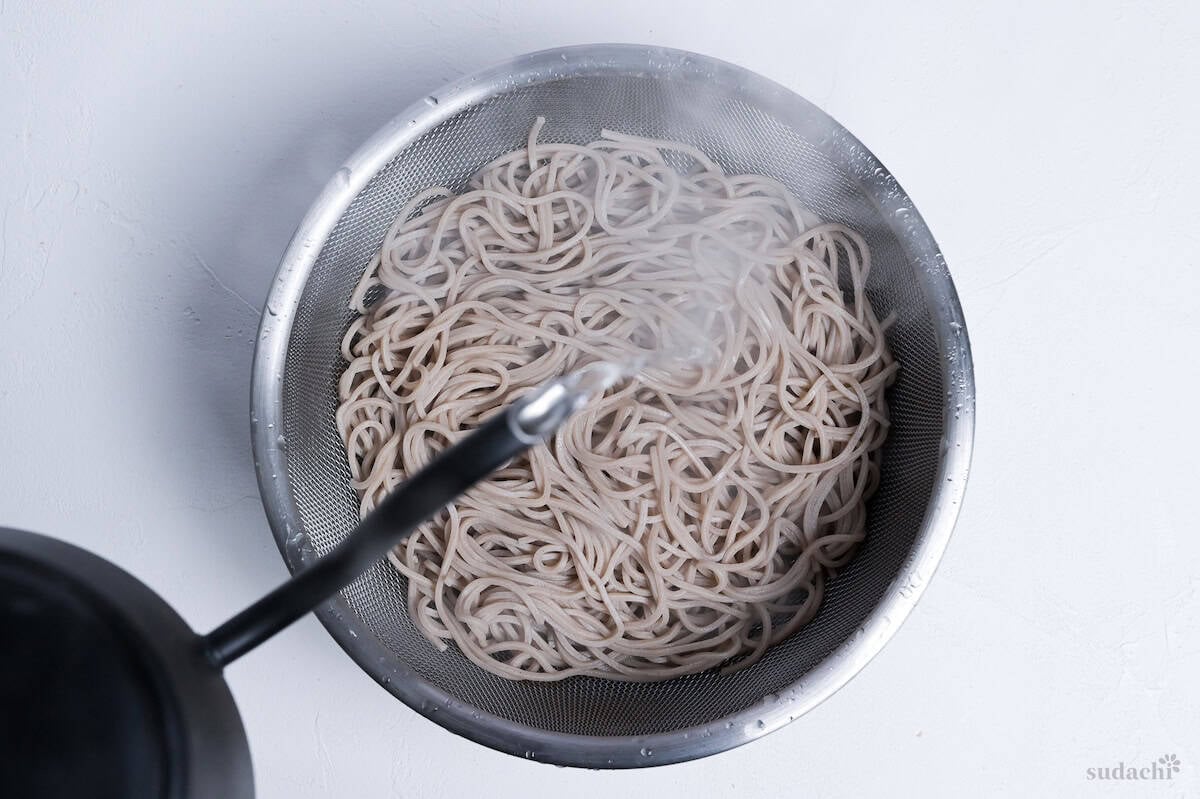
Starch remains on the surface of the cooked noodles. If you place them in the bowl without removing it, the broth will become cloudy and thick, the noodles will stick together, and they won’t have the right bite. Rinsing them in cold water and then reheating them may seem like an extra step, but it completely changes how clear the broth looks.
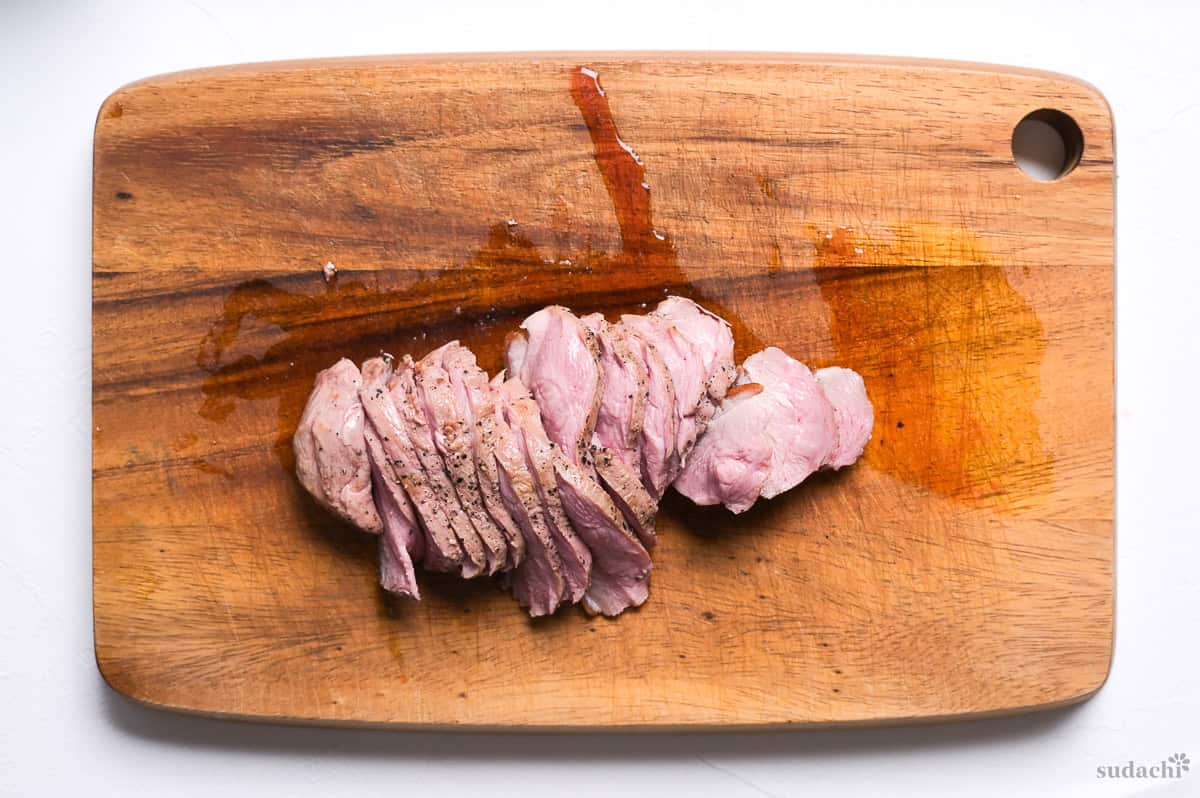
i. Transfer the duck to a clean cutting board, and slice it with a sharp knife. Slice against the grain into 5mm-thick slices. If the slices are too thin, the hot broth will cook them through, eliminating both the pink hue and the satisfying texture.
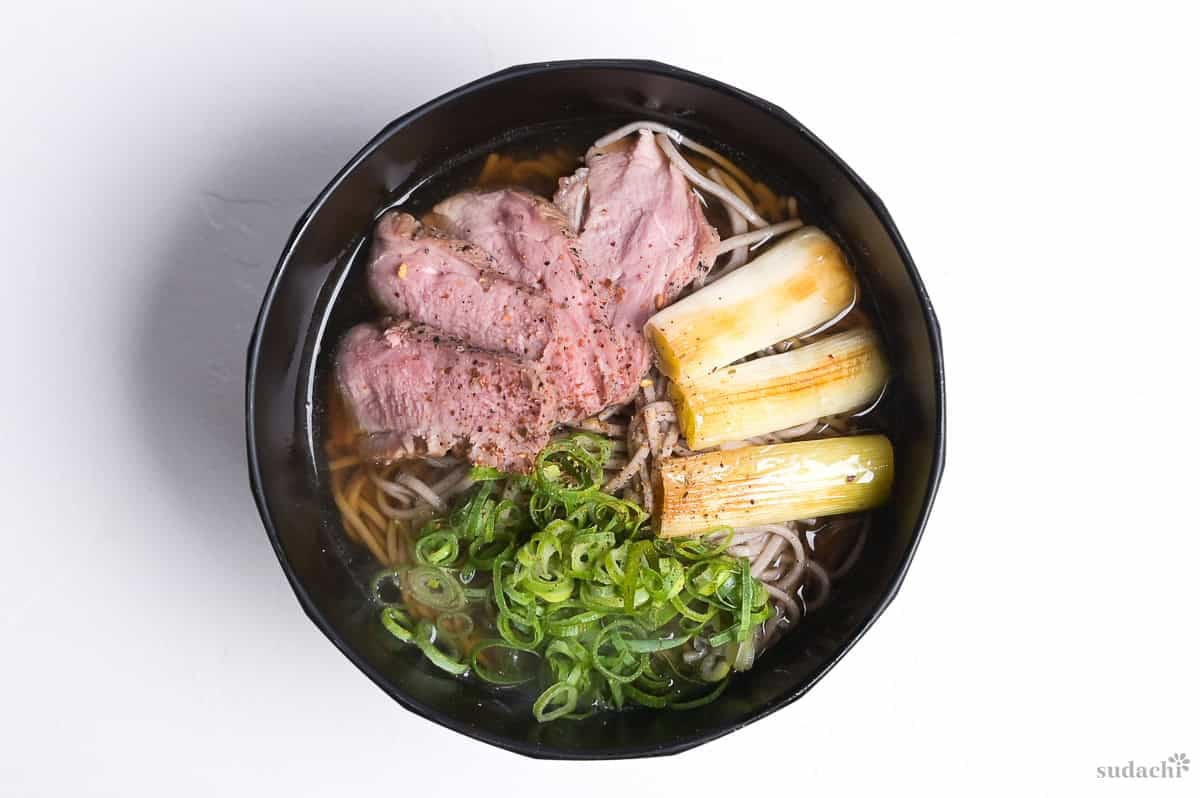
ii. Divide the soba noodles among bowls, pour the broth over them, and add 2-3 green onions to each bowl. Do not submerge the duck in the broth; place it on top of the noodles instead.
iv. Scatter green onions over the dish and sprinkle with shichimi togarashi.

Tips for the Best Duck Soba
- Think of cooking duck not as a time for active work, but as a time for waiting. The most common causes of failure are either turning up the heat because you can’t wait, or flipping the duck too early. Cook it slowly and patiently, without rushing.
- Transfer the duck fat that has been rendered while cooking to a small container and set it aside. Aside from the amount you’ll use for the sauce, the remaining duck fat makes excellent cooking oil. You probably know this better than I do, but it’s fantastic for roast potatoes. Be sure not to throw it away.
- Plan your workflow by working backward from placing the soba last. The broth can be kept warm while you wait, and the duck won’t lose its flavor while resting. The only thing you can’t wait on is the soba; the few minutes between when it’s done cooking and when it goes into the bowl are the make-or-break part of this dish. If you boil the soba first, no matter how well the rest goes, you won’t be able to serve it in time.
The only tricky part about duck soba is the duck itself. Once you get past that, you can prepare the rest just like you would any other bowl of soba. Don’t overthink it.
Storage & Meal Prep
Fridge: Store cooked duck in the refrigerator as a whole piece (not sliced) for 3-5 days. If you slice it before storing, the cut surfaces will dry out. Store the broth in the refrigerator for 3 days.
Freezer: If I were to freeze anything, it would be just the duck, and I’d wrap it whole. Freezing the sauce causes the broth’s aroma to fade, so use it up while refrigerated.
Meal prep: You can prepare the broth and duck up to a day in advance. Cold-cut duck is fine on its own. Always cook the soba noodles right before serving.
What to Serve With Kamo Soba
- Crispy Vegetable Kakiage (Mixed Tempura Fritters)
- Inarizushi (Sweet Tofu Pockets)
- Spinach Ohitashi
- Bettarazuke (Sweet Pickled Daikon)
Duck Soba Troubleshooting
Either the heat is too low, or you simply haven’t cooked it long enough. You can still fix this even after flipping it, so place the duck back in the pan, skin-side down, and continue cooking over low heat for a few minutes at a time, checking frequently, until the fat has rendered and the skin has firmed up. If you’re worried about the meat getting overcooked, simply shorten the resting time to compensate.
You either removed it from the heat too early or didn’t let it rest long enough. Even after slicing, arrange the slices on a plate, cover them with aluminum foil, and leave them in a warm place for a few minutes, the residual heat will slowly cook them through. Avoid returning them to the pan to cook again, as this will definitely overcook them. If they’re still undercooked, serve them in a bowl and pour hot broth over the top to cook the surface.
If you use dashi granules or dashi packets that contain salt, the broth can taste saltier even if you use the same amount of soy sauce. You can fix this by adding dashi or hot water little by little and reheating it without bringing it to a boil. The next time you use the same dashi, reduce the amount of soy sauce by that much to balance the flavor. That’s why tasting the broth before serving is so important when making noodle soup, which involves so many variables.
More Japanese Soba Recipes
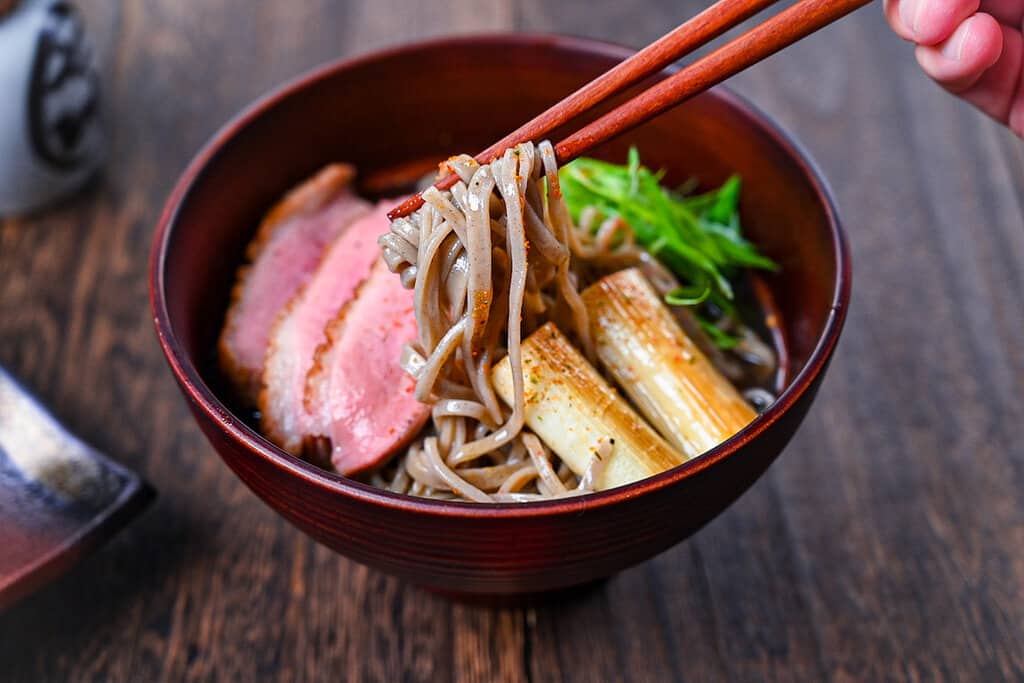
- Simple Kake Soba Noodle Soup
- Tempura Soba in Hot Dashi Broth
- Nikutama Ankake Soba (Beef and Egg Soba)
- Chilled Zaru Soba with Dipping Sauce
Still hungry for buckwheat? My full Japanese soba noodle collection has a bowl for every season, hot and cold.
Did You Try This Recipe?
I would love to hear your thoughts!
💬 Leave a review and ⭐️ rating in the comments below. 📷 I also love to see your photos – submit them here!
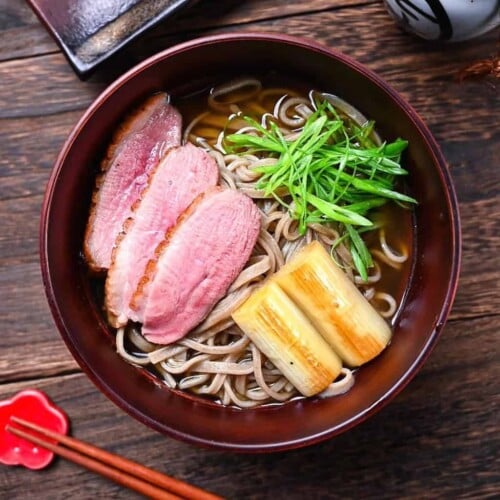
Duck soba noodles soup (kamo nanban soba)

Ingredients
- 300 g duck breast skin on
- salt and pepper
- 1000 ml dashi stock
- 150 g Japanese leek (naganegi) or regular leeks, white part, cut into 5cm pieces
- 6 tbsp mirin
- 3 tbsp Japanese dark soy sauce (koikuchi shoyu)
- 2 tbsp Japanese light soy sauce (usukuchi shoyu)
- 4 portions soba noodles
- finely chopped green onions green part to garnish
- Japanese chili powder (shichimi togarashi) shichimi togarashi, to garnish
The ingredient brands and tools I trust are in my Japanese pantry guide and my cooking tools guide.
Can’t find certain Japanese ingredients? See my substitution guide here.
Instructions
- Take 300 g duck breast from the fridge and trim any protruding fat or tendons. Make shallow incisions across the skin/fat layer, about 0.5cm apart in a crosshatch pattern, making sure not to cut too deep. Place the duck and offcuts in a sealed container and bring to room temperature (30-60 minutes depending on environment).

- Once at room temperature, take the duck out of the container, pat it dry all over and sprinkle with a few pinches of salt and pepper on the meat side, just salt on the fat. Save the offcuts for later.
- Place the duck inside a cold skillet with the skin-side facing down. Heat on the stove over medium-low. When it starts to gently sizzle, set a timer for 10 minutes and let it cook undisturbed.
- Check the condition every 3-4 minutes and pour out excess rendered fat into a heatproof bowl, but save a little for basting later. Adjust the heat if needed, it should be sizzling quietly not aggressively.
- After 10 minutes have passed, tilt the pan to pool the rendered fat, scoop it with a spoon and baste the top of the meat for about 2 minutes to gently cook the top. Flip and cook underneath for just 1 minute to sear.
- Transfer the cooked duck to a plate with the skin side facing up and loosely wrap with foil. Rest for 10-15 minutes. Pour out excess rendered fat, but save a thin layer. We will reuse the pan later.
- Optional step: Heat a separate pot over medium and add the duck offcuts from earlier. Once they're lightly seared, add 1000 ml dashi stock and bring to a gentle simmer, then turn off the heat and leave to rest for 10 minutes.
- Cut 150 g Japanese leek (naganegi) into 5cm (2 inch) pieces. Place them in the pan with rendered duck fat, and fry over medium heat. Turn occasionally until nicely charred all over.
- Boil 6 tbsp mirin in a separate pan for 2 minutes. Add 3 tbsp Japanese dark soy sauce (koikuchi shoyu) and 2 tbsp Japanese light soy sauce (usukuchi shoyu) and bring to a boil once more.
- Remove the offcuts from the dashi and pour it into the mirin and soy sauce mixture. Add the charred leek, and warm the broth to a gentle simmer. Turn off the heat and keep the pan warm on the stove while you cook the noodles.
- Cook 4 portions soba noodles according to the instructions on the packaging. Once cooked, drain and wash with cold water to remove excess starch. Then pour hot water over them right before serving.

- Once the 15 minute rest is up, slice the duck against the grain about 5mm thick.
- Divide the soba noodles and broth between serving bowls. Arrange the charred leeks and slices of duck on top. Garnish with finely chopped green onions and Japanese chili powder (shichimi togarashi). Enjoy!

Simple. But … The dish is called kamo nanba soba for a reason: no green/spring onions, but _leeks_, which came from Nanba, a famous leek growing area near Nara. Use green/spring onions and the flavour will be quite different.
Hi, thank you for bringing up an interesting point.
I’ve just done further research in Japanese for Nanba Negi (難波葱), as I have never seen or tasted it where I’m from (Aichi Pref). Also, I didn’t know that Kamo Nanban is called Kamo Nanba in West (Osaka, Kyoto areas)!
I used white part of Naganegi to make this recipe, which I’ve always had trouble suggesting alternatives outside Japan. However, after reading your comment, I now believe leeks would be a far more suitable alternative than green or spring onions.
Again, I appreciate your contribution to the post! I will soon update this recipe and article to reflect these insights.
Yuto
I will definitely try this soon.
Very inspirational and aspirational.
Thank you, Garret!