Featured Comment:
“I made this recipe in the air fryer! Tasted awesome!”
– @p4u7ine (from YouTube)
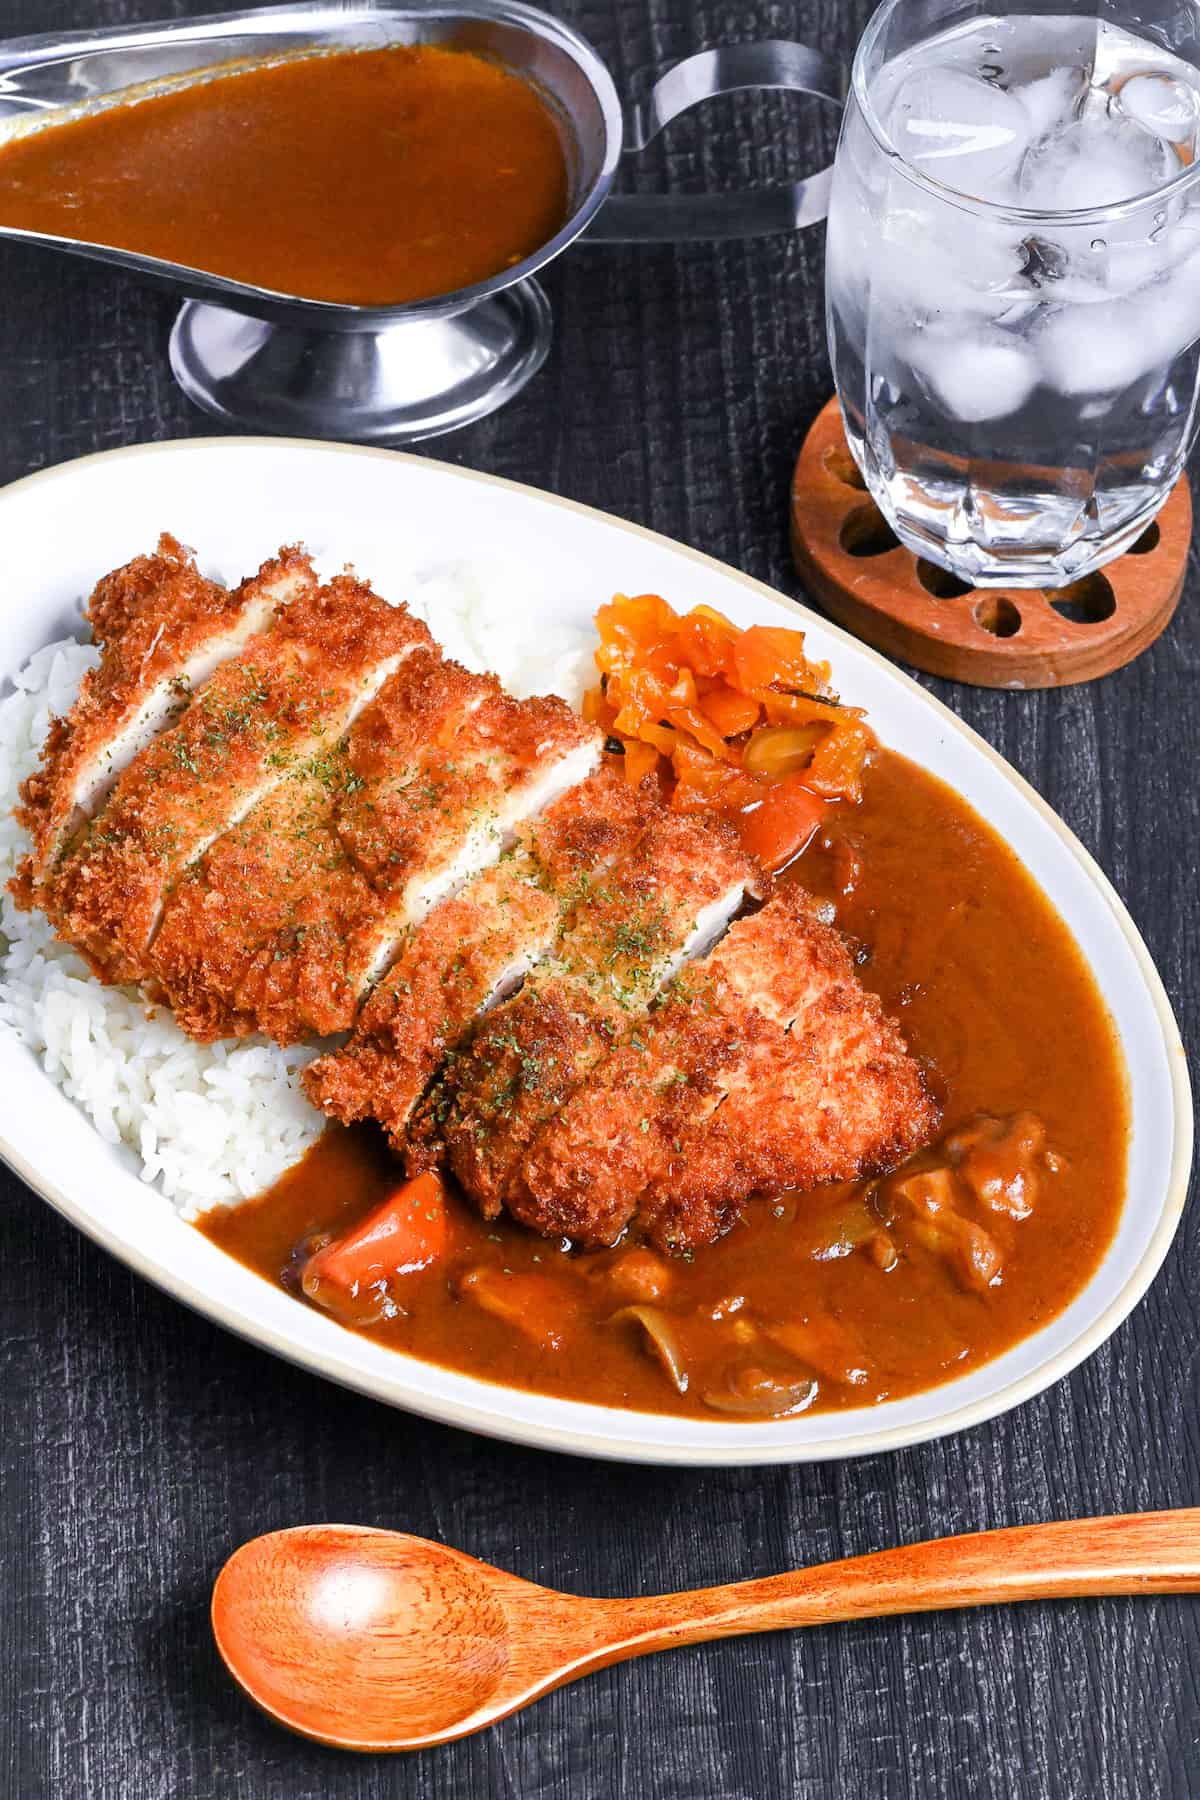
We all love a good deep-fried dish, don’t we? Sometimes, though, you want something that’s just as tasty but a bit easier to make and clean. So, I introduce my own version of oven baked chicken katsu!
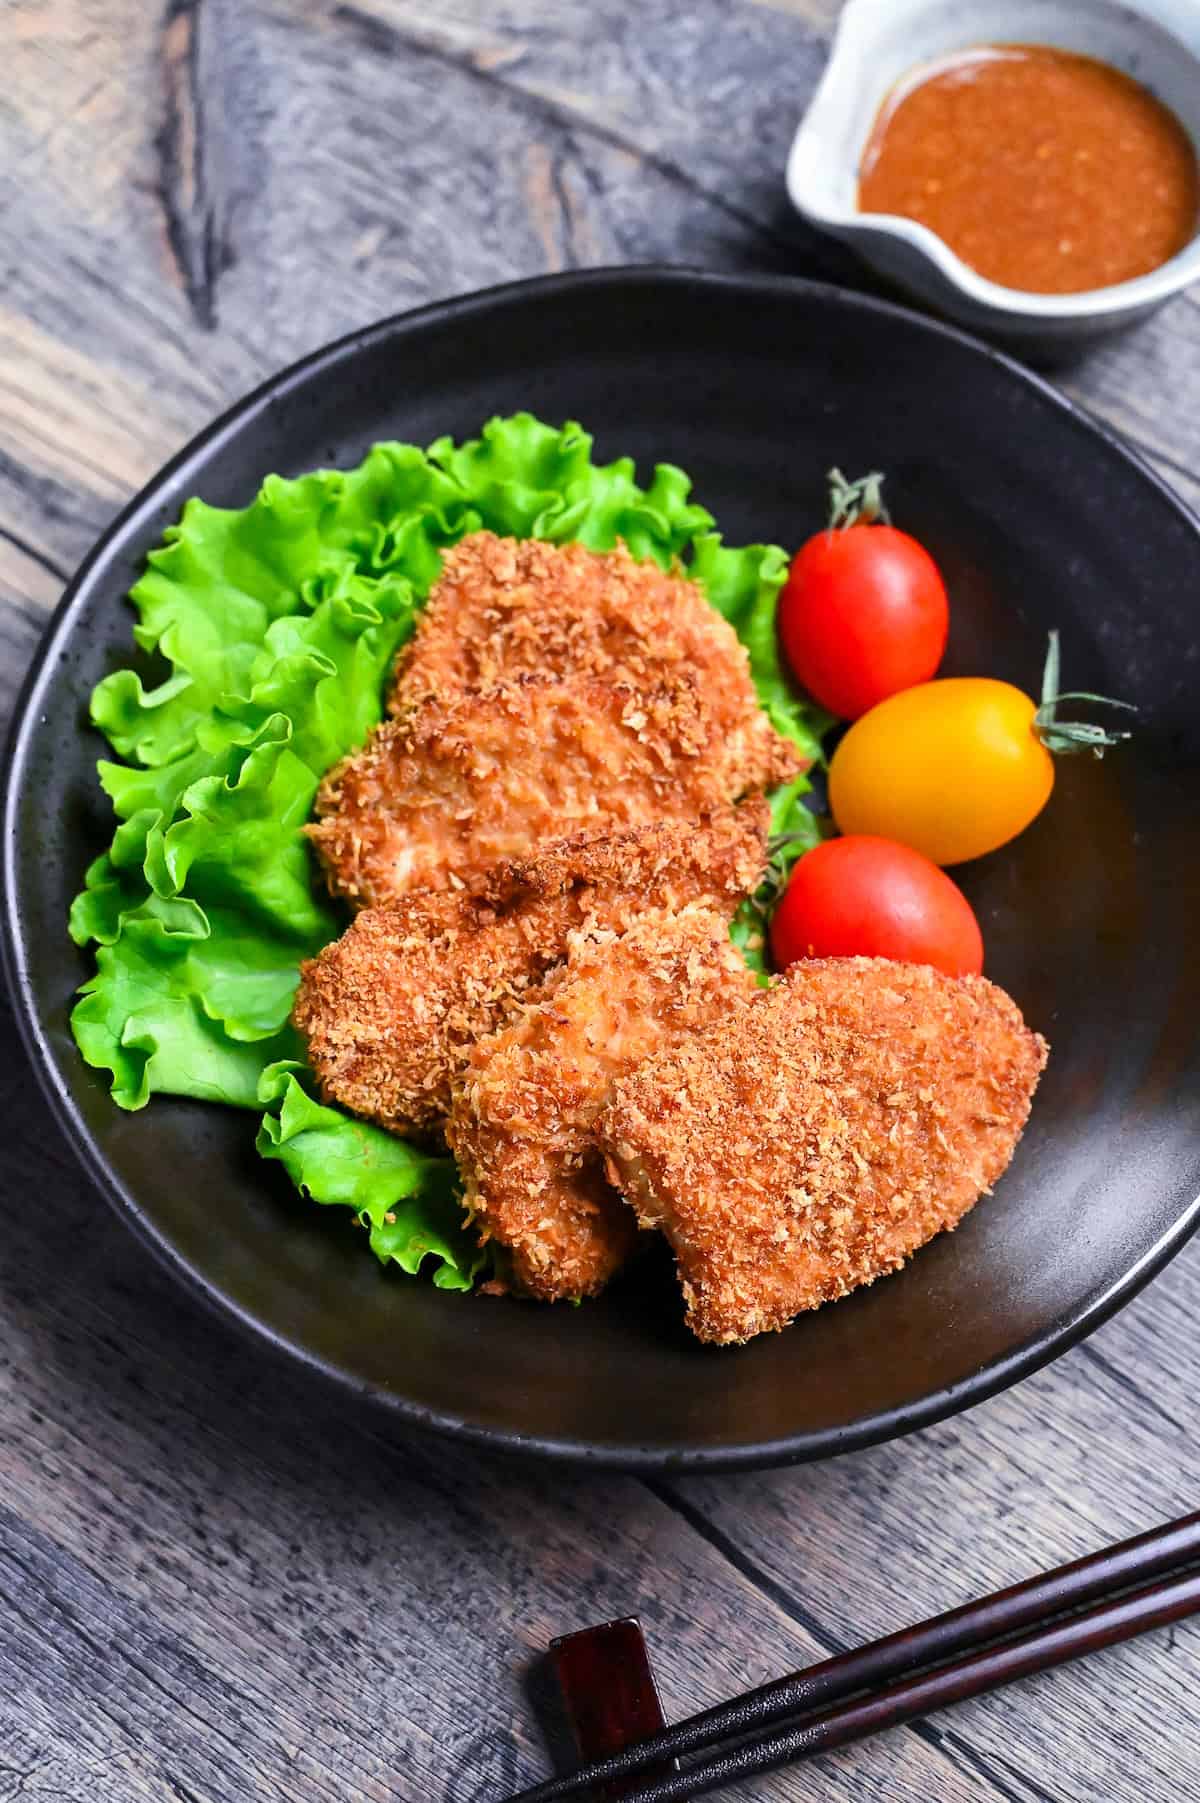
The key for this recipe is using mayonnaise in the batter.
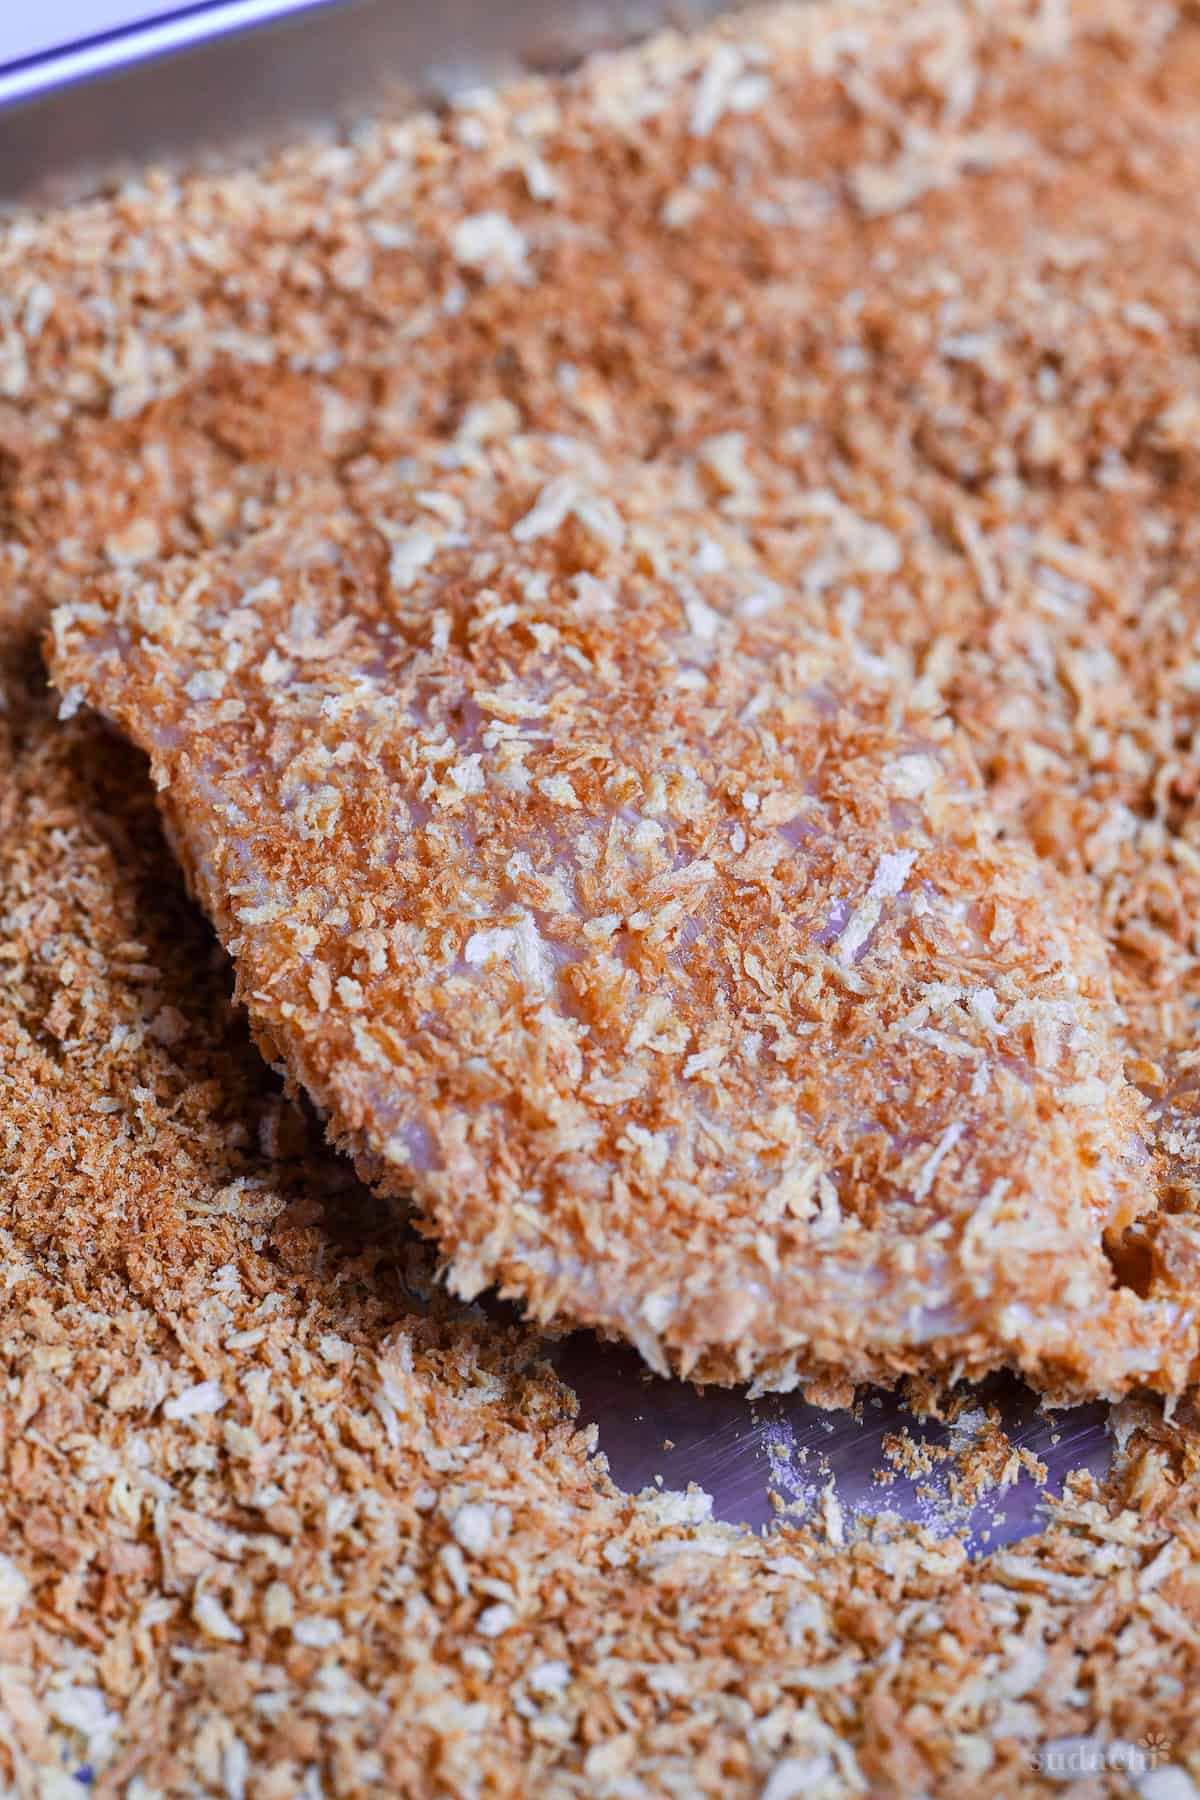
Stick the panko bread crumbs then bake in the oven!
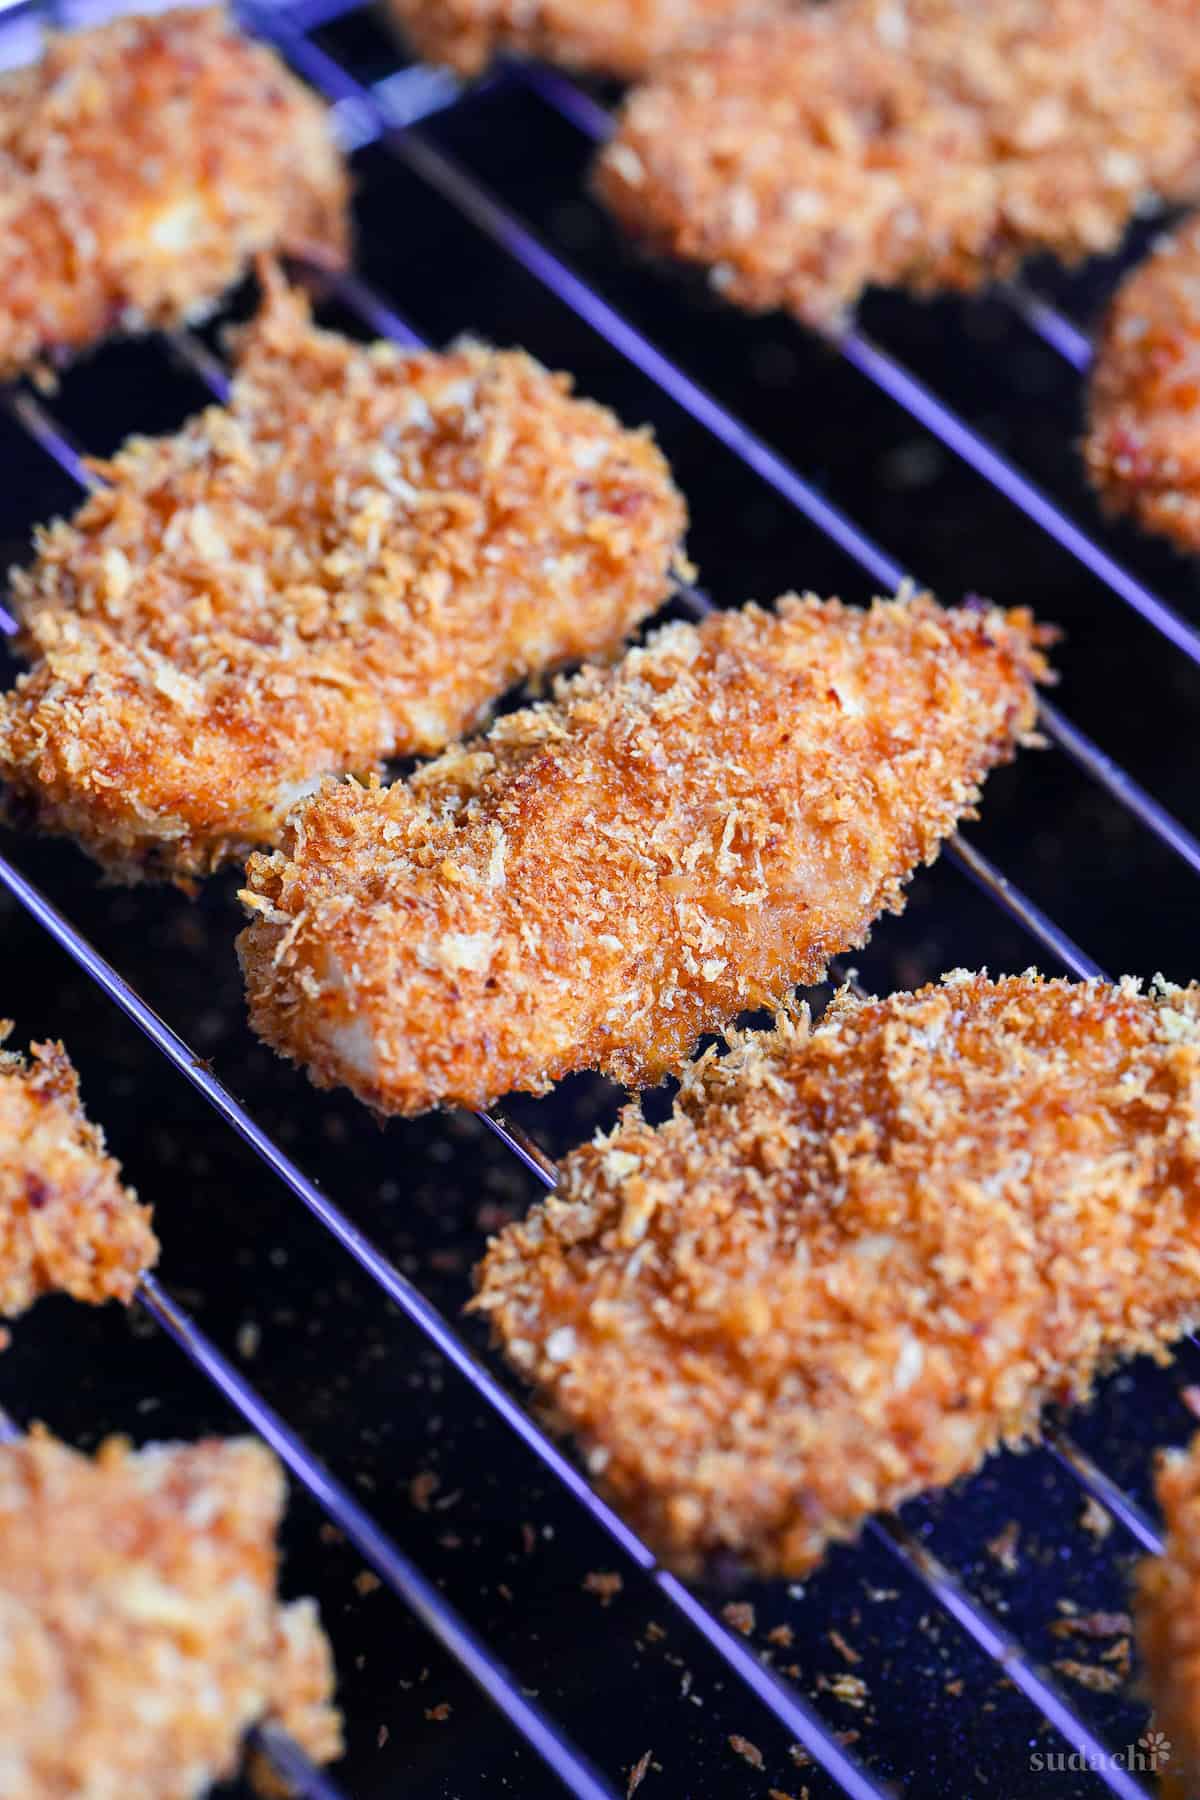
Ready to find out how it’s done? Keep reading to find out!
What is Chicken Katsu?
Chicken katsu (チキンカツ) is a Japanese dish that’s all about achieving that perfect crispy texture. It’s made with tender chicken, usually thigh or breast meat, coated in a mix of flour, beaten egg, and panko breadcrumbs, then deep-fried to get that satisfying crunch.
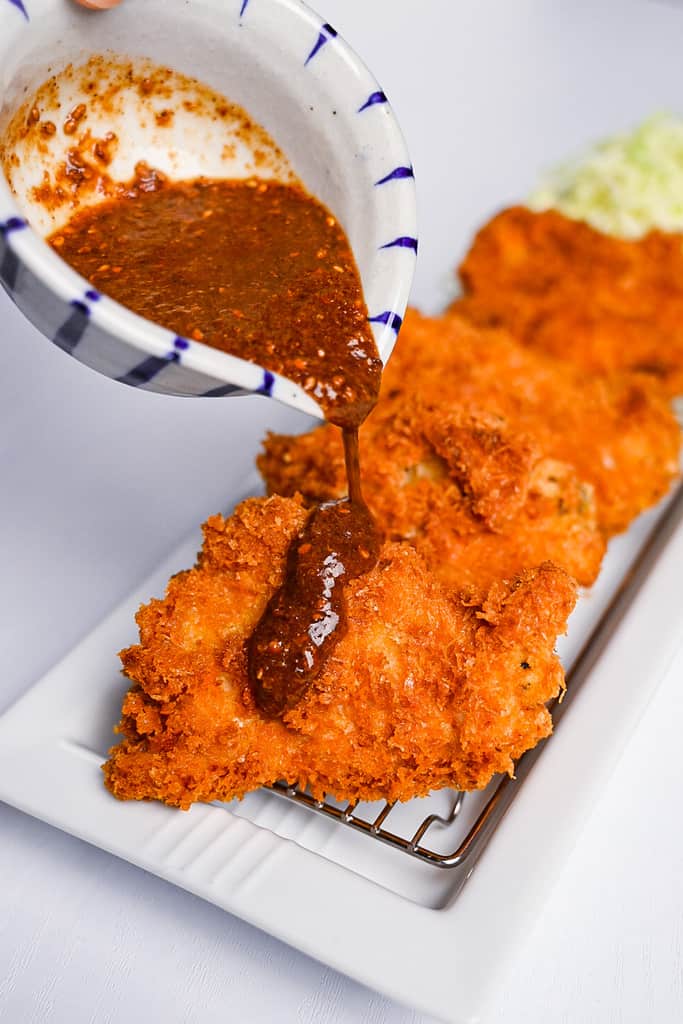
Chicken katsu has become really popular around the world, but in Japan, tonkatsu—a pork cutlet—is often the star of the show. Chicken katsu emerged as a poultry variation of this favored cutlet, offering a lighter alternative to the rich pork version. For those seeking variety, there’s also gyukatsu, a beef cutlet that rounds out the katsu family.

How I Developed This Recipe
Let’s be honest, we all know that deep-fried chicken cutlets are the crispiest and tastiest. But what if I told you that I’ve found a way to make an almost as good oven-baked version?
After lots of trial and error in the kitchen, I’ve finally come up with a recipe that made me think, “Wow, this is actually pretty awesome!” The best part? It’s way simpler and less messy.
Ever wanted to make chicken cutlets for your curry but been put off by the mess and time of deep-frying? This oven-baked method is a great alternative. It’s quick, easy and still delivers that satisfying crunch. Plus, it leaves you free to focus on perfecting your curry. Why not give it a shot and see how it compares to your usual method?
Visual Walkthrough & Tips
Here are my step-by-step instructions for how to make Oven-Baked Chicken Katsu at home. For ingredient quantities and simplified instructions, scroll down for the Printable Recipe Card below.
If you prefer to watch the process in action, check out my YouTube video of this recipe for a complete visual walkthrough!
Slice chicken breast.
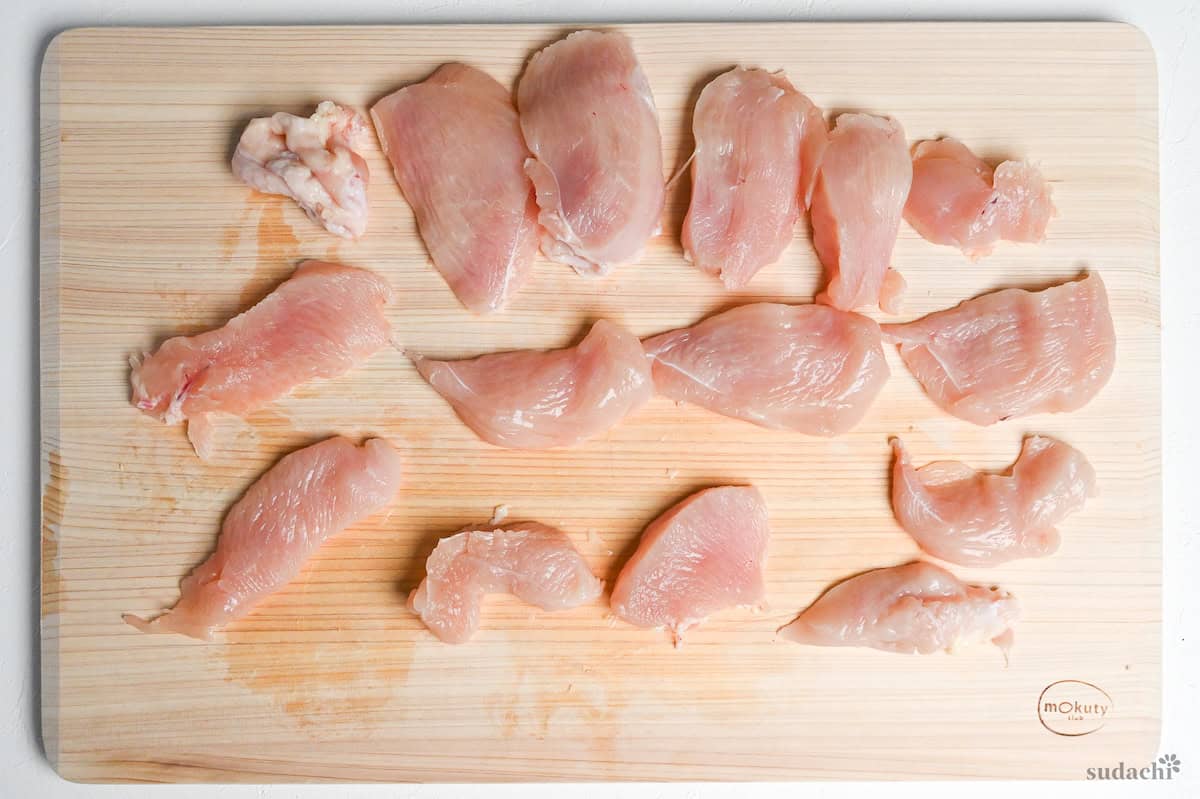
Pierce the surface of the sliced chicken with a fork. Season both sides with salt and pepper.

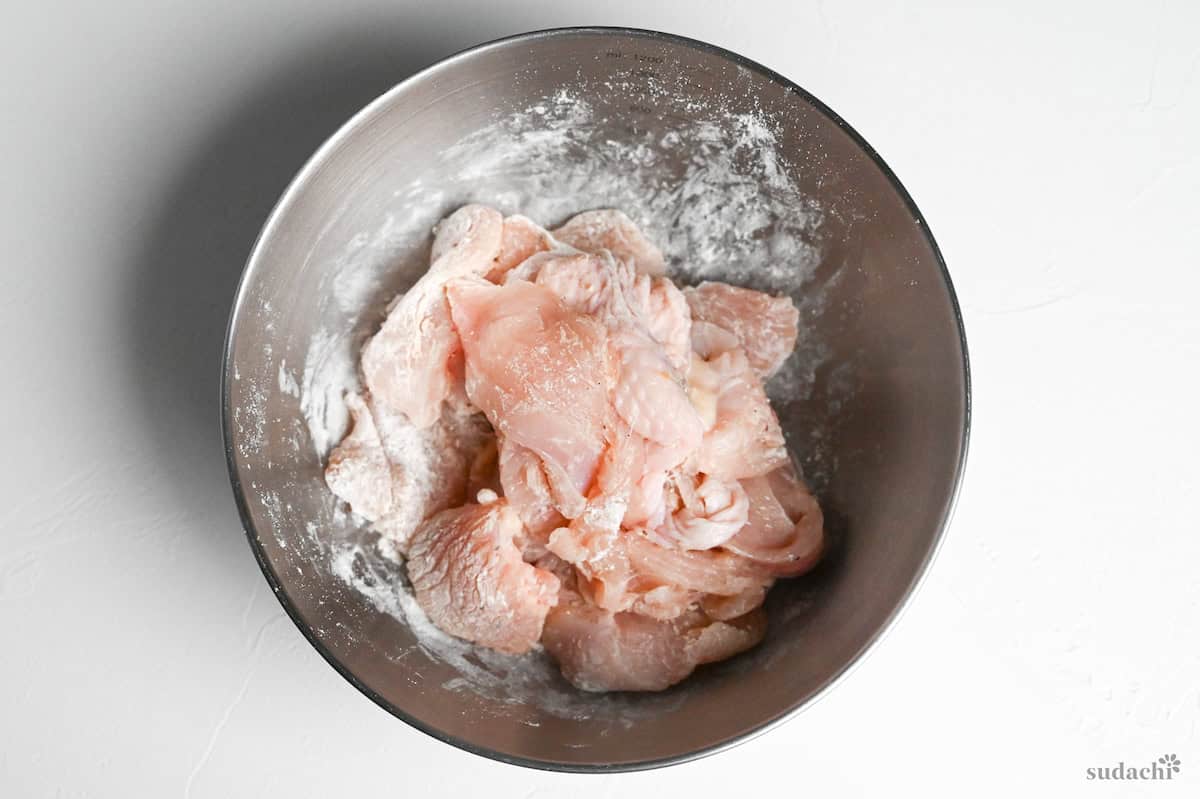
Next, put the chicken in a bowl and give it a light dusting of all-purpose flour to create a thin, even coating. The flour helps the mayonnaise stick and gives the coating a nice crispy texture.
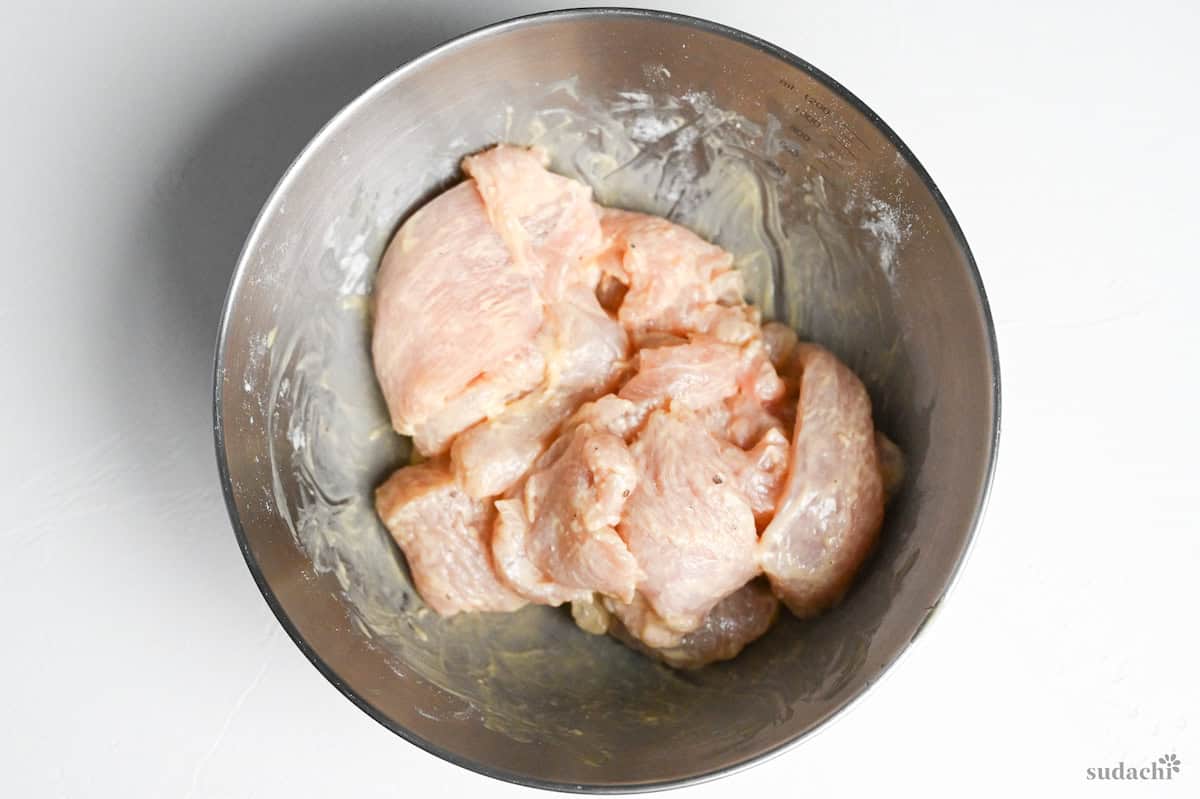
Next, add mayonnaise to the bowl and coat the floured chicken thoroughly. Let it rest for a bit so the flavors can blend and the coating can set.
While the chicken is resting, heat a dry pan over medium heat. Add the breadcrumbs to the pan and toast them, stirring frequently, until they are golden brown.
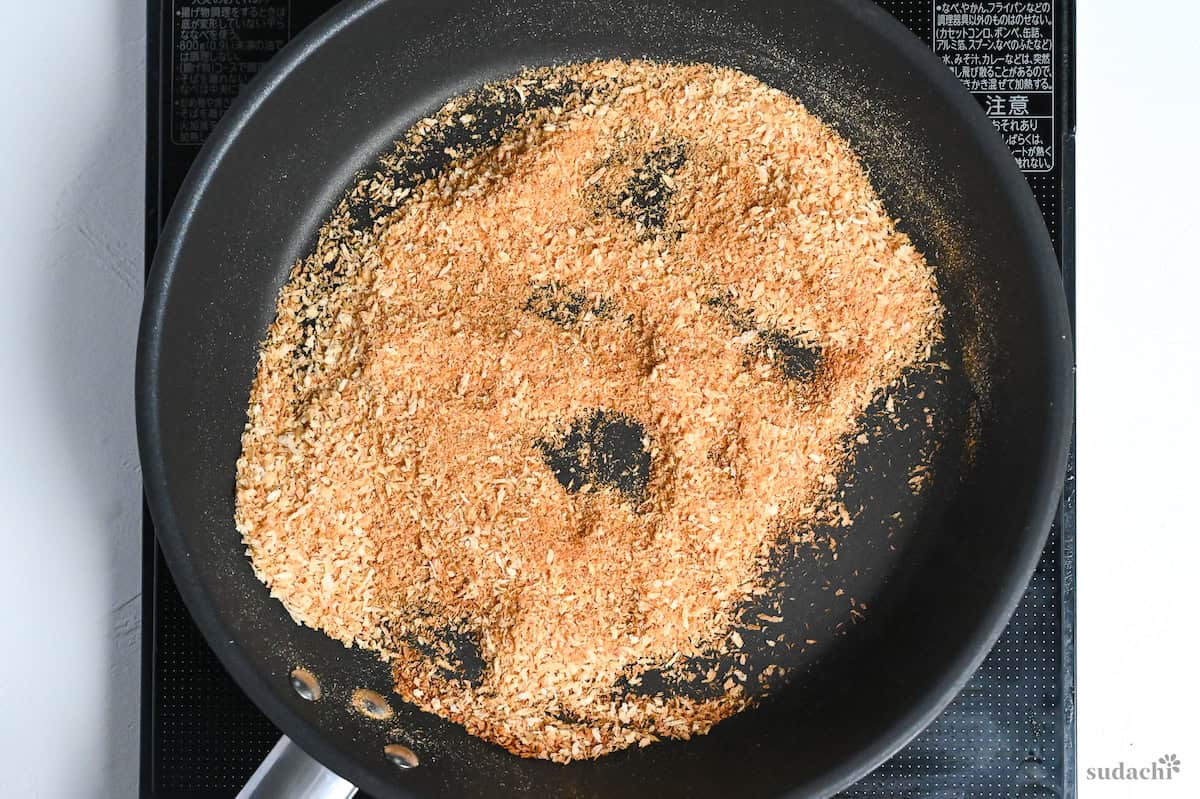
Transfer the toasted breadcrumbs to a separate container and let them cool until they are comfortable to touch, about 5 minutes.
At this point you can start preheating your oven to 220°C (430°F).
Once the breadcrumbs have cooled, coat both sides of the mayonnaise-coated chicken with the toasted breadcrumbs, making sure to cover both sides thoroughly. Gently press down to make sure the breadcrumbs stick well.

Put the breaded chicken pieces on a lightly greased wire rack on top of an oven tray.
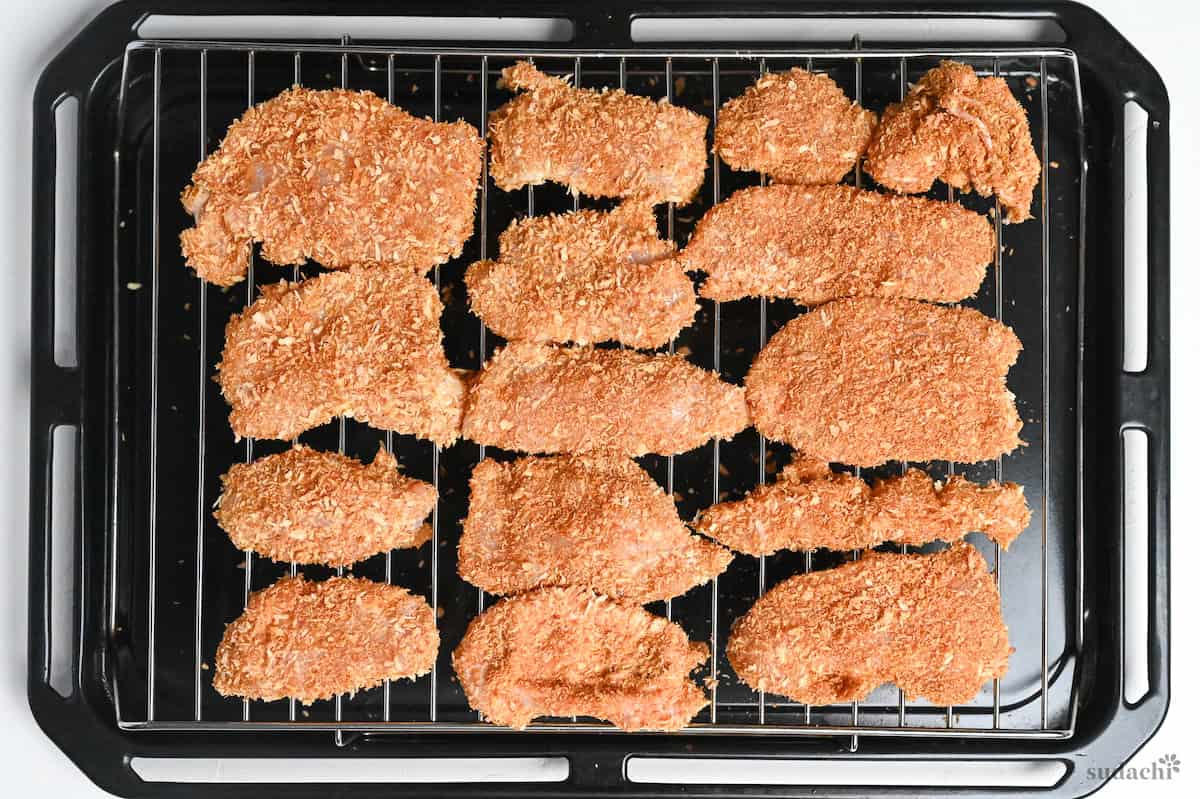
Once the oven has reached the right temperature (220°C/430°F), put the tray with the breaded chicken on the bottom shelf and bake for 10 minutes. After 10 minutes, take the tray out of the oven and carefully flip the chicken pieces over.

Place the tray back in the oven and bake for another 15 minutes.

While the chicken is baking, get the sauce ready by mixing all the sauce ingredients together in a bowl. Taste it and add more seasoning if you think it needs it.
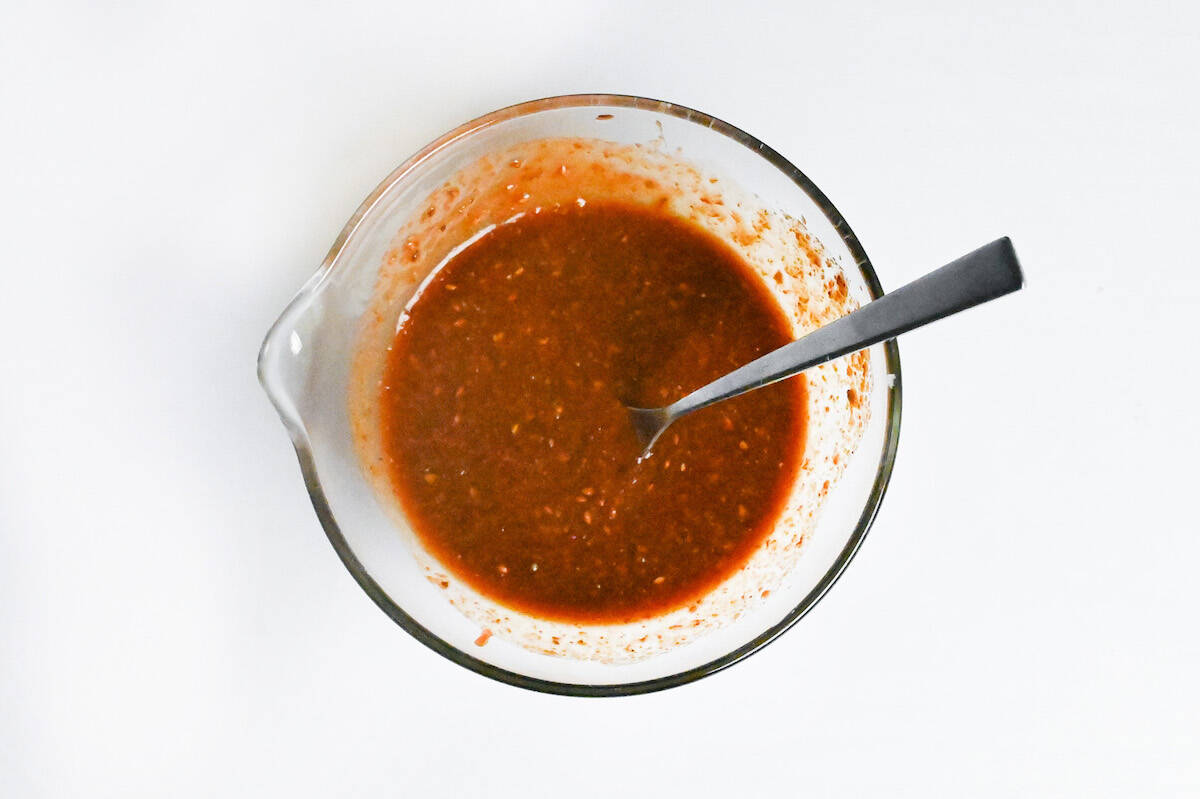
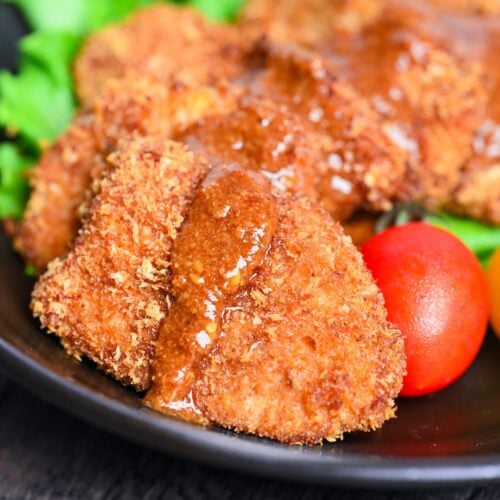
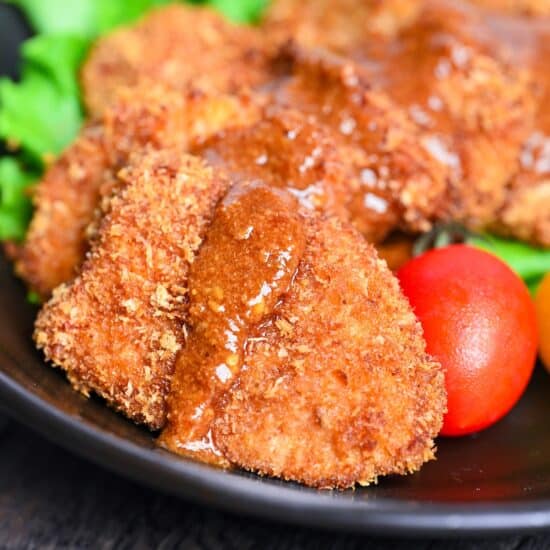
Once the chicken has finished baking, take it out of the oven and let it rest for 2-3 minutes before serving. Serve the crispy baked chicken katsu with the prepared sauce on the side for dipping or drizzling.
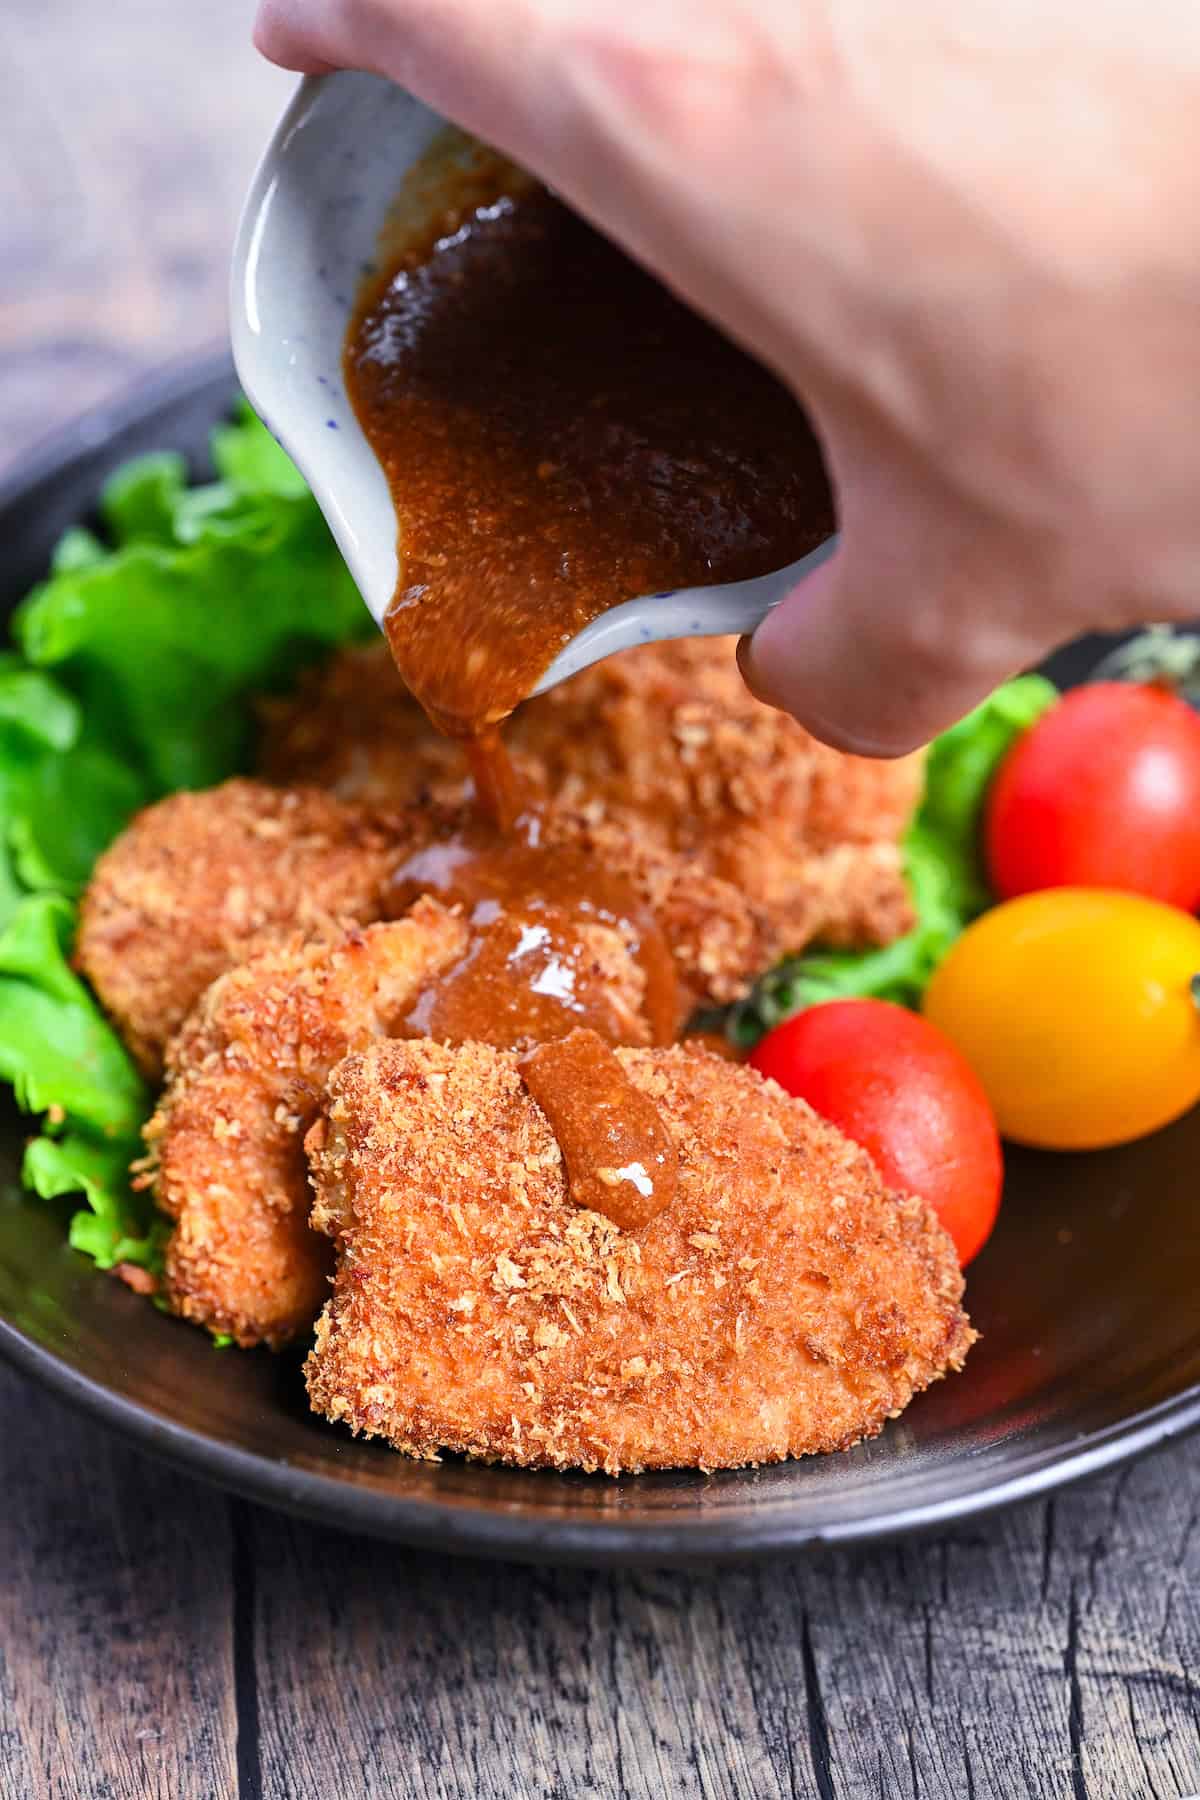
For a complete meal, consider serving with steamed rice and a side of vegetables.
Jump to Full Recipe MeasurementsI hope you enjoy this Oven-Baked Chicken Katsu recipe! If you try it out, I’d really appreciate it if you could spare a moment to let me know what you thought by giving a review and star rating in the comments below. It’s also helpful to share any adjustments you made to the recipe with our other readers. Thank you!

More Japanese Chicken Recipes
- The Best Crispy Japanese Teriyaki Chicken
- Ultimate Chicken Breast Karaage with Lemon
- Chicken Miso Soup (Torijiru)
- Oita Style Chicken Tempura (Toriten)
Want more inspiration? Explore my Chicken Recipe Roundup Post for a carefully selected collection of tasty recipe ideas to spark your next meal!
Easy Oven-Baked Chicken Katsu
Ingredients
- 450 g chicken breast
- salt and pepper to season
- 1 tbsp all-purpose flour
- 2 tbsp Japanese mayonnaise
- 50 g panko breadcrumbs
Homemade Sesame Katsu Sauce
- 2 tbsp ground sesame seeds
- 2 tsp Japanese soy sauce (koikuchi shoyu)
- 2 tsp Worcestershire sauce
- 1 tbsp tomato ketchup
- 1 tsp sugar
- 4 tsp water
My recommended brands of ingredients and seasonings can be found in my Japanese pantry guide.
Can’t find certain Japanese ingredients? See my substitution guide here.
Instructions
- Cut 450 g chicken breast into slices about 2cm thick.

- Stab the surface of the chicken slices with a fork and sprinkle with a few pinches of salt and pepper.

- Transfer to a bowl and add 1 tbsp all-purpose flour. Mix until all the slices are evenly coated.

- Add 2 tbsp Japanese mayonnaise to the bowl and mix until fully covered. Set aside for later.

- Pour 50 g panko breadcrumbs into a dry pan and heat on medium. Stir frequently and heat until nicely browned, then remove from the stove and transfer to a plate or container.

- Preheat your oven to 220 °C (428 °F). Once the breadcrumbs are cool enough to touch, coat the chicken generously. Lightly grease a wire rack and place it over a baking tray.

- Arrange the chicken pieces on the rack and once the oven is hot, place the tray on the bottom shelf and bake for 10 minutes. After 10 minutes, flip and bake for a further 15 minutes.

- While the chicken katsu is baking, mix the sauce ingredients together in a small bowl.

- Remove the chicken from the oven and serve immediately. Drizzle with the sauce or serve on the side for dipping. Enjoy!



Leave a rating and a comment