



Featured Comment
Love this idea! A perfect way to use up daikon I have on hand.
★★★★★
– Kel
I am not from Tokyo, and for a long time the best daikon pickle I knew was takuan. Then a deli counter in town quietly taught me there is another, sweeter, paler, and older than I expected.
You have a huge daikon in the fridge and the obvious uses are gone? Daikon salad, namasu, daikon steak all work. Here is another option I want to put on the table: bettarazuke, a sweet, historical pickle from Tokyo.
Bettarazuke
Recipe Snapshot
- What is it? A sweet, crisp daikon pickle from old Tokyo, traditionally made by bedding salt-pressed daikon in fresh rice koji with cooked rice and a little sugar. The koji’s amylase enzymes quietly turn rice starch into glucose over a few days, and that is where the gentle, non-sugar-sweet flavor comes from.
- Flavor profile: Layered, gentle sweetness on first bite, salt landing on the back of the tongue, and a loud crunch.
- Why you will love this recipe: It turns a leftover half of daikon into a sweet pickle in 2 days of mostly fridge time, with about 15 minutes of hands-on work and 3 pantry items. The koji enzymes do the cooking while you sleep.
- Must-haves: Amazake, plain non-iodized sea salt, and freezer bags.
- Skill level: Easy. The hands-on time is under 15 minutes total split across 2 days, and a kitchen scale matters more than knife skills.
Summarize & Save this content on:
What is Bettarazuke?
Bettarazuke (べったら漬け) is a sweet, crisp daikon pickle from Tokyo, traditionally made by bedding salt-pressed daikon in fresh rice koji mixed with cooked rice and a touch of sugar. Sweet, but not sugar-sweet. The sweetness is built, not added. You might already know about the iconic yellow takuan pickle, bettarazuke is the same vegetable, totally different science. The name itself gives the secret away. Betabeta is what Japanese kids say when something is sticky, and the koji bed clinging to the daikon is exactly that.
The pickle is anchored to a single neighborhood. Every October 19 and 20, the streets around Takarada Ebisu Shrine in Nihonbashi fill with 400-some stalls for the Bettara-ichi market, and the pickle that gives the market its name is sold by the bag, cut thick. The 15th shogun, Yoshinobu Tokugawa, asked for it cut about 3 times thicker than takuan, eaten with a generous mound of katsuobushi. “Edo Sanpaku,” the three whites of old Tokyo, names rice, daikon, and tofu as the city’s quiet aesthetic anchors. Bettarazuke pulls 2 of them onto the same bite. That is why it shows up in autumn haiku and not in cookbooks of “everyday Japanese pickles.”
The mild sweetness is not sugar doing the work. Koji is full of an enzyme called amylase, and amylase quietly turns rice starch into glucose while the daikon sits in the bed. For this recipe, I lean on amazake, the sweet rice drink that koji and rice produce together, as a modern home shortcut that compresses the same enzyme work upfront so the pickle finishes in 2 days instead of a week.
Bettarazuke Ingredients
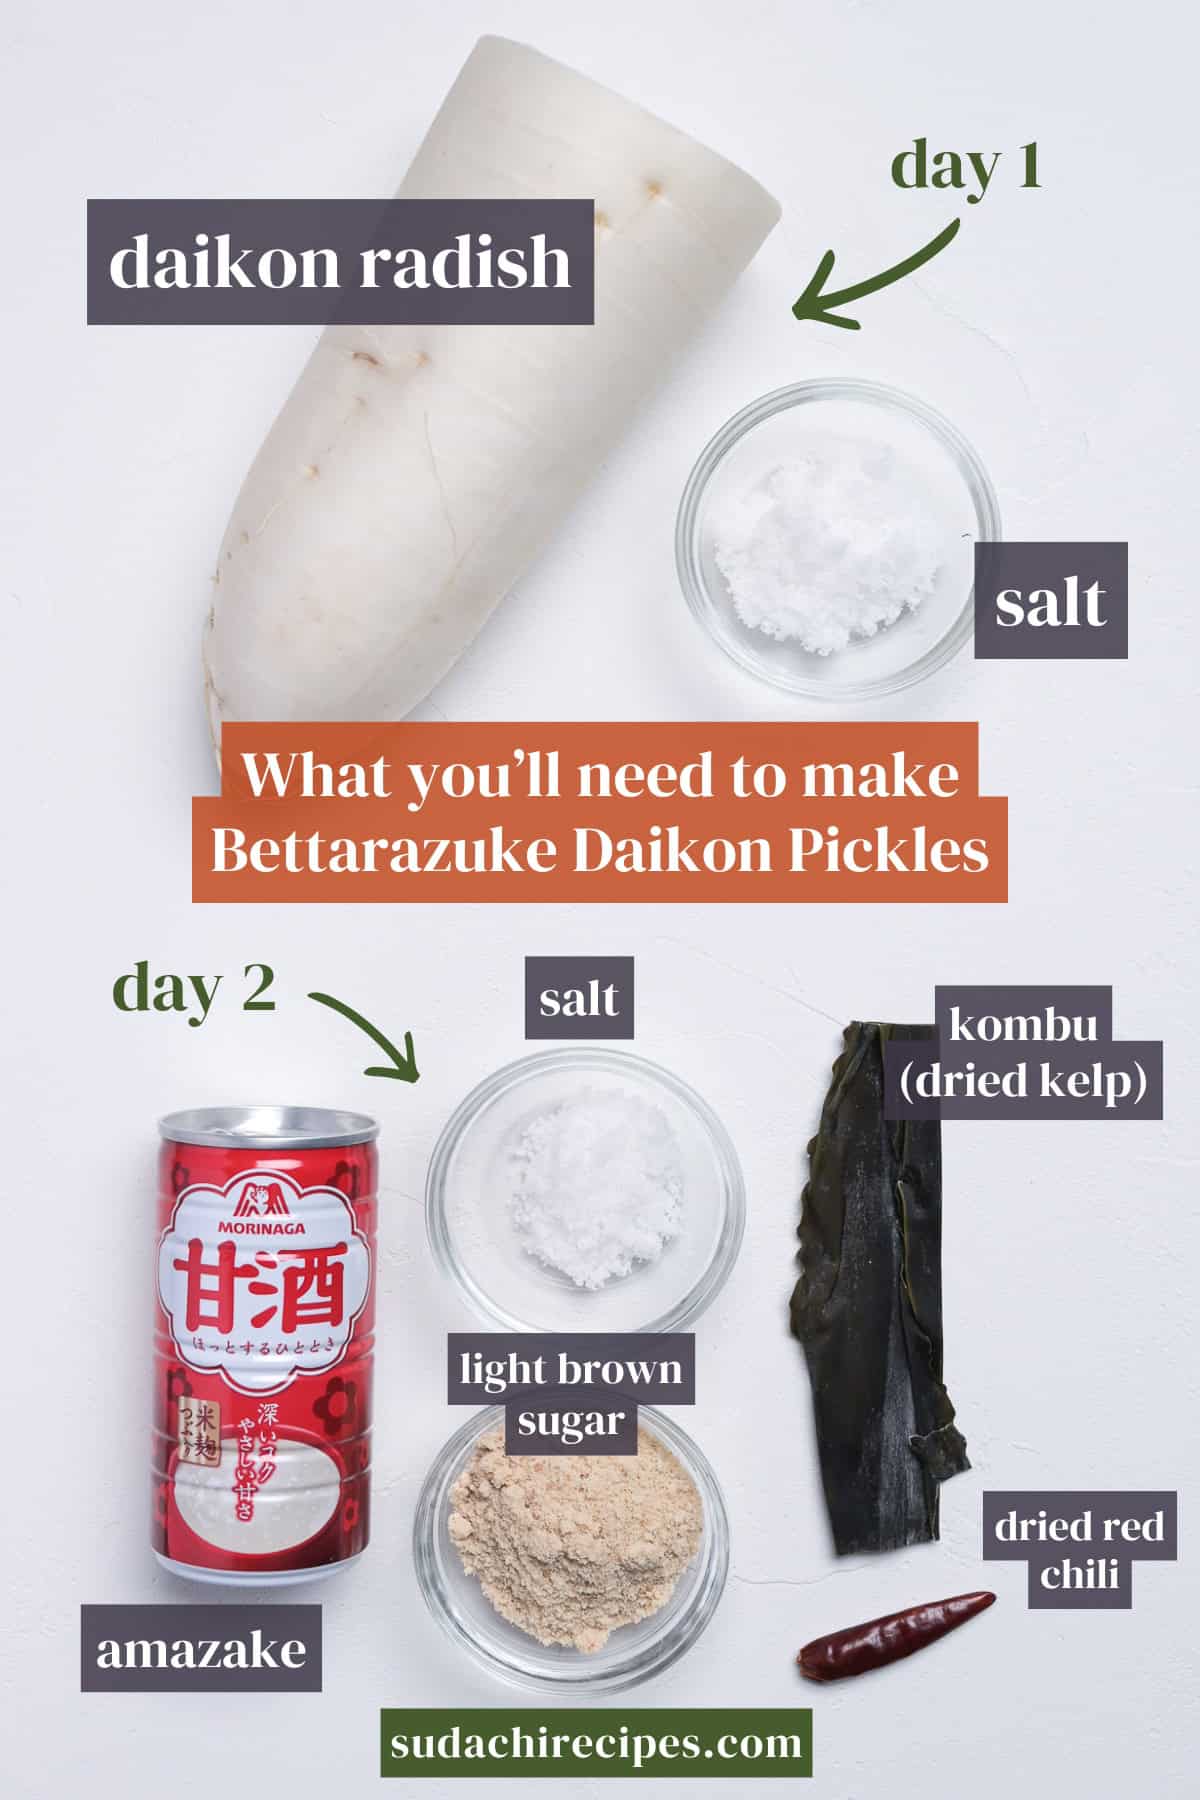
- Daikon radish: The whole show. Pick a firm, heavy one with tight skin and no soft give when you press a thumb into the side.
- Salt: 2 different jobs in 2 different bags, same ingredient. The Day 1 portion (5% of the daikon weight) does the engineering work. Osmosis pulls free water out of the radish, partially collapses the cells, and firms the texture so the daikon stays snappy through 2 days submerged in a wet koji bed. The Day 2 portion is seasoning, not engineering. Use plain non-iodized sea salt for both. Iodine and the anti-caking agents in some table salts can leave a metallic edge on a pickle this gentle.
- Amazake (sweet rice drink): The flavor of the dish. Not optional, not negotiable, not the same thing as shio koji. Amazake is what koji and rice look like after the koji enzymes have spent 8 to 12 hours quietly turning the rice starch into glucose. That is where the gentle sweetness comes from, and that is the reason bettarazuke does not taste like sugar dissolved in something. You can buy it in tetra packs or jars at Asian grocers, and on Amazon. Look for the kome-koji (rice koji) version, not the sake-kasu version.
Substitutions & Variations
The 2 ingredients people stall on are amazake and the daikon itself. Most of the others are flexible. Here is the honest map of what swaps work, what sort-of works, and what to walk away from.
Substitutions:
- Daikon → Korean mu radish (조선무): The closest match in an Asian grocer aisle. The cell wall structure and the water content track daikon almost exactly, and the Korean grocer is closer to many readers than the Japanese grocer half a city away. Use what is close.
- Daikon → Mooli (UK): Same plant (almost), different label. UK supermarkets stock it under the mooli name.
- Sugar → Light brown sugar: Works at the same weight. Light brown adds a faint molasses note.
Have trouble finding Japanese ingredients? Check out my ultimate guide to Japanese ingredient substitutes!
Variations:
- Citrusy bettarazuke: Add a tablespoon of yuzu peel and a teaspoon of yuzu juice to the Day 2 koji bed. The limonene cuts the koji richness and makes the pickle taste brighter.
- Spicy bettarazuke with yuzu-kosho: Stir half a teaspoon of green yuzu-kosho into the koji bed on Day 2. Heat, citrus, and koji on the same bite. Surprisingly Tokyo-modern.
How to Make My Bettarazuke
If you prefer to watch the process in action, check out my YouTube video of this bettarazuke recipe!

Before you start (Mise en place):
- Daikon: wash, lop off the top crown and the tail, peel deep with a vegetable peeler or a sharp knife. The skin is fibrous and tougher than the flesh underneath, so a thicker peel pays off here.
- Kitchen scale: pull it out before anything else. Bettarazuke runs on weight, not eyeball. The salt is 5% of the daikon weight on Day 1, and the koji bed is a measured pour on Day 2.
- Zip-top freezer bags: 2 of them, both sturdy with reliable zippers.
- Chili and kombu (optional): snip the top off the dried chili with kitchen scissors and shake the seeds out, then cut the kombu strip into thin ribbons with the same scissors.
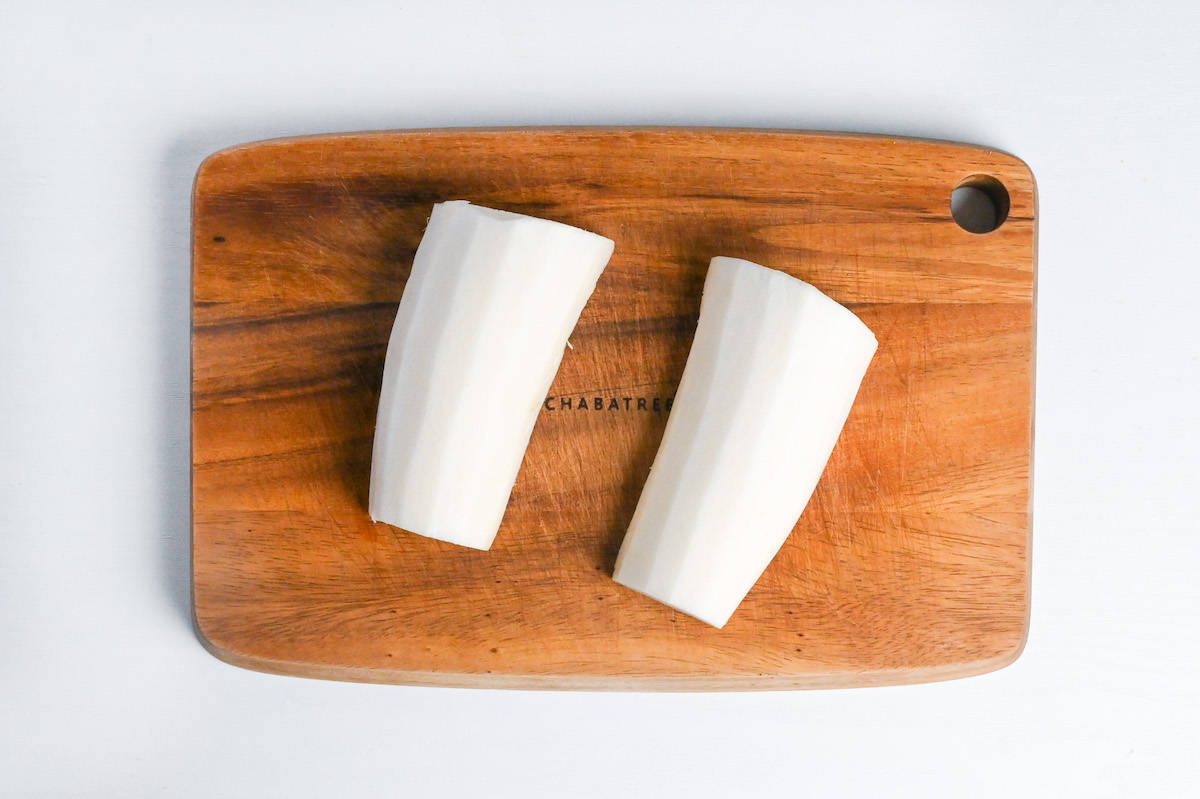
i. Cut the daikon in half lengthwise. If your daikon is bigger than your forearm, quarter it lengthwise instead. Daikon is one of those vegetables that always seem to be bigger than what you actually need. I often buy the whole radish and end up with leftovers, so if you’re like me, this recipe is the perfect rescue plan.
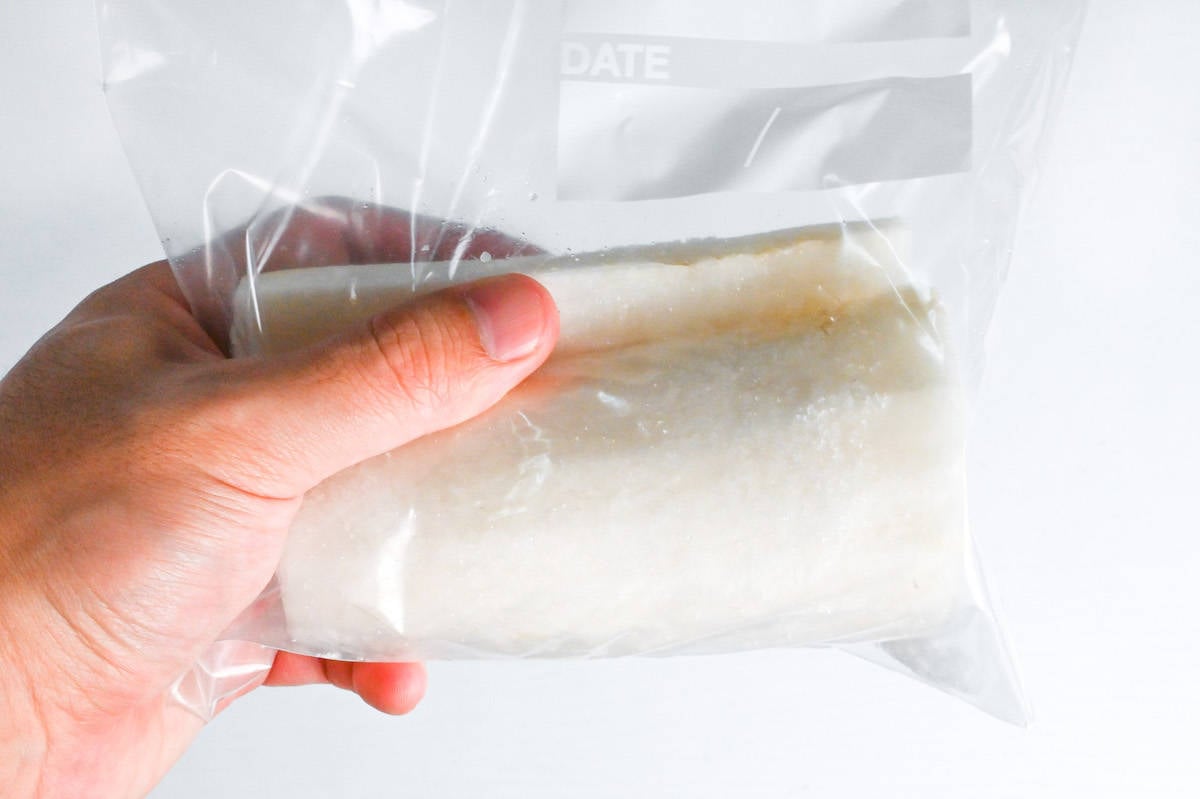
ii. Drop the pieces into a zip-top freezer bag. Weigh the bag. Calculate 5% of the daikon weight in salt. For a 300 g half-radish that is 15 g of salt. Tip the salt into the bag.
iii. Seal the bag most of the way, leave a small gap, press the air out, and massage the salt over the daikon from the outside of the bag. Once the salt is evenly distributed, push the last of the air out and seal.
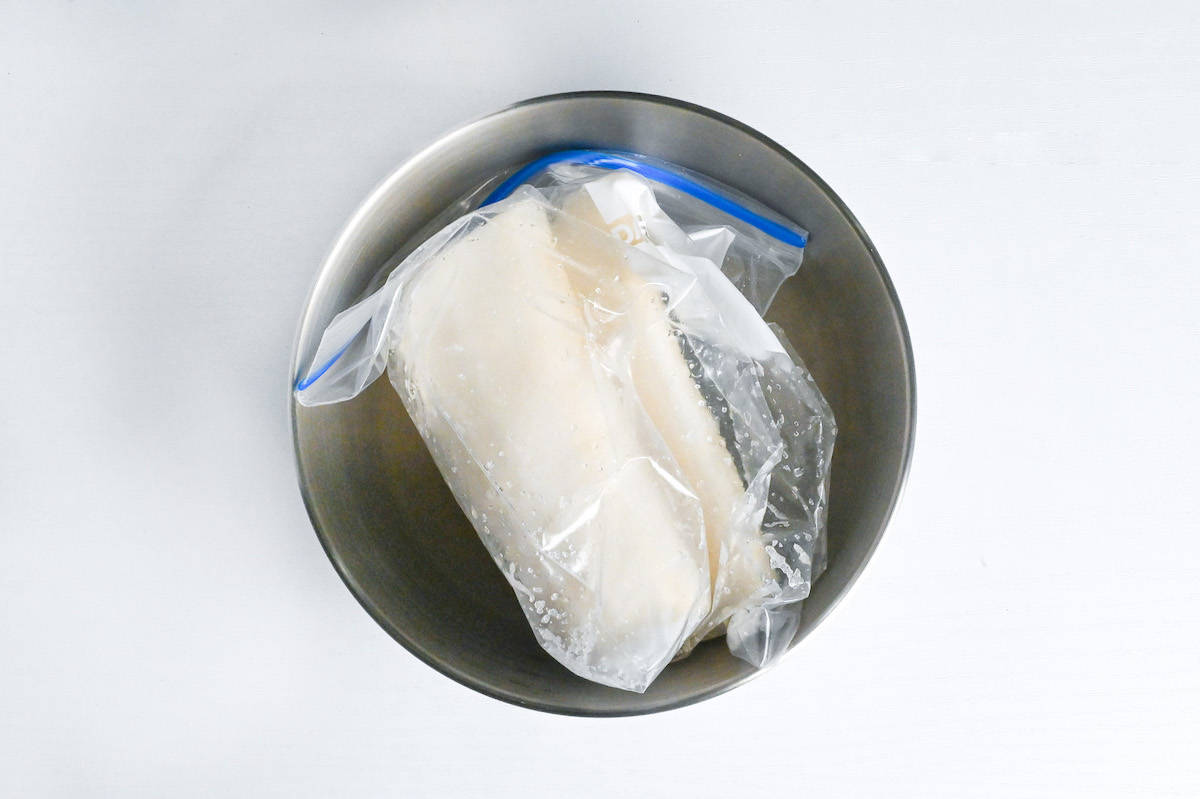
iv. Set the bag on a deep plate or in a bowl in case of leaks, then put the whole thing in the fridge overnight. About 12 to 24 hours.
Salt outside the daikon cells is at a much higher concentration than the water inside the cells. Osmotic pressure pulls free water out, partially collapses the cell walls, and concentrates the pectins that make daikon snappy. The pickle stays crisp through 2 days submerged in a wet koji bed because of what happens in this 1 overnight rest.
Below 3% salt the osmotic pull is too weak and the daikon stays watery. Above 6% you over-salt the pickle. 5% is the home-cook sweet spot, weighed not eyeballed.
i. Pull the bag out of the fridge in the morning. There will be a surprising amount of liquid in the bottom of the bag. That is the cell water that the salt pulled out.
ii. Open the bag, lift the daikon out, and discard the brine. Rinse the same bag out under running water and shake it dry, you will use it again.
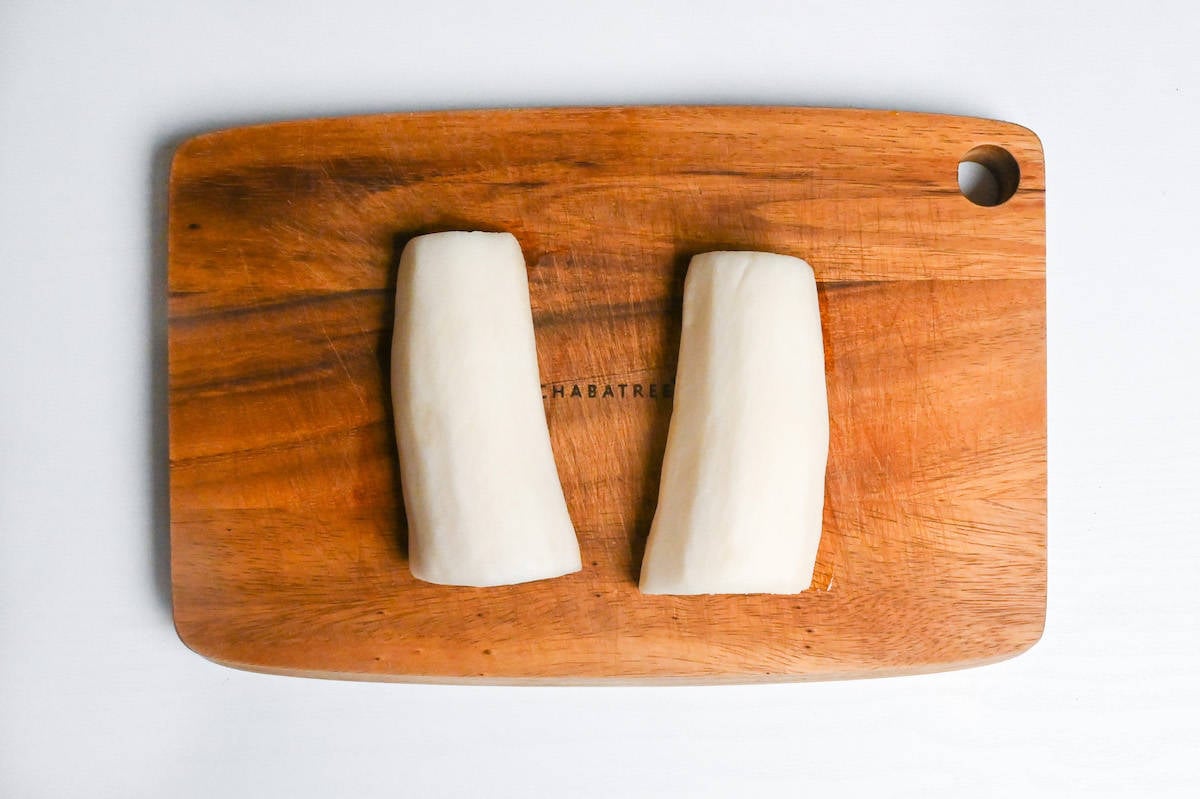
iii. Pat the daikon dry with paper towels or a clean cloth. The drier the surface, the cleaner the koji bed will stay. No surface water means no diluted brine.
iv. Lay the daikon on a cutting board and slice it across into half-moons, or quarter-moons if you went with quarters in Step 1, about 0.5 to 1 cm thick. Roughly the thickness of a pencil up to your little finger.
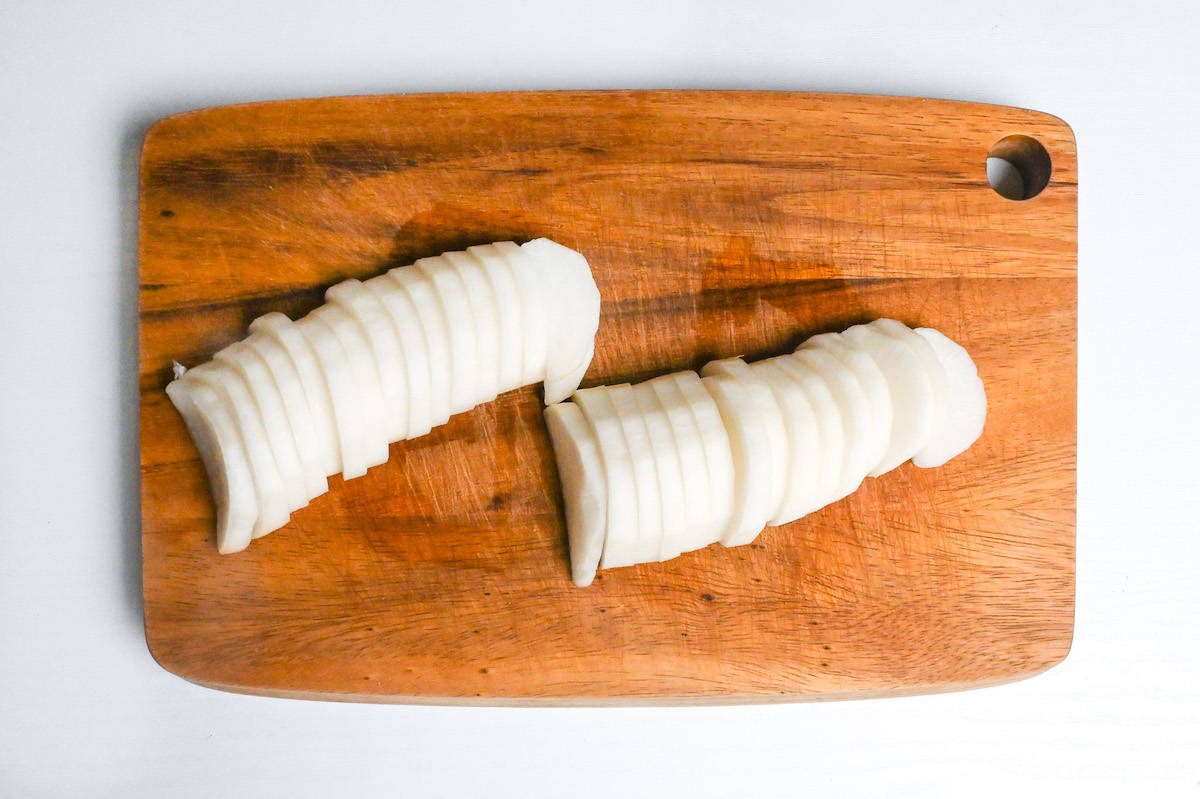
i. Drop the daikon slices back into the rinsed-out zip-top bag.
ii. Snip the rest of the chili into small pieces and add them to the bag. A 5 g strip of kombu, about the size of a credit card, snipped into thin ribbons, joins next.
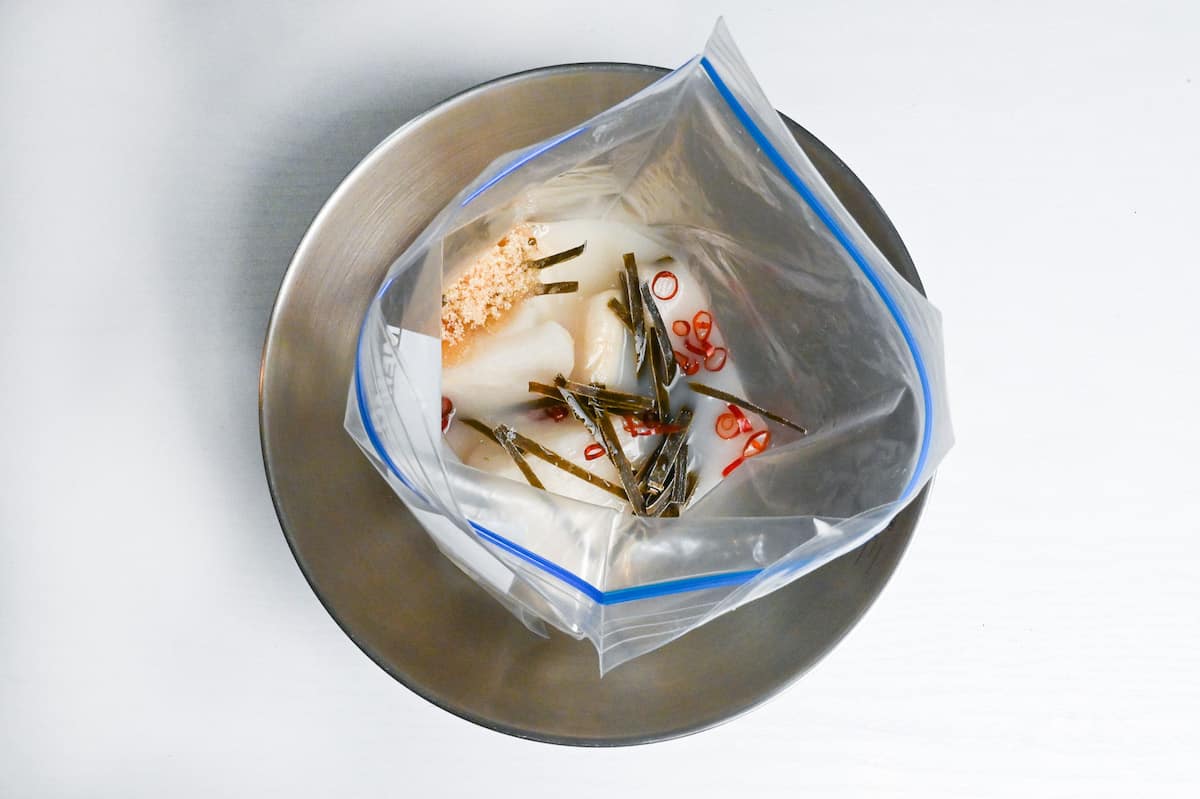
iii. Both are technically optional, but together they give the brine a quiet warm and savory floor that makes the pickle taste like it came from a speciality store.
i. Pour the amazake into the bag, directly over the daikon and aromatics. Add salt and sugar.
ii. Seal the bag most of the way, press all the air out, and zip it shut. Massage the bag from the outside until the slices are evenly coated and the koji bed has loosened into a thick, even slurry.
iv. Lay the bag flat on a plate or in a shallow dish. Back in the fridge for another 12 to 24 hours.
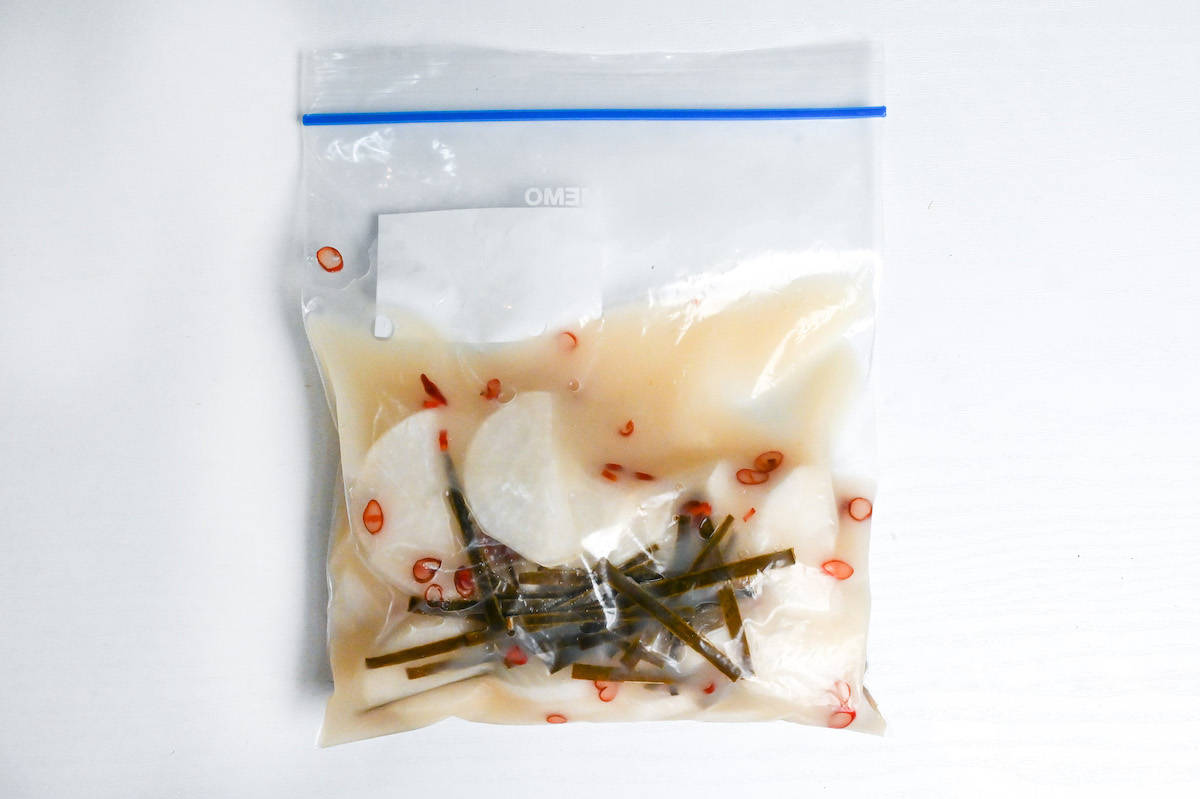
i. The next morning, open the bag. Lift a slice out with chopsticks or a fork, shake the koji bed off back into the bag, and try one. Sweet first. Salt second, on the back of the tongue. The crunch is loud.
Once you’re happy with the flavor, drain the liquid and transfer to a storage container. If you leave them in the liquid, they will continue to get saltier day by day.
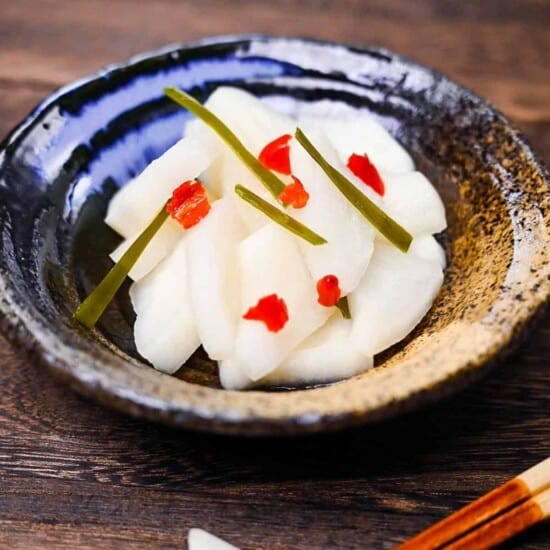
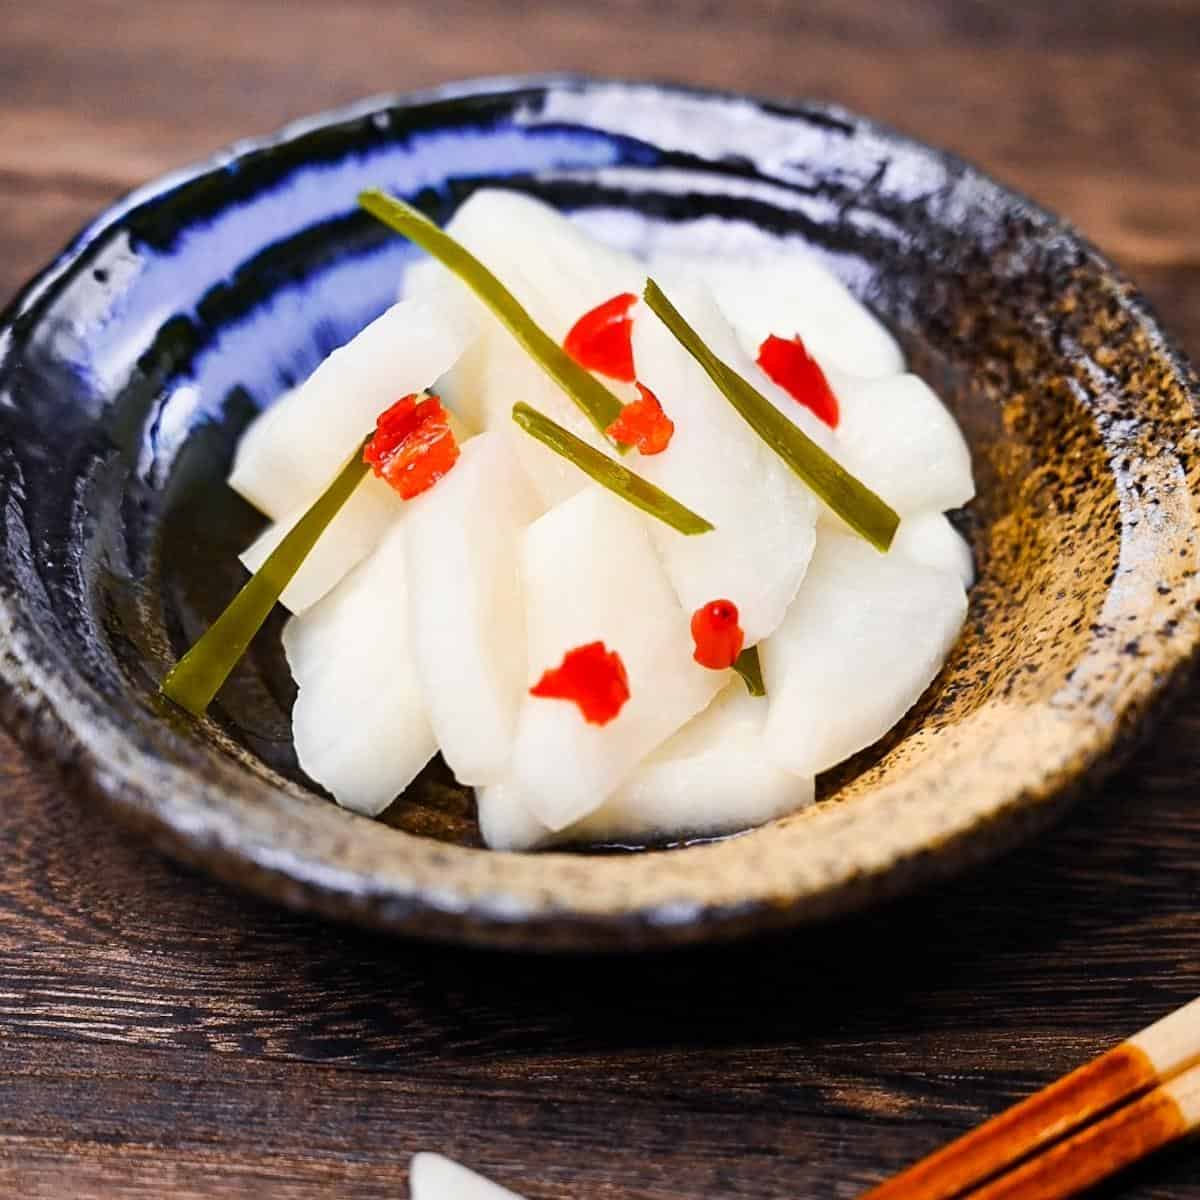
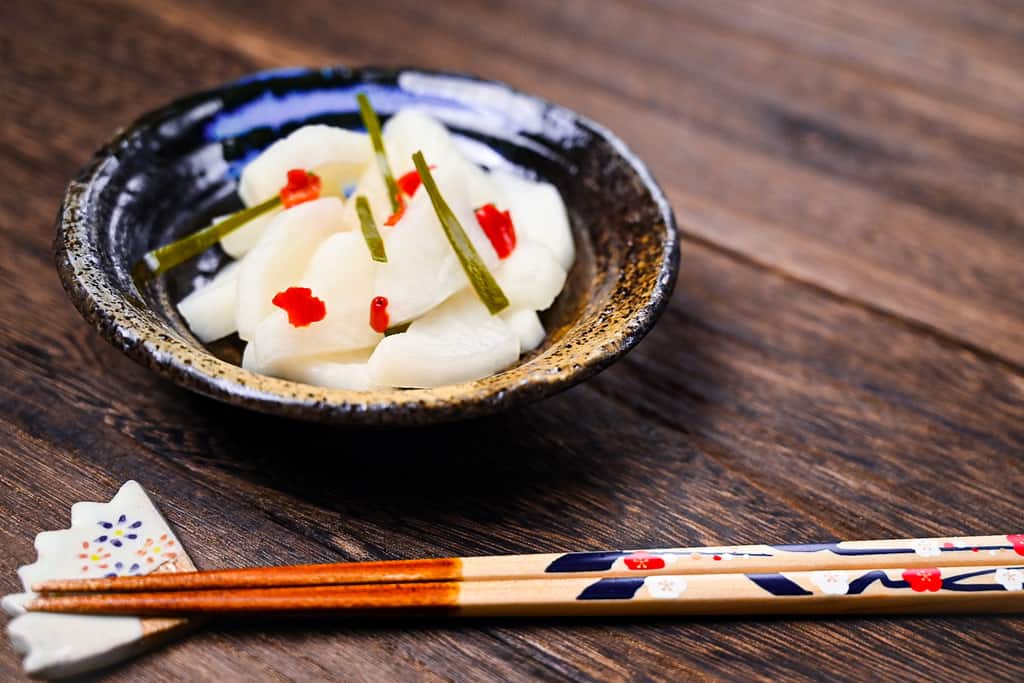
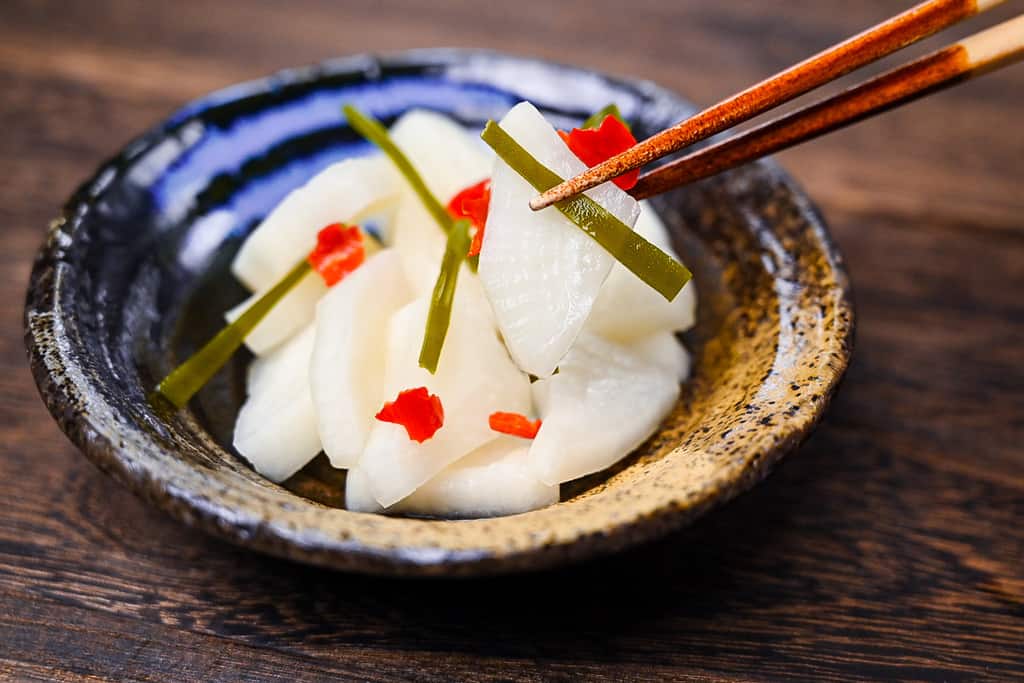
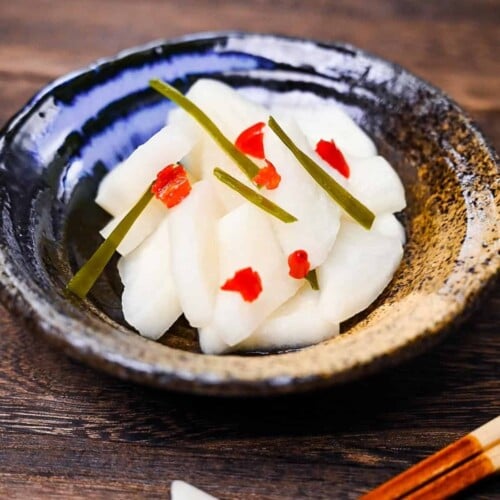
iii. Plate the slices with a few of the chili flakes and a kombu ribbon on top for color.
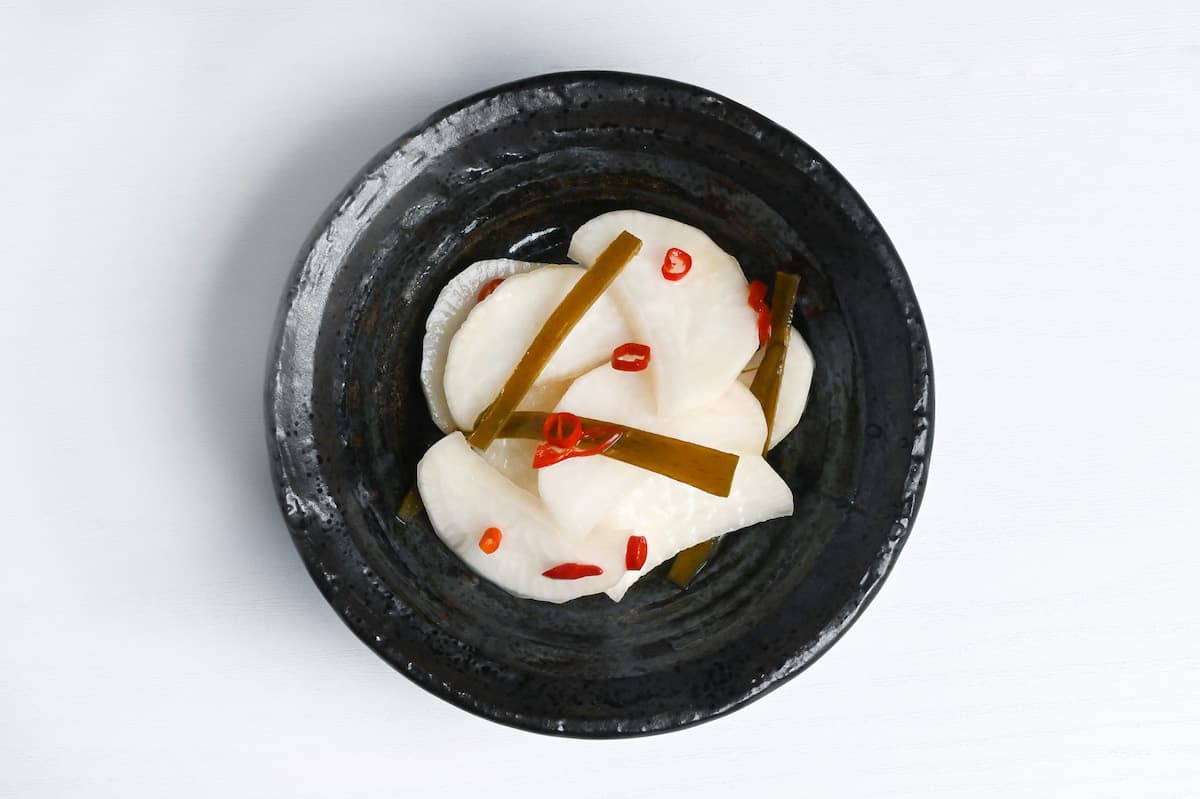
That stickiness clinging to each slice is the koji bed, and it is literally where the dish gets its name. Betabeta is the Japanese onomatopoeia for sticky. Shake the bed off into the bag if you want a cleaner-looking slice, but a thin film of koji on the surface is part of the bite.

Essential Tips & Tricks
- Weigh the salt at 5% of the daikon, not by eye. Below 3% the osmotic pull is too weak and the daikon stays watery on Day 2, so the koji bed dilutes itself into a sour mess by morning. Above 6% you have over-salted the pickle and no amount of amazake walks that back.
- Refrigerate from Day 1, not the counter. Room-temperature lactobacillus outruns the koji amylase, the pickle goes sour in a day, and the sweetness collapses into acidity.
- Press the air out of the bag before you seal it. Air pockets cause uneven pickling, slices in contact with air go soft and tan-colored while submerged slices stay crisp and pale. Lay the bag flat on a plate so the koji bed pools across the daikon evenly, and flip the bag once at the halfway mark if you remember.
With these simple tips in mind, you’re set for success every time you make the best homemade bettarazuke.
Storage & Meal Prep
Fridge: Keep the bag flat in the fridge with the slices submerged in the koji bed until you’re happy with the flavor, then drain and store in an airtight container in the fridge. The pickle is at its peak for about a week.
Freezer: Do not freeze it. Daikon is more than 80 percent water, and the ice crystals tear the cell walls apart on the way down.
Meal prep: Plan a 2-day window. Day 1 morning is the salt-press, then back into the fridge. Day 2 morning is drain, slice, build the koji bed, back into the fridge. Day 3 morning is breakfast. If you want to stagger batches for a steady weekly rotation.
What to Serve With This Recipe
- Perfect Japanese Rice
- Homemade Miso Soup
- Okaka Onigiri with Bonito Flakes
- Chirashizushi (Scattered Sushi)
More Japanese Pickle Recipes
- Easy Takuan (Yellow Pickled Daikon)
- Shibazuke (Kyoto-Style Salted Pickles)
- Fukujinzuke (Sweet Pickle Relish for Curry)
- Wasabi Pickled Cucumbers
If the world of Japanese pickles is calling, browse my full collection of Japanese pickle recipes and pick your next jar.
Did You Try This Recipe?
I would love to hear your thoughts!
💬 Leave a review and ⭐️ rating in the comments below. 📷 I also love to see your photos – submit them here!
Japanese Pickled Daikon Radish (Bettarazuke)

Ingredients
Day 1
- 300 g daikon radish
- 15 g salt 5% of the weight of the daikon, non-iodized sea salt
Day 2
- 125 ml amazake (sweet fermented rice drink)
- 10 g salt non-iodized sea salt
- 20 g sugar
- 1 dried red chili pepper
- 5 g dried kelp (kombu) optional for added umami
The ingredient brands and tools I trust are in my Japanese pantry guide and my cooking tools guide.
Can’t find certain Japanese ingredients? See my substitution guide here.
Instructions
Day 1
- Peel 300 g daikon radish and cut in half lengthways. If the daikon is particularly thick, cut them in half again (long quarters).

- Place the pieces in a large sealable freezer bag and sprinkle in 15 g salt.
- Massage the salt over the daikon, then push the air out of the bag, seal it and place it in the fridge overnight.
Day 2
- Remove the daikon from the bag and dry it thoroughly with kitchen paper. Pour the accumulated liquid out of the bag and rinse it thoroughly with cold water.
- Cut the daikon into 0.5-1cm thick slices. (Approx 1/4 inch)
- Deseed 1 dried red chili pepper and break it into small pieces, and use scissors to cut 5 g dried kelp (kombu) into thin strips. Place them in the bag along with the daikon slices and add 125 ml amazake (sweet fermented rice drink), 10 g salt and 20 g sugar.
- Push the air out of the bag, seal it and massage the ingredients together for about one minute. Store in the fridge overnight.
- Once you're happy with the flavor, drain the liquid and transfer the pickles to air tight container. Enjoy as a snack or side with a Japanese meal!

Love this idea! A perfect way to use up daikon I have on hand.
Thank you, Kel!