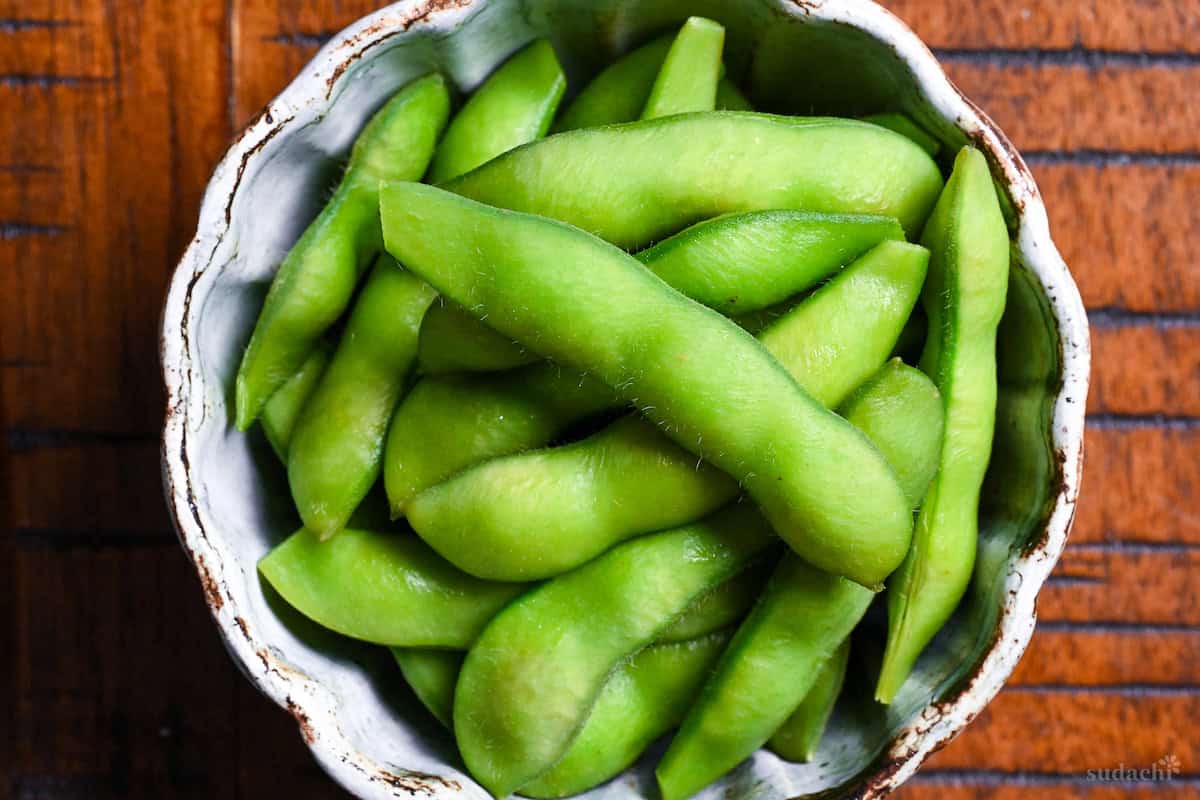
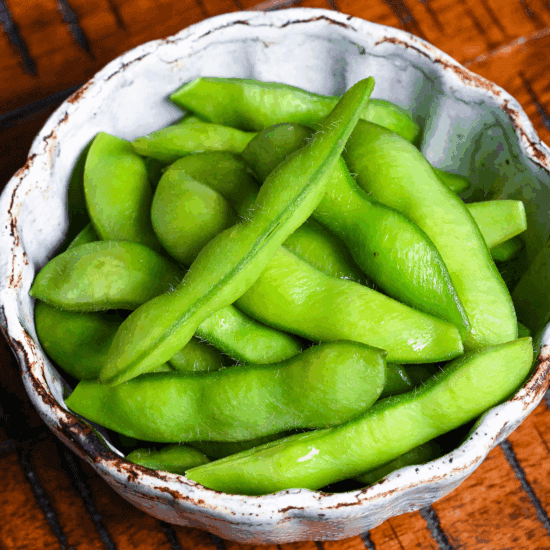
What’s the real secret to making edamame taste just like the unforgettable ones served in a Japanese izakaya? This time, I’m not showing you how to boil ordinary edamame. I’m sharing the ultimate way to prepare it.
So what makes edamame truly exceptional? It’s not just boiled edamame with salt sprinkled on top. It’s when you bite down and the pod releases that burst of perfectly salty juice with the freshest edamame flavor.

In this article, I’ll show you how to achieve that ultimate sensation.
What is Salt Boiled Edamame?
Undeniably, salt-boiled edamame has always been Japan’s most beloved bar snack. It’s simply young soybeans cooked in salted water until they reach a perfectly tender-crisp texture that makes them impossible to stop eating. Born as Edo period (1603-1868) street food, these pods were Japan’s original grab-and-go snack.
A true cultural moment occurred in the 1950s when cold beer met edamame, creating Japan’s most iconic food pairing. The salt not only seasons the beans, but also amplifies their subtle sweetness while cutting through the bitterness of beer, which is why this combination has remained unchanged for decades in every izakaya across Japan.
While frozen edamame is available year-round, nothing compares to the vibrant taste of fresh, in-season (June-September) edamame.
Visual Walkthrough & Tips
Here are my step-by-step instructions for how to make the best salt boiled edamame at home. For ingredient quantities and simplified instructions, scroll down for the Printable Recipe Card below.
This section aims to provide a comprehensive overview of the cooking steps and techniques with visuals. It also includes more in-depth tips and tricks and explains why I do what I do.
Place the edamame in a bowl and generously sprinkle coarse salt over them.

Using both hands, vigorously rub the salt into the pods. This “salt massage” serves a purpose far beyond simple seasoning.

It removes the fine fuzz (trichomes) from the pod surface, creating a smoother texture. If this fuzz remains, it creates an unpleasant, grainy texture that detracts from the overall experience.

If you have a minute to spare, I really recommend using kitchen scissors to cut about 1-2 mm off both ends of each pod. These small cuts allow the flavor to penetrate the beans more deeply. Don’t worry about cutting the beans inside; the pods are sturdy enough to protect them.
Choose edamame that is a vibrant green color with dense fuzz coverage and pods that aren’t overly swollen. Freshness is very important because sugars break down quickly after harvest, diminishing the natural sweetness.
Bring a pot of water to a full, rolling boil before adding salt (aim for a salt concentration of about 4%). This concentration is the “sweet spot” for enhancing the beans’ natural sugars without drawing out too much moisture.
Add the edamame all at once a long with the salt used for rubbing. Turn the heat back up to high, then reduce it slightly so the water stays at a vigorous boil without spilling over.

Cook for 3-5 minutes, tasting one pod around the 3-minute mark. You should feel slight resistance when you bite into it. Then, let the residual heat finish cooking it off the stove.
For large pods with firm texture, aim for about 5 minutes, for or smaller pods or softer texture, 3+ minutes works well.

Overcooking is the enemy because it creates mushy, waterlogged beans. Stir the beans occasionally during cooking to ensure even heat distribution.
You might think, “This seems like a lot of salt!” But, just as properly cooking pasta requires generous salting, achieving the signature flavor of salt-boiled edamame requires this amount of salt.
If you prefer to use less salt, you can reduce the amount of salt used for boiling and add finishing salt after cooking. However, you won’t achieve the distinctive, penetrating saltiness that defines authentic salt-boiled edamame.
Immediately drain the cooked edamame through a colander, removing as much cooking water as possible. It is critical that you never rinse them with cold water or use an ice bath. These methods will wash away the salt and umami that were carefully built up, leaving you with watery, bland beans.

Instead, spread the drained edamame on the colander and use a fan to cool them quickly. This quick cooling prevents overcooking from residual heat while preserving their vibrant green color.

Even if serving warm, a quick 10-20 second fan session helps set the color. Taste and adjust seasoning with a pinch of coarse salt if needed.

Keep in mind that edamame can sometimes taste a bit bland when it’s hot, but it gets really tasty as it cools, so don’t go overboard with the salt from the beginning.
The umami and saltiness of the seawater-like flavor that fills the inside pods is simply irresistible.
Jump to Full Recipe Measurements
Essential Tips & Tricks
- Don’t rinse after salt massage. The salt on the pods is necessary for the flavor to fully permeate during cooking.
- Check the doneness early. Take out 1 or 2 pods at the 3-minute mark to check the texture. Stop boiling when the texture is slightly firmer than desired as they will continue to cook with the residual heat.
- Don’t use cold water to cool. Water washes away the flavor you worked so hard to create. Use a fan instead to cool it quickly.
- Don’t overcook the edamame. If it’s mushy and waterlogged, it’s no good. It should be firm but tender.
- Season after cooling if really needed. Edamame tastes under-seasoned when hot but usually reaches perfect saltiness as it cools.
With these simple tips in mind, you’re set for success every time you make the best izakaya style edamame.
Meal Prep & Storage
This salt-boiled edamame recipe is great for meal prep! The salt penetrates deeper during storage, and the flavors actually improve slightly after resting in the refrigerator.
- Full Prep: Make the complete recipe, cool thoroughly using the fan method, and store in airtight containers. The edamame is best within 2-3 days and can be enjoyed cold as a snack or lightly reheated.
- Component Prep: You can pre-massage edamame with salt and store them in the refrigerator for up to 24 hours before boiling.
- Bulk Cooking: This recipe scales beautifully! Cook large batches during peak season and freeze in portion-sized containers for up to 1 month.
To store it, put cooled edamame in an airtight container in the refrigerator right after it has cooled to room temperature. Keep the pods intact to prevent them from drying out and staying fresh.
For freezing, portion into freezer bags with air removed and freeze flat for best quality. To reheat, briefly dip frozen edamame in boiling water for 30-60 seconds, or microwave at 500-600W for 1-2 minutes. Never refreeze once thawed.
Serving Suggestions
FAQ
Here are answers to frequently asked questions I have received across all platforms, including here, YouTube, Instagram, and Pinterest. If you have any questions, feel free to send them to me anytime! It will be a big help for everyone in this community!
Test 1-2 pods at the 3-minute mark. The edamame should be firm-tender with no chalky center. Stop cooking when slightly firmer than desired. Residual heat will finish the cooking process.
Overcooking. Boiling for more than 5 minutes makes the beans mushy, causes color loss, and creates a watery taste. Remember that edamame continues cooking from residual heat even after draining.
This can happen if you use too little salt (less than 4% concentration) or if the edamame is past its freshest. It’s important to measure your salt.

I hope you enjoy this Edamame recipe! If you try it out, I’d really appreciate it if you could spare a moment to let me know what you thought by giving a review and star rating in the comments below. It’s also helpful to share any adjustments you made to the recipe with our other readers. Thank you!
More Izakaya Recipes
Hungry for more? Explore my izakaya recipe collection to find your next favorite dishes!

Izakaya Style Salt-Boiled Edamame
Ingredients
- 200 g edamame fresh, in pods, bright green with dense fuzz
- 1 tsp coarse salt for rubbing pods
- 1000 ml water for boiling
- 3 tbsp sea salt (about 4% of water weight) for boiling
My recommended brands of ingredients and seasonings can be found in my Japanese pantry guide.
Can’t find certain Japanese ingredients? See my substitution guide here.
Instructions
- Rinse 200 g edamame with fresh water and place them in a bowl. Sprinkle 1 tsp coarse salt over the top and massage thoroughly to remove the fuzz.

- Start heating 1000 ml water in a pot. While you wait for it to boil, use kitchen scissors to cut 1-2mm off of each end of each edamame pod.

- Once the water is boiling, add 3 tbsp sea salt and mix to evenly distribute. Then, add the edamame to the pot all at once and reduce the heat slightly so the water boils vigorously without spilling over.

- After around 3 minutes, take one edamame out and rinse it under cold water to cool it quickly. Taste test, the beans should be soft enough to bite but slightly underdone. Larger pods might need closer to 5 minutes.

- Pour the pods through a colander over the sink to drain. The residual heat will finish cooking them.

- If serving warm, fan them for 10-20 seconds to help cool them. Alternatively, let them cool to room temperature and chill in the fridge. Sprinkle with coarse salt if desired and enjoy!

Notes
- After salting, let the pods rest for a bit so seasoning penetrates. DO NO rinse before boiling.
- Stir the pot every 30 seconds to ensure even cooking and keep the beans vivid green.
- Drain and fan immediately. Never plunge the pods into cold water or you’ll wash away flavor.
- Storage: Fan-cool fully, then refrigerate pods intact in an airtight container for 2-3 days, or freeze flat in air-removed bags for up to 1 month.
- If frozen, reheat frozen beans by boiling 30-60 seconds. Never refreeze once thawed.


Nice
Thank you, Tuyet!