


Featured Comment:
I just had this a few minutes ago. So delicious.
– @618B (from YouTube)
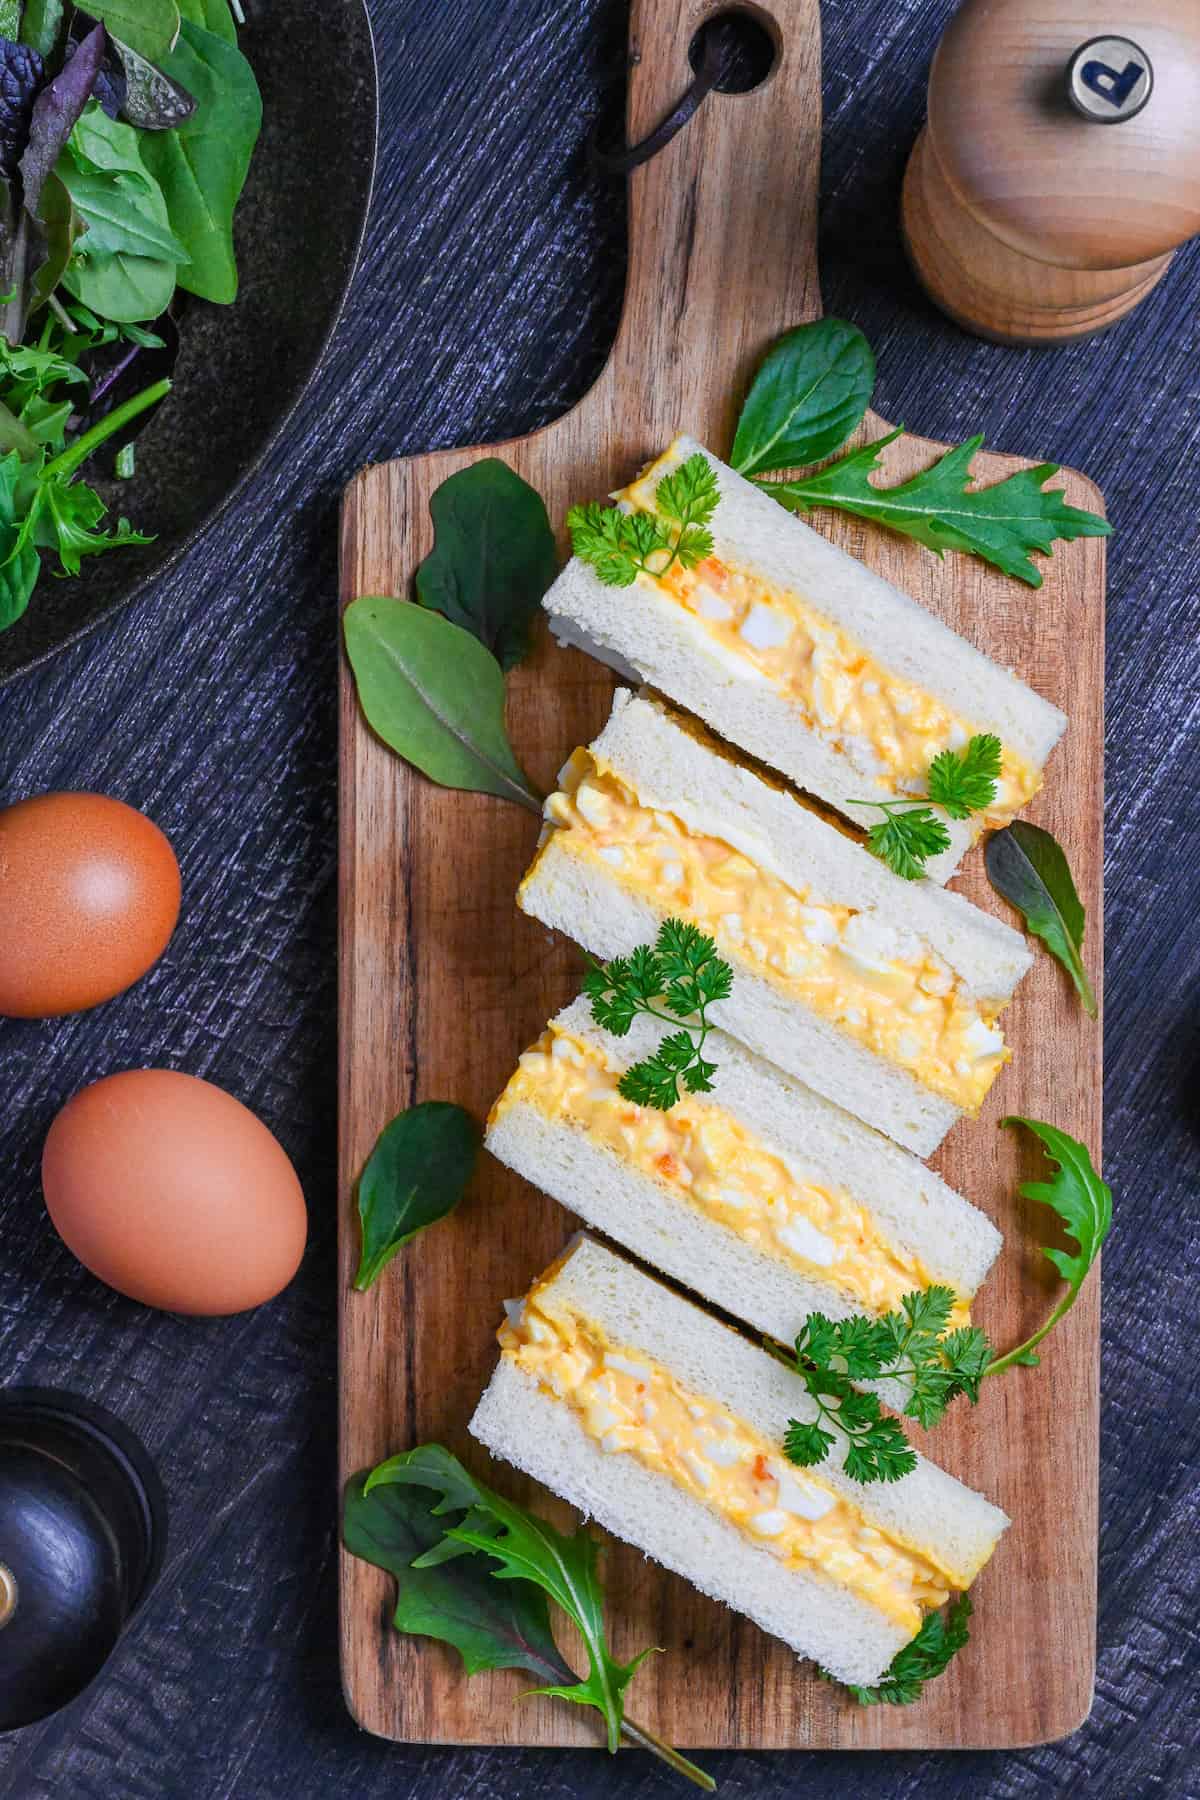
What is Tamago Sando?
Still thinking about that perfect egg sandwich from 7-Eleven in Tokyo? That seemingly simple yet impossible-to-recreate taste of Japan? The humble Tamago Sando (卵サンド) holds a special place in the hearts of anyone who’s experienced Japan’s convenience store culture.
It is a popular Japanese sandwich that has an egg as the main filling. Although egg sandwiches are found in many countries, they’ve been exceptionally popular in Japan. You can find them in bakeries, supermarkets, and convenience stores all over the country.
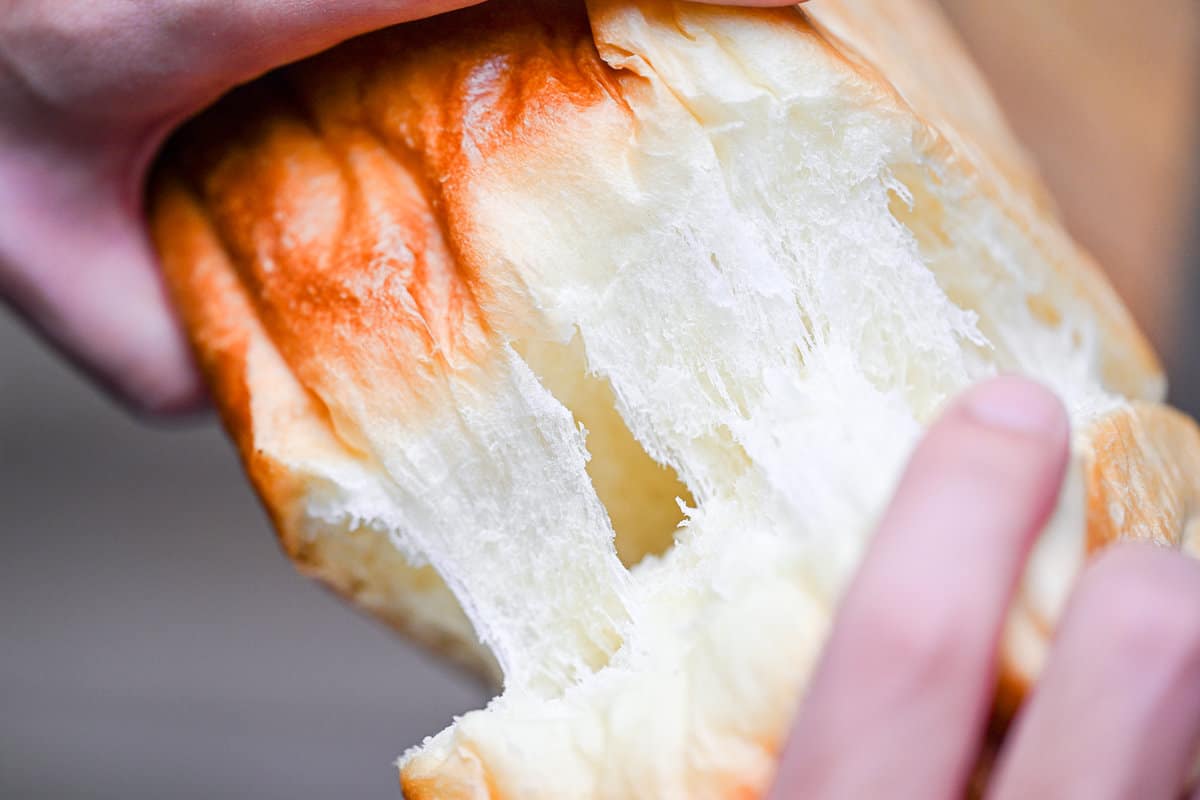
What makes these sandwiches so amazing? Could it be the soft and fluffy shokupan bread, the creamy Japanese mayonnaise, or maybe a secret technique that makes regular eggs into something special? Today, I’ll share the secrets to achieving that perfect texture and flavor.
Ingredients & Substitution Ideas

- Eggs: I recommend using high-quality eggs for this. The vibrant, almost orange yolks found in Japanese eggs create that signature rich color and flavor.
- Slices of Loaf Bread: The soft texture of shokupan is key for recreating the konbini experience. Its subtle sweetness and cloud-like softness make the perfect base for the egg filling. You can use regular white bread, but if you’re seeking authenticity, check out our shokupan recipe.
- Japanese Mayonnaise: Japanese-style mayonnaise like Kewpie is the ideal choice for its unique flavor, but other types of mayonnaise will also work well. Unlike other mayonnaise, Japanese mayo typically uses only egg yolks (not whole eggs), rice vinegar, and a touch of flavor enhancer, giving it a richer, tangier, and more umami-packed flavor.
- Honey: My secret ingredient! Just a touch adds a subtle, unique sweetness that perfectly balances the richness of the eggs and mayo.
- Karashi (Japanese Mustard): Smooth Dijon mustard is a good substitute if unavailable. Of course, you can omit if you’re not a fan of mustard.
- Unsalted Butter: Creates a crucial moisture barrier between the bread and filling, preventing sogginess while adding richness.
Visual Walkthrough & Tips
Here are my step-by-step instructions for how to make Tamago Sando at home. For ingredient quantities and simplified instructions, scroll down for the Printable Recipe Card below.
If you prefer to watch the process in action, check out my YouTube video of this Tamago Sando recipe for a complete visual walkthrough!

Bring the water to a gentle boil over medium-high heat.

Once it’s boiling, carefully lower the eggs into the water using a slotted spoon and cook for 10-12 minutes, depending on how firm you like them. For traditional tamago sando, 10 minutes is perfect-firm enough to hold its shape but the yolks are still creamy when mashed.
While you wait for the eggs, take the butter out of the refrigerator and leave it on the counter to come to room temperature.
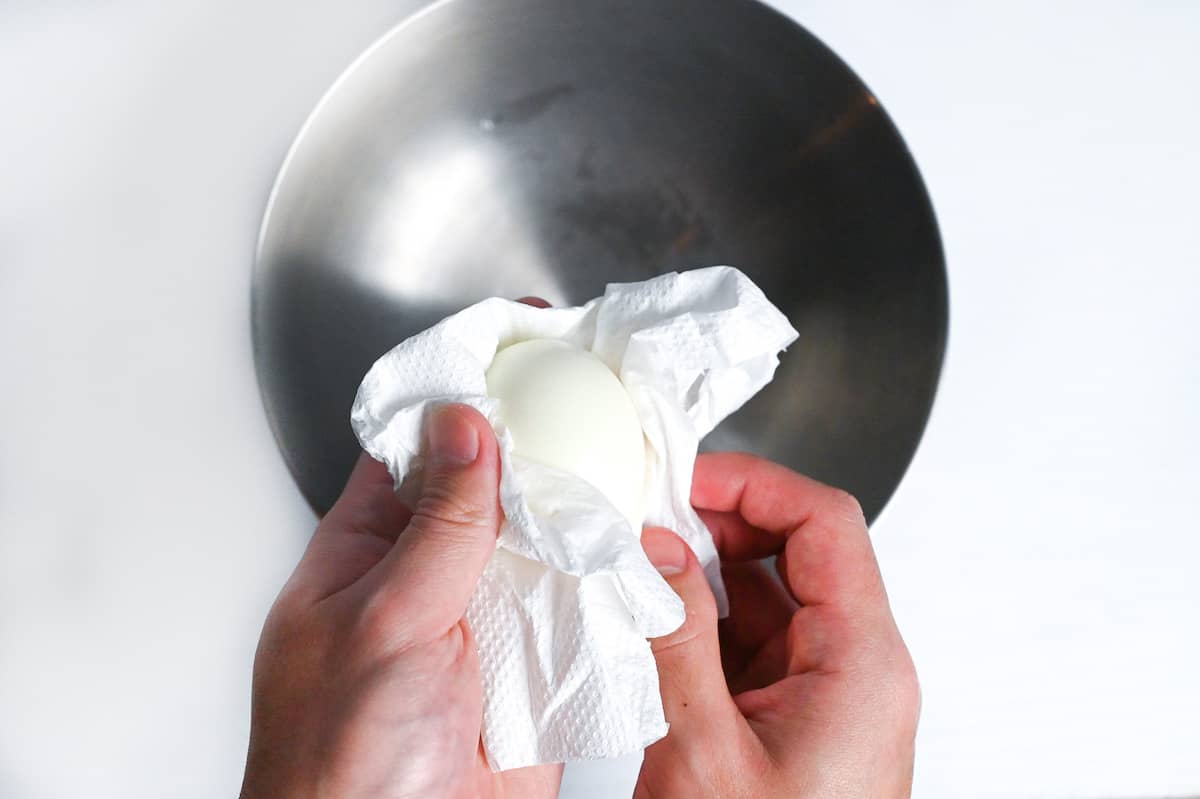
After the eggs have boiled for 10 minutes, transfer them to a bowl of cold water. Let them cool for at least 5 minutes before peeling.
After cooling, gently tap the eggs all over on a hard surface to create microcracks, then peel them under a light stream of cold water. The water helps separate the shell from the egg white. Pat the peeled eggs dry with kitchen paper to remove excess moisture – this seemingly small step is crucial as excess water would make your filling watery instead of creamy.
Place the boiled eggs in a bowl and add a pinch of salt and pepper.
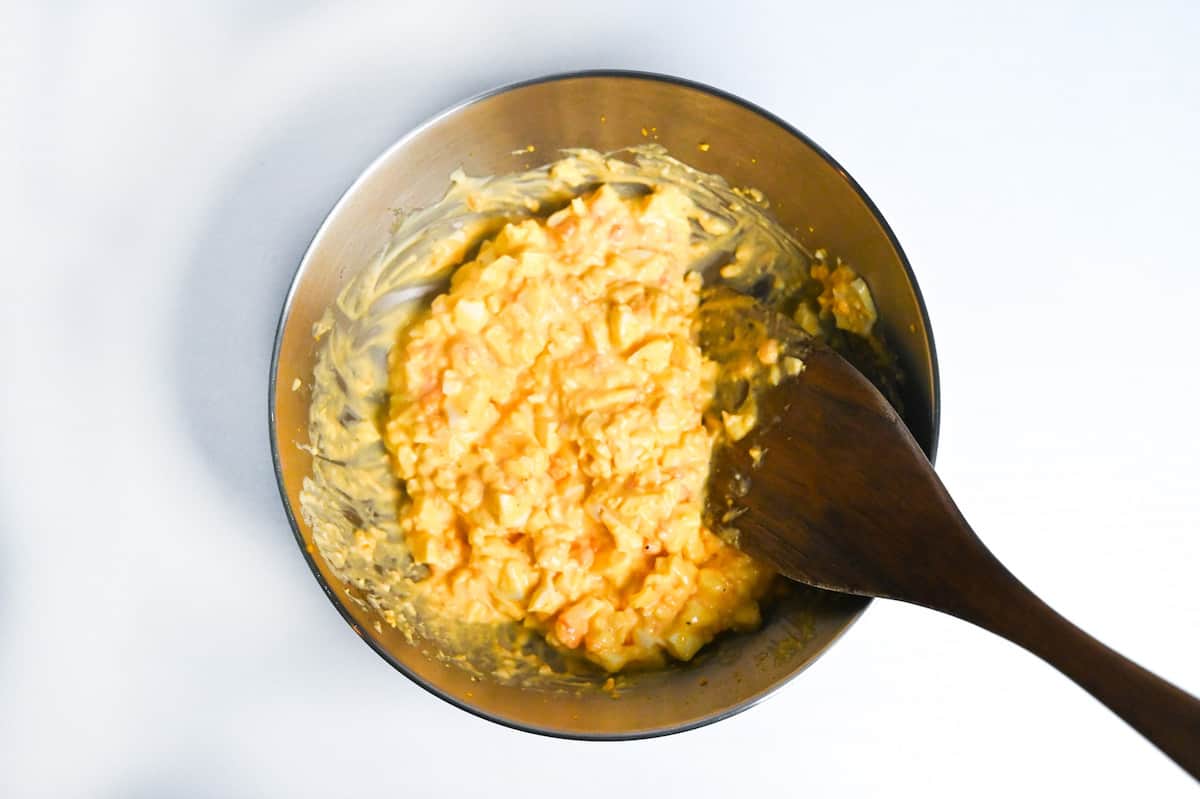
Instead of roughly chopping, use a gentle mashing technique with a flat spatula. The goal is to create small, uniform pieces of egg white while allowing the yolks to become creamy.

Once the egg whites are finely mashed, fold in the Japanese mayonnaise and honey with a gentle lifting motion. Continue mixing for a full 2-3 minutes – this seemingly excessive mixing time is what creates that sticky, cohesive texture that holds together perfectly in the sandwich.
Japanese mayo has more egg yolk than Western varieties, which makes it better at emulsification because of the lecithin in the yolks. This gives it that unique creamy, smooth texture we all love.
If you prefer a smoother, creamier texture like the konbini-style sandwiches, try using a potato masher to mash the eggs more finely.
Keep mixing until the mixture becomes sticky and well combined. Once done, make sure to keep the mixture in your fridge until just before you use.
Japanese tamago sando typically uses shokupan-Japanese milk bread that’s lighter, fluffier, and slightly sweeter than standard white bread. If you can’t find shokupan, look for thick-cut white bread with a soft texture and fine crumb.
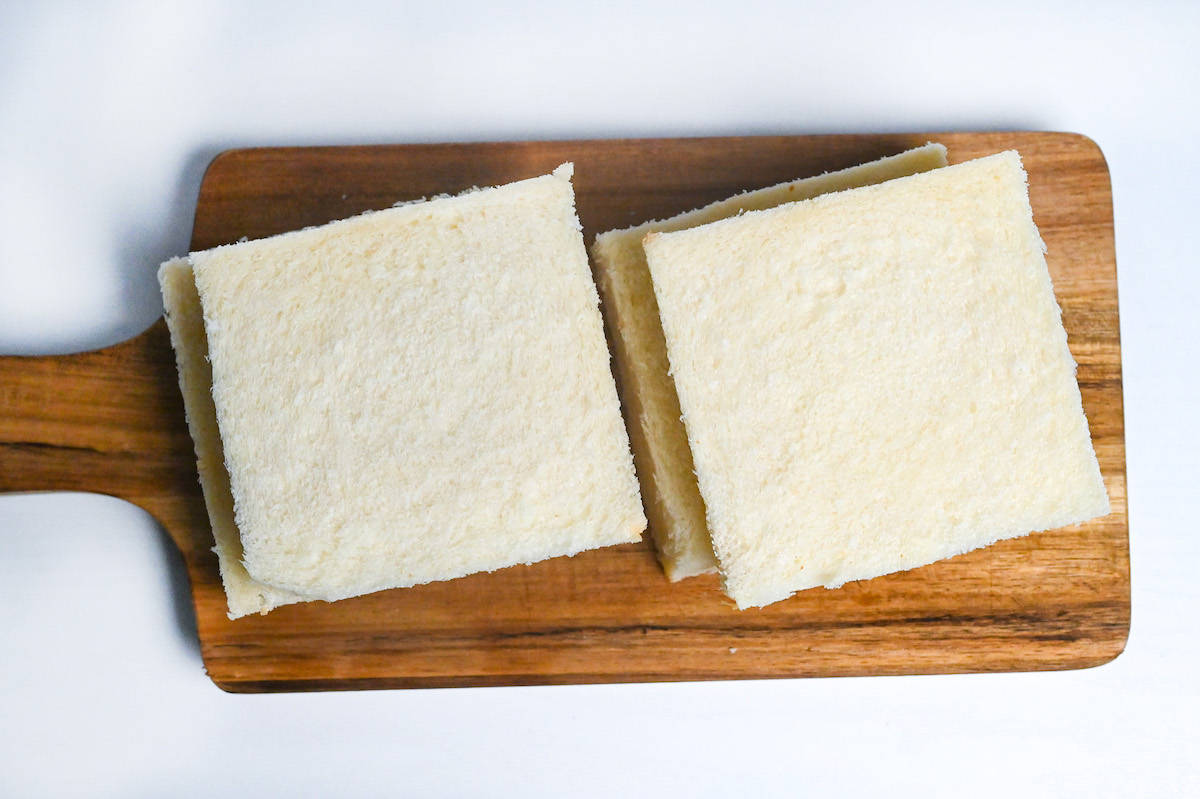
For the traditional convenience store look, trim the crusts from your bread slices. While optional, this creates the iconic clean edges and soft bite of authentic tamago sando.
A little note: I cut off the crusts for the photo, but leaving the crusts on is totally fine. If you remove the crusts, you can blend them to make homemade panko breadcrumbs.
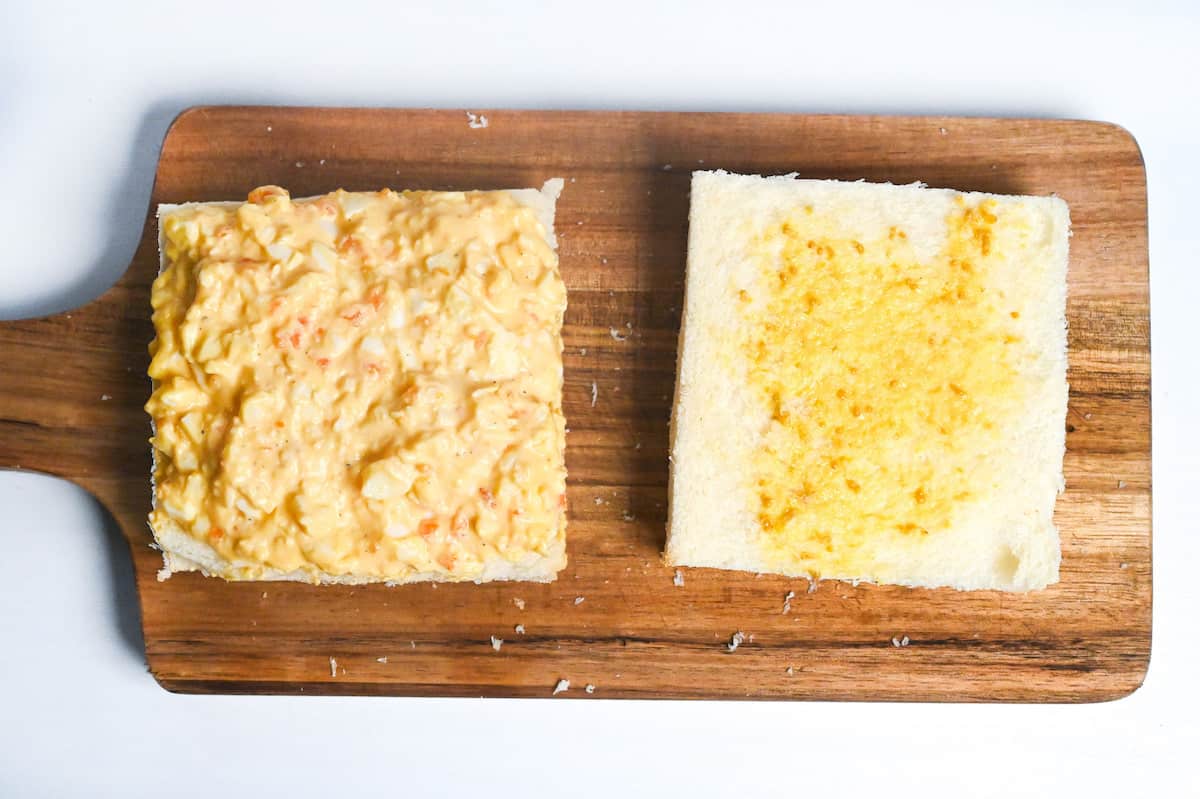
Apply a thin, even layer of butter on one slice of bread.
This creates a moisture barrier that keeps the bread from getting soggy.

On the other slice, spread a bit of karashi (Japanese mustard). It adds a subtle heat that goes well with the richness of the egg and mayo.
Spread your egg mixture evenly onto the buttered slice, creating a slightly mounded center that’ll look nice when you cut it.
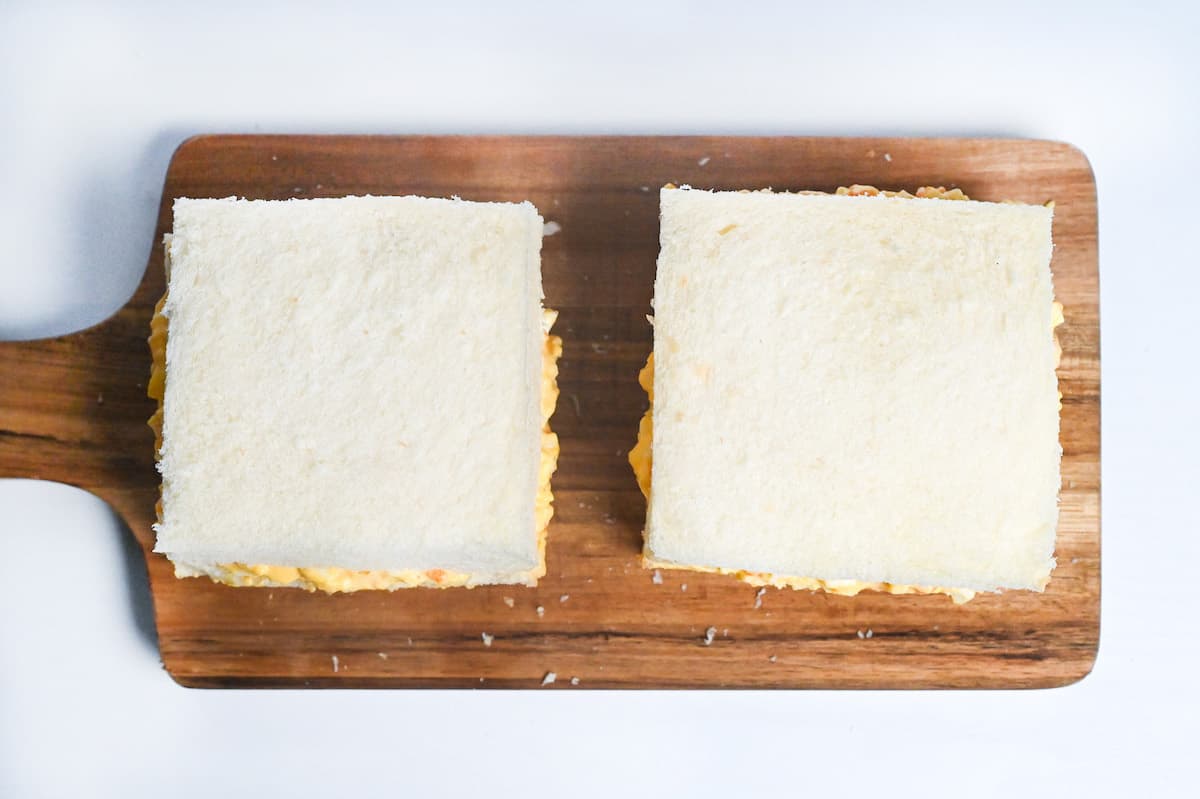
Place the mustard-spread slice on top and gently press down to secure the sandwich. Don’t press too firmly, as this could squeeze out the filling or compress the bread too much.
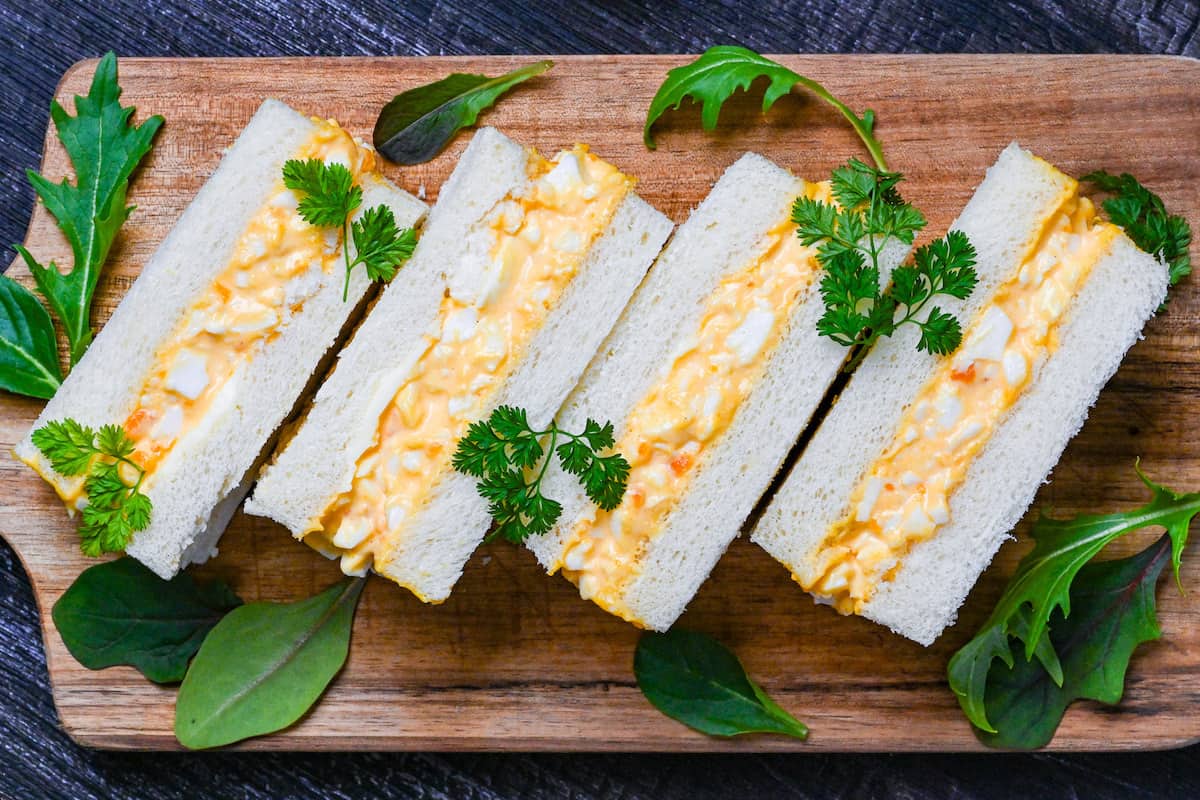
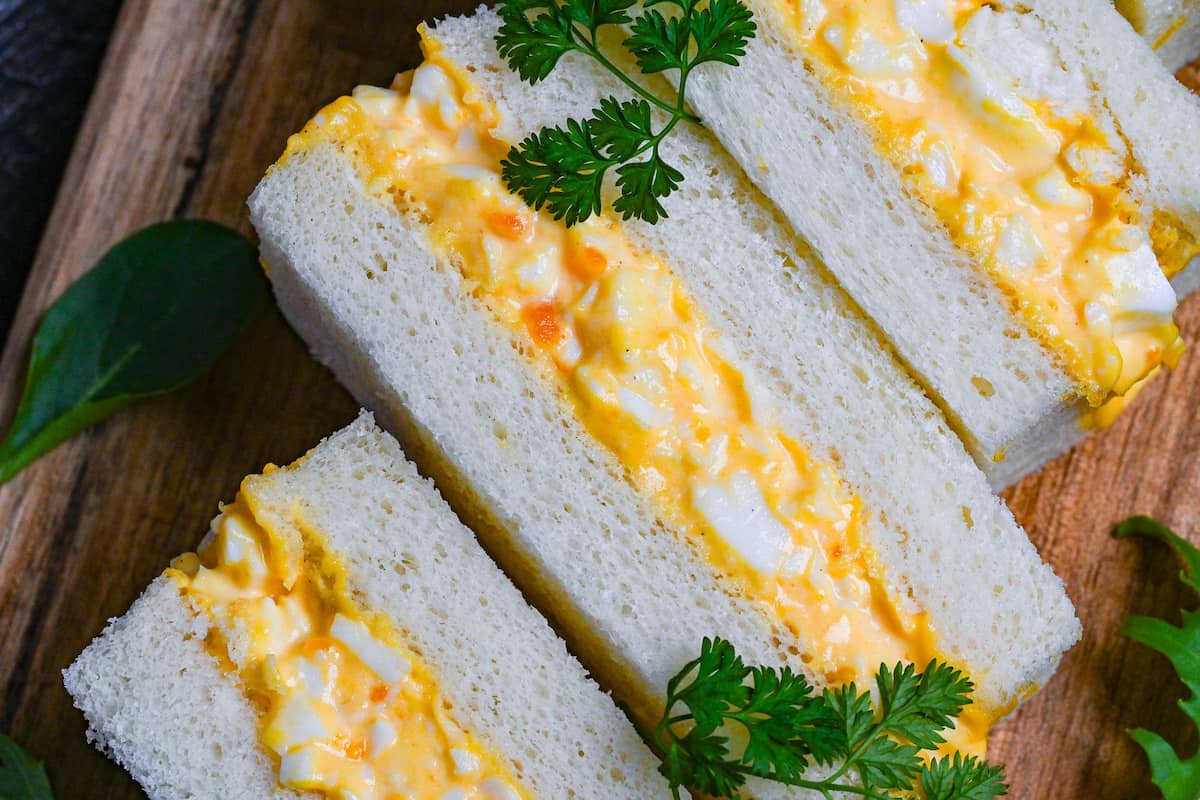
Japanese sandwiches are often designed with the cross-section in mind. If you make a slightly thicker layer of filling in the center, when you cut it diagonally, the filling will have an attractive curved line. This is sometimes called the “moe-dan (萌え断)” or “attractive cut” effect.
For those who prioritize simplicity over authenticity or appearance, here are some easier options:
- Toast your bread for a no-fuss alternative: This gives a bit of crunch and makes cutting easier.
- Just spread the egg mixture on a single slice of bread: This skips the sandwich assembly and cutting entirely while still delivering the essential flavors.
These shortcuts won’t give you the exact convenience store experience, but they’re perfect for busy days when you want the flavor without the fuss.
Tamago sando contains a wet filling that can make it difficult to get a clean cut. Here are a few tips to help improve presentation:
- Chill the filling: If you have time, chill the filling for a little while to make it more stable.
- Wrap and chill the whole sandwich: Again, if time permits, you can chill the assembled sandwich for 20 minutes to stabilize the filling and make it easier to cut. If you use this method, make sure to wrap it with plastic wrap to stop the bread from drying out.
- Use a serrated bread knife: This will allow you to cut the sandwich in a sawing motion so that you don’t squash the bread and push the filling out.
- Wipe the knife between each cut: Wipe away any filling on the blade of the knife before you make each cut, this will ensure clean cuts every time!
Essential Tips & Tricks
- Pat peeled eggs completely dry with paper towels to prevent a watery filling.
- Season eggs with salt and pepper before adding mayonnaise for better flavor distribution.
- Aim for textural contrast by keeping some egg white pieces distinct (5-6mm) while allowing yolks to become creamy.
- Japanese mayonnaise is key for authentic flavor.
- Bring butter to room temperature (30 minutes) before spreading.
- Chill the assembled sandwich for 20 minutes before cutting for cleaner, more professional-looking slices.
- Use a serrated knife with a gentle sawing motion rather than pressing straight down when cutting.
- Wipe your knife clean between cuts for picture-perfect sandwich edges.
With these simple tips in mind, you’re set for success every time you make Tamago Sando.
Meal Prep & Storage
Tamago sando has limited meal prep potential due to its fresh ingredients, but there are strategic components you can prepare ahead:
- Component Prep: The egg filling can be prepared up to 2 days in advance and stored in an airtight container in the refrigerator.
- Not Recommended: Fully assembled sandwiches do not keep well for extended periods. The moisture from the filling will eventually make the bread soggy, even with the butter barrier.
For storage, keep the egg filling in a tightly sealed container in the coldest part of your refrigerator and never leave the filling at room temperature for more than 2 hours, even less in summer. Once sandwiches are assembled, they should be consumed within the same day and kept chilled at all times.
FAQ
Here are answers to frequently asked questions I have received across all platforms, including here, YouTube, Instagram, and Pinterest. If you have any questions, feel free to send them to me anytime! It will be a big help for everyone in this community!
Japanese egg sandwiches are defined by their simplicity. They focus solely on eggs and mayonnaise as the base, without additional ingredients like cheese, mustard, onions, lettuce, or ham. The quality and careful handling of these minimal ingredients are what makes them different.
If you can’t find Japanese mayonnaise, you can get a similar flavor by adding a tiny bit of sugar and rice vinegar (or lemon juice) to regular mayonnaise. For the best results, try my homemade Japanese mayonnaise recipe.
Look for white bread that’s as soft and dense as possible. Brioche and Pullman loaf are also good alternatives. The key is to use fresh bread with a soft texture and thin crust.

I hope you enjoy this Tamago Sando recipe! If you try it out, I’d really appreciate it if you could spare a moment to let me know what you thought by giving a review and star rating in the comments below. It’s also helpful to share any adjustments you made to the recipe with our other readers. Thank you!
More Quick Lunch Recipes
- Quick & Easy Yakiniku Don
- Pan Fried Japanese Teriyaki Salmon
- Tonteki Pork Steak
- Authentic Yakisoba (Japanese Stir-fried Noodles)
Hungry for more? Explore my lunch recipe ideas to find your next favorite dishes!

Tamago Sando (Japanese Egg Sandwich) Better Than Konbini

Ingredients
- 4 eggs
- ¼ tsp salt
- ⅛ tsp ground black pepper freshly ground if possible
- 4 tbsp Japanese mayonnaise
- 1 tsp honey
- 8 slices white bread preferably Japanese style shokupan
- ½ tbsp butter room temperature, unsalted preferred
- 1 tsp Japanese mustard (karashi) can substitute smooth Dijon in smaller amount
My recommended brands of ingredients and seasonings can be found in my Japanese pantry guide.
Can’t find certain Japanese ingredients? See my substitution guide here.
Instructions
- Bring a pot of water to a boil and add 4 eggs. Boil for 10 minutes.

- Once 10 minutes are up, transfer the eggs to a bowl of cold water and peel. Dry with kitchen paper and place them in a mixing bowl.
- Add ¼ tsp salt and ⅛ tsp ground black pepper, then mash the eggs with a wooden spatula until evenly crumbled.
- Add 4 tbsp Japanese mayonnaise and 1 tsp honey, mix until combined.
- Take 8 slices white bread and trim the crusts (optional). Spread butter on one side and Japanese karashi mustard on the other.
- Spread the egg filling on one side of bread.
- Close the sandwich with the other slice and cut in half or thirds. (Optional tip: Wrap the sandwiches with plastic wrap and refrigerate to stabilize the filling and make it easier to cut.)
- Enjoy!
Video
Notes
- Use high-quality eggs for vibrant yolks that create the signature rich flavor and color.
- If possible, use Japanese mayonnaise (Kewpie-style) for authentic flavor. I have a recipe for homemade Japanese mayo.
- Spread butter on bread as a moisture barrier to prevent sogginess.
- If you’re looking for picture-perfect, chill assembled sandwich wrapped in plastic wrap for 15 minutes before cutting.
- For a lazy version, toast bread instead of using butter or make an open-faced sandwich to avoid cutting challenges.
- Store tamago sando in the refrigerator for up to one day, wrapped tightly in plastic wrap. Filling alone keeps 2-3 days in a sealed container. Not recommended for room temperature or freezer storage.
This came out well. I did half the honey quantity because I didn’t have Japanese mustard. The recipe makes four sandwiches so we doubled the batch to have extra for later in the week.
Hi Meowtropolis,
Thank you so much for trying this recipe! Love that you adapted the recipe and enjoyed the results! 🙂
Yuto
Delicious and much umami, the combination of the slight sweetness from the honey and the heat of the karashi were perfectly balanced. Well done Yuto Omura-san. This IS my go to sando. I did separate the yolks and blended them together with the added ingredients then chopped and folded in the egg whites.
Hi o2bsam,
This made my day, thank you. I’m honored it’s become your go-to sando. It looks great! I’m so glad the balance of sweetness and karashi heat worked perfectly for you. And separating the yolks to blend them first is a fantastic technique! 🙂
Yuto