

Disclaimer: This post may contain Amazon affiliate links. Sudachi earns a small percentage from qualifying purchases at no extra cost to you. See disclaimer for more info.
What is Sata Andagi?
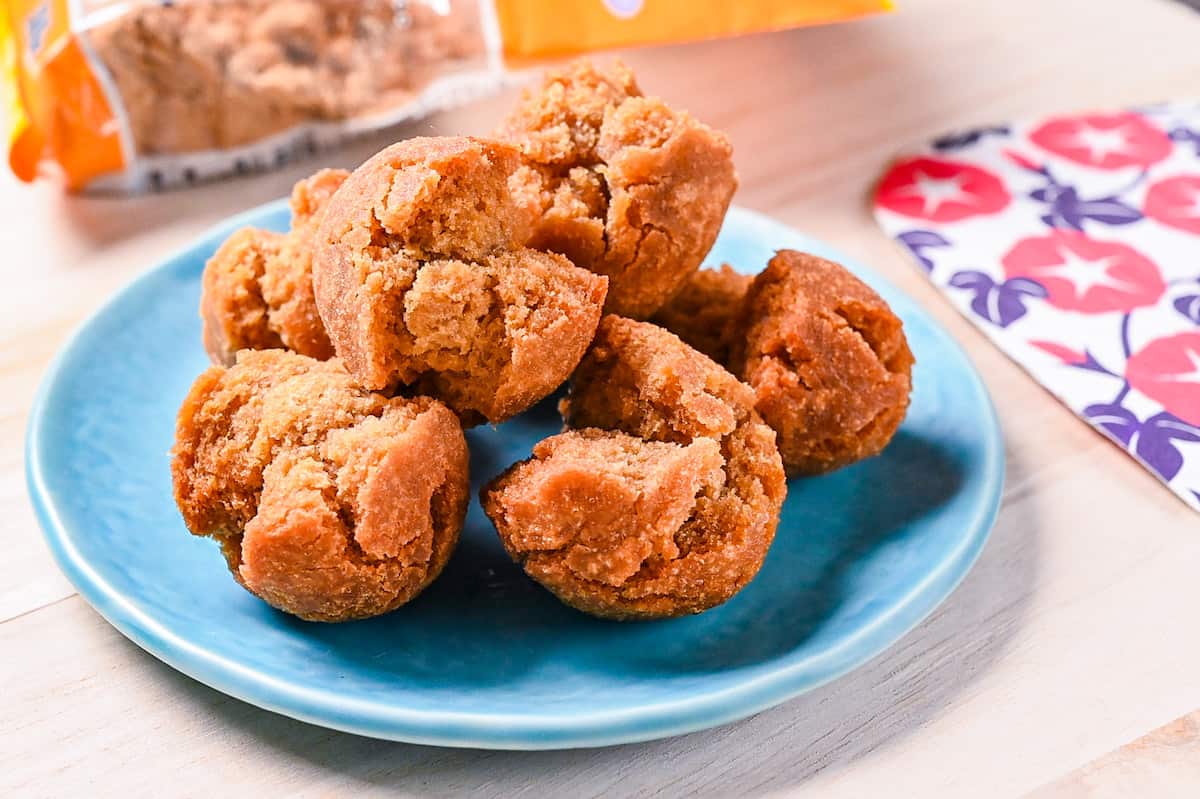
Sata andagi (サーターアンダギー) are crispy and dense deep-fried balls of dough similar to donuts. However, unlike regular donuts, they don’t contain yeast and therefore do not need thorough kneading or rising time. In fact, they’re extremely quick and easy to make at home!
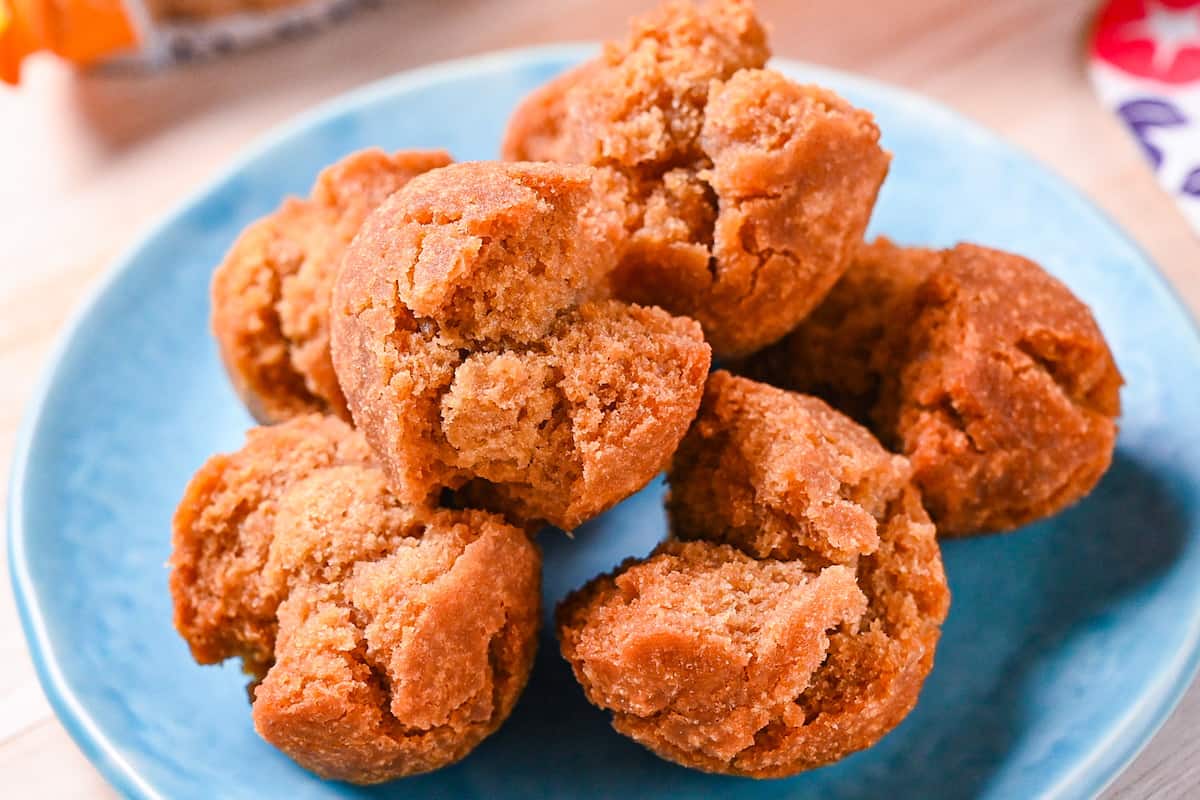
Also known as “Okinawan donuts”, sata andagi are fried at a low temperature so that cracks appear on the surface. The cracks are said to look like a smile or even represent a blossoming flower. It is for this reason that they are considered good luck and are often eaten during special events such as birthdays and anniversaries.
The Origin of Sata Andagi
Sata andagi is a regional sweet from the Southern Japanese prefecture of Okinawa. The name “sata andagi” comes from the Okinawan dialect which can be quite different from stardard Japanese. It’s made up of 3 parts which in standard Japanese would be “sato” (sugar), abura (oil) and “age” (fry). In Okinawan dialect, the words are “sata”, “anda” and “agi” respectively which come together to form the name “sata andagi” or literally “sugar deep fried in oil”.
It is believed that sata andagi first appeared in Okinawa around 500 years ago during the Ryukyu dynasty, when chefs from China introduced a similar sweet known as “kaikousho” (開口笑) made with dough coated in sesame seeds and deep fried. The name means “open mouth smile” and comes from the fact that a large crack appears while deep frying. This is the signature feature of kaikousho and sata andagi.
Whether they’re truly related or not, sata andagi became a snack unique to Okinawa that uses local ingredients such as Okinawan brown sugar. Over time, they also became a symbol of good luck and an important part of Okinawan culture.
What is Kurozato (Kokuto)?
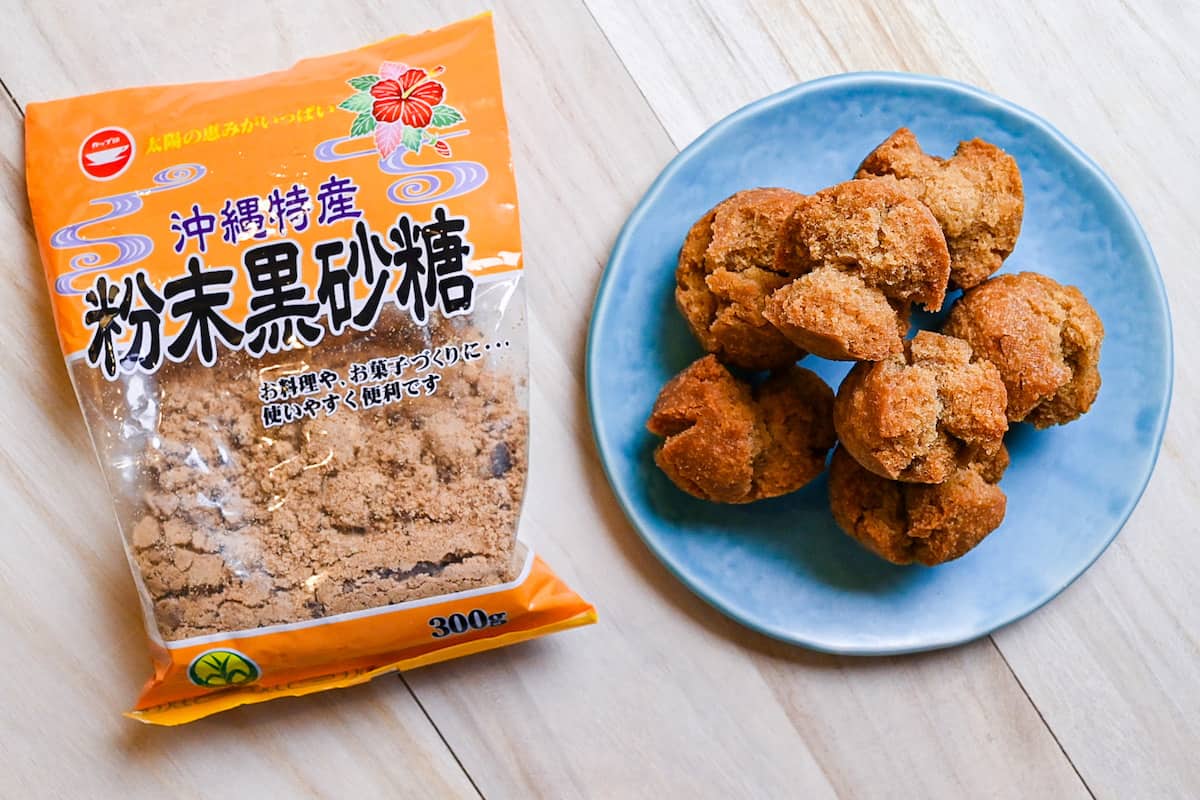
While you can surely make this recipe with white sugar or light brown sugar, what makes sata andagi a bit special is the fact that it is made with Okinawan brown or “black” sugar known as “kurozato” (黒砂糖) or “kokuto” (黒糖) for short. This sugar is a regional specialty that Okinawa is famous for!
Kurozato is made by boiling sugarcane juice, drying it naturally, and then breaking it into large chunks. It usually comes in large squares (which my grandfather used to eat whole!) but you can find finer versions for baking (like pictured in the ingredients below). It has a deep and rich flavor and is often used in both sweet and savory dishes.
That said, I realize it can be difficult to find kurozato outside of Japan. The closest accessible equivalent would be muscovado sugar, so feel free to use that instead!
Ingredients & Substitution Ideas
Sata andagi only requires 5 simple ingredients:
- Cake flour: I like using cake flour (low gluten wheat flour) to stop the Sata Andagi from becoming chewy, but plain all-purpose flour will also work.
- Okinawan Brown Sugar: For an authentic flavor, use kurozato (kokuto) from Okinawa. For easy use, look for the crushed type like Ueno Taki Kokuto (affiliate link). If you can’t get hold of it, use muscovado instead. This recipe can also be made with regular white or light brown sugars, but the flavor and sweetness will be different from real sata andagi.
- Eggs: Acts as a binder and rising agent to make the dough.
- Baking Powder: A rising agent that helps create the cracked effect on the surface of the Sata Andagi.
- Neutral flavored oil (like canola or vegetable): In my experience, adding oil to the batter makes the final result softer. If you prefer, you can use melted butter instead, the texture will be a little firmer but the flavor will be richer. Oil is also required for deep frying.

Visual Walkthrough & Tips
Here are my step-by-step instructions for how to make Okinawan Sata Andagi at home. For ingredient quantities and simplified instructions, scroll down for the Printable Recipe Card below.
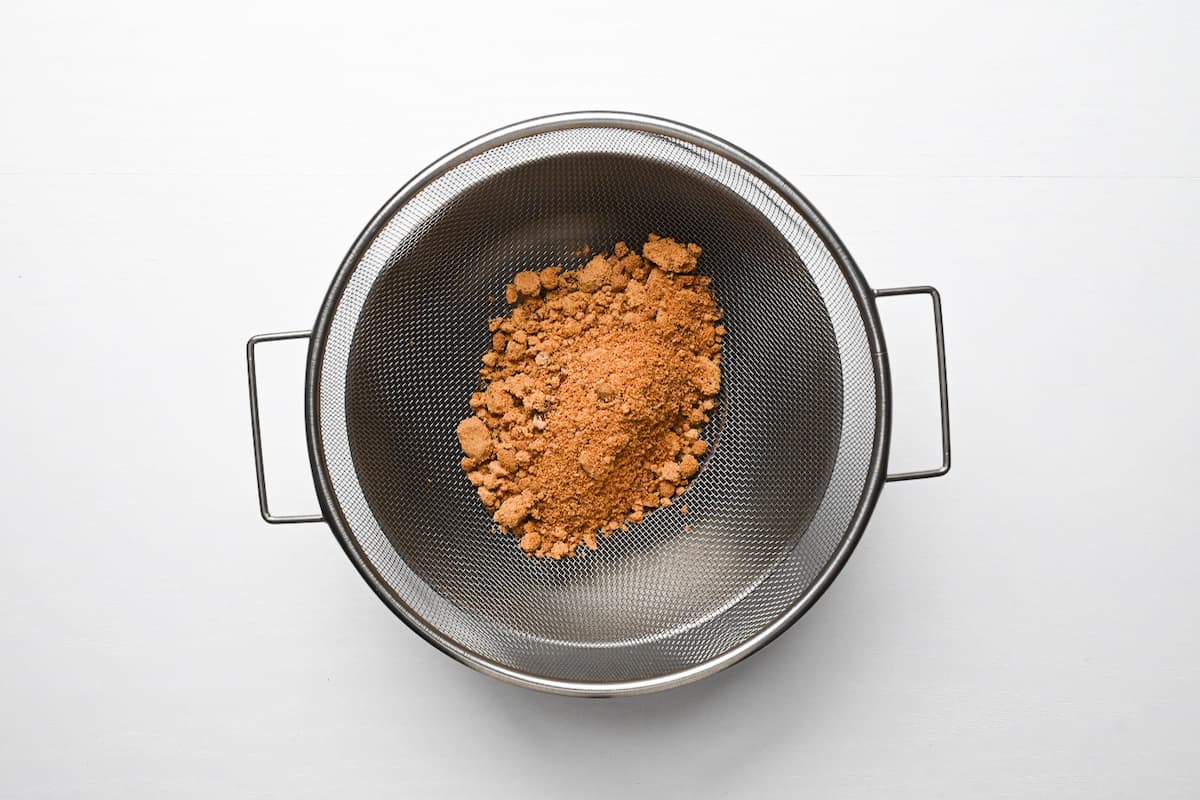
Because Okinawan brown sugar is unrefined with a chunky texture, it needs to be broken down into a powder to be evenly incorporated into the dough. One way to break it is to place it in a ziplock bag and break it using a rolling pin. Alternatively, you can pour it onto a chopping board and cut it up with a knife. Once it’s broken down, use a spatula to work it through a sieve and crush any stubborn pieces.
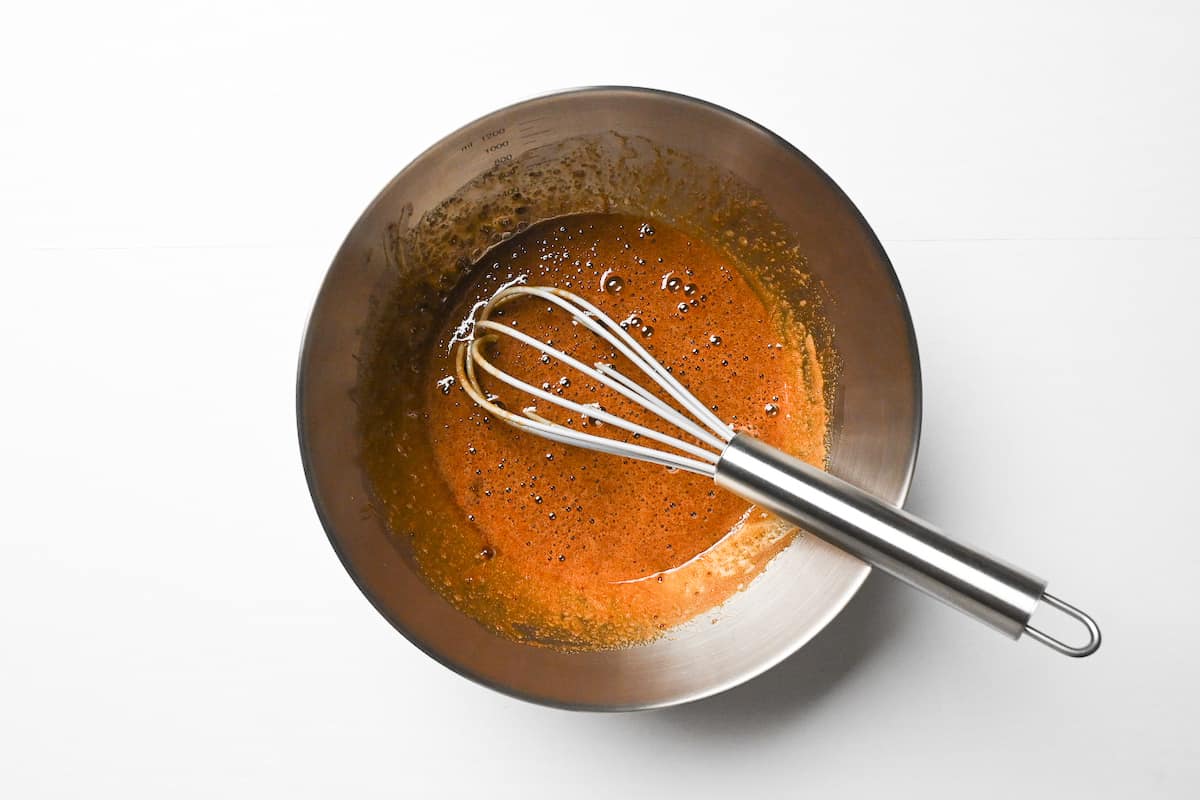
Gently whisk the sugar with an egg and a small amount of oil or melted butter. In my experience, oil makes the andagi softer while butter gives it a richer flavour. It’s really up to you which one you decide to use.
Whisk gently to prevent making the egg foamy.
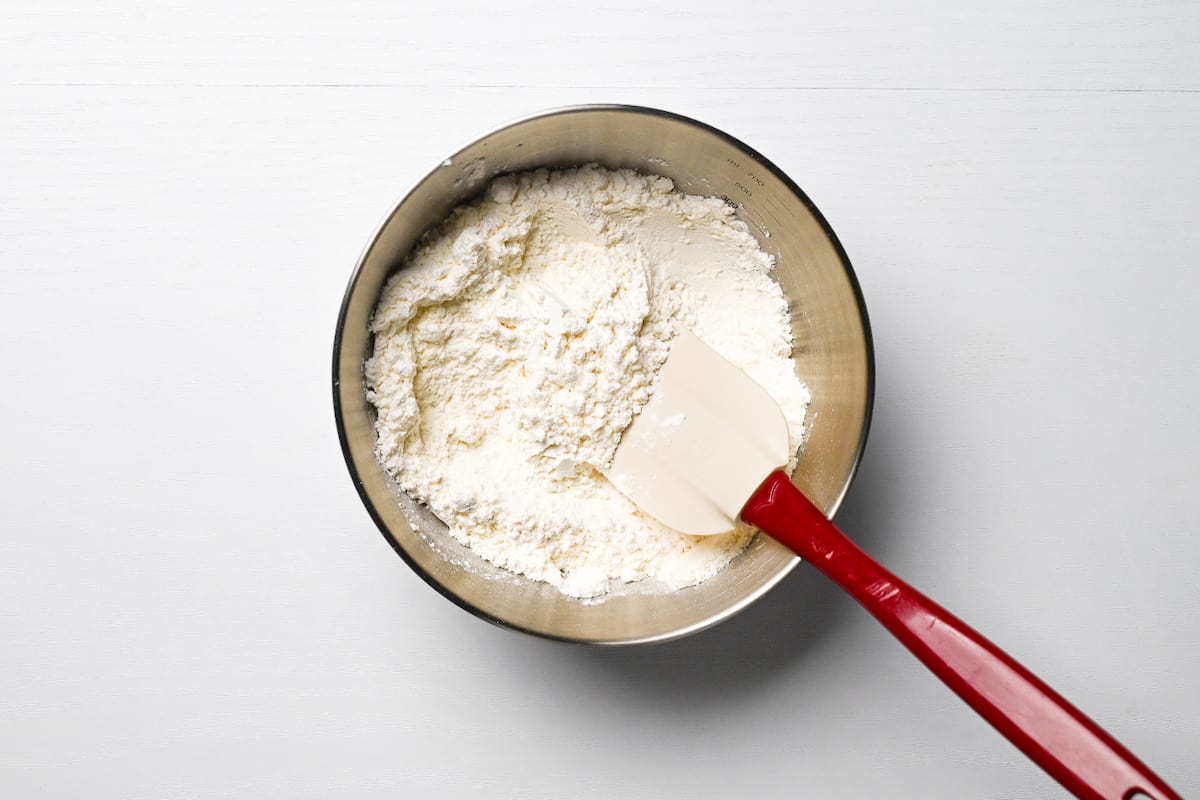
Mix the cake flour, baking powder, and salt in a separate bowl. This is just to ensure all the ingredients are evenly distributed before adding them to the wet ingredients.
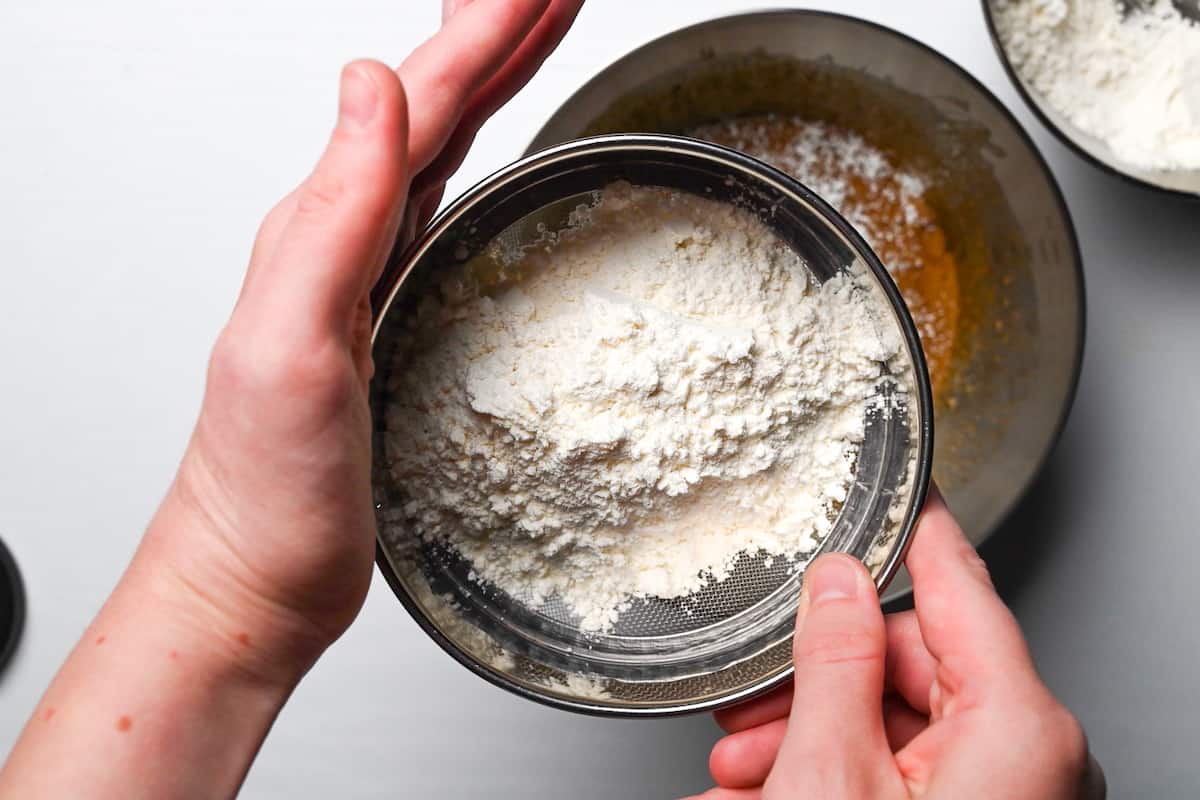
To avoid lumps of flour and create a smoother dough, sift the dry ingredients into the wet ingredients all at once.
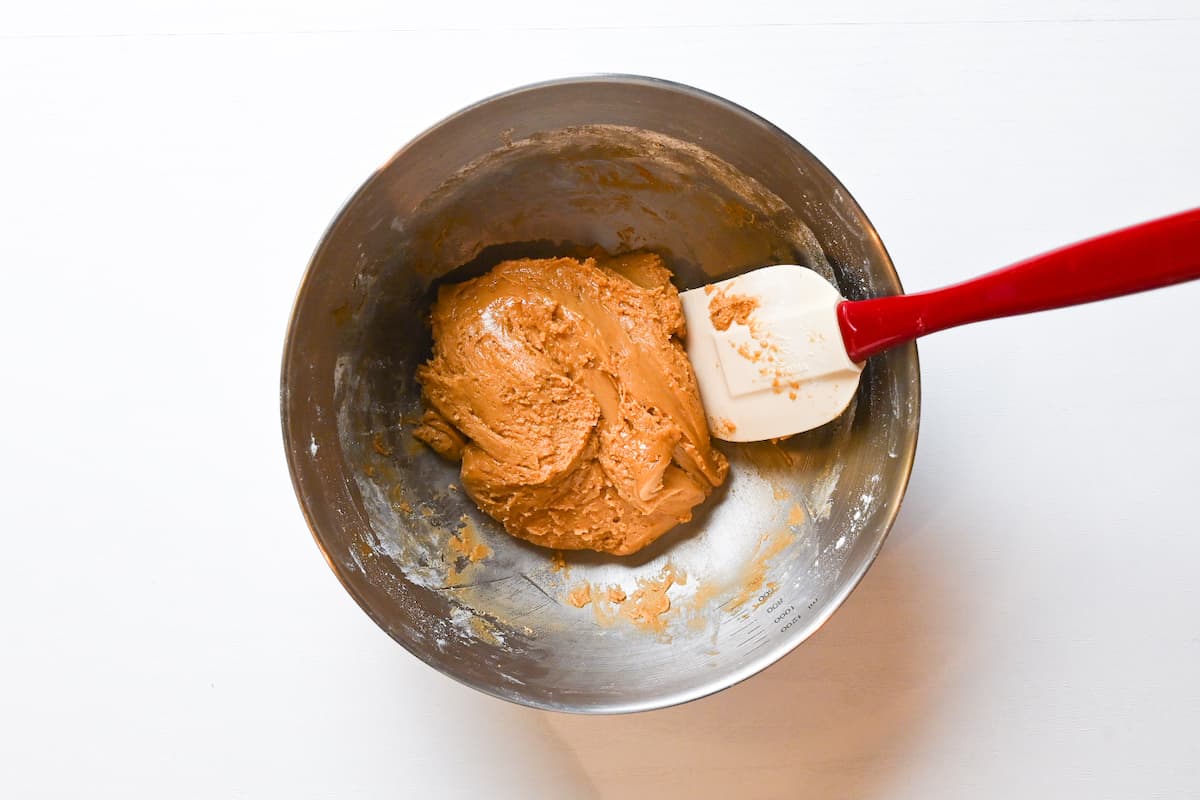
The dough is pretty thick and sticky so I recommend using a silicone spatula (affiliate link) to knead all the ingredients together. Sata Andagi dough has the consistency of a soft cookie dough.
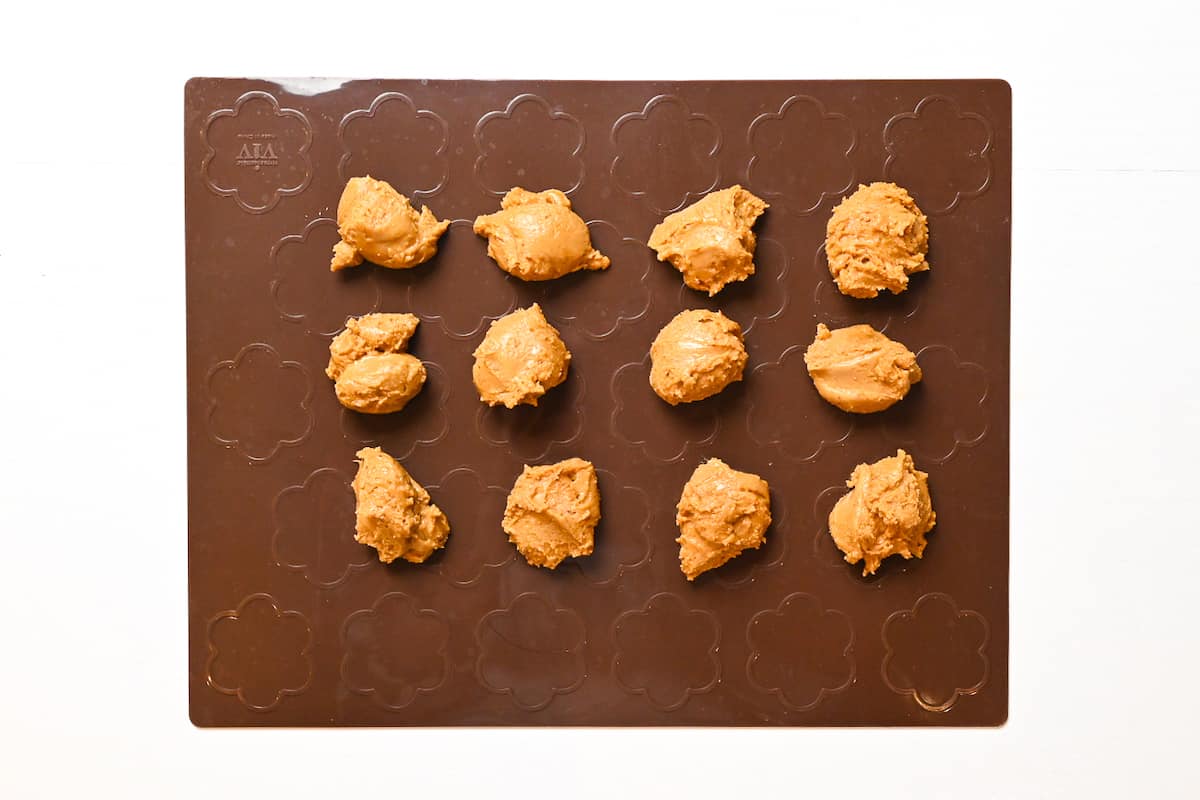
Some people like to refrigerate the dough so that it’s easier to shape, but I like to speed things up so I divide the dough using two spoons, one for scooping and one for scraping onto the mat. The dough is pretty sticky so I recommend placing them on a non-stick surface such as a silicone baking mat (like above) or some greaseproof paper. Lightly oiling the surface will also help prevent sticking.
Heat your oil to 150-160°C (302-320°F), the low frying temperature is what helps the cracks appear on the andagi.
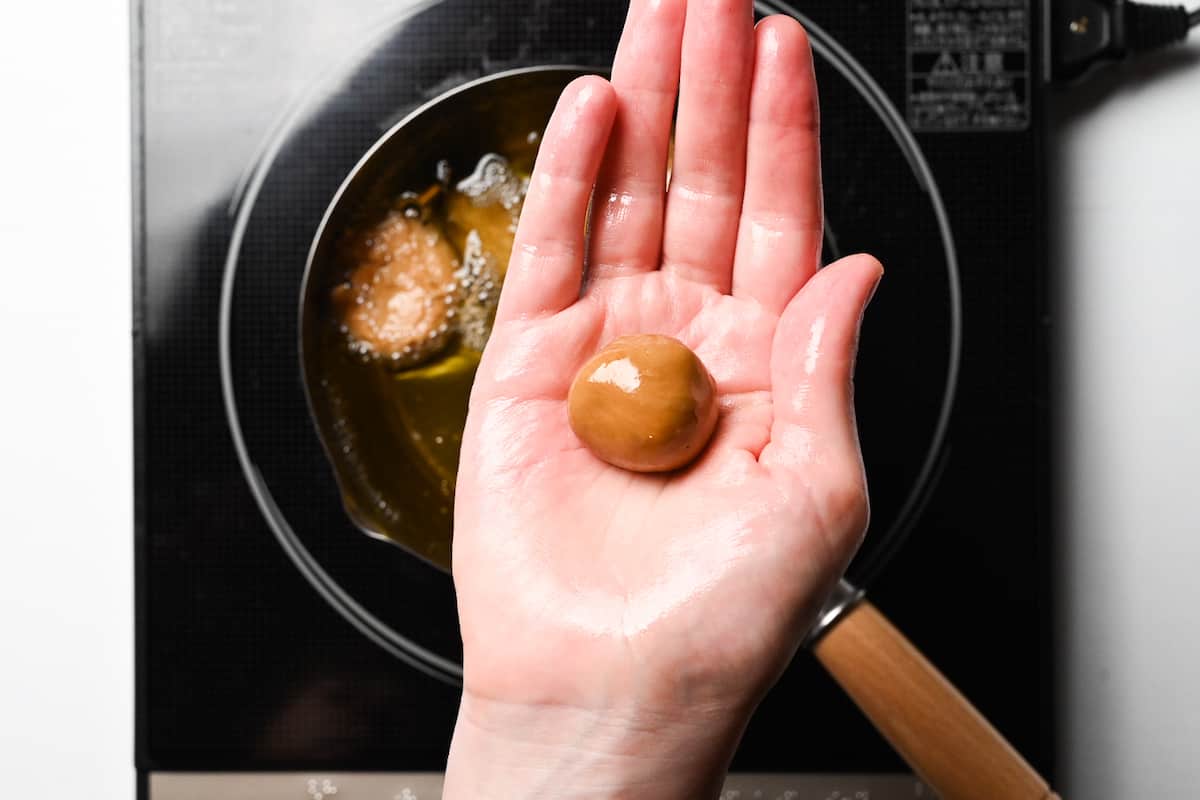
Once the oil is hot enough, roll each piece of dough into a ball before gently placing it in the oil. (You will probably find the pieces of dough have stuck to the surface even if it’s non-stick, so use a spoon or spatula to remove them.) I recommend greasing your hands for easier handling.
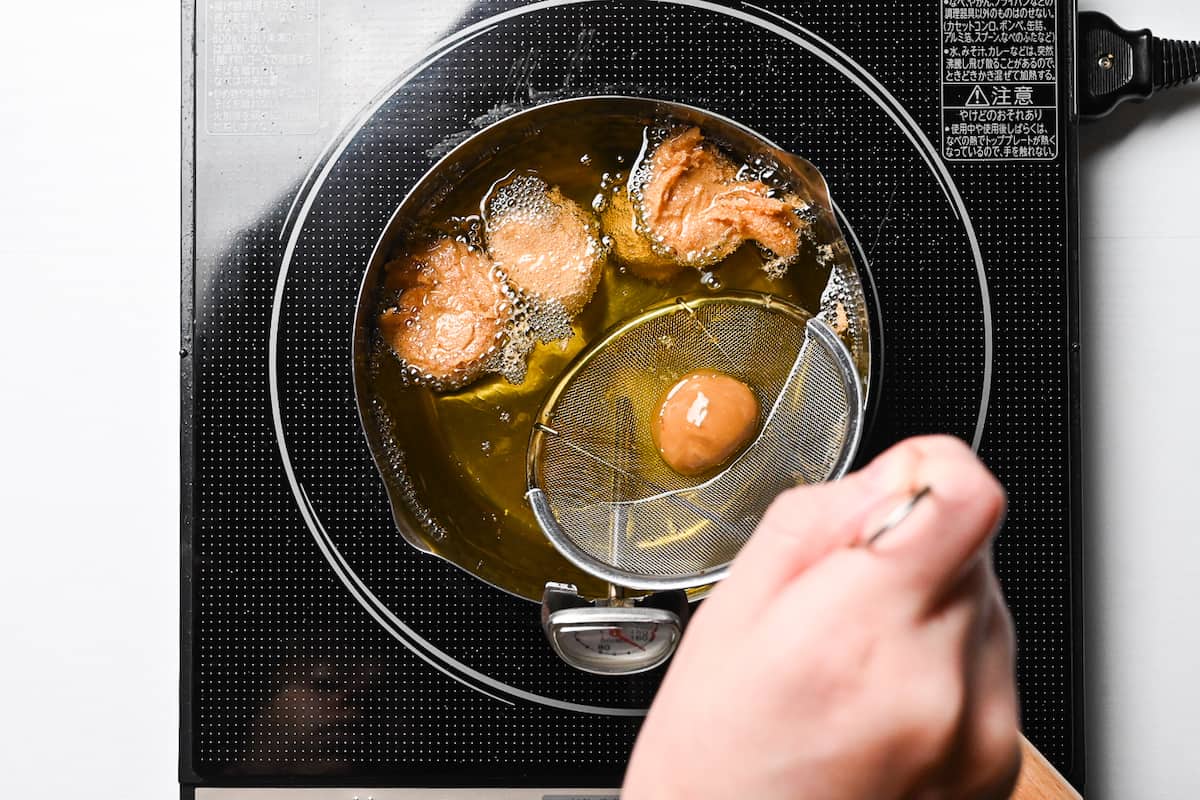
Another tip is to use a mesh spoon or something similar to lower the dough into the oil, this is safer than dropping them in because it doesn’t cause a splash.
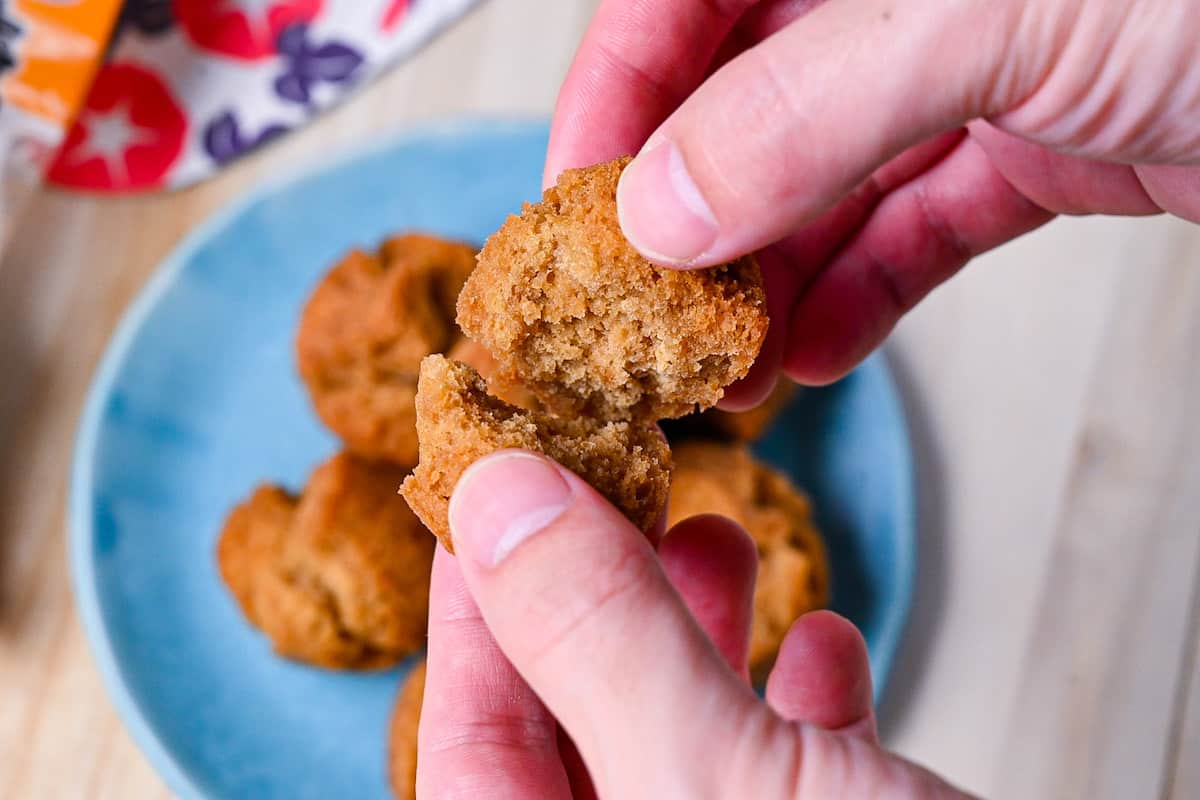
Because of the low temperature, it’s easy to undercook sata andagi, and no one wants donuts that are raw in the middle!
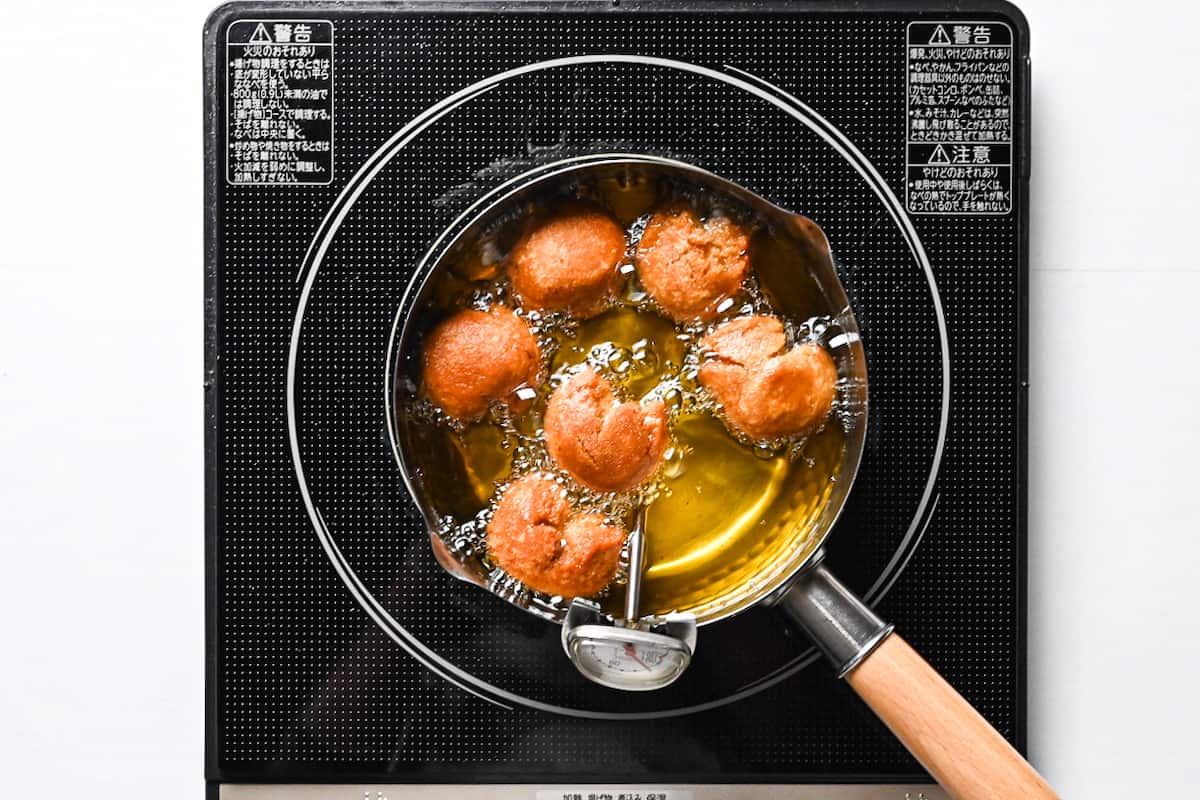
As the andagi cooks, they start to float and move around. You can usually tell when they’re fully cooked because they will become golden on the outside and start rolling by themselves, they practically become alive! This usually takes about 4 minutes.
If in doubt, take one from the oil and pierce it with a bamboo skewer. If it comes out clean then it’s cooked all the way through.
Place the cooked sata andagi on a wire rack for a few minutes to allow any excess oil to drain off.
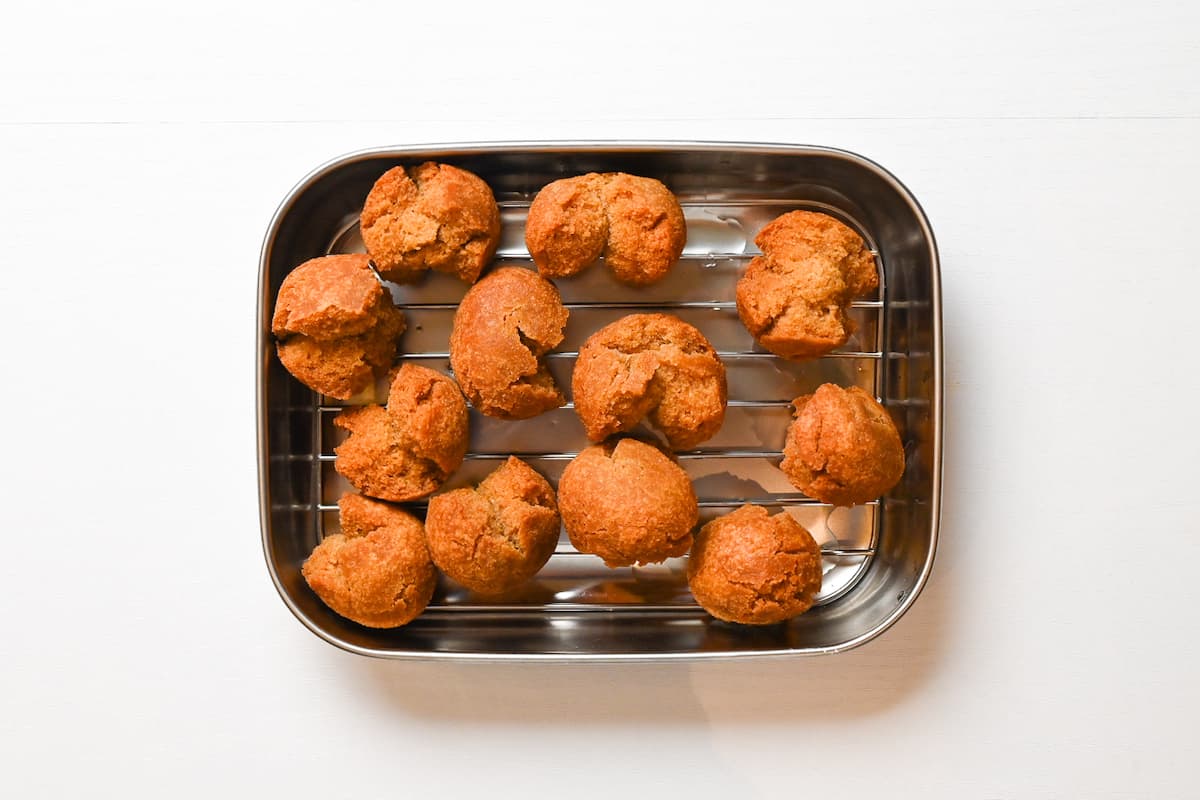
After that, you are free to enjoy your hot and delicious sata andagi fresh from the fryer!
Jump to Full Recipe Measurements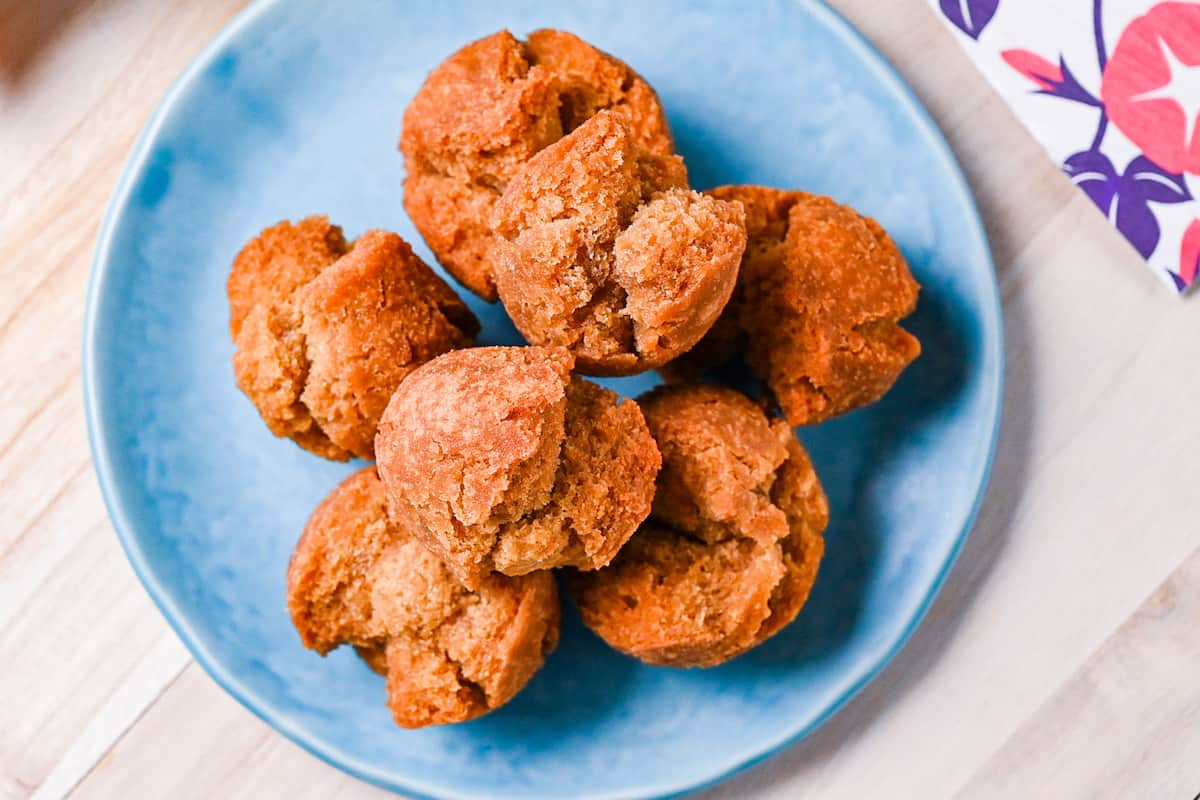
Flavor Variations
If you ever visit Okinawa, you will notice that you can find Sata Andagi in all kinds of different flavors. Some popular flavors include black sesame, kabocha (Japanese pumpkin/squash), and Okinawan purple potato flavor!
Once you’ve mastered the recipe, why not try mixing it up with different flavors yourself? Here are some simple ideas that are easy to try:
- Vanilla – add vanilla essence or extract
- Chocolate – add cocoa powder or coat the fried sata andagi with melted chocolate
- Cinnamon – add cinnamon powder or coat the fried sata andagi with cinnamon sugar
- Matcha – add matcha powder
- Coconut – add coconut extract or roll in desiccated coconut after frying
- Coffee – add instant coffee powder
How to Store
Sata andagi keeps well at room temperature. Store them in an airtight container and consume them within 2-3 days.
Alternatively, you can freeze them for up to 1 month. Be sure to use an airtight freezer bag or container to prevent freezer burn.
Storage summary
Room temperature – 2-3 days in an airtight container.
Refrigerated – Not recommended.
Frozen – Up to 1 month.
FAQ
Sata Andagi is a dense and cakey deep-fried donut from Okinawa made with Okinawan brown sugar. They are known for their round shape and cracked surface.
If you prefer your sata andagi hot, you can put them in the microwave for 10-20 seconds to warm them up. Alternatively, you can heat them in a toaster oven or under a grill to warm them up and crisp up the outside again.
Sure you can! Place them in an airtight freezer bag or container to protect them from freezer burn, they can be stored for about 1 month in the freezer. Defrost at room temperature.
I hope you enjoy this Okinawan Sata Andagi recipe! If you try it out, I’d really appreciate it if you could spare a moment to let me know what you thought by giving a review and star rating in the comments below. It’s also helpful to share any adjustments you made to the recipe with our other readers. Thank you!
More Sweets Recipes
- Dorayaki (Japanese Red Bean Pancakes)
- Matcha and White Chocolate Muffins
- Taiyaki
- Fudgy Matcha and Dark Chocolate Brownies
- Nama Chocolate (Japanese Valentine’s Day Chocolate)
Want more inspiration? Explore my Japanese Dessert Roundup Post for a carefully selected collection of tasty recipe ideas to spark your next tea party!

Sata Andagi (Okinawan Brown Sugar Donuts)

Ingredients
- 70 g dark brown sugar Okinawan sugar (kokuto) or muscovado
- 1 egg
- ½ tbsp cooking oil neutral flavored cooking oil or melted butter
- 125 g unbleached cake flour
- 1 tsp baking powder
- 1 pinch salt
- cooking oil for deep frying
The ingredient brands and tools I trust are in my Japanese pantry guide and my cooking tools guide.
Can’t find certain Japanese ingredients? See my substitution guide here.
Instructions
- Preheat the cooking oil between 150 °C (302 °F) and 160 °C (320 °F). Sift 70 g dark brown sugar into a large mixing bowl using a sieve, use a spatula to help work the lumps through. If your sugar is especially lumpy, place it in a sealable freezer bag and break the clumps with a rolling pin. Alternatively, cut it with a knife on a cutting board until fine.

- Crack 1 egg into the bowl of sugar and add ½ tbsp cooking oil. Whisk thoroughly until smooth and well incorporated.
- In a separate bowl, mix 125 g unbleached cake flour and 1 tsp baking powder together until well distributed.
- Sift the dry ingredients into the wet ingredients and add 1 pinch salt. Mix everything together using a spatula until a dough is formed. It should have the consistency of soft cookie dough.
- Divide the dough into equal pieces (I make twelve) and lay them on a silicone baking mat or greaseproof paper.
- Once the oil is ready, lightly grease your hands with oil and roll each piece into a ball before carefully placing it in the oil.
- Deep fry until golden and cracked. This will take about 4-5 minutes. When they are ready, they should float and roll around in the oil. If you are unsure, take one out and pierce with a skewer, it should come out clean.
- Transfer to a wire rack to drain any excess oil.
- Serve and enjoy!
Leave a rating and a comment