


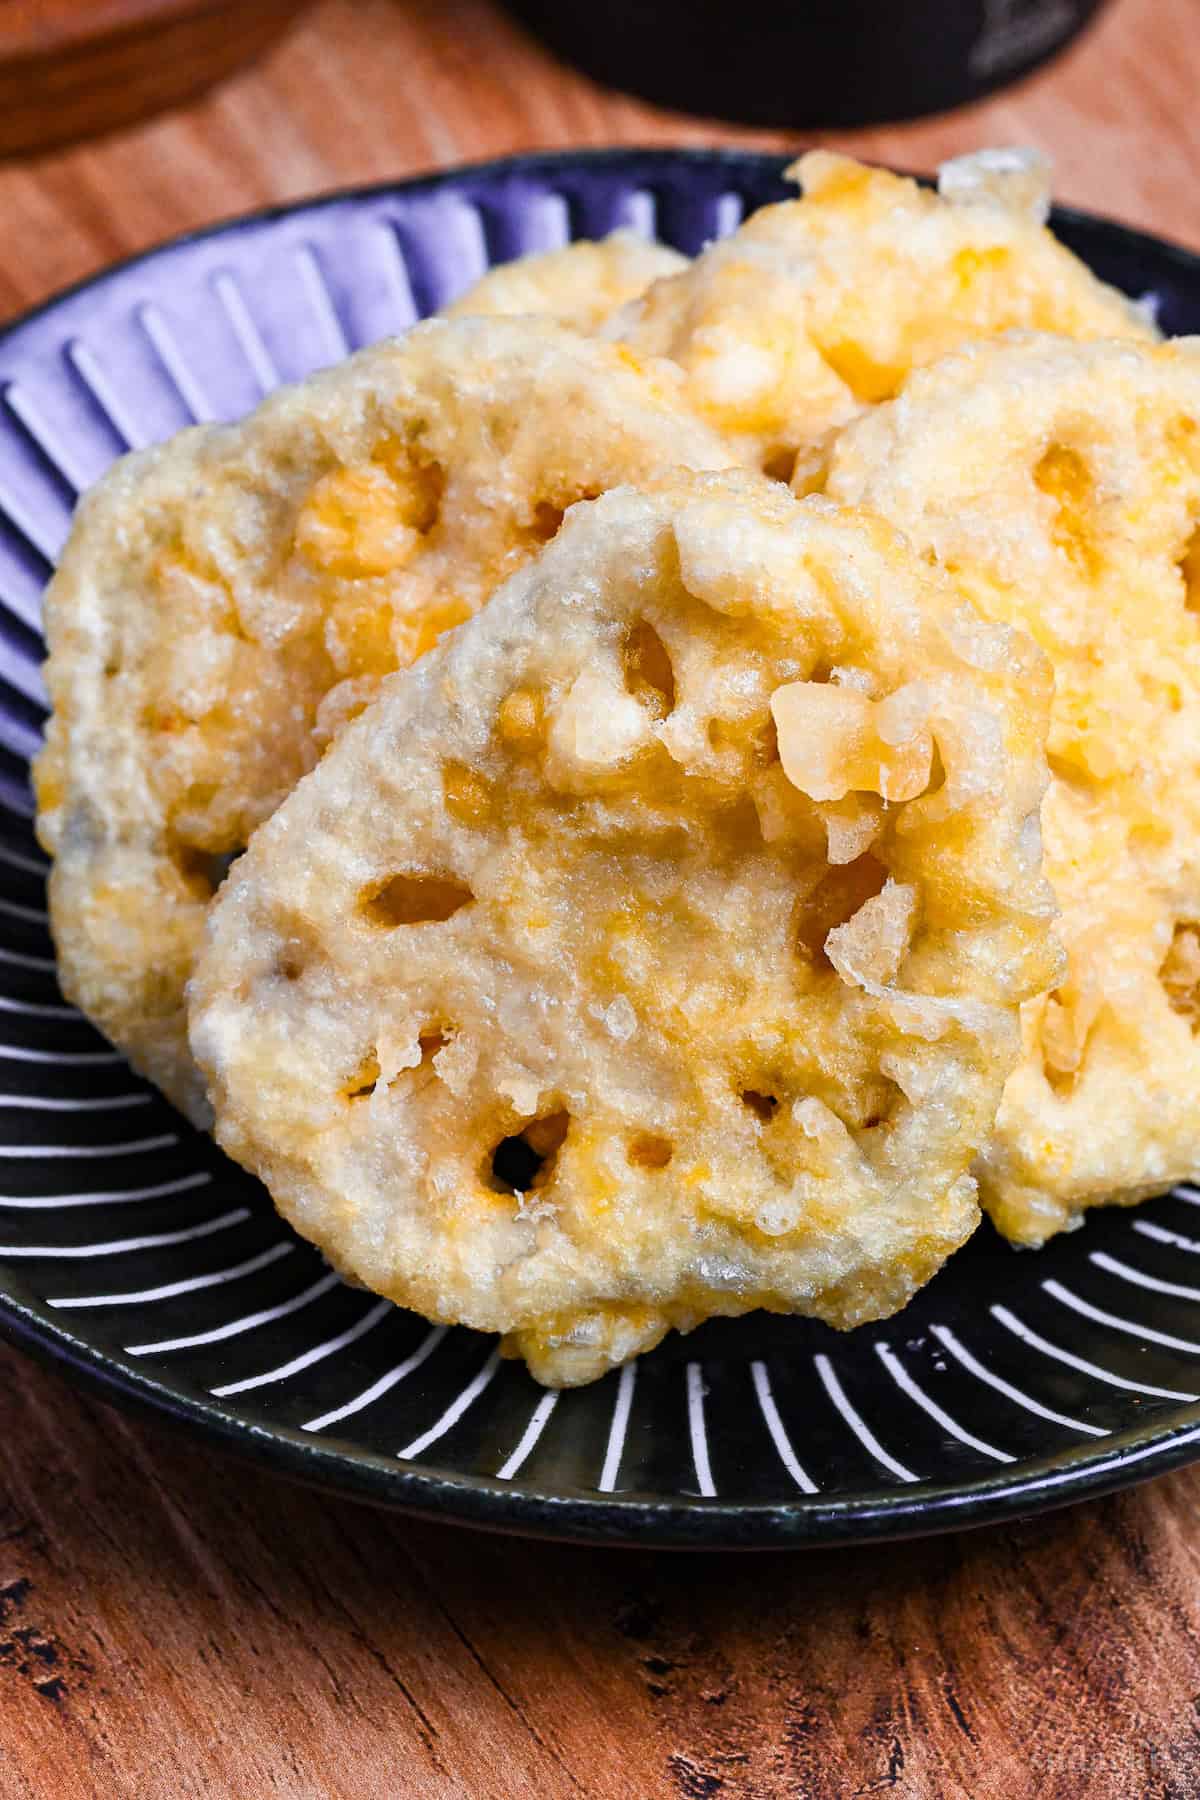
What is Renkon no Tempura?
You may be surprised to hear this, but if you ask Japanese people about their favorite tempura ingredient, many will answer “lotus root.” I’m no exception-lotus root is one of my absolute favorites!
Lotus root, also known as renkon, is the underwater stem of the lotus plant. In Japanese, the lotus plant itself is called “hasu,” which is why some traditional tempura restaurants use this term on their menus.
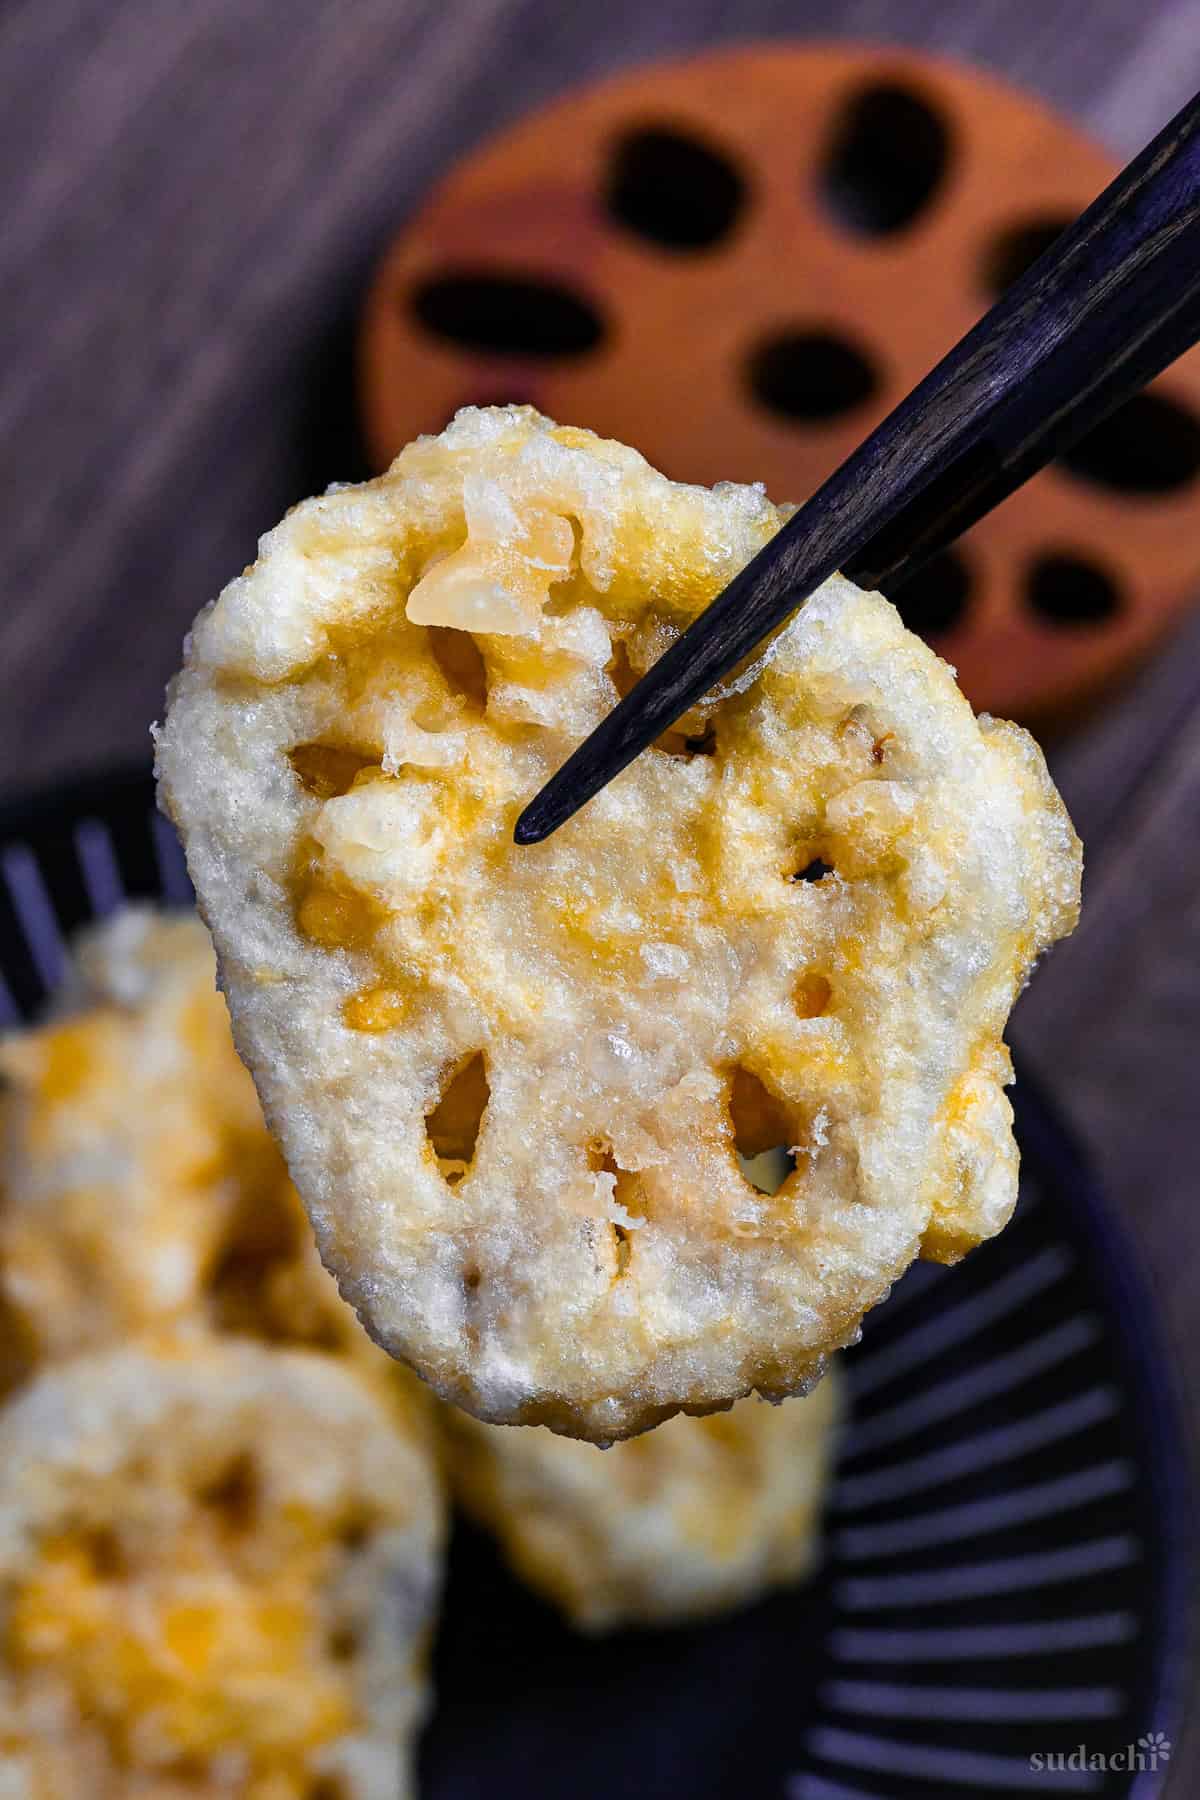
What makes lotus root tempura special is its unique crunchiness. The combination of light crispy golden batter with the naturally crunchy interior creates a truly blissful texture experience that can’t be found in any other tempura.
In this recipe, I’ll guide you through creating perfectly crisp and delicious lotus root tempura at home. Let’s dive in!
Visual Walkthrough & Tips
Here are my step-by-step instructions for how to make Lotus Root Tempura at home. For ingredient quantities and simplified instructions, scroll down for the Printable Recipe Card below.
This section aims to provide a comprehensive overview of the cooking steps and techniques with visuals. It also includes more in-depth tips and tricks and explains why I do what I do.
Begin by chilling your water properly. Measure fresh water into a container and refrigerate it for 20-30 minutes until thoroughly cold. If you’re using sparkling water for extra lightness, keep the bottle sealed in the refrigerator until the very last moment before preparing your batter.
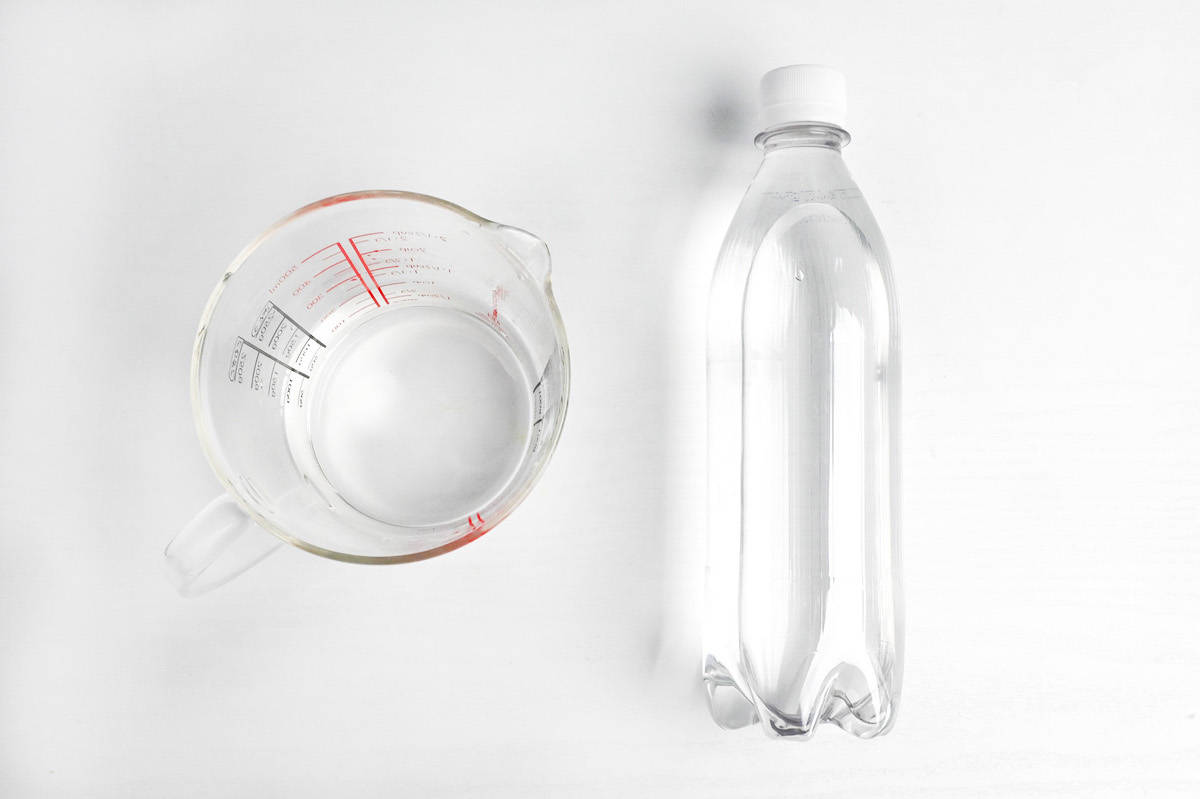
The temperature of your water is key to making great tempura. When the water is ice-cold, it inhibits the gluten development in the flour. When you drop this chilled batter into hot oil, it creates a steam reaction that gives that signature airy, crispy coating.
Sift the cornstarch and cake flour together in a bowl, making sure they’re fully combined.
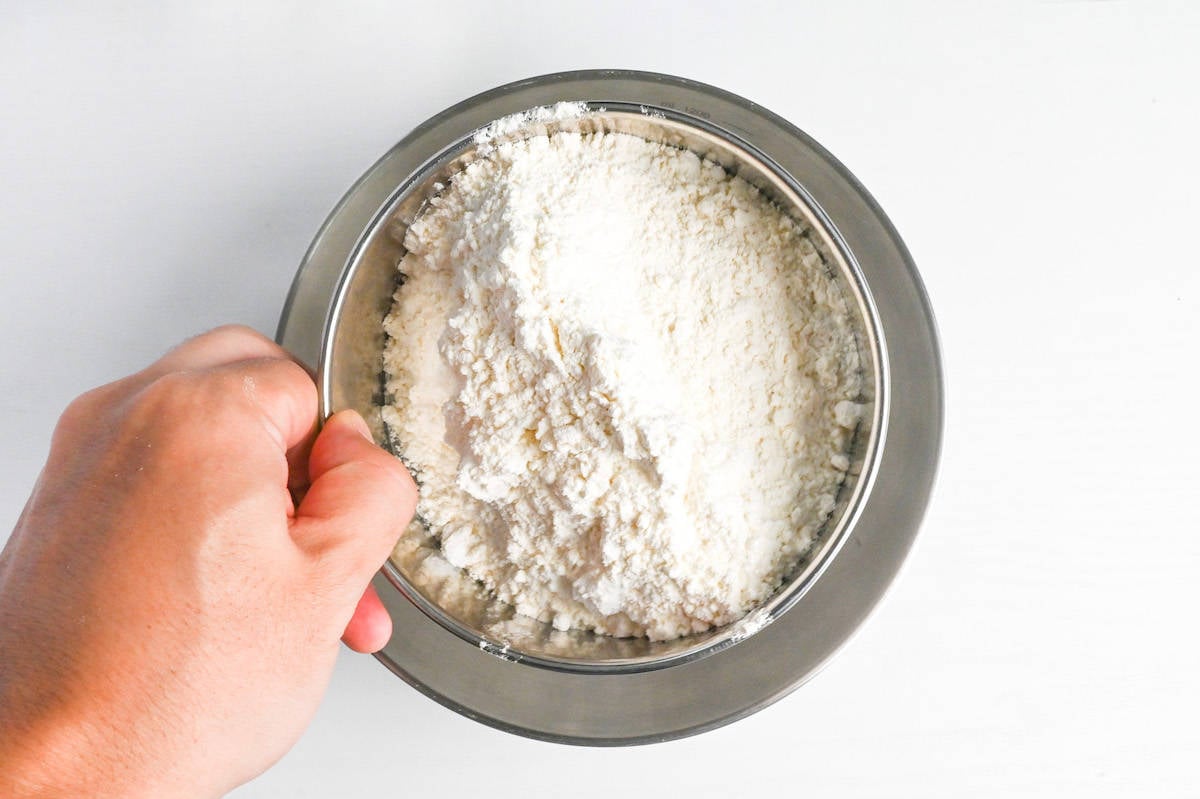
To further prevent gluten formation, put this dry mixture in the freezer for 20-30 minutes before use.
The protein content of your flour directly impacts the texture of your tempura. Cake flour, with its low protein percentage (about 8%), doesn’t make much gluten, which gives you that perfect, light, shatteringly crisp coating. Avoid using bread flour since it can lead to a heavy, chewy coating.
Incorporating cornstarch (which contains no gluten) into your flour mixture creates an even more ethereal crispness.
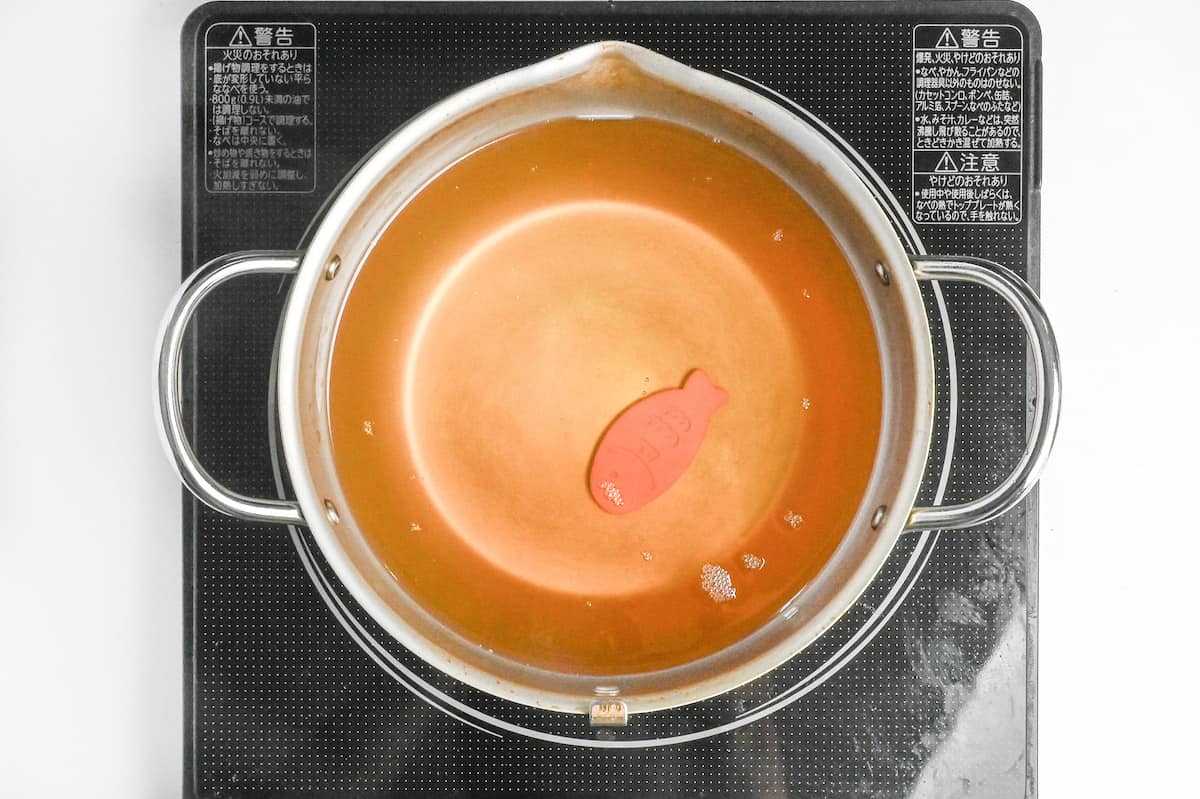
Once the chilling time is over, heat your oil to the proper temperature. For lotus root tempura, cut to standard thickness (5mm – 1cm), maintain the oil at 175°C (350°F) for optimal results.
To check your oil temperature without a thermometer, drop a small amount of batter into the oil-it should immediately rise to the surface surrounded by small, steady bubbles. Vigorous bubbling indicates the oil is too hot; slow, lazy bubbling means it’s not hot enough.
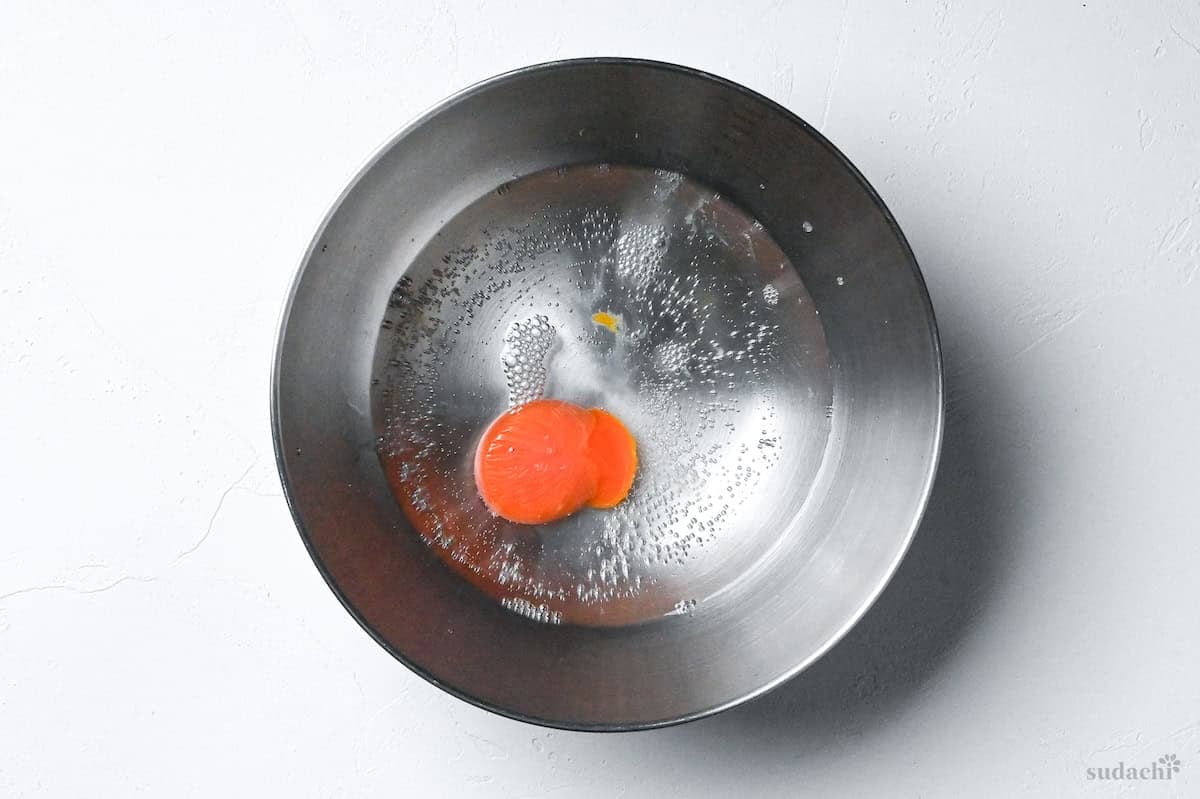
In a well-chilled bowl, combine your refrigerated still water with carbonated water.
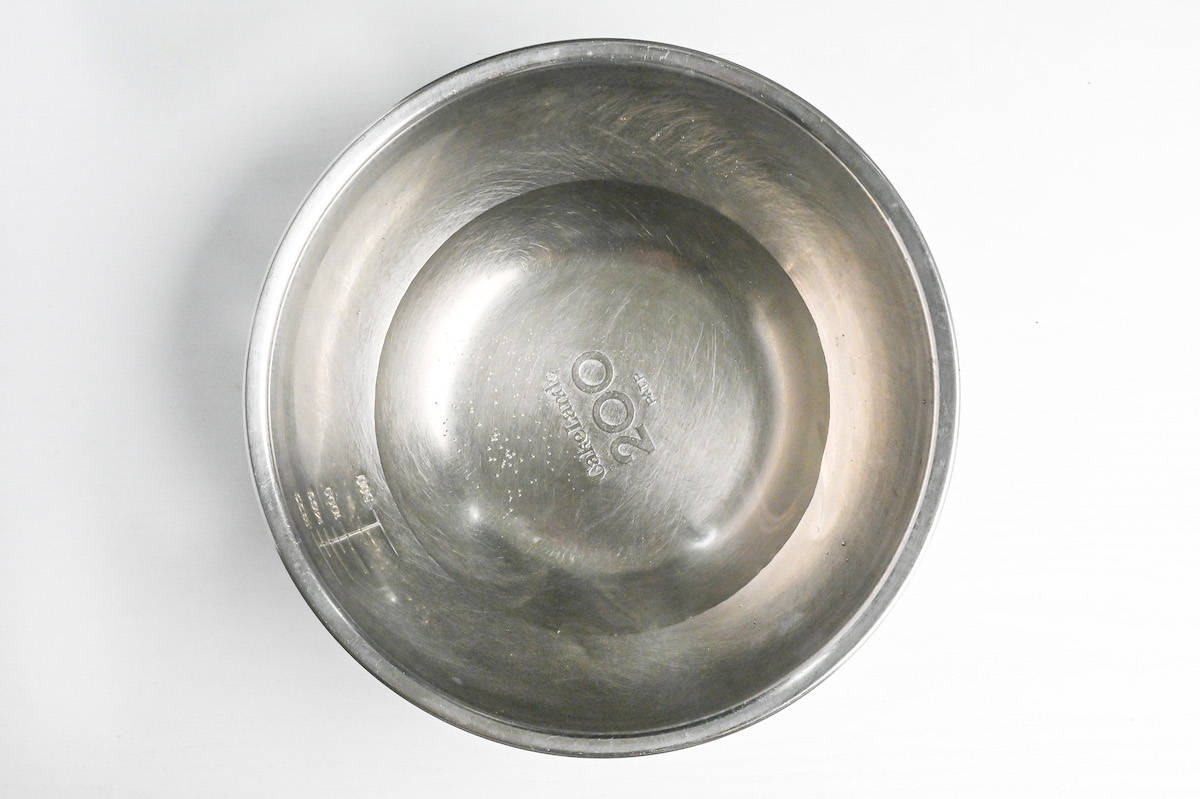
The carbon dioxide bubbles in sparkling water introduce additional air pockets that create an even more delicate, lacy texture.
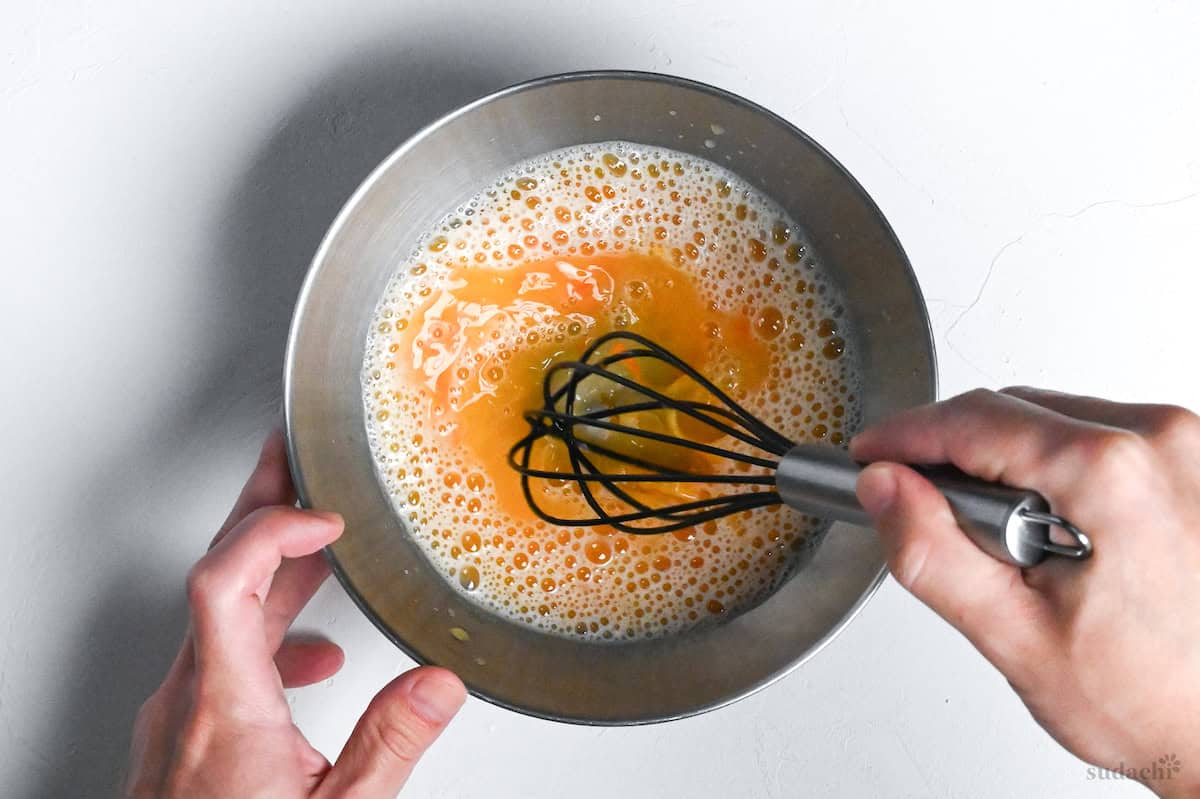
Add a fresh egg yolk and whisk, just enough to integrate the egg without creating excess foam.
Add your chilled flour mixture gradually, about one-third at a time. Use chopsticks to mix with a light touch, using just a few strokes between additions.
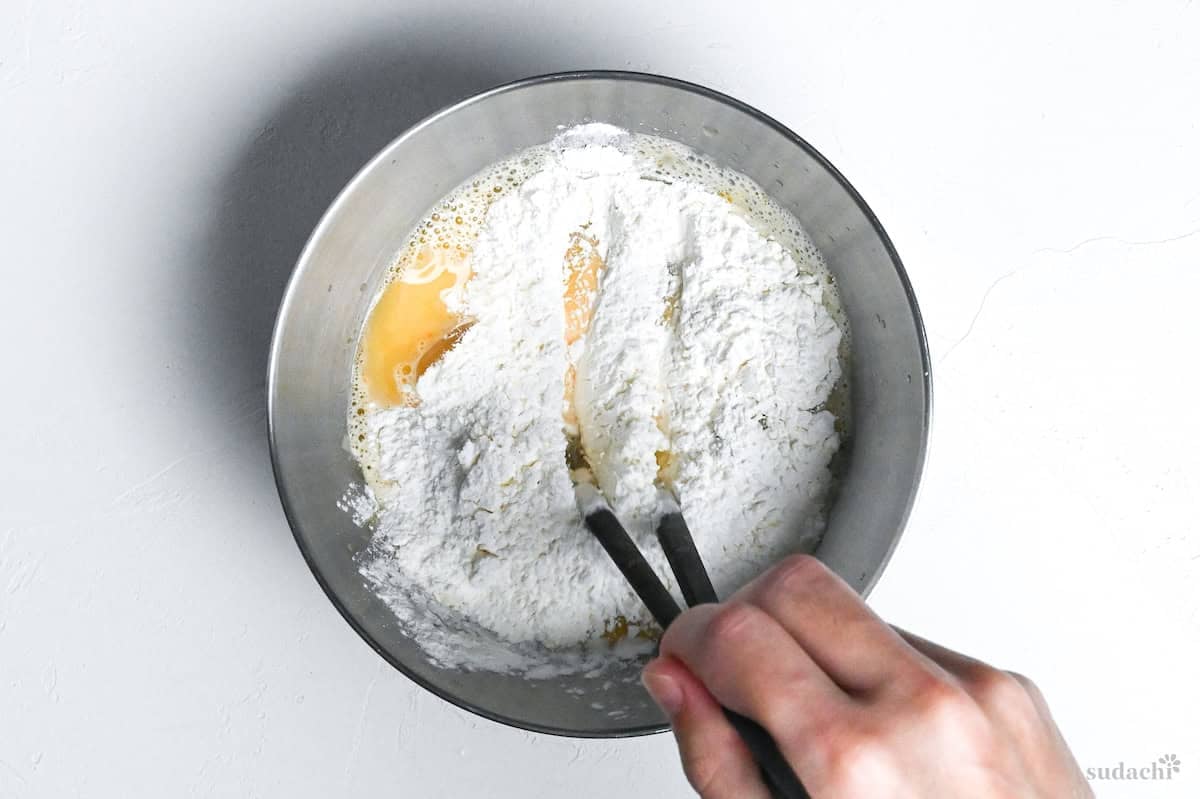
The batter should look a bit lumpy and uneven, which is exactly what you’re going for. Don’t go smoothing out the batter-those lumps are what make this tempura special.
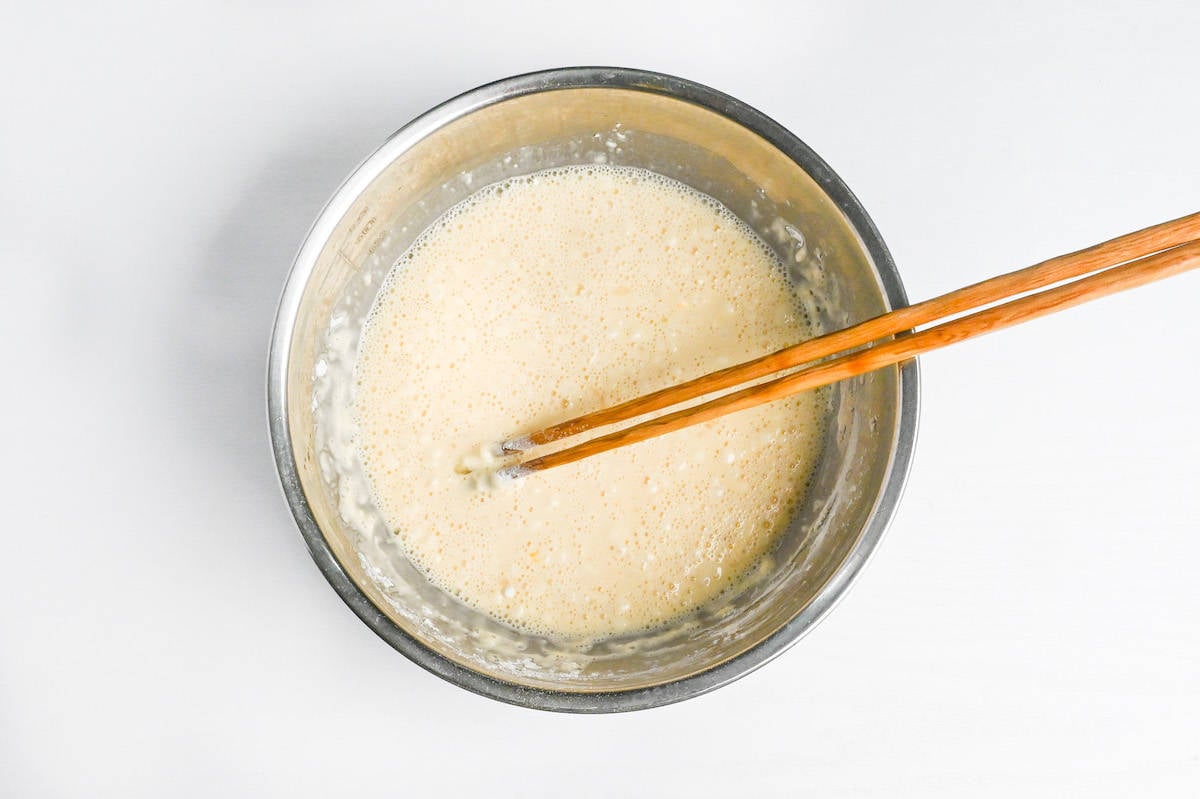
The chemistry of the batter changes quickly after mixing. Every minute, more gluten develops, making the coating progressively heavier and chewier. Make your batter only after your oil is heated and your lotus root is ready.
If you’re dealing with delays, adding a few ice cubes to the batter can slow down gluten development for a bit.

Just be careful not to accidentally put ice into your frying oil, as that can cause vigorous splattering.
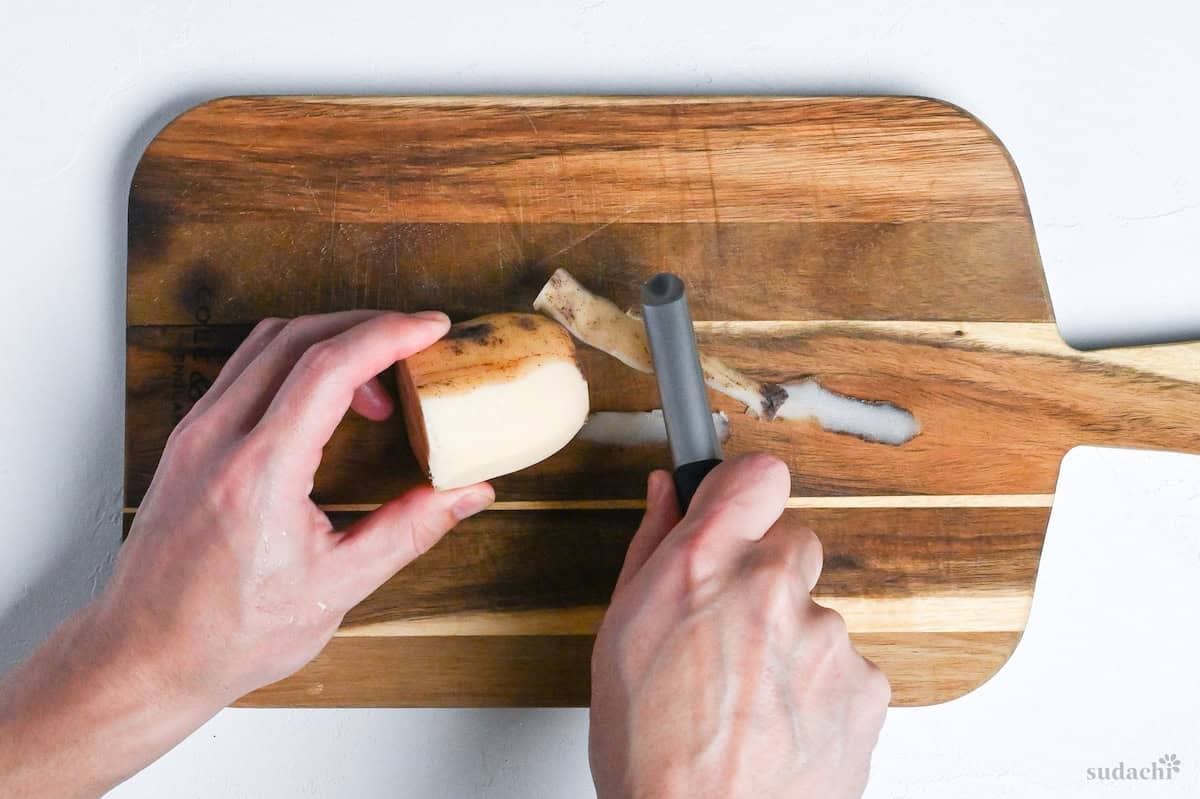
As your oil approaches the correct temperature, get your lotus root ready. Give the outside a good scrub under cool running water, and then peel off the brown skin completely using a vegetable peeler.
If you purchased your lotus root already peeled and in water, drain the water and dry the surface before cutting.
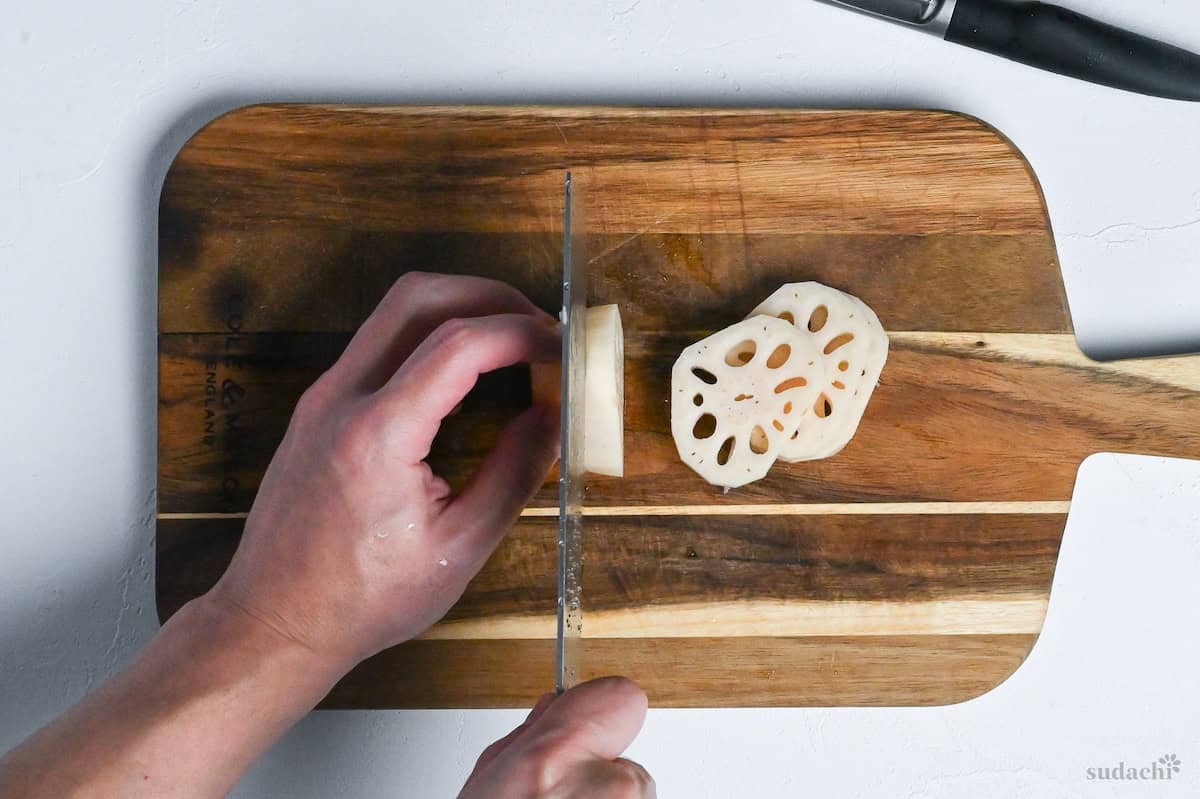
Slice the root into rounds, about 5mm – 1cm thick, to get that signature crunch and the slightly starchy interior that makes lotus root tempura a Japanese favorite.
Consider two different approaches to lotus root preparation, each offering different benefits:
- Direct preparation (I personally recommend): Cut, flour-coat and dip the lotus root in batter immediately without soaking. This preserves natural starches and flavor compounds, resulting in a more intense taste experience and a slightly fluffier interior texture.
- Vinegar-water bath: Briefly immerse slices in water with a splash of rice vinegar to prevent oxidation. This method creates a cleaner, whiter appearance but removes some surface starches, resulting in a slightly less complex flavor profile. This is a good option if you want to prep the lotus in advance, or are making large batches.
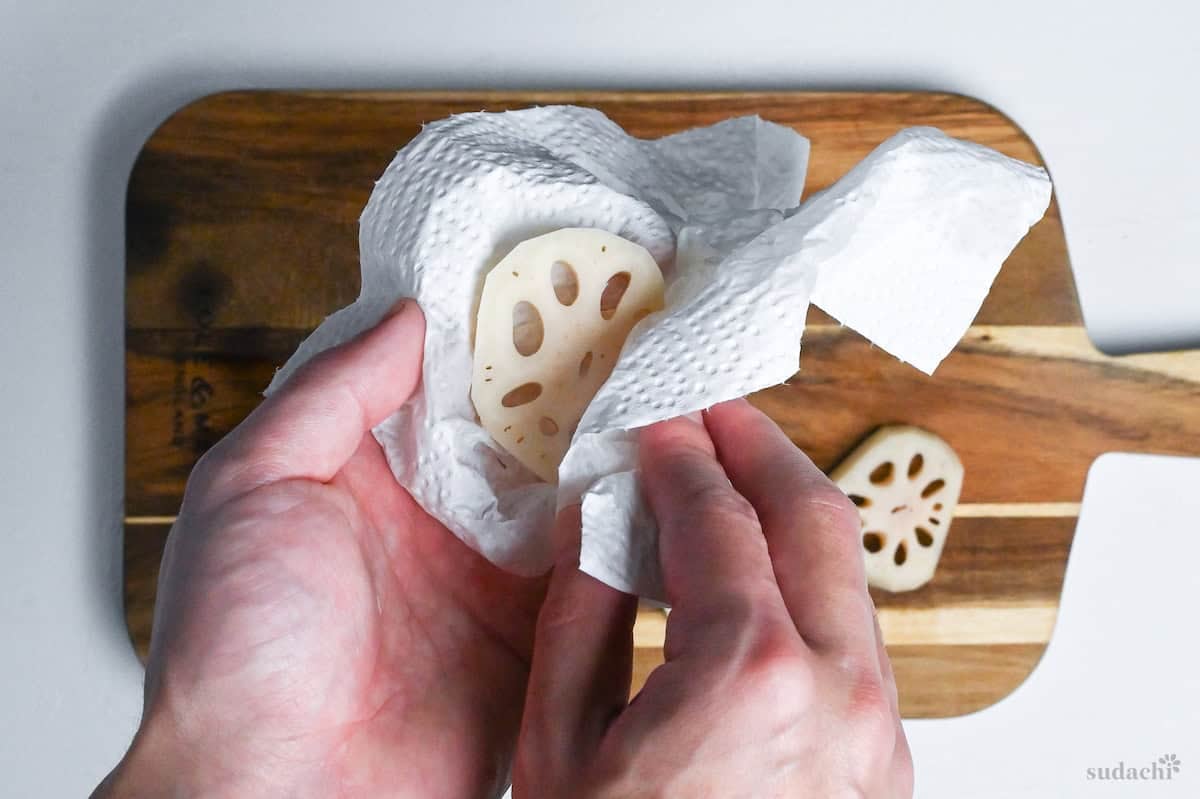
If you choose not to soak like me, you have to work quickly efficiently to prevent discoloration.
Dry the surface of each lotus root slice with kitchen paper.
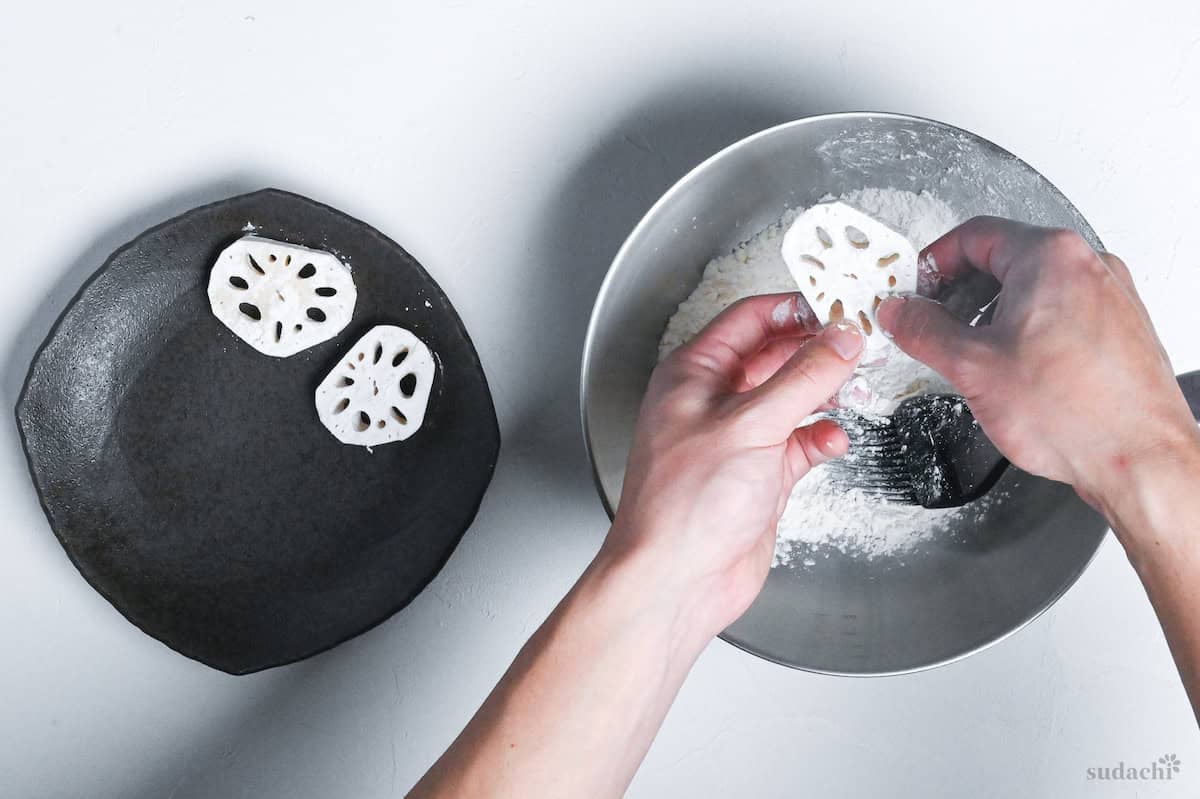
Then, dust them with a light layer of flour, shaking off the excess. Don’t forget to clear off any extra flour from the signature holes – a chopstick or a finger works great for this – to keep the unique lotus root pattern and prevent clumping when you fry them.
Once the oil is at 175°C (350°F) and the batter is freshly mixed, dip each lotus root slice individually.
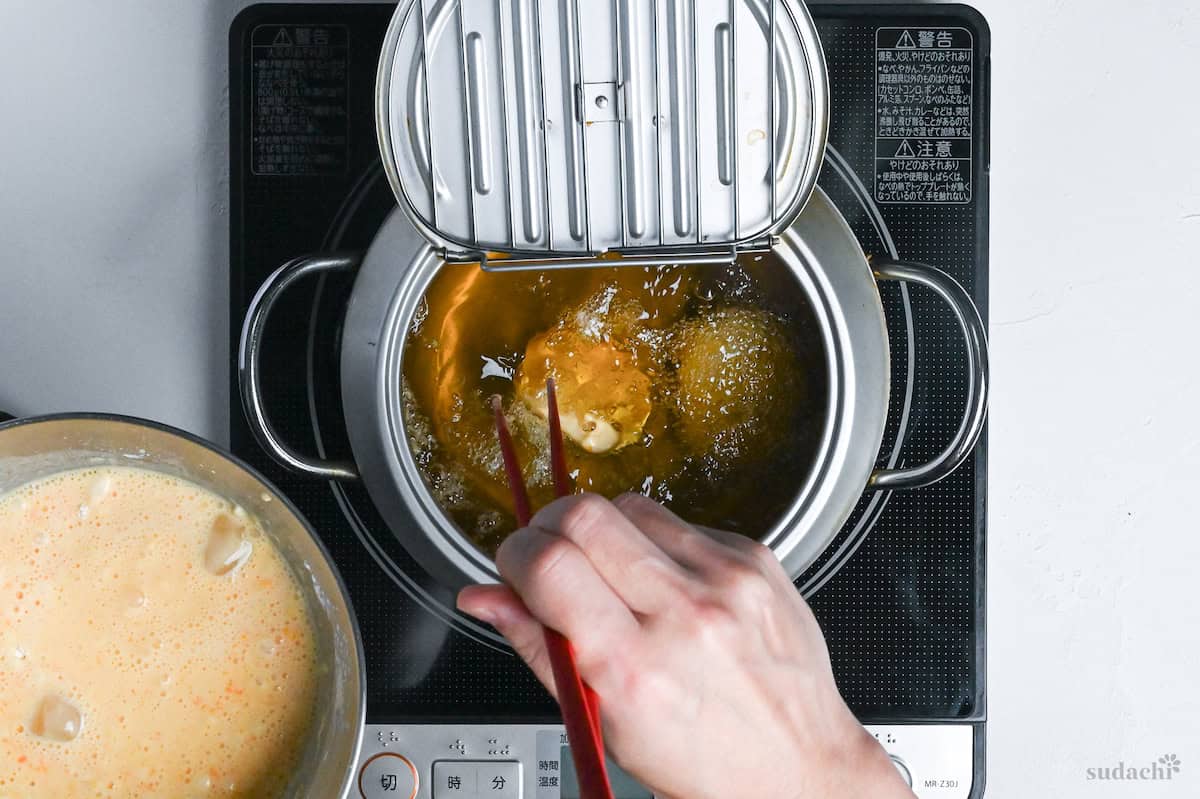
Slide each piece into the oil gently, moving your hand away from your body to prevent splatter. Maintain adequate space between pieces-overcrowding causes temperature drops and may result in pieces sticking together.
Observe the bubbling pattern around each piece as a cooking indicator. Initially, you’ll see energetic, large bubbles. As moisture evaporates and cooking progresses, these bubbles become progressively smaller and less frequent. When the bubbling significantly diminishes, your tempura is likely ready.
Thicker lotus root slices (1cm) require approximately 4 minutes until they reach a pale golden hue. Thinner slices (5mm) need only 3 minutes. Perfect tempura maintains the lotus root’s distinctive crunch while adding a delicate, crisp exterior coating.
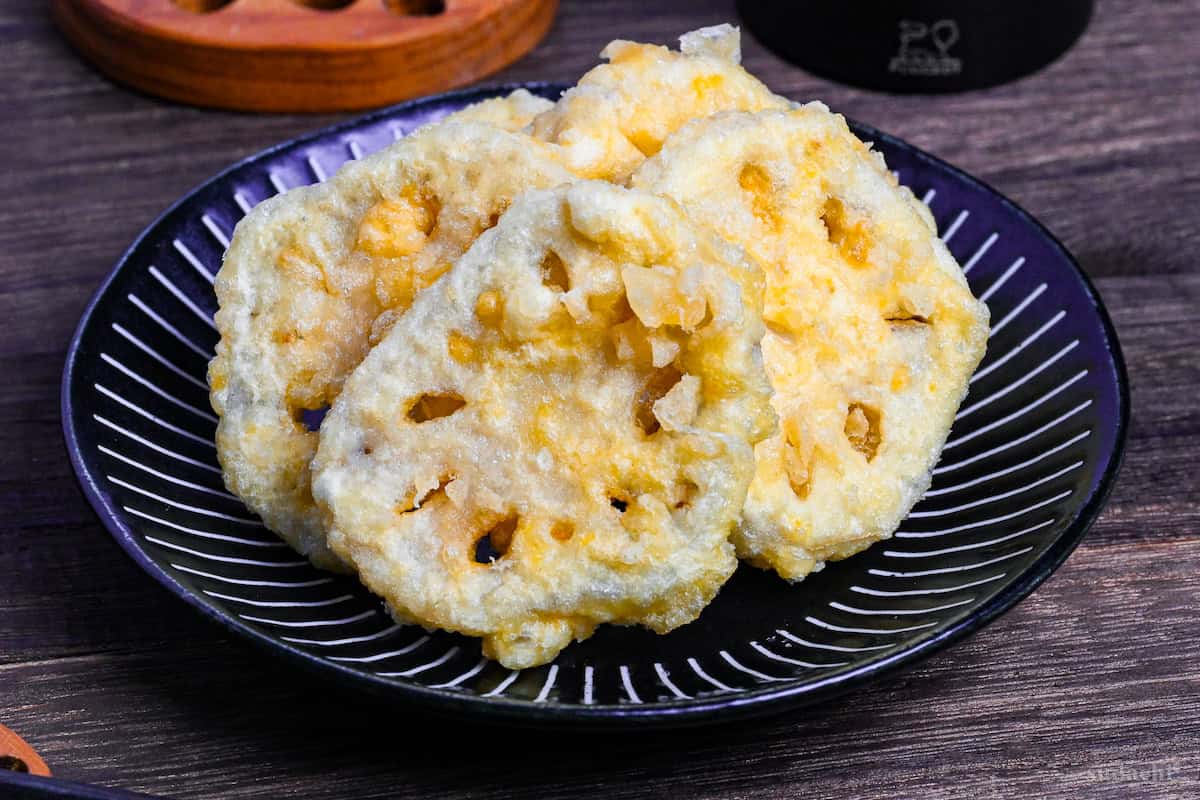
Look for these visual cues of doneness: a light golden color (never deep brown), a bubbly, textured surface on the coating, and oil that drains quickly and cleanly when the piece is lifted. The slice should feel light, not heavy or sodden.
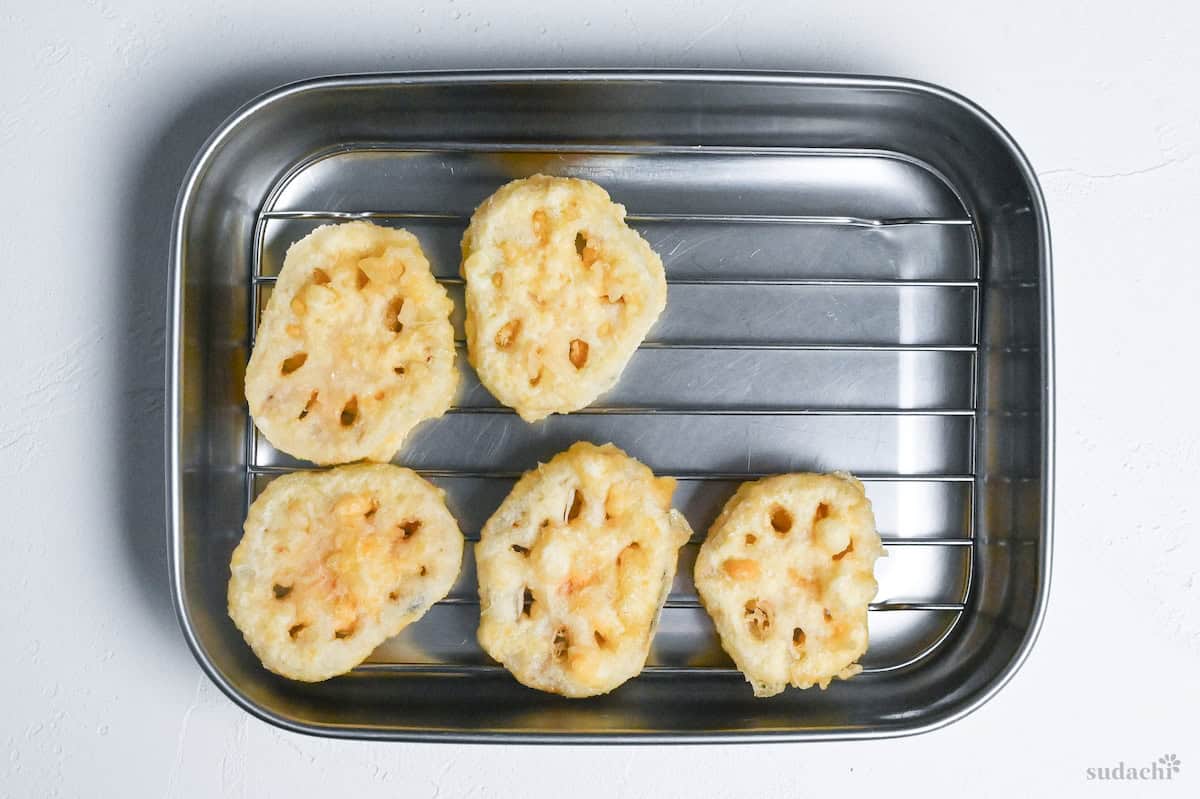
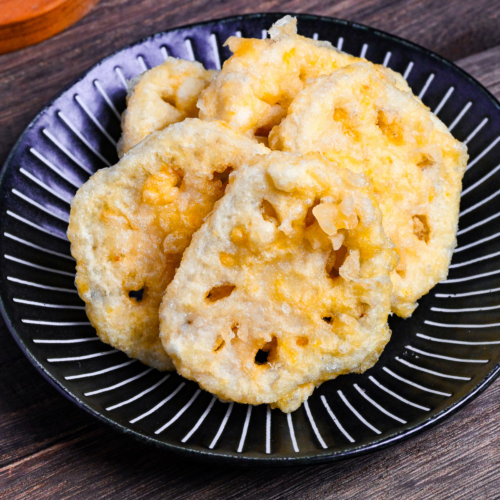
After you’re done frying, move the pieces right off to a wire rack. Steer clear of putting them straight on paper towels to avoid sogginess.
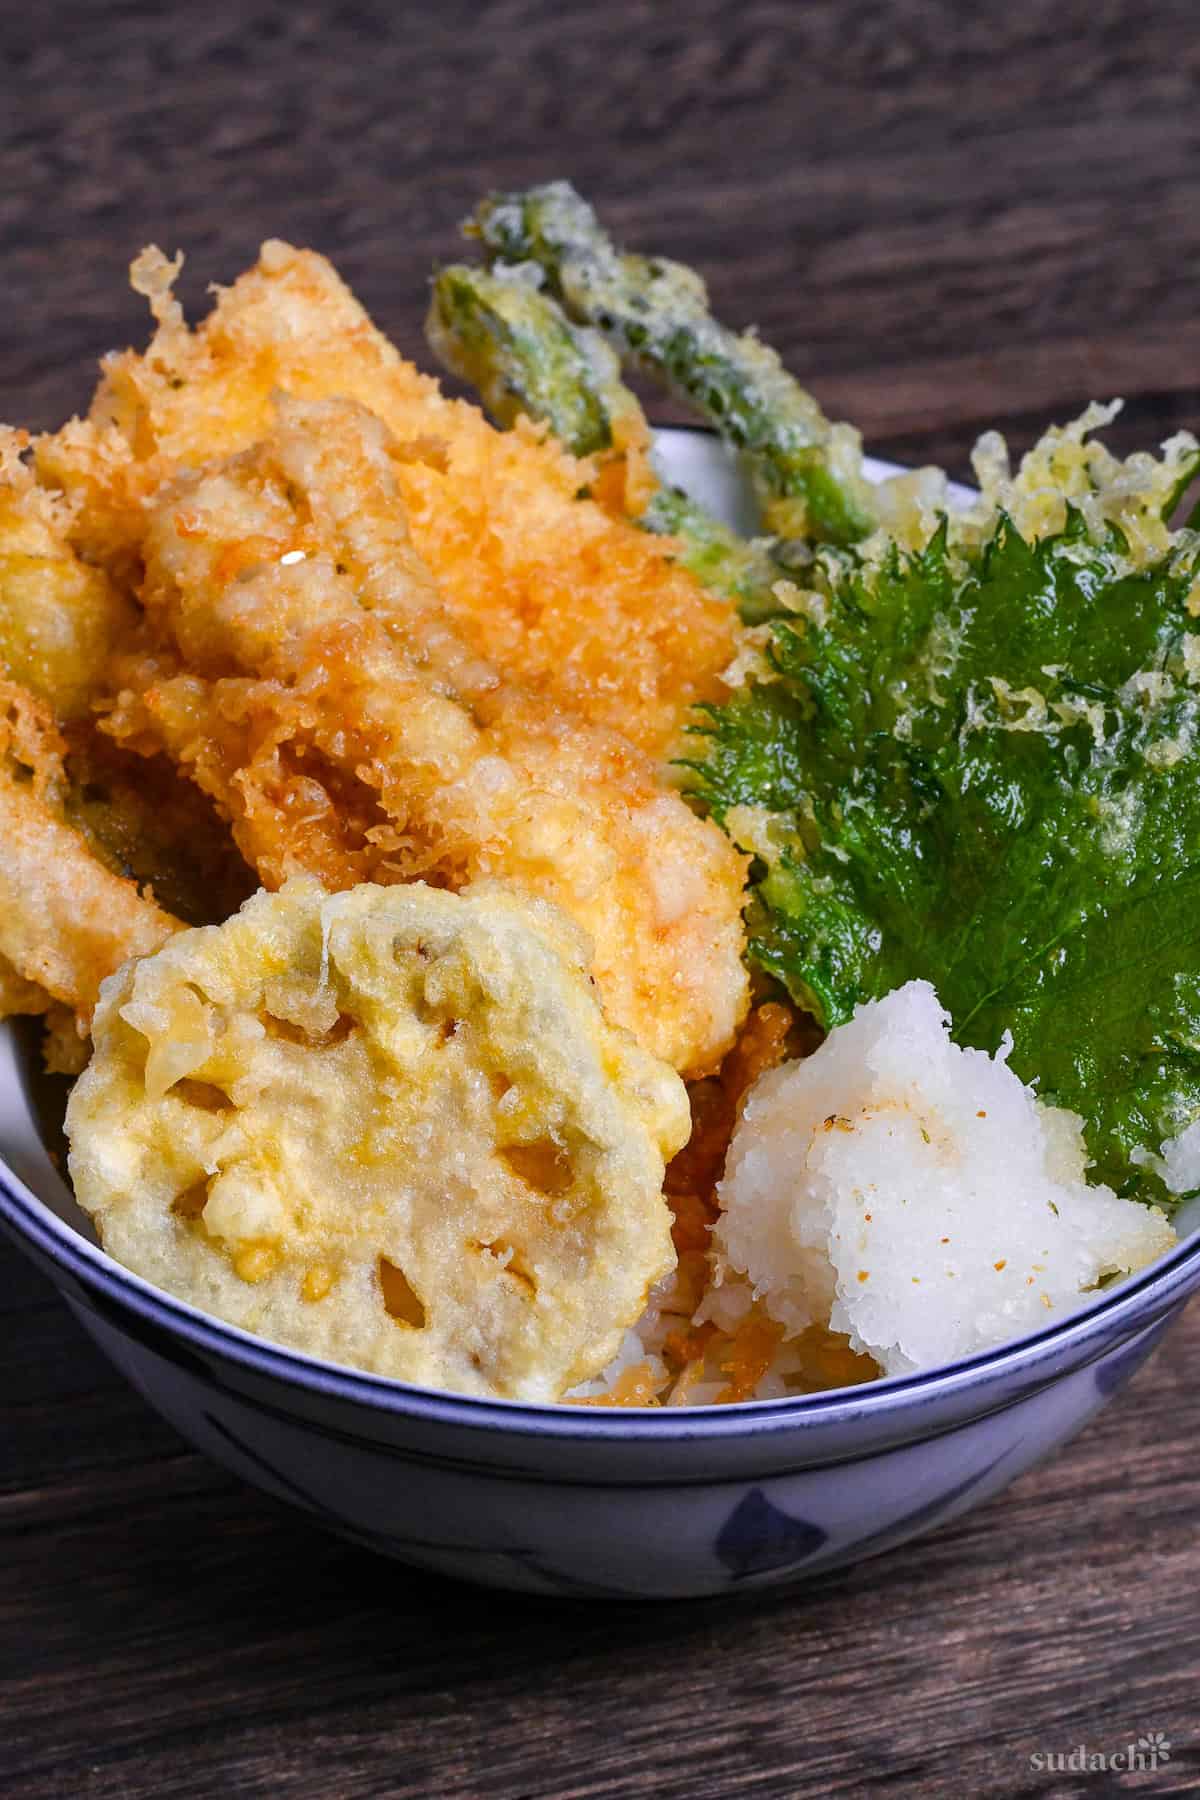
Enjoy it with high-quality sea salt, tempura dipping sauce, or part of your tendon!
Jump to Full Recipe MeasurementsEssential Tips & Tricks
- Water temperature is critical – Use ice-cold water straight from the refrigerator to prevent gluten formation and achieve light, crispy tempura batter.
- Don’t overmix the batter – Lumps are good! Mix with chopsticks just enough to combine ingredients; overmixing creates chewy rather than crispy tempura.
- Cut lotus root to 1cm thickness – This optimal thickness ensures both crispy exterior and the signature crunchy-yet-fluffy interior texture.
- Control your oil temperature – Maintain at 175°C throughout.
- Use a wire rack for draining – Never place freshly fried tempura directly on paper towels as this traps steam and makes the bottom soggy.
- Mix batter just before frying – Don’t prepare the batter ahead of time; its quality deteriorates within minutes as gluten develops.
- Clear excess flour from the holes – Use a chopstick to ensure the characteristic lotus root pattern remains visible after frying.
With these simple tips in mind, you’re set for success every time you make Lotus Root Tempura.
Storage and Reheating Tips
Lotus root tempura reaches its peak quality immediately after frying and gets soggier and soggier over time, but any leftovers can be stored in a single layer in an airtight container in the refrigerator for up to 2 days.
For reheating, avoid microwaves entirely, as they create steam that destroys crispness. Instead, place pieces on a wire rack in a preheated 200°C (400°F) oven for 3-5 minutes until thoroughly heated and re-crisped.
FAQ
Here are answers to frequently asked questions I have received across all platforms, including here, YouTube, Instagram, and Pinterest. If you have any questions, feel free to send them to me anytime! It will be a big help for everyone in this community!
Both methods have benefits. Soaking in vinegar water prevents discoloration and creates a cleaner appearance, while using it immediately (that’s what I do) preserves more natural flavor and starch for a fluffier texture. If you prefer more authentic renkon flavor, skip soaking. If presentation is important or you’re preparing in advance, use the vinegar water method.
Cut the lotus root immediately before cooking, or place cut slices in water with a splash of vinegar or lemon juice. The acid prevents the enzymatic browning reaction. Just remember to thoroughly dry the slices before coating and frying.
While there’s no doubt that fresh renkon gives the best texture for tempura, you can absolutely use the precooked packaged version. I sometimes use the precooked version myself when I don’t want to buy a big chunk of renkon! You just need to take extra care to pat it very dry before dusting with flour!
I hope you enjoy this Lotus Root Tempura recipe! If you try it out, I’d really appreciate it if you could spare a moment to let me know what you thought by giving a review and star rating in the comments below. It’s also helpful to share any adjustments you made to the recipe with our other readers. Thank you!
More Tempura Recipes
Lotus Root Tempura (Renkon no Tempura)
Equipment
- Japanese-style fryer
Ingredients
- 500 g lotus root (renkon)
- cooking oil neutral flavor for deep frying
- cake flour or starch for dusting
Tempura Batter (see note)
- 75 ml cold water chilled
- 50 ml carbonated water chilled
- 1 egg yolk
- 15 g cornstarch
- 75 g cake flour
- ice cubes
Serving suggestion (optional)
- salt
- tempura dipping sauce (tentsuyu)
My recommended brands of ingredients and seasonings can be found in my Japanese pantry guide.
Can’t find certain Japanese ingredients? See my substitution guide here.
Instructions
- Before starting this recipe, chill all of the tempura batter ingredients including the dry ingredients. I usually chill them in the freezer for 30 minutes.

- Once all of your ingredients are thoroughly chilled, start heating your cooking oil to 175 °C (347 °F).
- While you wait, add 75 ml cold water, 50 ml carbonated water and 1 egg yolk to a mixing bowl and whisk gently until combined. Try not to let it get too foamy.
- Sift 15 g cornstarch and 75 g cake flour together into a bowl, then add it to the egg mixture in 3 batches. Rather than whisking, use chopsticks to draw crosses in the mixture until there is no more dry flour. Lumps are perfectly okay, avoid overmixing.
- If you are going to make a lot of tempura or are cooking in a warm environment, add a few ice cubes to the batter and place it in the fridge between batches.
- Scrub the surface of 500 g lotus root (renkon) to remove the dirt before peeling off the skin with a vegetable peeler or knife. If you bought your renkon already peeled and stored in water, drain the water and dry the surface.
- Cut into slices about 5-10mm thick (approx ¼ inch), then pat the surface dry with kitchen paper. (If preparing in advance or your oil isn't ready, keep them in a bowl of water with a splash of vinegar to prevent discoloration.)
- Coat each slice with a thin layer of cake flour and tap off the excess. Use chopsticks to remove flour from the holes.
- Dip the floured renkon slices into the tempura batter and place them straight in the oil. Fry for 3-4 minutes or until lightly golden.
- Transfer to a wire rack to drain the excess oil for 1-2 minutes, then serve immediately with salt or tempura dipping sauce (tentsuyu). Enjoy!
Notes
- Renkon discolors quickly once peeled and cut. To avoid discoloration, peel and cut right before frying or soak it in water with a splash of vinegar.
- This recipe is likely to have leftover tempura batter. Leftovers can be used for other ingredients such as shrimp, eggplant, sweet potato etc. You can also make your own tenkasu (tempura flakes) to serve with udon and soba.
- For best results, fry other ingredients in separate batches of the same ingredients.
- The egg yolk can be replaced with 2 tsp of egg mayonnaise (this is convenient if you want to half the recipe and use 1 tsp mayonnaise instead of half an egg yolk).
- If you’re looking for an eggless tempura batter, check out my shojin age recipe.
- Serve Perilla Leaf Tempura with tempura rice bowl (tendon), kake udon or zaru soba.
Leave a rating and a comment