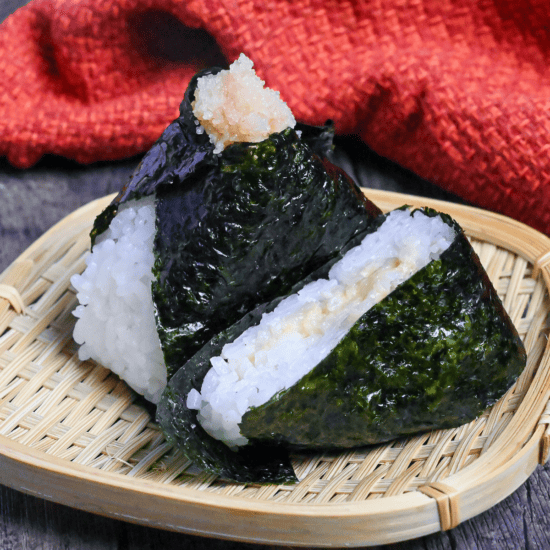


What is Mentaiko Onigiri?
When you bite into a mentaiko onigiri (明太子おにぎり), you’ll see why this simple rice ball has become so popular in Japan. The pop and gentle heat of mentaiko (cod roe pickled in chili peppers) takes ordinary rice to the next level.
Mentaiko’s history is tied to Korea, where it was first used as a way to preserve food during harsh winters. It was adapted in Fukuoka City in 1949 to align with Japanese taste preferences. That’s why today, mentaiko and Hakata (in Fukuoka) are basically inseparable in Japan’s food landscape.
What makes mentaiko such a great onigiri filling? It’s all in the mix of textures: the soft white rice and the sweet, coral-colored roe that’s got a kick of salt and spice. Together, they create that perfect harmony that rice balls were made for.
In this recipe, I’ll show you how to make this classic even better by blending mentaiko with Japanese mayo for an easy yet irresistible hand-held meal!
Visual Walkthrough & Tips
Here are my step-by-step instructions for how to make Mentaiko Onigiri at home. For ingredient quantities and simplified instructions, scroll down for the Printable Recipe Card below.
If you prefer to watch the process in action, check out my YouTube video of this Mentaiko Mayo Onigiri recipe for a complete visual walkthrough!


Start with fresh mentaiko, looking for vibrant red or pink roe with firm, intact membranes. Using kitchen scissors, carefully cut along the membrane to open the mentaiko sac.
Gently separate the roe from the thin outer skin without tearing the membrane using a spoon. But don’t discard it! You can enjoy it separately as a chef’s treat.
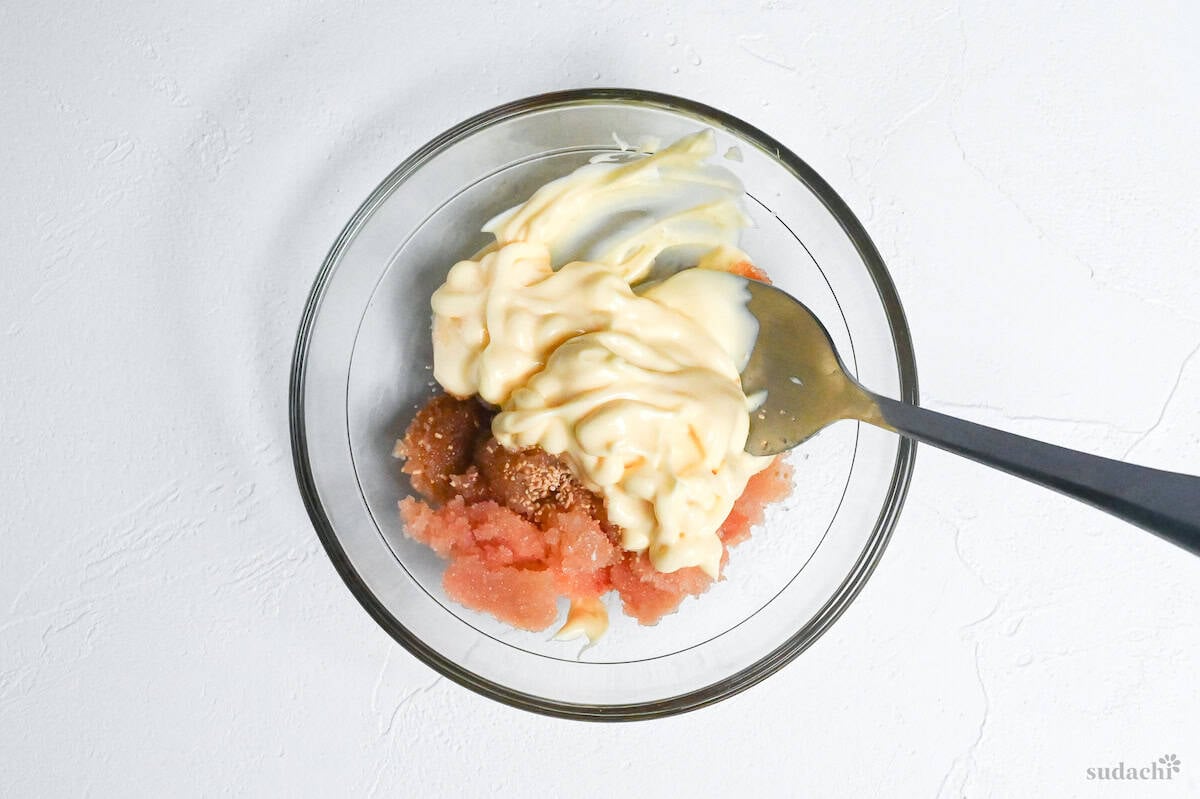
In a small mixing bowl, combine the separated mentaiko roe with Japanese mayonnaise, soy sauce, and dashi granules.
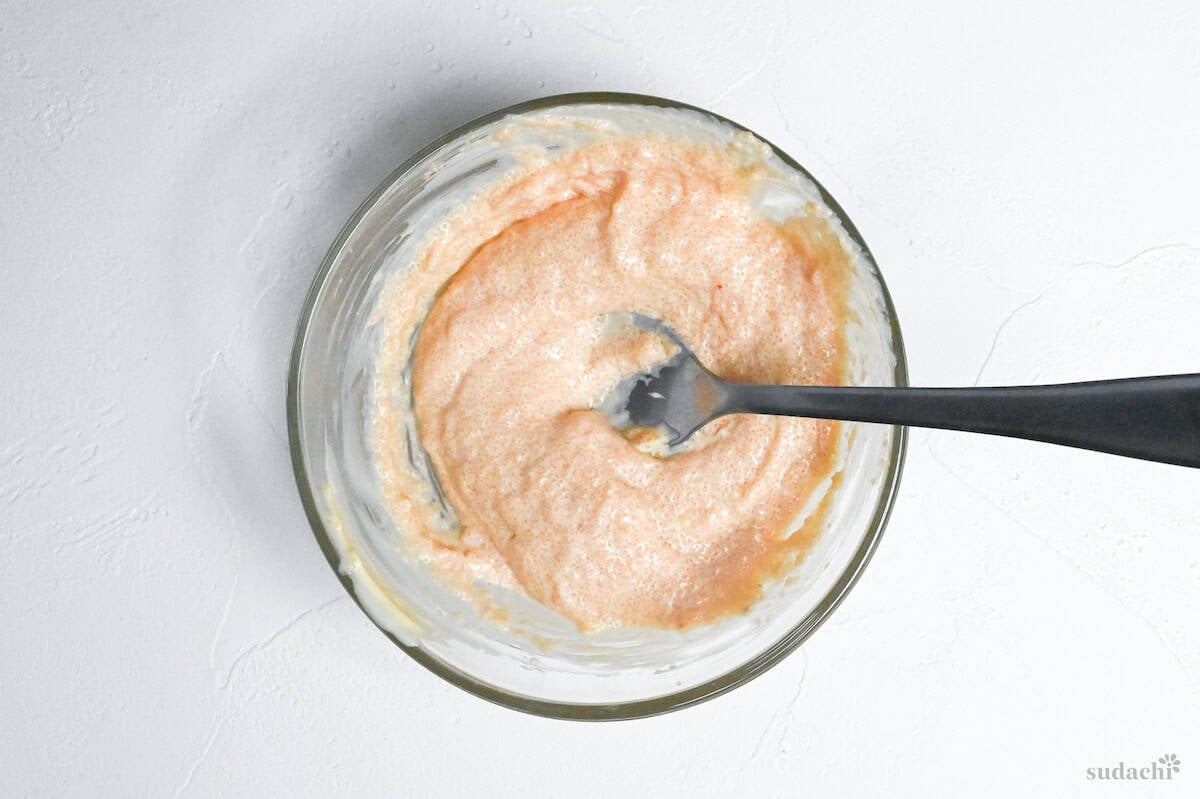
Mix gently but thoroughly until the ingredients are fully incorporated into a creamy, coral-colored spread. The consistency should be smooth but still have some texture from the tiny mentaiko eggs.
If you’re using a mold, lightly salt the onigiri mold to enhance flavor. Next, add about 50 to 60 grams of rice (about half the total amount for one onigiri) to the mold, making a small indentation in the center for the filling.
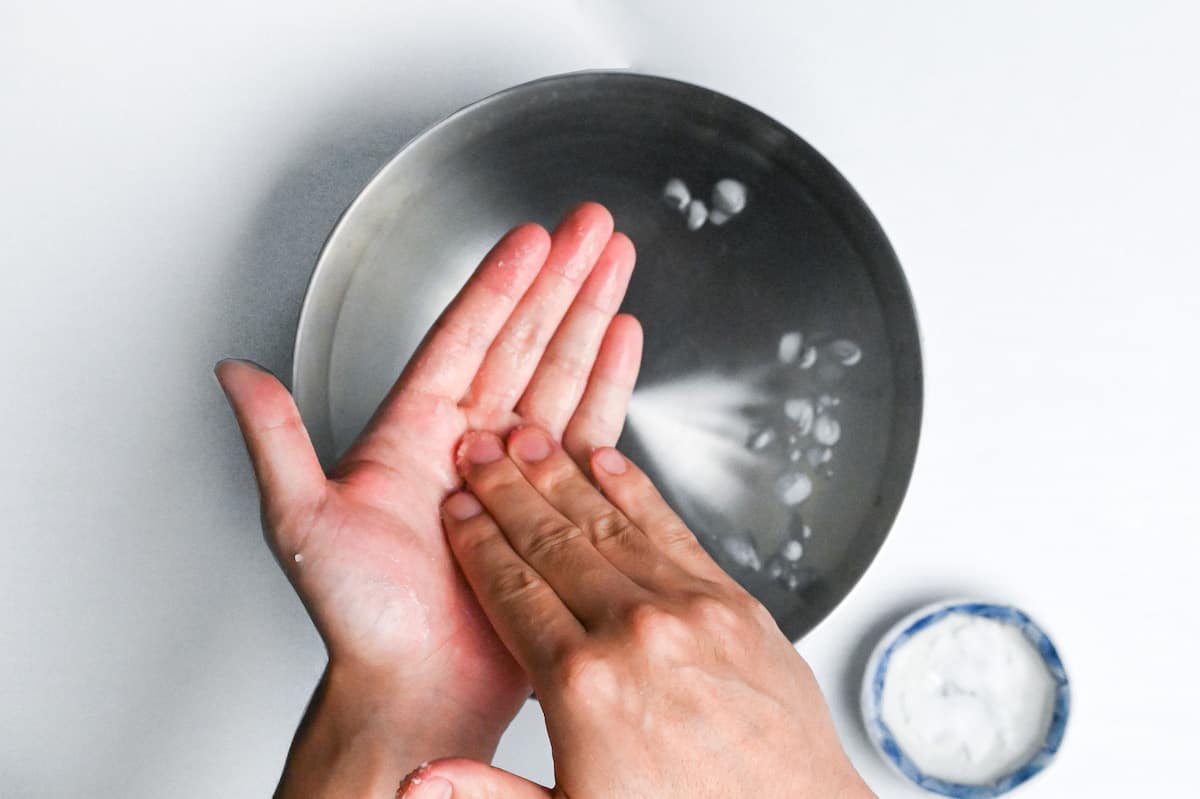
To shape the rice by hand, wet your hands with cold water and sprinkle with salt to prevent sticking. Take the full amount of rice (100-120g) for one onigiri and flatten it on your palm.
The traditional salt coating on onigiri has many uses beyond just making it taste better. It acts as a natural preservative, creating a slight barrier against bacteria
This technique dates back to when onigiri were made as portable meals for travelers and field workers.
The salt also makes a nice contrast to the subtly sweet Japanese rice, bringing out the creamy mentaiko filling.
For a mess-free approach, lay a piece of plastic wrap on a flat surface and place your rice portion in the center. The plastic creates a barrier that prevents sticking while allowing you to shape the rice easily.
Remember to sprinkle salt on the rice before wrapping to ensure proper seasoning.
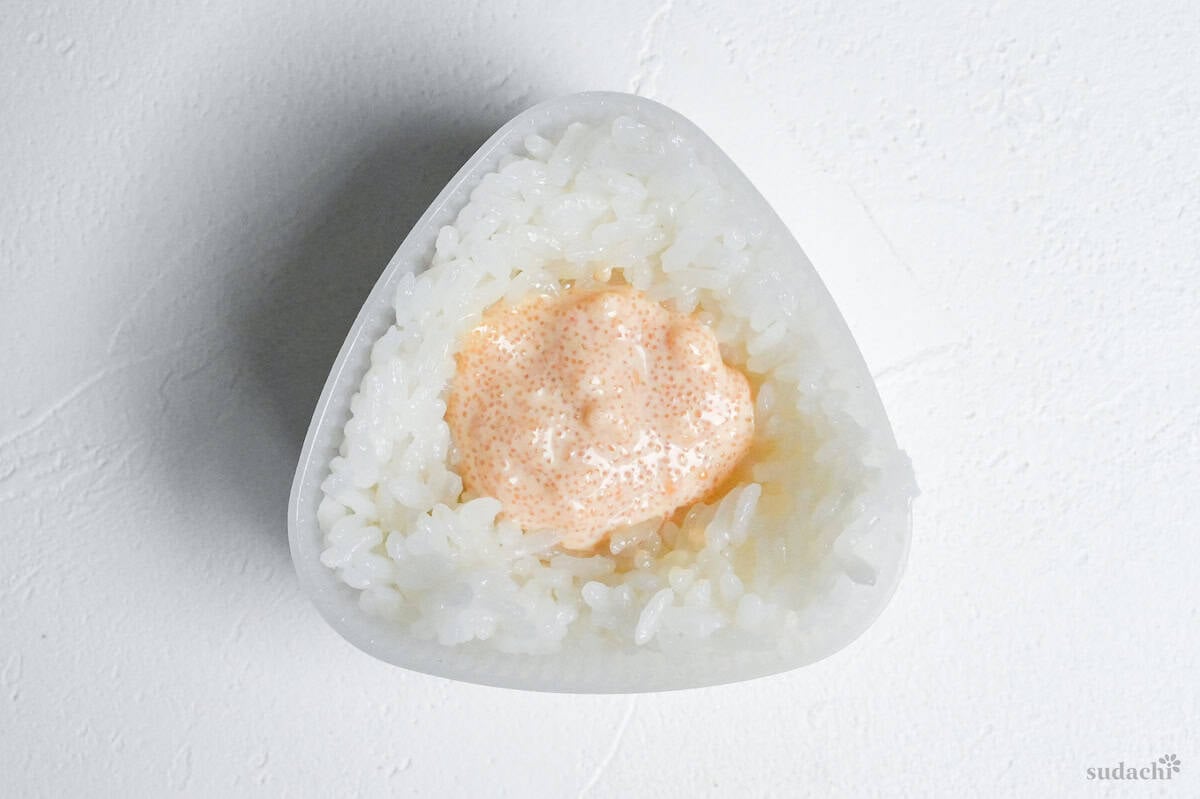
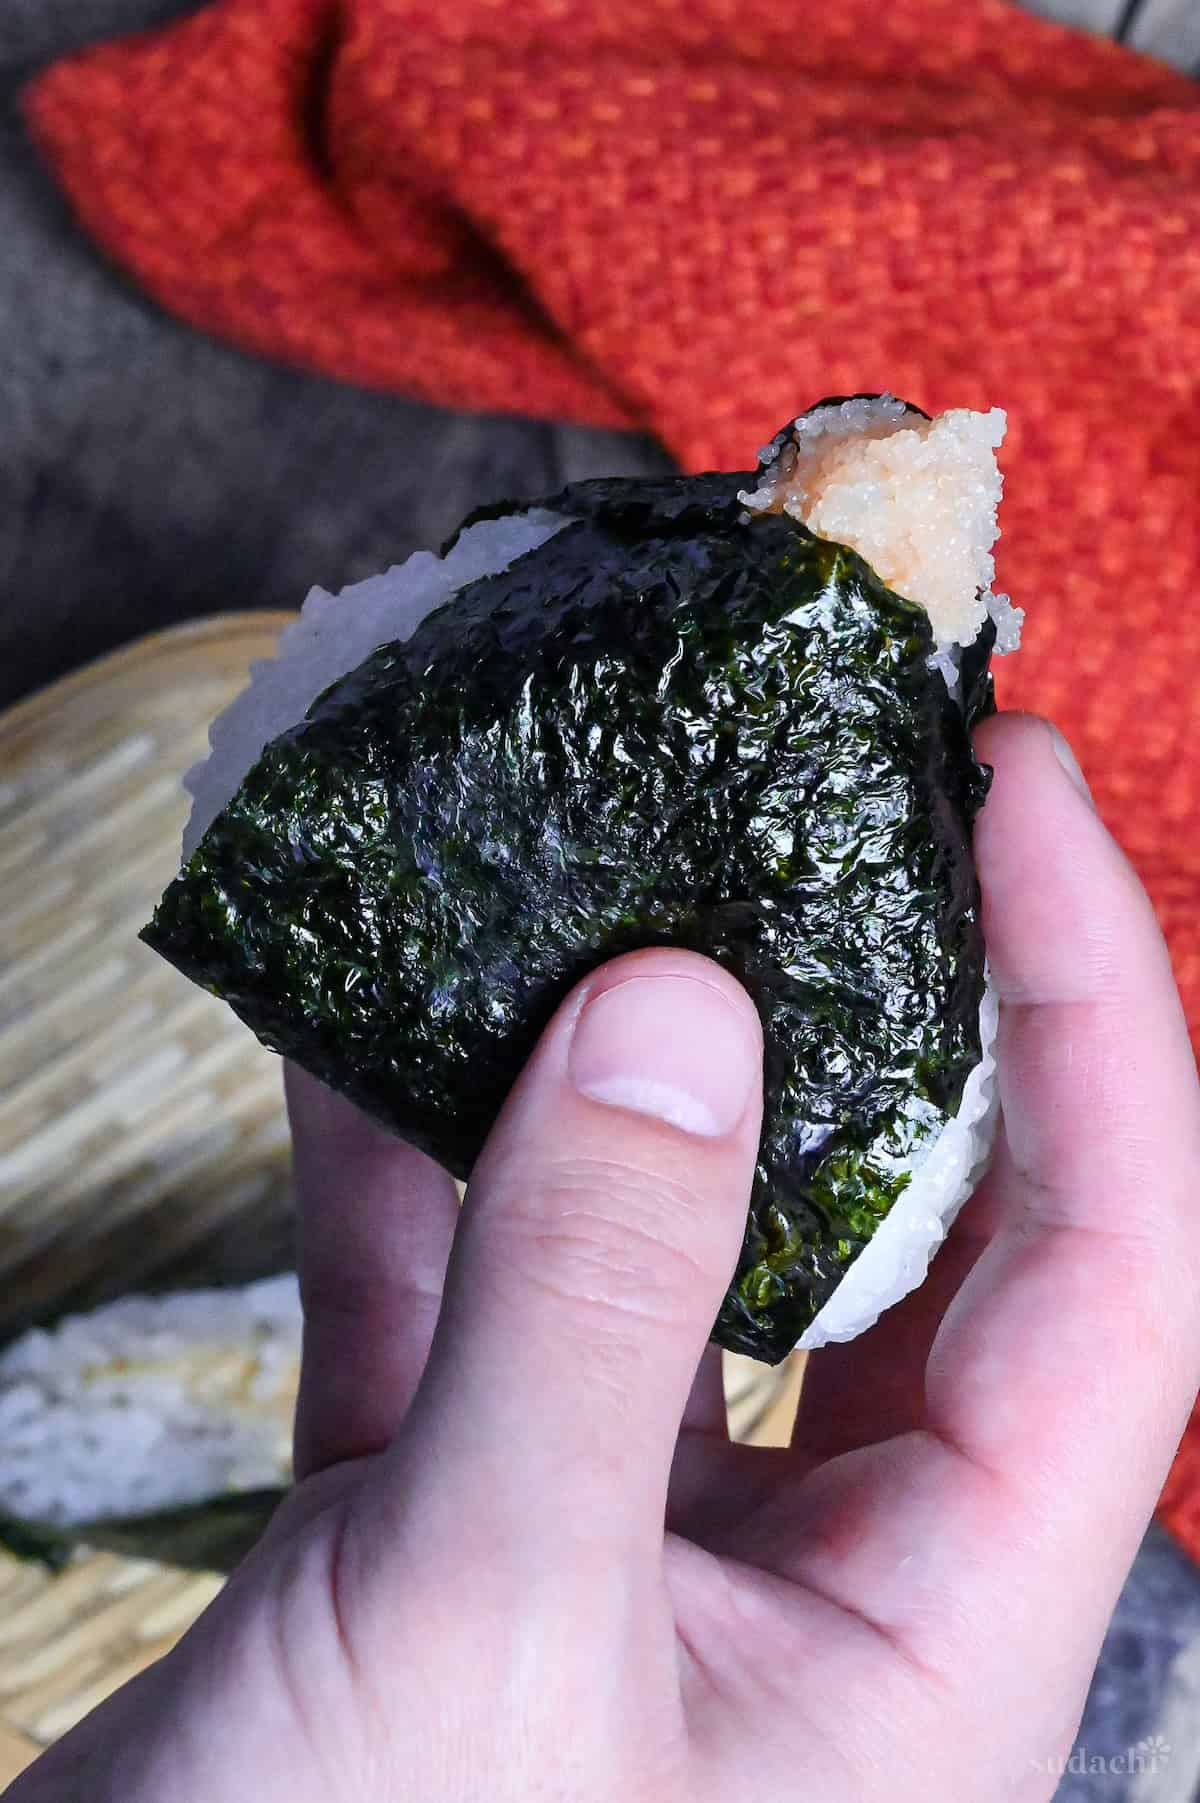
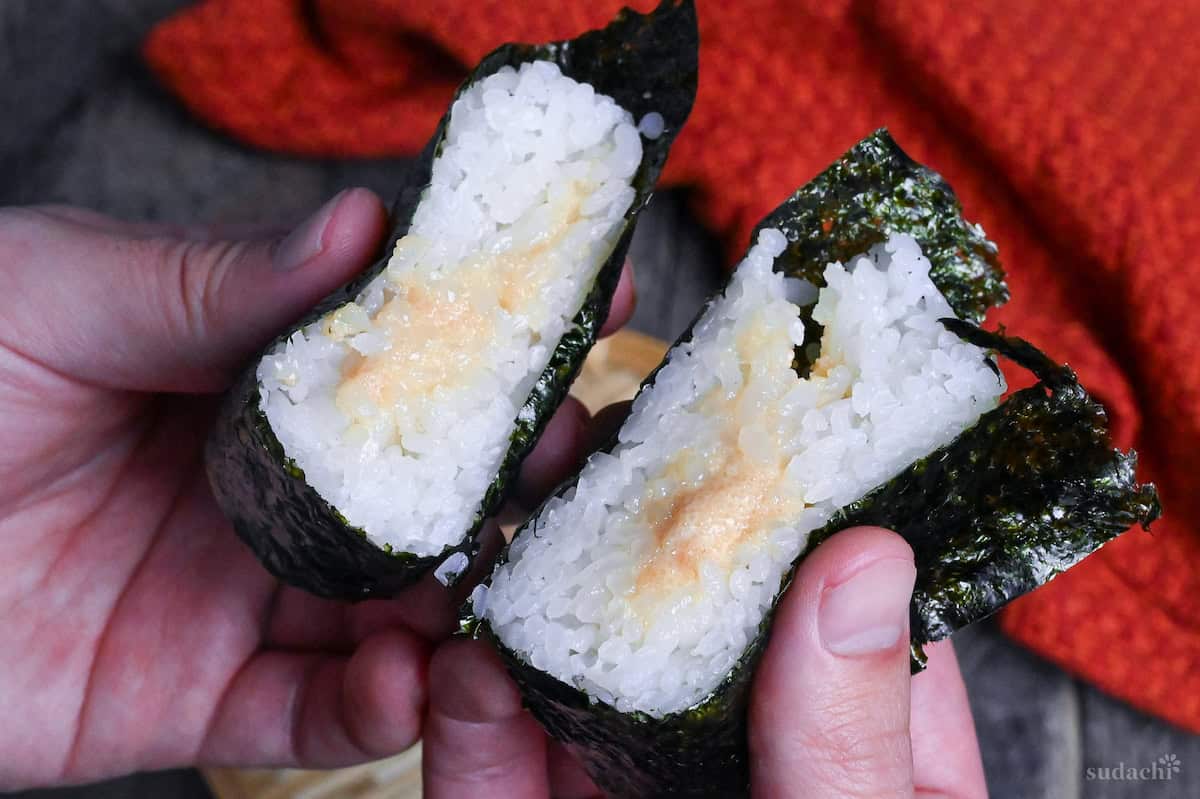
Spoon the mentaiko-mayonnaise mixture into the rice indentation you’ve created. The amount will depend on your preference, but typically 1-2 tablespoons provides the perfect rice-to-filling ratio.
The mentaiko should be evenly distributed but concentrated in the center of your onigiri.
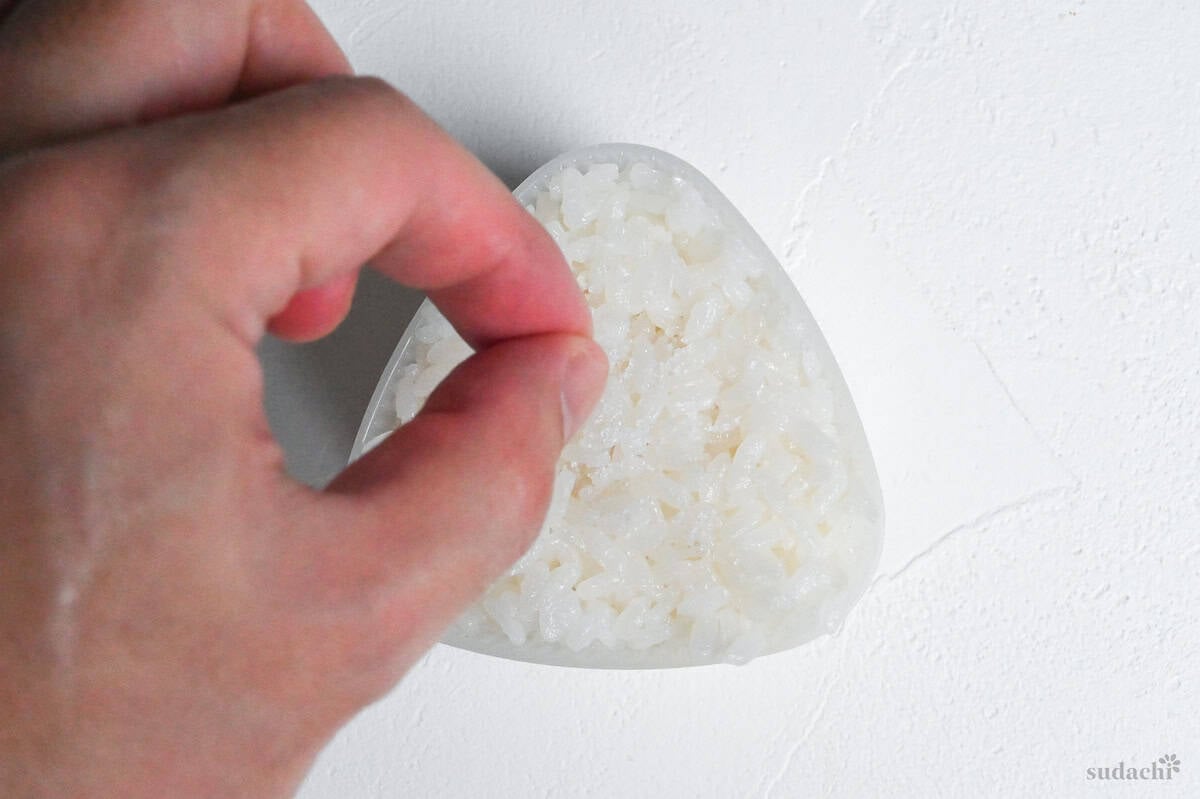
If you’re using a mold, cover the filling with the rest of the rice. Use the mold lid to press and compact the onigiri, making sure it’s all stuck together in one shape.
Consider sprinkling a pinch of salt over the top surface for enhanced flavor.
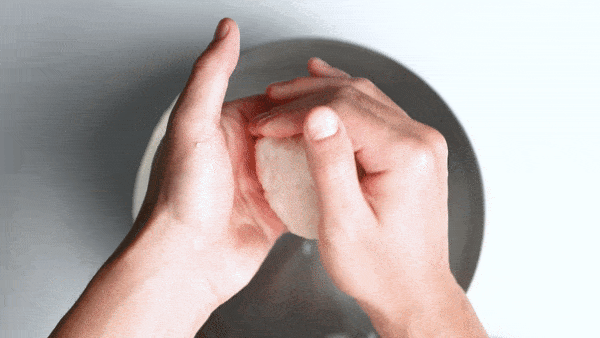
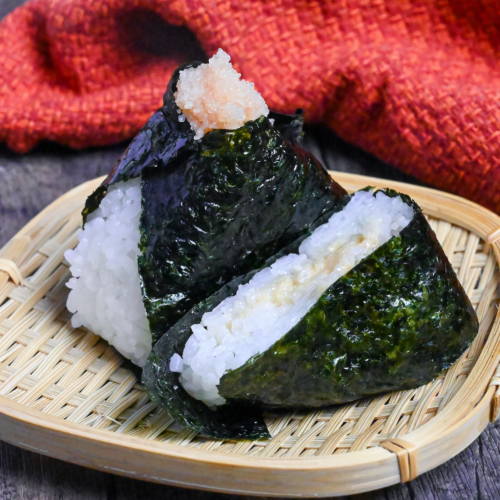
If you’re shaping by hand, fold the rice over the filling, making sure it’s completely encased. Then, use your palms to shape it into a triangle, oval, or round shape, taking care to keep the filling inside.
For hand-shaping, use three swift motions rather than continuous pressing. Form two sides of the triangle with your dominant hand, then rotate and form the third side.
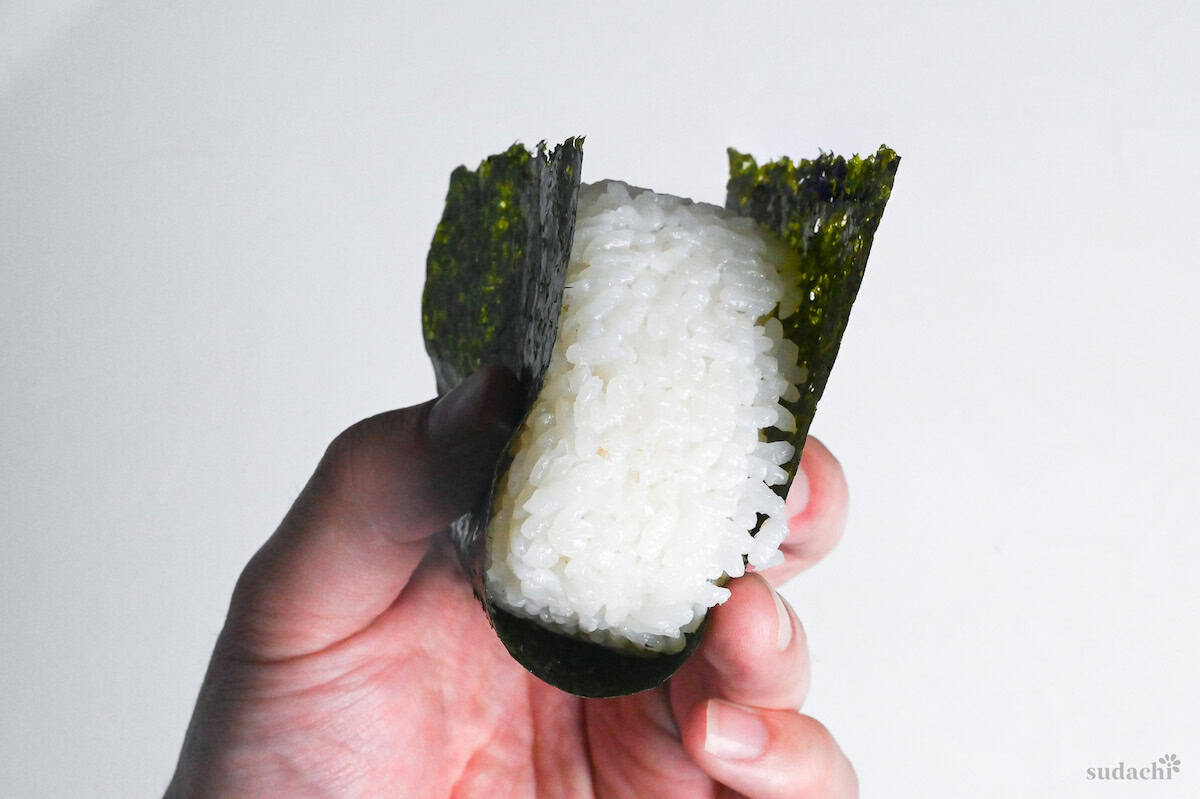
Just before serving, wrap your onigiri with a strip of nori seaweed.
This timing is crucial-wrapping too far in advance will cause the crisp nori to absorb moisture from the rice and become chewy. For the best textural contrast, apply the nori immediately before eating.
Jump to Full Recipe MeasurementsEssential Tips & Tricks
- Use short-grain Japanese rice – other varieties won’t stick together properly and will fall apart.
- Handle the mentaiko sac carefully when opening – gentle scissors cuts prevent rupturing the delicate membrane.
- Don’t overfill your onigiri – 1-2 tablespoons of filling per onigiri is sufficient.
- If the filling seems to runny, try chilling it in the fridge to firm it up.
- Mentaiko filling can be kept in the fridge for 1-2 days so feel free to make it the night before or store leftovers for the next day.
- Wrap with nori immediately before eating for the best texture contrast.
With these simple tips in mind, you’re set for success every time you make Mentaiko Onigiri.
I hope you enjoy this Mentaiko Onigiri recipe! If you try it out, I’d really appreciate it if you could spare a moment to let me know what you thought by giving a review and star rating in the comments below. It’s also helpful to share any adjustments you made to the recipe with our other readers. Thank you!
More Onigiri Recipes
Hungry for more? Explore my onigiri recipe collection to find your next favorite dishes!
Mentaiko Mayo Onigiri

Ingredients
- 50 g spicy cod roe (mentaiko)
- 3 tbsp Japanese mayonnaise
- ¼ tsp Japanese soy sauce (koikuchi shoyu)
- ⅛ tsp dashi granules
- 720 g cooked Japanese short-grain rice
- salt for shaping
- 6 strips roasted seaweed for sushi (nori)
My recommended brands of ingredients and seasonings can be found in my Japanese pantry guide.
Can’t find certain Japanese ingredients? See my substitution guide here.
Instructions
- Place 50 g spicy cod roe (mentaiko) on a cutting board and make an incision lengthways through the skin using scissors or a sharp knife. Open the mentaiko and use a spoon to scrape out the eggs.

- Transfer the mentaiko to a bowl (you can eat or discard the skin) and add 3 tbsp Japanese mayonnaise, ¼ tsp Japanese soy sauce (koikuchi shoyu) and ⅛ tsp dashi granules. Mix until evenly distributed.
- Divide 720 g cooked Japanese short-grain rice into 120g portions. If shaping by hand, wet your hands and sprinkle them with salt. If using a mold, sprinkle the mold with a pinch of salt.
- To shape by hand, take a portion of rice and flatten it on your palm. Make a dent in the center and add about 1-2 tbsp of the filling. If using a mold, fill with about 50g of rice and press a dent in the center before adding the filling.
- If shaping by hand, fold the rice over to seal the filling inside, then press and turn to shape into a rounded triangle. If using a mold, top with another 50g of rice and add another pinch of salt. Press the lid down firmly to shape, then remove from the mold.
- Wrap with nori and enjoy!
Video
Notes
- Onigiri should be made with Japanese short-grain white rice. For best results, use a rice cooker or follow my stovetop cooking method.
- 2 Japanese rice cup of raw rice (300g) makes enough cooked rice for approximately 6 rice balls.
- This recipe uses 120g of cooked rice per rice ball. If changing the size, reduce or increase the filling accordingly.
- If the mentaiko filling seems too runny, place it in the fridge as it will thicken when chilled. Leftover filling can be stored in the fridge for 1-2 days.
- To store, wrap each onigiri with plastic wrap (without nori) and store it in the freezer. Defrost in the microwave and wrap with nori just before serving.
Leave a rating and a comment