Featured Comment:
“My father spent many years in the Orient while he was in the Navy and always raved about the sukiyaki dishes of Japan. I made this for him and he LOVED it. I taught him how to make it and now he enjoys it weekly. Thank you for sharing! The instructions and recipe were very easy to follow and I look forward to trying your other recipes listed.”
– Kay
What is Japanese Beef Sukiyaki?
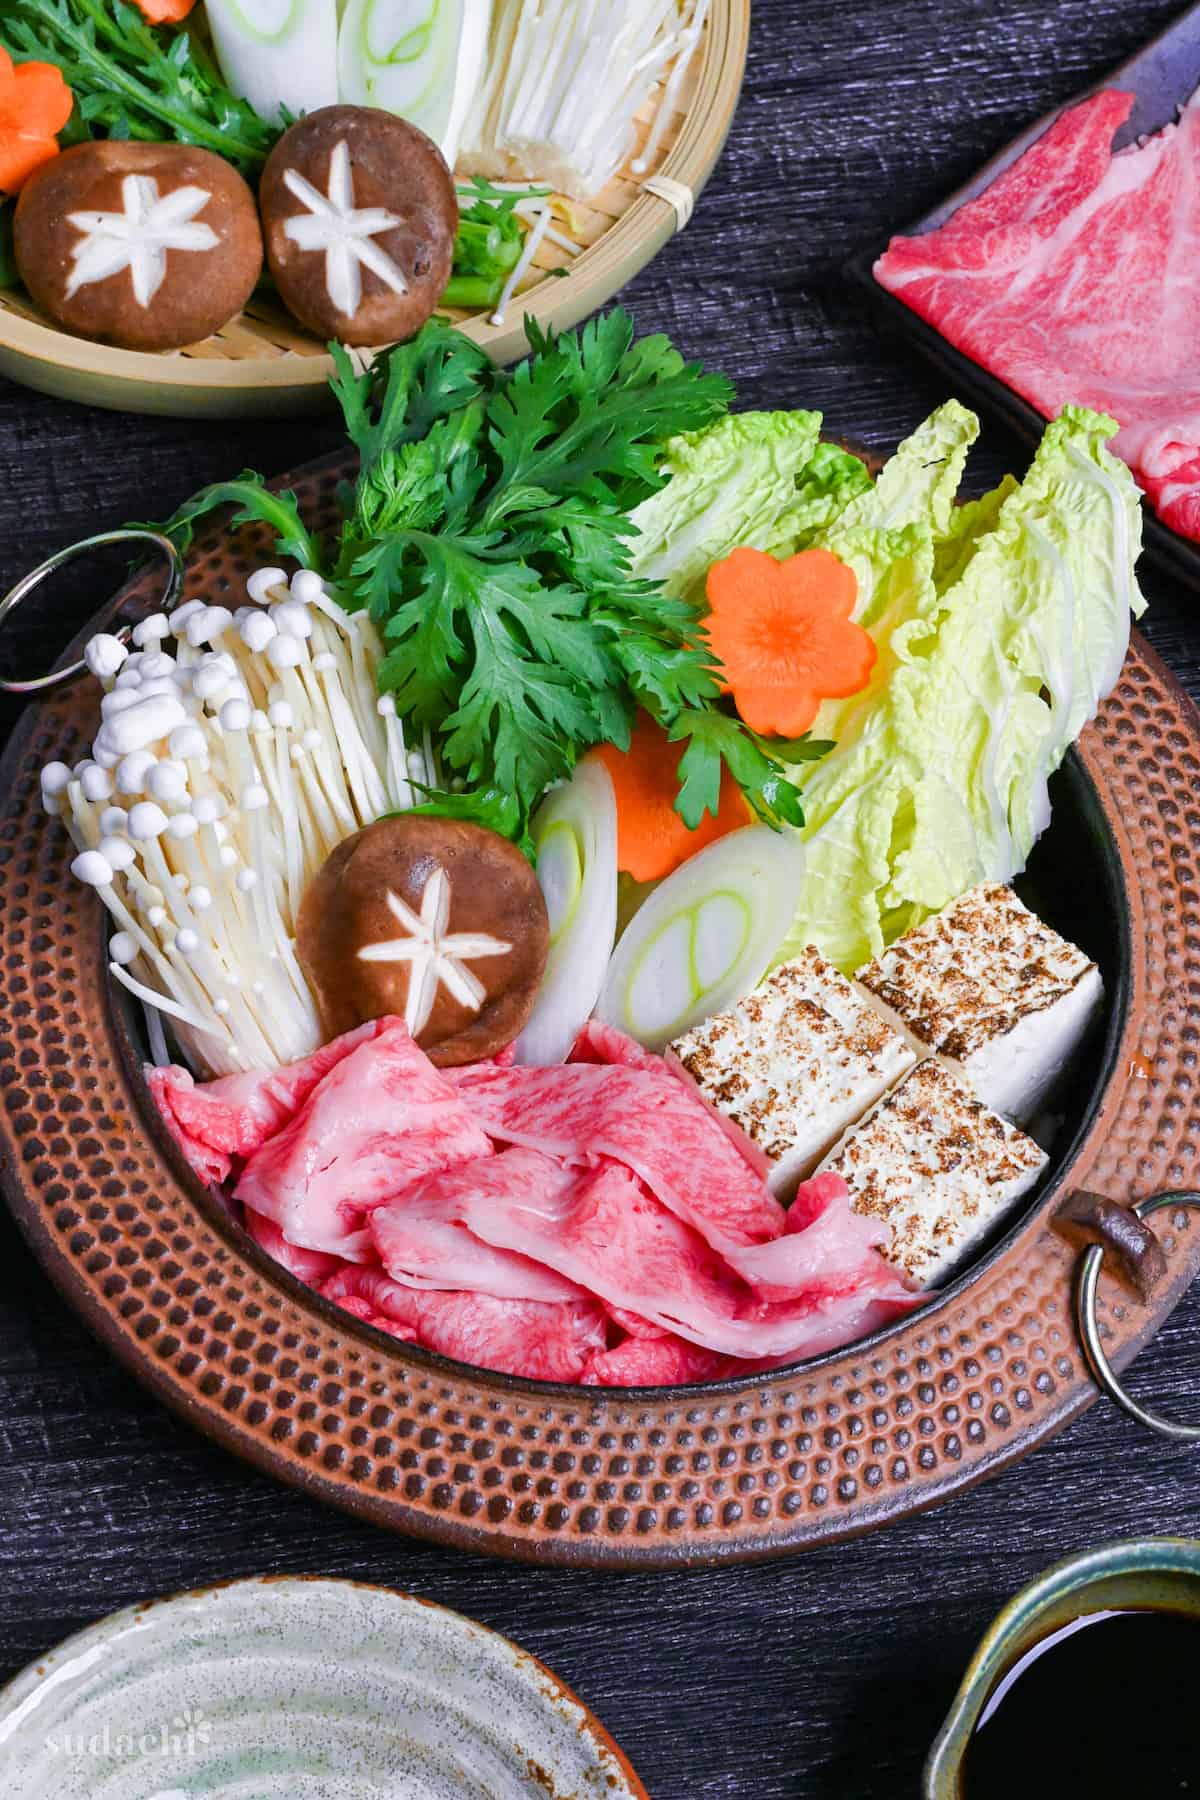
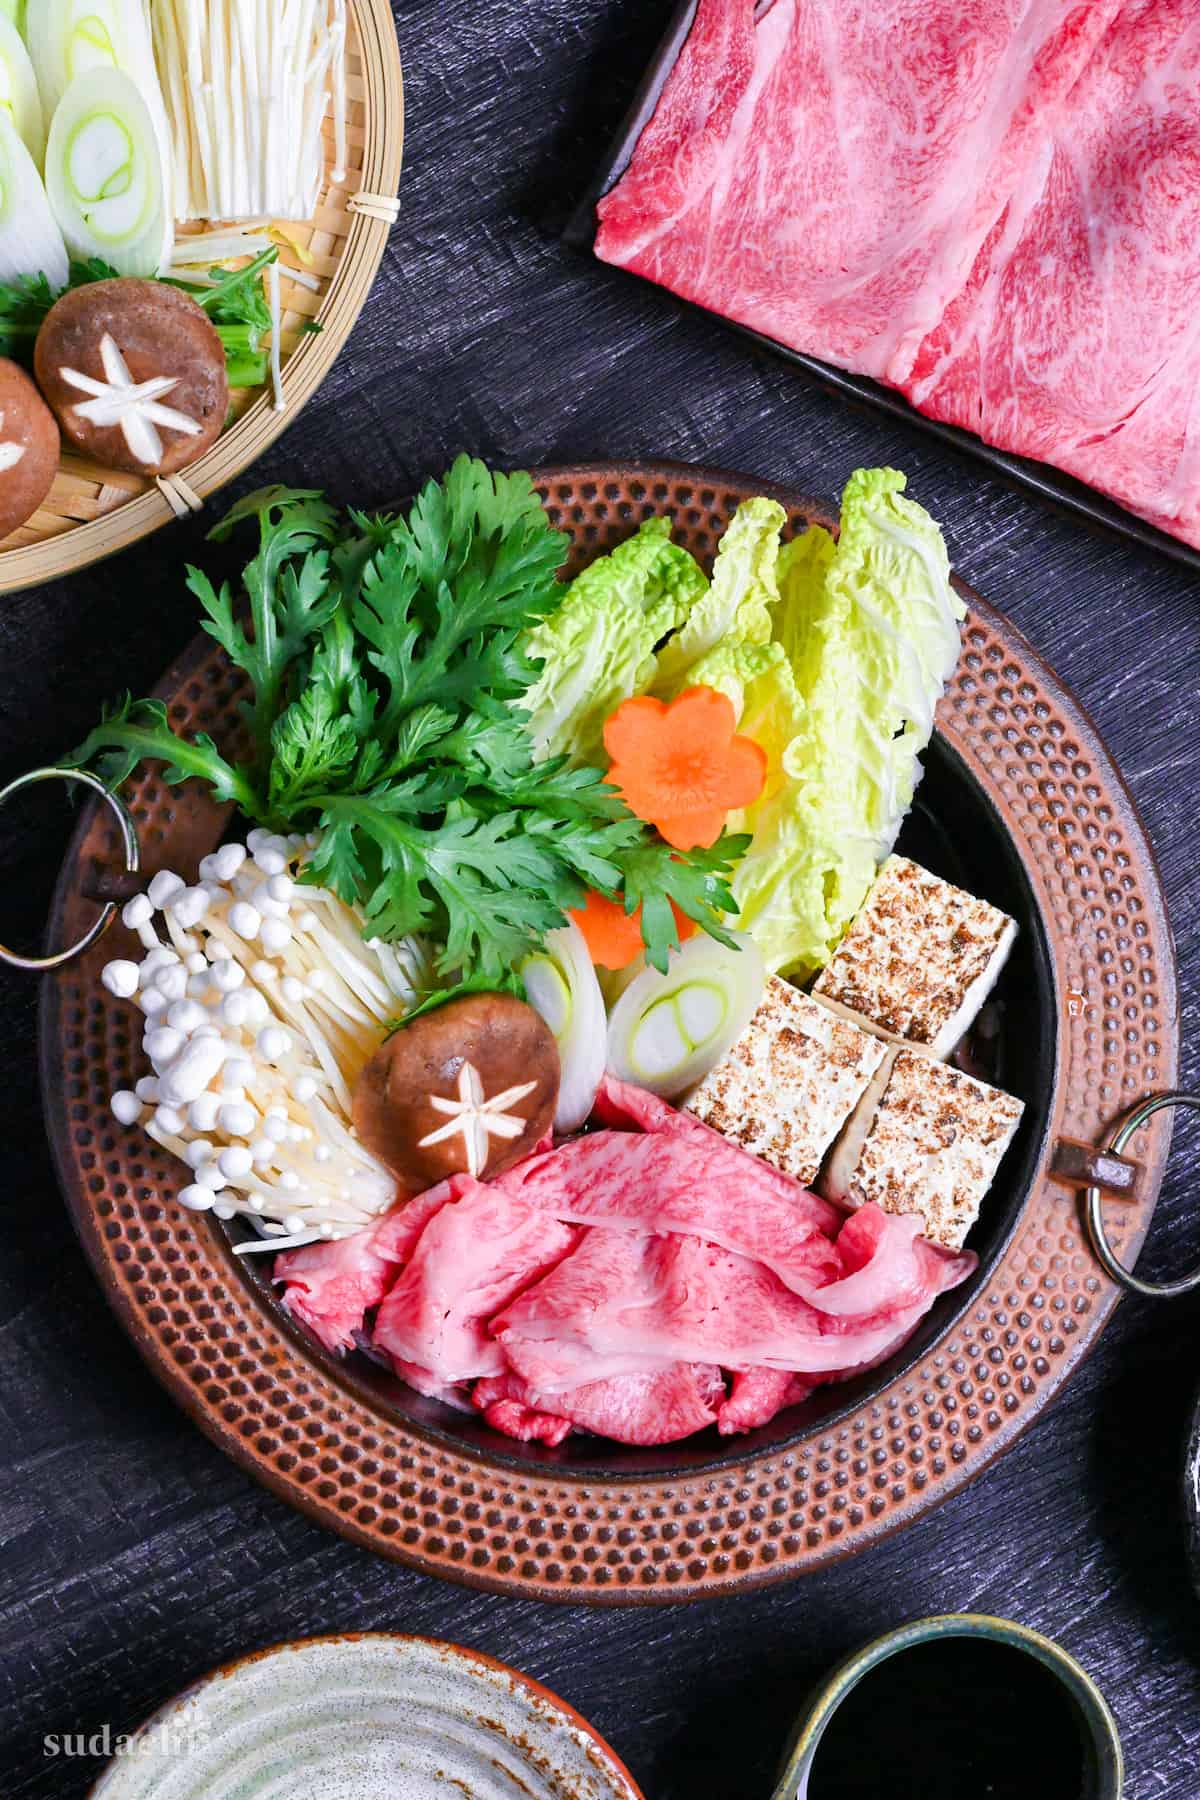
Sukiyaki is a popular dish made with high-quality, thinly sliced beef cooked in a sweet soy sauce-based broth with other ingredients such as leeks, carrots, mushrooms, and grilled tofu. Once cooked, these ingredients are usually dipped in a whisked raw egg, which balances out the sweetness and increases the richness of the dish.
Due to its rich flavor and the use of high-quality ingredients, sukiyaki is typically seen as a celebration food and often eaten during “bonenkai” end-of-year celebrations (忘年会) and New Year’s gatherings (お正月).
The preparation method differs depending on whether you are in the Kanto region (East) and the Kansai region (West) of Japan. I literally grew up in central Japan between these two regions, but this recipe leans towards the Kanto style.
It is a classic decadent flavor that can be used for udon (Sukiyaki Udon) and rice bowl (Sukiyaki Don) too!

How I Developed This Recipe
Sukiyaki is a dish with its own unique style in different parts of Japan, and even in the same household, the way it’s made can vary quite a bit. I wanted to create a sukiyaki recipe that respects the dish’s traditional flavors while making it easier to prepare.
This recipe is designed to be simple and easy to follow, but doesn’t sacrifice the rich, savory flavor that sukiyaki is known for.
Whether you’re new to sukiyaki or have enjoyed it many times before, this recipe is a great way to create a delicious, authentic meal without too much fuss!
Kanto vs Kansai: What Are The Diffenreces?
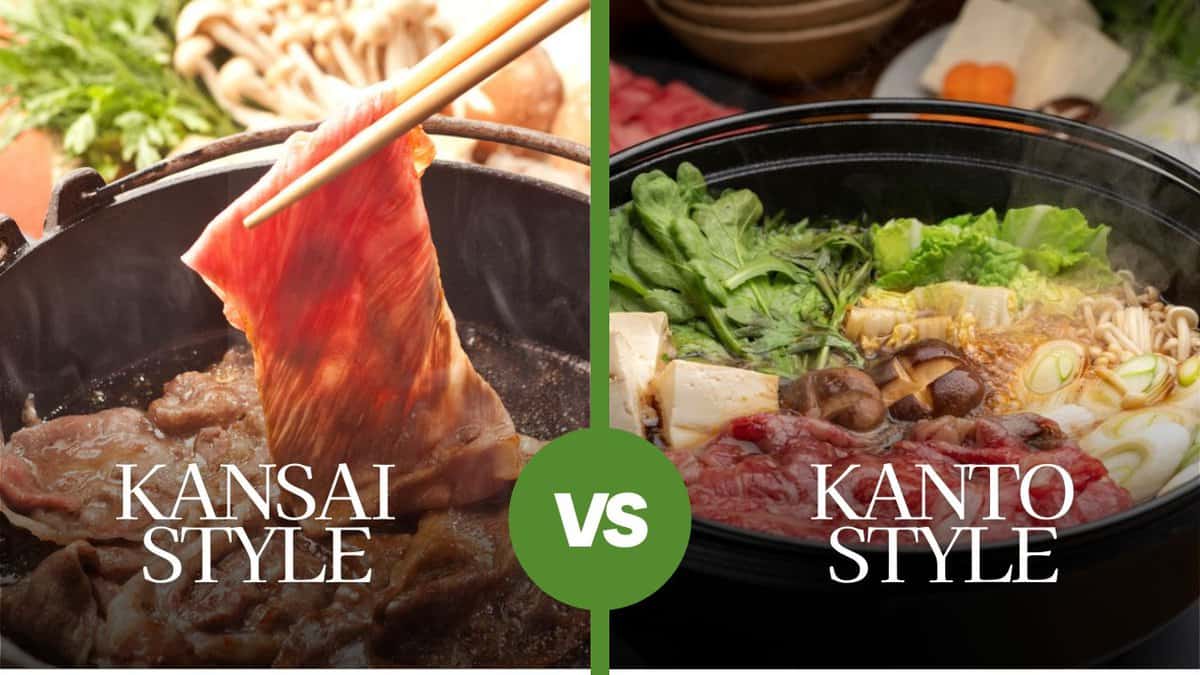
As I mentioned earlier, the way sukiyaki is made differs greatly from east to west. For an easier comparison, see the following table.
| Kanto (East) | Kansai (West) | |
|---|---|---|
| Cooking method of beef | Stew | Grill |
| Seasoning | Make warishita sauce first and cook the beef in the sauce | Grill beef first and then season with sugar, soy sauce and sake |
| Appearance | Like a hotpot | Grilled beef and vegetables |
| Difficulty | Easy | Intermediate |
| How to eat | With raw egg | With raw egg |
Isn’t it easier to cook Kansai-style, where all you have to do is grill? You might think so, but because it is difficult to get the timing and seasoning just right for Kansai style, it is actually said that Kanto style is easier.
There may be some differences in ingredients, but the bottom line is that every home-made sukiyaki tends to use different ingredients according to the preference of the family, so there are no set ingredients that are specific to the Kanto region or to the Kansai region.
Ingredients & Substitution Ideas
Sukiyaki is almost always made with beef, but it can vary from region to region and pork is used too, especially in Hokkaido and Niigata.
The type of beef used depends on personal preference and budget, but generally speaking, high quality meat with marbling fat is most suitable for sukiyaki.
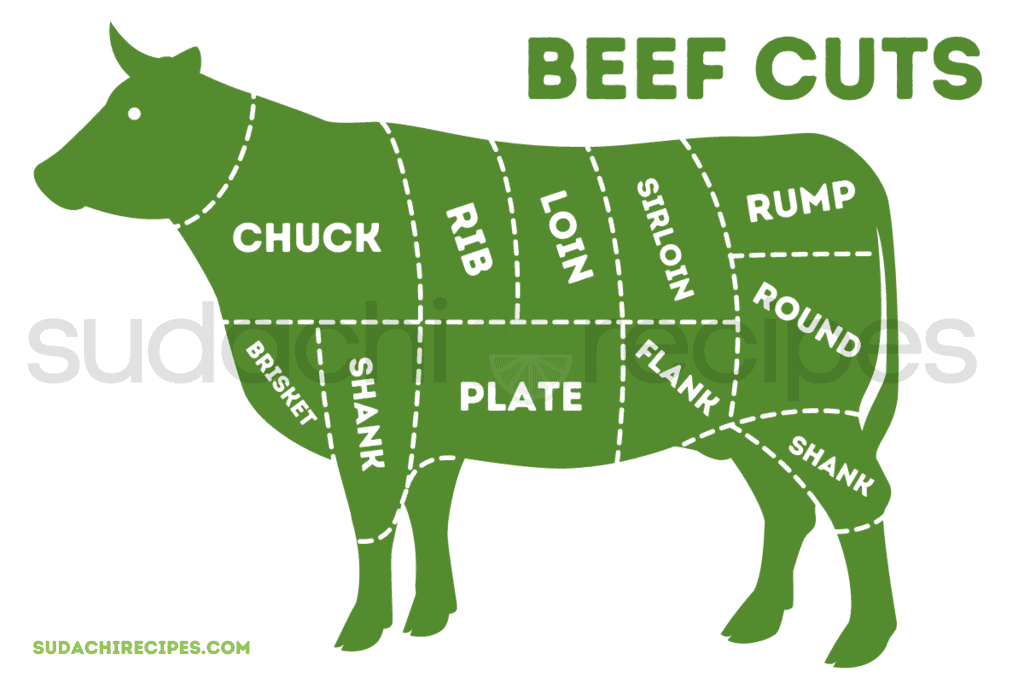
There are four types of beef parts suitable for sukiyaki.
- Rib eye roll – considered one of the finest cuts for sukiyaki. Has a good balance of fat and lean meat with beautiful marbling. The fat melts easily into the sauce, contributing to a rich and flavourful taste.
- Chuck eye roll – High fat content with fine marbling (although not as much as rib eye) makes chuck eye an ideal part for sukiyaki. Also often used for shabu shabu and yakiniku (grilled meat).
- Plate – A slightly coarser option with a good amount of fat makes plate a decent part for making sukiyaki for a lower cost. Care should be taken not to overcook the meat.
- Round – a leaner option for people who don’t enjoy fatty meats. Cooking time should be reduced to prevent the meat from becoming too tough.
Whichever cut of beef you use, the meat must be thinly sliced for sukiyaki. If you can’t buy meat already cut thin, you can partially freeze a block (until firm, not frozen) and slice it thinly yourself at home.
Other ingredients for sukiyaki are below:
- Warishita Ingredients: Create your own warishita sauce by mixing soy sauce, sugar, mirin, sake, and kombu. This rich and sweet sauce is the heart of sukiyaki.
- Beef Fat or Lard: Important for achieving sukiyaki’s distinctively rich flavor.
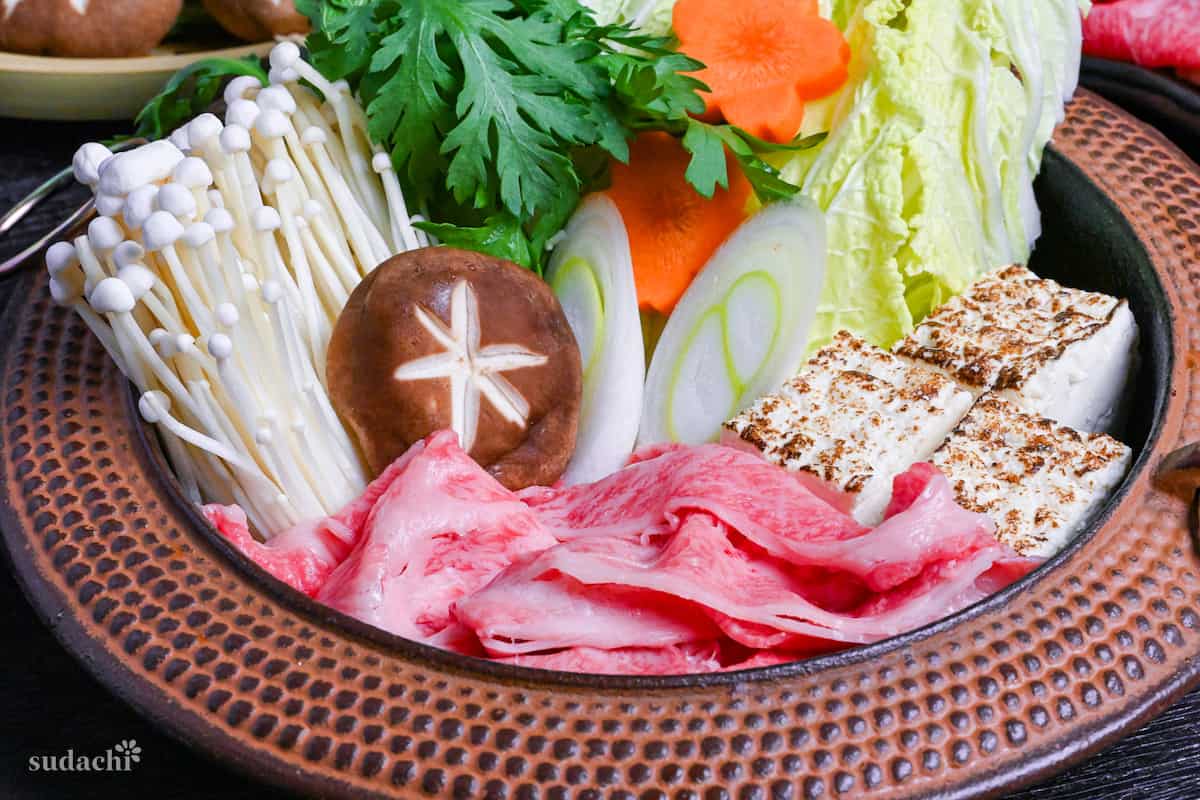
- Vegetables: I used firm tofu, Napa cabbage (hakusai), fresh shiitake mushrooms, enoki mushrooms, carrots, Japanese leeks, and crown daisy (omit if unavailable).
- Pasteurized Egg (Optional): Typically, sukiyaki is dipped in raw egg to balance its richness and saltiness.
- Cooked Udon Noodles (Optional): They’re delicious when soaked in the leftover sauce!
Visual Walkthrough & Tips
Here are my step-by-step instructions for how to make Beef Sukiyaki at home. For ingredient quantities and simplified instructions, scroll down for the Printable Recipe Card below.
Warishita sauce needs some to soak (about 30 minutes) so it’s more time efficient to make it first.
The first step is to cook the mirin and sake in a small saucepan to burn off the alcohol.
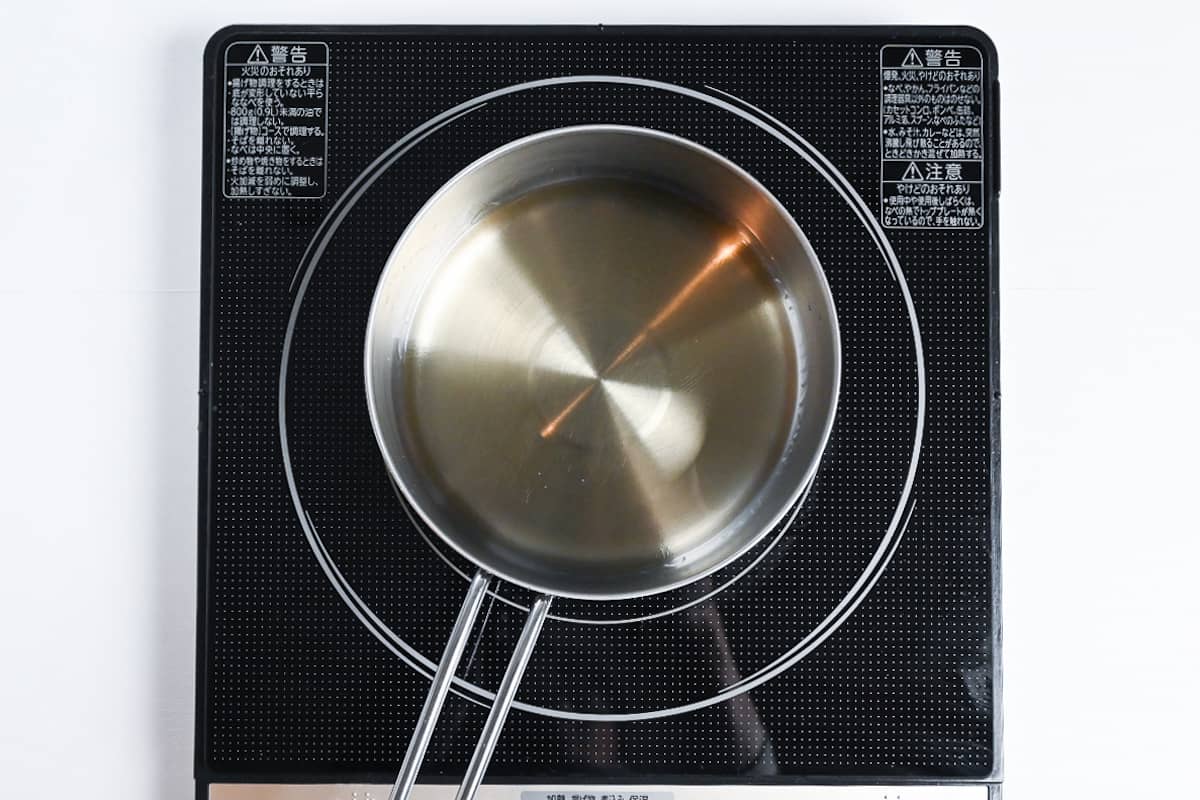
Heat it on medium and allow it to bubble for 1-2 minutes.
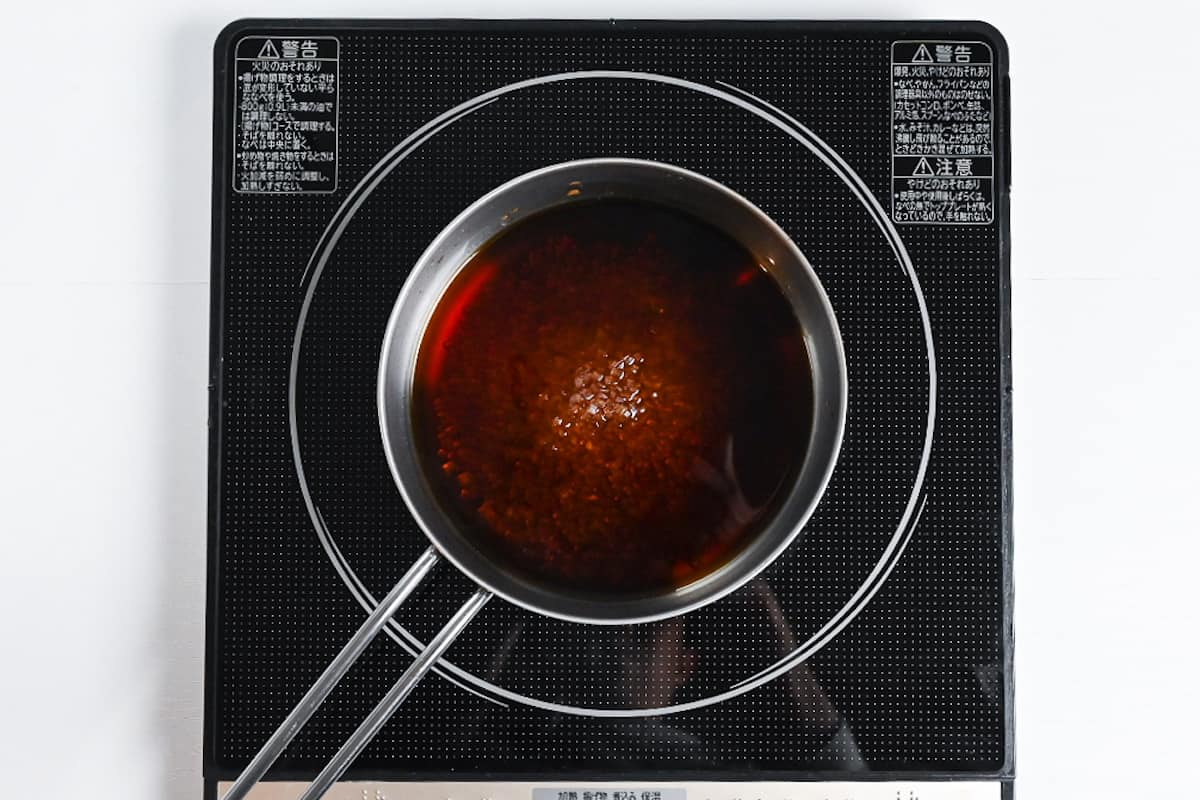
Reduce the heat to low and then add the soy sauce, light brown sugar and water. Stir over the low heat until the sugar is dissolved.
Once the sugar has dissolved, add a piece of kombu (dried kelp) and leave it to soak at room temperature for around 30 minutes or until the kombu has rehydrated. This will add extra depth and umami to your warishita!
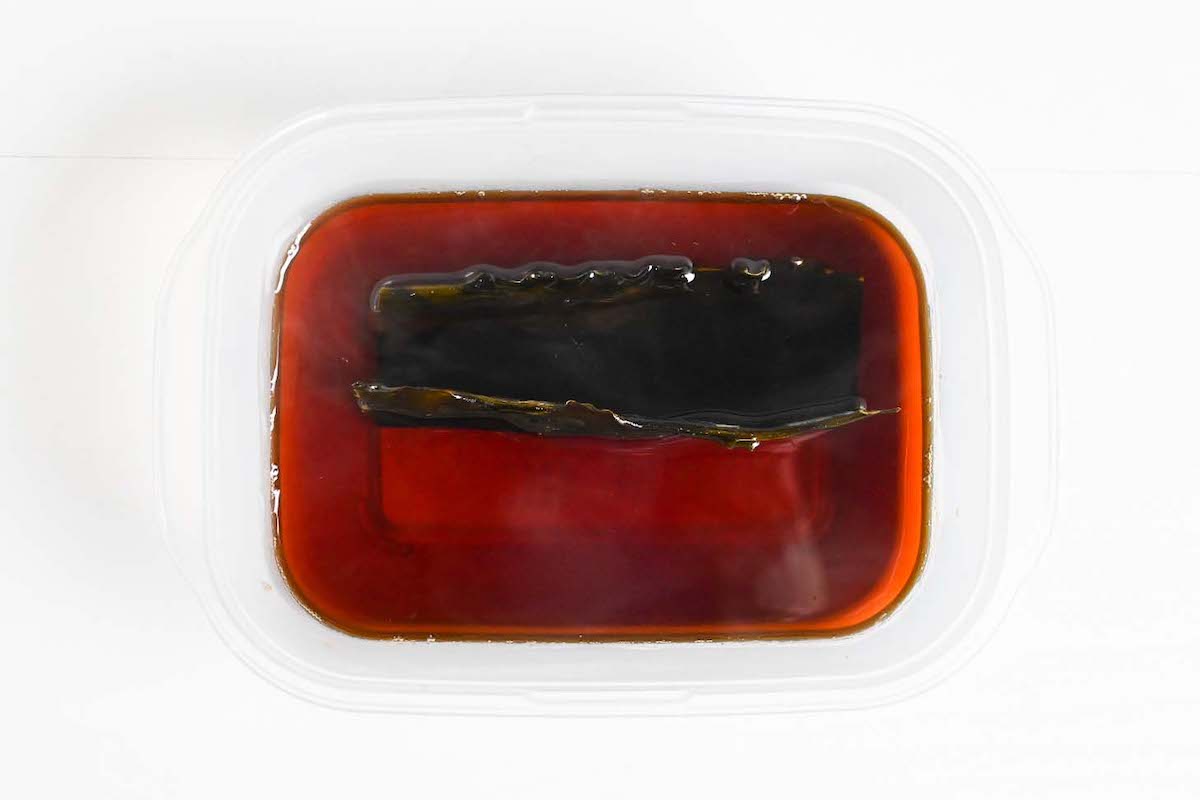
While the kombu is soaking you can prepare the rest of your ingredients.
The initial presentation is important for sukiyaki. If possible, you should try to purchase high-quality thinly sliced beef that is especially for sukiyaki. You might be able to find it at Japanese specialty stores.
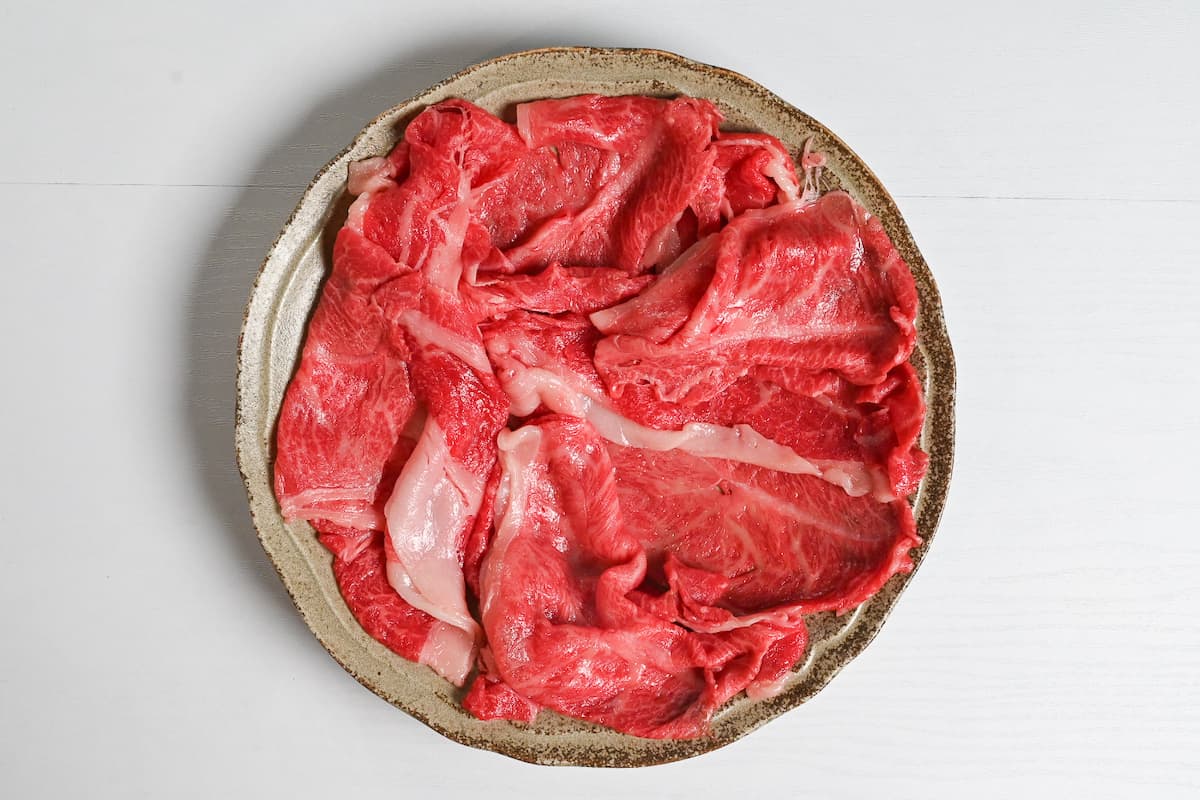
If you cannot buy the beef already finely sliced, you can try cutting it yourself. You will need to place a block of beef in the freezer until firm (not frozen) and then use a sharp knife to cut it as thinly as possible.
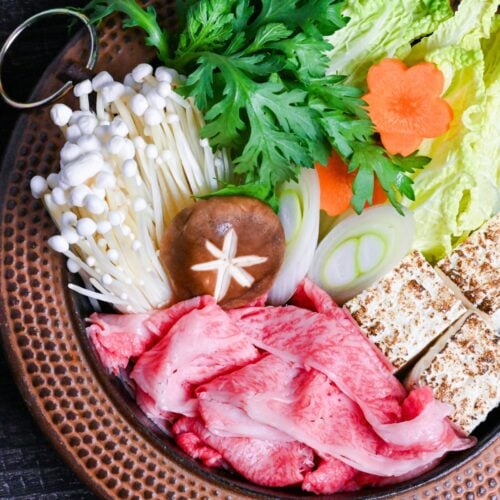
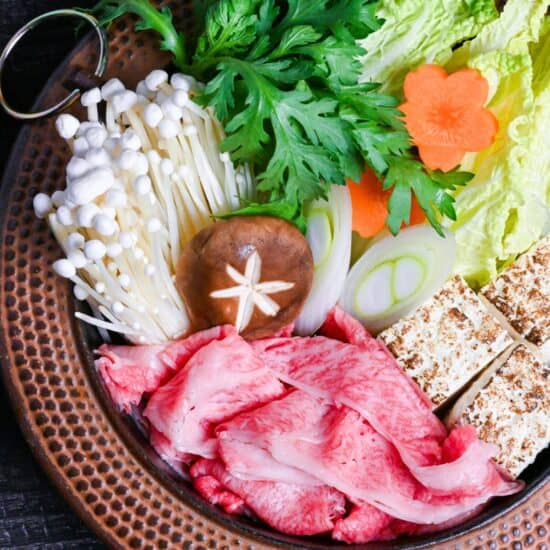
The vegetables and tofu should also be cut with presentation in mind.
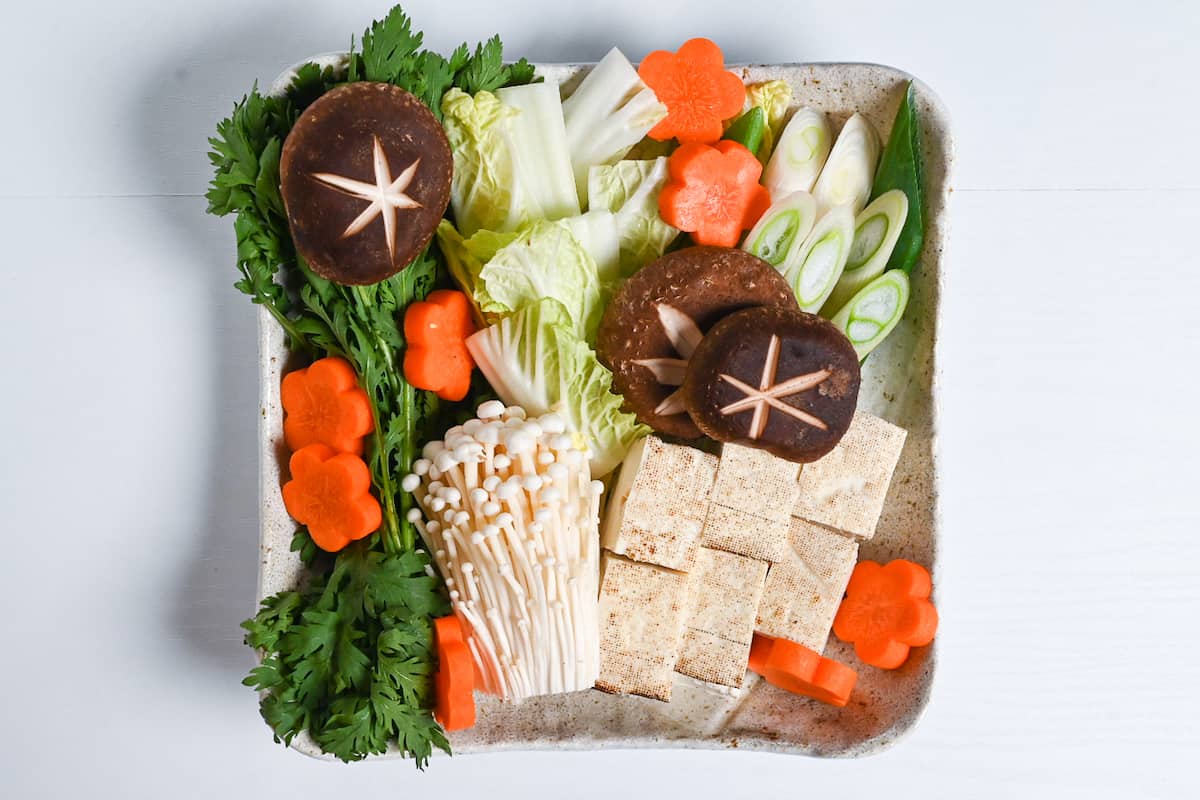
Here is a breakdown of how I cut my vegetables, but this is just a suggestion and you can cut them however you like.
- Shiitake mushrooms – Stems removed and a star pattern cut on top.
- Napa cabbage (hakusai) – Roughly cut into squares/rectangles.
- Spring onion – Diagonally sliced.
- Tofu – Cut into squares or rectangles.
- Enoki mushrooms – In a bunch with roots removed.
- Carrots – Sliced and cut with a shaped cutter (you can purchase decorative vegetable cutters here on Amazon).
- Crown daisy (shungiku) – Stems trimmed.
Once everything is cut, you can display it on the table to impress your guests!
Cooking sukiyaki is simple! Start by heating your iron pot on medium heat and rubbing the surface with beef fat.
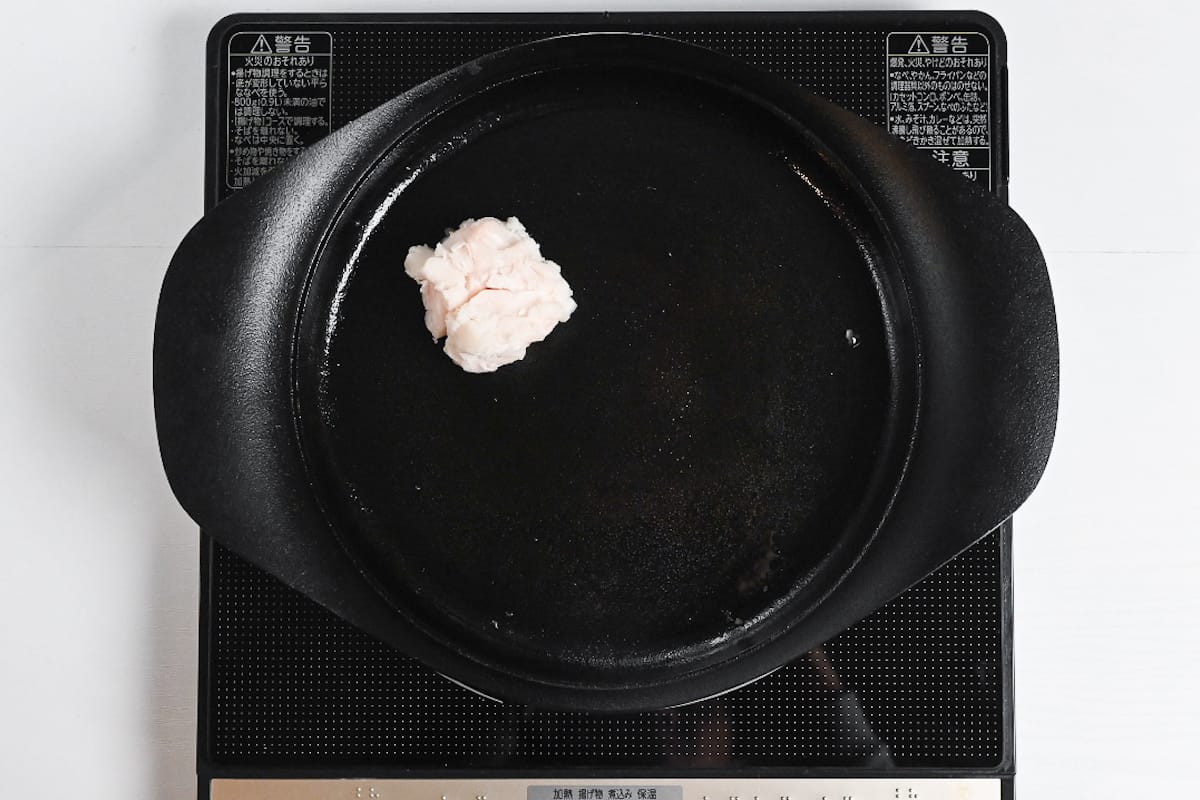
Once the pot is greased, add the spring onions and char the surface.
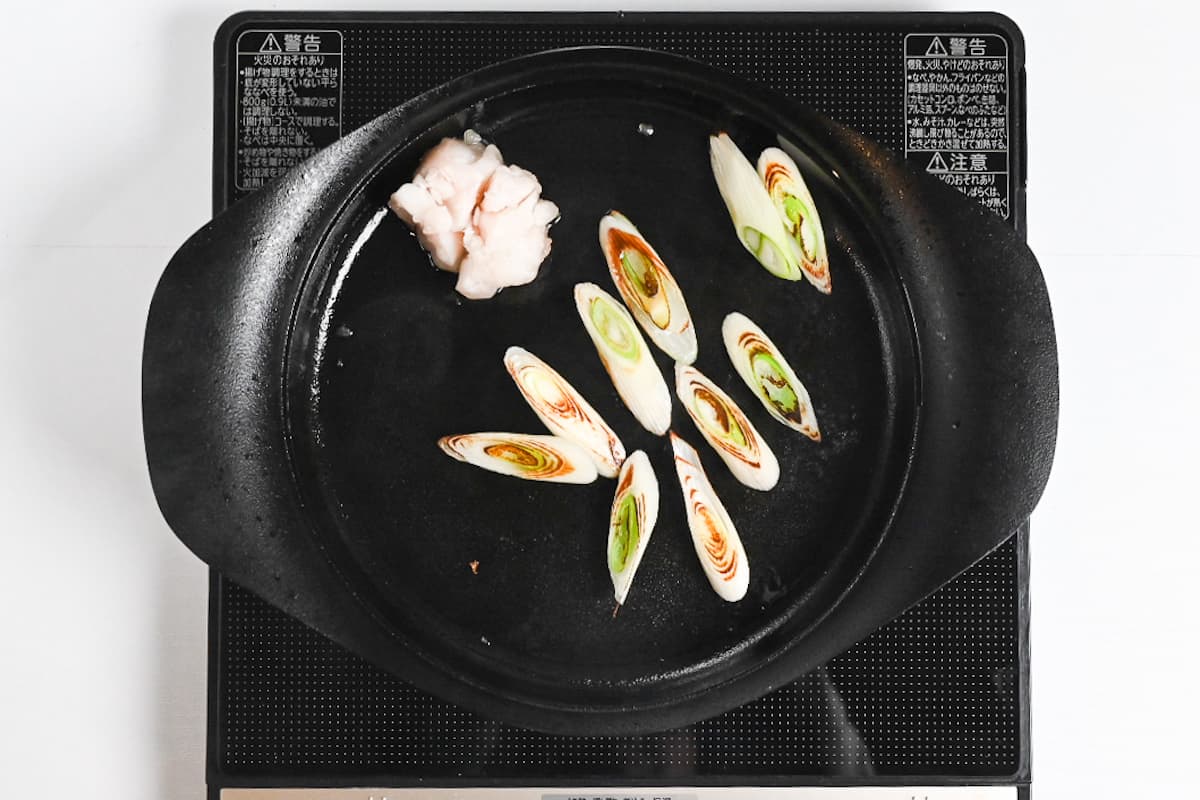
Once charred, push the spring onion to one side and add the sauce, vegetables and tofu (except for the crown daisy). Bring the sauce to a boil and lower the heat to a simmer once it’s bubbling.
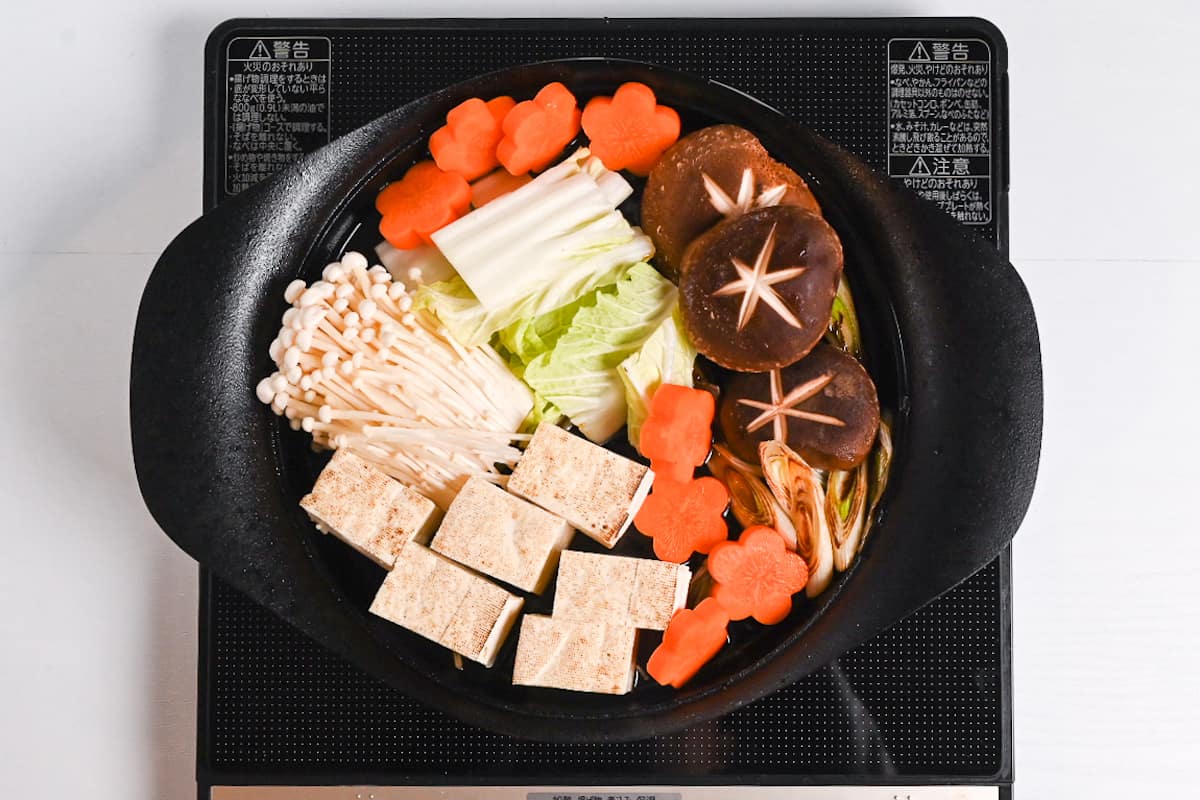
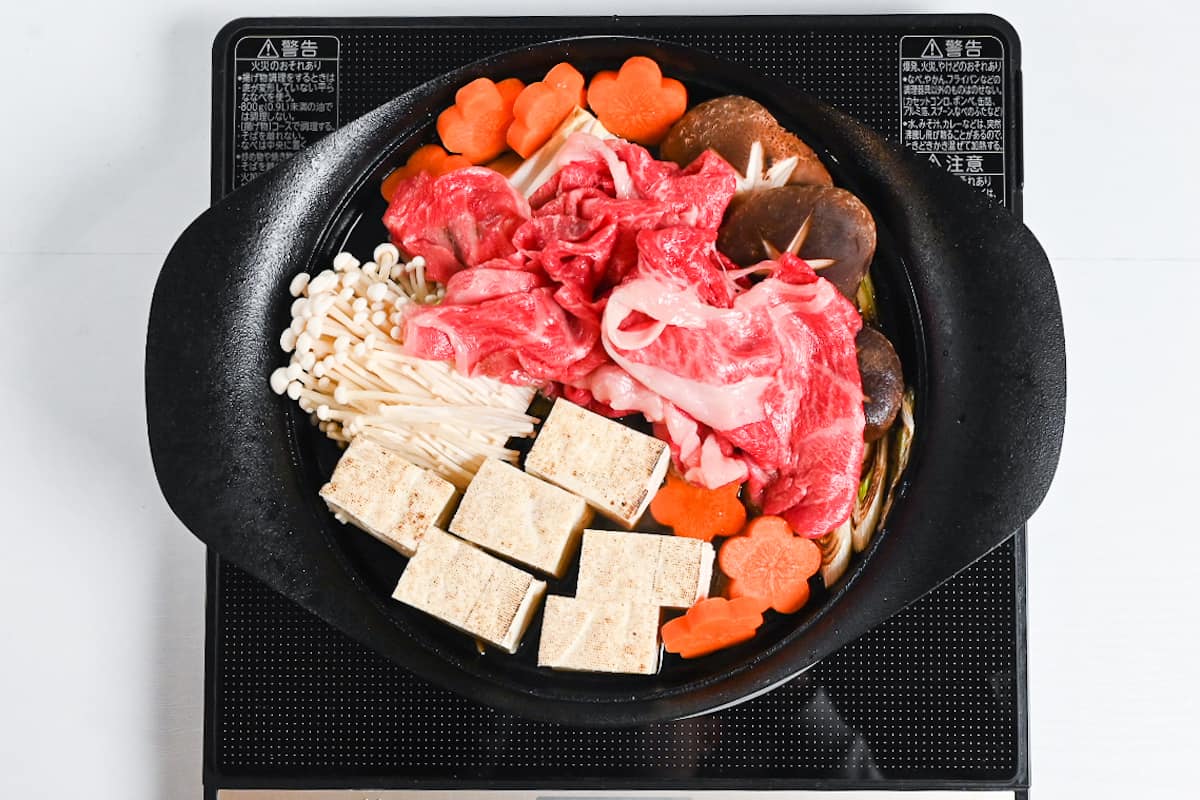
Next, add the beef. You might have to move the vegetables around a little so that the meat comes into contact with the sauce.
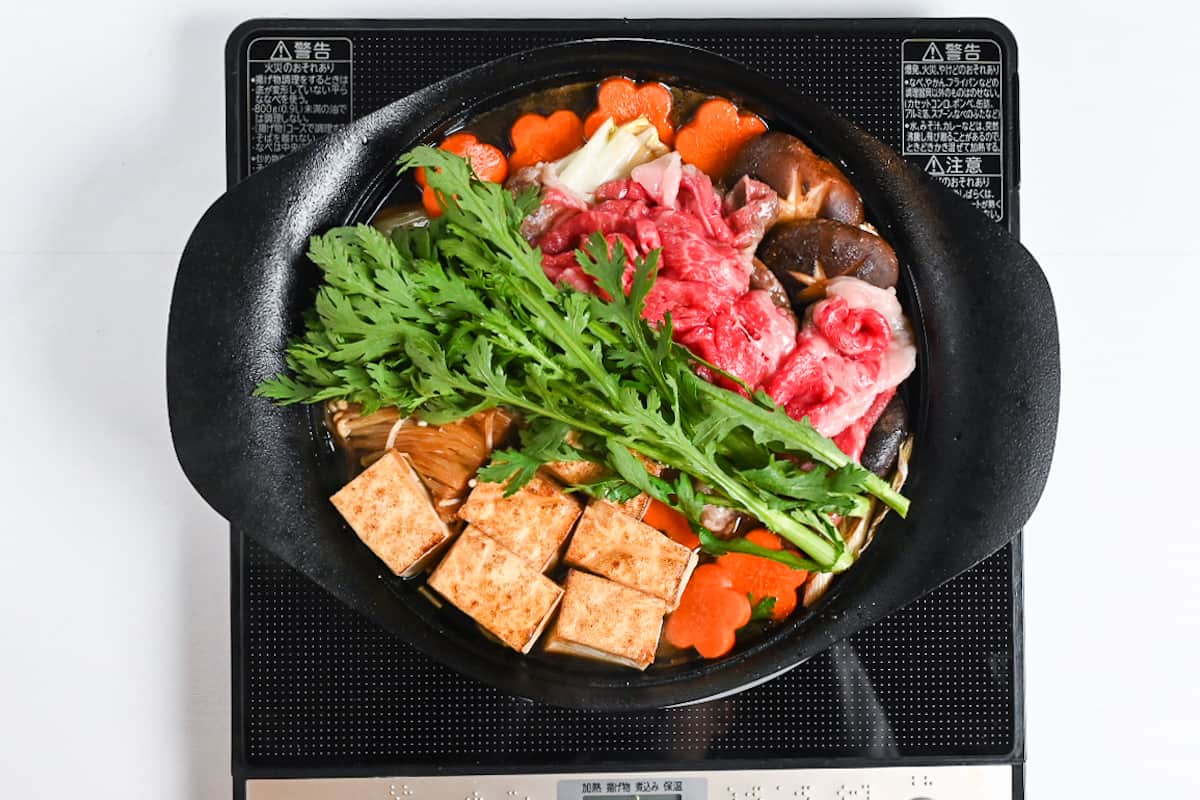
Turn the tofu over and add the crown daisy.
Allow to simmer without a lid until the beef and vegetables are cooked to your liking.
The thinly sliced meat only takes a few minutes, but the vegetables can take 5-15 minutes.
As the meat and vegetables cook, distribute them between each person. Different ingredients will be ready at different times, so you need to keep watch and take them out as the cook to avoid overcooking.
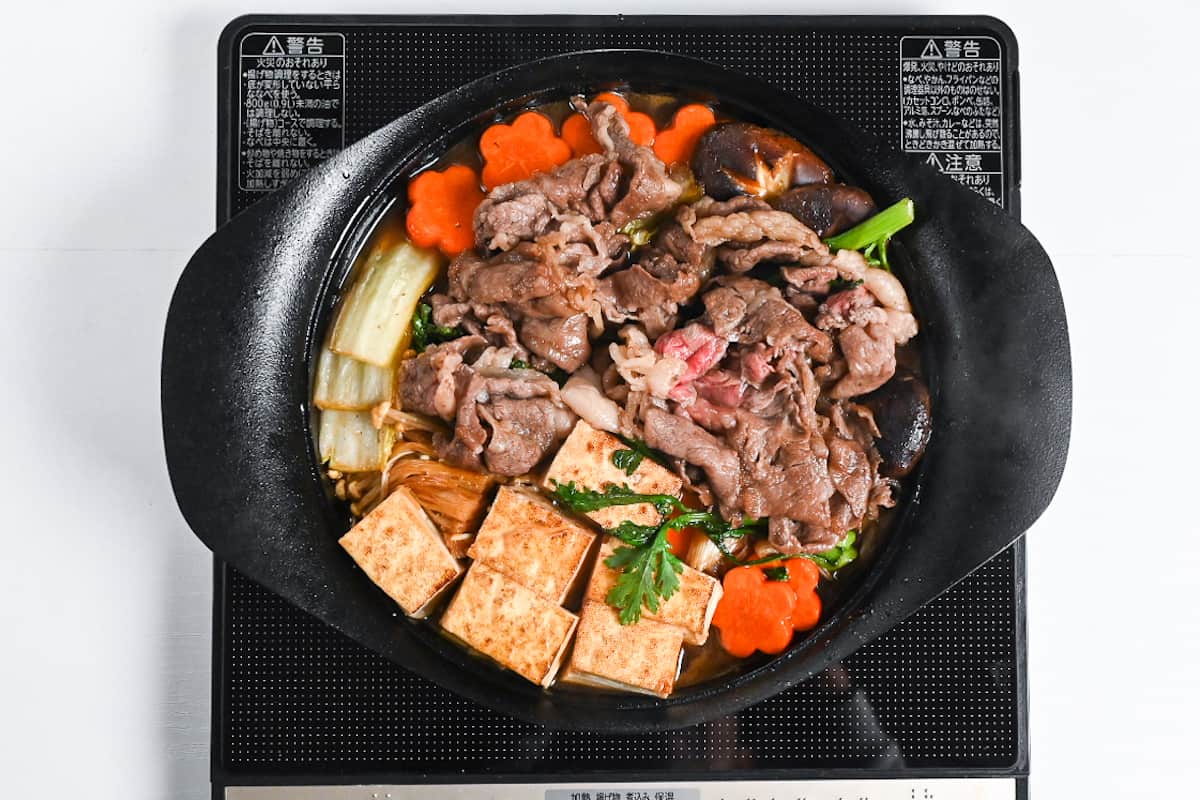
You can top up the pot with more raw ingredients as you remove and eat the cooked ingredients.
Suppose you’re serving a lot of people. In that case, I recommend dividing the meat into batches and cooking them with a little time in between so that you can enjoy the meat for the duration of the meal (rather than eating only vegetables towards the end).
It’s common to give each person a serving bowl and a raw egg to whisk and use for dipping. It’s important to use pasteurized eggs for this to avoid food-borne illnesses.
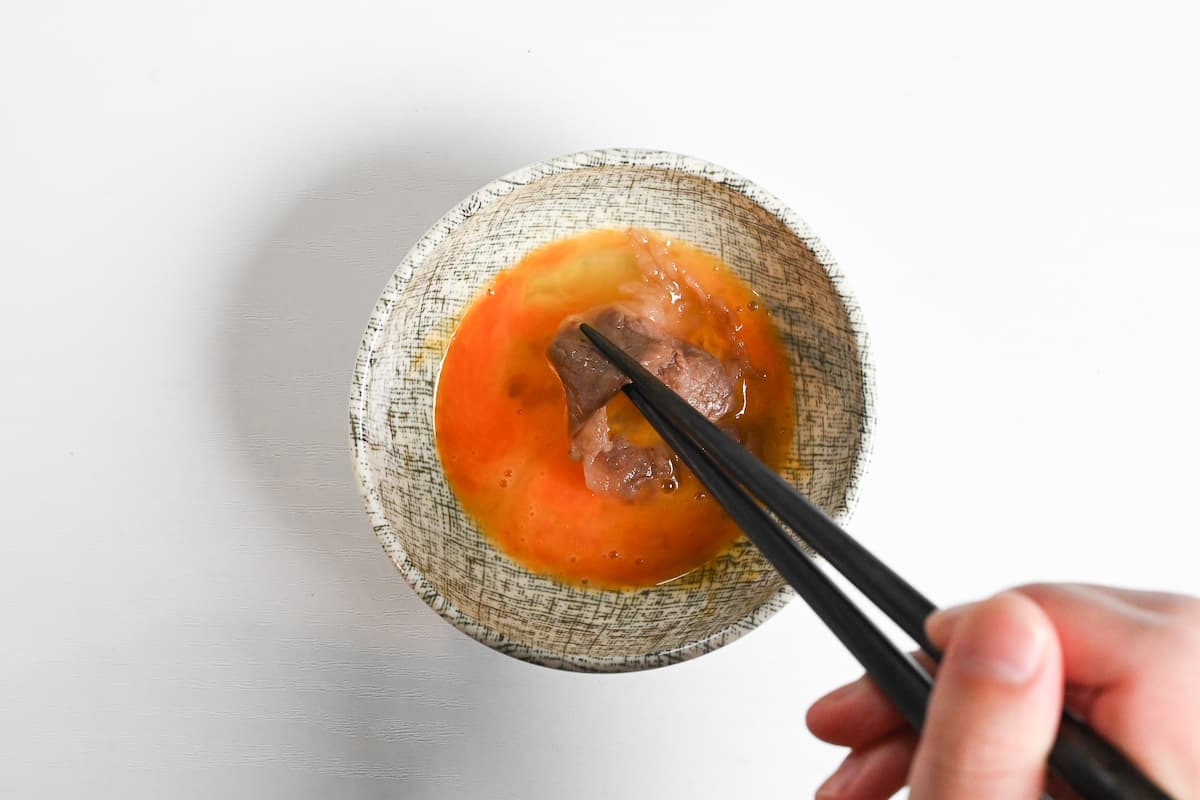
If you can, I highly recommend trying sukiyaki with raw egg, but this is optional.
You can also eat sukiyaki with rice.
If you still have warishita sauce left in your pot, then don’t waste it! You can add pre-cooked udon noodles to the sauce for the final part of the meal.
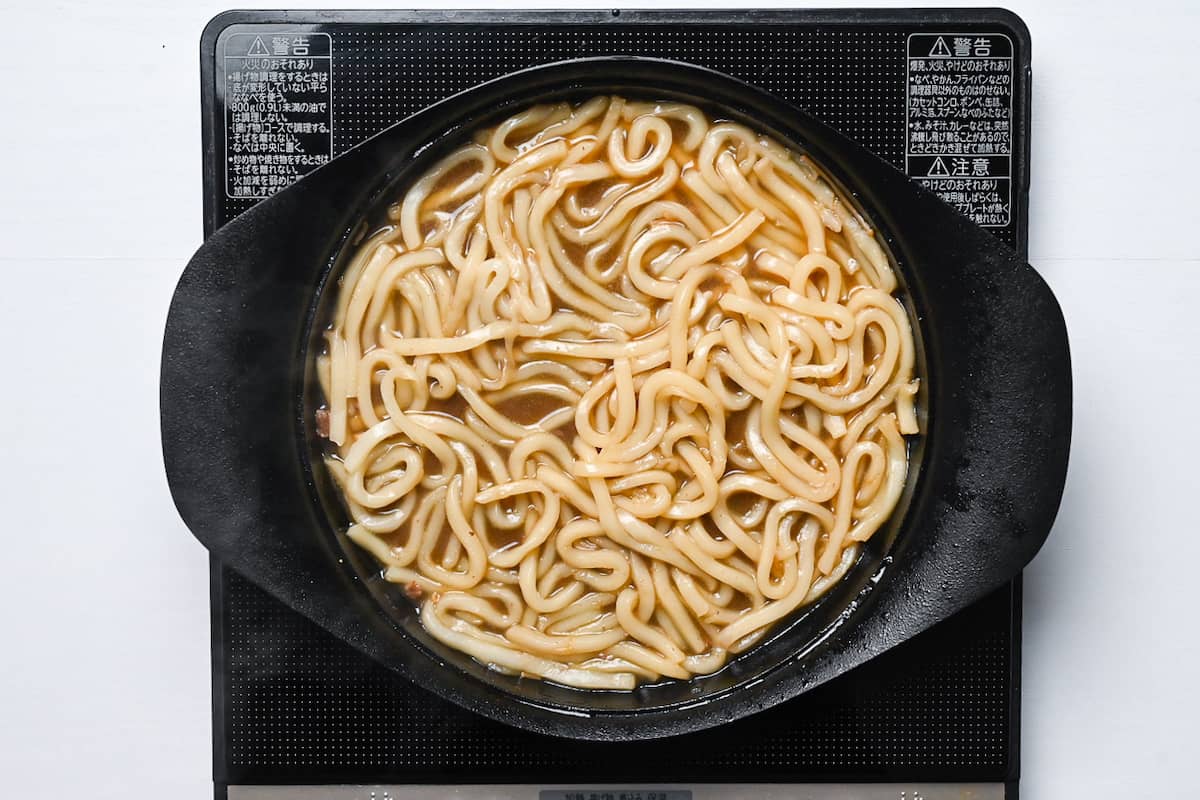
Make sure to use noodles that have already been cooked and washed to avoid making the sauce thick and starchy.
Jump to Full Recipe Measurements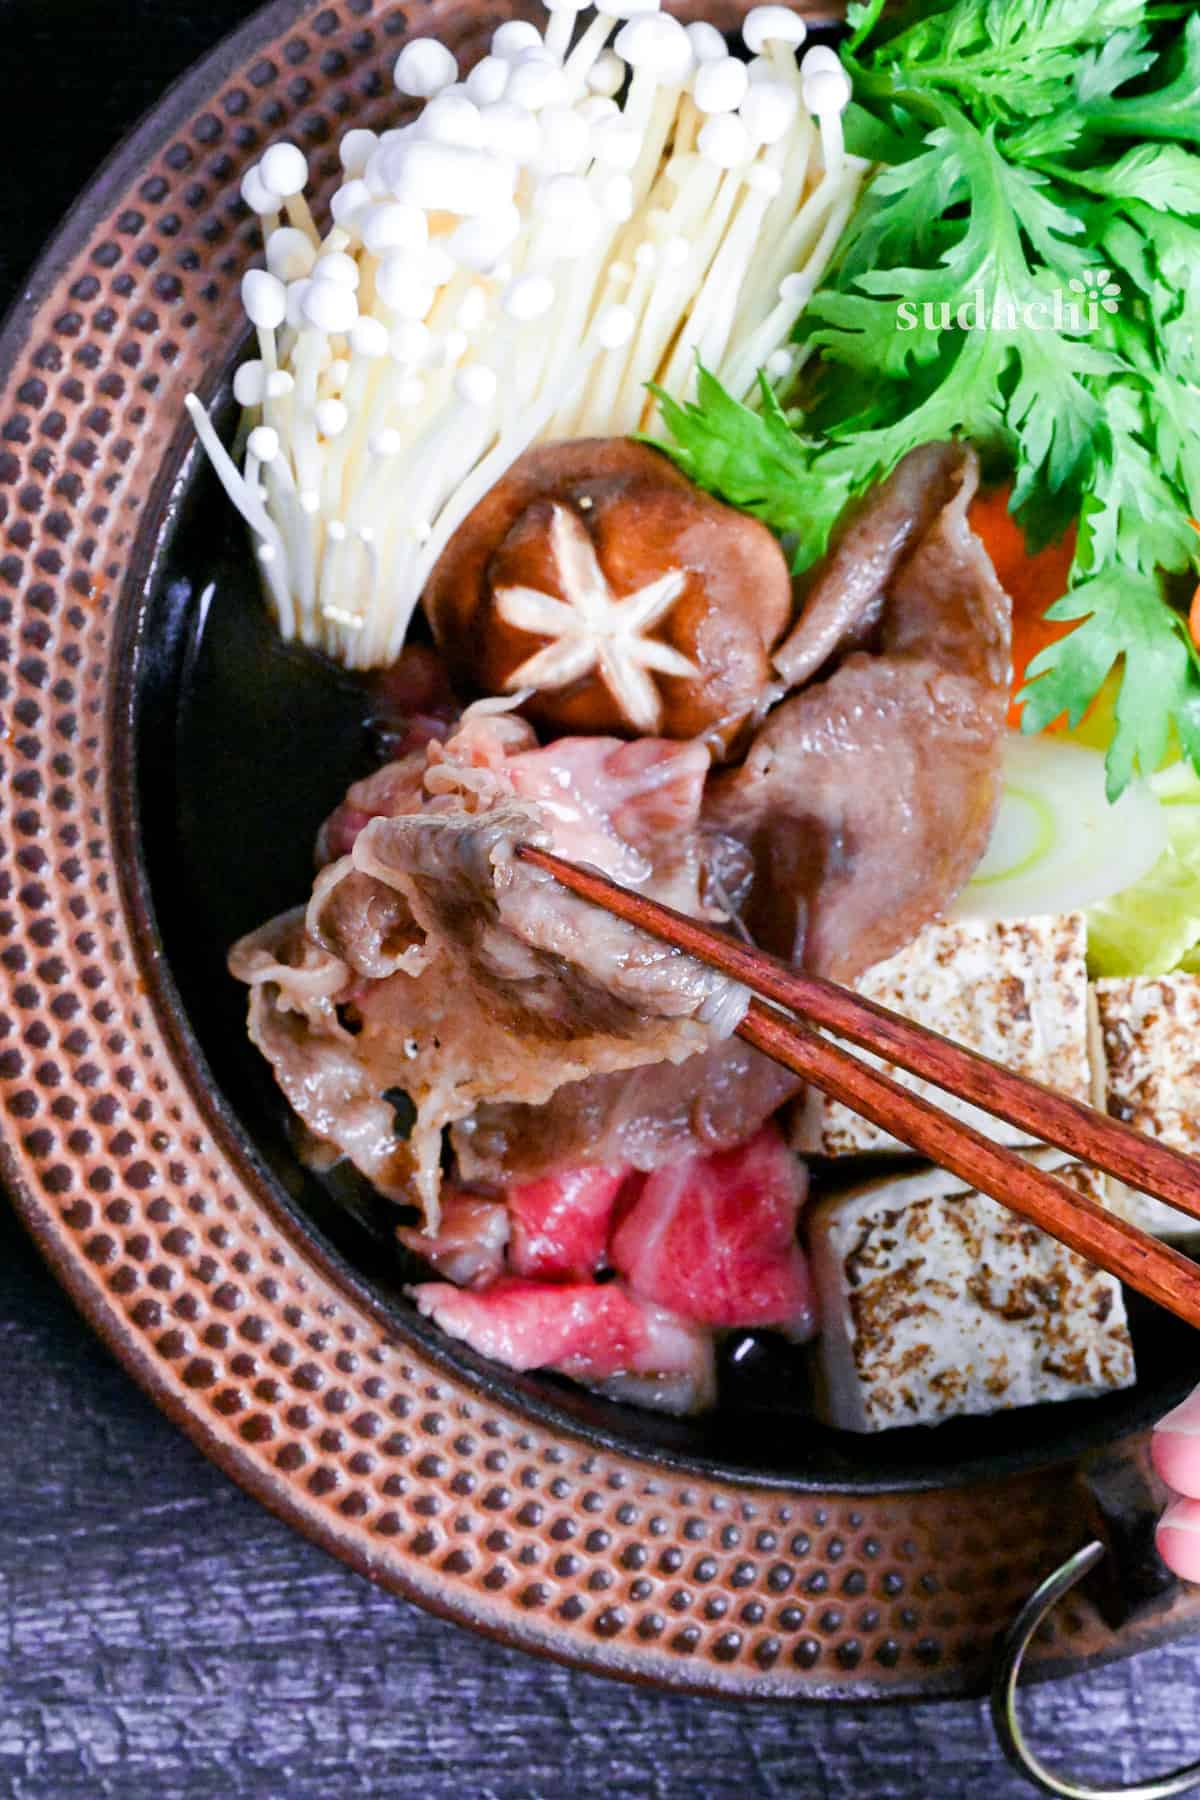
I hope you enjoy this Japanese Beef Sukiyaki recipe! If you try it out, I’d really appreciate it if you could spare a moment to let me know what you thought by giving a review and star rating in the comments below. It’s also helpful to share any adjustments you made to the recipe with our other readers. Thank you!
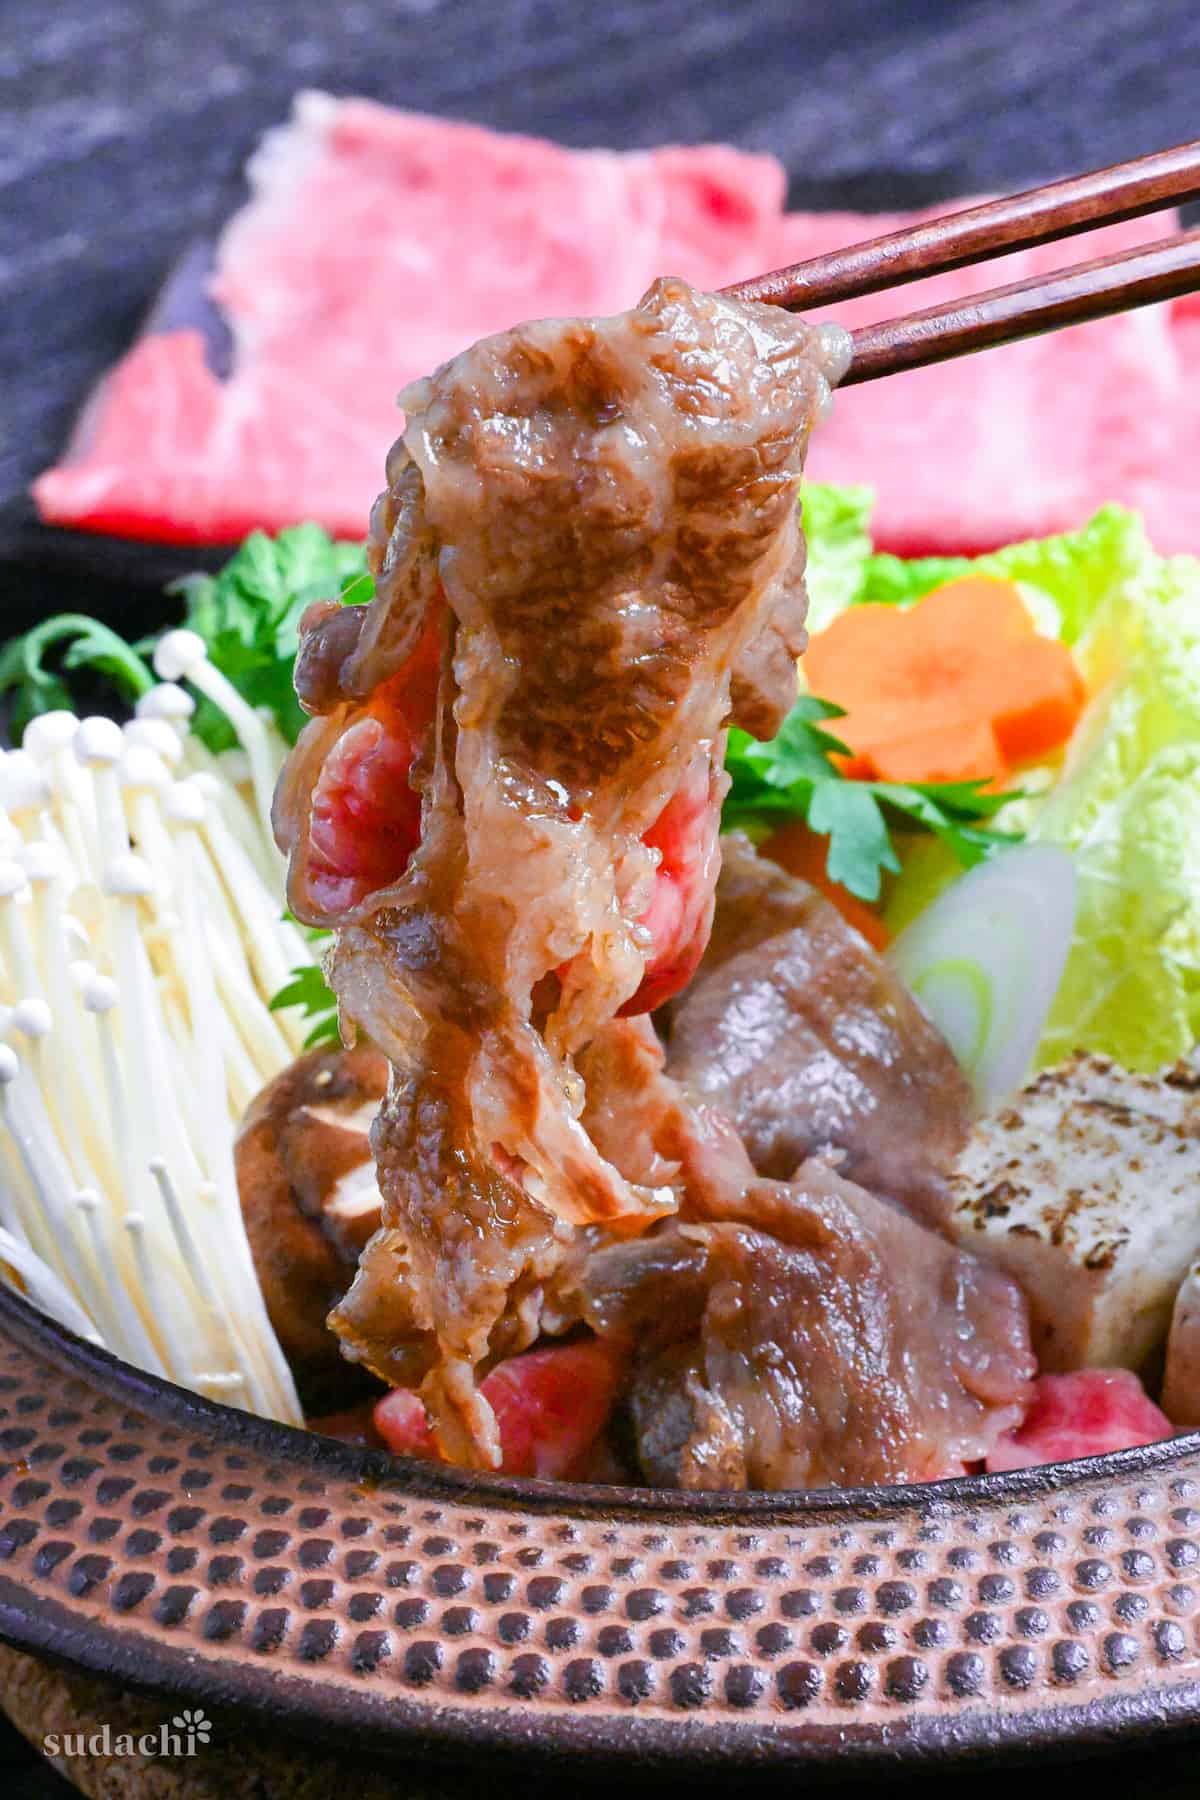
More Japanese Beef Recipes
- Sukiya Gyudon (Japanese Beef Bowl)
- Beef Hayashi Rice (without roux packet)
- Beef Shigureni (Simmered Wagyu with Ginger and Gobo)
- Niku Dofu (Japanese Simmered Beef and Tofu)
You can also check out more Japanese beef recipes here!
Japanese Beef Sukiyaki (Traditional Sauce From Scratch)
Ingredients
Warishita Sauce
- 3 tbsp sake
- 3 tbsp mirin
- 3 tbsp soy sauce
- 2 tbsp light brown sugar
- 3 tbsp water
- 5 g dried kelp (kombu) kombu
Sukiyaki
- 1 tbsp beef suet (fat) or lard
- 250 g thinly sliced beef
- 150 g firm tofu
- 2 leaves Napa cabbage hakusai
- 4 fresh shiitake mushroom
- 60 g enoki mushrooms
- 70 g carrot
- 90 g Japanese leeks (naganegi) or regular leeks
- 150 g chrysanthemum greens (crown daisy/shungiku/tong ho) you can omit if you can't access this ingredient
- 2 pasteurized egg optional
- 2 portions cooked udon noodles optional
Instructions
Sukiyaki Sauce (warishita)
- Add 3 tbsp mirin and 3 tbsp sake to a small sauce pan and bring to a boil over a medium heat for 1-2 minutes.

- Lower the heat to medium-low and add 3 tbsp soy sauce, 2 tbsp light brown sugar and 3 tbsp water. Stir over the heat until the sugar has dissolved.

- Place 5 g dried kelp (kombu) in the sauce and leave to soak at room temperature for about 30 minutes (or until the kombu has rehydrated).

Sukiyaki
- While the kombu is soaking, cut your ingredients and arrange them on plates. Cut the vegetables as follows;• 150 g firm tofu – large squares or rectangles• 2 leaves Napa cabbage – rough squares• Shitake mushrooms – trim the stalk and make a star pattern on the top using diagonal cuts• 60 g enoki mushrooms – cut off the roots• 70 g carrot – peel and slice about 1cm thick, use a cutter to make flowers etc (optional)• 90 g Japanese leeks (naganegi) – cut diagonally into 5-6cm pieces• 4 fresh shiitake mushroom – make decorative incisions.

- Once the sauce is ready, heat a wide, shallow iron pot over a medium heat and coat evenly with 1 tbsp beef suet (fat) or lard.

- After the fat is melted and the pot is hot, add the leek and cook until slightly charred.

- When the leeks are lightly browned, push them to one side and add the sauce, tofu and vegetables (except the crown daisy). Bring the sauce to a boil and then lower the heat to a simmer.

- Make some space between the ingredients and add 250 g thinly sliced beef so that it's in contact with the sauce.

- Turn the tofu and add 150 g chrysanthemum greens (crown daisy/shungiku/tong ho) to the pot.

- Simmer without a lid until the beef and vegetables are cooked to your liking. (Approximately 5-15 minutes depending on the ingredient.)As each ingredient cooks, remove it from the pot and distribute between each person. Top up with more ingredients as you go.

- Give each person a bowl and a raw pasteurised egg. Each person should crack the egg into the bowl and whisk thoroughly before using it to dip the cooked sukiyaki ingredients. (optional)

- Once all of the ingredients are eaten, enjoy the last of the sauce by adding some cooked udon noodles.

- Enjoy!


My father spent many years in the Orient while he was in the Navy and always raved about the sukiyaki dishes of Japan. I made this for him and he LOVED it. I taught him how to make it and now he enjoys it weekly. Thank you for sharing! The instructions and recipe were very easy to follow and I look forward to trying your other recipes listed.
Hi Kay,
Thank you so much for your comment! It really made my day! I’m so happy to hear that he makes it regularly after trying my recipe! 🙂
Yuto