Featured Comment:
“Thank you for yet another terrific recipe from Sudachi Recipes. The filling is really delicious–quite savory. And the leftover buns are really convenient to have around–just pop in the microwave for a quick snack.”
– S Yoshimi
What is Nikuman?
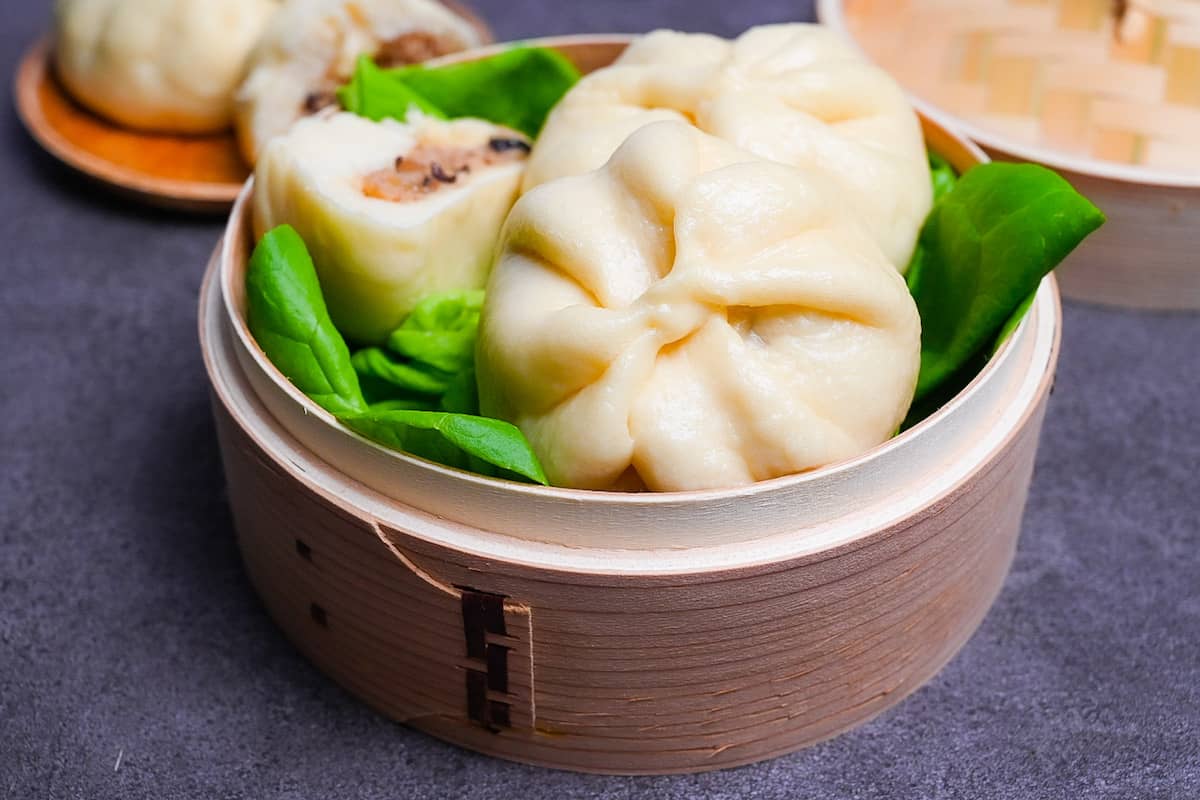
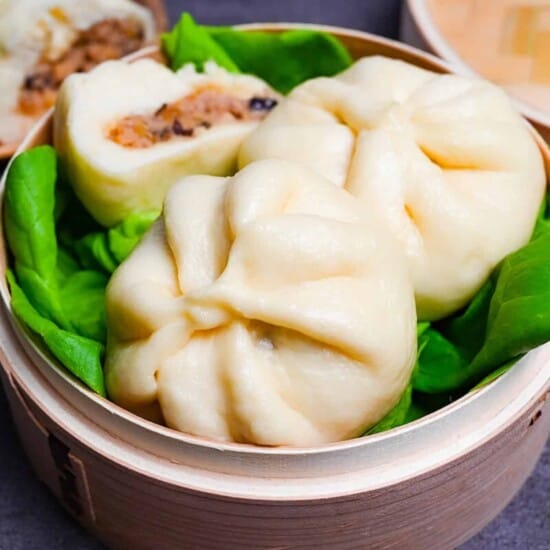
Nikuman is a steamed bun dish consisting of a juicy meat and vegetable filling wrapped in a soft and fluffy dough made by kneading and resting flour, water, sugar, yeast, and baking powder to give it the perfect rise. Often called “buta-man” in the Kansai region, nikuman is most commonly made with pork and is a favorite winter snack found in Japanese convenience stores.
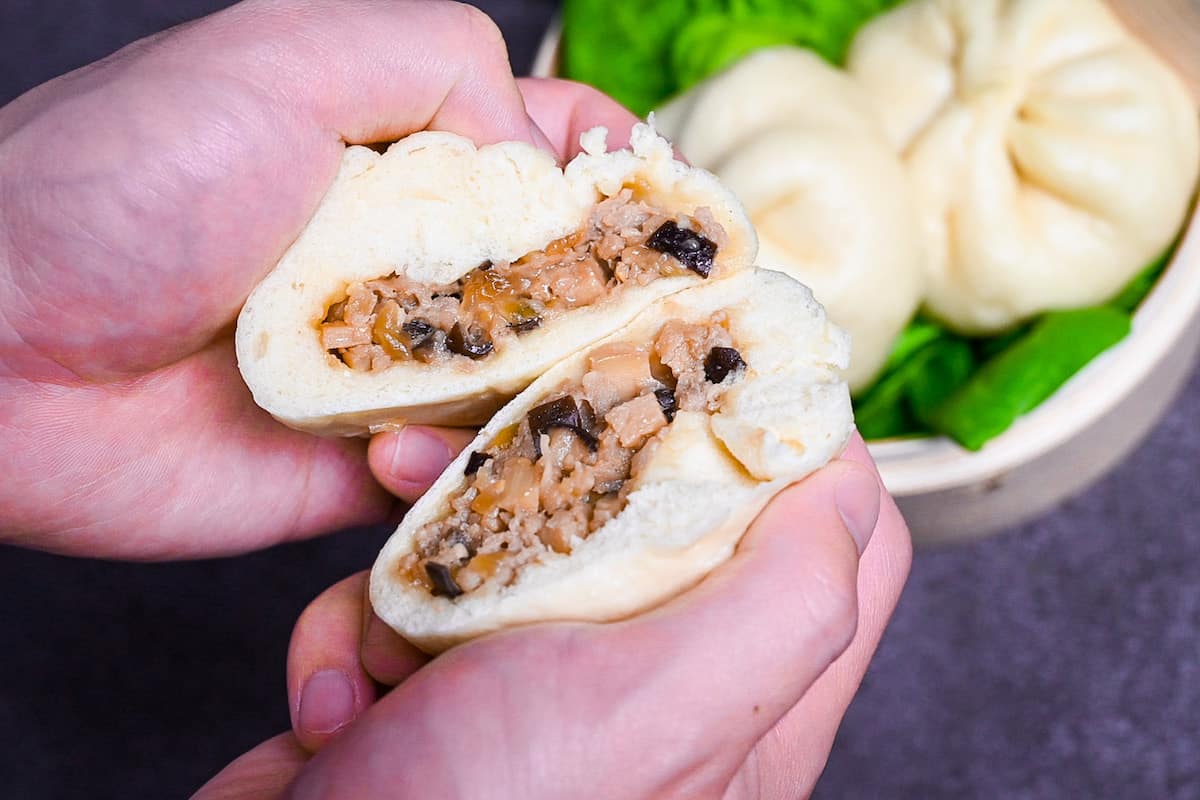
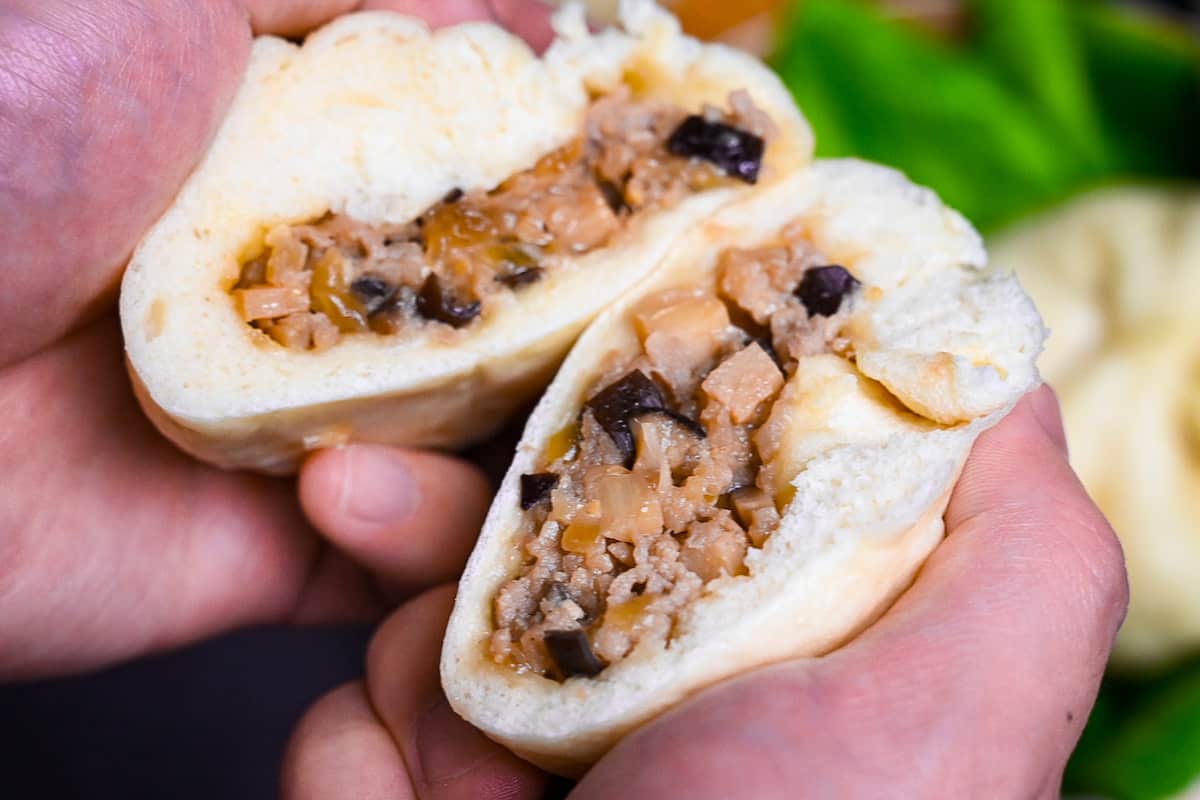
The filling usually contains onions, bamboo shoots, and shiitake mushrooms, with extras like dried scallops, oyster sauce, and even shark fins for an extra burst of flavor in addition to pork.

How I Developed This Recipe
Many people claim that the most delicious Nikuman can only be found at convenience stores. For more information, please refer to the later section. This recipe is one of the most reliable ones on this blog.
But I’m here to prove them wrong. For this recipe, I aimed to create the tastiest Nikuman ever.
Perhaps this Nikuman is one of the recipes that took the longest to perfect on this blog.
Visual Walkthrough & Tips
Here are my step-by-step instructions for how to make Nikuman at home. For ingredient quantities and simplified instructions, scroll down for the Printable Recipe Card below.
Start by pouring warm water into a jug and then adding the dry yeast and sugar. Mix well and wait a few minutes for it to become foamy.
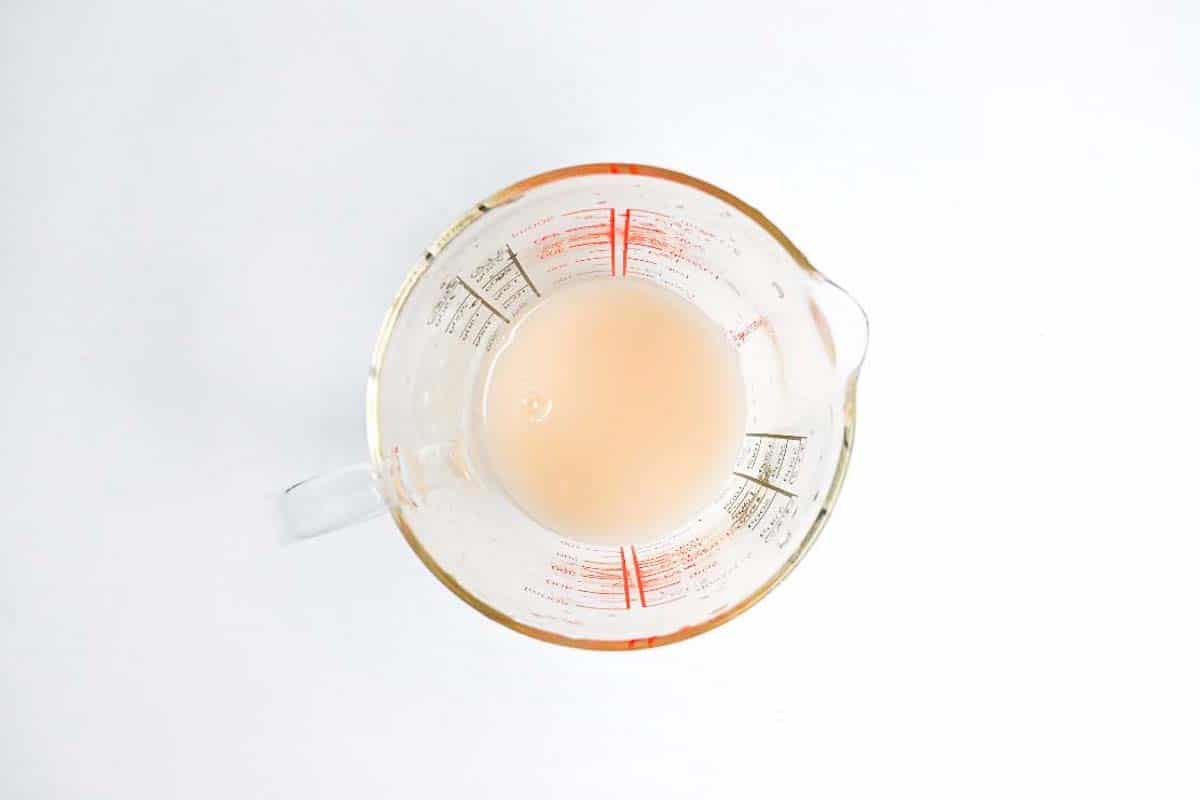
I recommend warming the milk slightly too, even if it’s just to room temperature. (Cold milk might hinder the yeast.)
Make sure to warm water, not hot or cold water. The ideal temperature should be similar to a bath, about 40°C (100°F). If it’s too hot, it can kill the yeast. Cold water might fail to activate it.
If after 5-10 minutes, the mixture hasn’t formed any foam even though the water is the right temperature, this means that the yeast is damaged or expired and you will need to buy a new one.
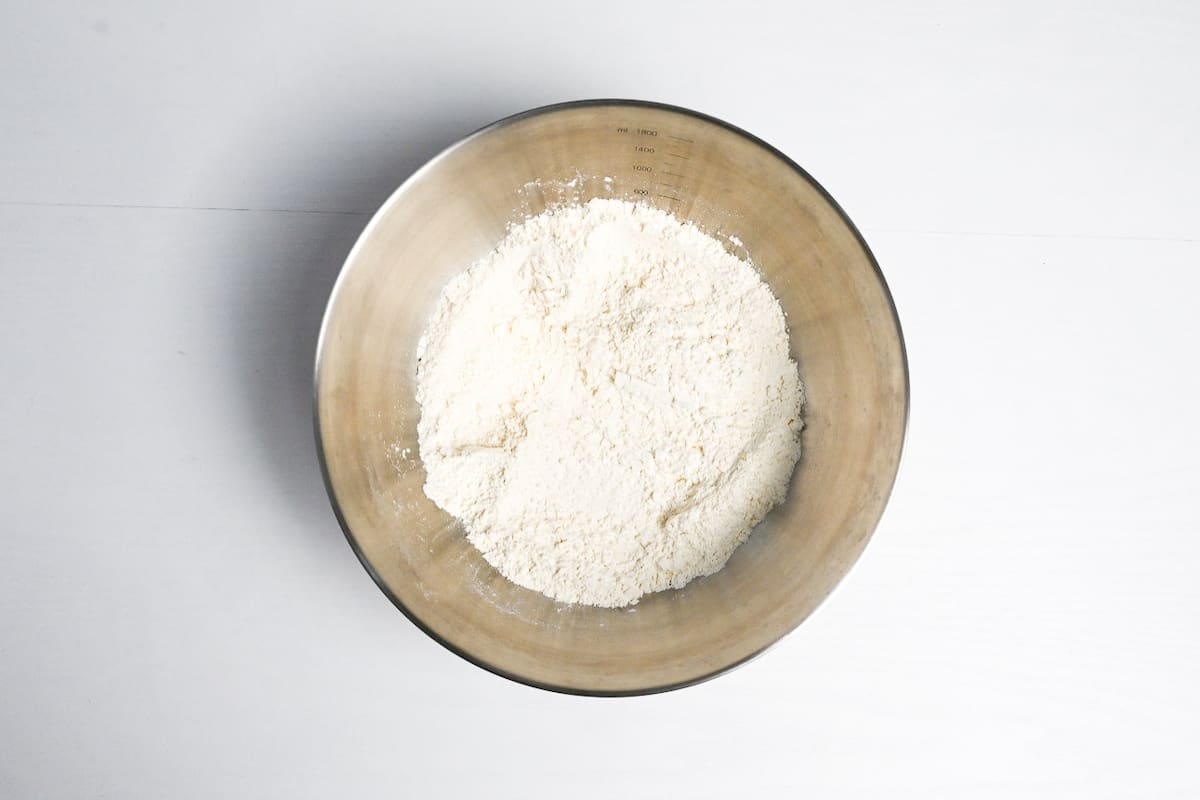
Sift the cake flour and strong flour into a large mixing bowl and add salt and baking powder. Mix well until all the ingredients are evenly distributed.
After the yeast has foamed up, make a well in the centre of the dry ingredients and pour the contents of the jug into the well. Add the milk here too.
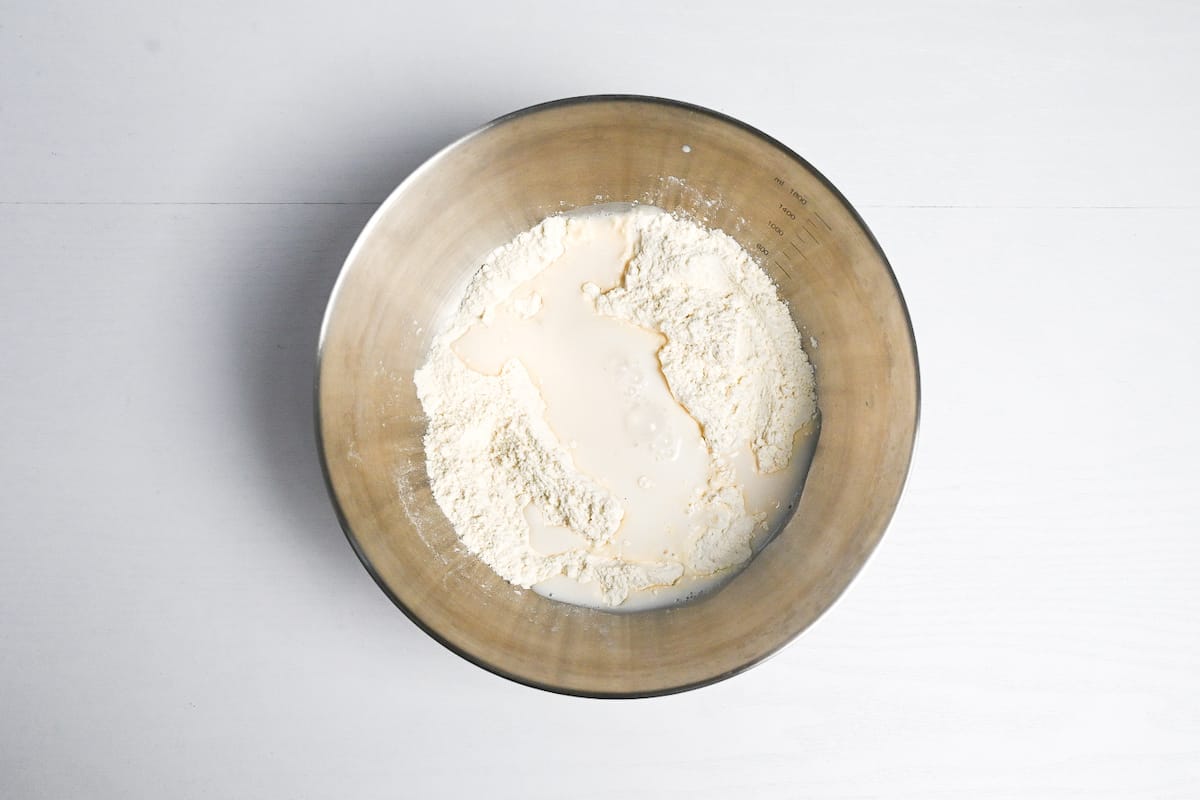
Mix together to form a rough dough and tip it out onto a lightly floured surface.
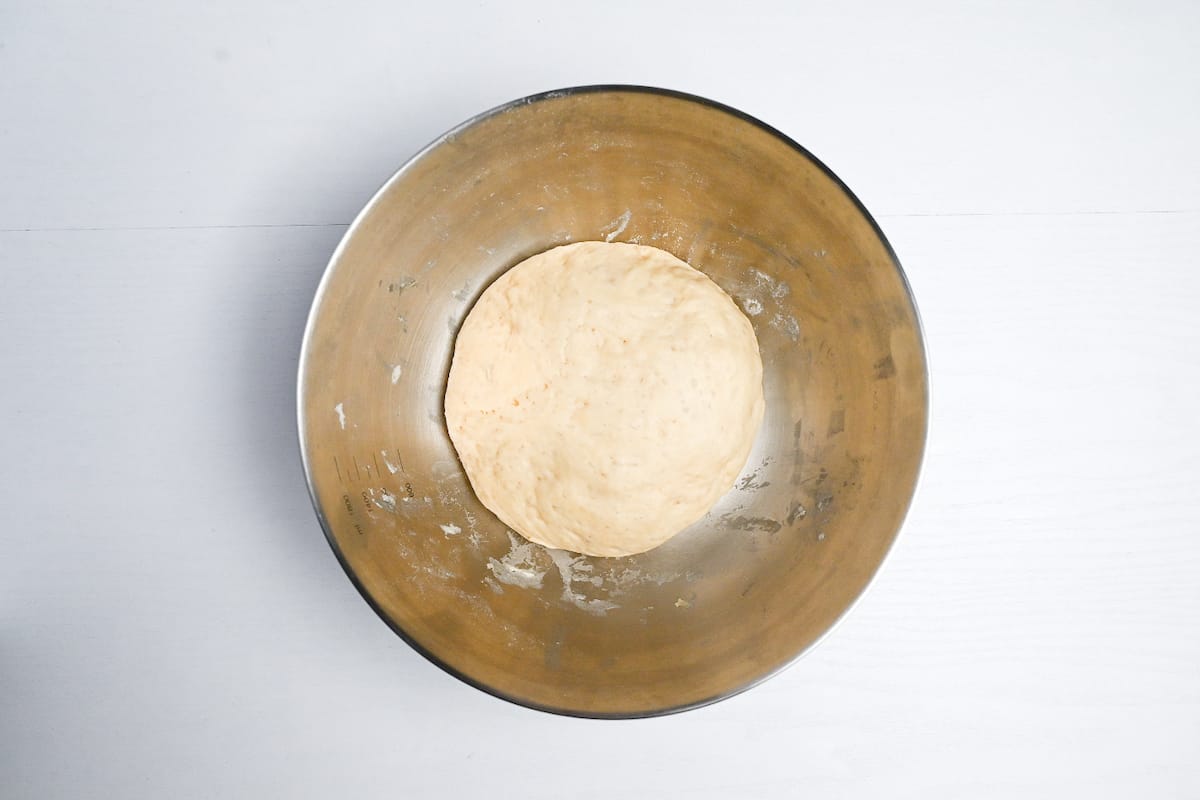
Knead until smooth, place it back into the bowl and cover with plastic wrap. It’s important to keep it covered since moisture in the air can affect the rise.
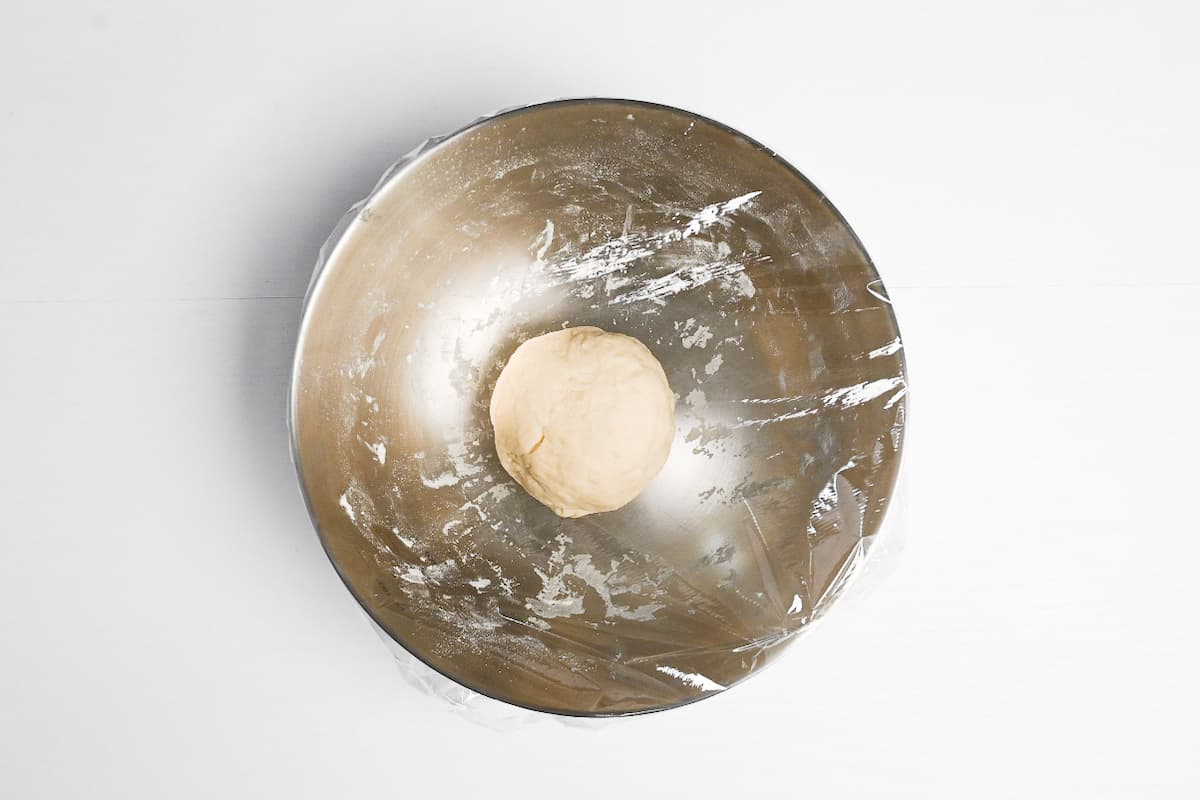
Leave it in a warm place to rise until it has doubled in size.
Depending on the room temperature, the dough will take between 40 and 90 minutes to rise.
Start by finely dicing all of the vegetables. They should be small enough that each ingredient spreads evenly throughout the filling, but big enough that they still have a bit of texture.
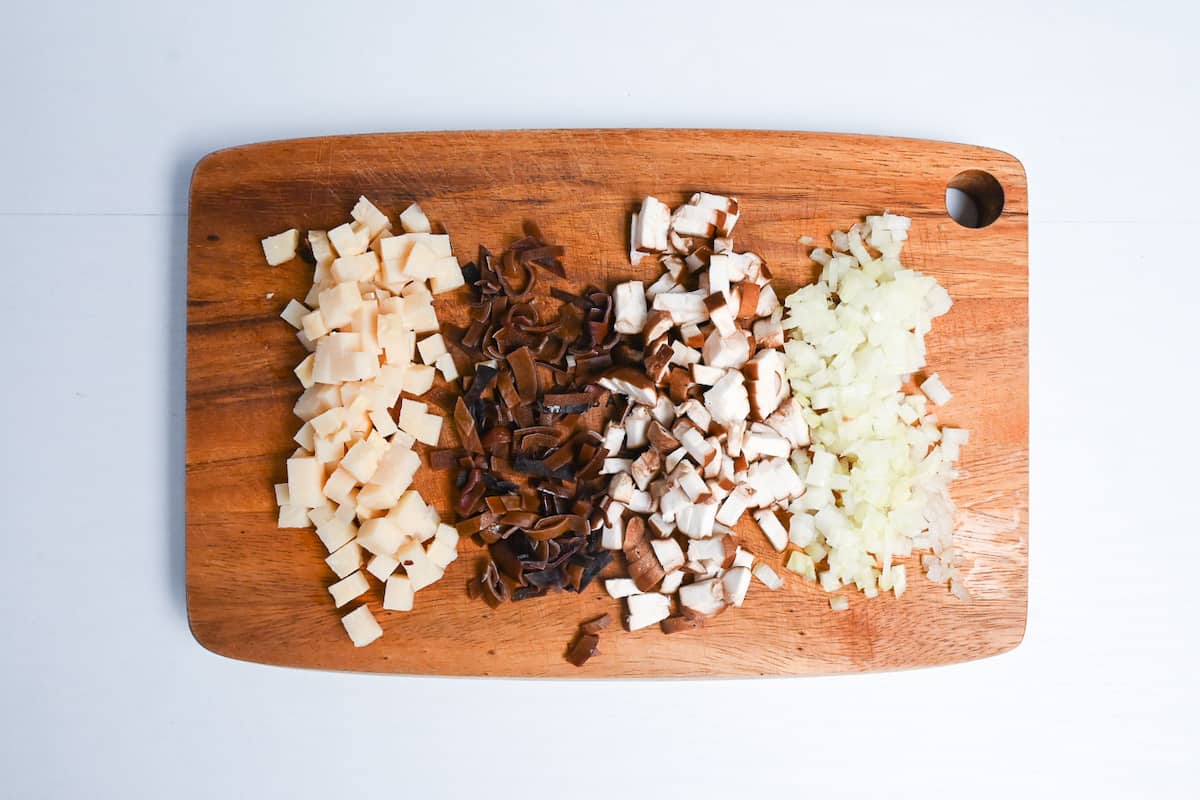
Heat a large pan on medium and add a drizzle of sesame oil. Add the vegetables and stir fry for 1-2 minutes.
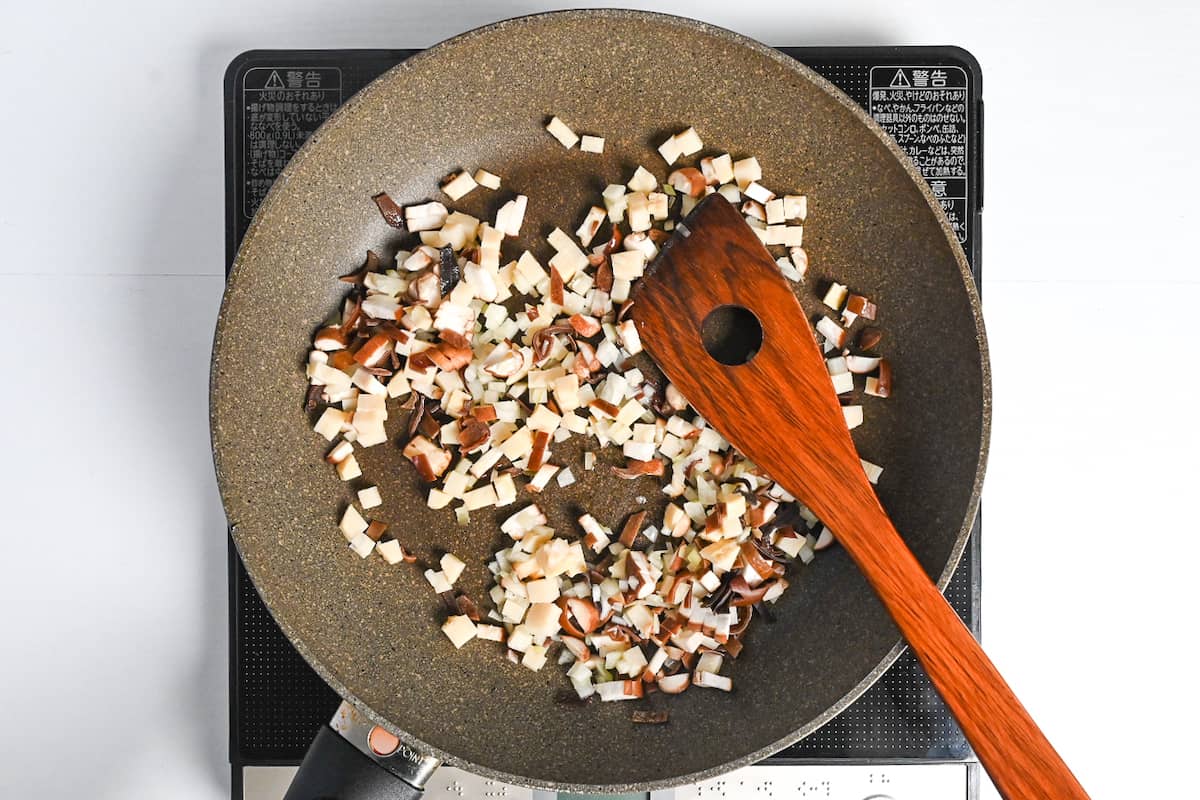
Next, add soy sauce, oyster sauce, miso paste, black vinegar sake, sugar, honey, salt, pepper and Chinese chicken stock powder and cook until all the liquid has been absorbed into the mixture.
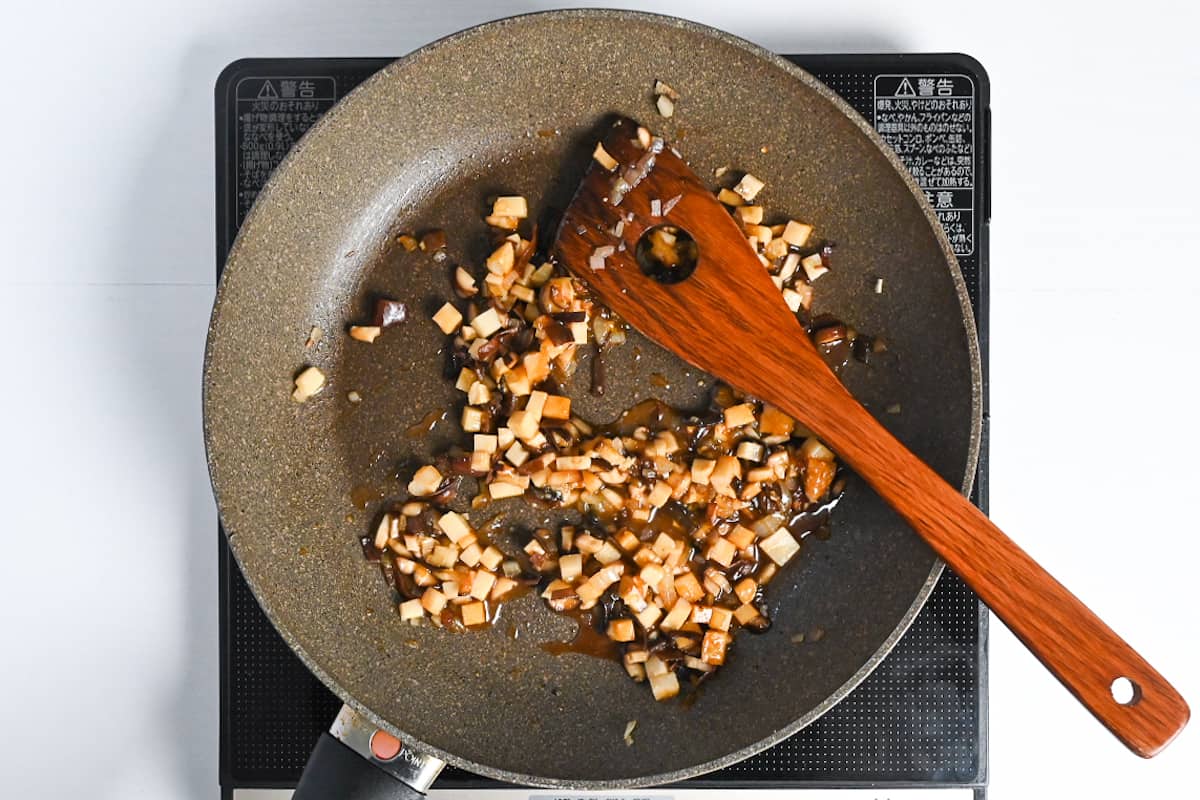
Mix 1 tsp of potato starch (or corn starch) in a separate bowl with 1 tbsp of cold water to make a slurry. Turn off the heat and pour the slurry into the pan. Mix thoroughly until the mixture becomes slightly thickened and glossy.
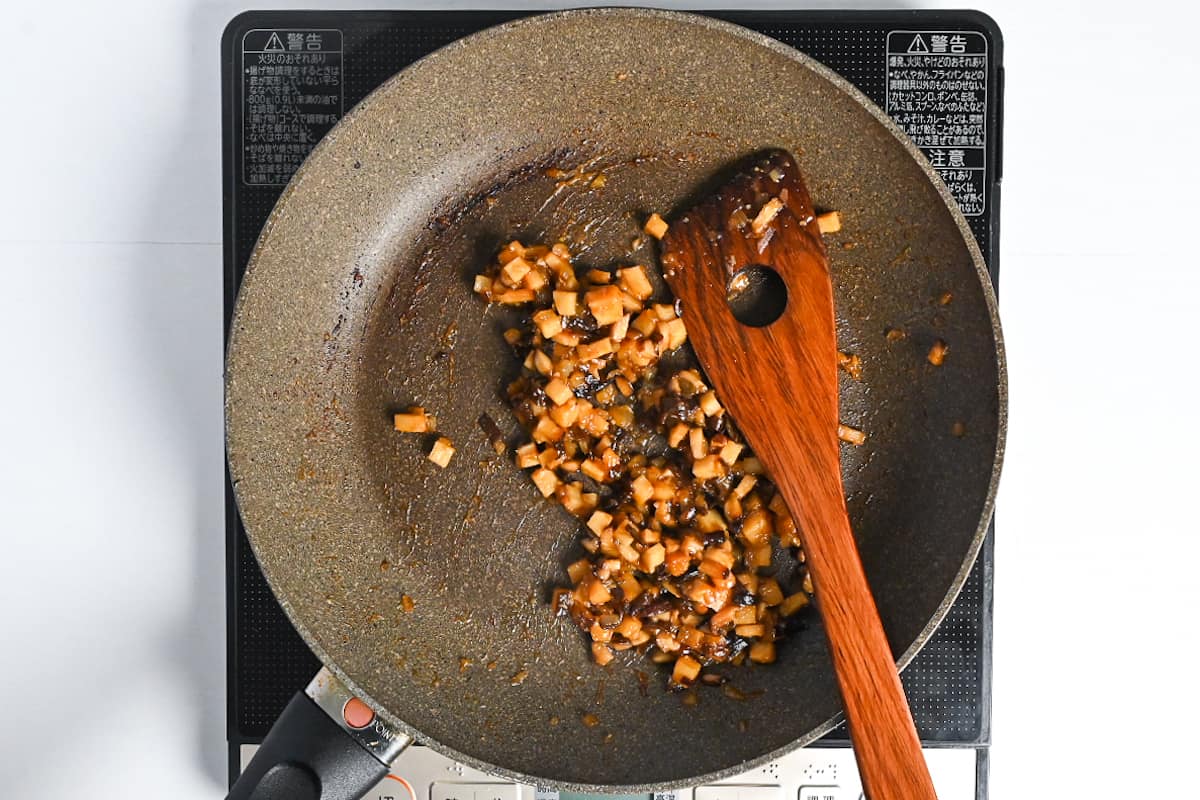
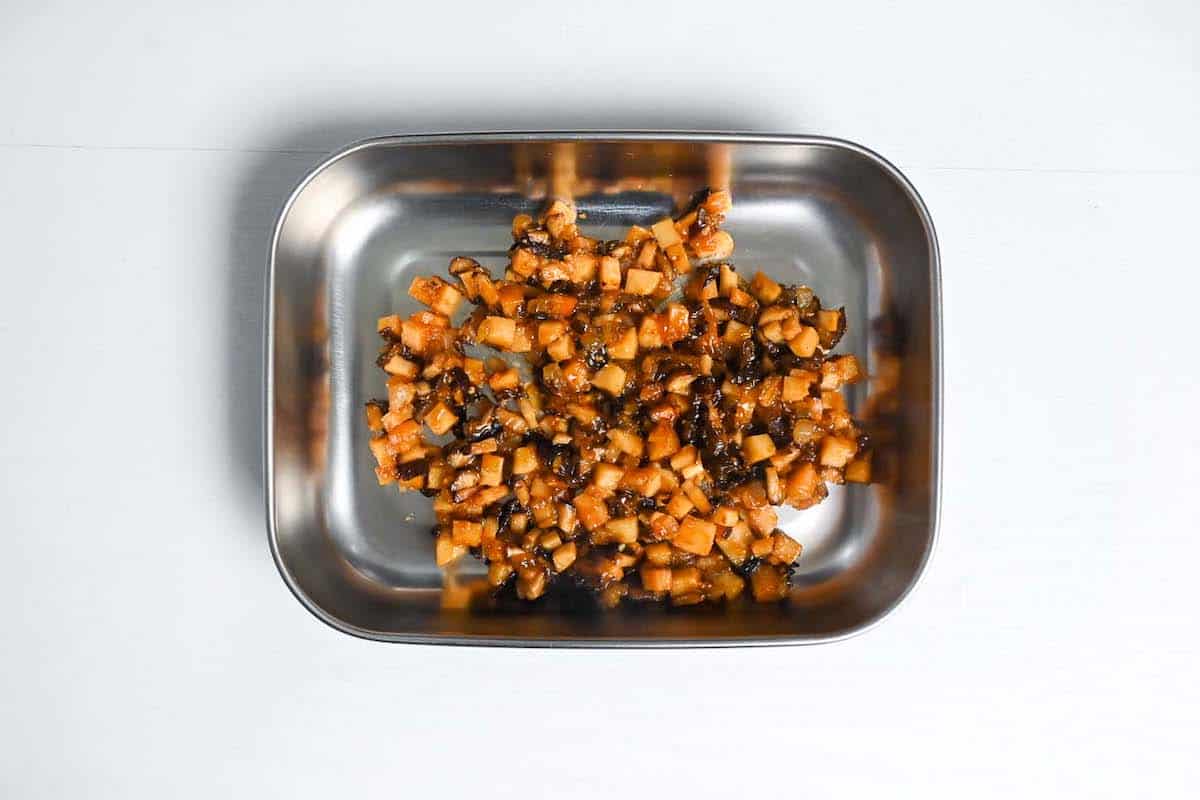
Transfer the filling to a container and leave it to cool.
Mix the pork mince and lard in a mixing bowl. Once the vegetables are cool to the touch, add them to the bowl and mix until evenly distributed throughout the filling.
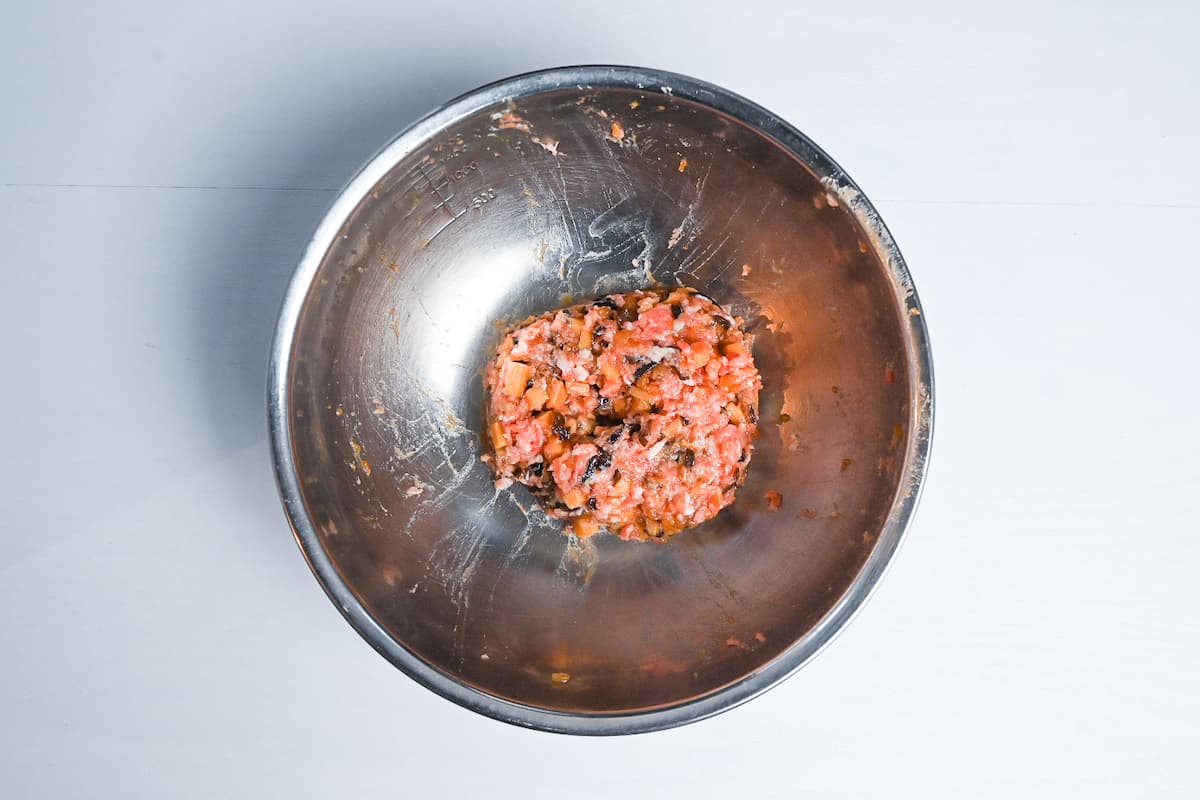
Cover with plastic wrap and rest in the fridge until the dough is ready.
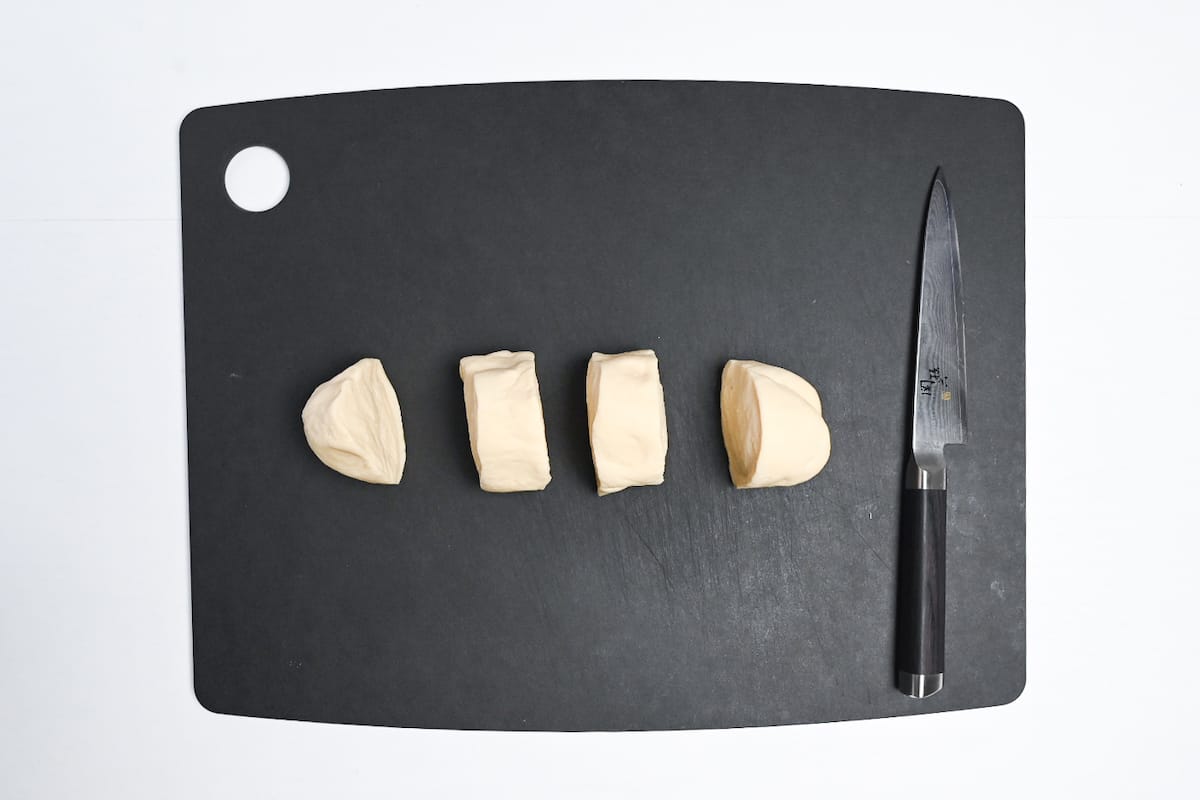
Once the dough has doubled in size, knock the air out and roll it into a cylinder.
Cut the cylinder into approximately 60g (about 2oz) pieces. My recipe makes 4, but if you’ve doubled or tripled the recipe, cut it into 8 or 12.
Shape each piece so they’re round, and cover them with plastic wrap or a clean, damp tea towel.
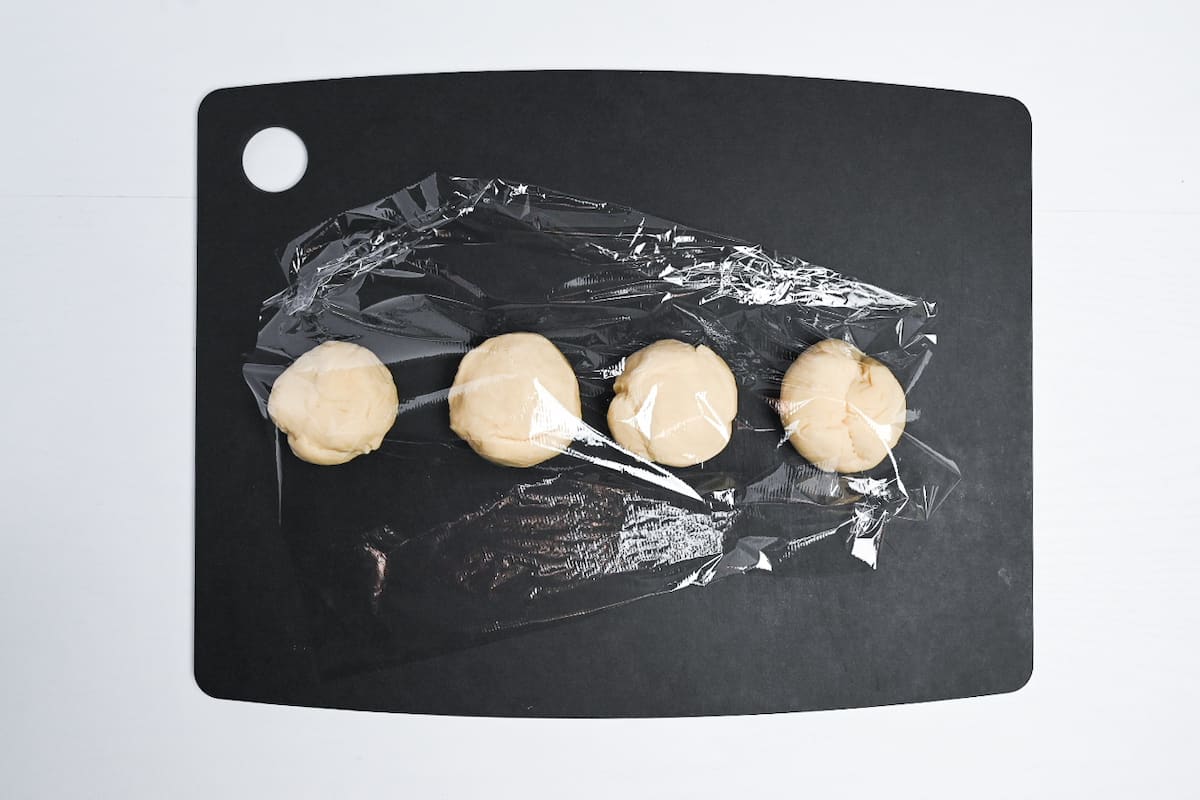
Allow to rest for 15 minutes. This resting time helps loosen the dough so that it’s easier to shape.
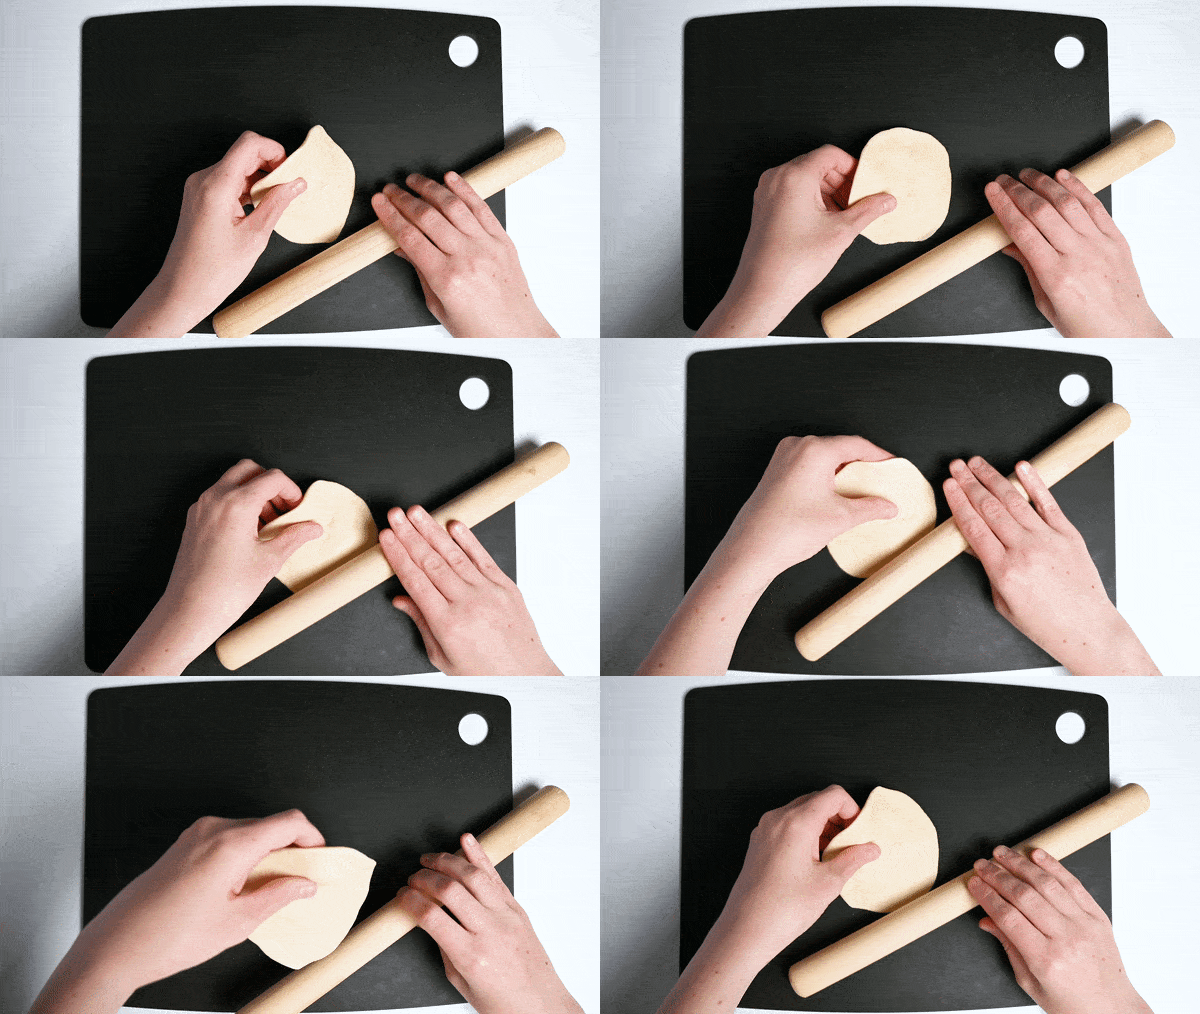
Flatten out each piece of dough with your palm, and then use a rolling pin to roll it flat to about 5mm (1/4 inch) thick.
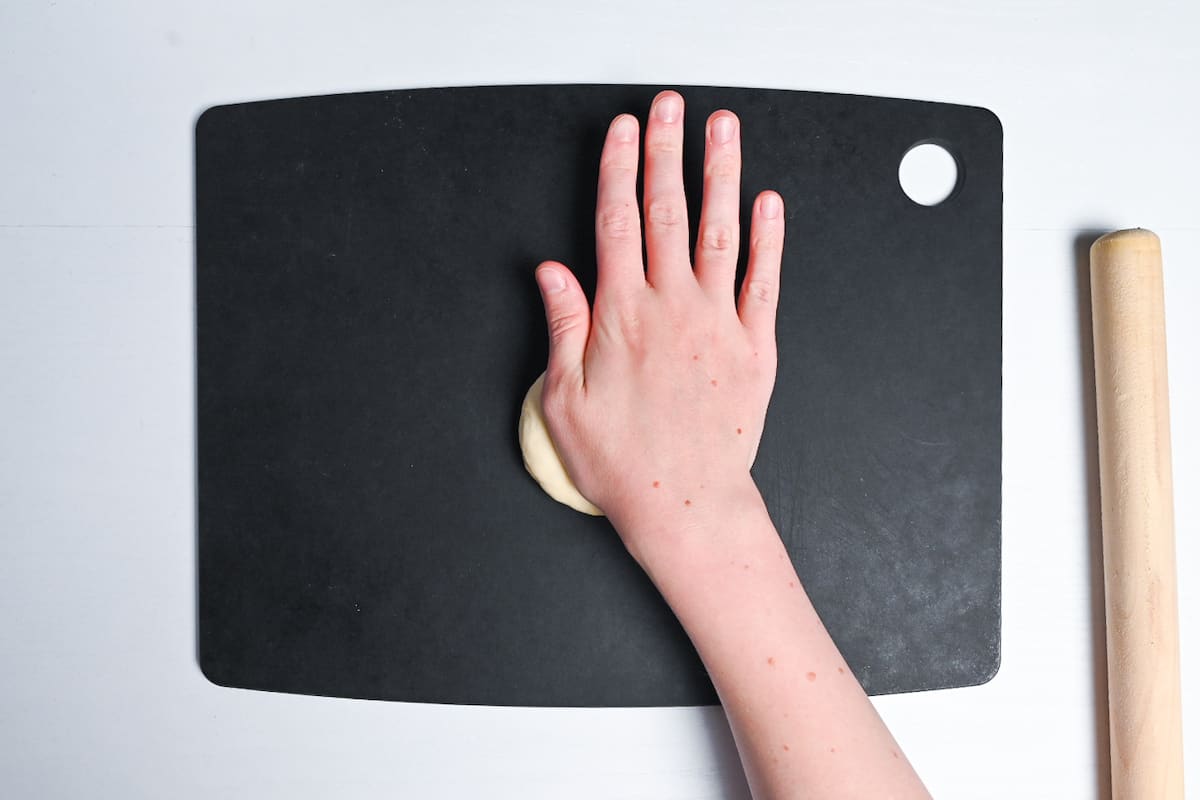
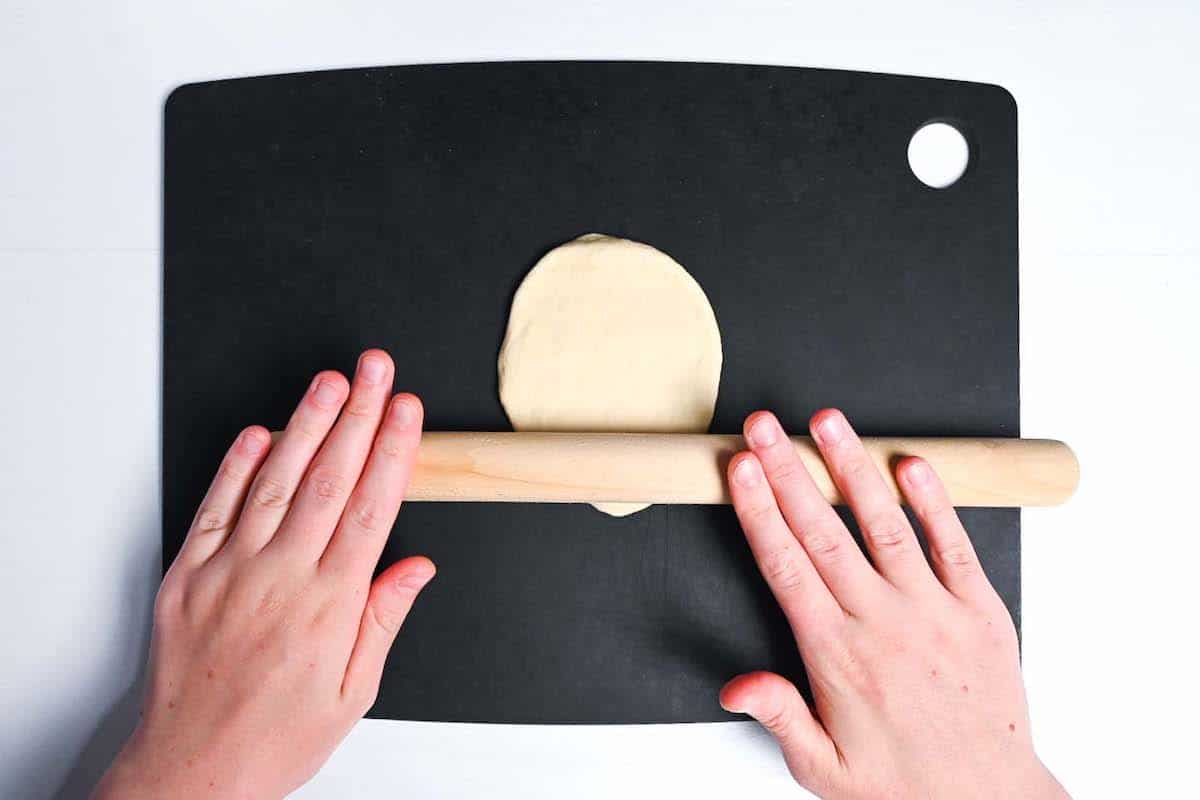
Use the rolling pin to thin out the edges all the way around. Since the top will be gathered, the edges should be thinner to prevent the top from becoming too thick and doughy. In other words, the center should be about 5mm thick, while the edges should only be about 2mm thick.
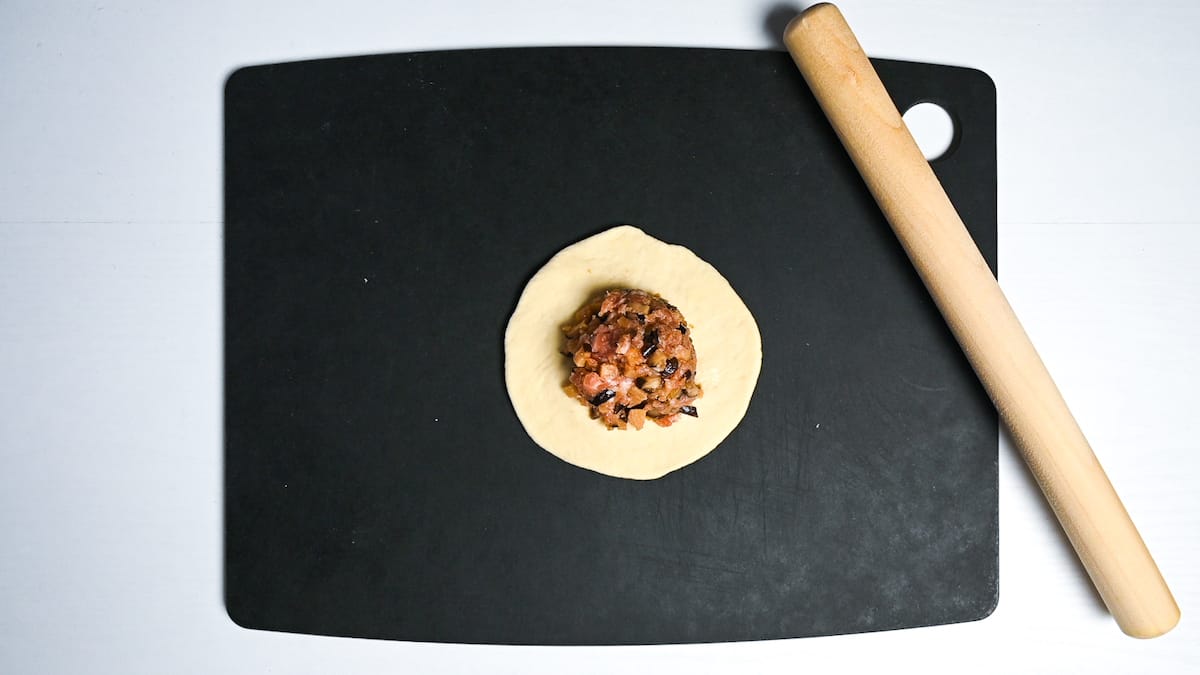
Take the filling out of the fridge and divide it into equal portions (approx 60g/2oz each). Roll each portion into a rough ball and place it in the center of the dough.
Now, I will warn you that my method of folding is not an authentic way, but it’s so easy that you can’t fail! Even if you’re a beginner, you can get this folding method on the first try!
Start by bringing the top and bottom edges to meet in the middle of the filling and pinch them together. Do the same with the left and right edges.
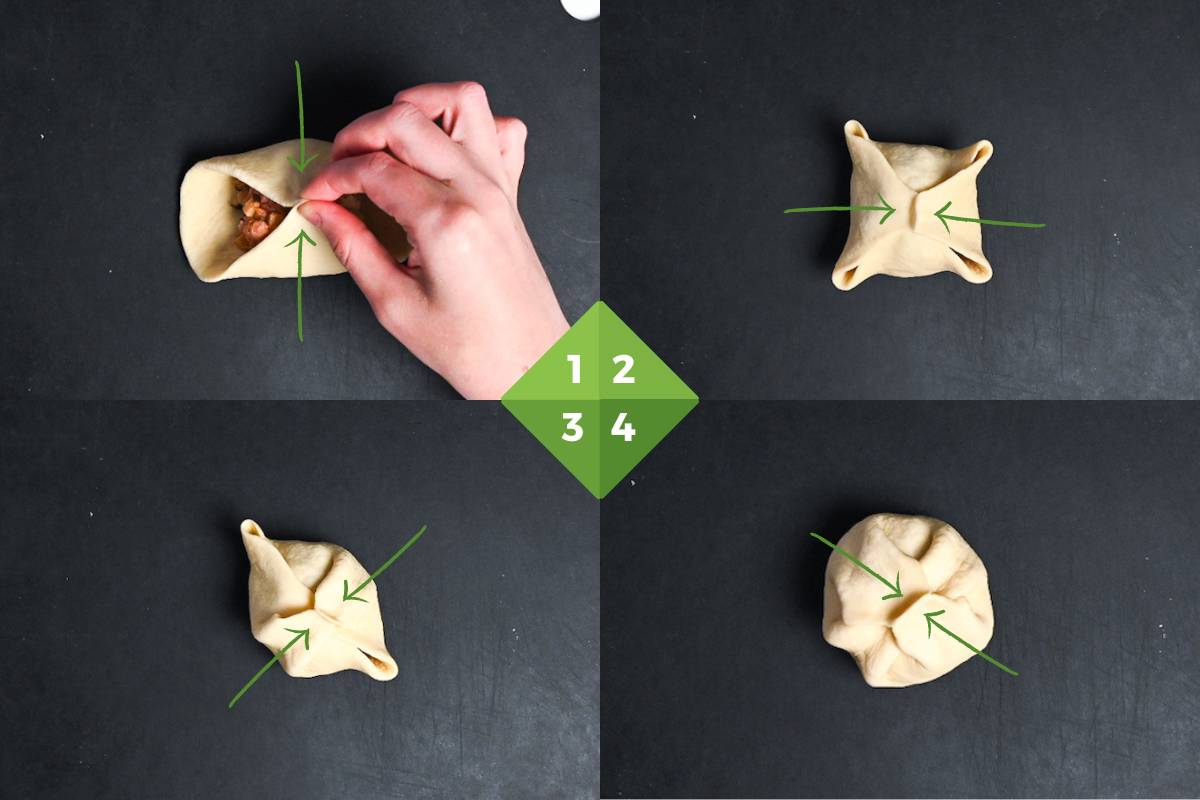
Then, repeat diagonally with each pair of parallel corners.
To fully ensure the nikuman is sealed, twist the middle point.
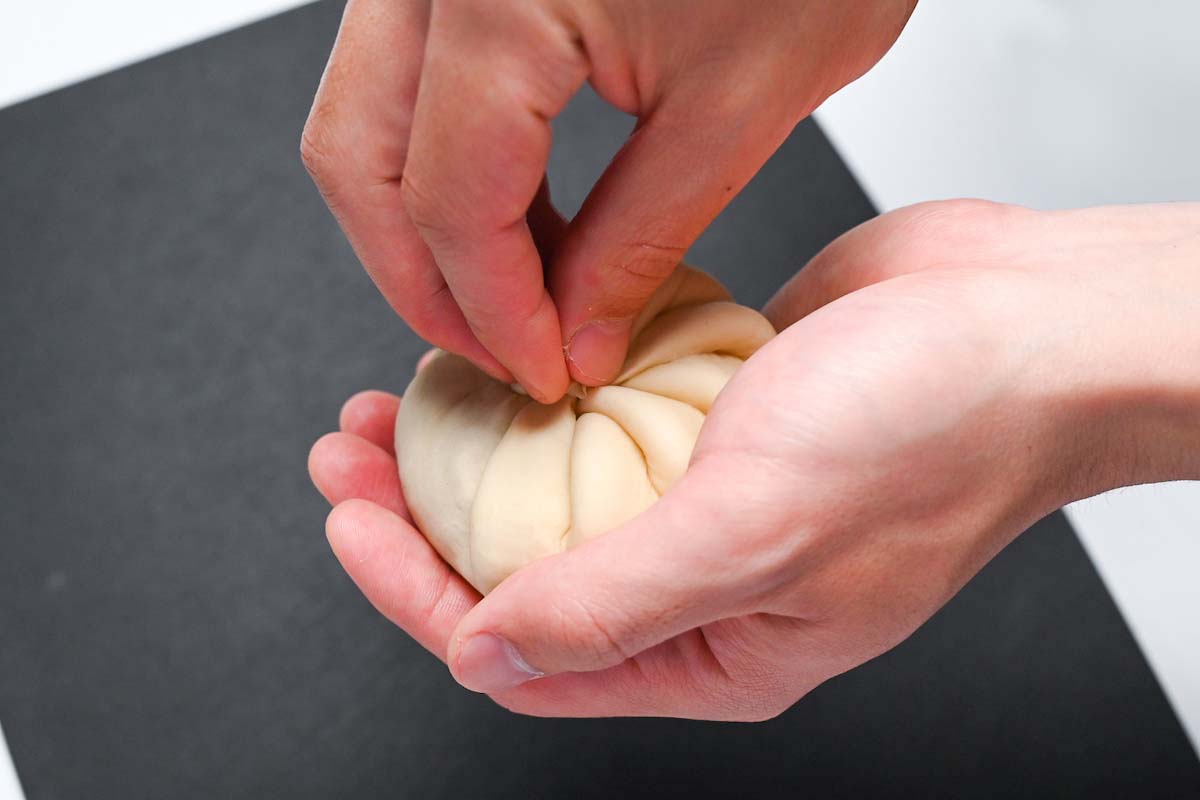
This will also move the folds and improve the appearance!
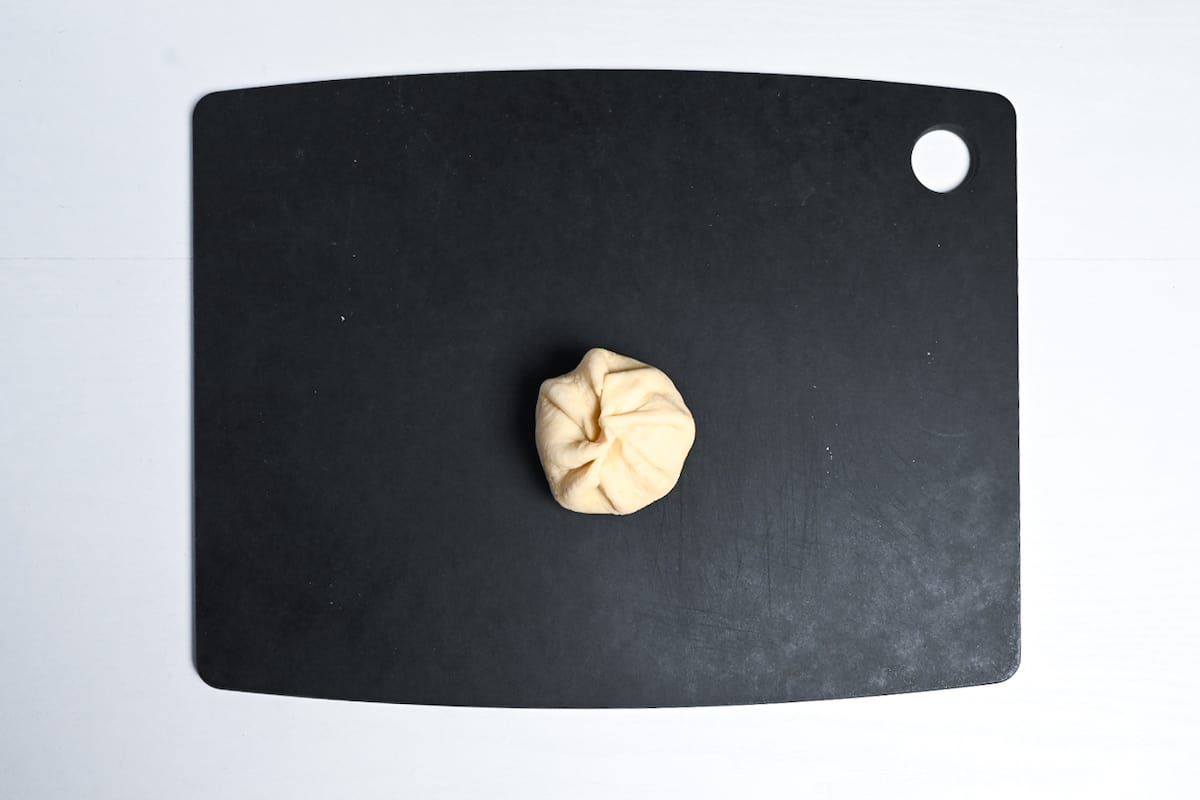
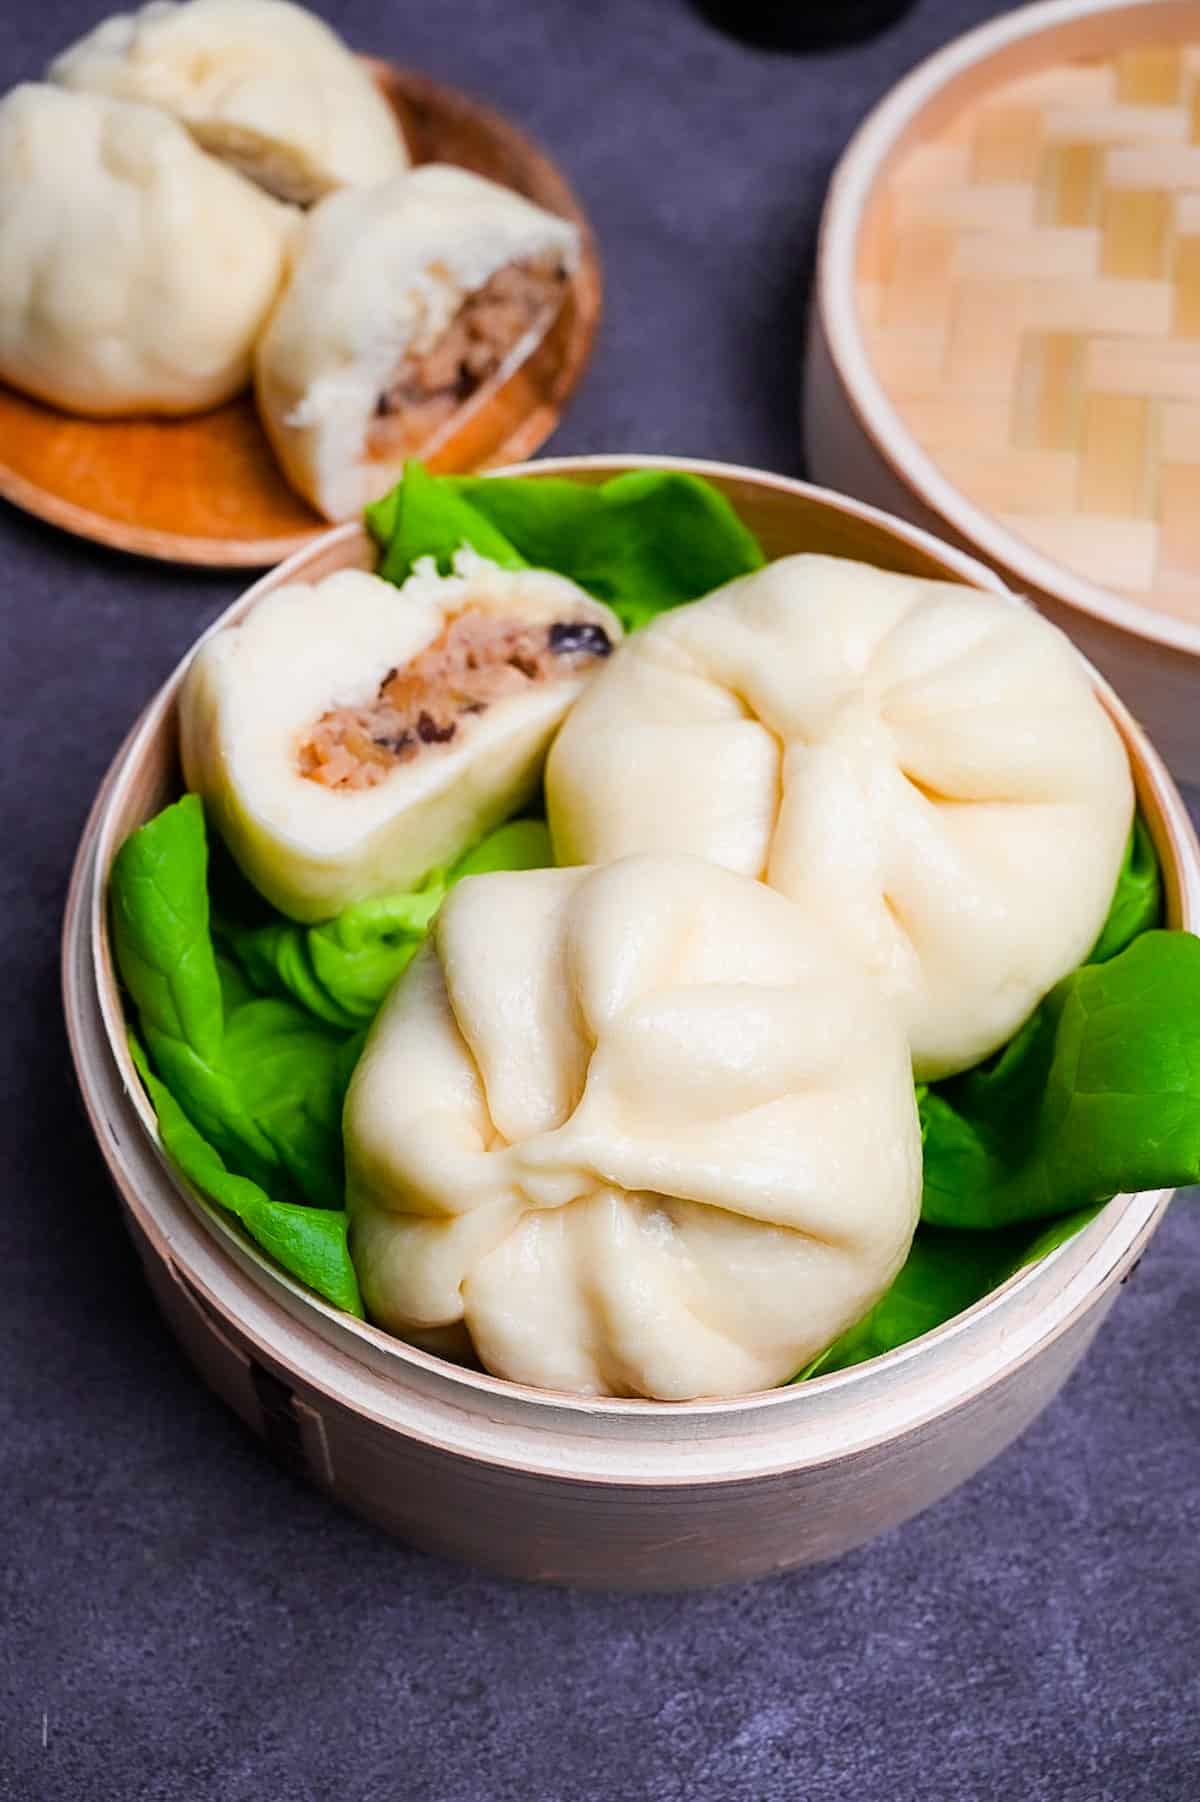
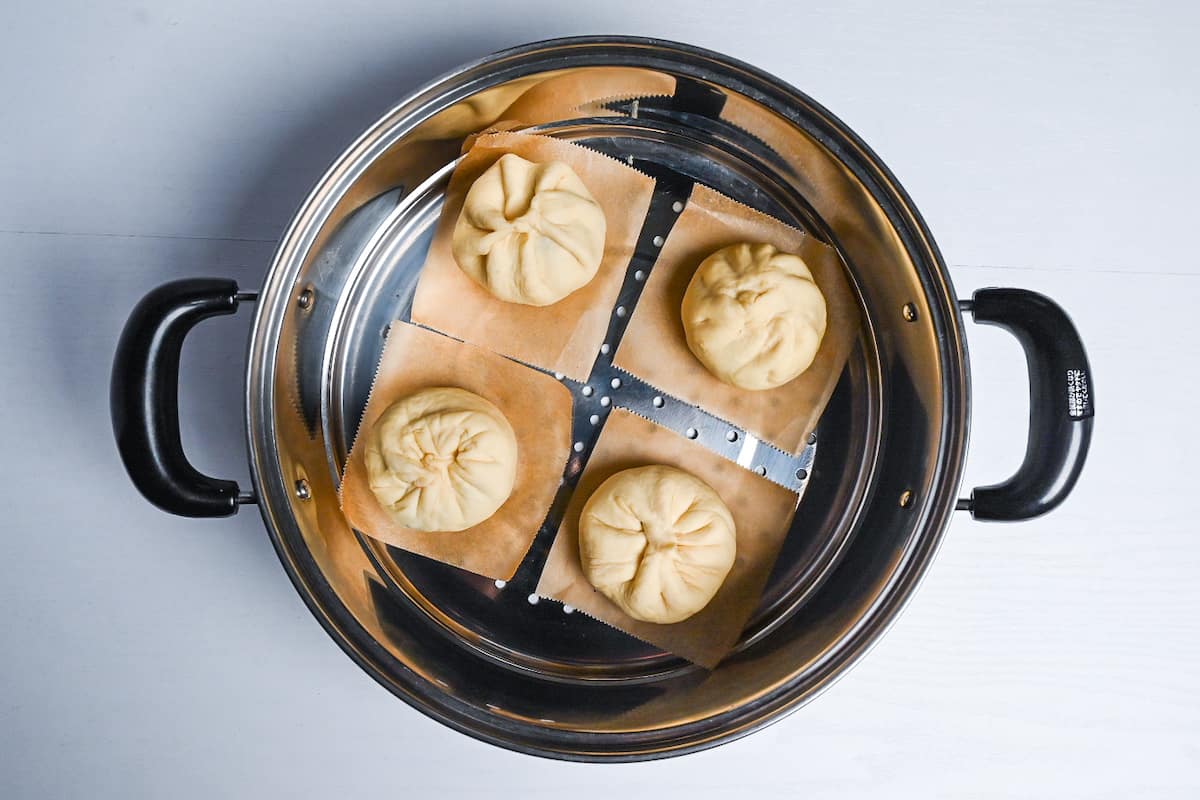
Place each completed nikuman on a small piece of baking paper and then place inside the steaming basket.
Once they’re all complete, add the lid and rest for another 15 minutes.
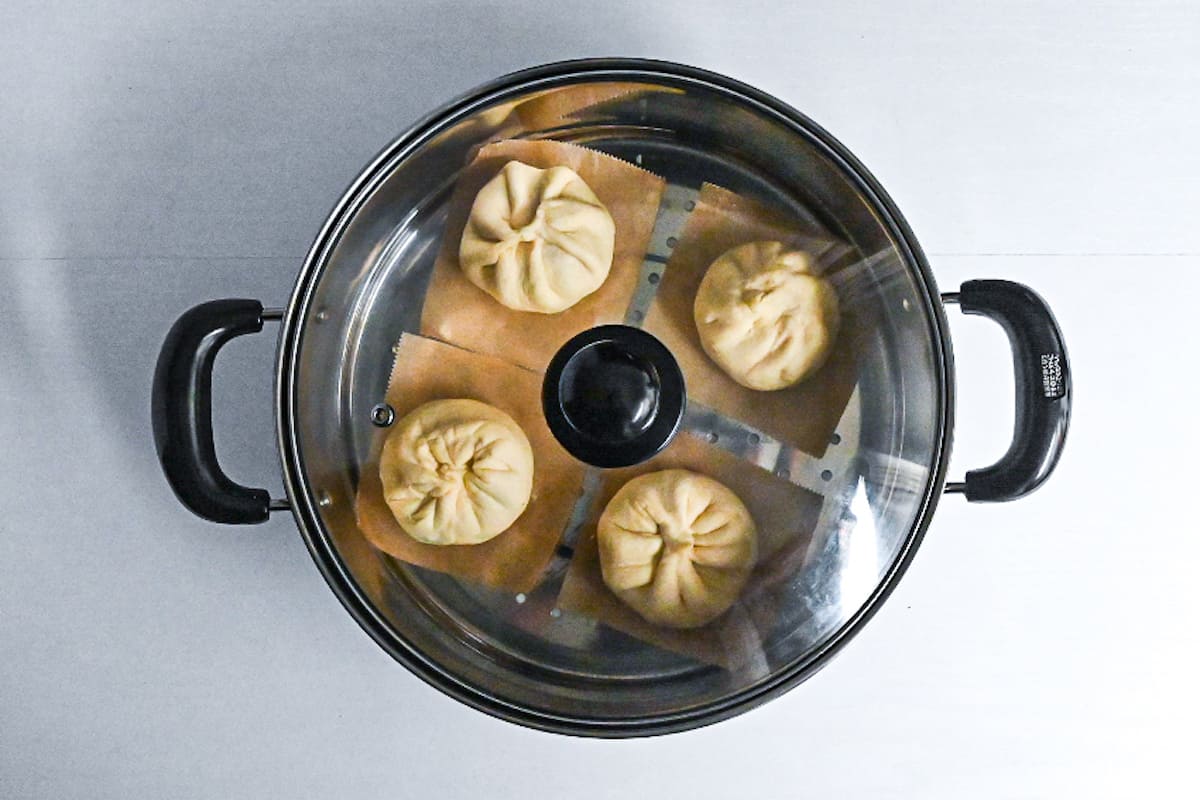
Be sure to leave enough space between each nikuman, including placing them at least 2cm (about 1 inch) away from the edges to prevent them from becoming misshapen and stuck together.
If doubling or tripling the recipe, either cook in batches or use multiple steaming baskets.
Once the 15-minute resting time is up, fill a pot with (cold) water and place the steaming basket with the nikuman on top. Bring the water to a boil over high heat, and then once it’s bubbling, turn the heat down to medium and set a timer for 13 minutes.
13 minutes of cooking starts once the water begins to boil.
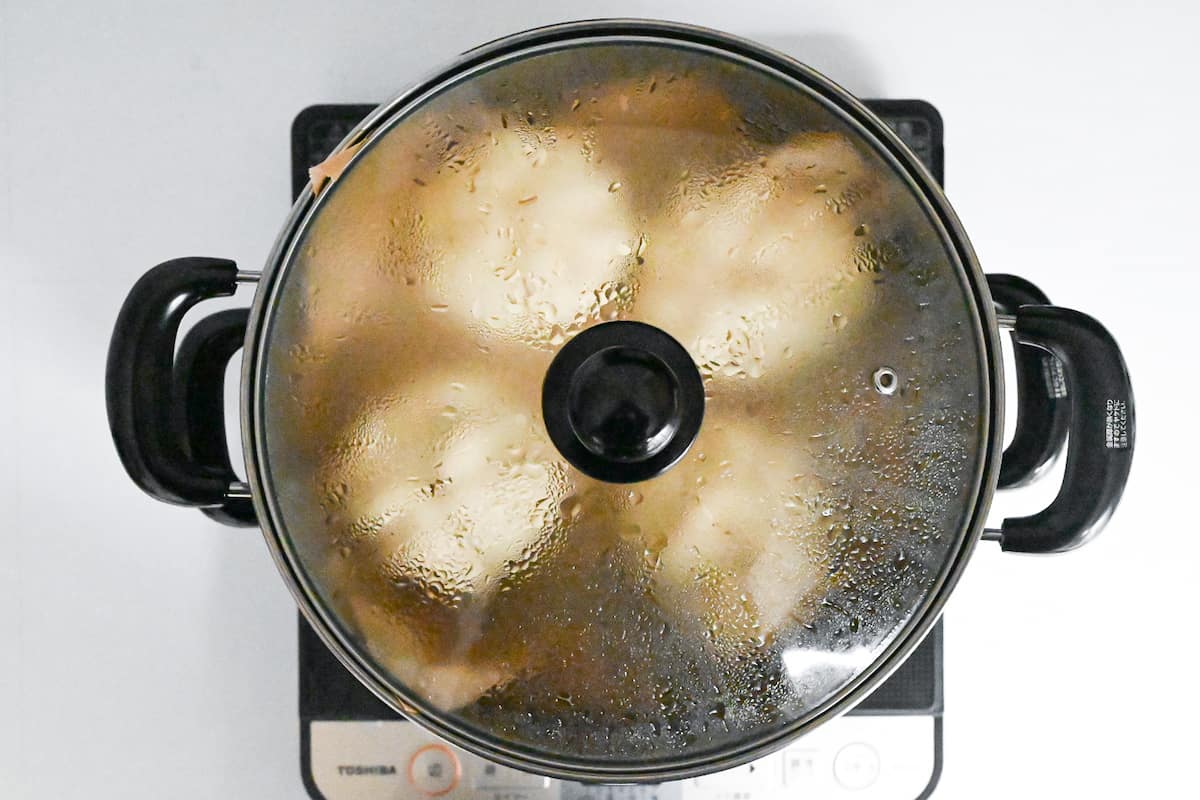
By starting with cold water, the temperature is brought up gradually, and the dough grows more smoothly. This prevents holes and the nikuman from becoming misshapen.
Once the timer is up, remove the lid immediately (no need to wait!) and enjoy your freshly steamed homemade Japanese nikuman!
How to Store
The first rule of storing nikuman is to cook it first. Freezing them before they’re cooked can cause the dough to fail to expand and cause the skin to become tough when defrosted and steamed.
Refrigerate
If you don’t need to store the steamed buns for a long period of time, you can keep them in the refrigerator; however, for best flavor and texture, the storage period should be limited to 24 hours, and freezing is better for longer storage.
When stored in the fridge, the buns tend to lose moisture, causing dry and hard skin, so for the best texture, store in an airtight container and sprinkle with a little water before reheating.
Freeze
Once cooked, allow the nikuman to cool and then wrap each one individually in plastic wrap before freezing.
Frozen nikuman can be stored for about one month.
As I mentioned, steam the buns before freezing them. After steaming, let them cool, wrap each one in plastic wrap, and freeze. When you’re ready to eat, it is best to reheat them with a steamer, but you can also microwave them with a few drops of water in the plastic wrap. In this case, 600W for about 2 minutes is just right.
If frozen, nikuman can be stored for about one month.
Reheating
Whether chilled or frozen, you can reheat nikuman either by steaming again or in the microwave. Steaming is the best method for keeping the original moist and fluffy texture, but microwaving is a great time saver.
For chilled, steam for 5-8 minutes or microwave for about 1 minute at 600W.
From frozen, steam for approximately 10 minutes or microwave for about 3 minutes at 500W.
When microwaving, create a steamer effect by adding about 2cm (1 inch) of water to a mug and place the nikuman on top. (Make sure the mug is small enough that the nikuman sits on the rim without falling.) Place plastic wrap over the nikuman and microwave for the appropriate amount of time.
FAQ
Nikuman, a type of “chuka man” or Chinese-style bun, is inspired by China’s baozi. In Japan, the filling has developed in its own unique way and has been loved for many years.
Although it’s unclear when nikuman first arrived in Japan, steamed buns likely started in Chinatown and specialty shops. In 1927, “Shinjuku Nakamuraya” adapted them for Japanese tastes, giving nikuman a history of at least 80 years in Japan.
Nikuman, as we know it today, is closer to the Shinjuku Nakamuraya’s version than the original Chinese baozi.
Nikuman is a winter favorite in Japanese convenience stores, just like oden. I remember warming up with hot nikuman after hanging out with friends when I was a student. Even to this day, I can’t go through winter without enjoying a nikuman from my local convenience store.
Convenience stores (known as “combini” for short) first started selling steamed buns in the 1970s, when convenience stores themselves began to spread. The endless popularity of nikuman began when they were first sold at “Sun Avery,” now renamed to “Daily Yamazaki.”
Today, in addition to meat buns, convenience stores sell all sorts of variations of steamed dumplings, including a man (red bean paste dumpling), curry man, and even a “pizza man” filled with tomato sauce and cheese. If you visit Japan in the winter, be sure to try the nikuman at a convenience store to warm up!
Baozi, a Chinese dim sum, is known as chuka-man in Japan. In other words, from a broad perspective, nikuman is a Japanese derivative of baozi. Considering that nikuman is a Japanese version of baozi, it makes sense that the appearance is the same.
Though they look alike, the most notable difference is the dough. Chinese baozi’s dough is quite plain, while Japanese nikuman dough has a mildly sweet, milky taste that even surprises Chinese people.
The fillings and seasonings differ as well. Plus, Japanese nikuman are typically enjoyed as a snack or light meal, rarely as part of a meal.
Nikuman is the Japanese take on Chinese baozi, falling under the chuka (Japanese-Chinese cuisine) category. The main differences are the dough used for wrapping and the ingredients used in the filling.
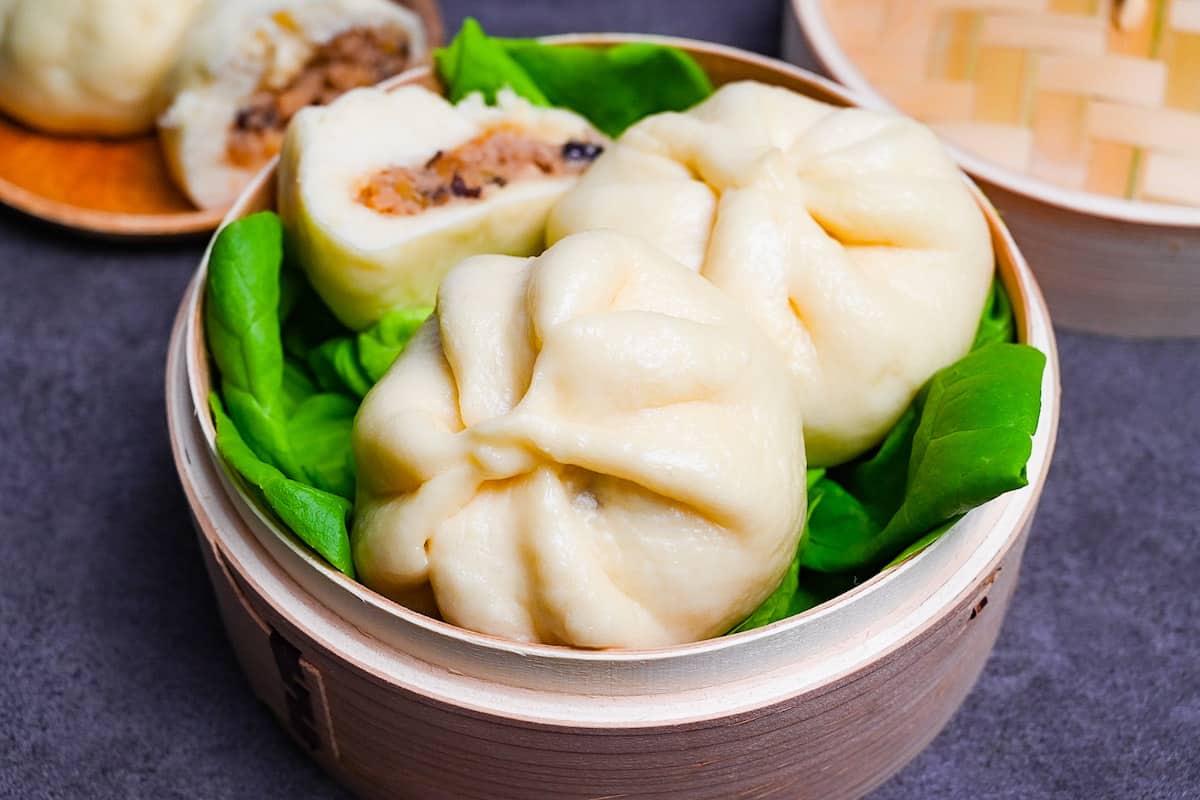
I hope you enjoy this Nikuman recipe! If you try it out, I’d really appreciate it if you could spare a moment to let me know what you thought by giving a review and star rating in the comments below. It’s also helpful to share any adjustments you made to the recipe with our other readers. Thank you!
More Chuka Recipes
Nikuman (Japanese Steamed Pork Buns)
Ingredients
Dough
- 100 g cake flour
- 50 g bread flour
- 2 ½ tsp sugar
- ¼ tsp salt
- ¼ tsp instant dry yeast
- ½ tsp baking powder
- 50 ml water lukewarm
- 25 ml milk whole milk
Filling
- 100 g ground pork
- 1 tsp lard
- 50 g onion finely diced
- 50 g canned bamboo shoots finely diced
- 30 g fresh shiitake mushroom finely diced
- 15 g boiled wood ear mushroom diced
- 1 tsp grated ginger root or ginger paste
- 1 tsp grated garlic or garlic paste
- ½ tbsp Japanese soy sauce (koikuchi shoyu)
- 1 tsp oyster sauce
- 1 tsp yellow miso paste (awase) awase
- ½ tbsp toasted sesame oil
- 1 tsp Japanese black vinegar (kurozu)
- ½ tbsp sake
- 1 tsp sugar
- 1 tsp honey
- 1 pinch salt
- 1 pinch ground white pepper
- 1 tsp Chinese-style chicken bouillon powder
- 1 tbsp cold water for slurry
- 1 tsp potato starch (katakuriko) for slurry
My recommended brands of ingredients and seasonings can be found in my Japanese pantry guide.
Instructions
Dough
- Take a jug and add 50 ml water. Stir in 2 ½ tsp sugar and ¼ tsp instant dry yeast and leave to activate for a few minutes until foamy.

- Sift the 100 g cake flour and 50 g bread flour together into a bowl. Add the ¼ tsp salt and ½ tsp baking powder. Mix well until the ingredients are evenly distributed.

- Pour the contents of the jug into the bowl (including the foam) and add 25 ml milk. Mix until a rough dough forms.

- Tip the dough out onto a lightly floured surface and knead until smooth (about 5 minutes). Place the dough back in the bowl and cover with cling film. Rest in a warm place until it doubles in size. (40-90 minutes, depending on the environment.)

Filling
- Heat a pan on medium and once hot, add ½ tbsp toasted sesame oil. Add the 50 g onion, 50 g canned bamboo shoots, 30 g fresh shiitake mushroom, 15 g boiled wood ear mushroom, 1 tsp grated ginger root and 1 tsp grated garlic to the pan and fry for 1-2 minutes.

- Next, add ½ tbsp Japanese soy sauce (koikuchi shoyu), 1 tsp oyster sauce, 1 tsp yellow miso paste (awase), 1 tsp Japanese black vinegar (kurozu), ½ tbsp sake, 1 tsp sugar, 1 tsp honey, 1 pinch salt, 1 pinch ground white pepper and 1 tsp Chinese-style chicken bouillon powder. Mix well and continue to cook until liquid has absorbed and disappeared into the ingredients.

- Mix the slurry in a small bowl. Turn off the heat and pour the slurry into the pan. Stir over the residual heat until the mixture becomes glossy and slightly thickened.

- Transfer to container and allow to cool.

- Once cool to the touch, mix in 100 g ground pork and 1 tsp lard. Cover with plastic wrap and chill in the fridge until the dough is ready.

Assembly
- Once dough has doubled in size, knock the air out and roll it into a cylinder. Cut into equal pieces, each approximately 60g (2oz). (This recipe makes 4. If you doubled or tripled the recipe, divide into 8 or 12 respectively.)

- Shape each piece into a round disc shape, cover with cling film (or clean damp cloth) and rest for 15 mins.

- Take the filling out of the fridge and divide it into approximately 60g (2oz) portions for each wrapper. Place each ball of dough on a chopping board and flatten it with your palm. Then, use a rolling pin to thin out the edges. The centre should be about 5mm (1/4 inch) thick and the edges should be about 2mm thick.

- Roll a portion of the filling and place it in the centre of the dough. Bring the top and bottom edges to the middle and pinch them together. Repeat with the left and right edges, then each pair of parallel corners. (See in post for pictures of how to do this.) Finally, pinch the middle and twist to firmly close the nikuman.

- Place each completed nikuman on an individual square of baking paper, then place them in the steaming basket. Be sure to leave plenty of space between each nikuman and the edges of basket.

- Add the lid on and rest for 15 minutes for the 2nd rise.

- After 15 minutes, fill the steamer with cold water and place the steaming basket with the nikuman on top. Place it on the stove and bring to a boil over a high heat. Once it starts to boil, set a timer for 13 minutes.

- Remove the lid and enjoy!


Thank you for yet another terrific recipe from Sudachi Recipes. I was worried that the dough was too stiff–it’s much harder to knead than a traditional bread dough. My kitchen aid mixer dough hook struggled with the dough so I gave up and kneaded by hand. Get ready for a workout! But once the dough rises and rests, it relaxes somewhat, and it is incredibly easy to roll and shape. The filling is really delicious–quite savory. I only used 1 tsp of chicken bouillon powder–it probably needed at least 2 tsp. And the leftover buns are really convenient to have around–just pop in the microwave for a quick snack.
Thank you so much!
I don’t have a kitchen aid or anything like that so all my doughs are kneaded by hand, I’ll update the post to let other readers know.
I’m glad you enjoyed the recipe, thank you again for your feedback!
All the best,
Yuto
Dear Yuto,
another most fantastic recipe! Thank you so much for teaching me how to cook delicious japanese food at home 🙂
Greetings from the other side of the world,
Dee
Hi Dee,
Thank you so much for trying another recipe! I’m so happy you enjoyed this one too!
Yuto