Disclaimer: This post may contain Amazon affiliate links. Sudachi earns a small percentage from qualifying purchases at no extra cost to you. See disclaimer for more info.
What is Matcha?
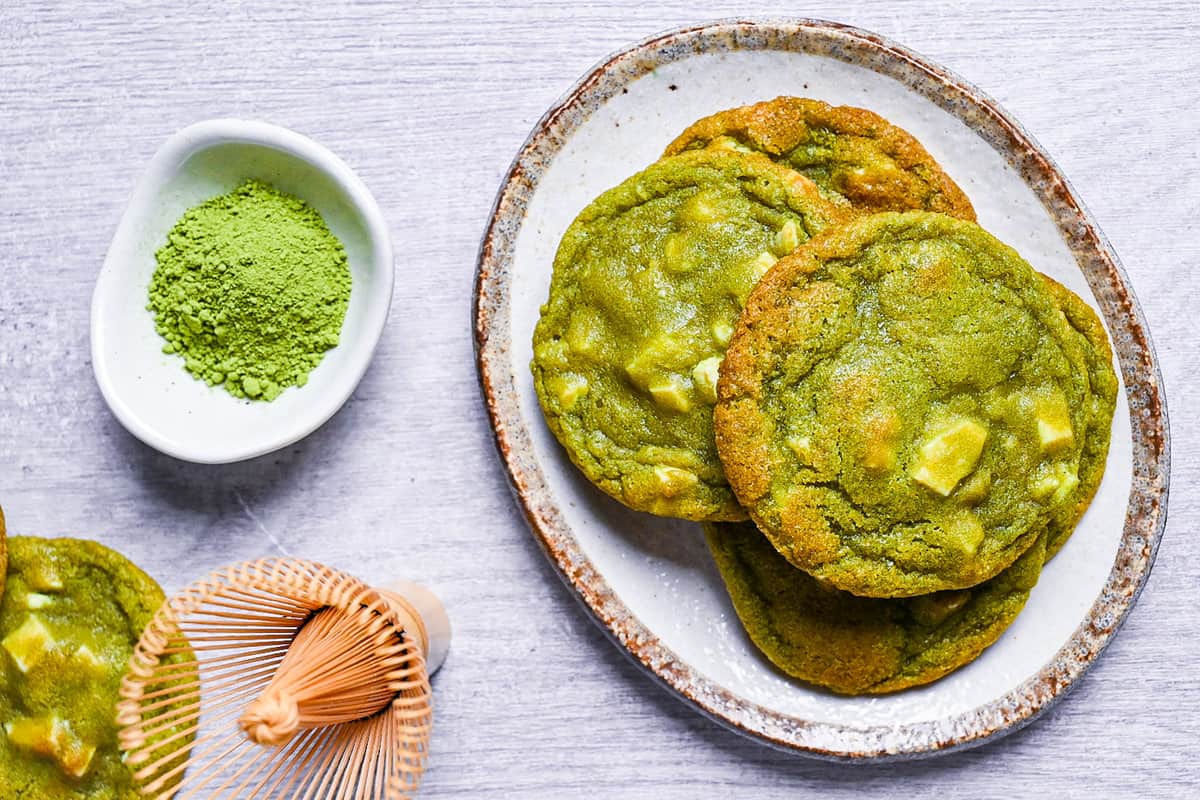
Before I get started with this cookie recipe, you might be wondering about matcha. What is it? What does it taste like? Well, matcha is a type of green tea that has been ground into a fine powder.
Although it’s famous for drinking as part of a Japanese “tea ceremony”, it is also one of Japan’s most popular flavours used for sweets and desserts. It is bright green in color with an earthy yet refreshing taste.
What kind of matcha is used in baking?
There are three different kinds of matcha powder, which vary in quality, price, and usage.
- Ceremonial – High-quality matcha made with the first leaves of the harvest. It is only used for drinking (especially during Japanese tea ceremonies).
- Premium – A high-quality matcha blend is often used in coffee shops.
- Culinary – Lower quality but great flavor for desserts and drinks like smoothies.
In short, high-quality matcha should be used for drinking and enjoyed simply with hot water to appreciate its taste. Since baking uses other ingredients (such as sugar, butter, etc) that might mask the taste of the matcha, it would be a waste to use ceremonial or premium here.
Don’t be put off by culinary matcha being “lower quality.” It is made especially to mix with other ingredients and is more reasonably priced. It also adds a delicious and balanced matcha flavor to baked and chilled desserts alike!
Ingredients & Substitution Ideas
- Soft room temperature butter – I prefer unsalted so that I have more control of the salt content, but salted butter also works (just omit the added salt later)
- White sugar – caster or granulated, either is fine
- Light brown sugar – necessary for that all-important chewy texture!
- Vanilla essence – essence is easier to find in Japan, but feel free to use half the amount of vanilla extract instead.
- Egg – room temperature will incorporate more easily into the dough.
- Plain flour – measured in grams for better accuracy.
- Matcha powder – Good quality, culinary-grade matcha that is bright green in color.
- Baking soda – helps the cookies spread and improves the texture (do not substitute for baking powder!)
- Salt – balances the flavor in the cookie, omit this if you use salted butter.
- White chocolate – I use a bar of chocolate cut into rough chunks, but white chocolate chips also work just as well.
Not a fan of white chocolate? Try some of these ideas instead!
- Milk chocolate
- Dark chocolate
- Dried fruits – dried strawberries or raspberries etc.
- Nuts – pistachios, macadamia nuts etc.
- Boiled adzuki beans
Visual Walkthrough & Tips
Here are my step-by-step instructions for how to make chewy Matcha and White Chocolate Cookies at home. For ingredient quantities and simplified instructions, scroll down for the Printable Recipe Card below.
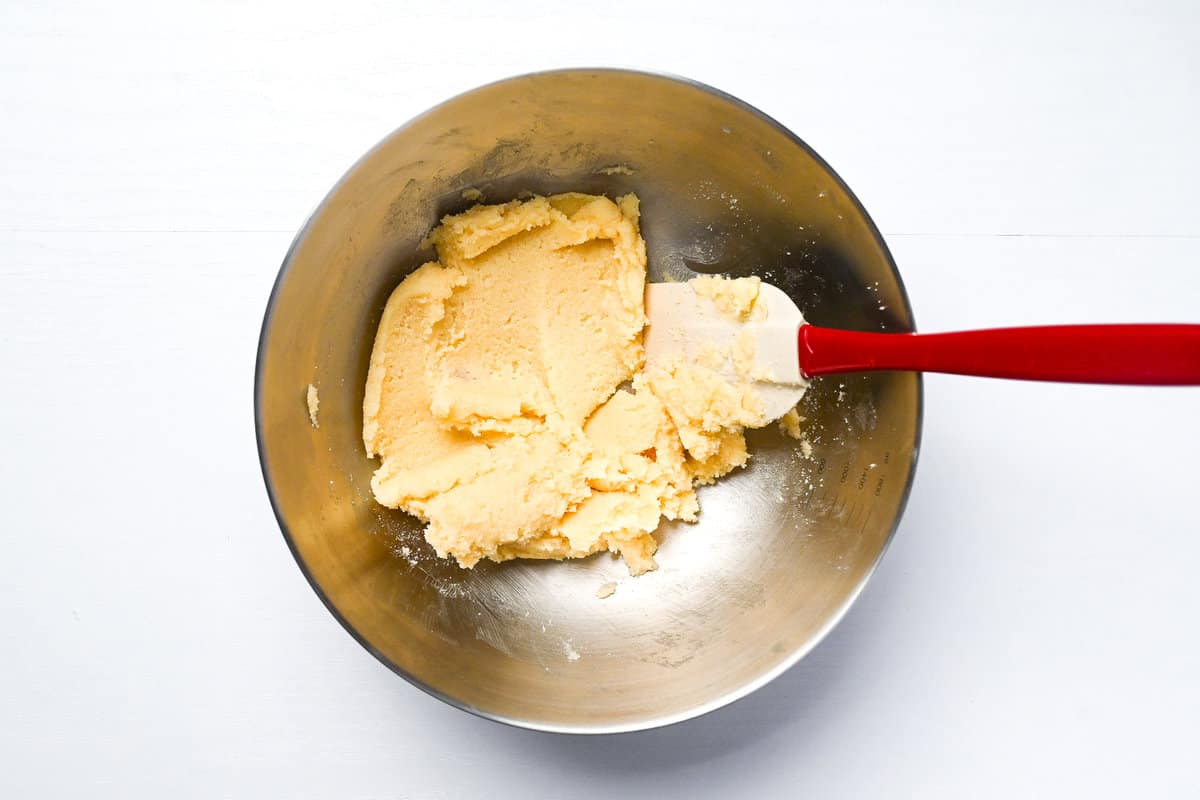
First, add both the white and brown sugar to a mixing bowl with room-temperature butter cut into cubes. (If you forgot to take the butter out of the fridge in advance, microwave it for 20-30 seconds or until softened but not melted.)
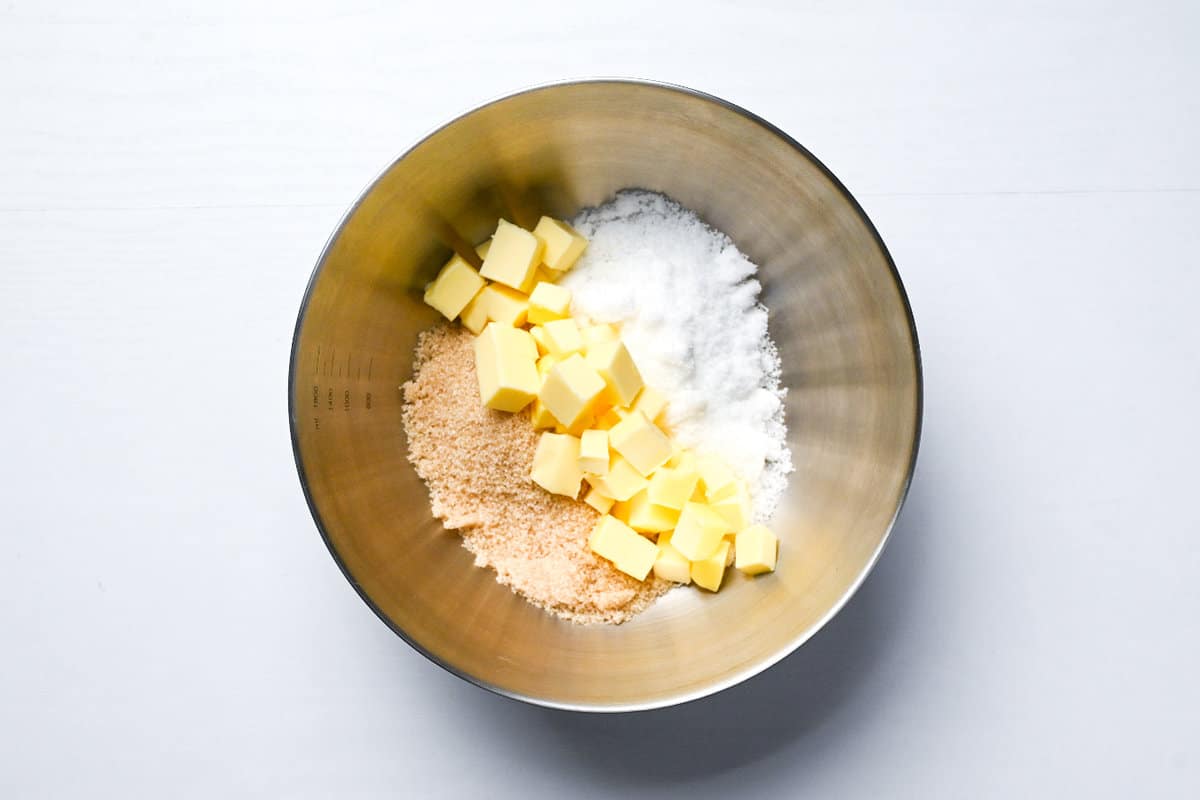
Mix together until combined. I do this by hand but feel free to use a mixer if you prefer.
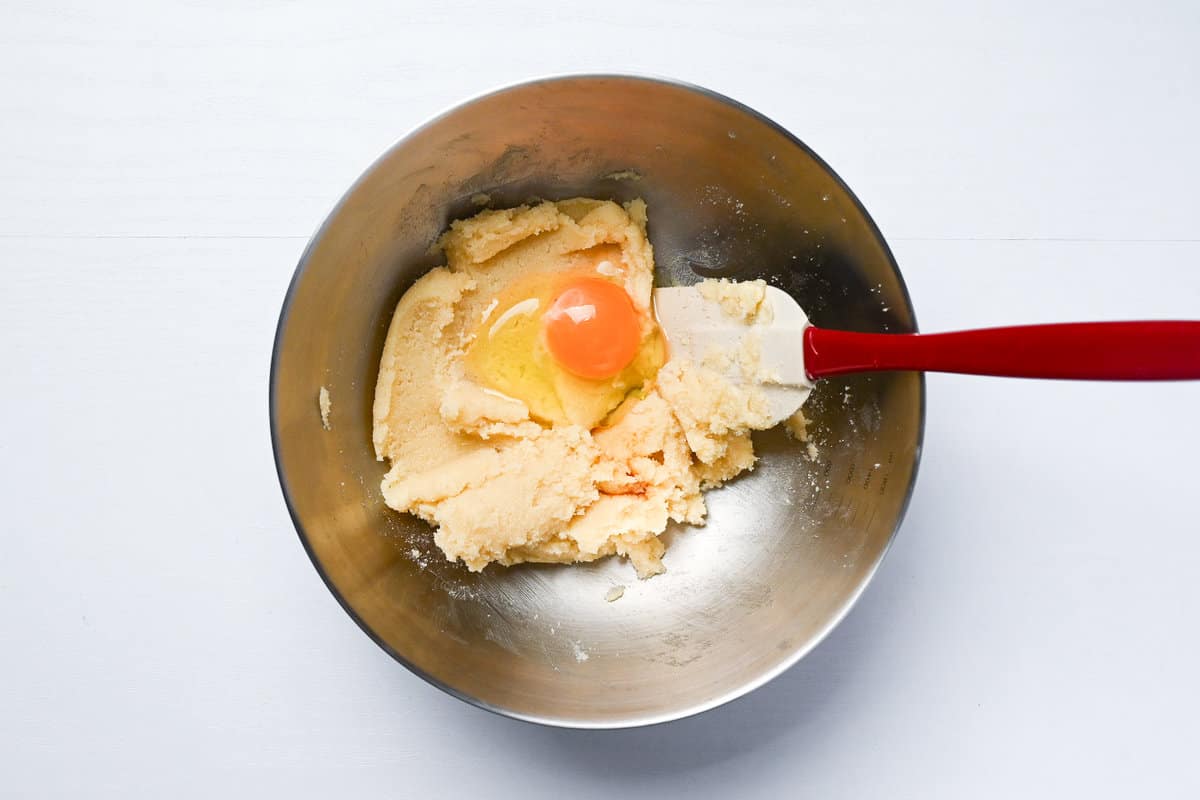
Crack the egg into the bowl and add a small amount of vanilla essence or extract.
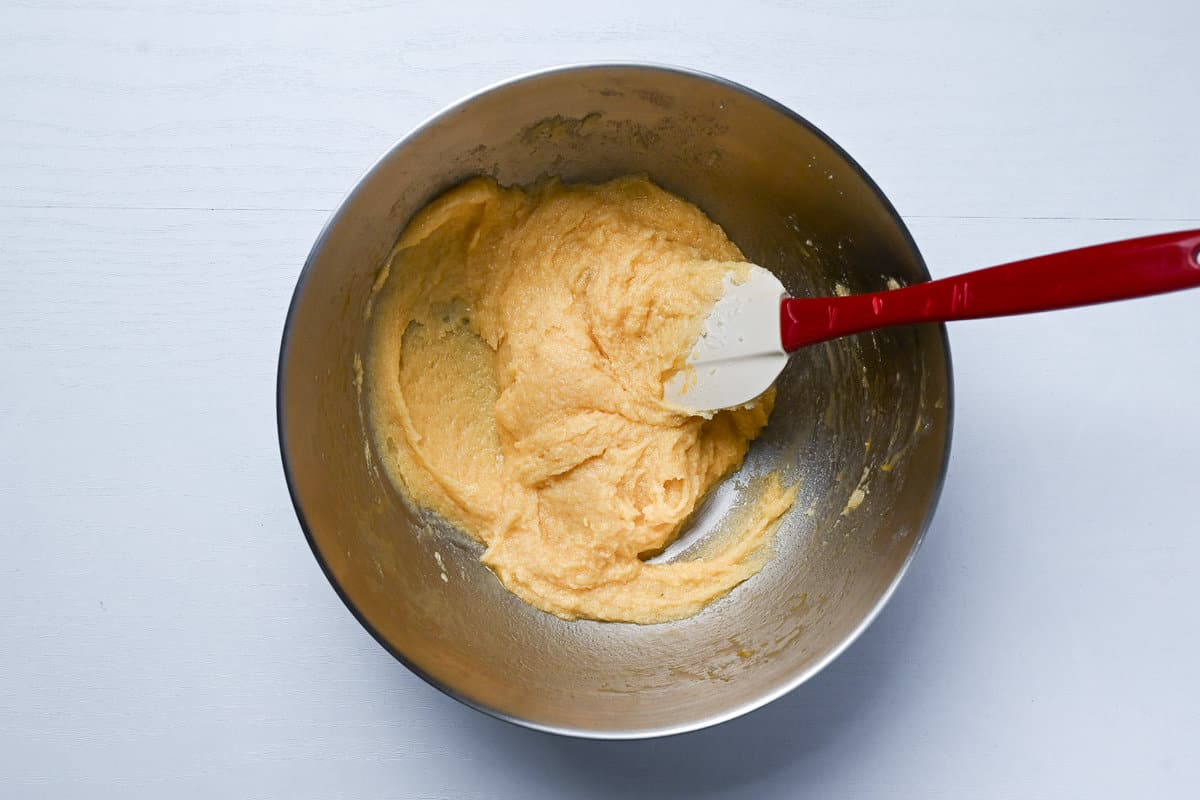
Mix thoroughly until evenly distributed. If you’re using a mixer, use a slow setting so that the egg doesn’t become too airy.
Add the plain flour, matcha powder, baking soda and a pinch of salt to a separate bowl.
Matcha tends to clump together. Sift it to make it easier to distribute evenly through the flour.
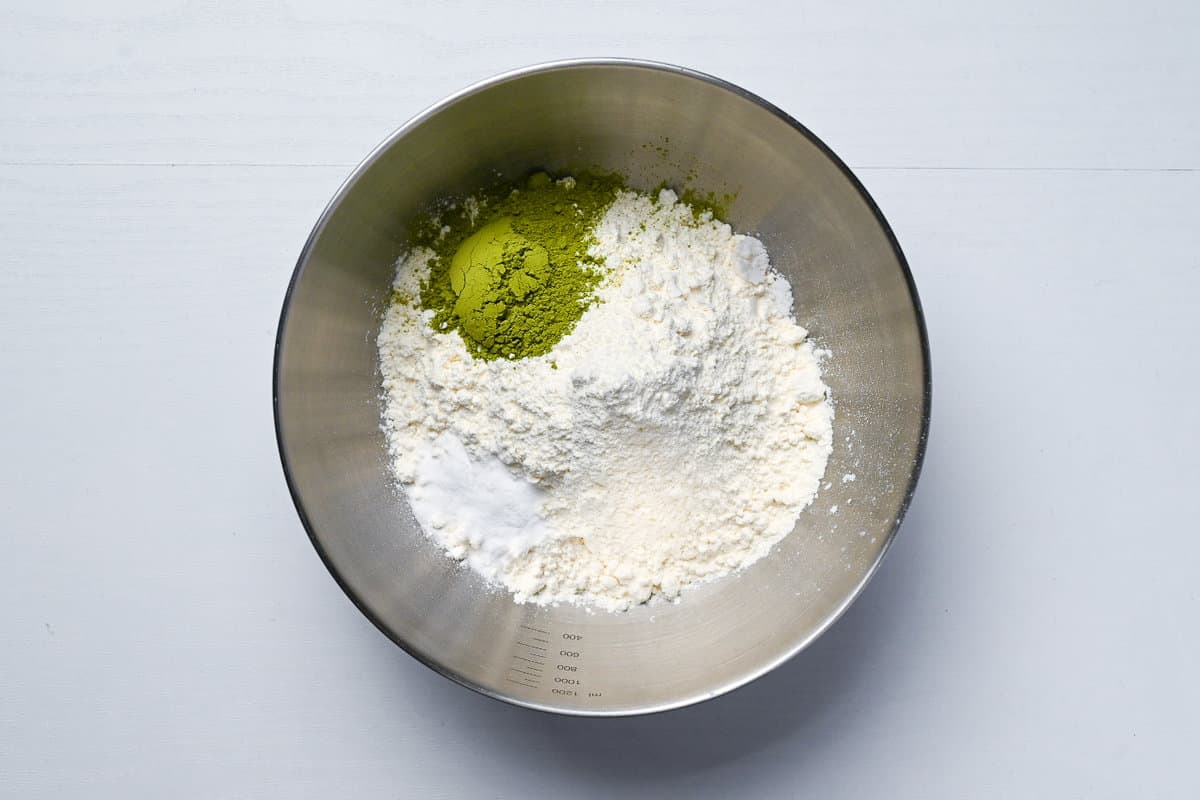
Whisk thoroughly until all the ingredients are evenly distributed through the flour.
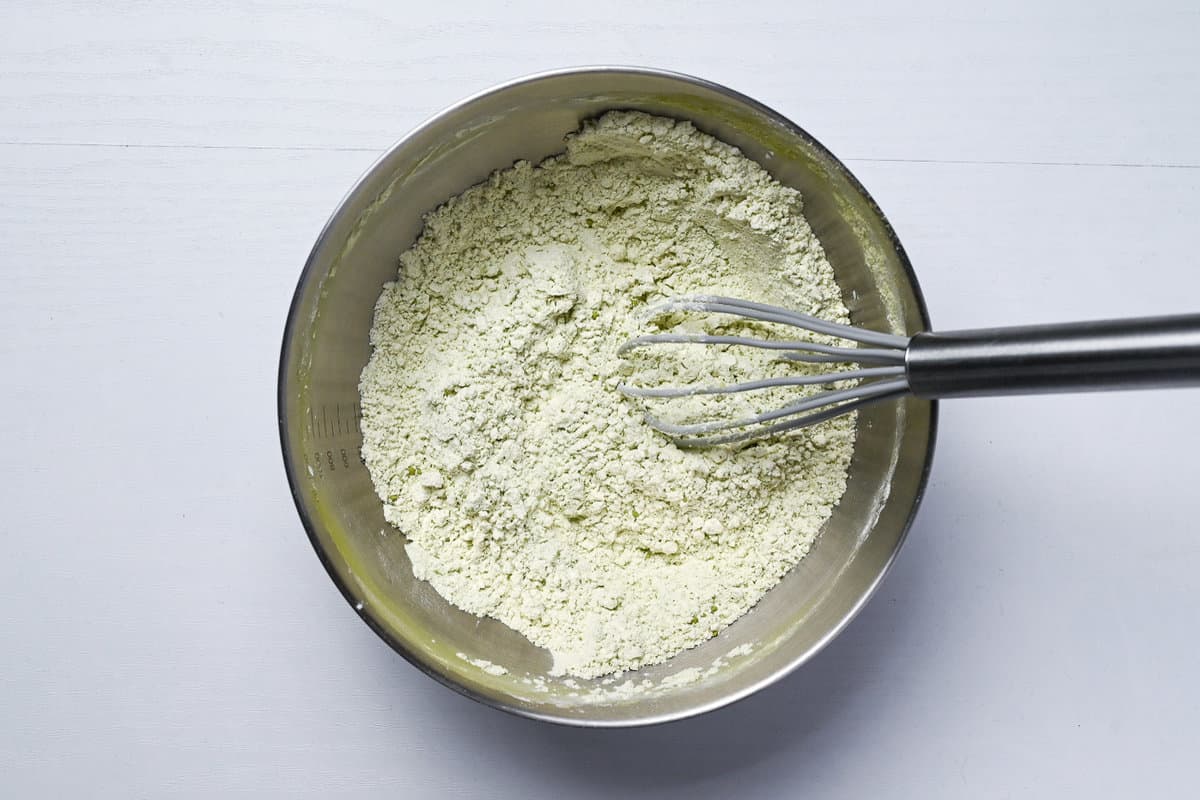
Pour the contents of the bowl of dry ingredients into the wet ingredients.
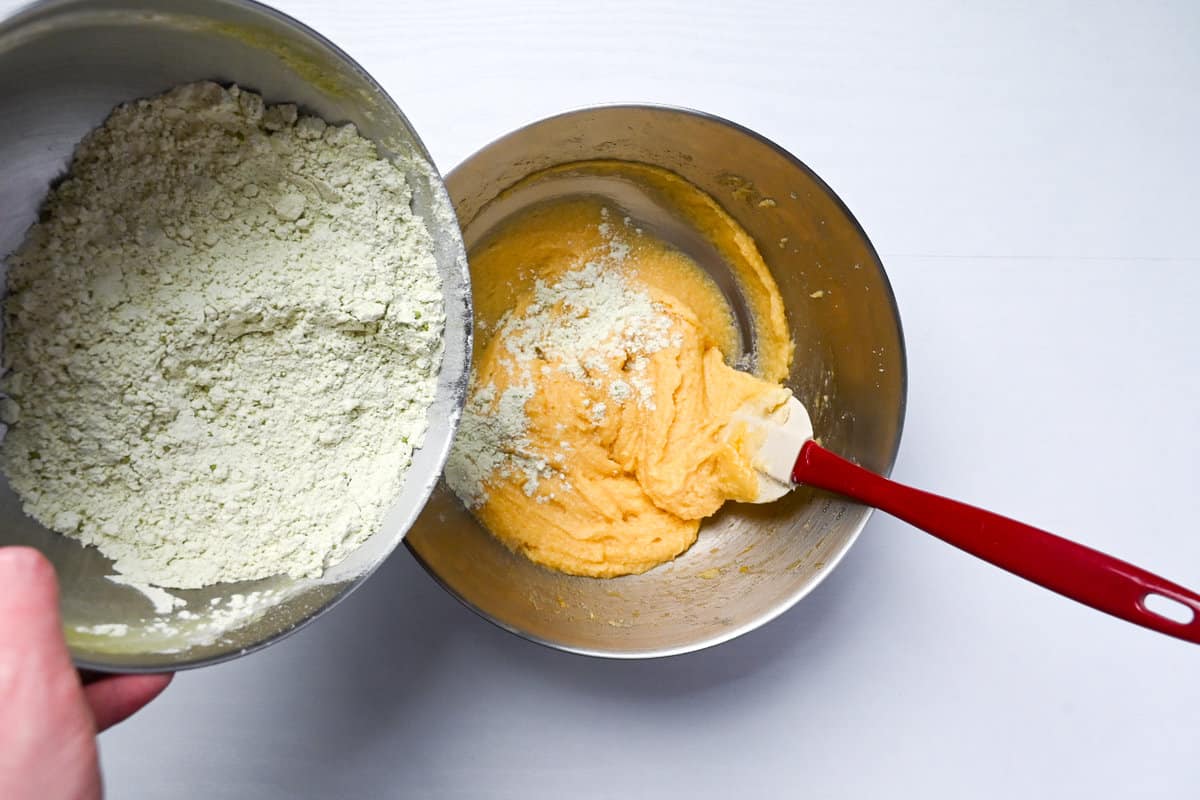
Mix until a firm but slightly sticky dough forms.
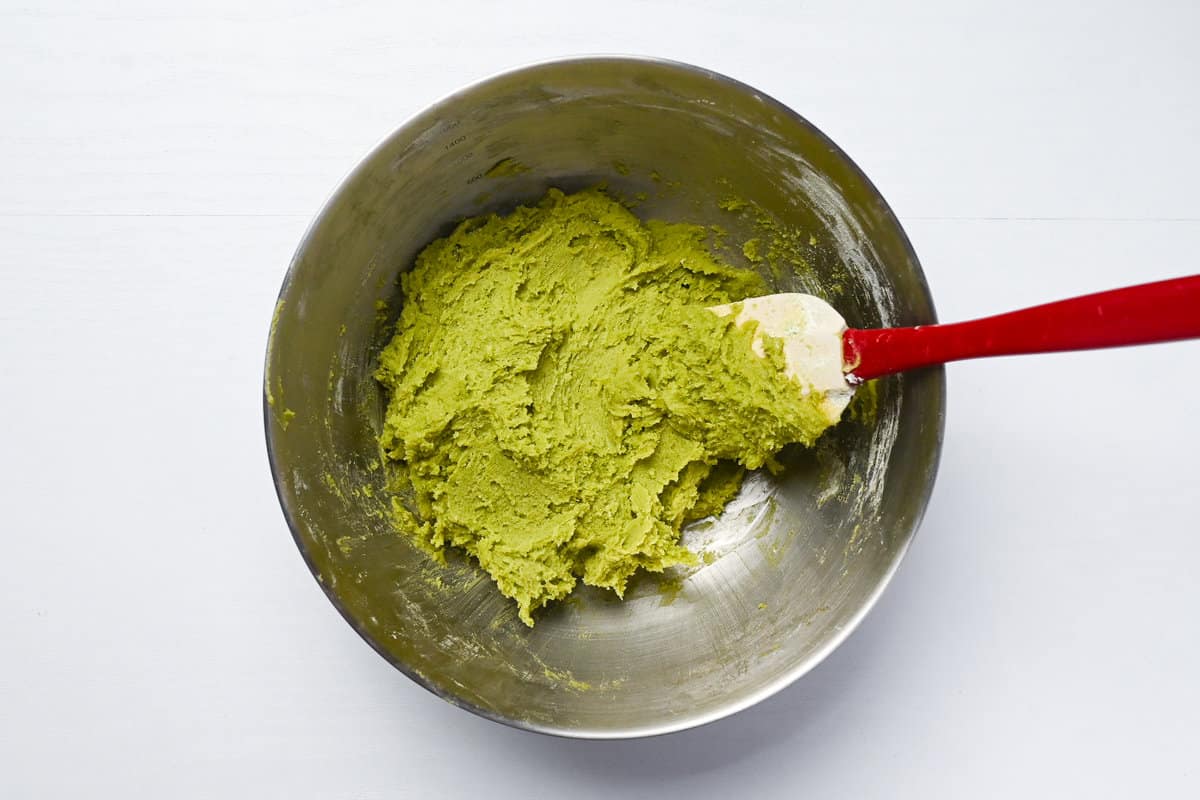
Once there’s no more dry flour visible, add the chocolate. I personally use a chocolate bar cut into chunks, but chocolate chips are also perfectly fine.
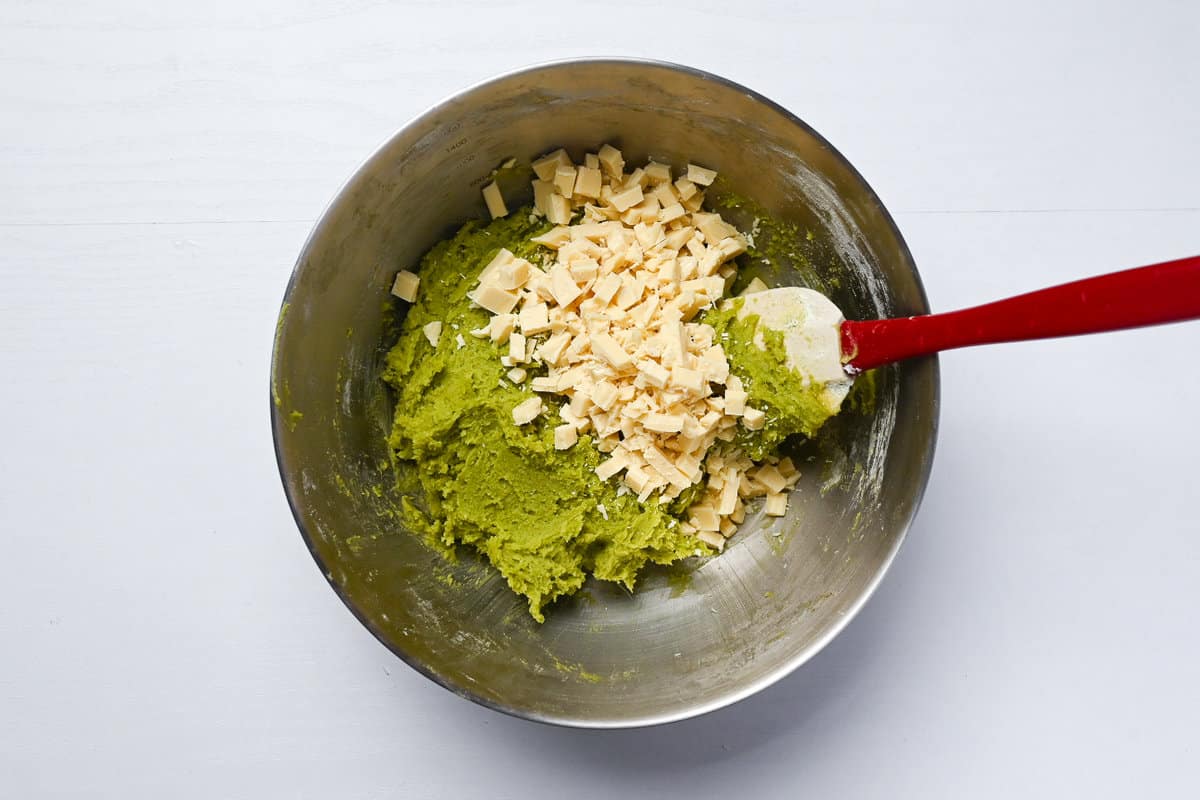
White chocolate works well with matcha because it doesn’t overpower the flavor, but if you don’t like white chocolate, you could use milk chocolate, nuts, or even boiled adzuki beans.
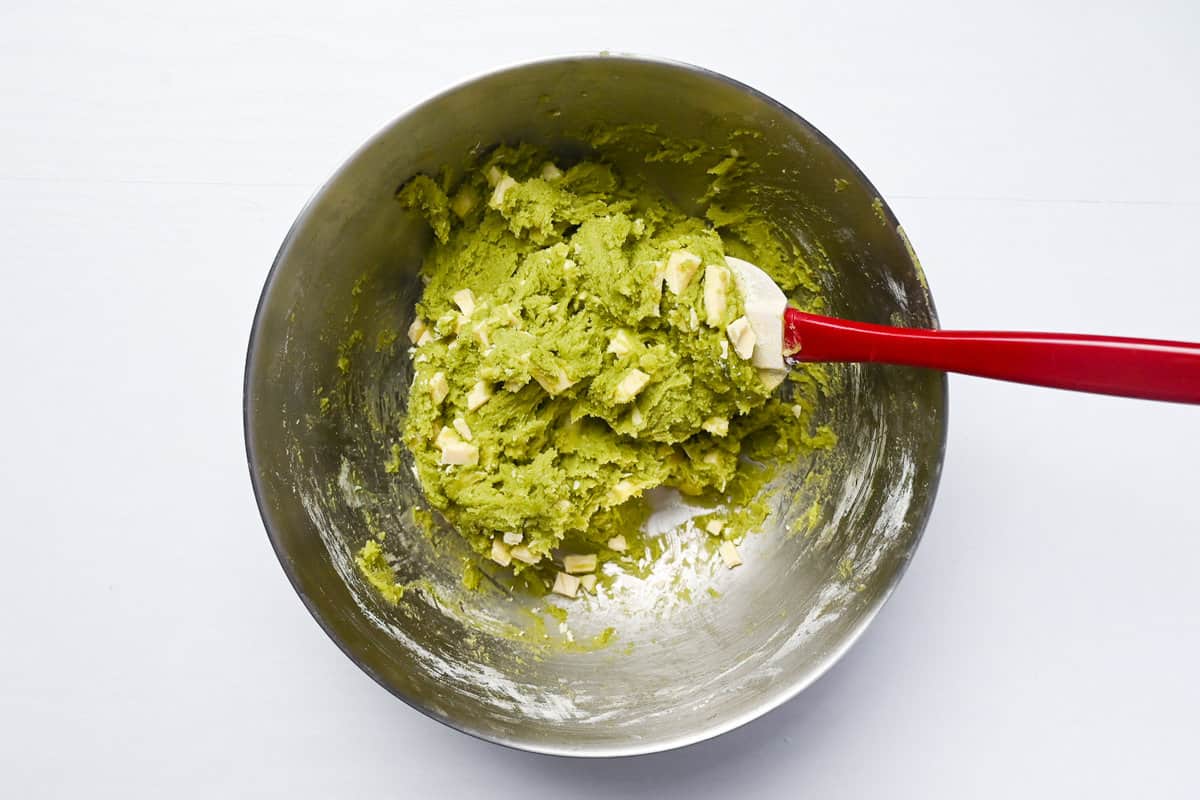
Shape the dough into balls and place them on a baking sheet lined with baking paper or a silicone baking mat (these tend to help prevent too much spreading). I usually make 16 cookies from this dough, approximately 2 tbsp (40g) of dough per cookie.
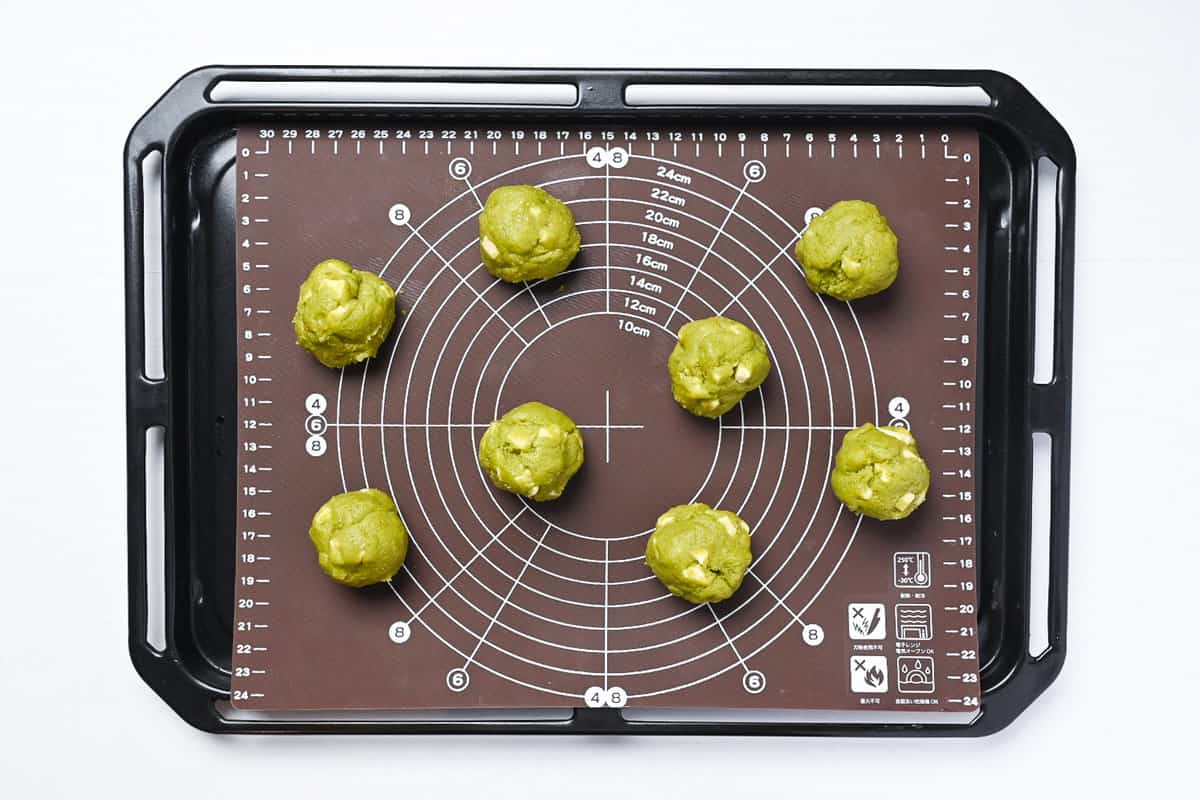
Place 8 balls of cookie dough on each sheet with plenty of space between each one; they will spread as they cook. I also recommend baking each sheet separately to ensure even cooking.
Feel free to make mini-cookies or giant cookies instead! Just be sure to adjust the baking time accordingly; smaller cookies will cook faster, but giant cookies may take a few minutes longer!
Place the baking sheet in the fridge (or freezer for a short time) and preheat the oven to 180°C (350°F). The time it takes for the oven to preheat (10 minutes or so) is the perfect amount of chilling time for the cookies.
If you prefer your cookies on the thicker side, I recommend you to chill them for at least 30 minutes but preferably 1 hour. This prevents them from spreading as much, and you’ll be left with even thicker and chewier cookies!
Once the oven is heated, place the tray of cookies on the middle shelf and bake for 8-10 minutes or until the edges are lightly browned.
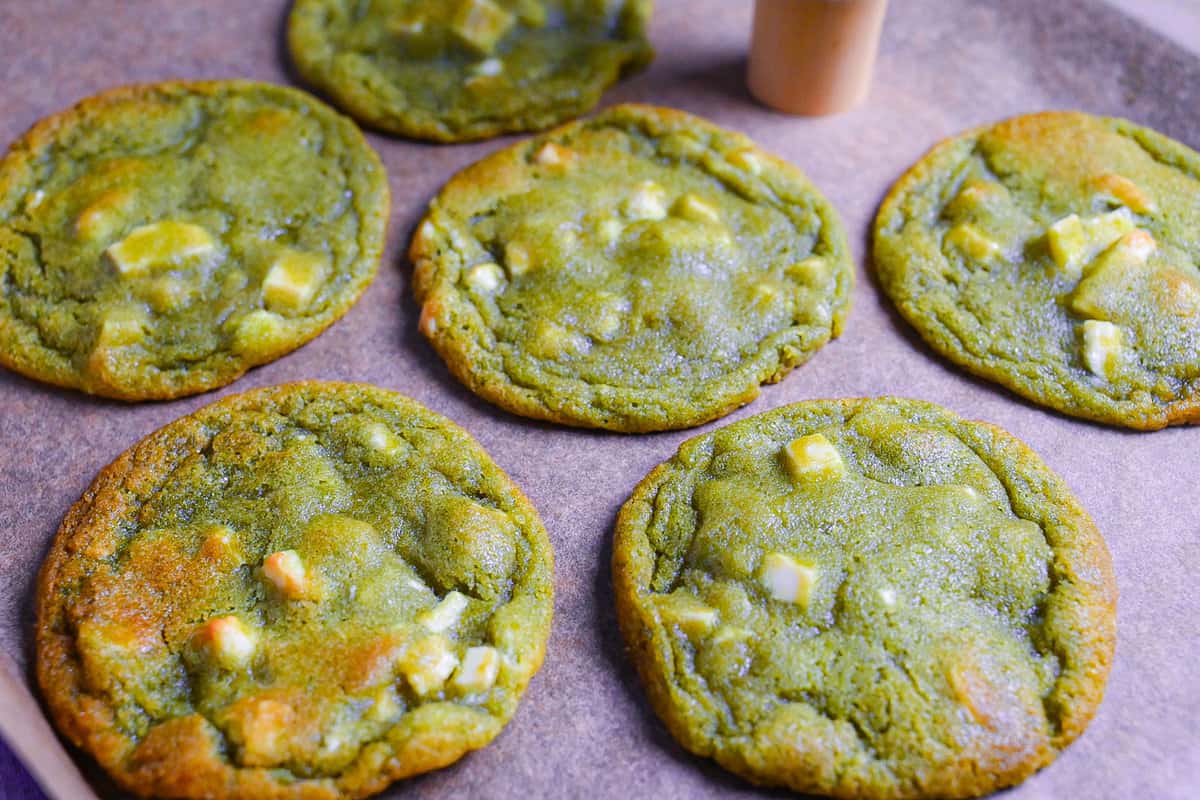
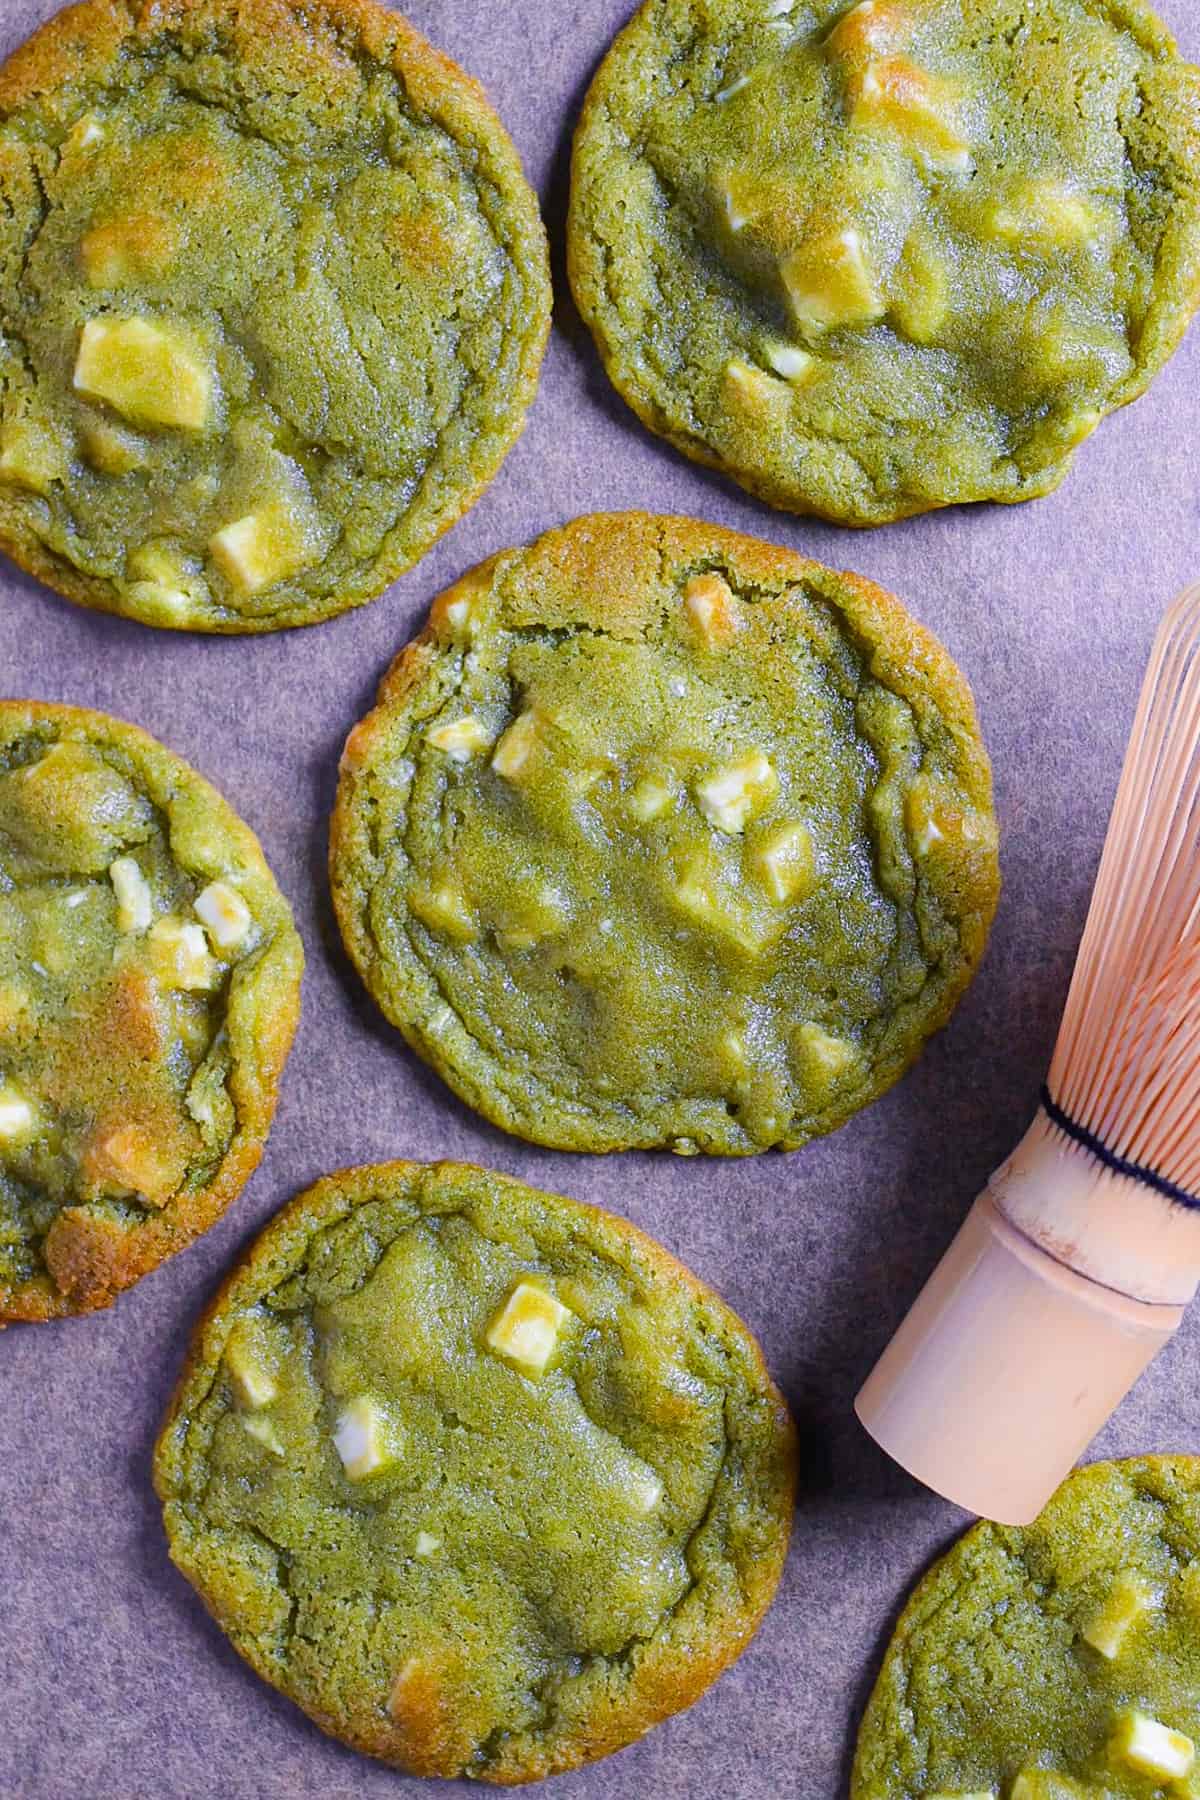
Being careful not to overbake is especially important for this recipe! The cookies should be golden around the edges but barely cooked in the middle, this is the secret to getting that soft chewy texture!
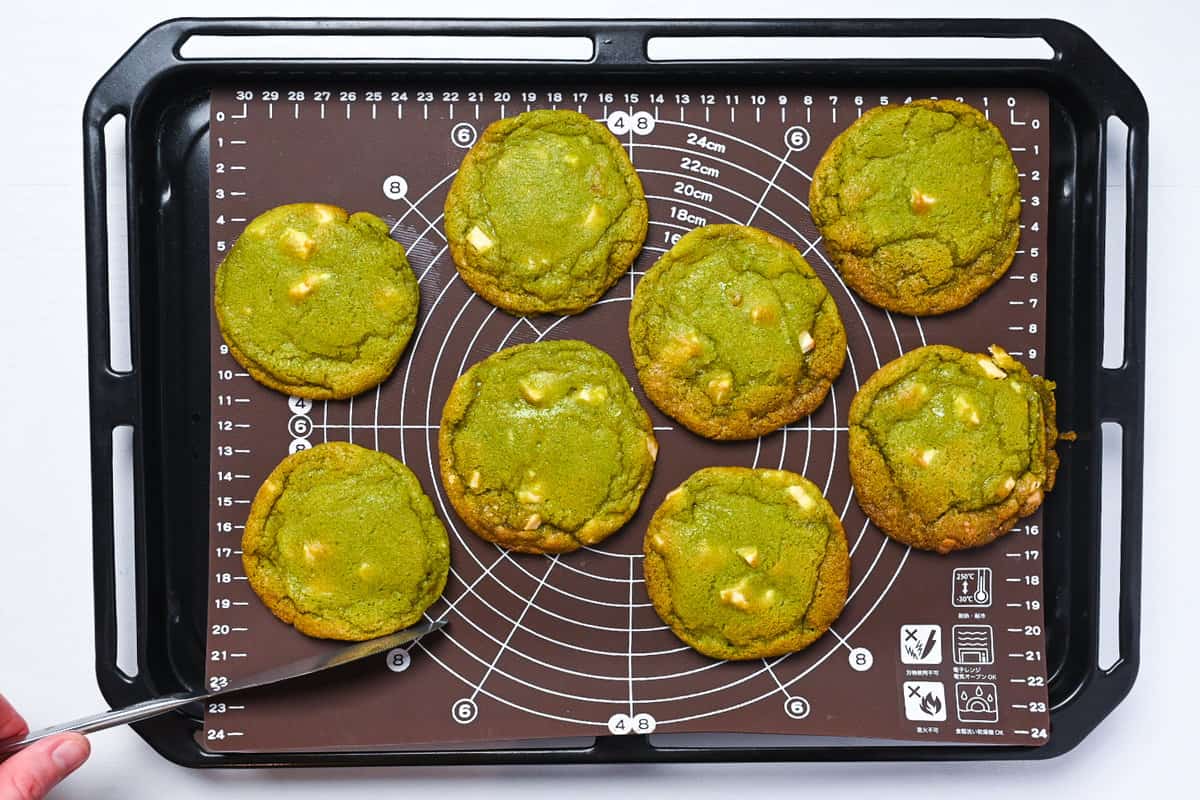
Remove the cookies from the oven and while they’re still soft, use the edge of a knife or a large glass/cookie cutter (larger than the actual cookies) to neaten the edges. This will improve the presentation but is not essential. (Don’t cut the cookies though!)
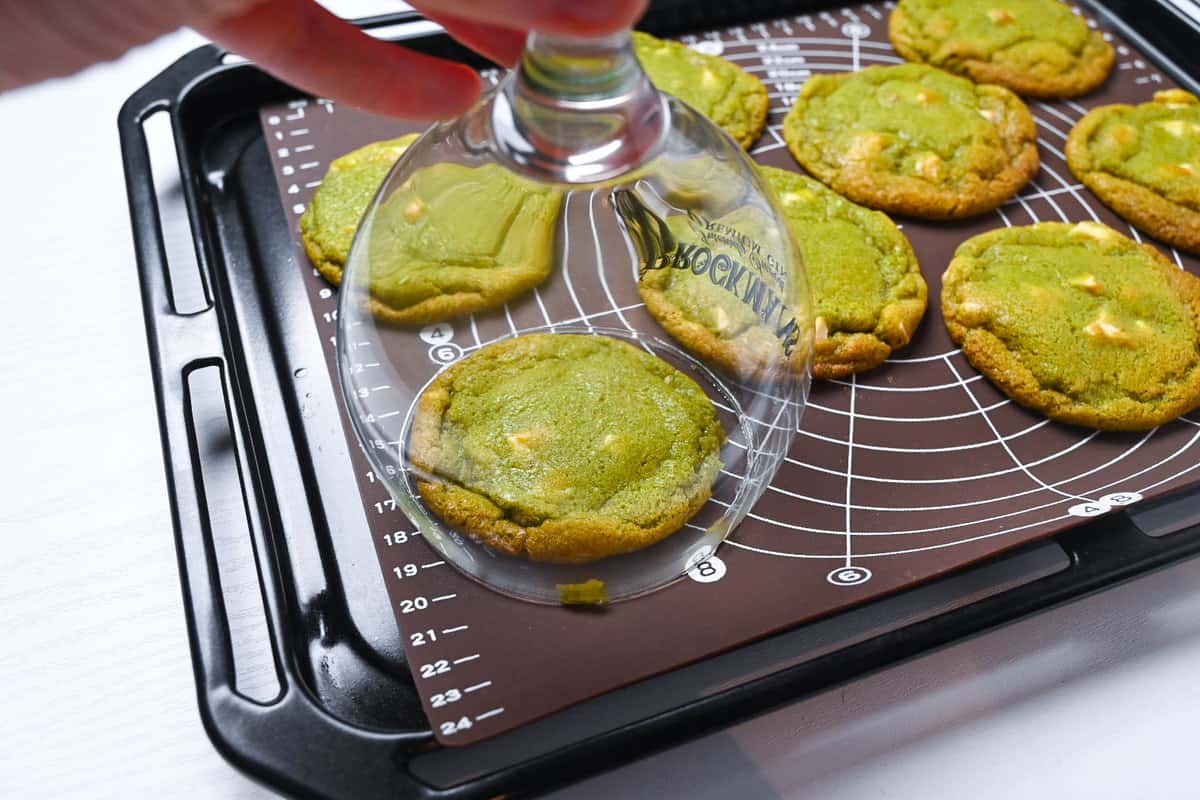
Once you’re happy with the shape, leave them to cool on the baking tray for about 20 minutes. You will not be able to move them because they will be too soft when they’re warm. (Patience is needed here, sorry!)
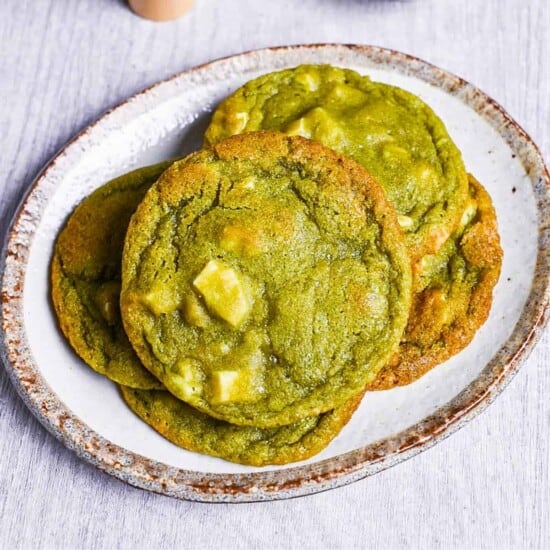
Once the cookies have cooled and firmed up, tuck in and enjoy!
Jump to Full Recipe Measurements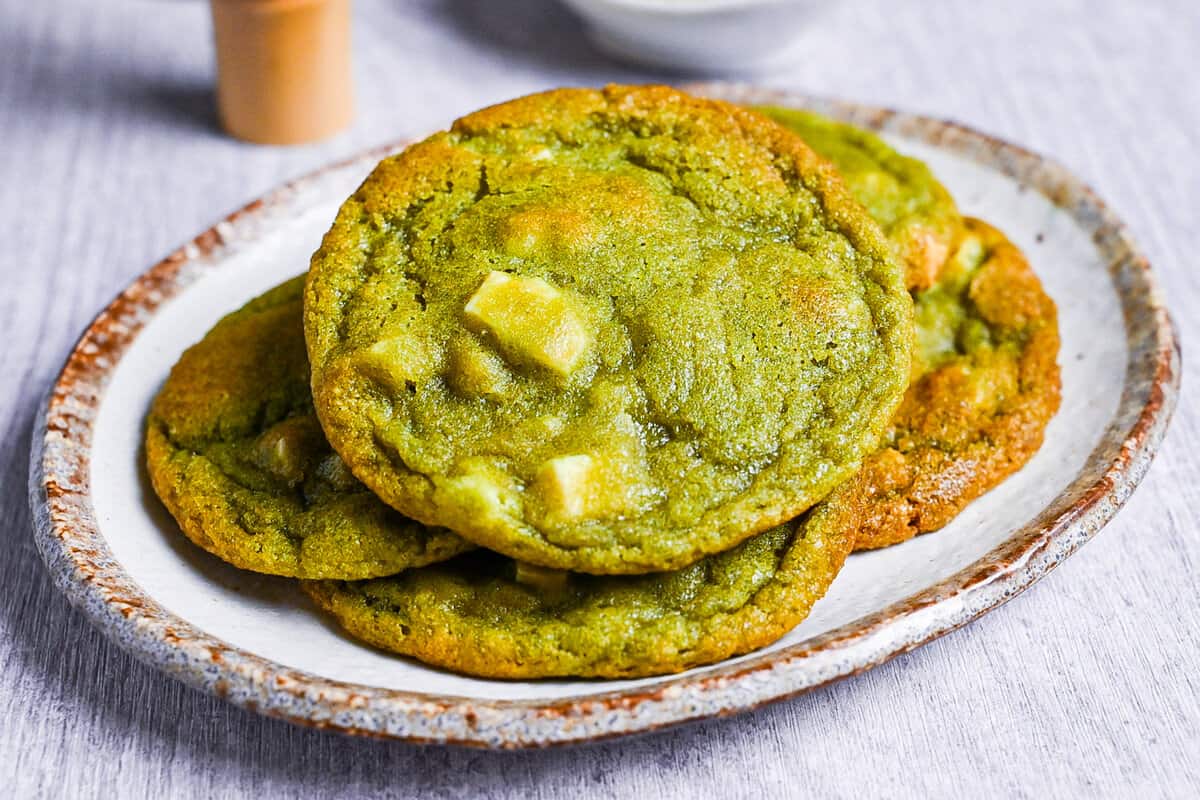
How to Store
These cookies can be stored in various ways both before and after cooking; here is my advice for storing these matcha and white chocolate cookies.
Before baking (cookie dough)
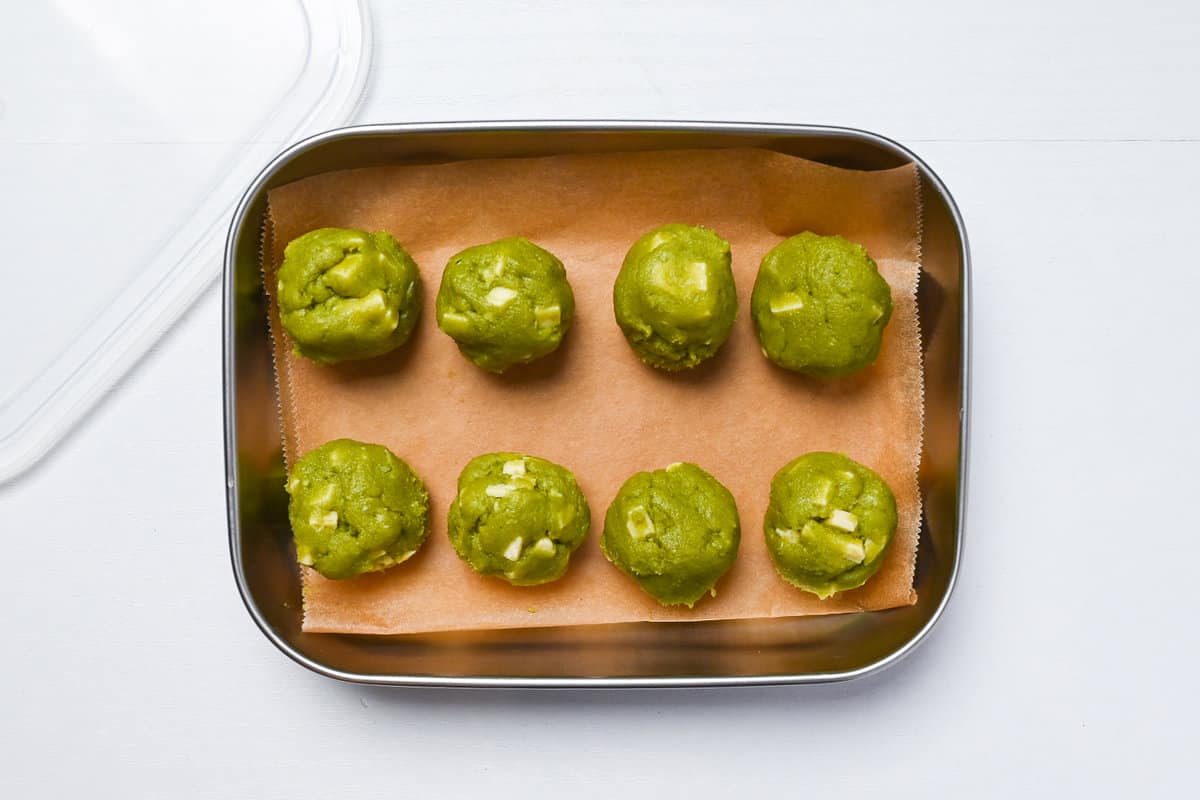
Storing the dough before baking means that you can enjoy freshly baked cookies anytime without all the fuss! Just roll the dough into balls and store it using the instructions below.
- Refrigerate – to be safe, chill and use within 2-3 days.
- Freeze – place on a tray spaced apart and freeze for a few hours, then transfer to a freezer bag or similar and store for up to 2 months. (Thaw for an hour at room temperature or a few hours in the fridge.)
After baking
Once the cookies are baked, make sure to let them cool completely before storing them. Here are my storage instructions for baked cookies.
- Room temperature – store in an airtight container at room temperature for 3-4 days
- Refrigerate – store in an airtight container in the fridge for up to 1 week
- Freeze – place in a freezable container and freeze for up to 2 months. Thaw at room temperature
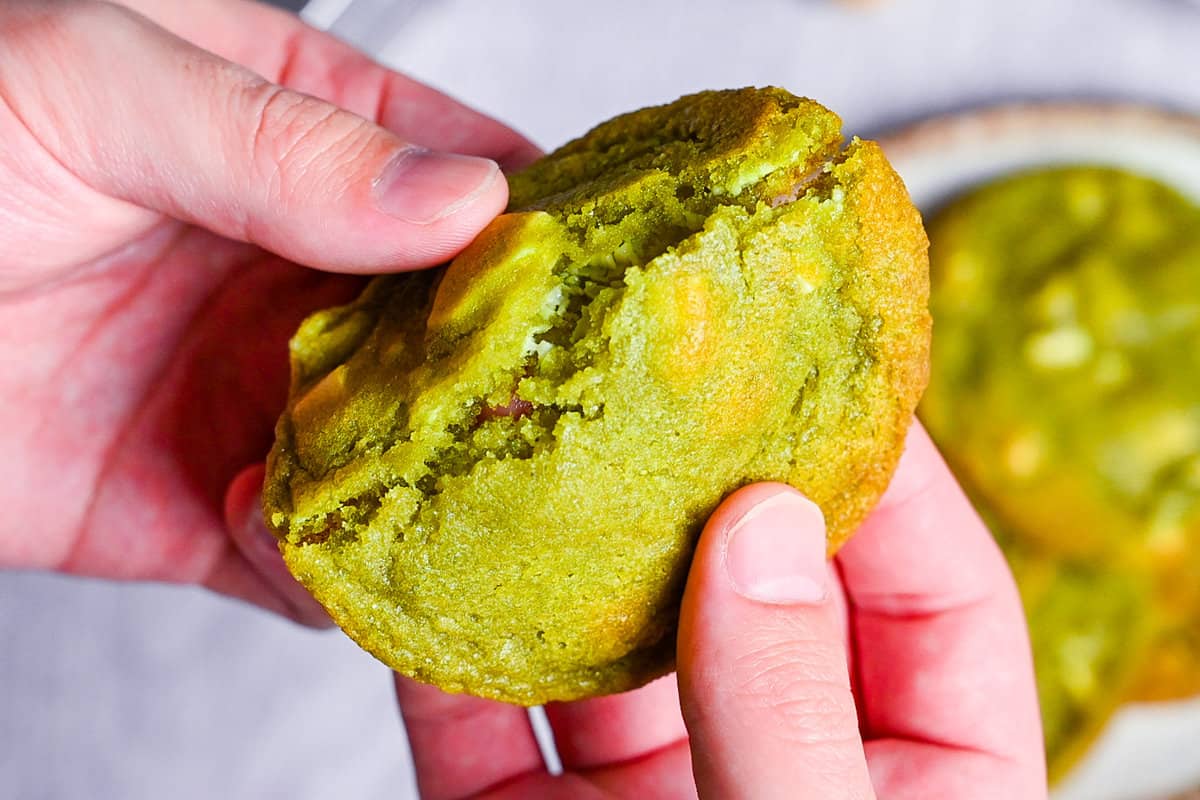
I hope you enjoy this Matcha Cookie recipe! If you try it out, I’d really appreciate it if you could spare a moment to let me know what you thought by giving a review and star rating in the comments below. It’s also helpful to share any adjustments you made to the recipe with our other readers. Thank you!
More Japanese-style Dessert Recipes
- Sata Andagi (Okinawan Donuts)
- Matcha Roll Cake (Green Tea Swiss Roll)
- Matcha Christmas Tree Butter Cookies
- Fudgy Dark Chocolate and Matcha Brownies
Want more inspiration? Explore my Japanese Dessert Roundup Post for a carefully selected collection of tasty recipe ideas to spark your next tea party!
Matcha and White Chocolate Cookies
Equipment
- Silicone Baking Mat
- Silicone Spatula
- Steel Mixing Bowls
Ingredients
- 110 g unsalted butter room temperature
- 100 g white sugar
- 100 g light brown sugar
- 1 egg preferably room temperature
- ½ tsp vanilla essence or ½ the amount of vanilla extract
- 180 g all-purpose flour
- 1 tbsp matcha powder
- 1 tsp baking soda
- ¼ tsp salt
- 150 g white chocolate
My recommended brands of ingredients and seasonings can be found in my Japanese pantry guide.
Can’t find certain Japanese ingredients? See my substitution guide here.
Instructions
- Take a large mixing bowl and mix 110 g unsalted butter, 100 g white sugar and 100 g light brown sugar until smooth and creamy.

- Crack 1 egg into the bowl and add ½ tsp vanilla essence. Mix gently but thoroughly until well combined, being careful not to let the egg get foamy.

- In a separate bowl, add 180 g all-purpose flour, 1 tsp baking soda and ¼ tsp salt. Sift in 1 tbsp matcha powder and whisk until evenly distributed.

- Pour the dry ingredients into the wet ingredients and mix until a dough forms.

- Cut 150 g white chocolate into rough chunks and mix them into the dough.

- Line your baking sheet(s) with baking paper and roll the dough into 40g balls (approx 2 tbsp per cookie). Place the balls of dough on the baking sheet with plenty of space between (they will spread as they bake).Place the baking sheet(s) in the fridge or freezer and allow them to chill while you preheat the oven to 180 °C °C (356 °F).

- Once the oven is heated, place the cookies on the middle shelf (I recommend one baking sheet at a time for more even cooking) and bake for 8-10 minutes or until slightly brown around the edges. (The middle will be barely cooked and this is a good thing, do not overbake!)

- While they're still hot, take a large glass or cookie cutter (it should be bigger than the cookies) and place it over one cookie. Move it in a circular motion to neaten the edges and make each cookie perfectly round (do not cut!). Alternatively, neaten the edges using the side of a cutlery knife.Allow the cookies to cool for 20-30 minutes on the baking sheet.

- Enjoy!
Notes
- If you prefer thicker cookies, chill in the fridge for 30 minutes to one hour before putting them in the oven.
- Baked cookies can be stored in an airtight container at room temperature for 3-4 days, in the fridge for 1 week or in the freezer for up to 2 months.
- Unbaked cookie dough can be stored in the refrigerator for 2-3 days or frozen for up to 2 months.


Leave a rating and a comment