

What is Shio Onigiri?
Onigiri (おにぎり) which is cooked rice shaped into triangles, spheres, or cylinders, is a staple in Japanese lunchboxes. Also known as nigiri or omusubi, these “rice balls” are a popular and versatile food and are commonly made both at home and found in supermarkets and bento shops across Japan.
It dates back to the Yayoi period (300-250BC), making it one of Japan’s most ancient foods. Originally made with glutinous rice, it evolved over time with the addition of pickles and salty fillings.
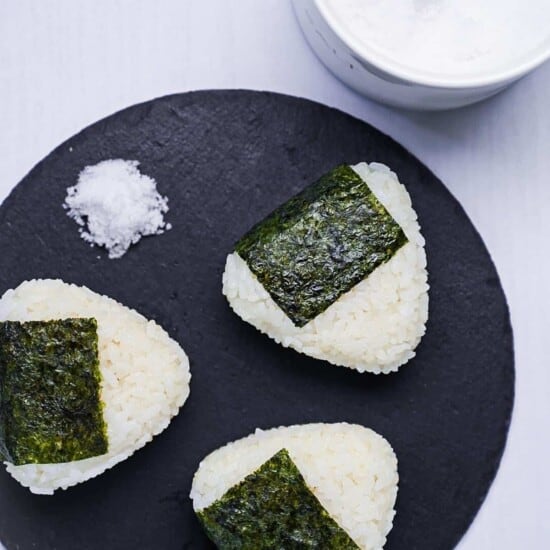
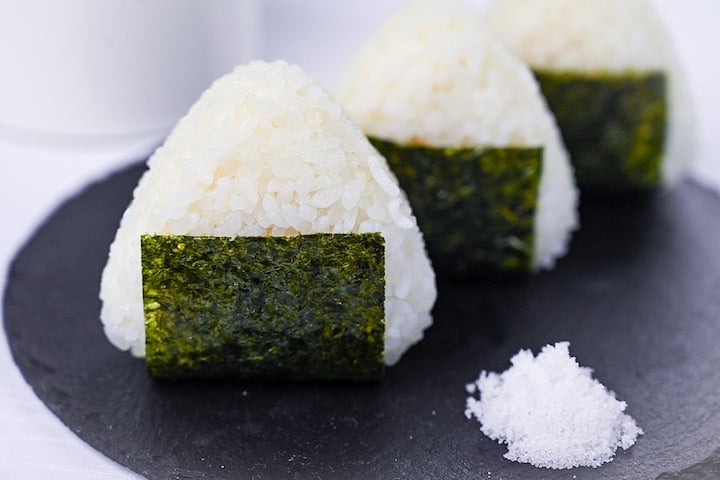
The simplest and most popular variety, Shio Onigiri, consists of just rice, salt, and nori seaweed. Its simplicity, similar conceptually to a slice of buttered toast, makes it a favorite in family lunchboxes. Onigiri’s easy preparation and portability have made it a long-standing favorite in Japan.

How I Developed This Recipe
Shio onigiri might be simple with just salt and rice, but the taste can vary a lot depending on how you make it. With over 15 years of experience making onigiri, I’ve learned that the little details in the preparation process can make a big difference.
As I developed this recipe, I focused on the techniques and small details that can take a simple salted onigiri and make it something really special.
These include things like how much salt you use, where you put it, the temperature and texture of the rice, and even the way you mold the onigiri with your hands!

Ingredients & Substitution Ideas
- Cooked Japanese Short-Grain Rice: Essential for any kind of onigiri. For recommended brands in the U.S. and cooking instructions, see my How to Cook Japanese Rice Recipe.
- Sushi Nori Seaweeds: Essential for rice balls, making onigiri truly complete.
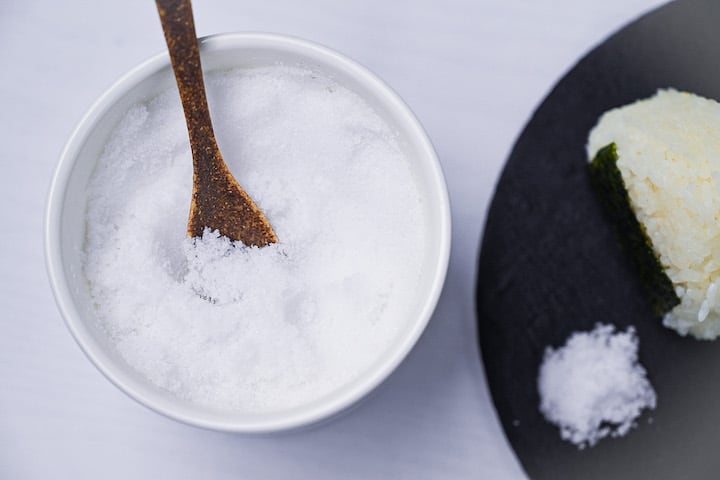
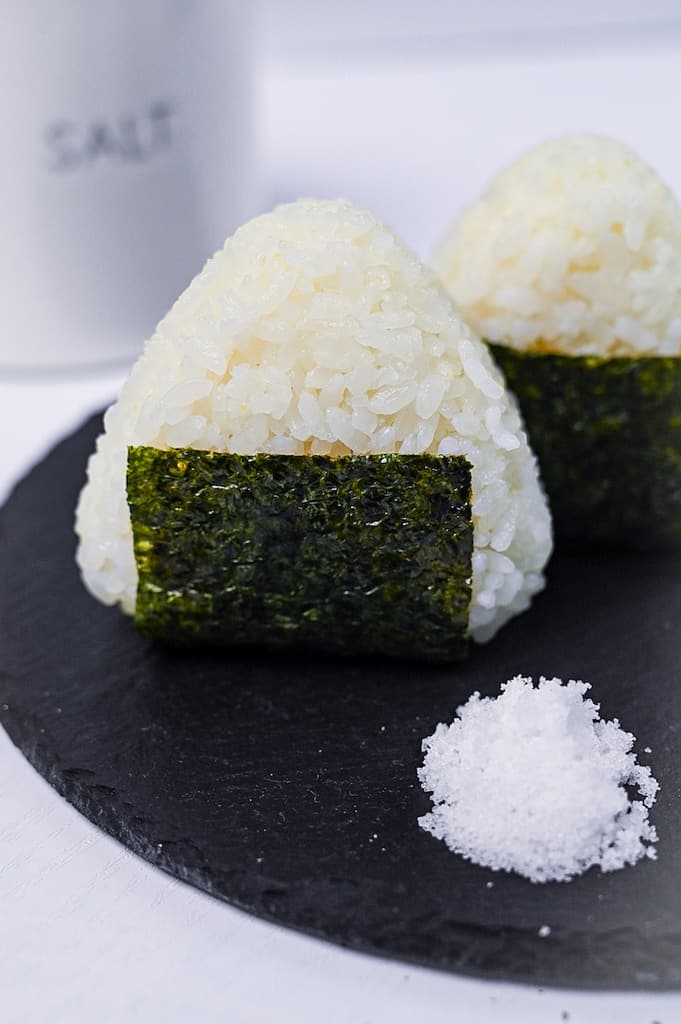
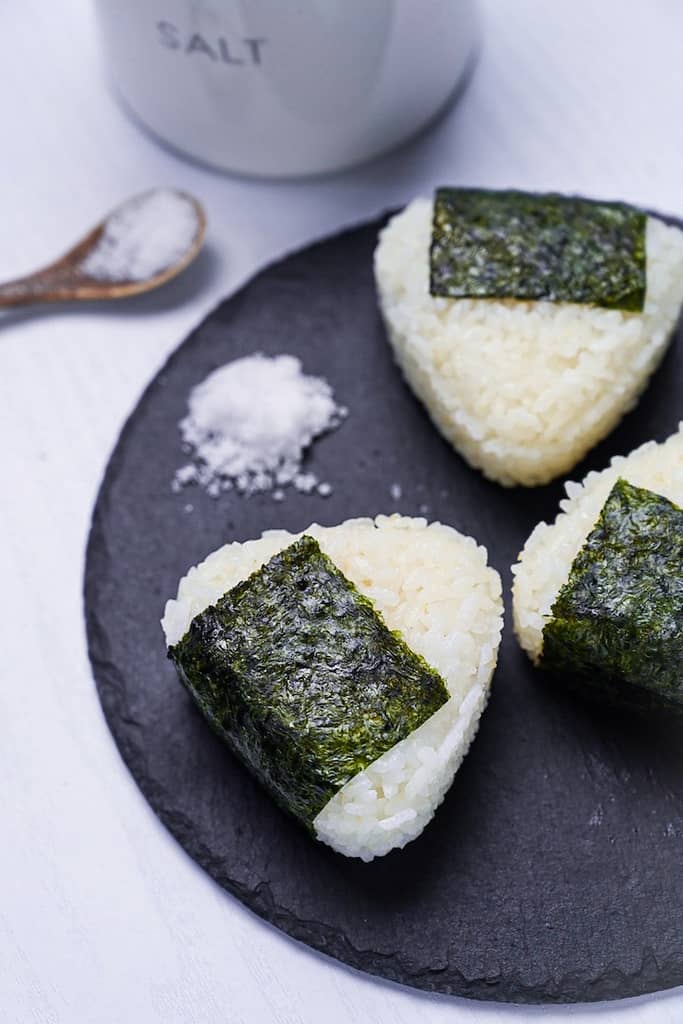
- Salt: High-quality sea salt is recommended for the best flavor.
- Ice Cold Water: Used for handling freshly cooked hot rice to stop it from sticking to your hands.
How to Shape An Onigiri
Onigiri can be shaped in three main ways: by hand, using plastic wrap, or with an onigiri mold.
Hand shaping involves wetting your hands with ice-cold water and applying salt, a traditional method that many find the most satisfying. Plastic wrap is a popular alternative for its hygiene benefits and ease of preventing rice from sticking to your hands. Onigiri molds, while less traditional, are great for consistency in size and shape, and speed up the process.
Each method has its merits, and you can find detailed instructions in the post “3 ways to shape the perfect onigiri.”
For Shio Onigiri specifically though, hand molding is especially recommended. This is because salt is applied to the palm and the salt is evenly distributed during the shaping process.
Visual Walkthrough & Tips
Here are my step-by-step instructions for how to make Shio Onigiri at home. For ingredient quantities and simplified instructions, scroll down for the Printable Recipe Card below.
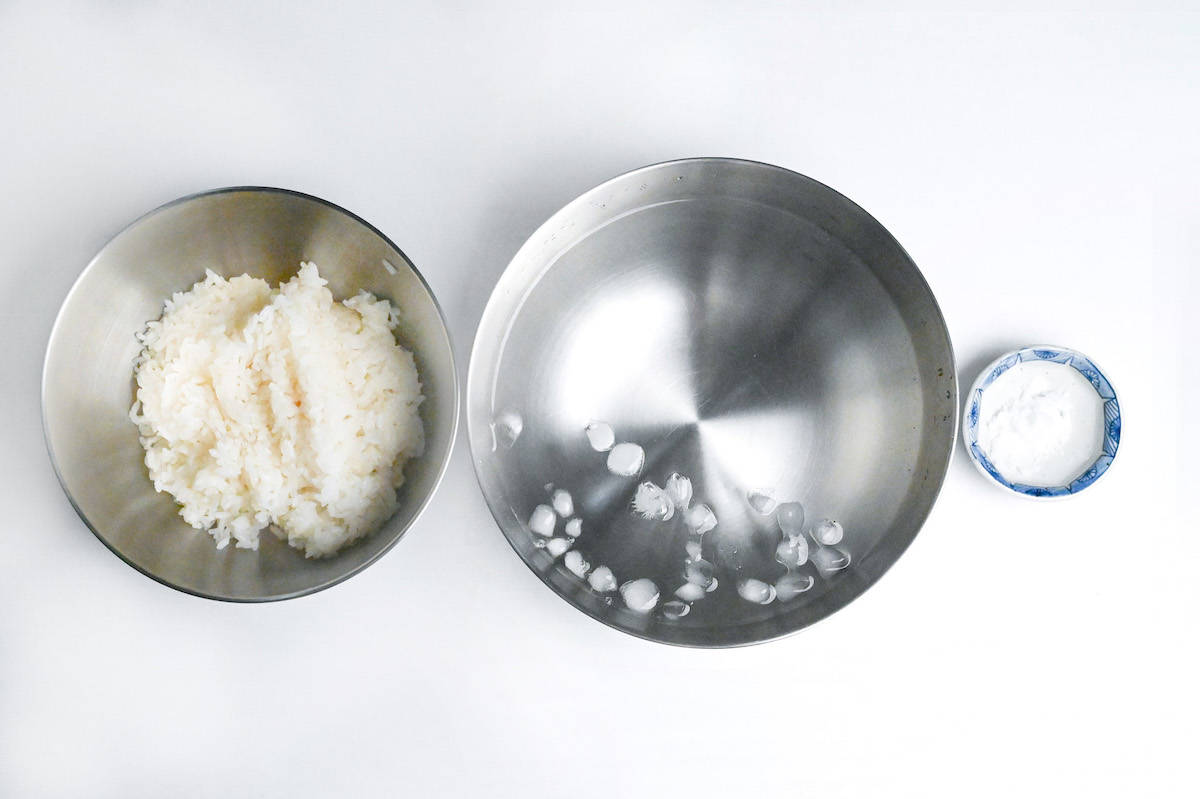
First, prepare a bowl of ice water and set aside salt along with cooked Japanese short-grain rice. This setup is key for making perfect onigiri.
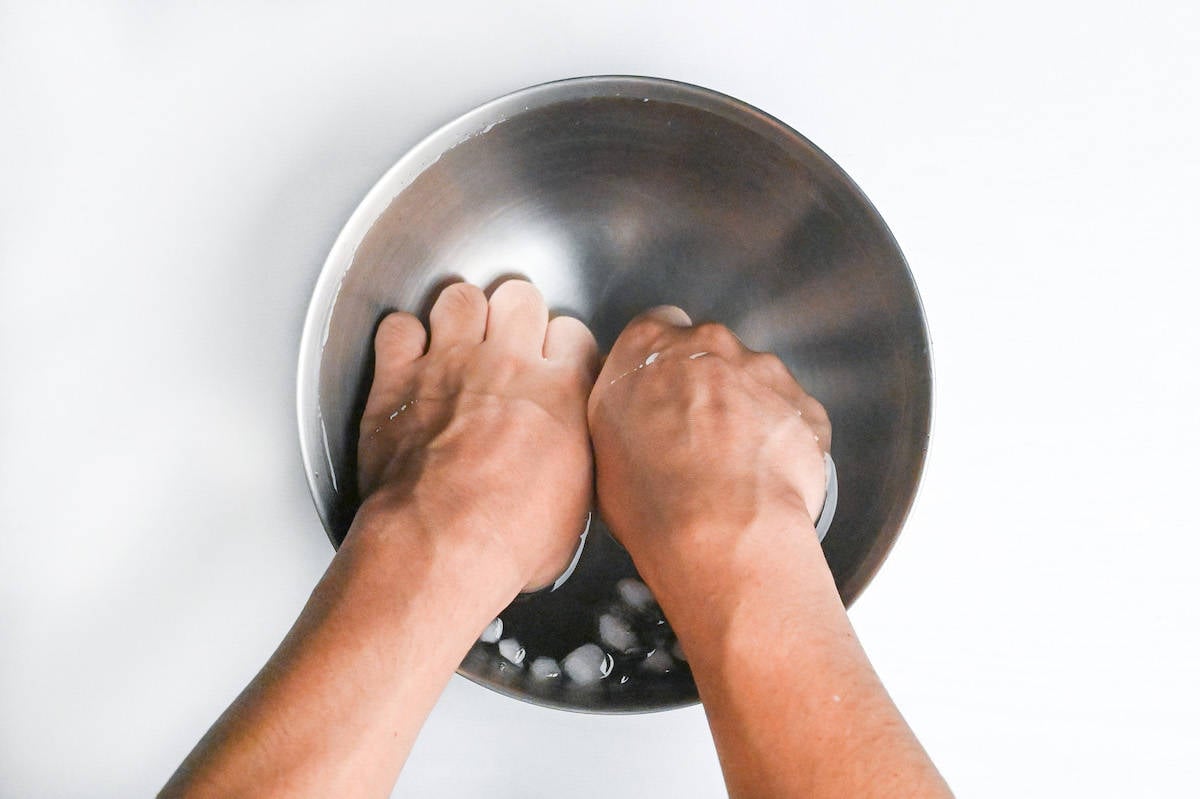
Wash your hands thoroughly, which is always important when handling food. Then, dip them into the icy water for about 15-20 seconds. This little trick prevents the rice from sticking to your hands.
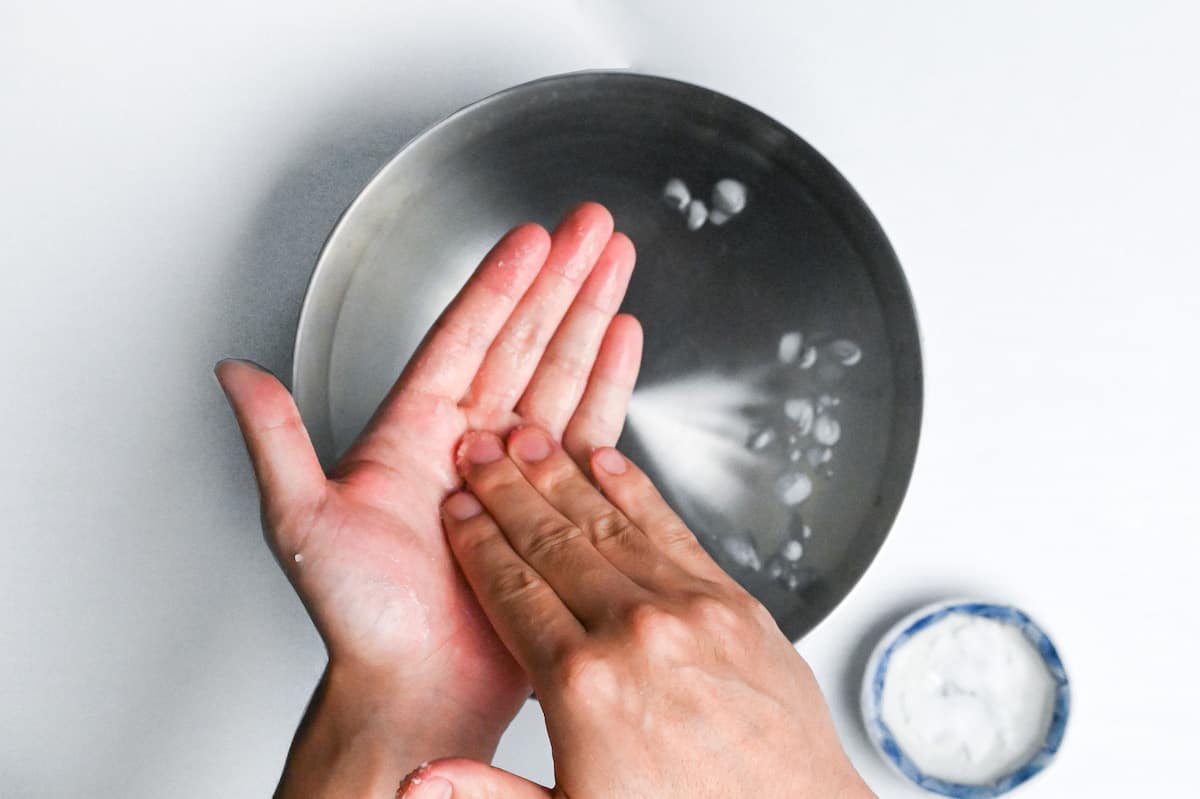
After that, rub 1-2 pinches of salt over the palms of your hands. This step is dual-purpose: it flavors the rice ball and helps preserve the rice. Plus, it adds a subtle taste to every bite.
Take a handful of the warm rice and start shaping. Use my “press and turn” technique: press the rice gently while turning it in your hands to form a triangle shape.
The key here is to work quickly and efficiently – the less you handle the rice, the better. It is also important to press the rice firmly so that it holds its shape, but gently enough so that you don’t crush the grains. This will come with practice!
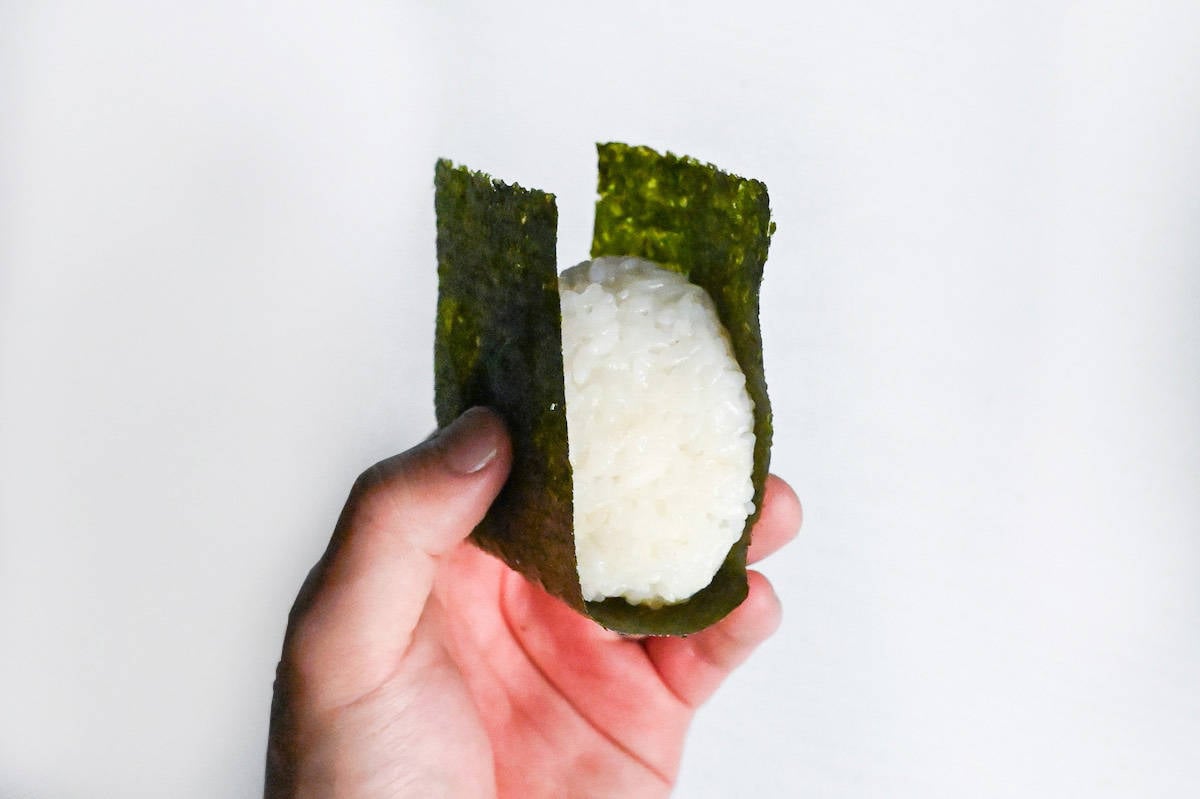
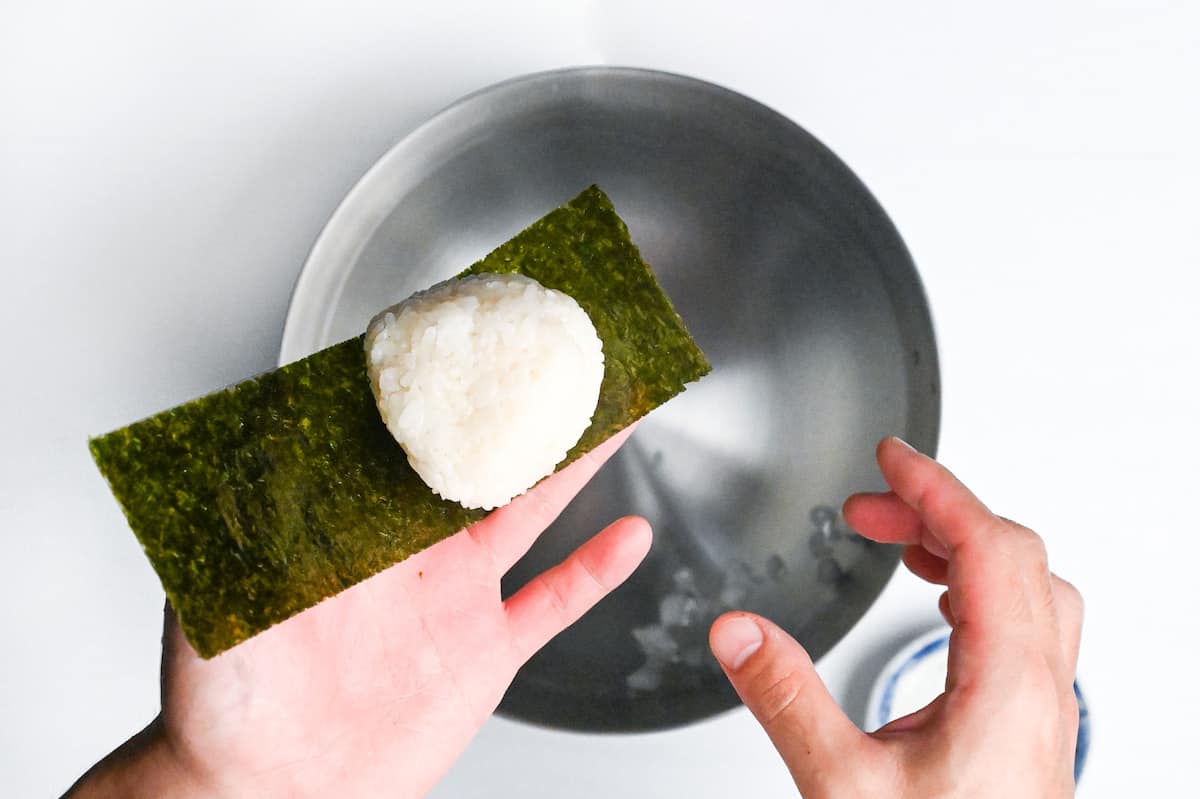
Once you’ve used up all the rice, wrap each rice ball with a strip of nori. The nori brings a nice crispness and flavor.
Jump to Full Recipe Measurements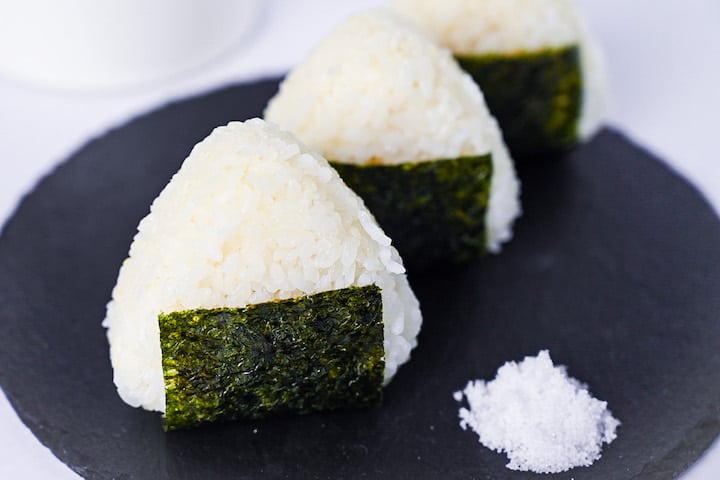
How to Store
For the freshest taste, onigiri is best made and eaten straight away, or at least on the same day.
If you end up with leftover onigiri, or if mornings are too rushed, a good alternative is to wrap the onigiri in plastic wrap (excluding the nori) and freeze them. When you’re ready to eat, microwave the onigiri and add the nori right before eating to mimic the freshness of a just-made onigiri.
Storing onigiri in the fridge is less ideal as the rice can harden and the nori may soften, detracting from its quality and texture.
FAQ
It’s best to use Japanese short-grain rice as it has a sticky texture that will allow onigiri to hold its shape.
Nope! You eat it with your hands. We wrap the nori to stop the rice from sticking to our hands, but you can also just hold it in the plastic wrap if you don’t like nori.
Ideally, homemade onigiri is best to be eaten warm, but convenience store ones are usually chilled. Because of this, store-bought onigiri are slightly drier in texture.
While the answer is yes, when onigiri is stored in the fridge, the rice becomes hard and the nori becomes soft. I personally like to freeze onigiri (without nori) and then microwave it before eating. I add the nori just before eating so that it has some crunch.
I hope you enjoy this Shio Onigiri recipe! If you try it out, I’d really appreciate it if you could spare a moment to let me know what you thought by giving a review and star rating in the comments below. It’s also helpful to share any adjustments you made to the recipe with our other readers. Thank you!
More Onigiri Recipes
- Yaki Onigiri (Grilled Rice Balls)
- Japanese Salmon Rice Balls (Sake Onigiri)
- “Okaka Onigiri” Bonito Flakes Rice Ball
- Chicken Soboro Onigiri (Ground Chicken Rice Ball)
Hungry for more? Explore my onigiri recipe collection to find your next favorite dishes!

Simple Shio Onigiri (Salted Japanese Rice Ball)

Ingredients
- 700 g cooked Japanese short-grain rice check how to cook Japanese rice here
- ½ tbsp salt fine sea salt is recommended
- 3 sheets roasted seaweed for sushi (nori) cut into strips
- 1 bowl ice cold water
The ingredient brands and tools I trust are in my Japanese pantry guide and my cooking tools guide.
Can’t find certain Japanese ingredients? See my substitution guide here.
Instructions
- Set up a bowl of ice water, 1/2 tbsp salt and 700 g cooked Japanese short-grain rice.

- Wash your hands thoroughly and then submerge them into the bowl of icy cold water for about 15-20 seconds. This will stop the rice sticking to your hands.
- Rub 1-2 pinches of salt over the palms your hands. This not only adds the flavour to the rice ball, but also helps preserve the rice.
- Take a handful of warm cooked rice and pressing the edges while turning to form a triangle shape. My technique is "press and turn" until the onigiri becomes a firm triangle shape. (Don't handle the rice for too long, quicker is better.)

- Repeat until you’ve used up your rice (you should be able to make 5-6 rice balls) and then wrap each onigiri with nori.
- Eat straight away or put in your lunch box with an ice pack. Best eaten the same day.
- Enjoy!
Video
Notes
- Use cooked Japanese short-grain rice for authentic onigiri (see “How to Cook Japanese Rice” recipe for recommended U.S. brands and cooking instructions).
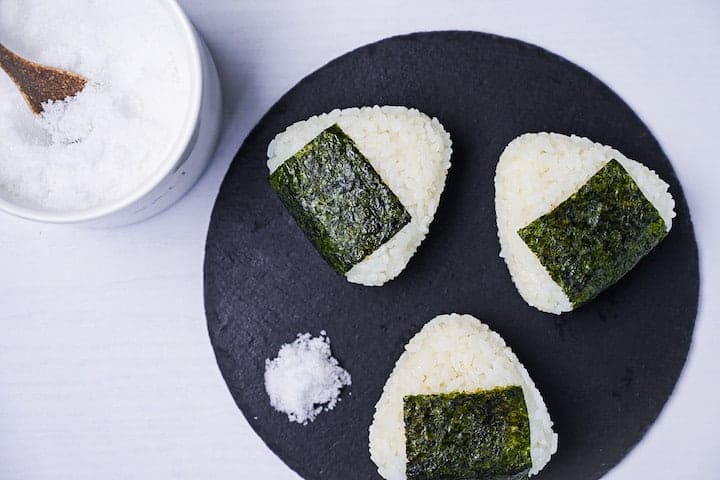
- Shape each onigiri to approximately 100-120g per piece for standard size.
- Wrap rice in plastic film if you prefer minimal hand contact, but remember to add salt to the plastic before shaping.
- For next-day lunches, wrap onigiri in plastic and freeze without nori, then microwave and add nori before eating or packing.
- Watch the instructional video for a detailed visual guide if you’re struggling with the shaping technique.
Leave a rating and a comment