Disclaimer: This post may contain Amazon affiliate links. Sudachi earns a small percentage from qualifying purchases at no extra cost to you. See disclaimer for more info.
What is Ohagi?
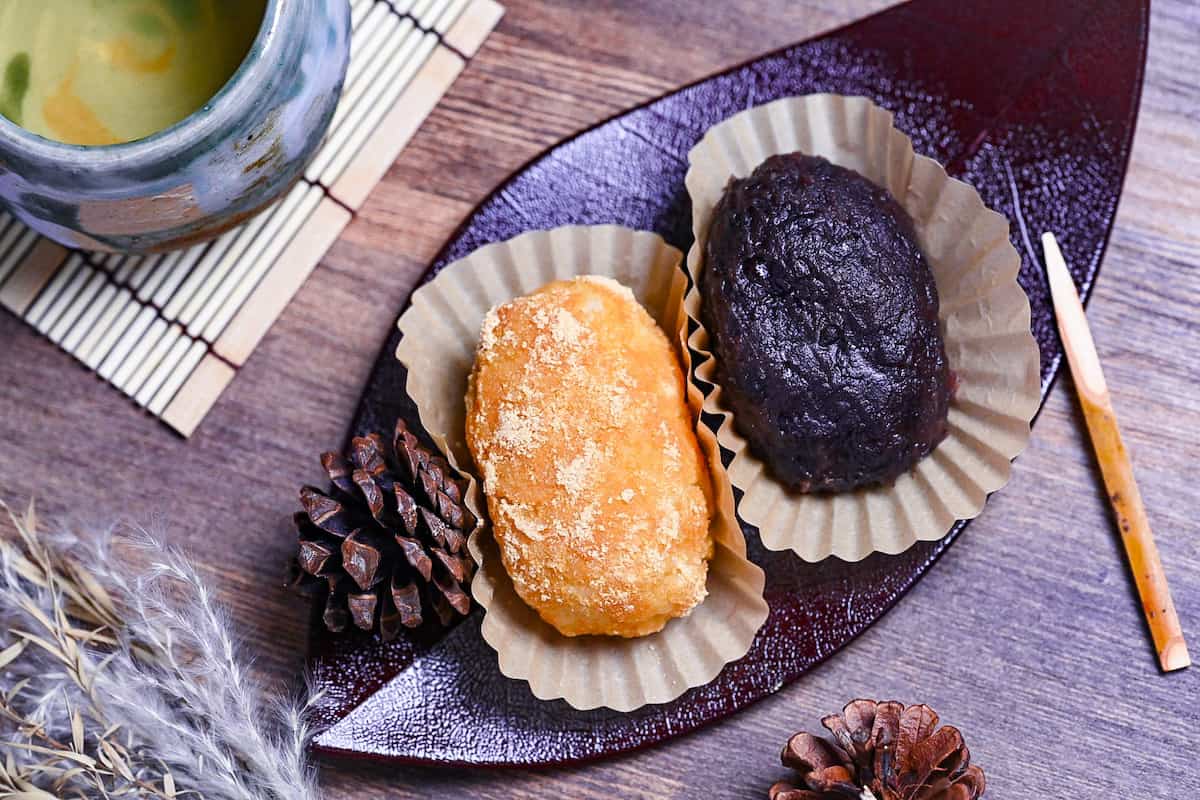
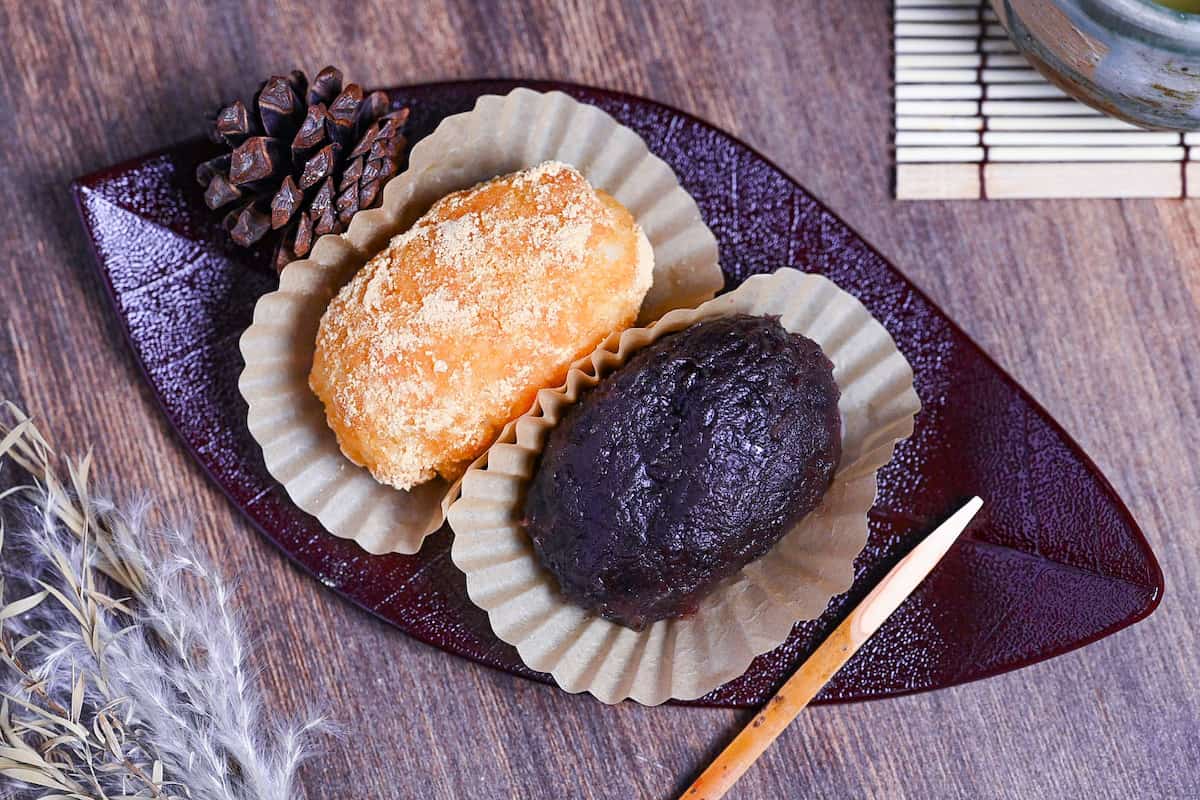
Ohagi (おはぎ) is a type of “wagashi” (Japanese sweet) made with sweet glutinous rice called mochigome. The rice is cooked, lightly pounded and shaped into an oval or ball. It is most commonly wrapped or stuffed with a chunky red bean paste known as anko or tsubuan, however other toppings such as roasted soybean powder (kinako) or ground black sesame seeds are also common.
Ohagi is typically enjoyed in the Autumn and used as an offering during the Japanese Buddhist holiday called “Ohigan”. Ohigan falls twice a year during the week of the Spring and Autumn equinox (three days before and after). This is a time to visit and clean family graves, pray for ancestors and burn incense. It is believed that the red color of the bean paste wrapped around the ohagi helps to ward off evil spirits.
A Brief History
The two key ingredients used to make ohagi, rice and red beans, have a long history in Japanese cuisine and it is believed that ohagi has existed in Japan since the Edo Period (1603-1868). Books from the late 1600’s describe ohagi as a food of the common people, and since sugar was a luxury back then, it is likely that the original ohagi was an unsweetened version of the dish as we know it today.
The Difference Between Ohagi and Botamochi
You might have seen that ohagi is also sometimes called “botamochi”. They are very similar, both being sweet rice cakes made with mochiko and red bean paste, but there are a few small characteristics that set them apart.
Firstly, ohagi is eaten during the Autumn equinox (shuubun) and is said to be named after the Japanese bush clover called “hagi” in Japanese, which blooms in Autumn. On the other hand, botamochi is eaten during the Spring equinox (shunbun) and is named after the peony flower which blooms in Spring.
When adzuki beans are freshly harvested in mid-September, the skins are still soft and in an ideal condition to be used in chunky red bean pastes such as tsubuan (containing whole beans) or tsubushian (mashed). By spring, it is said that the shells harden and are better removed to make a smooth red bean paste called “koshian”. With this in mind, ohagi is typically wrapped in tsubuan whereas botamochi is coated with koshian.
Depending on your choice of red bean paste, you can use my recipe to make both ohagi and botamochi!
Ingredients & Substitution Ideas

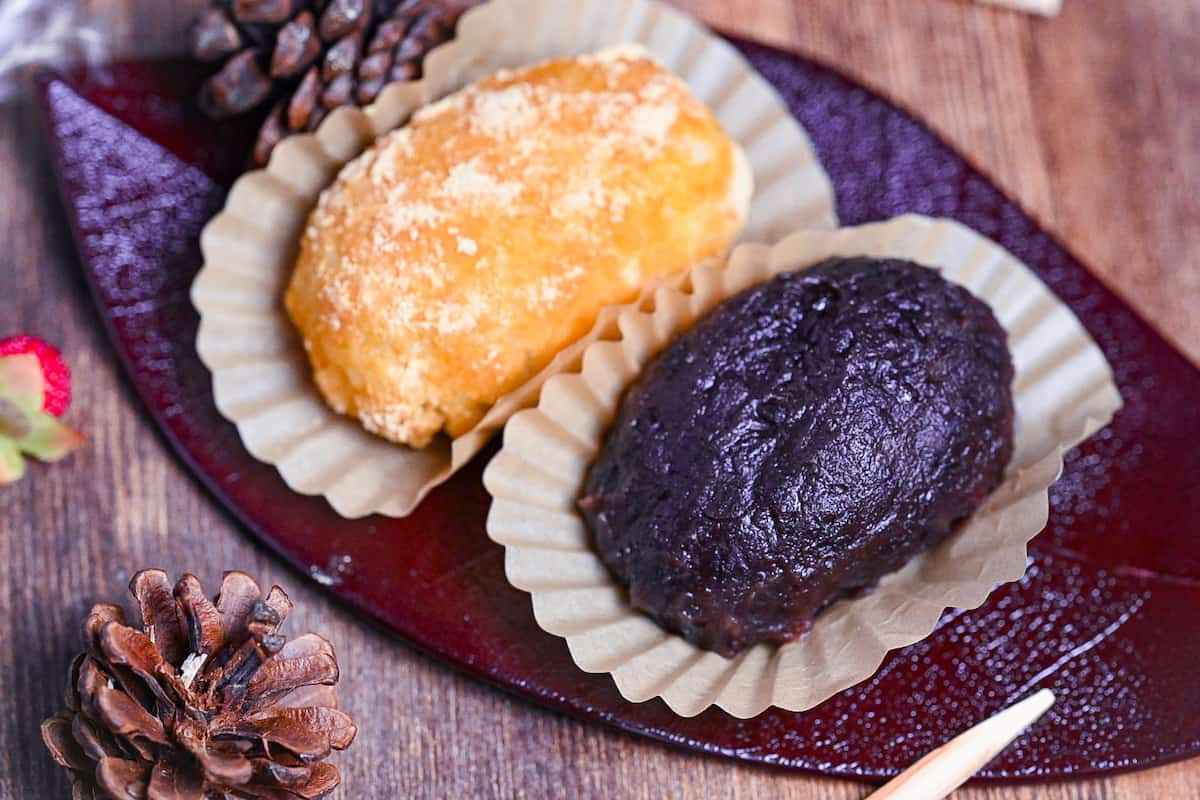
In this recipe, I will show you how to make two of the most popular types of ohagi, one wrapped in chunky red bean paste and one coated with roasted soybean powder. To make both, you will need:
- Mochigome – Also known as “sweet rice”, mochigome is a type of sticky glutinous rice with a high starch content and mildly sweet flavor. It’s not uncommon to use a mixture of white short-grain Japanese rice (uruchimai) for ohagi, but I prefer to stick to mochigome for the ultimate soft and sticky texture.
- Anko – Also known as “red bean paste” in English, this is the second most important ingredient required to make ohagi and can be used to coat or fill the rice, depending on your preference. Use tsubuan (chunky red bean paste) for ohagi or koshian (smooth) for botamochi. You can use store-bought or learn how to make it yourself using my homemade tsubuan recipe!
- Sugar – Regular caster or granulated white sugar works best in this recipe and can be adjusted to suit your taste.
- Kinako – Roasted soybean powder is a popular topping that adds a nutty flavor.
- Salt – A pinch of regular sea salt helps bring out the sweetness and balances the dish.
Additional topping ideas include ground black sesame seeds and crushed nuts (walnuts, peanuts, etc). In Japan, there are even ohagi coated in aonori (green laver) in the Kansai region and zunda (edamame paste) in the Tohoku region!
Jump to Full Recipe Measurements
Visual Walkthrough & Tips
Here are my step-by-step instructions for how to make Ohagi at home. For ingredient quantities and simplified instructions, scroll down for the Printable Recipe Card below.
This recipe does not include how to make anko (red bean paste). If you want to make your own, check out my homemade “tsubuan” anko recipe here.
Measure out the rice and pour it into a sieve placed over a bowl. Fill it with water and gently rub the rice to wash it. Once the water becomes cloudy, drain the water and repeat three times in total.
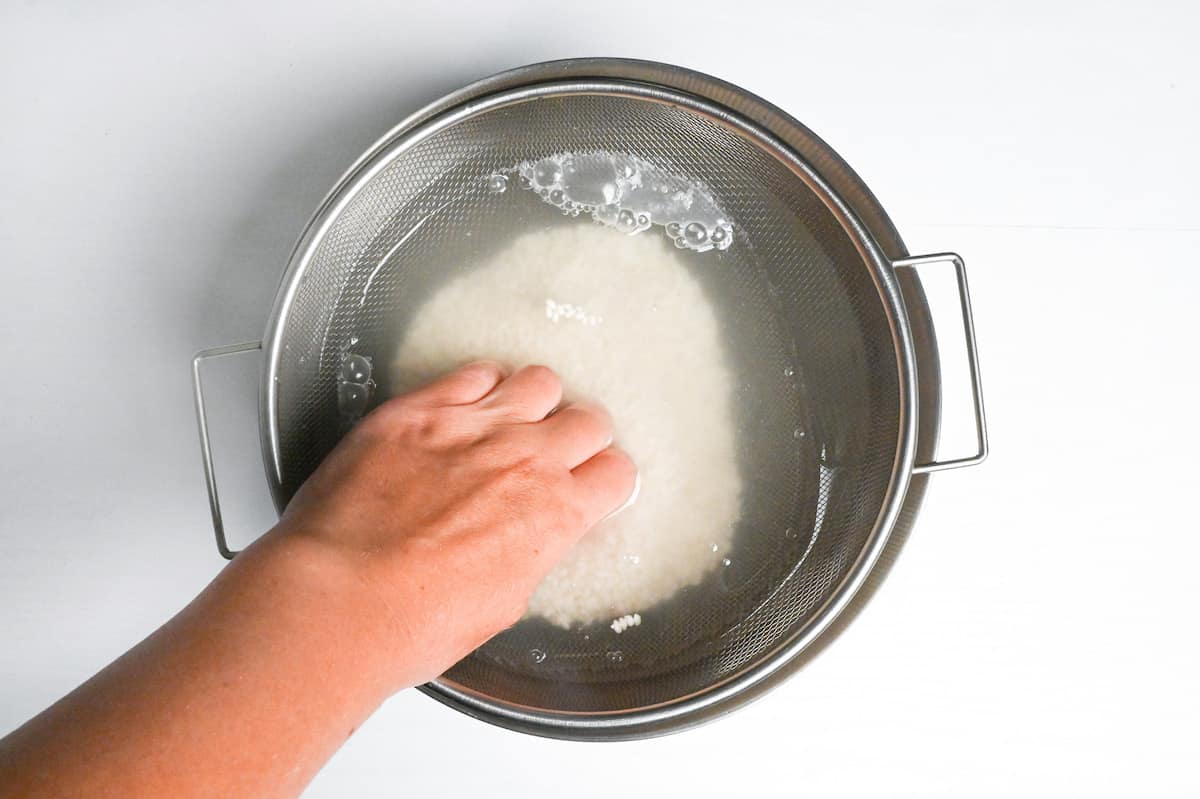
Fill the bowl again and leave the rice to soak for 30 minutes. (If you live in a cold climate or it’s winter, soak for 1 hour.)
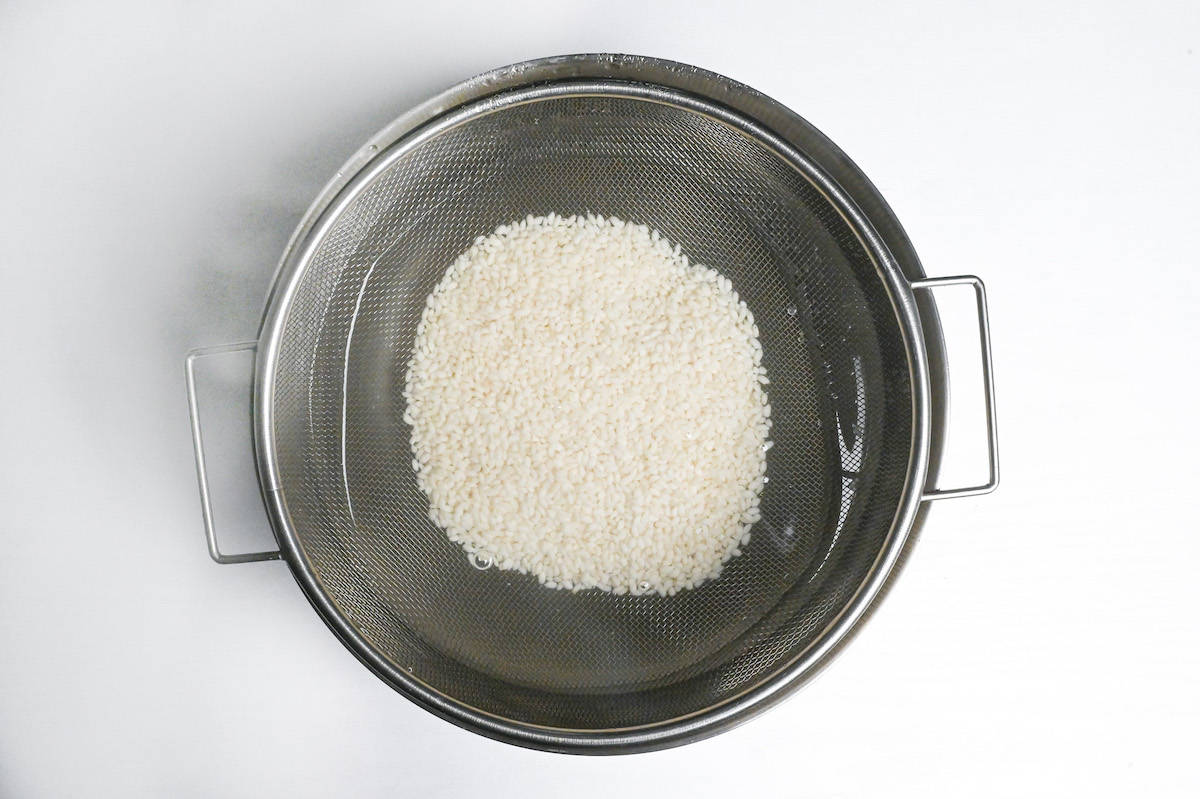
Drain the water and let the rice dry in the sieve for 5 minutes. Keep an empty bowl underneath to catch any dripping water.
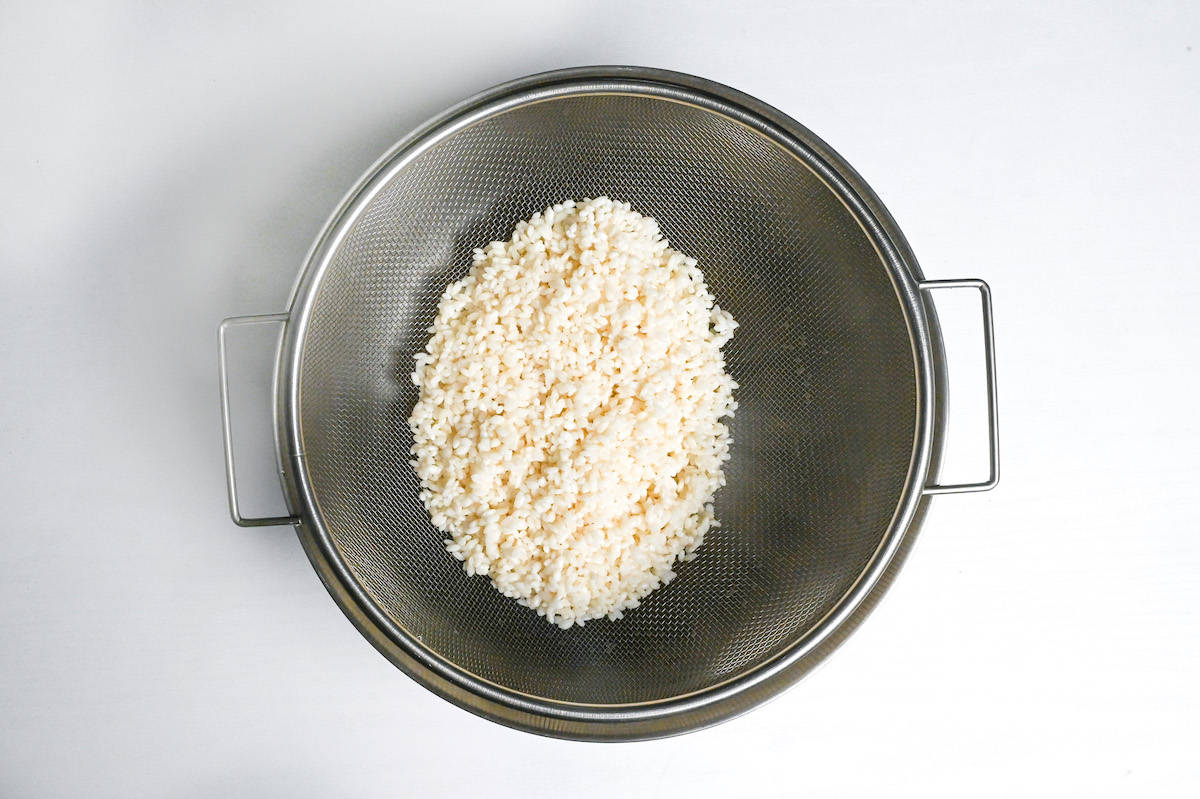
Using a rice cooker is the most convenient and foolproof way to cook mochi rice by simply using the regular setting. Alternatively, cook the rice in a pot on the stove using the instructions below.
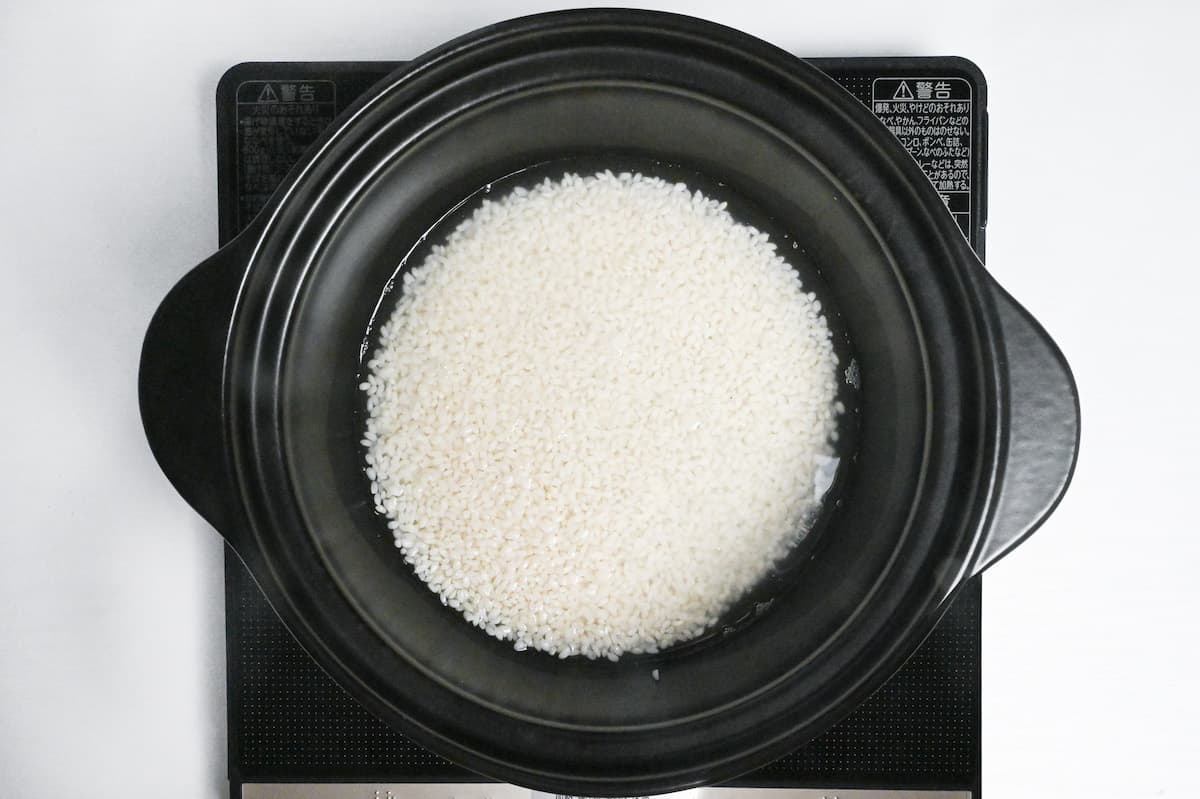
Transfer the rice to the pot and add 115ml water for every 100g of mochi rice. In my recipe that makes eight ohagi, I use 150g of mochi rice and between 170-175ml of water.
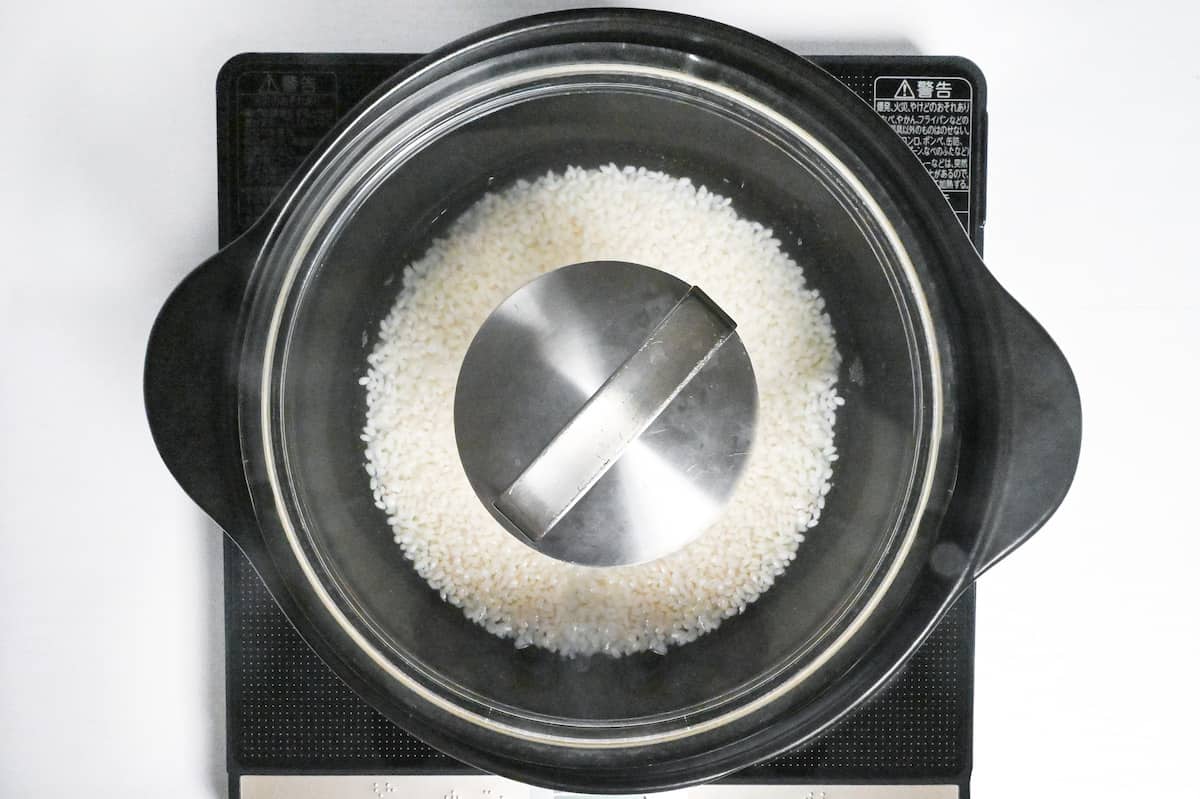
Shake the pot to level the rice and place a lid on top. Bring to a boil over medium heat, and once it starts to boil, set a timer for 30 seconds. After 30 seconds, adjust the heat for the following times:
- medium-low – 2 minutes
- low – 5 minutes
- high – 10 seconds
- Turn off the heat (do not remove the lid!)
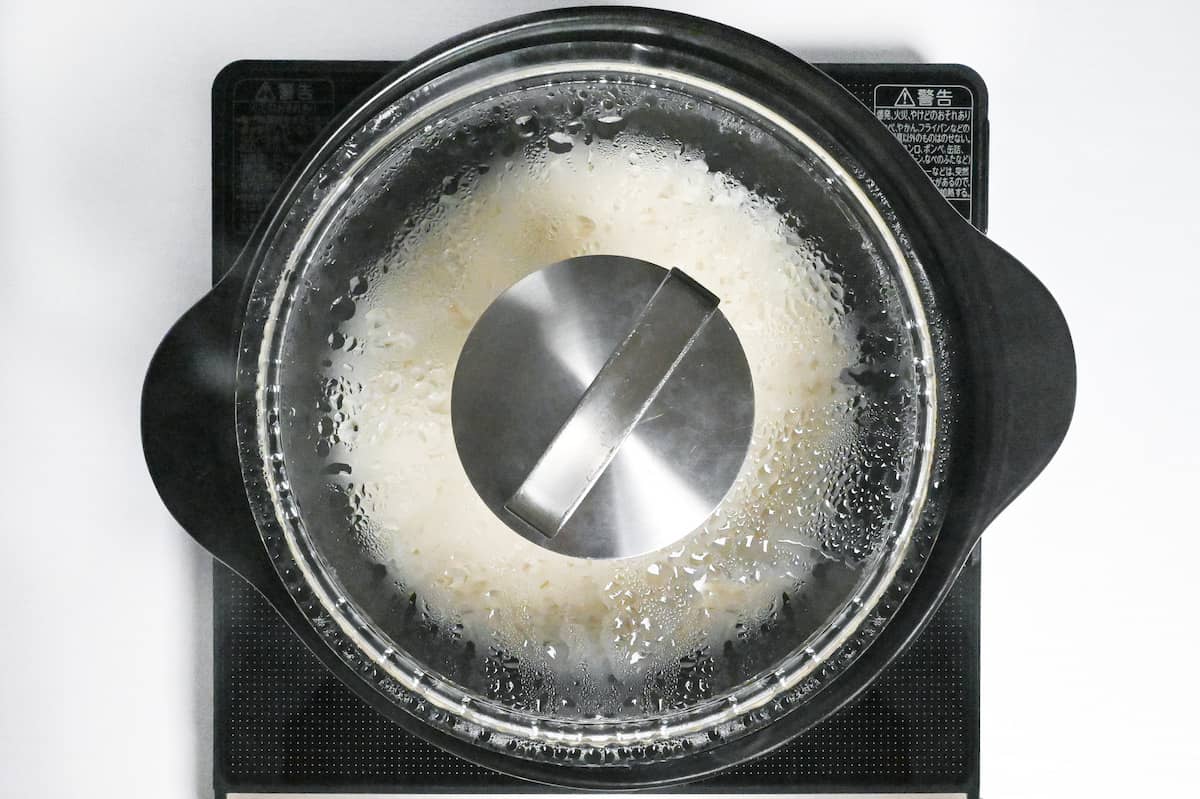
Leave the pot on the warm stove and allow the rice to finish cooking in the residual steam for 15 minutes. This step is vital to ensure the rice is fully cooked and it is essential that you do not remove the lid.
While you wait for the rice to steam, shape the anko into balls. The amount of anko used depends on whether you want to wrap the rice or use the anko as a filling. In my recipe, I make four ohagi with the anko on the outside and four kinako (roasted soybean powder) ohagi with anko in the center using 50g and 30g balls respectively.
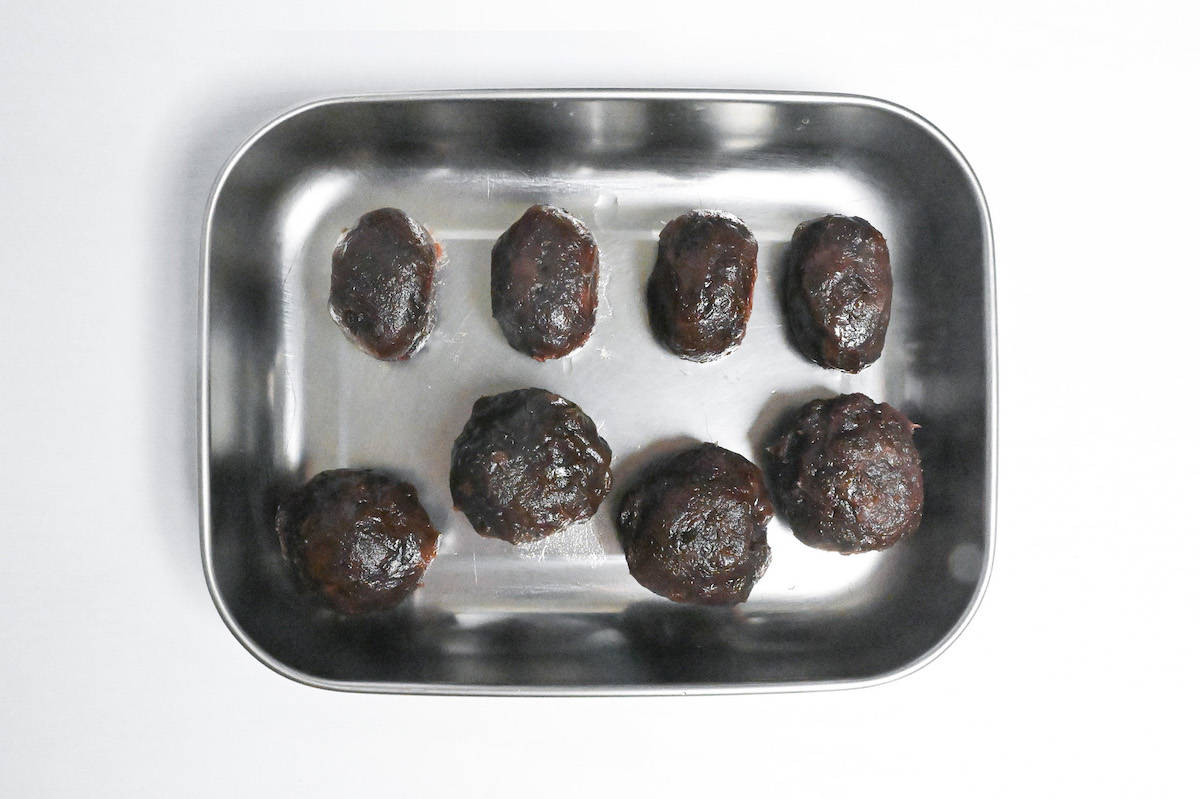
Once rolled, cover and store in the fridge until it’s time to assemble.
Once the rice has finished steaming, mix it and add sugar and salt. Mix thoroughly to distribute evenly and crush the rice with the rice paddle as you go. It should be about half crushed.

Transfer the rice to a wide container to help it cool faster and cover with plastic wrap touching the surface to stop it from drying out. Once it’s cool to the touch, it’s ready to be shaped.

Again, the amount of rice used depends on whether they are wrapped or stuffed with anko. For wrapped, make 30-35g balls and for stuffed, make 50g balls.
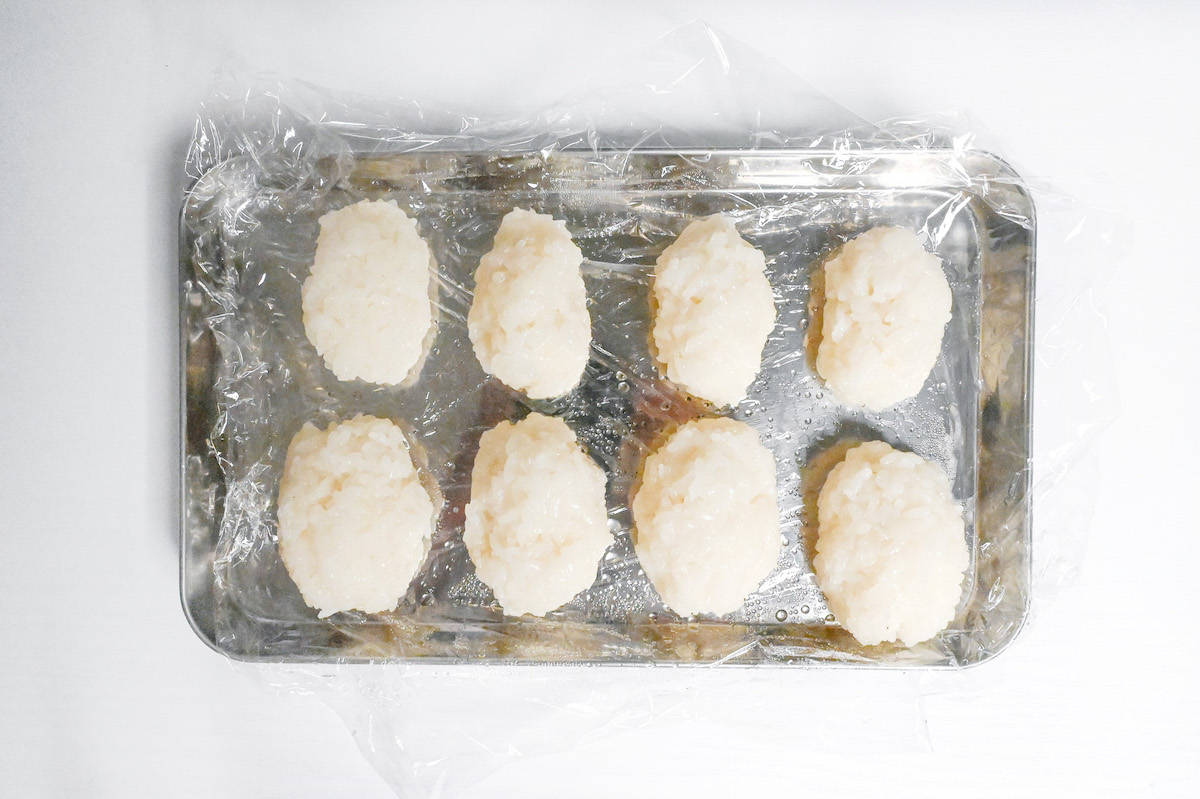
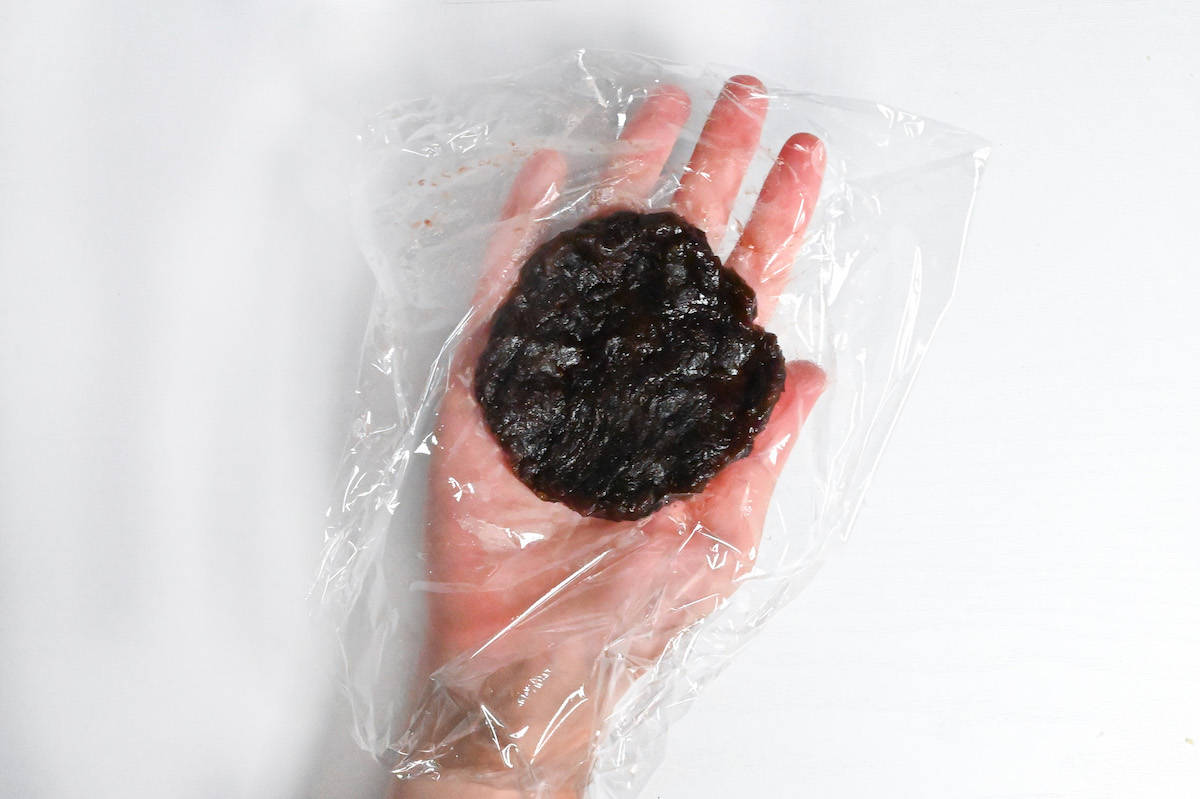
Take a 50g ball of anko and press it into a flat circle. You can lightly dampen your hands to stop it from sticking or use a piece of plastic wrap. You can reuse the wrap for each one to reduce waste.
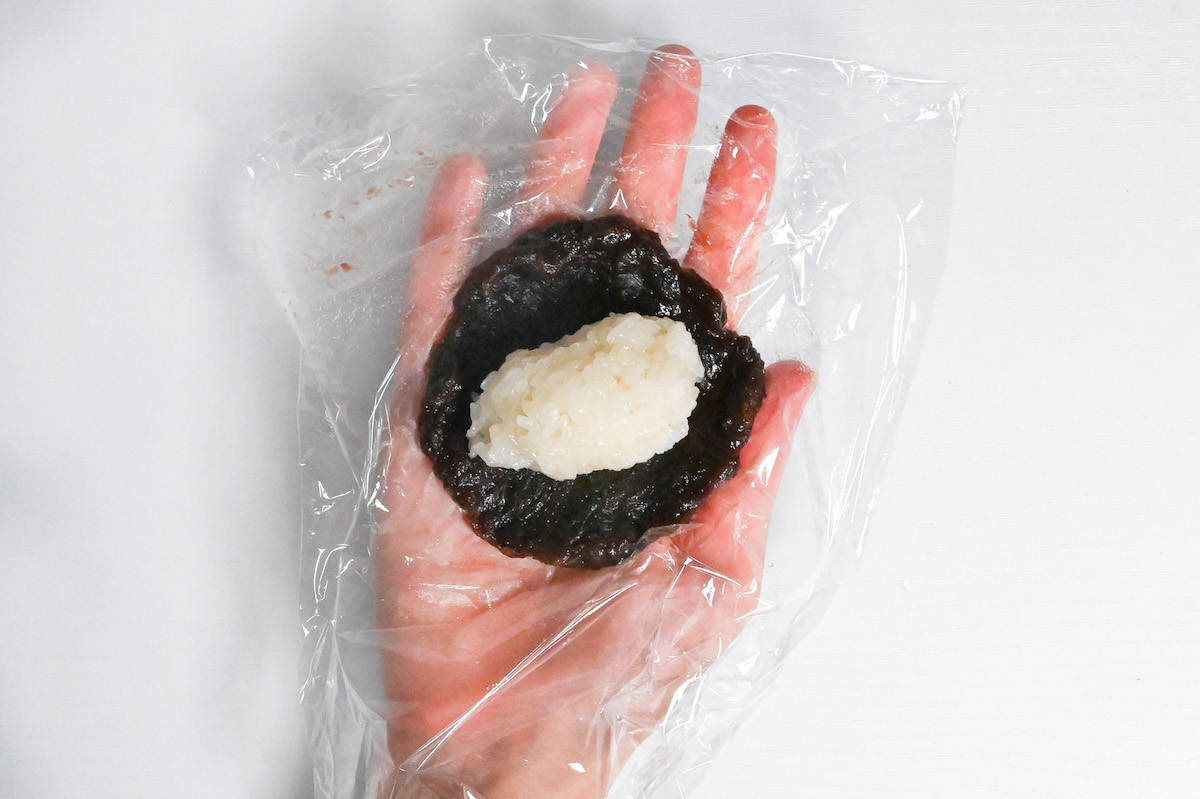
Place the 30g ball of rice in the center and then wrap it up.
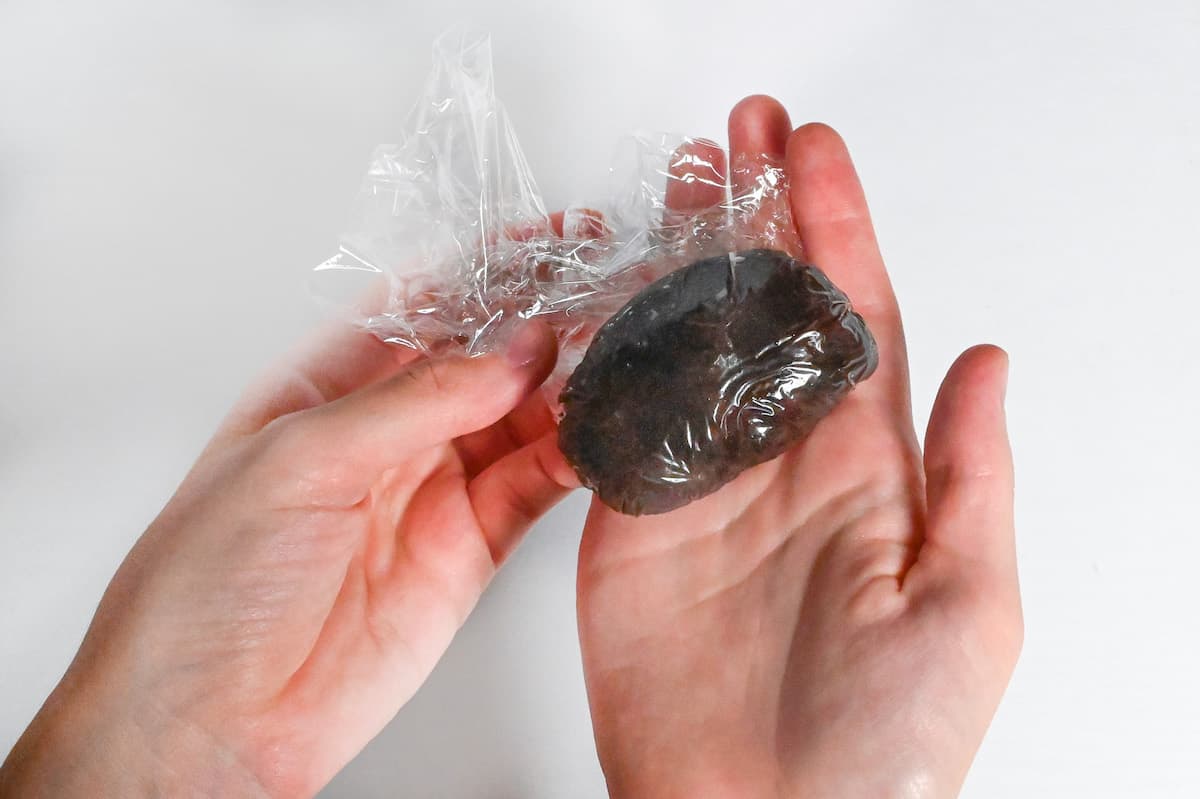
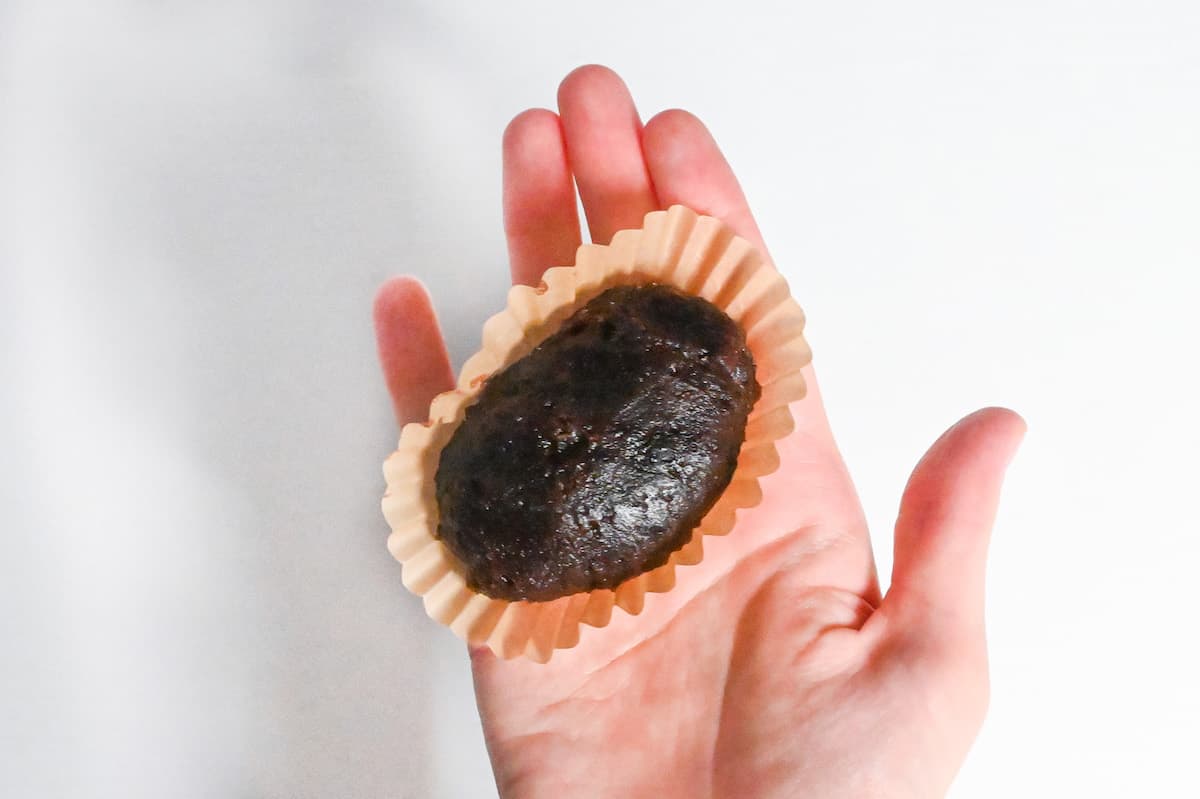
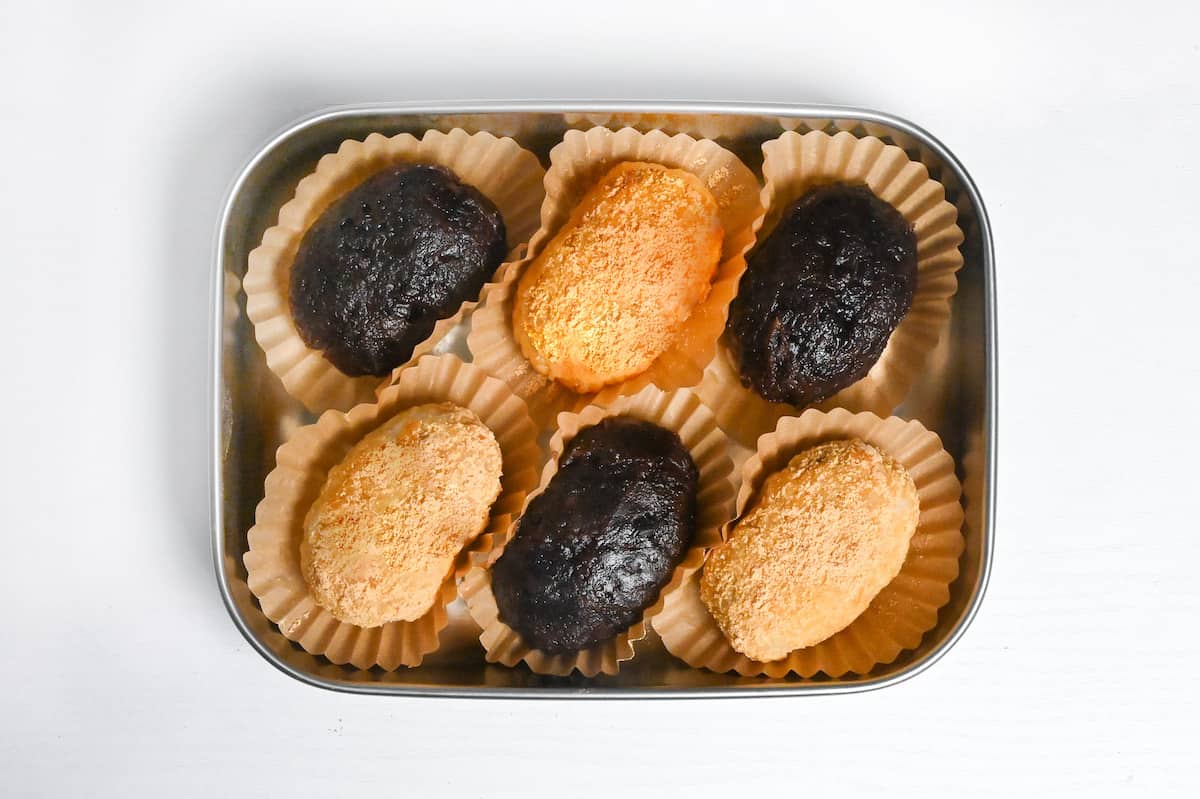
You can perfect the shape while it’s still in the plastic wrap and then transfer it to a plate or container. I like using cupcake cases to avoid over handling them.
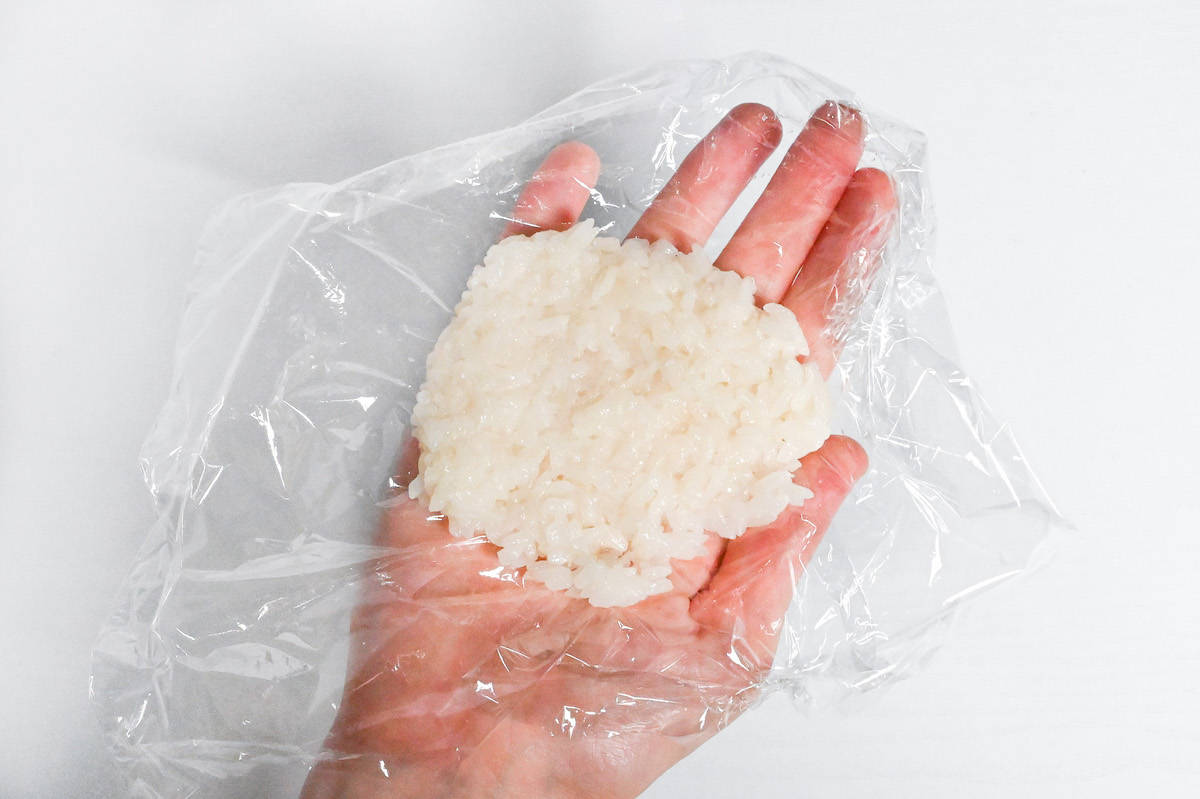
Take a 50g ball of cooked mochigome and press it into a flat circle. The bigger it is, the easier it is to wrap the anko. Like shaping the anko in the previous step, you can use your hands and lightly sprinkle some water on your palms to stop it from sticking. However, mochi rice is extremely sticky, and plastic wrap works much better for this. Once flattened, place a 30g ball of anko in the center.
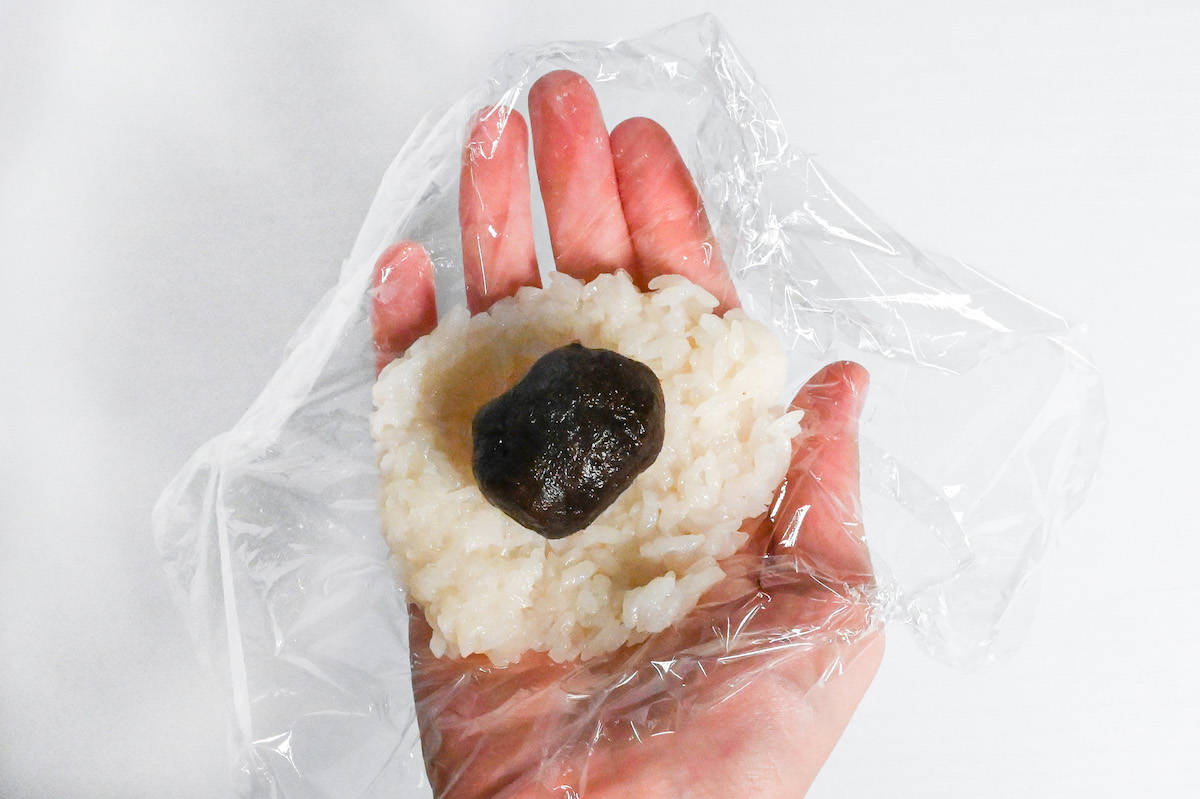
Wrap the rice around the anko until sealed.

Mix kinako, sugar and salt in a bowl and then roll the ohagi until fully coated.
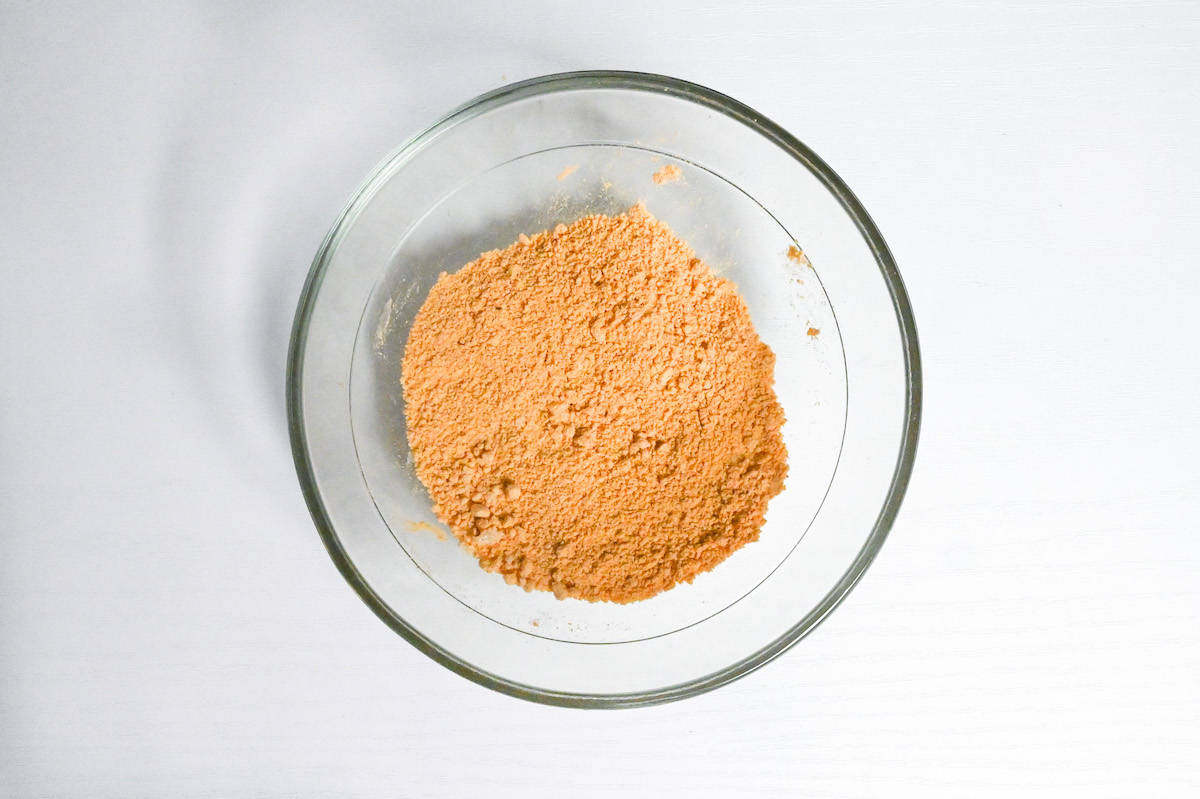

I recommend shaping them all first and coating right before serving for the best presentation.

How to Store
Ohagi can be kept at room temperature for a few hours and are best eaten the day they are made. If you don’t plan to eat them the same day, let them cool to room temperature and then wrap them individually in plastic wrap, place them in a freezer bag and freeze them for up to 1 month.
Refrigeration is not recommended for ohagi since the rice will dry out and become hard.
To thaw, defrost at room temperature for about 2 hours. If you can’t wait, you can also microwave them on a low setting until warmed through.
Storage Summary
Room temperature – A few hours.
Refrigerated – Not recommended.
Frozen – Up to a month.
I hope you enjoy this Ohagi recipe! If you try it out, I’d really appreciate it if you could spare a moment to let me know what you thought by giving a review and star rating in the comments below. It’s also helpful to share any adjustments you made to the recipe with our other readers. Thank you!
More Wagashi Recipes
- Ichigo Daifuku (Strawberry Mochi)
- Tofu Mitarashi Dango
- Tofu Hanami Dango
- Sakura Mochi
- Dorayaki (Red Bean Pancakes)
Want more inspiration? Explore my Japanese Dessert Roundup Post for a carefully selected collection of tasty recipe ideas to spark your next tea party!
Ohagi (Botamochi) Sweet Rice Balls
Ingredients
Sweet Rice
- 150 g glutinous rice (mochigome) sweet glutinous rice
- 175 ml cold water plus extra for washing and soaking
- 2 tsp white caster sugar
- 1 pinch salt
Toppings
- 320 g red bean paste (anko) chunky "tsubuan" for ohagi or smooth "koshian" for botamochi
- 1 tbsp roasted soybean powder (kinako)
- 1 tbsp sugar
- 1 pinch salt
My recommended brands of ingredients and seasonings can be found in my Japanese pantry guide.
Can’t find certain Japanese ingredients? See my substitution guide here.
Instructions
- Measure out 150 g glutinous rice (mochigome) into a sieve and place it over a bowl. Fill the bowl with water, wash the rice and drain. Repeat 3 times to clean and remove the excess starch.

- Fill the bowl with cold water until the rice is submerged and soak for 30 minutes.

- Drain the water and let the rice dry for 5 minutes.

- Transfer to a heavy pot (or rice cooker) and add 175 ml cold water.

- Place a lid on and bring to a boil over medium heat. Once it starts to boil, set a timer for 30 seconds. Reduce the heat to medium-low and set a timer for 2 minutes. After 2 minutes, reduce the heat to low and simmer for 5 minutes. (If you are using a rice cooker, use the regular rice setting.)

- Blast the heat on high for 10 seconds and then turn off. Leave the rice to steam on the warm stove for 15 minutes. Do not remove the lid before this.

- While you wait for the rice to steam, roll 320 g red bean paste (anko) into balls. Lightly dampen your hands to stop it from sticking and divide into 50g balls for the anko coating and 30g balls for the kinako coating. Cover and store in the fridge until it's time to assemble.

- Mix 1 tbsp roasted soybean powder (kinako), 1 tbsp sugar and 1 pinch salt in a bowl until well combined and set aside for later.

- Once 15 minutes have passed, remove the lid from the pot of rice and mix in 2 tsp white caster sugar and 1 pinch salt. Continue to mix until the rice is half crushed.

- Transfer to a wide container to help it cool quicker and cover with plastic wrap touching the surface to stop it from drying out.

- Once cool to the touch, divide the rice into balls. The anko coated ohagi uses 30g whereas the kinako ones use 50g. This recipe makes 4 of each.

- To make the anko coated ohagi, use lightly dampened hands (or plastic wrap) to press the 50g anko into a flat circle. Place the rice in the middle and wrap it, it's okay if it doesn't wrap completely as this will be hidden underneath.

- For the kinako ohagi, press the 50g rice ball into a flat circle. I recommend using plastic wrap since it's quite sticky, but slighly dampened hands also work. Place the 30g anko in the middle and wrap the rice around it.

- Once sealed, roll the anko-filled rice in the kinako mixture.

- Repeat until all the anko and rice is used up.

- Enjoy!
Notes
- Best kept at room temperature and eaten within a few hours.
- If you don’t plan to eat them within a few hours, wrap individually and freeze for up to one month.
- Thaw at room temperature for 2 hours or in the microwave for 1-2 minutes on a low setting (approx 200W).


Leave a rating and a comment