Disclaimer: This post may contain Amazon affiliate links. Sudachi earns a small percentage from qualifying purchases at no extra cost to you. See disclaimer for more info.
So far, I’ve made homemade recipes for ramen noodles and udon noodles.
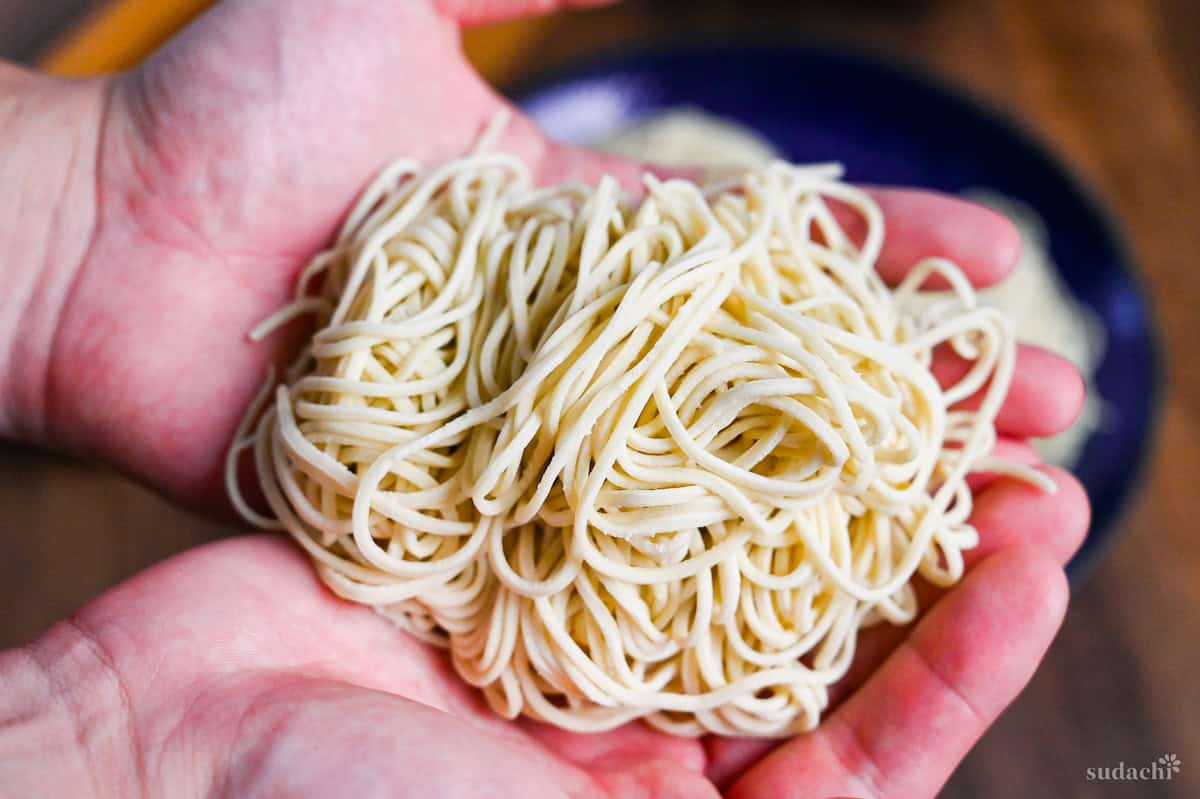

This time, I made soba (buckwheat) noodles, which was a lot more complex than the other two.

The process is way more precise and there are pitfalls here and there. But I did it. If you wanna know how it was done, keep reading this comprehensive guide!
What Are Soba Noodles?
Japanese buckwheat noodles, or soba, are a staple of Japanese cuisine. The National Federation of Buckwheat Noodle-Making Cooperative Associations says that authentic Japanese soba must contain at least 30% buckwheat flour, with the rest usually being wheat flour.

You might be wondering why wheat flour is added. The answer is that it’s really tricky to work with pure buckwheat flour. Making noodles from 100% buckwheat is really difficult because it doesn’t have any gluten. We’ll look at the ideal proportions of buckwheat to wheat flour later in this article.
Buckwheat has a long history in Japanese culture. It originally came from China’s Yunnan Province, and it has been cultivated in Japan since the Jomon period (around 13,000 B.C. to the 4th century B.C.). Soba noodles have been around since the Nara period (710-794), and they were often mentioned in literature during the Kamakura (1185-1333) and Muromachi periods (1333-1568).
In my opinion, soba is arguably the most quintessentially “Japanese” noodle, even more so than udon or ramen, given its long history and cultural significance.

How I Developed This Recipe
After I got the hang of making udon and ramen, I thought, “Hey, soba must be pretty straightforward too!” Boy, was I wrong! The biggest challenge? Keeping those noodles from falling apart. As I work with the dough, I can feel how different it is from wheat flour. The buckwheat is crumblier. If I don’t get the water distribution just right, it’s a disaster!
But after a lot of trial and error, I finally got those ratios spot on and developed a soba recipe that I’m really happy with.
I’m thrilled to share all my hard-earned soba know-how with you. So, are you ready to join me on this soba-making adventure?
Key Ingredients & How to Choose Them
Soba noodles are made from just three simple ingredients: buckwheat flour, wheat flour, and water. Let’s take a closer look at each one:
Buckwheat Flour
Buckwheat flour is the heart of soba. In Japan, it’s available in different grades:
- Sarashinako (first flour)
- Nibanako (second flour)
- Sanbanako (third flour)
- And more…
Just a heads-up: Buckwheat flour sold outside Japan often differs in grinding process and particle size. Many are intended for baking and are too coarse for soba-making.
Stone-milled flours are ideal for soba making. In the U.S., I recommend Anson Mills’ Rustic Aromatic Buckwheat Flour, or Janie’s Mills’ Organic Buckwheat Flour from Whole Groats.

Wheat Flour
Wheat flour acts as the “binder” in soba-making, providing the necessary structure. All-purpose flour or bread flour works well. For this recipe, I used high-gluten bread flour.
Water
The quality of water makes a big difference in making soba. Soft water is best for preparing soba. Soft water makes the noodles stick together better because it is more permeable, so use soft water whenever you can.
If you live in an area with hard water, try this: Boil the water once to reduce the calcium and magnesium content, then let it cool before you use it. This simple step can make a big difference in the texture and quality of your soba noodles.

The Importance of Ratios in Soba Making
The ratio of buckwheat to wheat flour is really important when it comes to making soba. Here are the most common types of soba eaten in Japan, defined by their flour ratios:
- 100% Buckwheat (Juwari/Towari soba): This type is made entirely from buckwheat flour, and it has a really distinctive texture. The lack of wheat flour as a binder makes it really tricky to make at home. You need to be pretty skilled and experienced to get it right.
- 80% Buckwheat, 20% Wheat (Hachiwari/Nihachi soba): This recipe uses this ratio. Adding 20% wheat flour helps keep the buckwheat from breaking during boiling while still maintaining its flavor. It’s easier to work with than 100% buckwheat soba, but still requires some skill.
- 50/50 (Gowari/Dowari soba): A 50/50 ratio of buckwheat and wheat flour creates a well-balanced soba in terms of texture and flavor. This ratio is ideal for beginners or those unsure about their preference for buckwheat’s taste. It’s naturally less prone to failure than higher buckwheat percentages.
- 30% Buckwheat, 70% Wheat (Sanwari soba): This is the lowest buckwheat content that can still be called “Japanese soba.” While it has a milder buckwheat flavor, it’s the easiest to work with and has the lowest chance of failure.
If you’re not sure what you like about buckwheat or are new to making soba, start with a lower percentage of buckwheat flour.
For beginners or those new to homemade noodles in general, the 30% buckwheat ratio is a great place to start. You can always adjust the ratio in future attempts as you gain confidence and develop your taste preferences.
Equipment That I Used: My Unconventional Approach
Although people who frequently make homemade soba in Japan might raise a few eyebrows about this, I used a pasta machine to cut my soba noodles. There are a few reasons why I did it this way.
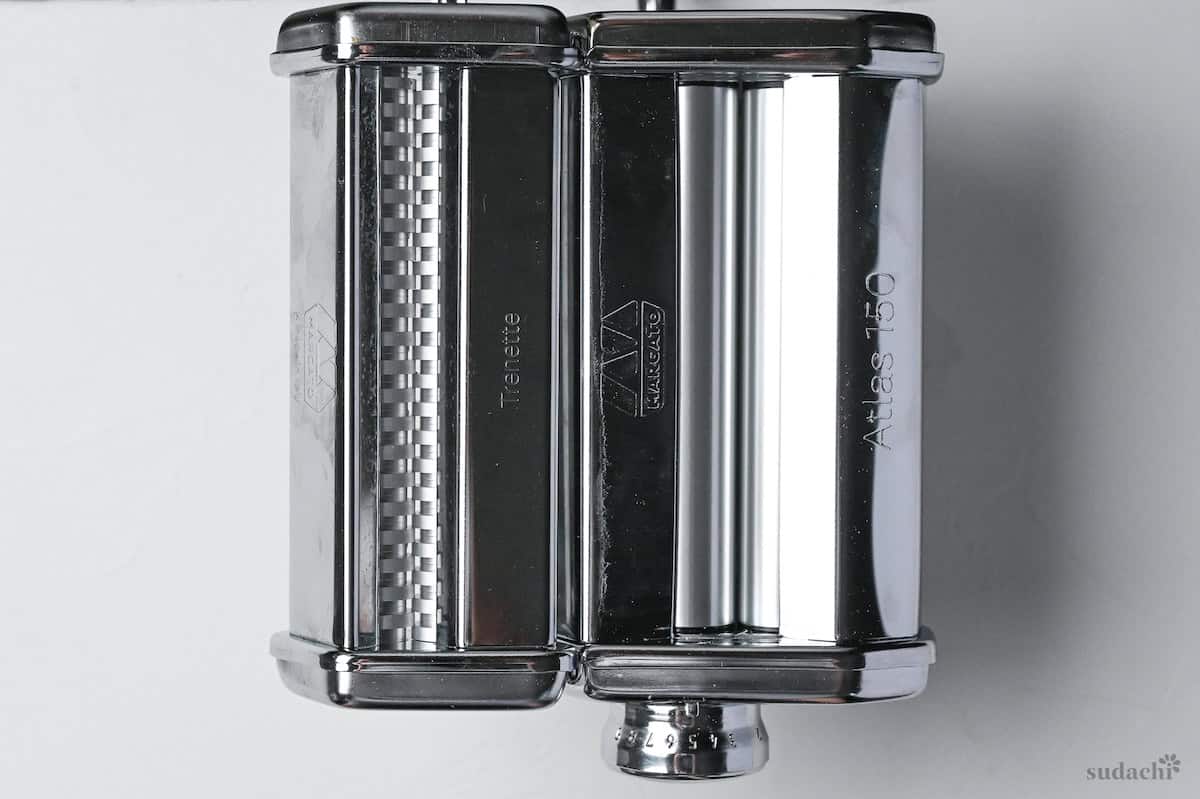
Firstly, I prefer thin buckwheat noodles, and a pasta machine allows for precise, uniform cuts that result in beautifully consistent noodles without years of experience. Secondly, the practical constraints of my home kitchen make it challenging to spread out the dough fully for traditional hand-cutting techniques.

After trying this method, I can honestly say I’m glad I used the pasta machine. The results are visually appealing, and I highly recommend this approach for home cooks.

I use Marcato’s Atlas 150 pasta machine, which has served me well for various noodle-making tasks. I’ve had success with it for udon, ramen, and of course, pasta.
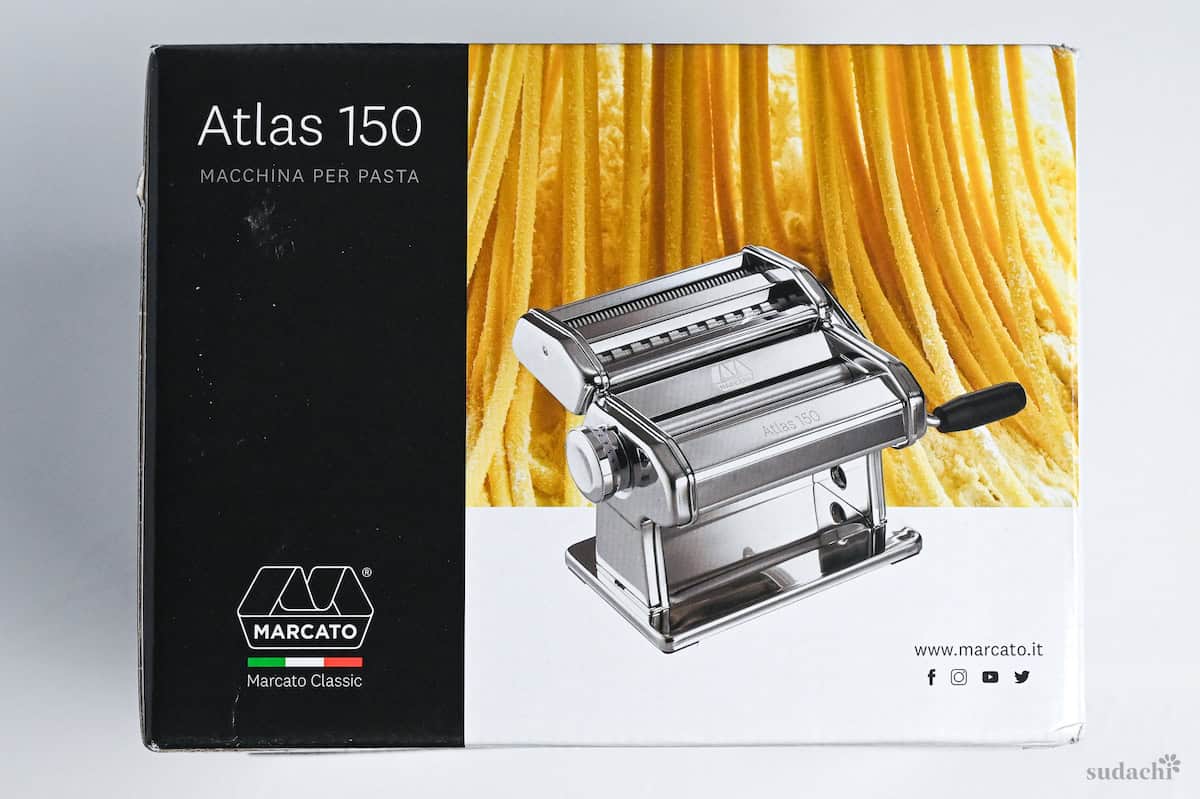
For soba, I used the spaghetti attachment (2mm), which creates the perfect thickness for these delicate noodles.
The Atlas 150 comes with a bunch of different cutter attachments, which makes it a great tool for any home cook who wants to make noodles. It’s also really durable, so it’ll last you a long time.

Visual Walkthrough & Tips
Here are my step-by-step instructions for how to make Soba Noodles at home. For ingredient quantities and simplified instructions, scroll down for the Printable Recipe Card below.
This section aims to provide a comprehensive overview of the cooking steps and techniques with visuals. It also includes more in-depth tips and tricks and explains why I do what I do.
Mix buckwheat flour and bread flour in a bowl.

Then sift into a large bowl. The larger the better (I used my biggest salad bowl.)

Place the bowl on a damp tea towel to prevent sliding.

Add small amounts of water to your hands and mix in circular motions, repeating until no dry flour remains.

Once you add water to your flour mixture, it’s time for the most crucial step in the soba-making process. This stage requires patience and technique:
- Use the fingertips of both hands to combine the flour and water.
- Mix in a circular motion from the outside of the bowl inward, ensuring even distribution.
- Resist the urge to rush: It’s vital to incorporate the water gradually and thoroughly, not all at once or too quickly.
- Add water according to the feel of the dough, you might need more or less than the amount stated in the recipe due to temperature and humidity.
This slow, methodical mixing is the key to producing noodles with a firm texture and excellent mouthfeel. The patience you exercise during this step directly impacts the quality of your final product.
Remember, this mixing stage is arguably the most important part of soba preparation. Take your time and focus on doing it right.

The dough is ready when it forms rice-sized clumps.

There should be no more dry flour left, but be careful not to add too much water.
Once the moisture is evenly distributed and you start seeing larger clumps forming, it’s time to move on to the next crucial step.

Just gather the clumps together, bringing the dough into a more cohesive mass. As you combine the clumps, just gently aerate the dough.

If the dough is flakey or cracks easily, sprinkle your hands with water while kneading to incorporate a little extra moisture.

Firm kneading will give the noodles a strong structure, but exercise caution not to overdo it. As you knead, you’ll notice the dough’s texture changing.
To knead, fold the edges into the center and press them down, repeating all the way around the edge. When the surface becomes shiny, it’s a sign that you can move on to the next step.
Once smooth, shape the dough into a cone by rolling it along the edge of the bowl.


Once you have a cone-shaped dough, place the palm of your hand on top of the pyramid. Slowly press down, applying even pressure to flatten the dough.

As you press, the cone will transform into a thick disc shape.

This careful shaping is important for making sure the soba noodles are well-formed and that the dough will hold together well during the rolling and cutting processes.
Place the dough disc on clean, dry surface sprinkled with a light dusting of starch.

Roll out to about 3mm (⅛ inches) thick.


Cut into eight pieces narrow enough for pasta machine.


Feed through the machine starting at setting 0, gradually reducing the thickness to setting 3.

Cut into noodles using the spaghetti attachment.

For those who prefer to cut soba without using a pasta machine, follow these steps:
- Carefully fold the rolled-out dough, overlapping the top half with the bottom half.
- Divide the folded dough into three equal portions, ensuring even width throughout.
- Dust one-half of the dough with cornstarch. Then fold the left 1/3 of the dough so it overlaps the middle 1/3.
- After dusting with more cornstarch, fold the right 1/3 of the dough over the previously folded part.
- Lightly dust a cutting board with flour. Place the folded dough on the board and sprinkle flour over the dough.
- Create a guideline called “komaida” using something light like a straight piece of cardboard. Cut the dough slowly, checking the width of the cut while keeping your hand on the guideline. This ensures the soba noodles will cook evenly.
This manual method requires patience, precision, and skill but allows for greater control over the noodle width and can be a meditative part of the soba-making process.
Bring water to a rolling boil. Add fresh soba noodles and cook for 1 minute 45 seconds. Drain in a colander and rinse with cold water. If serving hot, rinse once more with hot water.

Alternatives for Homemade Soba
Soba noodles are a bit trickier to make at home than ramen or udon. It can also be tough to find the right buckwheat flour, depending on where you are.
For those who are passionate about making their own noodles or cooking from scratch, this soba recipe is perfect for you! However, for more casual cooks that don’t eat soba often, read my recommendation below.
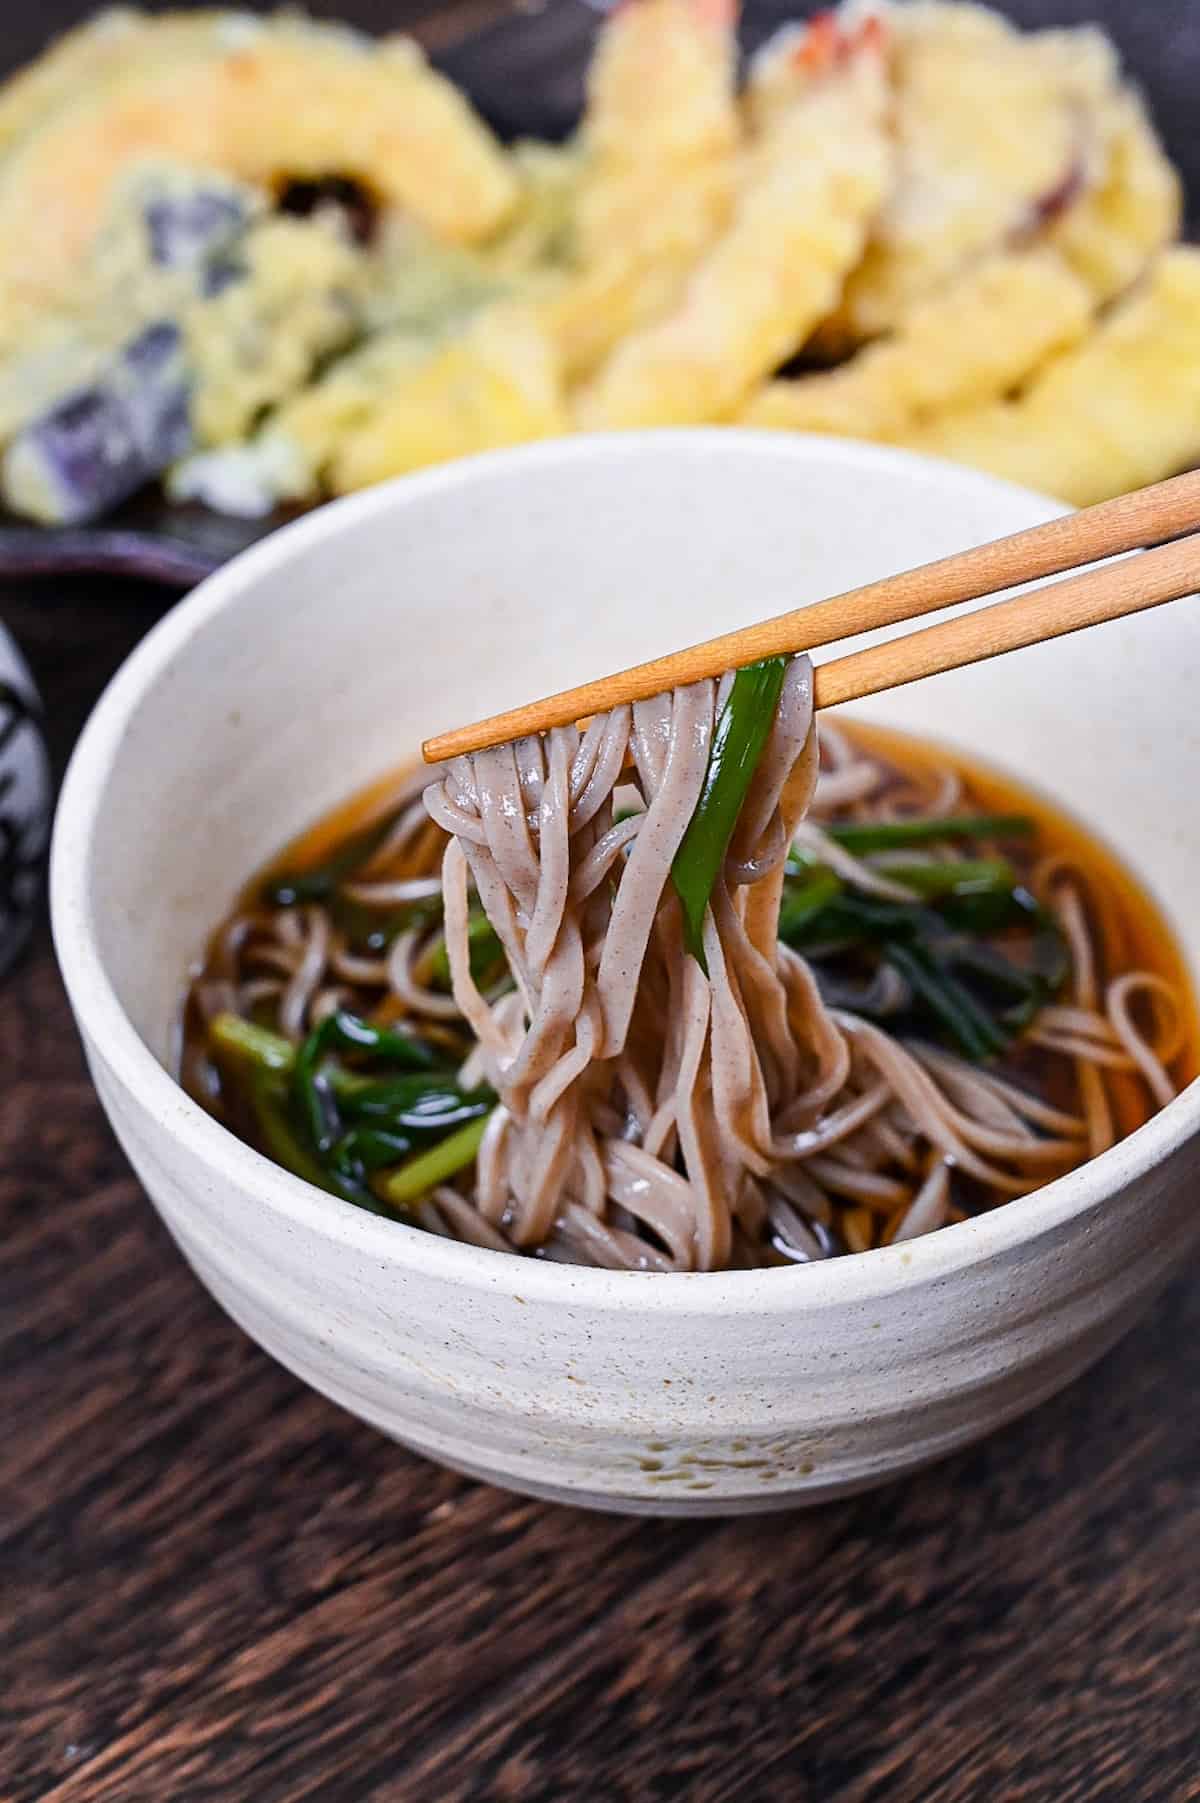
For most home cooks, the best alternative to making your own soba is to use high-quality dried noodles. While you can get pre-boiled and frozen options in Japan, I personally think dried noodles are better in many aspects.
If you’re in the United States, I’d recommend checking out J-Basket’s Japanese soba noodles.

I hope you enjoy this Homemade Soba Noodles recipe! If you try it out, I’d really appreciate it if you could spare a moment to let me know what you thought by giving a review and star rating in the comments below. It’s also helpful to share any adjustments you made to the recipe with our other readers. Thank you!
Make These Dishes with Homemade Soba!
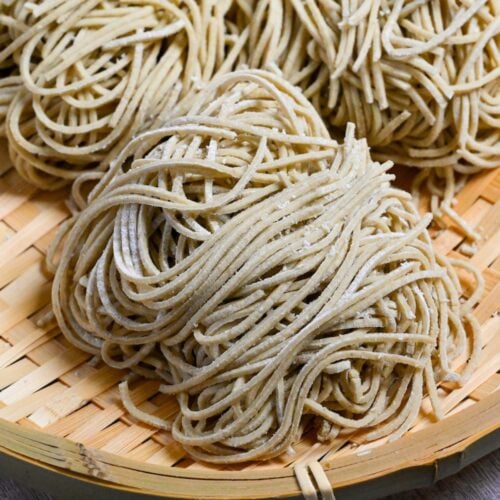
Authentic Handmade Soba Noodles
Ingredients
- 250 g soba flour
- 70 g bread flour
- 150 ml water
- cornstarch for dusting
Instructions
- Start by whisking 250 g soba flour and 70 g bread flour together, then sifting them into a large bowl. Measure out 150 ml water and set it next to the bowl.

- Place the bowl on top of a damp tea towel to stop it from moving. Add a small amount of water from the jug to your hands, and mix it into the flour mixture by hand. Make a claw shape with your fingers and swirl in a circular motion.

- Continue to add the water a little at a time and mix thoroughly before adding the next part. It's important not to add too much water at once as this can make the flour unevenly hydrated. Depending on the season or climate, you might not need all of the water (or you might need a little more), adjust accordingly.

- Once there is no more dry flour and it becomes small rice grain-sized clumps, start pressing it together to form a dough.

- Knead the dough by folding the edges inward repeatedly. If the dough seems crumbly or cracks easily, moisten your hands with water and continue to knead until smooth. The bottom of the dough will show creases from the folding motion.

- Using the edges of the bowl, roll the dough into a cone shape.

- Place the dough on a surface lightly dusted with cornstarch, then press the cone flat to make a perfect disc shape. Dust the top with additional cornstarch.

- Use your palms to evenly stretch out the edges, flattening as much as possible before moving onto a rolling pin. Turn the dough occasionally to ensure it doesn't stick.

- Roll the dough out as thin as possible, preferably about 3mm thick. Then cut it into manageable pieces to feed through your pasta machine.

- Dust each piece with cornstarch before feeding through the pasta machine. Start with the widest setting (usually 0) and reduce by 1 setting each time until you reach "3" or spaghetti thickness equivalent.

- Use a spaghetti-cutting attachment to cut the soba noodles to the appropriate size.

How to Cook
- Bring a pot of water to a rolling boil and add the noodles. Cook for 1 minute 45 seconds, then drain and rinse with cold water to wash. If serving hot, rinse once more with hot water to warm through.
How to Store
- Divide the noodles into individual portions and carefully wrap them with plastic wrap, taking care not to squash them together. Place the bundles in a sealable zip lock bag or airtight container and store in the refrigerator for 1-2 days, or up to 1 month in the freezer.


Leave a rating and a comment