


Featured Comment:
“Lovely cheesecake recipe, I really enjoyed the zest in the crust. I had leftover lemons and biscuits so I made a bit extra and sprinkled it over some lemon yogurt, such a yummy snack while I was waiting for it to set!”
– Trixy
What is Rare Cheesecake?
Rare cheesecake is basically the Japanese term for a no-bake cheesecake. The best thing about no-bake cheesecakes is, of course, you don’t have to bake! This is great seeing as owning an oven in Japan is still considered a bit of a luxury.
This cheesecake recipe is light, zesty and perfect for summer (or any time of year!) when you don’t feel like using the oven.
No-bake cheesecakes are usually not as heavy as their baked counterparts, but they can be equally delicious!
Ingredients & Substitution Ideas
The great thing about this cheesecake is that it uses simple and easy-to-find ingredients! The main ingredients are:
- Cream cheese: Use good quality cream cheese as it’s one of the key ingredients. I usually use Philadelphia or Yukijirushi’s Hokkaido cream cheese.
- Yogurt: I use plain, unsweetened, low-fat yogurt. It helps balance out the richness of the cream cheese with a hint of sourness, making the cheesecake lighter and more refreshing.
- Sugar: Regular white caster or granulated sugar work best because they dissolve easily and don’t alter the color of the mixture.
- Lemon: I use the zest of a whole lemon and mix it into the base, this means you can enjoy the lemon flavour throughout the whole cheesecake. I also squeeze the juice of half a lemon into the cheesecake mixture to add lemon flavor. Any left over lemon can be used to decorate.
- Vanilla essence: A hint of vanilla compliments the cream cheese and lemon. If you’re using vanilla extract, use half the amount since the flavor is stronger.
- Gelatine powder: Gelatine is used to set the cheesecake. I use powder but you can use sheets if preferred. 2 sheets equal approximately 2 tsp (6.6g) of gelatin powder. In this recipe, I use 7g of gelatine powder, so about 4 sheets should be enough, although check the instructions to be sure.
- Graham crackers: A classic ingredient to use for cheesecake bases. The mild taste allows the flavor of the cheesecake to shine through.
- Unsalted butter: To moisten the graham crackers and make a delicious, buttery base. I opt for unsalted for easier control of the salt content in my cooking.
Visual Walkthrough & Tips
Here are my step-by-step instructions for how to make Japanese-style Lemon Rare Cheesecake at home. For ingredient quantities and simplified instructions, scroll down for the Printable Recipe Card below.
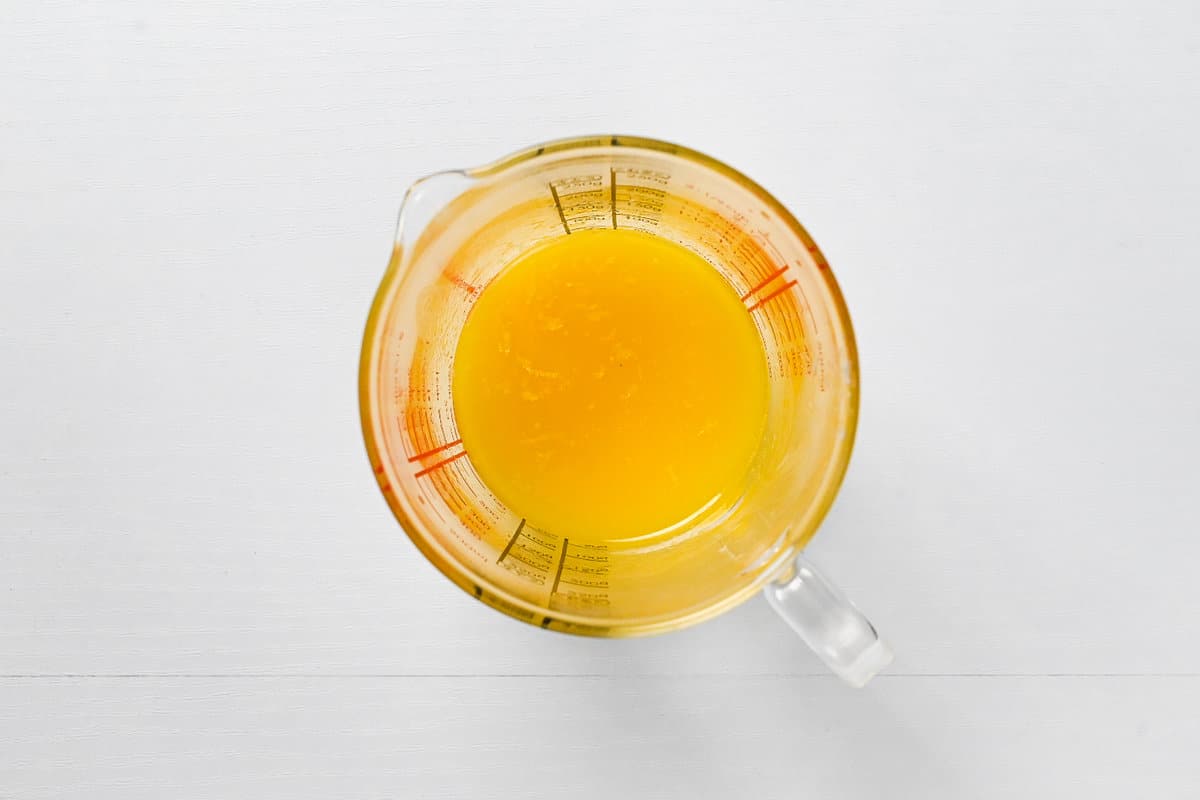
Start by cutting the butter into cubes and then melting it in the microwave in 20 second increments.
Once it’s fully melted grate the zest of one lemon and add it to the butter.
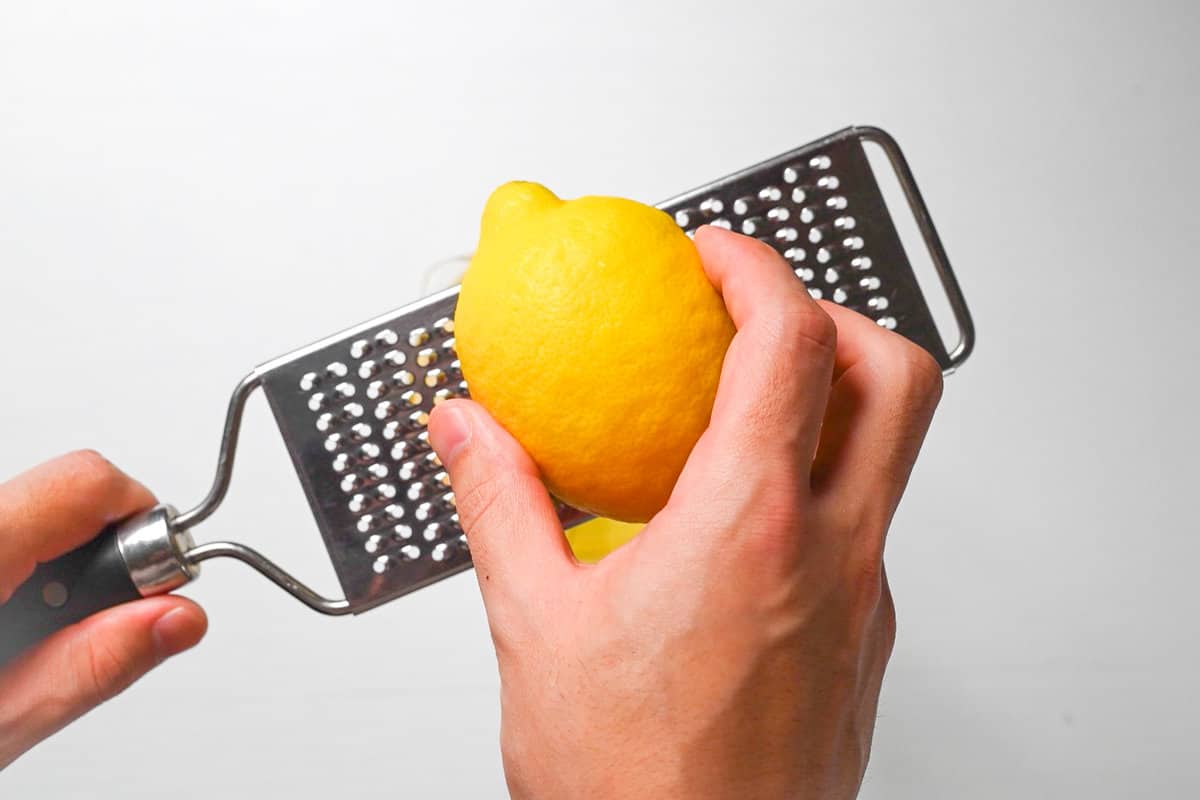
Not only will the warmth of the butter help drawn out the flavour of the lemon zest, but it will also help evenly distribute it through the graham cracker crumbs.
Place the biscuits in a ziplock bag and crush them using a rolling pin. How fine you crush them depends on your personal preference. I’m personally not too thorough as I like a few larger pieces to add extra crunch to the base.
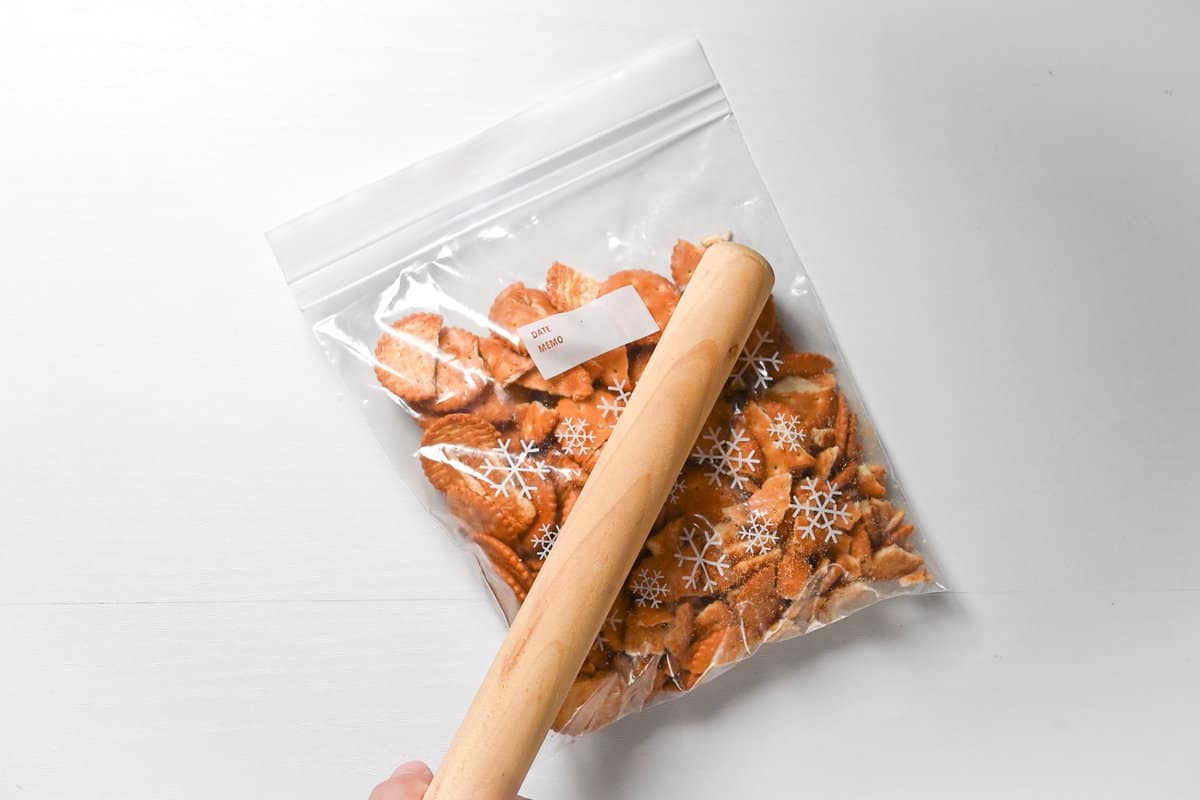
Alternatively, you can blitz the biscuits with a food processor to make the crumbs super fine. This will create a neater and smoother finish. You can also add the lemon zest and butter into the food processor and blitz again to combine.
Once the crackers are crushed, pour in the lemon-infused butter and seal the bag back up.
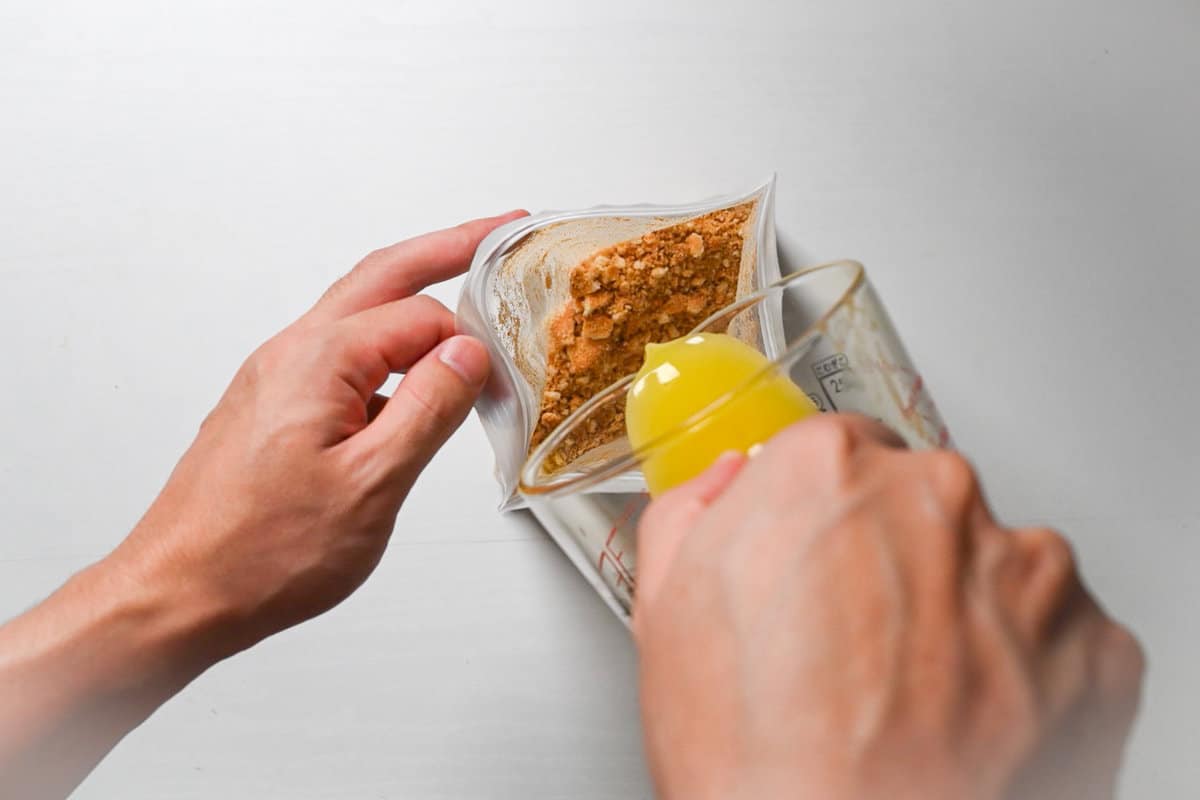
Massage the butter around until all the crumbs are coated, it’s mess free!
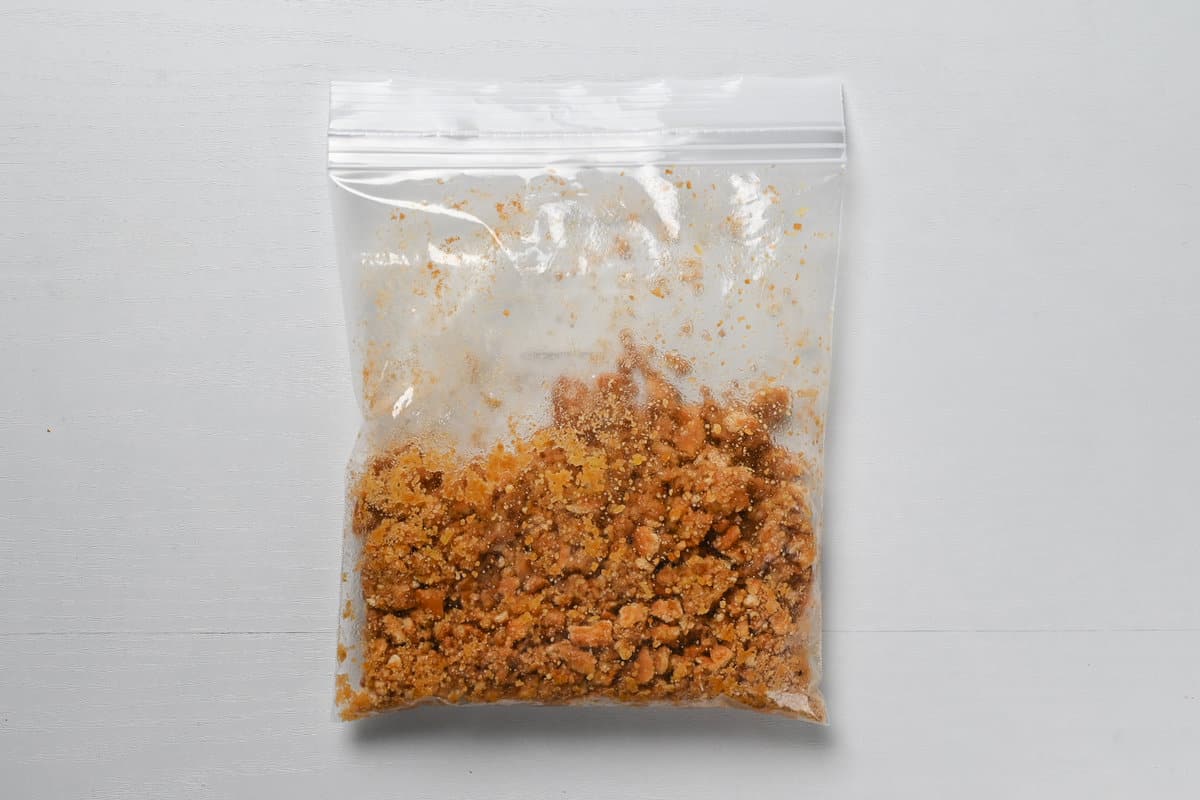
Finally, pour the contents into a lined cake pan. I used a 15cm (approx 6 inch) cake pan to create a small yet tall cheesecake. I recommend using a springform pan or one with a removable base so that it’s easier to remove.
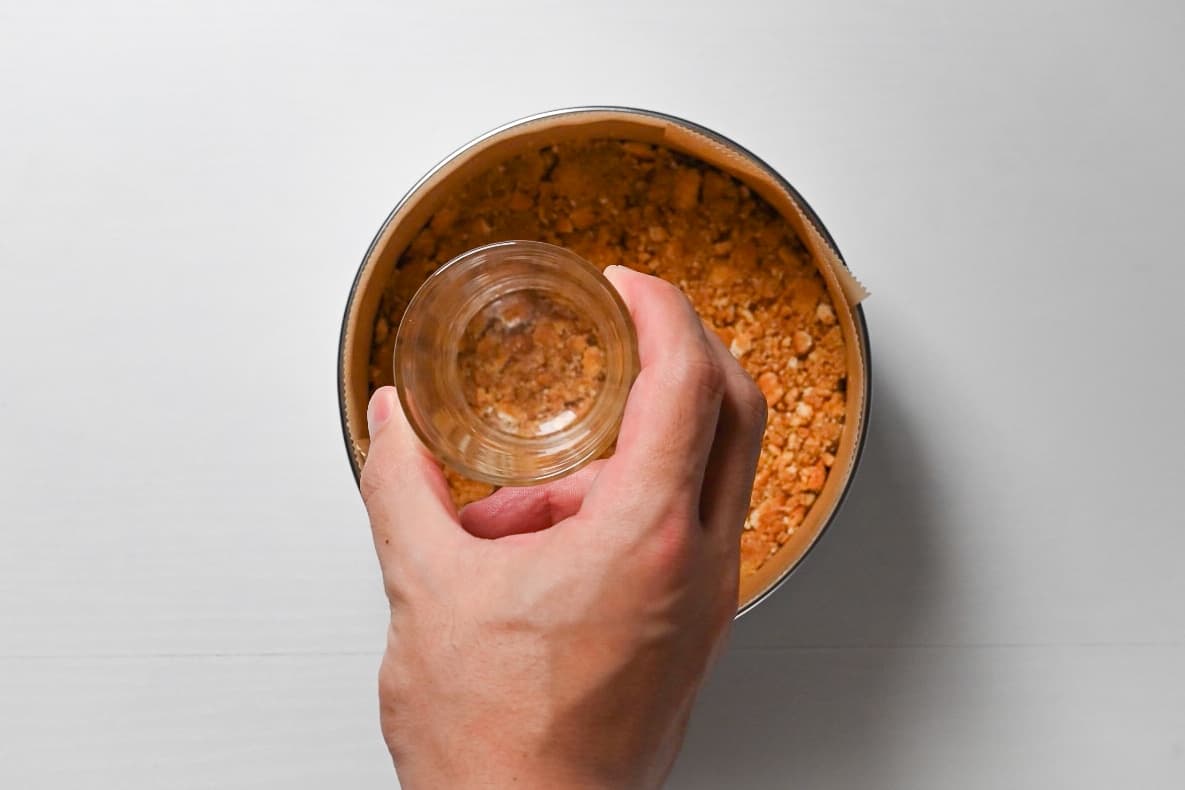
Use a glass with a flat base to smooth it out, and then store it in the refrigerator until later.
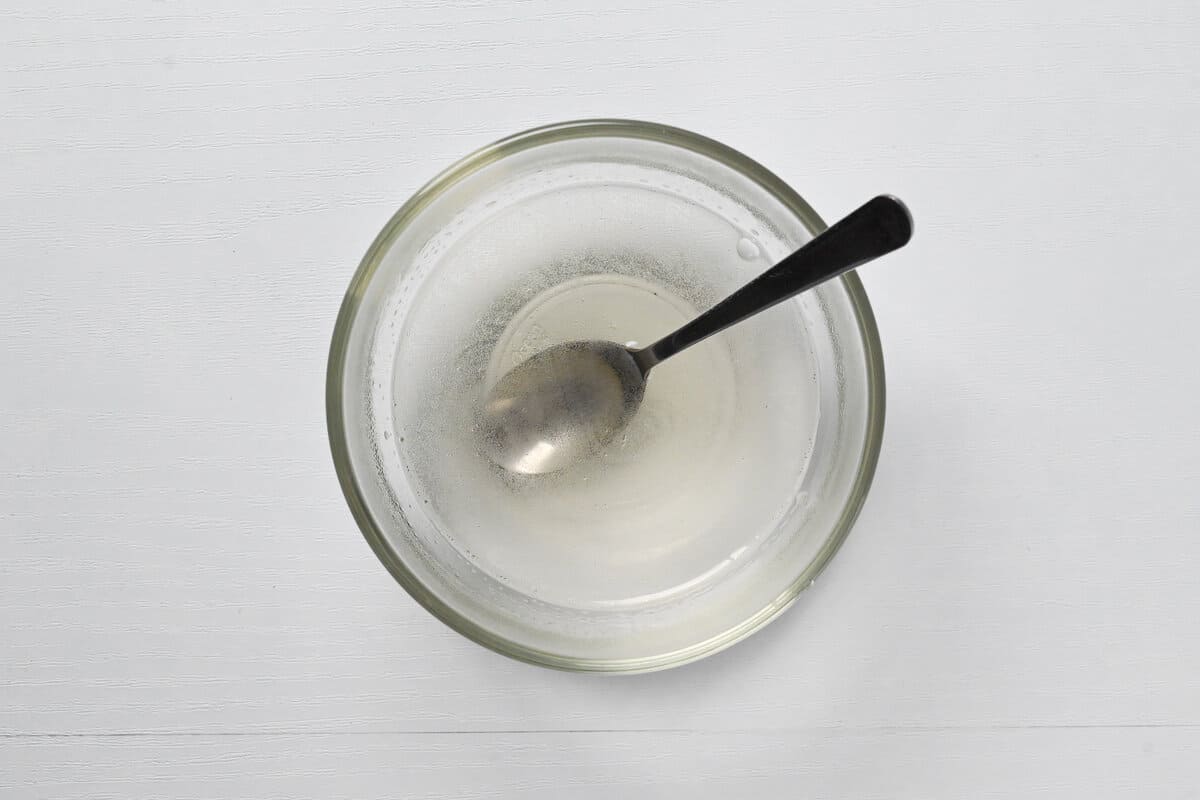
Before making the cheesecake filling, sprinkle the gelatine powder into some cold water and leave it to bloom for 5-10 minutes. This allows the granules to evenly absorb water, softening it and making it melt more easily and evenly later.
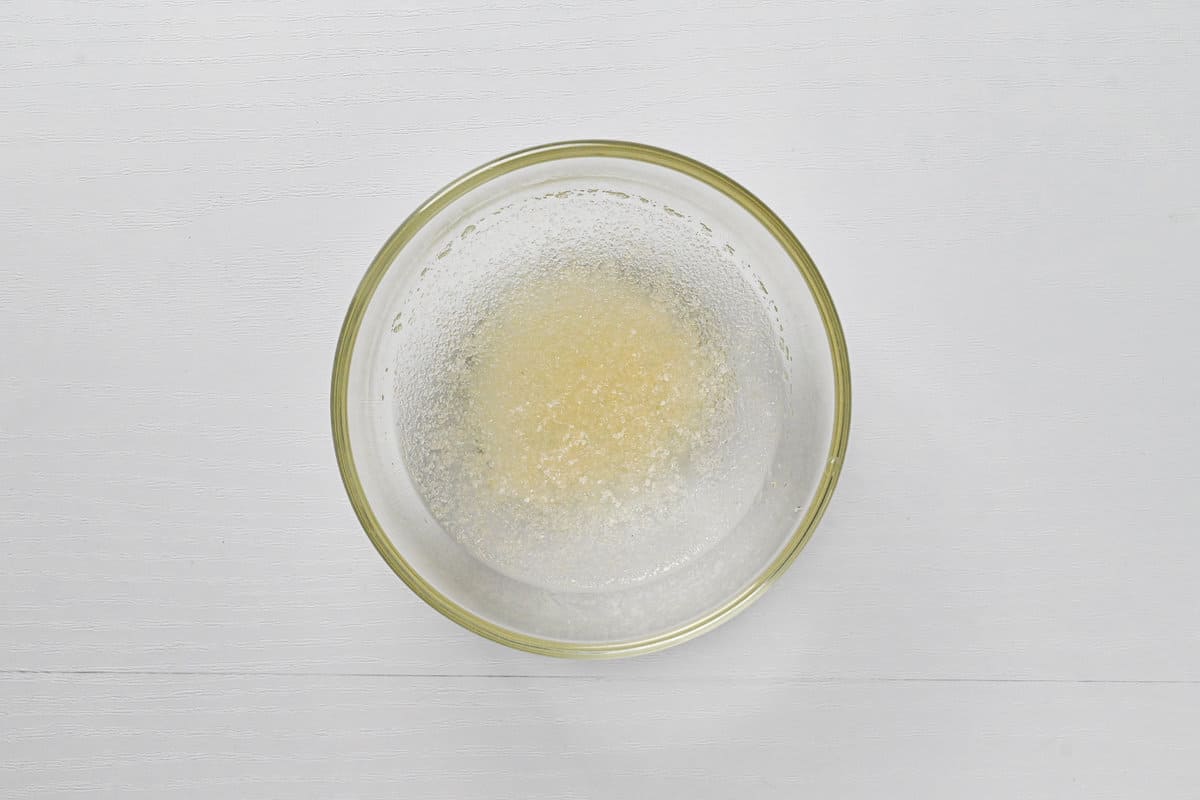
Sprinkling the gelatine over the top of the water (opposed to pouring water over the gelatine) will help prevent clumps.
Heat the cream cheese in the microwave in 20-30-second intervals to soften up. (Alternatively, you can leave the cream cheese out to reach room temperature 30 minutes before starting the recipe.)
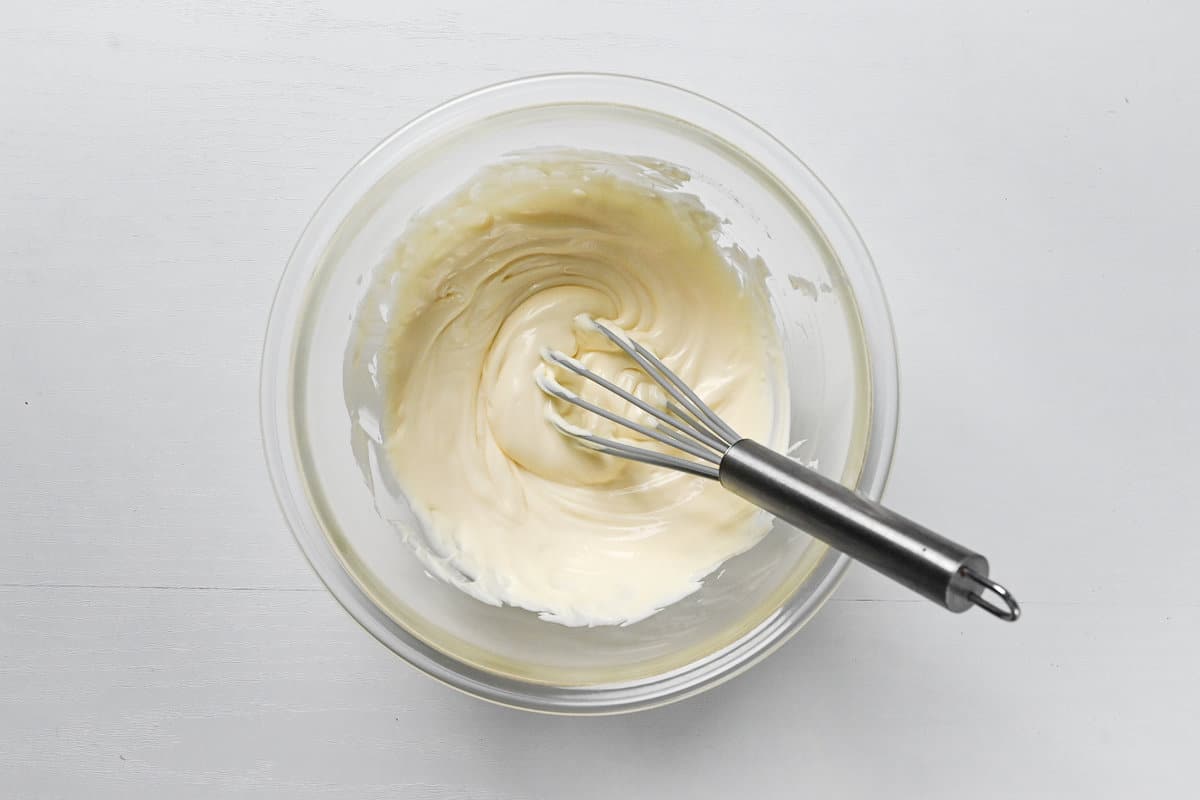
Once the cream cheese is soft enough, whisk until smooth and add the sugar. A bonus to heating the cream cheese in the microwave is that the sugar dissolves more easily into the mixture.
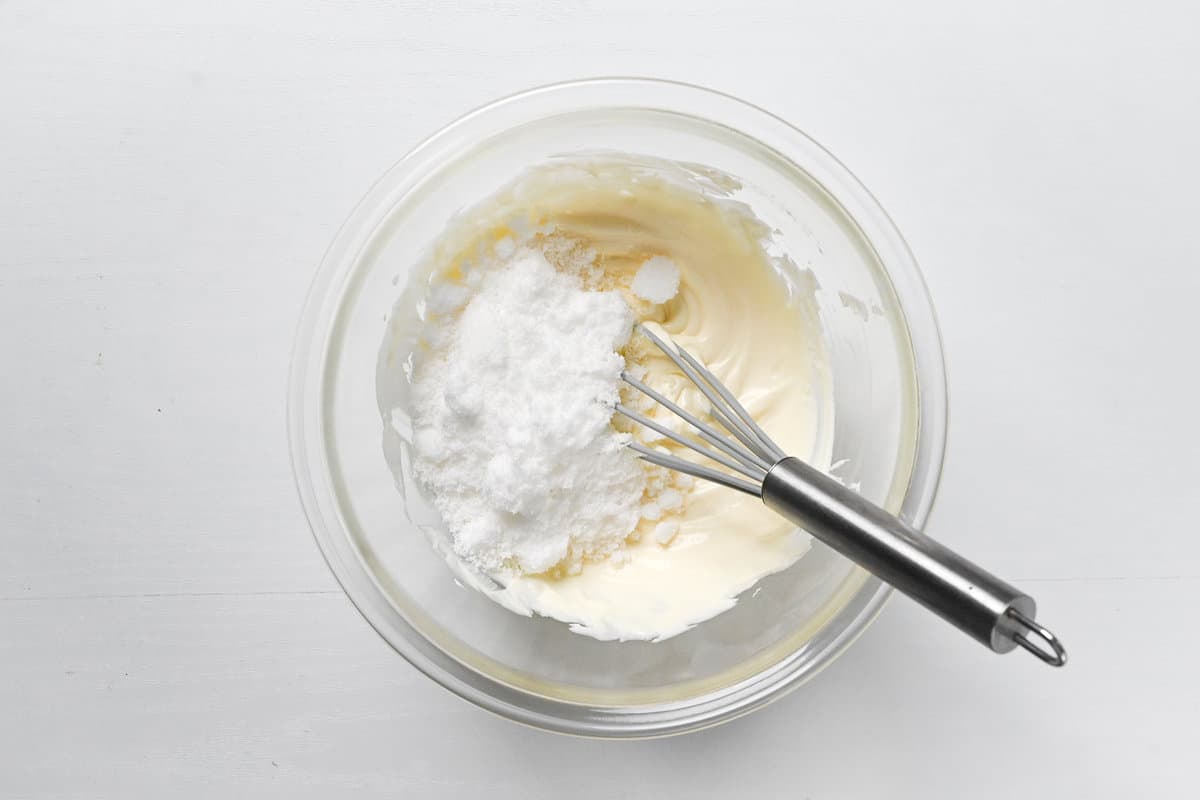
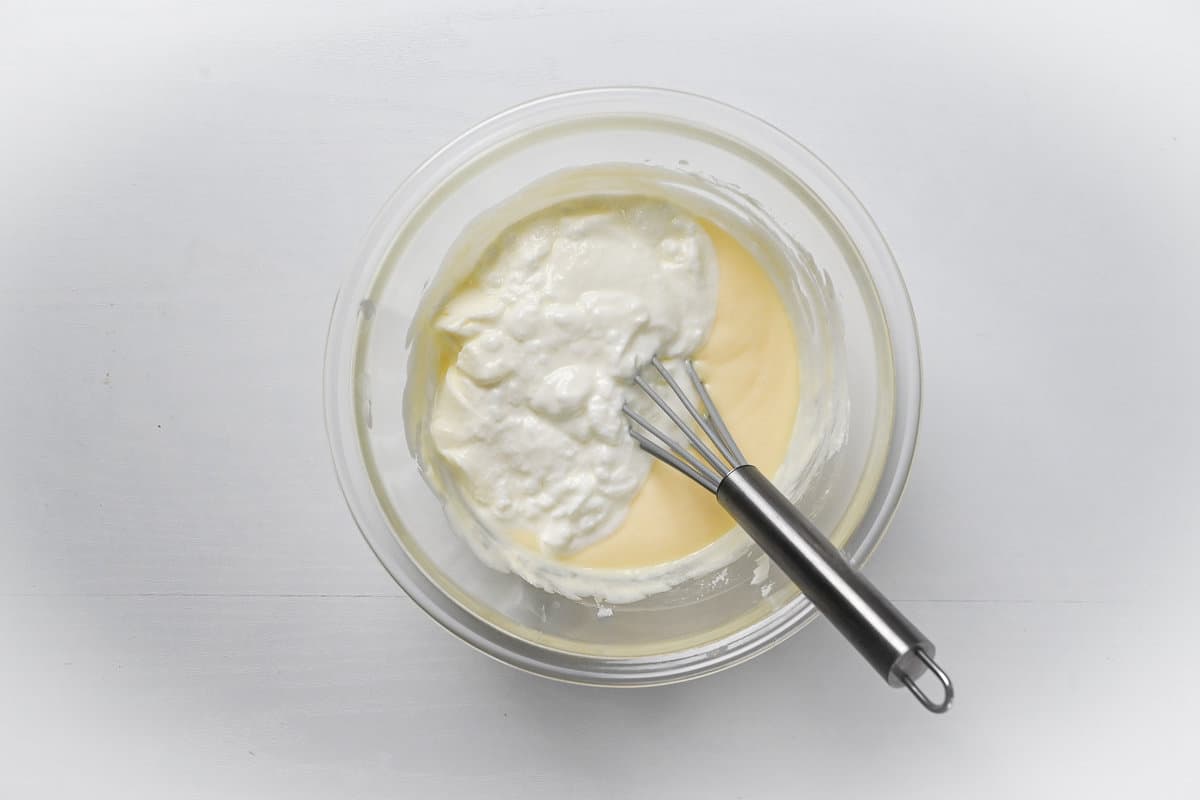
Whisk until the sugar is fully incorporated and then add the plain yogurt.
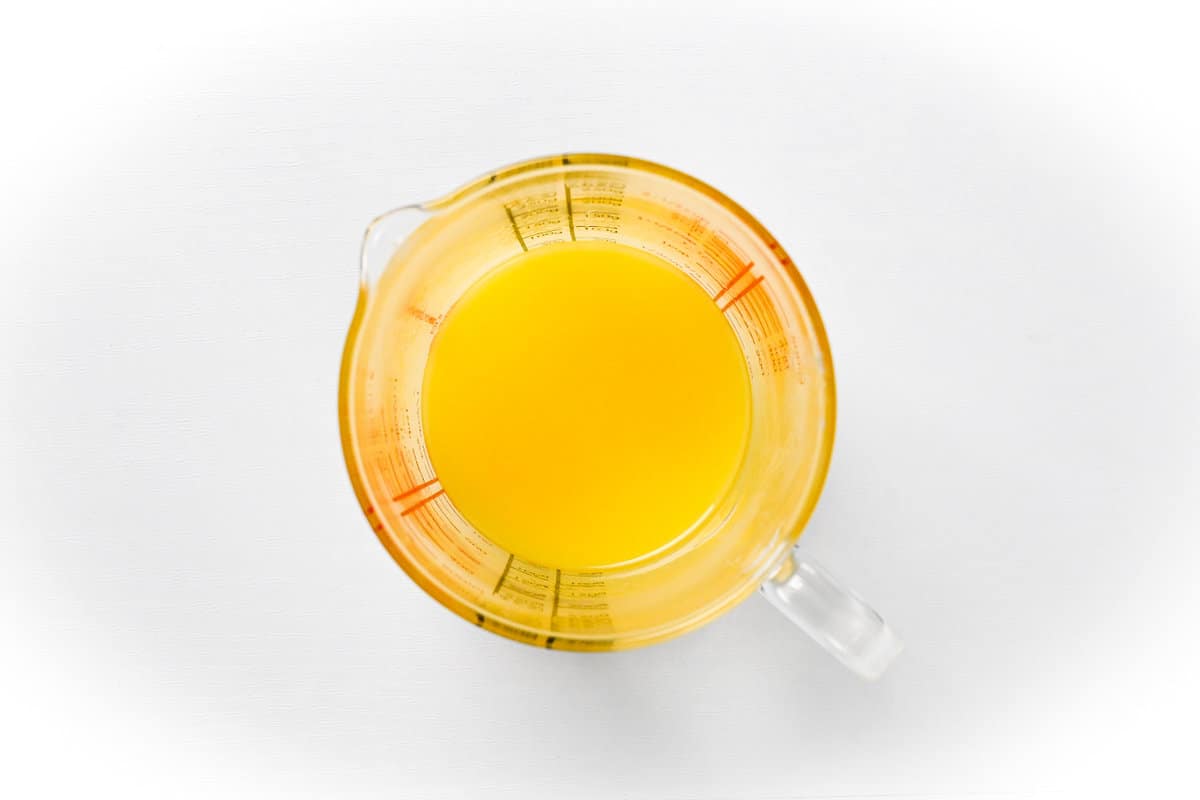
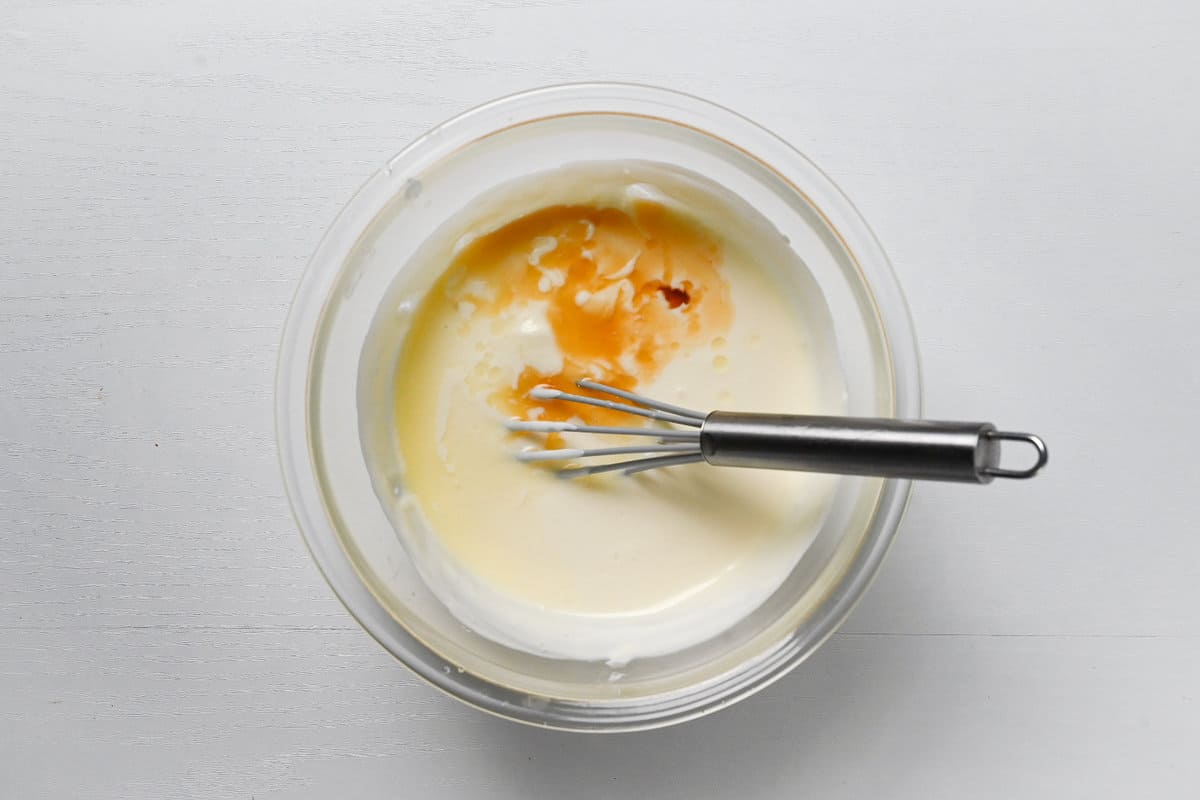
Next, add the lemon juice and vanilla essence. Essentially, you should whisk after adding each ingredient to ensure it’s evenly distributed throughout the mixture.
The final step is melting the gelatine. You can do this over a bain marie (a glass bowl over hot water) but I find it easier to just heat it in the microwave in 20-second intervals, mixing each time. This will effectively melt the gelatine powder without overheating it, no additional dishwashing is required!
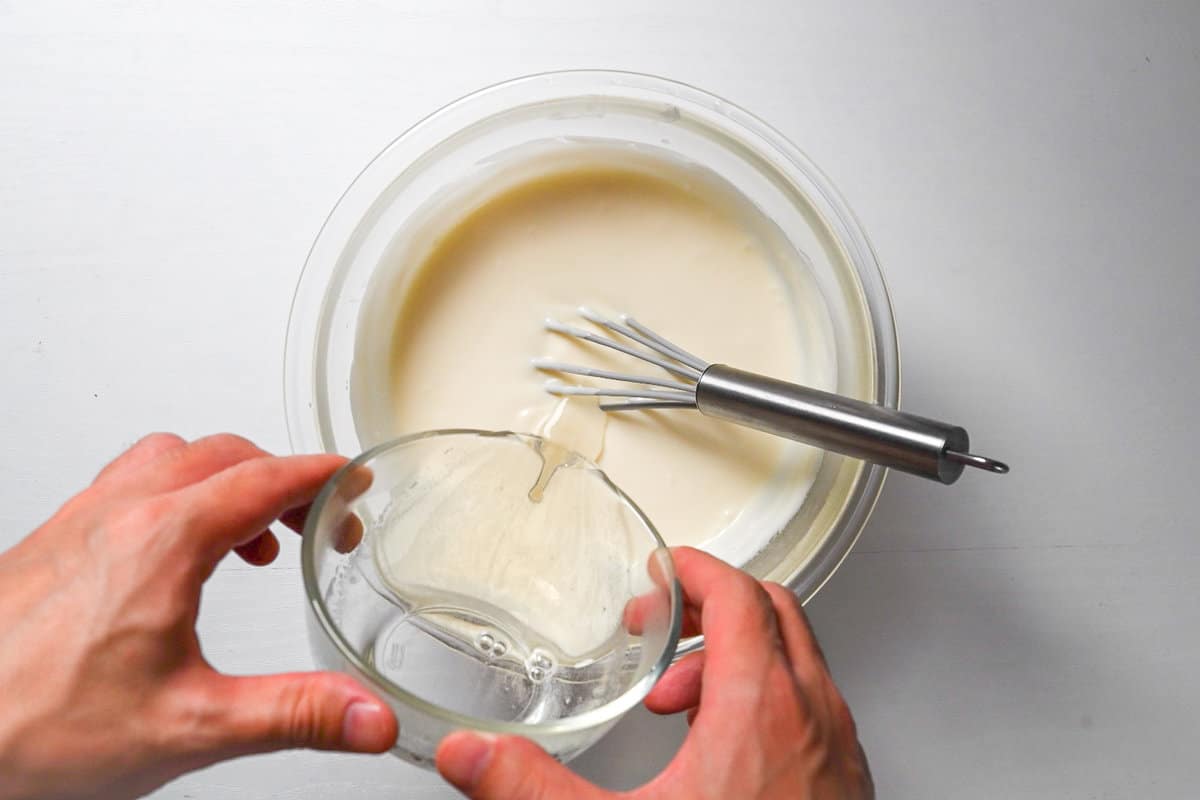
Once it’s melted, simply add it to the cheesecake mixture and whisk gently to prevent air bubbles, but thoroughly enough that it’s evenly distributed through the filling.
To ensure there are no stubborn lumps of cream cheese, sugar or gelatine, I recommend pouring the mixture through a fine mesh sieve. This extra step will ensure your rare cheesecake is flawlessly smooth.
Take the base and pour the cheesecake mixture over the top.
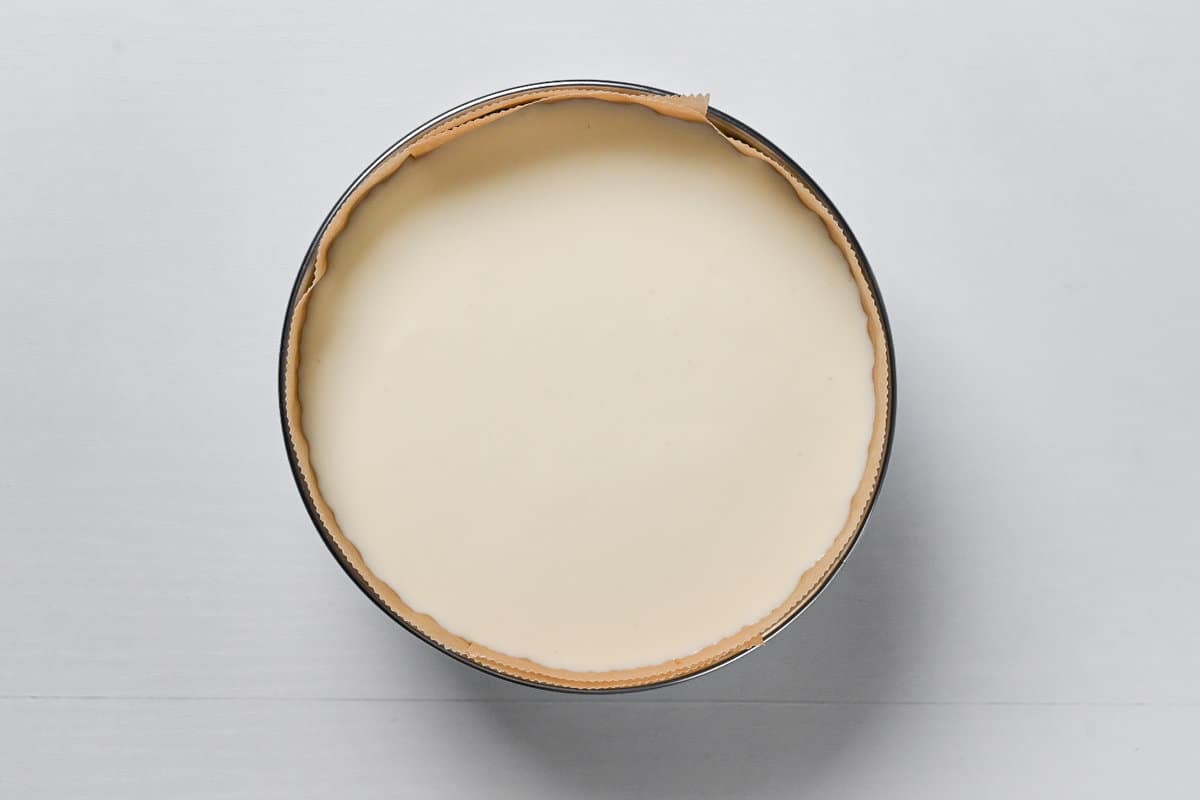
As the mixture is quite thin, I find there’s no need to smooth out the top. However, your mixture could be thicker depending on the brand of cream cheese, yogurt, or even the climate (the mixture will be firmer in winter, for example), so feel free to smooth the top with an offset spatula or the back of a spoon if you think it’s necessary.
If there are any air bubbles, pop them with a toothpick for a flawless finish.
Gelatine desserts typically take approximately 4 hours to set in the fridge. Leave plenty of time if you are making it for guests, preferably, make it the night before.
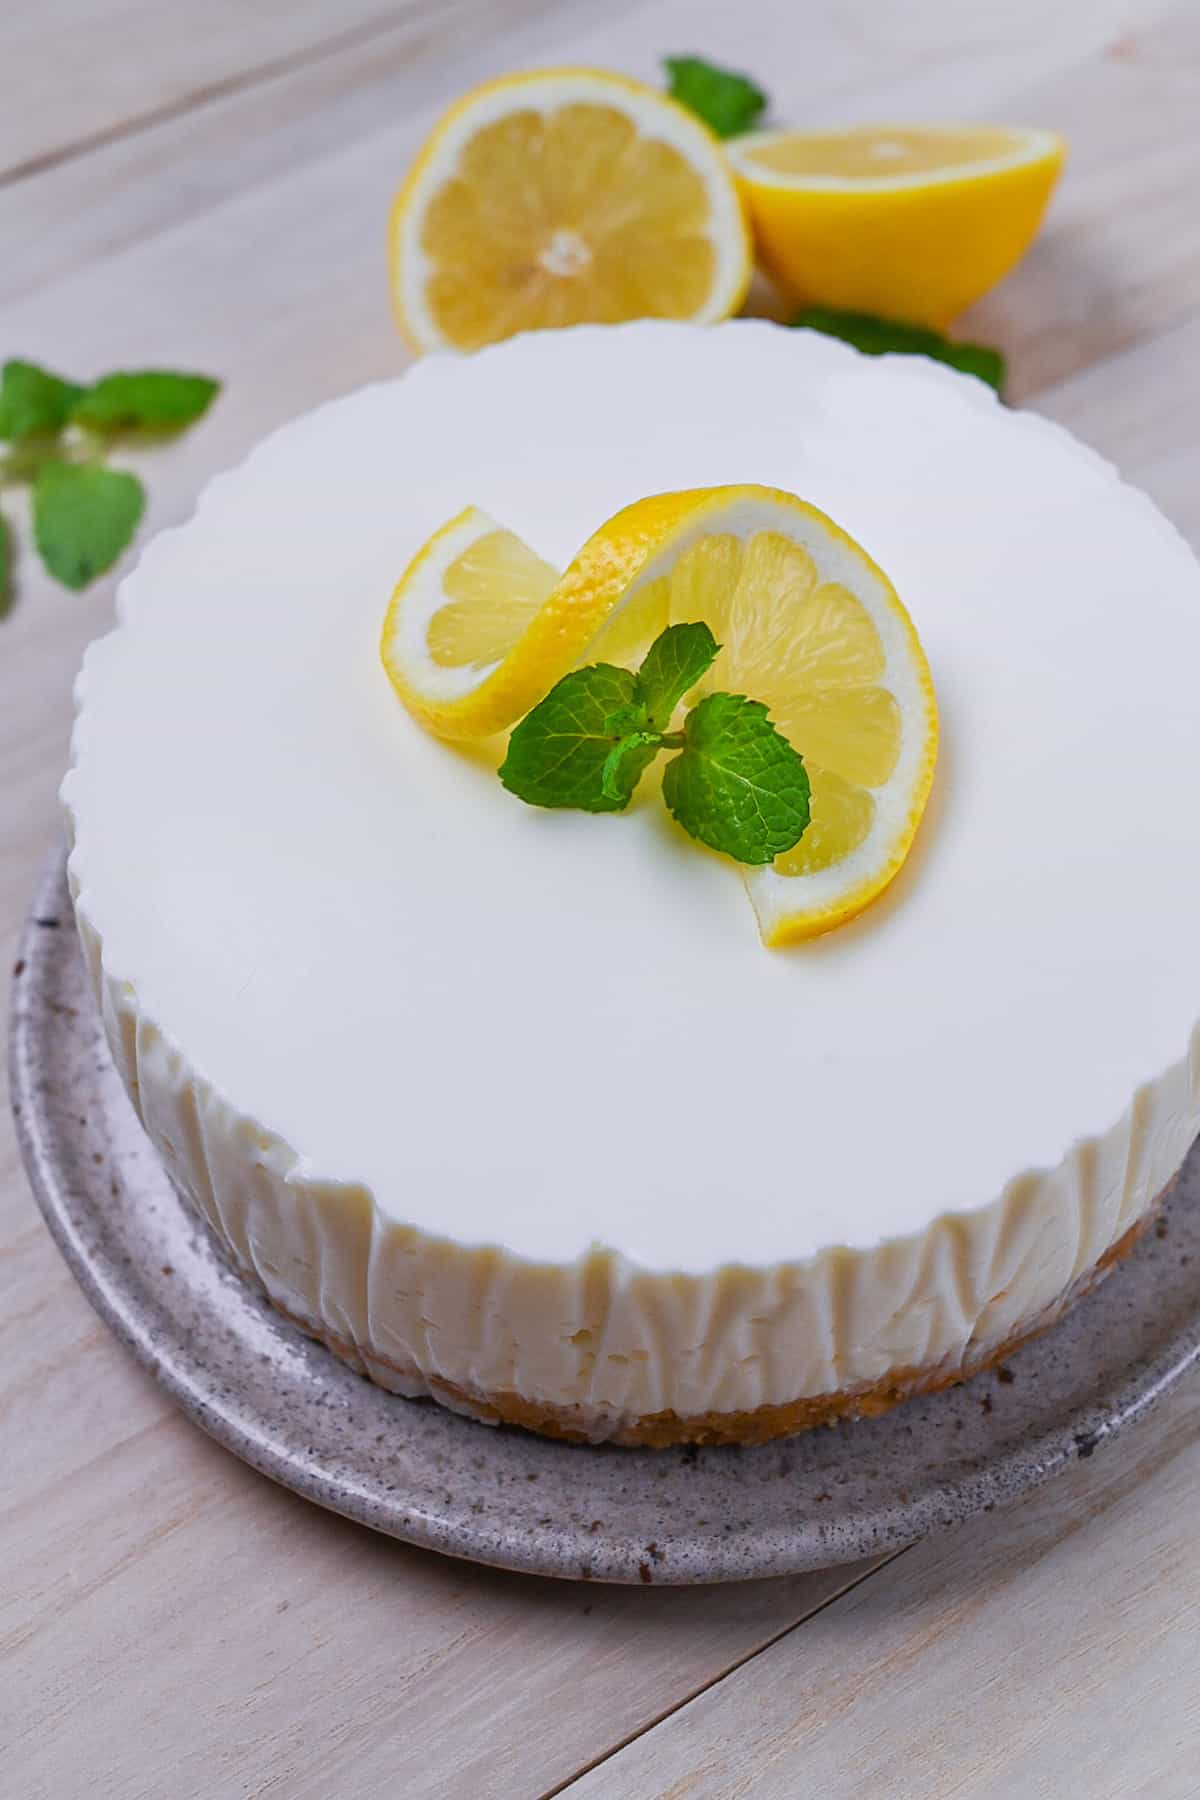
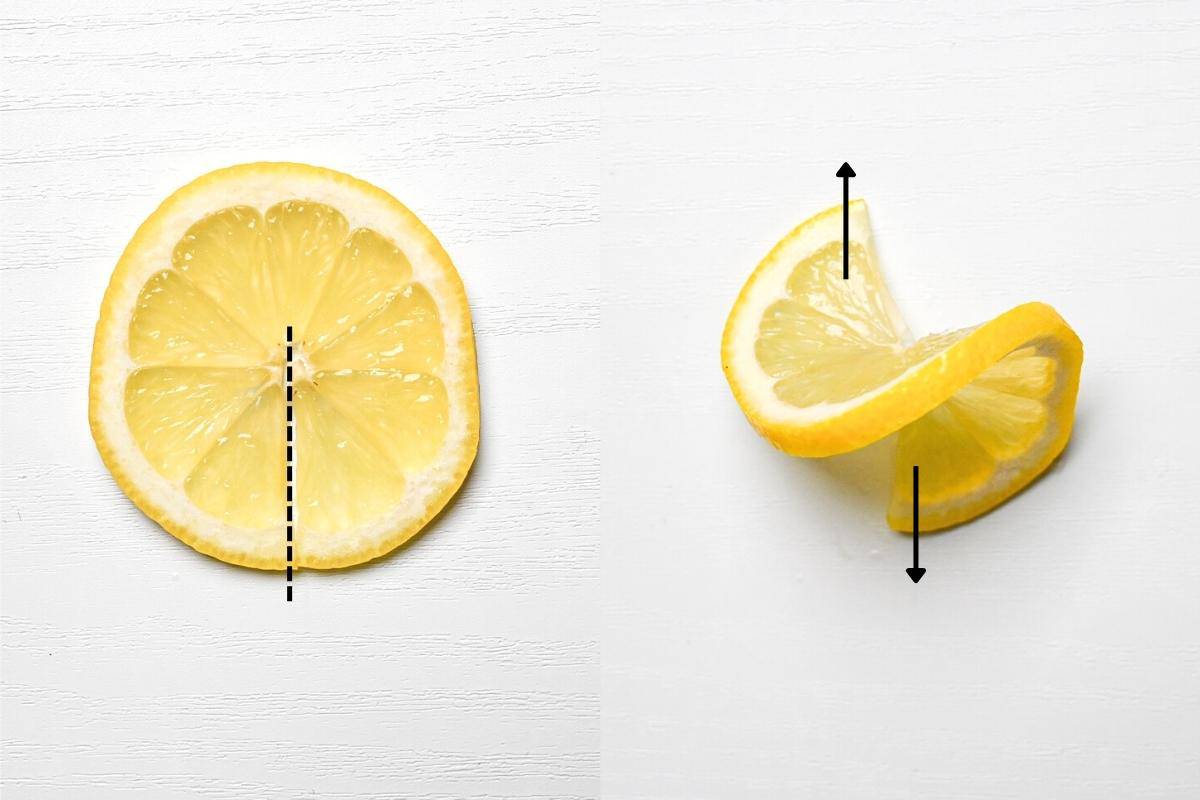
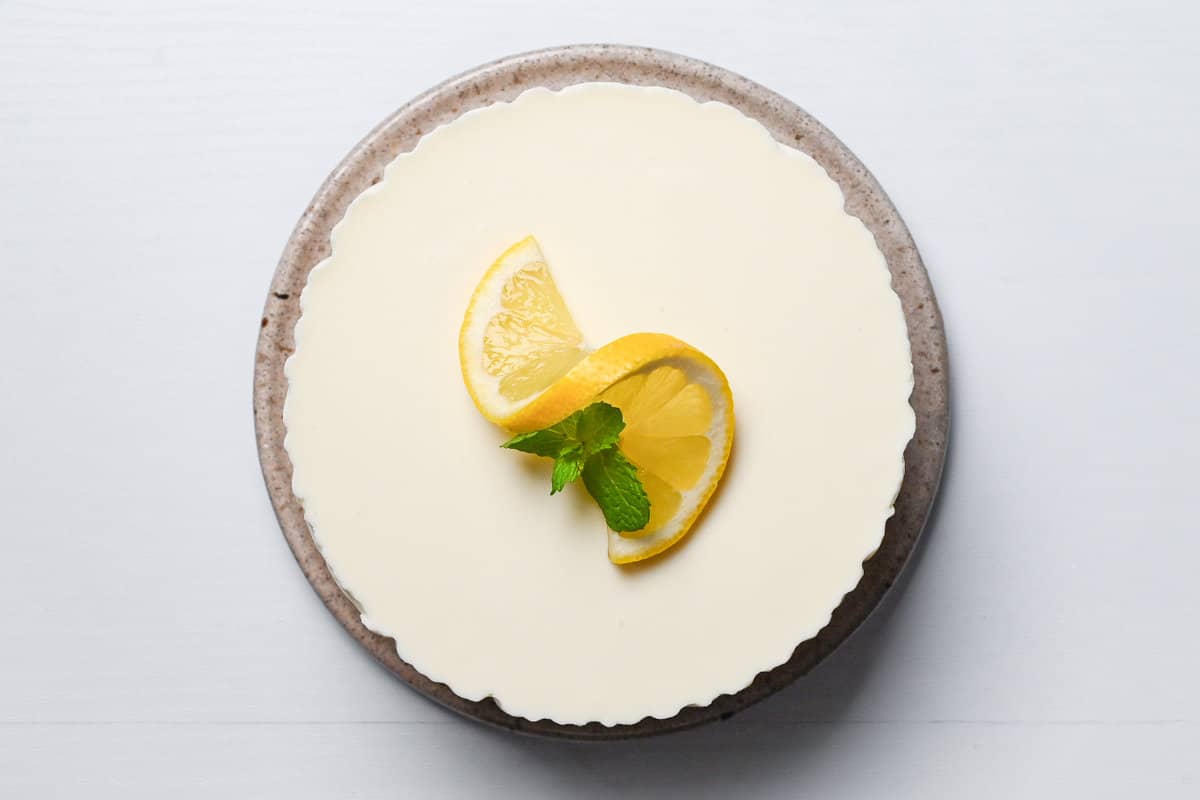
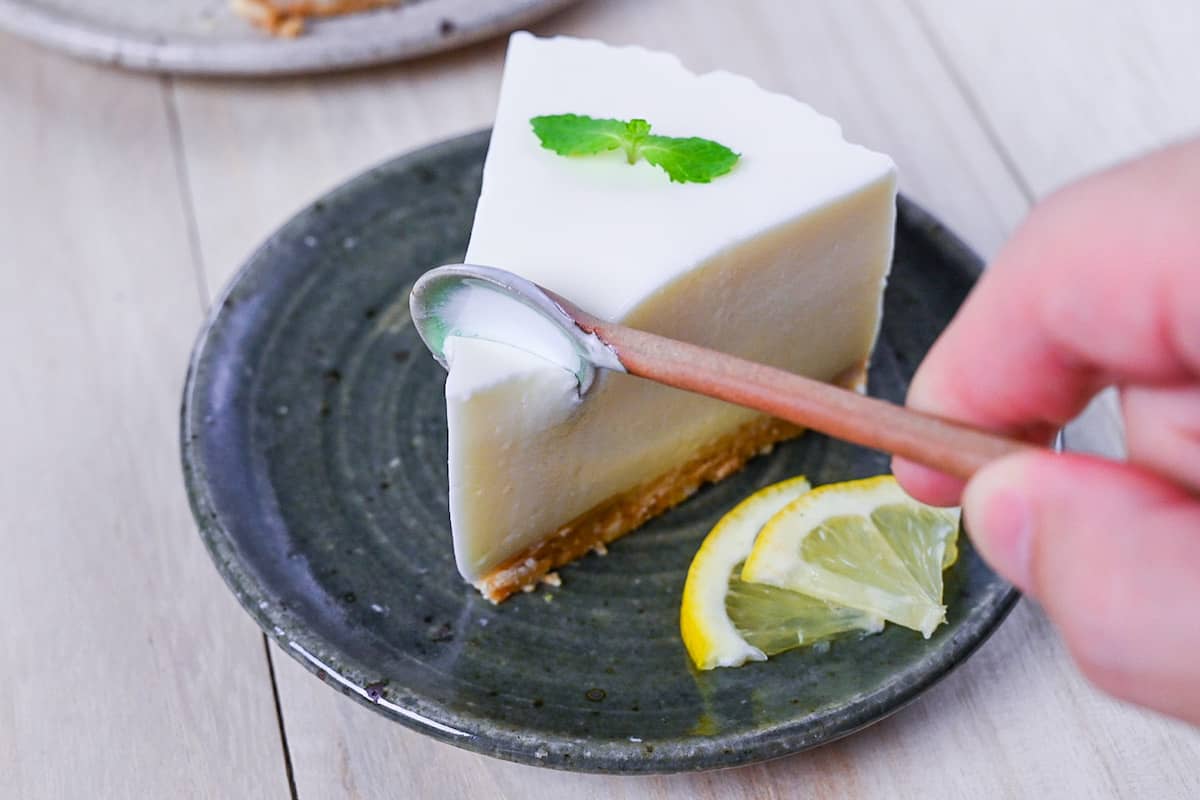
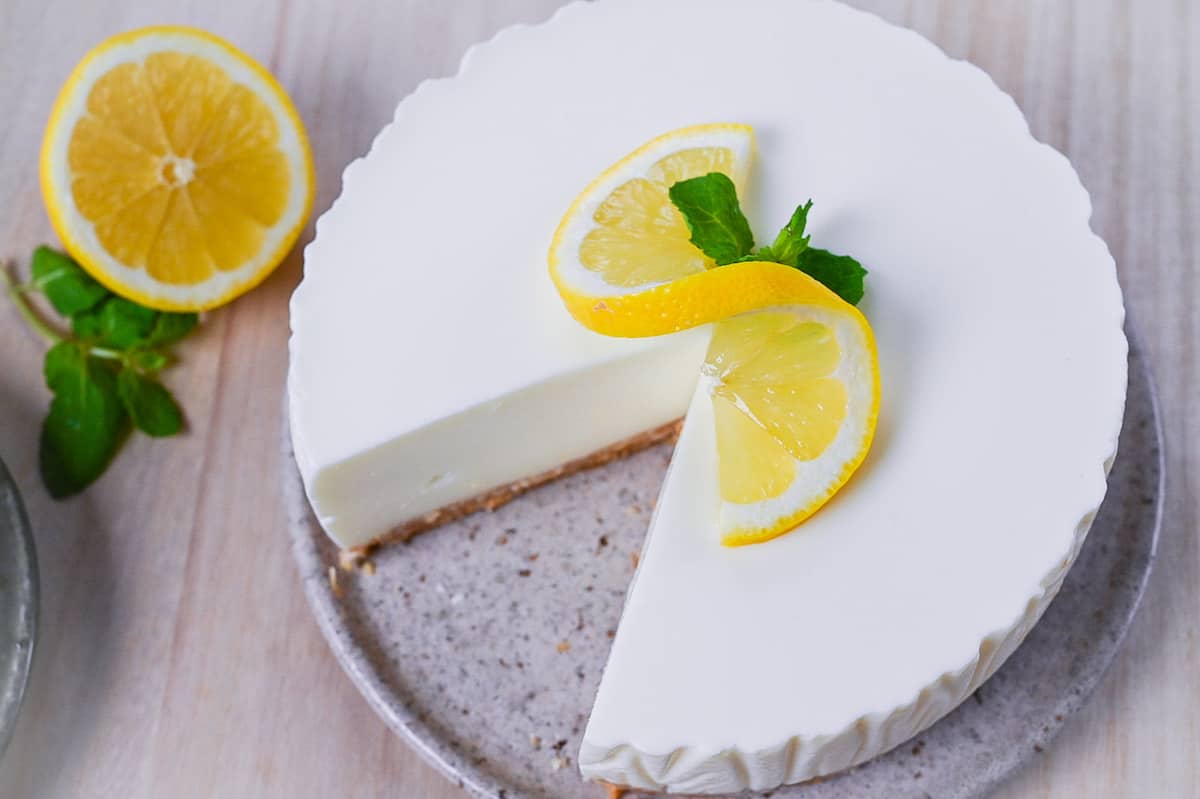
Once your rare cheesecake is set, feel free to leave it plain or decorate with lemon slices and mint leaves! I decorate with a twisted lemon, simply make a single cut to the center and pull the edges in opposite directions.
You could also add whipped cream or berries, get creative!
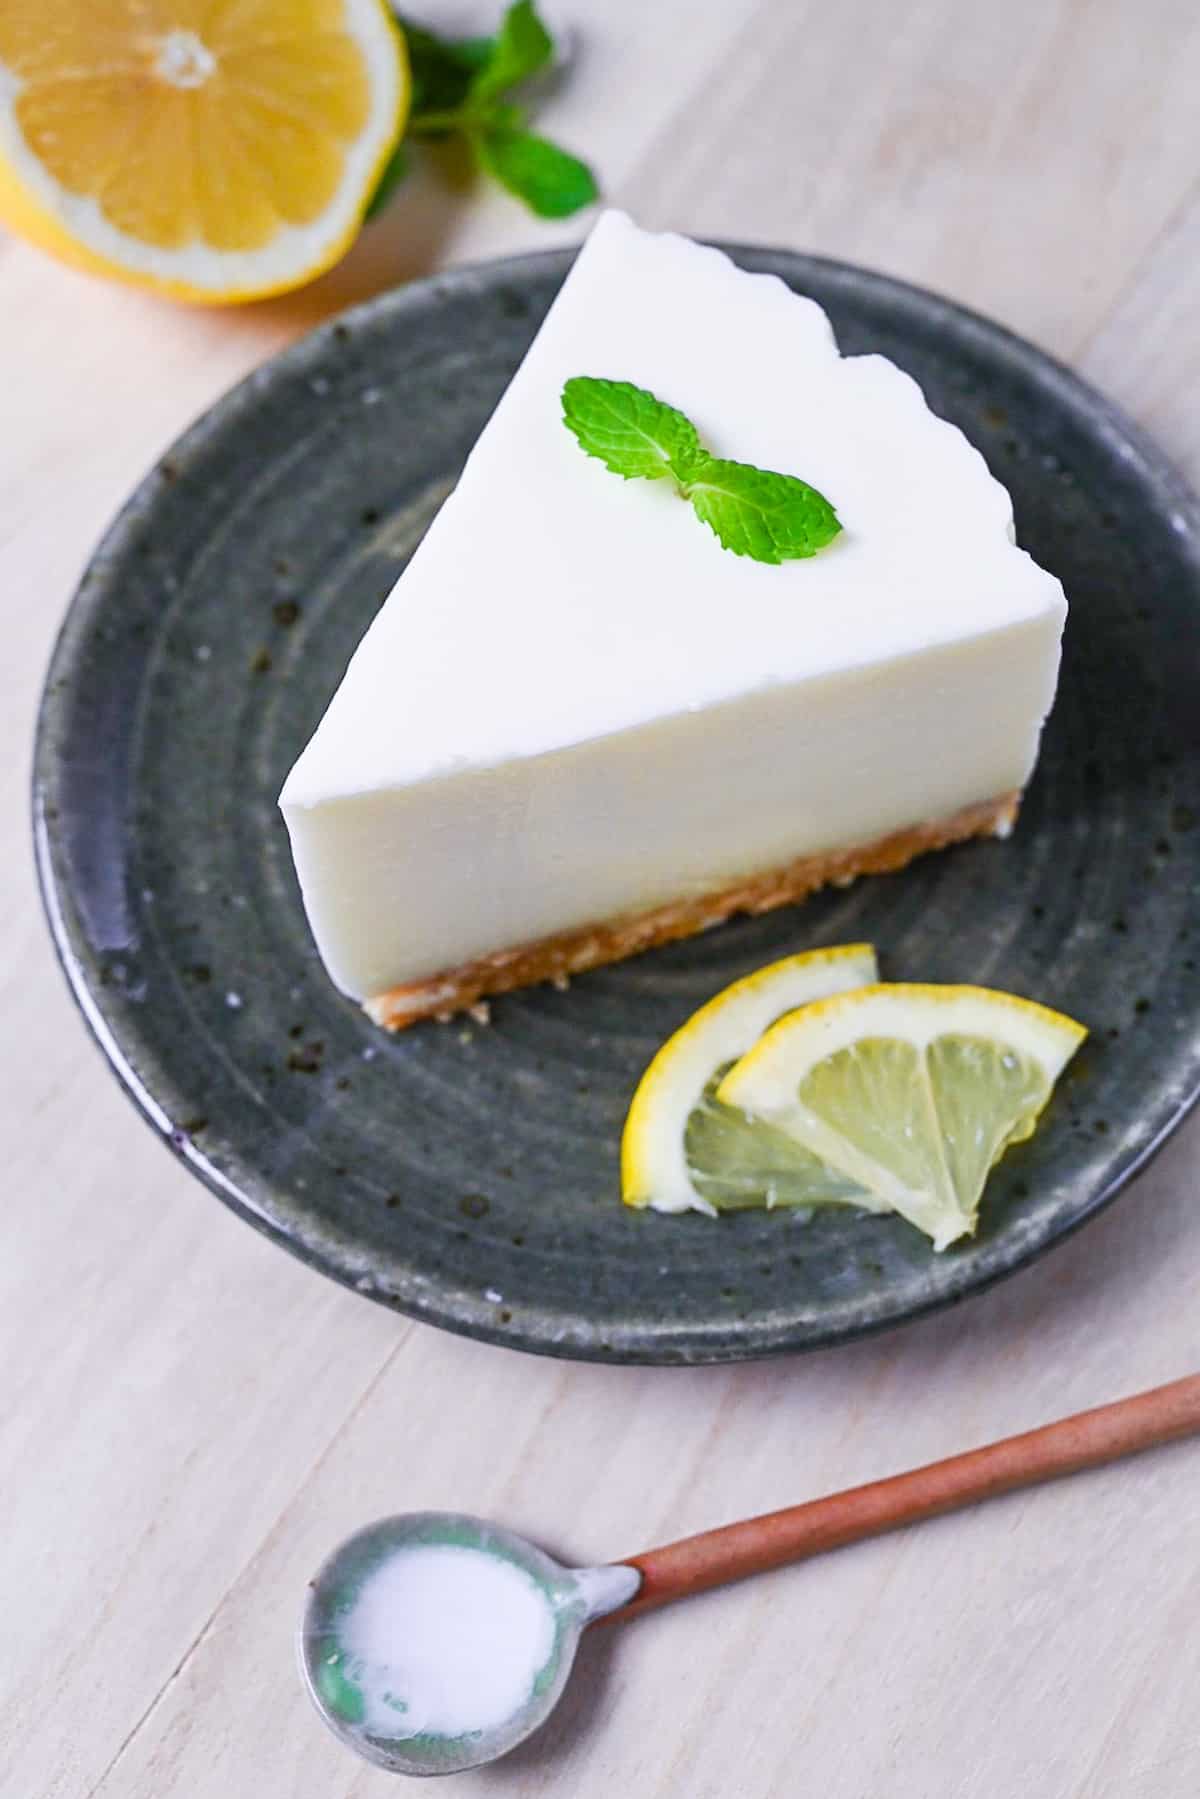
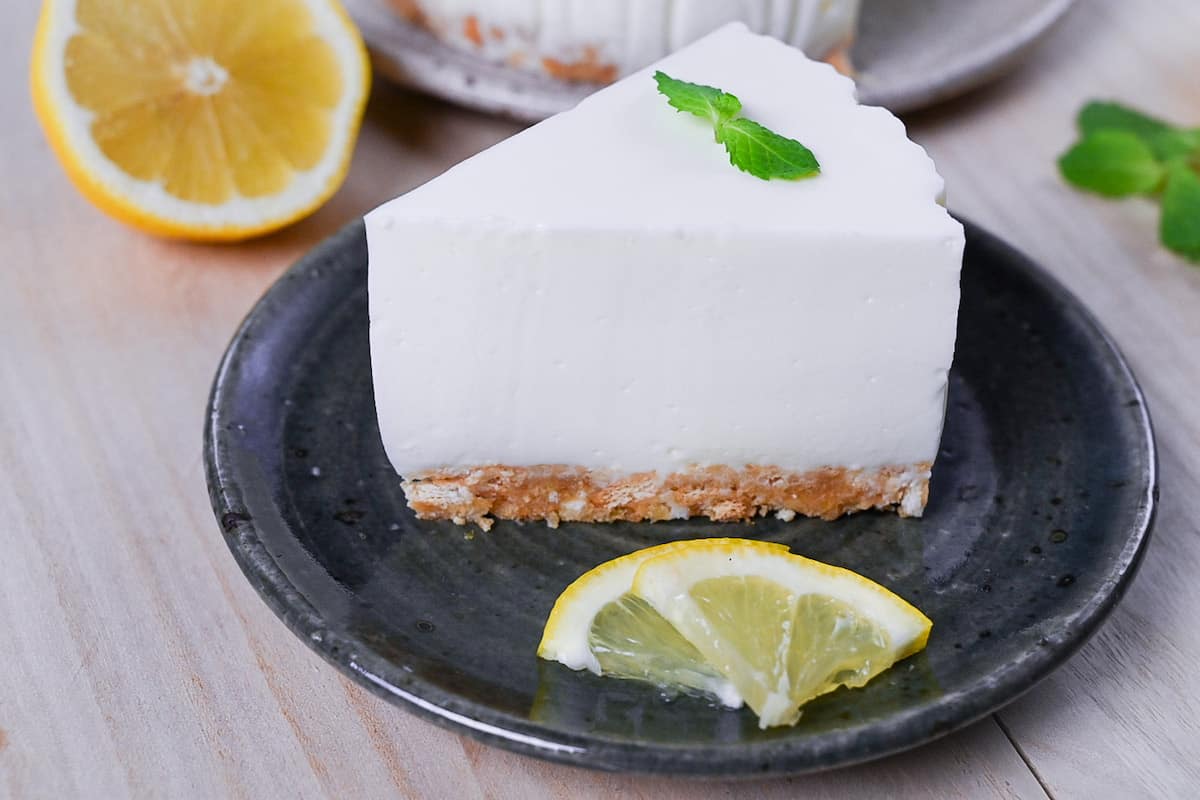
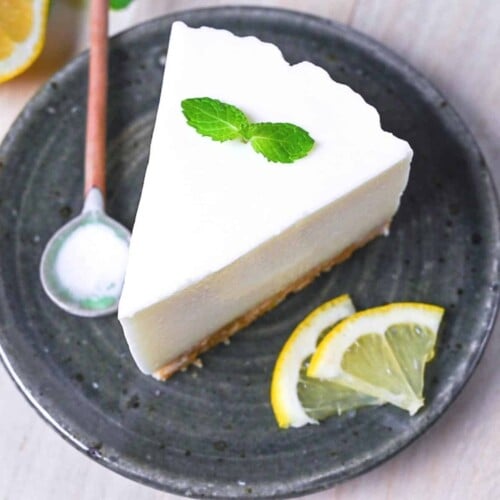
Finally, cut a slice and enjoy!
How to Store
This cheesecake should be stored in a sealed container in the fridge and should last for about 5 days. If you don’t have a big enough container, you can return it to the baking pan and wrap it with plastic wrap or foil, or cut it into more conveniently sized slices.
Unfortunately, because this rare cheesecake contains yogurt and gelatine, it does not freeze well.
Storage summary
Room temperature – Not recommended.
Refrigerated – Up to 5 days.
Frozen – Not recommended.
FAQ
Japan’s first cheesecake-like product existed during the Meiji period (1868-1912), and at that time, it was called rice cheesecake. It was a combination of rice and cheese, was not well received, and never became popular. The fact that Japanese people at that time were not yet familiar with the smell and taste of cheese is thought to be another reason it did not become popular. After the war, the American people brought baked cheesecake, which was popular in the U.S. and finally became known as cheesecake in Japan.
With the rising popularity of cheesecakes in Japan came new variations of the popular dessert. It is believed that the first rare cheesecake appeared in 1964 and was created by the specialized Western-style cake shop in Asakusa, Tokyo called “Tops.”
While baked cheesecakes often hold their shape by using eggs, many no-bake cheesecake recipes use whipped cream to help make the mixture thick and stable. However, the main difference between regular no-bake and Japanese rare cheesecakes is that they are usually set using gelatine instead of whipped cream.
Because of gelatine, you can make a rare Japanese-style cheesecake with softer ingredients. I use yogurt in my recipe. The yogurt adds a little sourness and makes the cheesecake lighter. It also becomes a little more calorie-friendly compared to using double cream.
I hope you enjoy this Japanese-style Rare Cheesecake recipe! If you try it out, I’d really appreciate it if you could spare a moment to let me know what you thought by giving a review and star rating in the comments below. It’s also helpful to share any adjustments you made to the recipe with our other readers. Thank you!
More Japanese Cold Dessert Recipes
- Nameraka Purin (Silky Japanese Custard Pudding)
- Homemade Matcha Green Tea Ice Cream
- Nama Chocolate (Japanese Valentine’s Day Chocolate)
- Coffee Jelly (with Plant-Based Options)
Want more inspiration? Explore my Japanese Dessert Roundup Post for a carefully selected collection of tasty recipe ideas to spark your next tea party!
Japanese Style Lemon Rare Cheesecake (no bake)

Equipment
- 15cm (6 inch) Cake Tin
- Fine mesh sieve
Ingredients
Base
- 70 g graham crackers
- 50 g unsalted butter
- 1 lemon zest
Cheesecake filling
- 7 g gelatin powder
- 60 ml cold water
- 300 g cream cheese
- 300 g plain yogurt
- 90 g white caster sugar
- ½ lemon juice
- 1 tsp vanilla essence or half the amount of vanilla extract
- toppings of your choice lemon slices, mint leaves, mixed berries etc.
The ingredient brands and tools I trust are in my Japanese pantry guide and my cooking tools guide.
Can’t find certain Japanese ingredients? See my substitution guide here.
Instructions
Base
- Place 50 g unsalted butter into a heatproof container and microwave in 20 second intervals (mixing each time) until fully melted.

- Grate the zest of 1 lemon into the melted butter and mix.
- Place 70 g graham crackers into a zip lock back and crush them using a rolling pin until they become fine crumbs. (For a finer texture, you can use a food processor instead.)
- Pour the melted butter into the bag and massage it until it’s all absorbed into the crumbs.
- Pour the buttery crumbs into a lightly greased cake pan and press them down firmly with a flat-based glass. Store it in the fridge while you prepare the rest of the cheesecake.

Making the Filling
- Pour 60 ml cold water into a small microwavable bowl and sprinkle in 7 g gelatin powder. Mix and leave to bloom for 5-10 minutes.
- Add 300 g cream cheese to a microwavable bowl and heat in 20-30 second intervals, mixing each time until soft enough to whisk with ease.
- Whisk the cream cheese until it becomes smooth and lump free, then add 90 g white caster sugar and whisk again until smooth.
- Add 300 g plain yogurt and continue to whisk.
- Squeeze in the juice of ½ lemon and add 1 tsp vanilla essence. Whisk gently until well incorporated.
- Your gelatine powder should of thickened by now. Fully melt the gelatine by microwaving in 20 second intervals and mixing each time OR melt in a double boiler (bain marie).
- Once your gelatine is lump-free, immediately pour into your cheesecake mixture and mix gently to prevent air bubbles, but thoroughly so that it’s evenly distributed.
- Take the base from the fridge and pour the cheesecake mixture into the cake tin. (Optional step: For an extra smooth result, pour it through a mesh sieve.)Smooth over the top and leave to chill in the fridge for at least 3-4 hours. (Preferably overnight.)
- Decorate with toppings of your choice and enjoy!
Lovely cheesecake recipe, I really enjoyed the zest in the crust. I had leftover lemons and biscuits so I made a bit extra and sprinkled it over some lemon yogurt, such a yummy snack while I was waiting for it to set!
Hi Trixy,
Thank you for trying this recipe! Love how you made use of the extras! That lemon yogurt twist sounds delicious.
Yuto
Fun to make and very delicious. The light texture of the filling and the citrus flavour make it a lovely dessert for a hot summer’s day. As I live in Okinawa, I am thinking of trying it with shikuwasa.
Hi Melanie,
Thanks so much for making it and sharing your beautiful result! It looks fantastic. Shikuwasa is an excellent idea, I always love seeing local ingredients used in creative ways!
Yuto
This Labor Day weekend, I made three portions of Japanese-style lemon Rare Cheesecake cups for my family who topped their desserts with strawberries from the fruit plate. My dessert tasted great. Who knew that a small treat could please a small crowd?
Hi Charissa,
Thank you so much for making this recipe and sharing your photo! Looking amazing! Love how your family added strawberries, sounds like the perfect finishing touch! 🙂
Yuto
You’re welcome, Mr. Oruma.
This turned out since I have very little cooking experience in general. Everyone who tried it really enjoyed it! I ended up trying putting some sliced pineapples in and it really worked well with the lemony citrus flavor, thank you again!
Hi Phil,
Love that you went for it and got everyone on board! Adding pineapple to play off the citrus is exactly the kind of experimenting that makes cooking fun! 🙂
Yuto
This is a wonderful recipe. My son came across Japanese Rare Cheesecake recipes when he was exploring ideas for his birthday. I was a little nervous when making it, the first time, as I had never used plain gelatin before. However, it came together beautifully.
I also appreciate that it is not a huge recipe since we have some dietary concerns in our home. It is a recipe that everyone loves.
Hi Terrie,
Thank you! It means a lot that you went for it even with gelatin and the cake itself being new to you, and that it came together on the first try. Glad it could be part of your son’s birthday, and that the whole family loved it! 🙂
Yuto