What is Mushi Pan?
Mushi Pan (蒸しパン) is a light and fluffy steamed cake that resembles a muffin. Just like muffins, they can be customized using different fillings and flavors. The most common filling in Japan is sweet potato, which was originally added for extra sweetness during a time when sugar was expensive.
The word “mushi” means steamed, and “pan” means bread. Although the origins of mushi pan are not clear, I would say they are quite similar to Chinese steamed cakes such as Ma Lai Gao (a steamed cake flavored with dark brown sugar) or Fa Gao (Prosperity Cakes).
Mushi pan is easy to make and customize with your favorite flavors, and make a great snack or breakfast. Since they contain less sugar, and no eggs or butter, they can be a slightly healthier alternative to regular baked goods. Not to mention, kids love them too!


How I Developed This Recipe
Making mushi pan is pretty straight-forward and a great recipe for beginners!
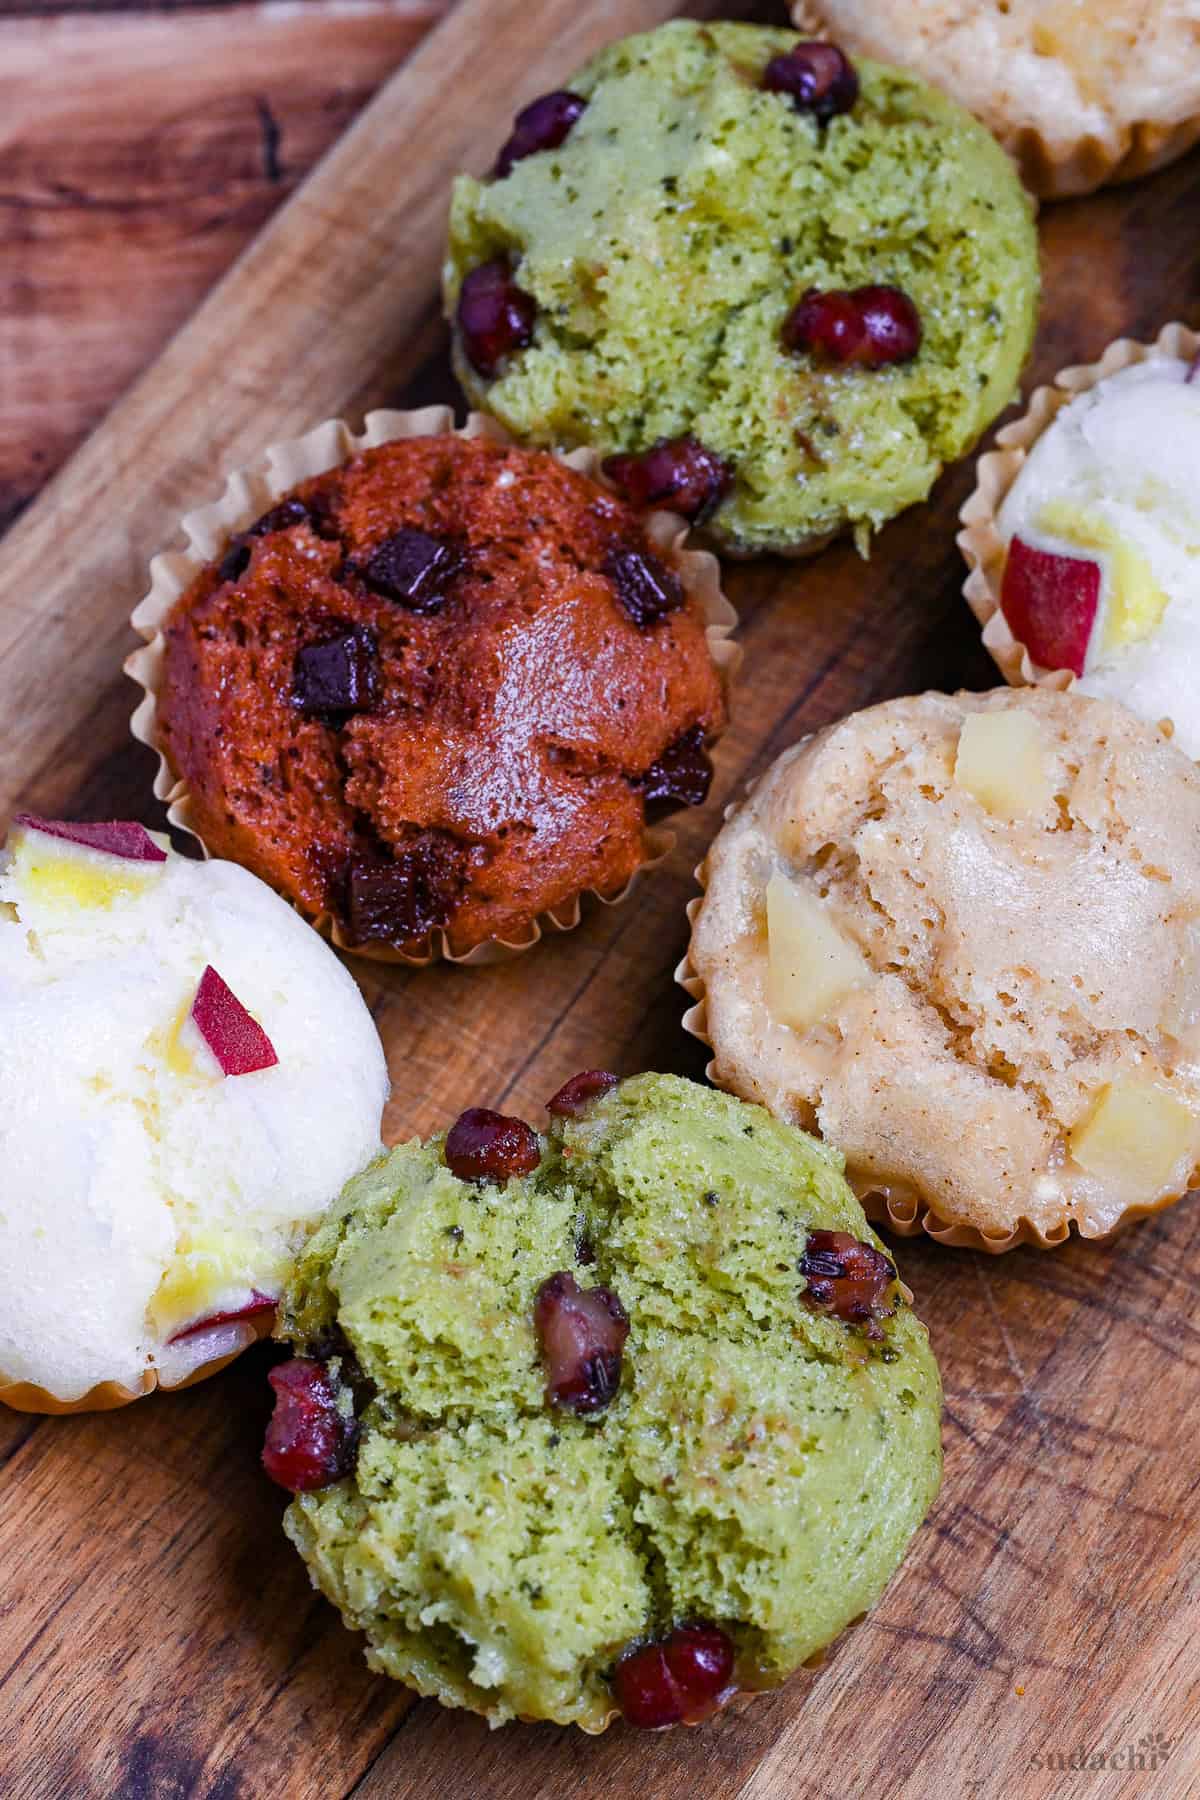
My main goal for this recipe was to recreate the cracked tops that you see with store-bought versions, somehow they look fluffier and more appealing to me. The answer to this is using enough baking powder, and making sure it’s still active! (See ingredients list below for more info.)
This simple mushi pan recipe is the perfect base for customization. I included sweet potato, matcha and adzuki beans, black tea and apple, and chocolate orange. Feel free to experiment and let me know your favorite flavors and additions in the comments!
Key Ingredients & Substitution Ideas
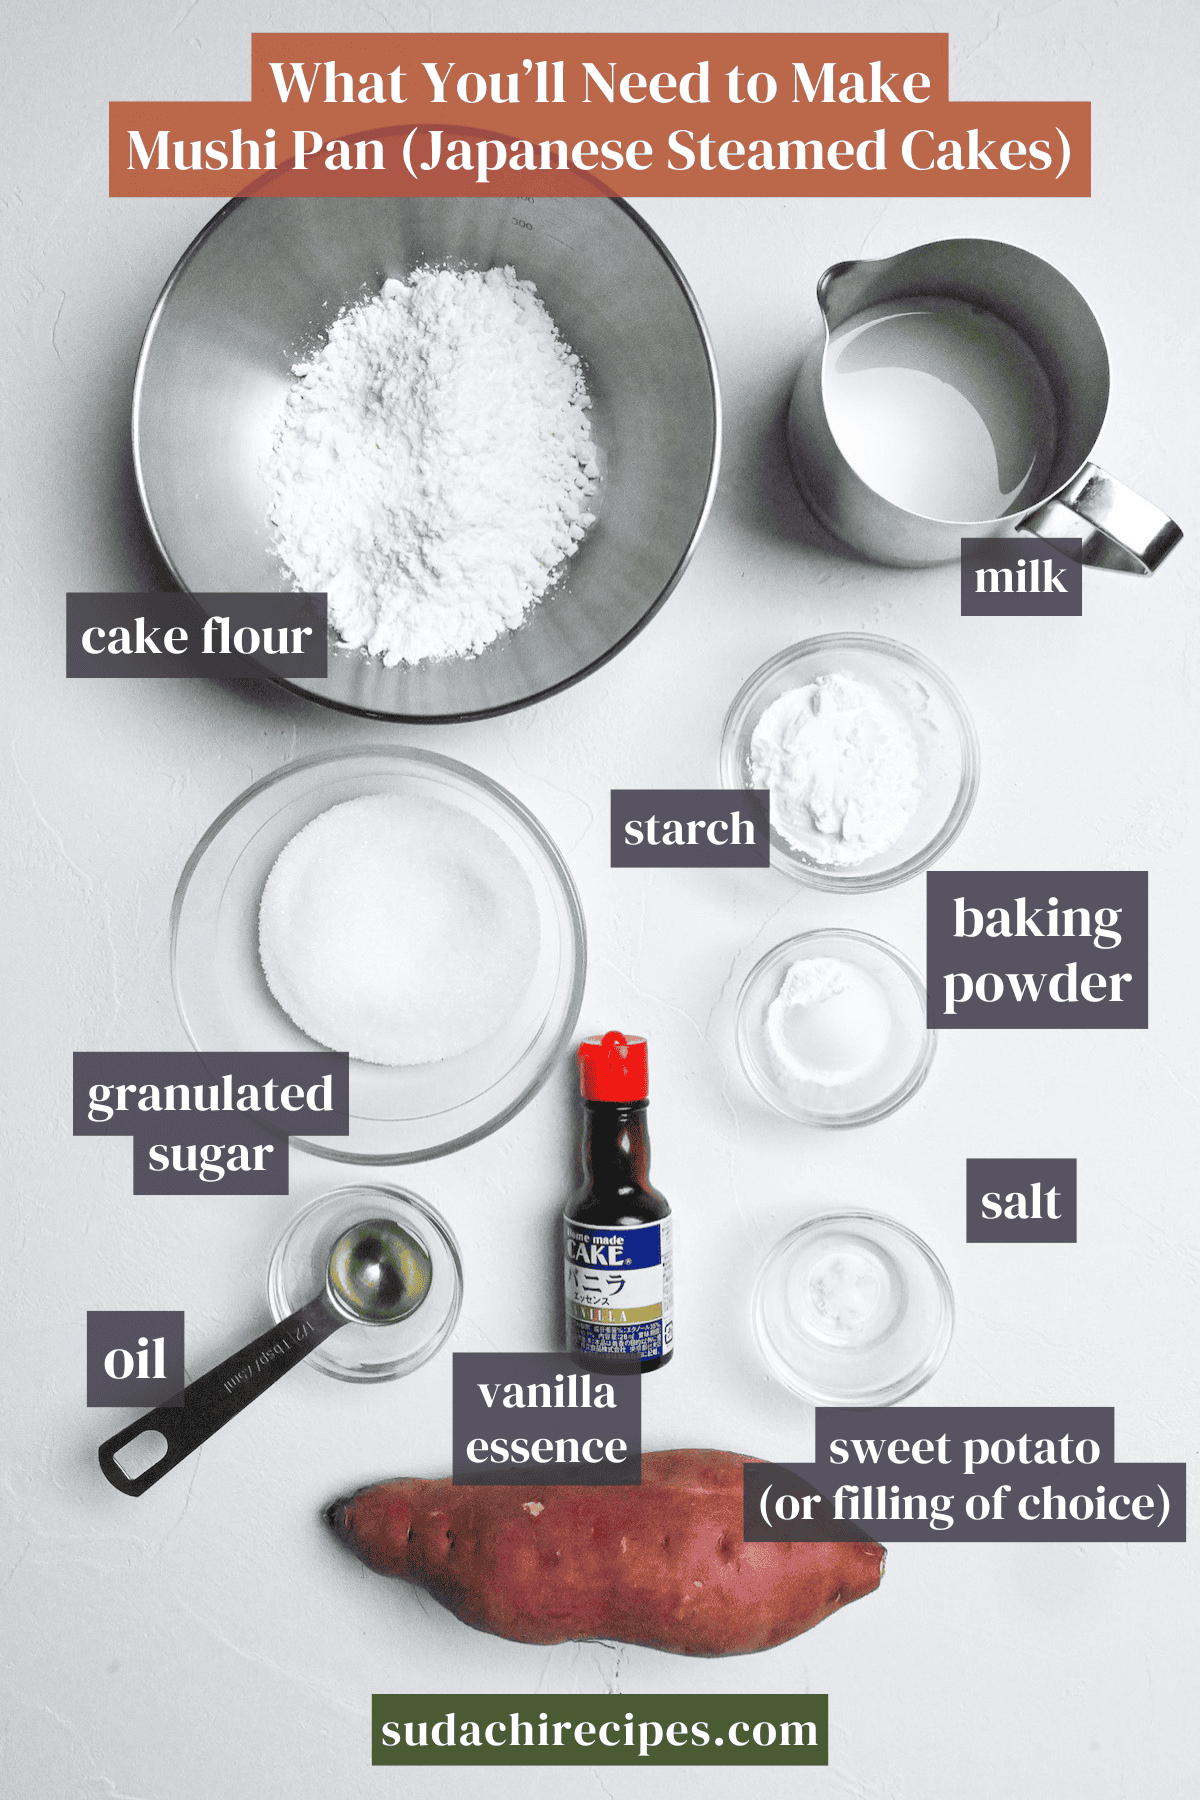
- Cake flour: Using flour with low protein content is important for ensuring a light and fluffy result. Using all-purpose flour will make the cakes heavier and less likely to crack. I’ve tested this recipe with rice flour and although the texture is a little chewier, it still works. If using rice flour, I recommend omitting the starch (see below).
- Starch: Starch helps make the mushi pan even lighter. I’ve tried cornstarch, potato starch, and tapioca starch, and they all yield pretty similar results. If you’re using powdered flavoring, reduce or replace the starch. Example: Replace starch with cocoa powder, or replace half of the starch with matcha powder.
- Baking powder: The key ingredient to give this mushi-pan its iconic crack is baking powder. Make sure to use baking powder that is still active. You can test it by placing a small amount in a bowl and pouring hot water over it, if it fizzes then it’s good. If not, you’ll need to replace it.
- Milk: Milk adds moisture and stability to the mushi pan. I use whole milk, but I’ve also tried with soy milk and it works well.
- Sugar: I used white granulated sugar but any white or light brown sugar will work in this recipe.
- Oil: A neutral-flavored oil adds moisture to the cakes. Avoid using butter for this recipe as it can actually make it a bit dense.
- Salt: A pinch of salt to round the flavor.
- Sweet potato: The most common variation of mushi pan in Japan is sweet potato which is why I included it on this list. See below for alternatives.
- Vanilla essence: I love adding vanilla to any kind of sponge, but feel free to add your favorite flavoring or simply leave it out.
Customizing with different flavors:
- Flavored powders: I mentioned before, but if using flavored powders then reduce the starch to compensate for the extra dry ingredient. Cocoa can replace the starch completely. For matcha, I replace half of the starch.
- Chocolate, dried fruits, nuts: Instead of sweet potato, feel free to use things like chocolate chips, raisins, walnuts etc.
- Fresh fruits: Sweet potatoes can also be replaced with fruits such as apples or blueberries.
- Tea: Tea-flavored mushi pan is one of my personal favorites (which is why I included it in this list). To add tea, heat the milk and steep the tea leaves until strongly flavored. I recommend measuring out extra milk for this step as some will be lost through the heating/flavoring process.
- Spices: Cinnamon, nutmeg, all-spice, you can add any of your favorite spices to this recipe!
- Savory ideas: Why not make them savory using cheese, herbs or even vegetables like corn or beans?
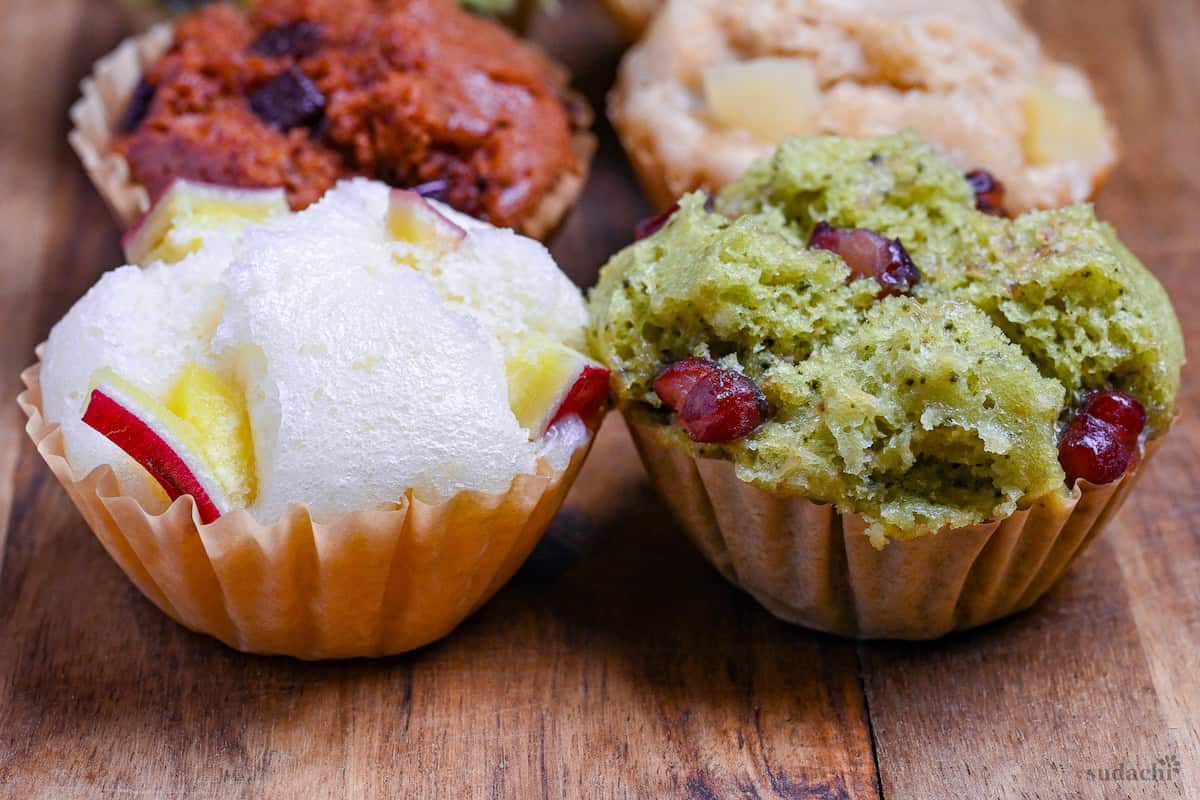
Visual Walkthrough & Tips
Here are my step-by-step instructions for how to make fluffy homemade Mushi Pan. For ingredient quantities and simplified instructions, scroll down for the Printable Recipe Card below.
This section aims to provide a comprehensive overview of the cooking steps and techniques with visuals. It also includes more in-depth tips and tricks and explains why I do what I do.
Sweet potato is a pretty standard addition to mushi pan in Japan. Here is how to prepare them so that they’re soft and sweet. If you don’t plan to use sweet potato then you can skip this step.
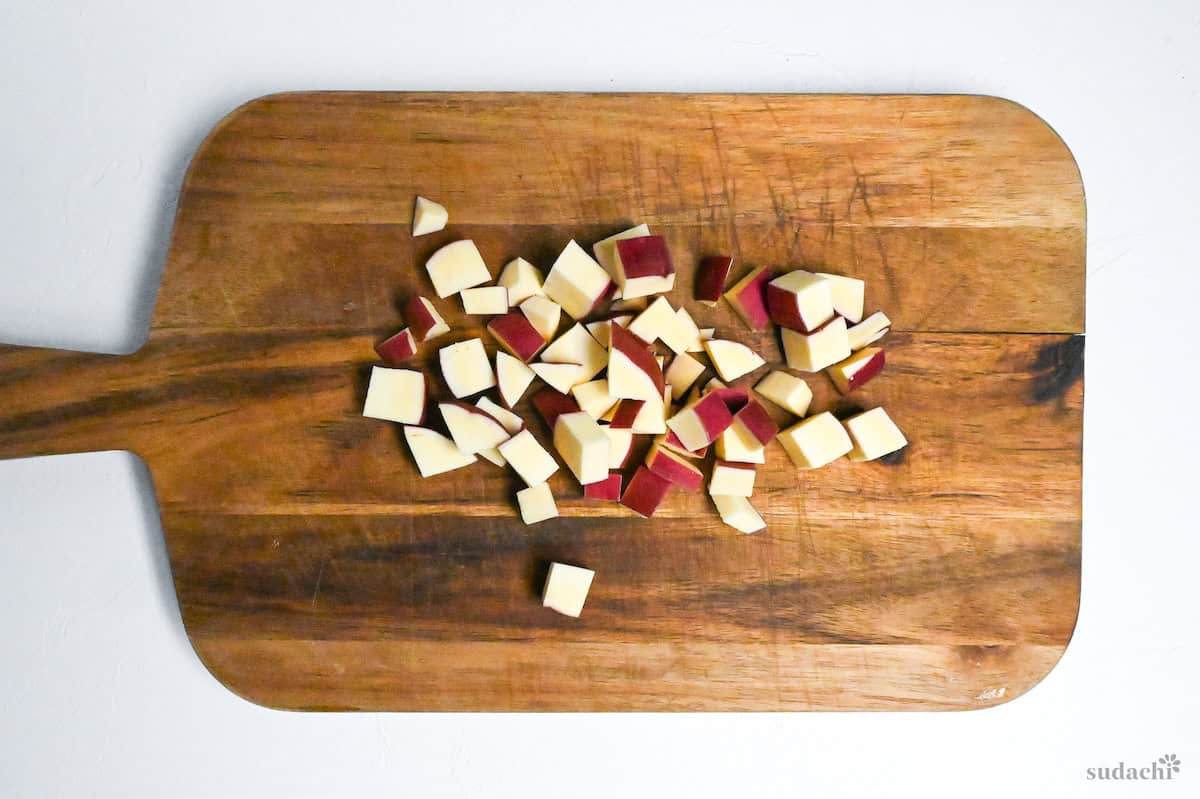
First, wash the surface of the sweet potato and cut it into small cubes leaving some skin on. Place the cubes in a bowl of water for 5 minutes to remove the excess starch.
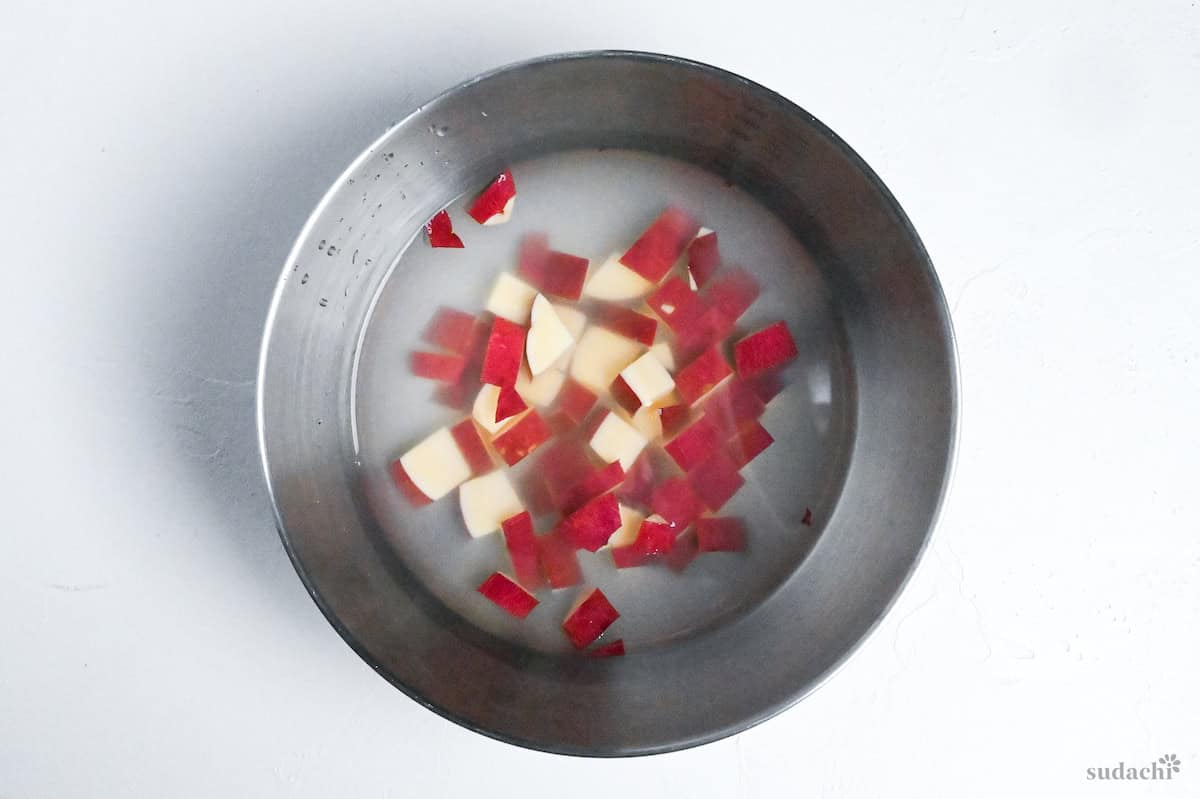
After 5 minutes, drain the water and place them in a small saucepan. Sprinkle with sugar and add enough water to just about cover them. Bring to a boil then simmer for 5 minutes or until the liquid has gone.
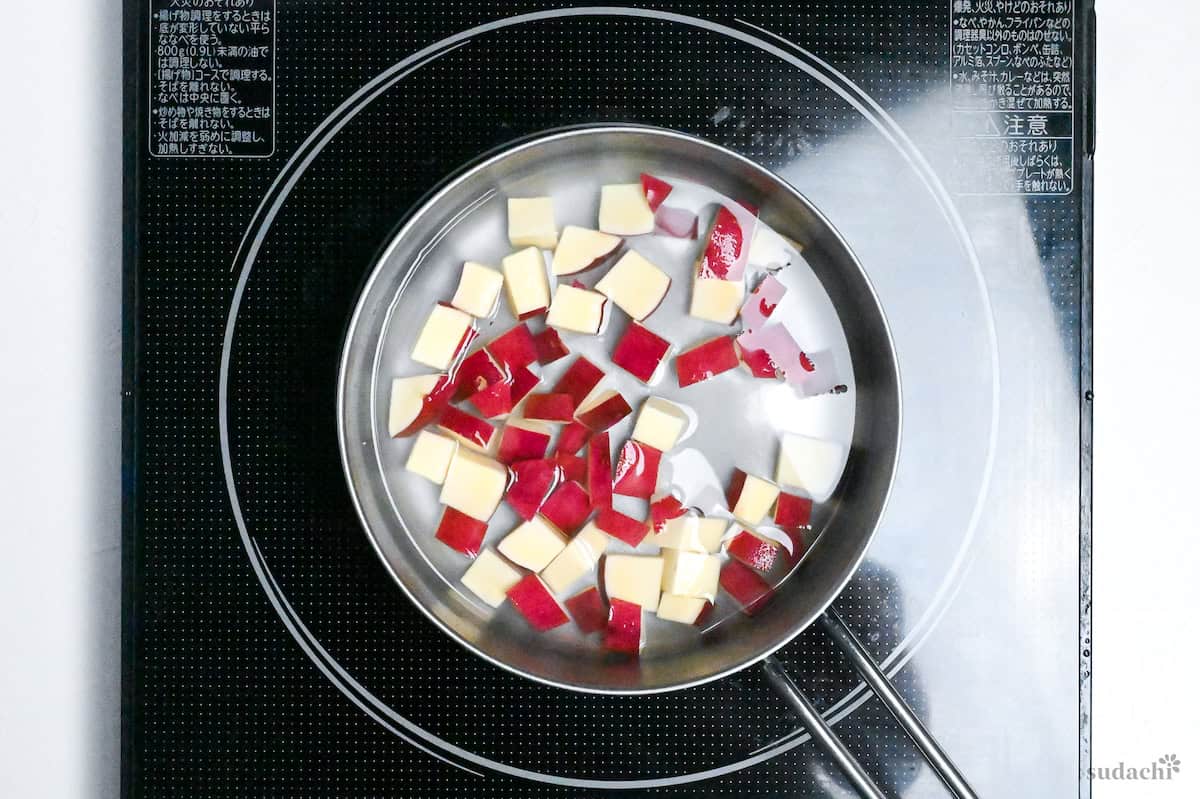
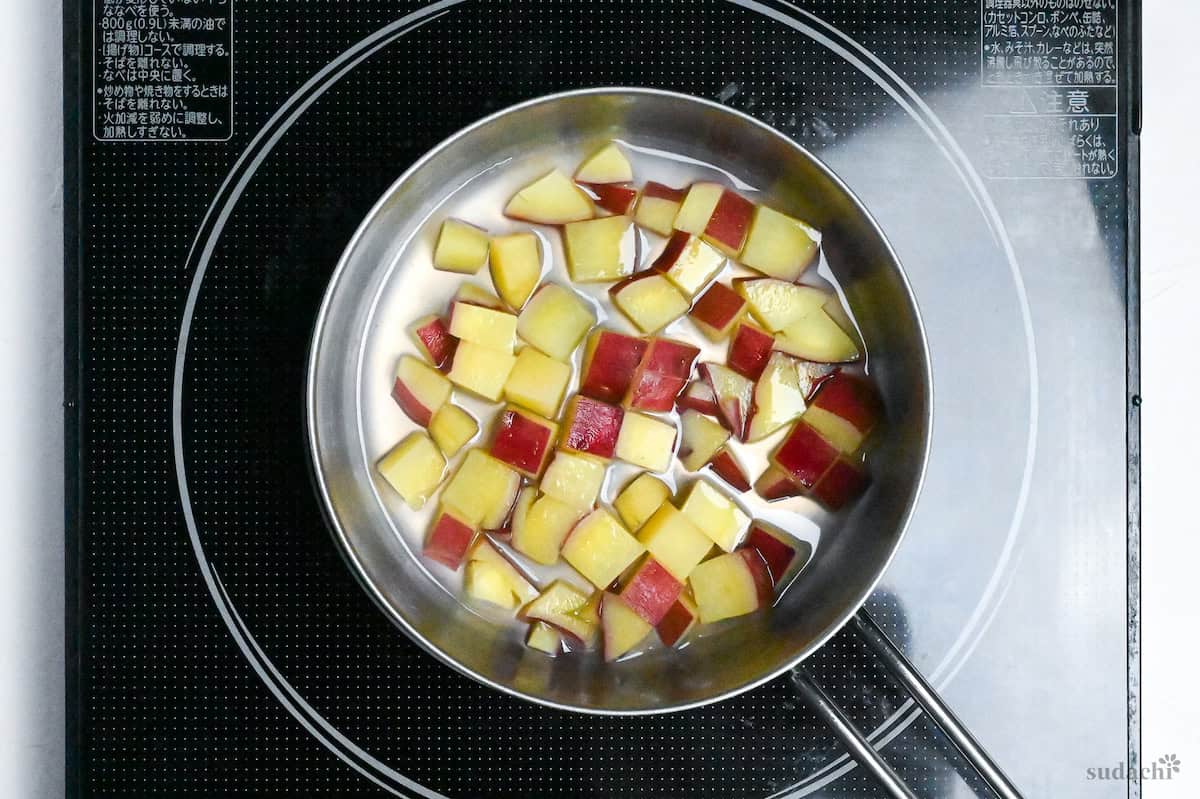
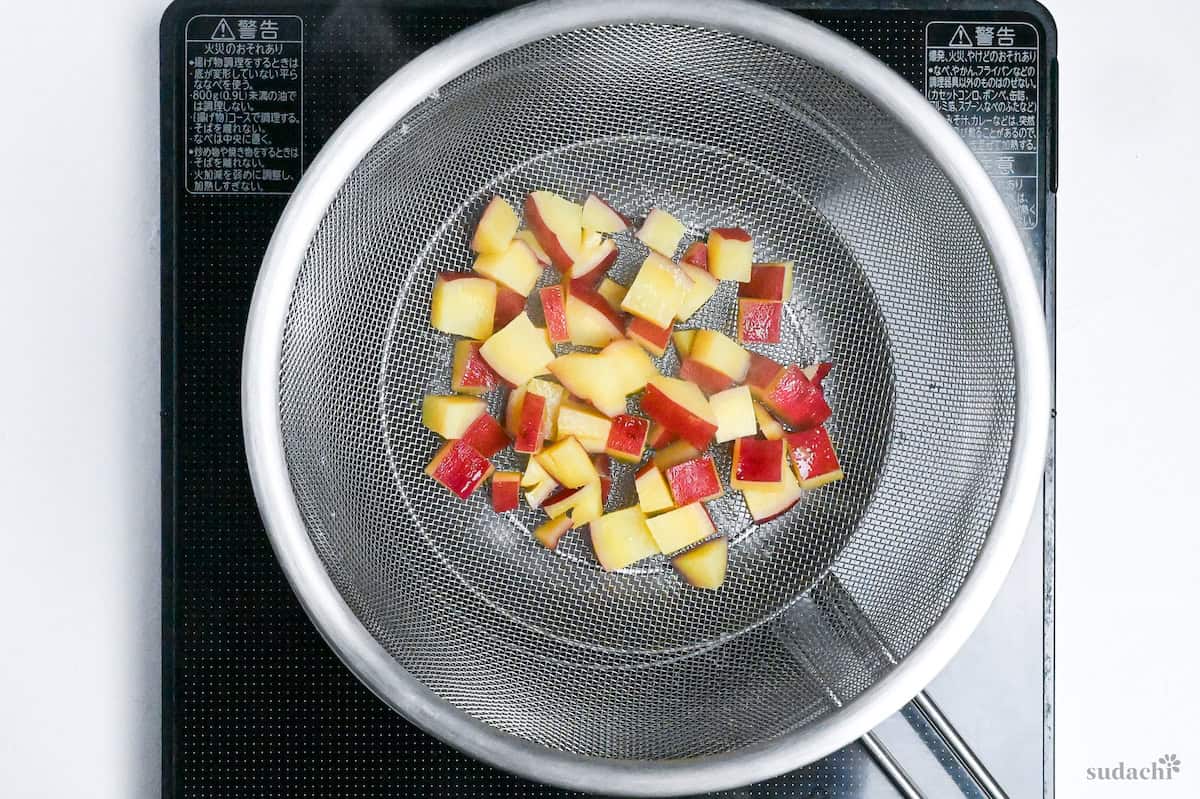
The sweet potato should be slightly softened (parboiled), but not so much that they’re falling apart. You will also notice that the inside color has changed to yellow. Set aside to cool.
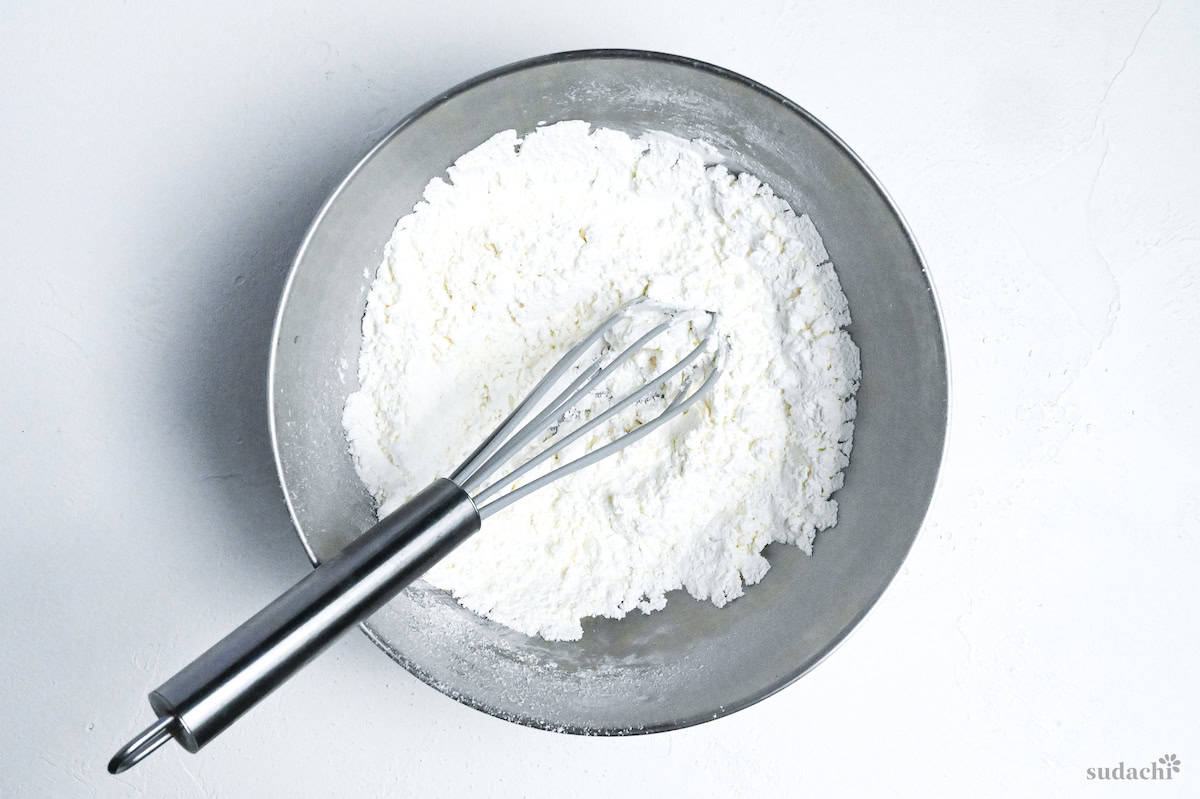
Next, mix the flour, starch, baking powder and a pinch of salt together in a bowl.
If you are making chocolate mushi pan, replace the starch with cocoa powder.
If you are making matcha mushi pan, replace half of the starch with matcha powder.
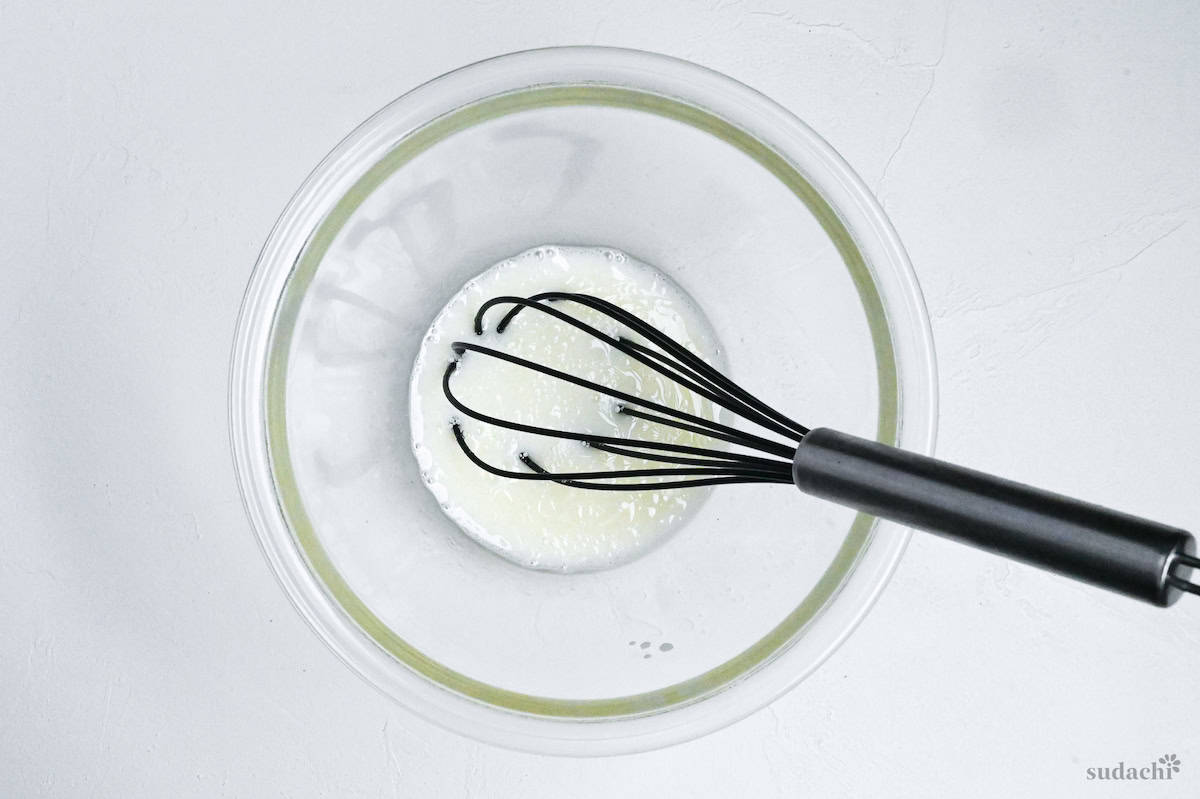
Pour the milk into a separate bowl and add the sugar, oil and vanilla essence (or flavoring of choice). Whisk until the sugar has dissolved.
Dip a tea bag in hot water to help release more flavor, and then transfer it to warmed milk. If using loose tea, heat the milk to about 60°C (140°F) and add about 1 tsp of tea leaves. Let the milk cool and strain it before you add the other ingredients. I recommend increasing the milk if flavoring with tea because some milk will be lost during steeping/straining.
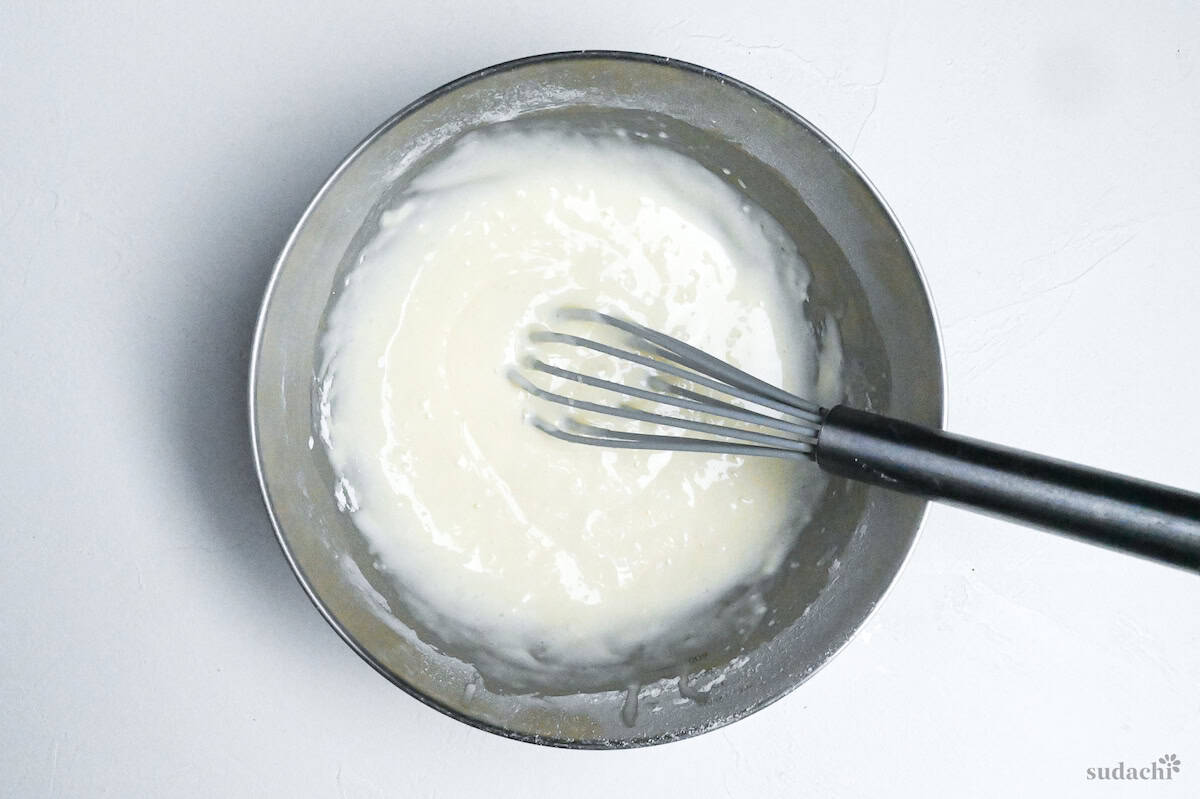
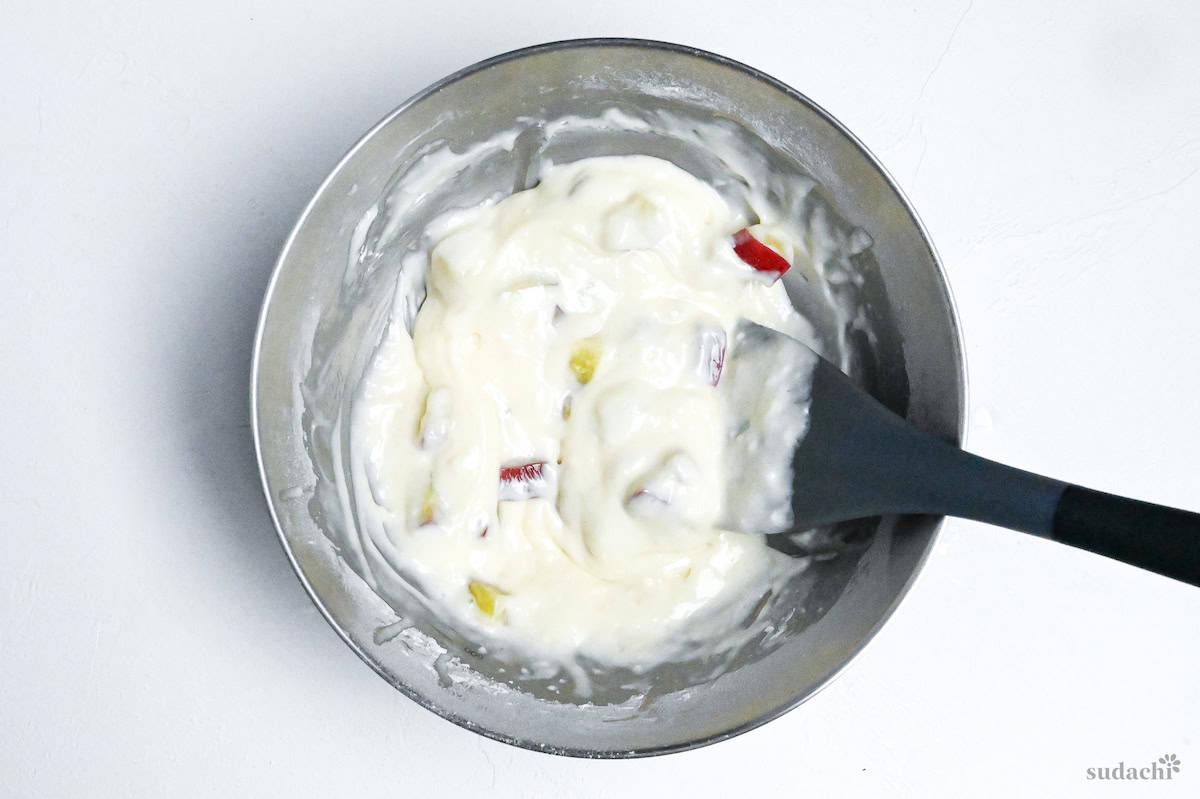
Sift the dry ingredients into the bowl of wet ingredients and whisk until smooth. Add about 3/4 of the sweet potato (or filling of choice), saving some to decorate the tops. Let the mixture rest for while you prepare the steamer.
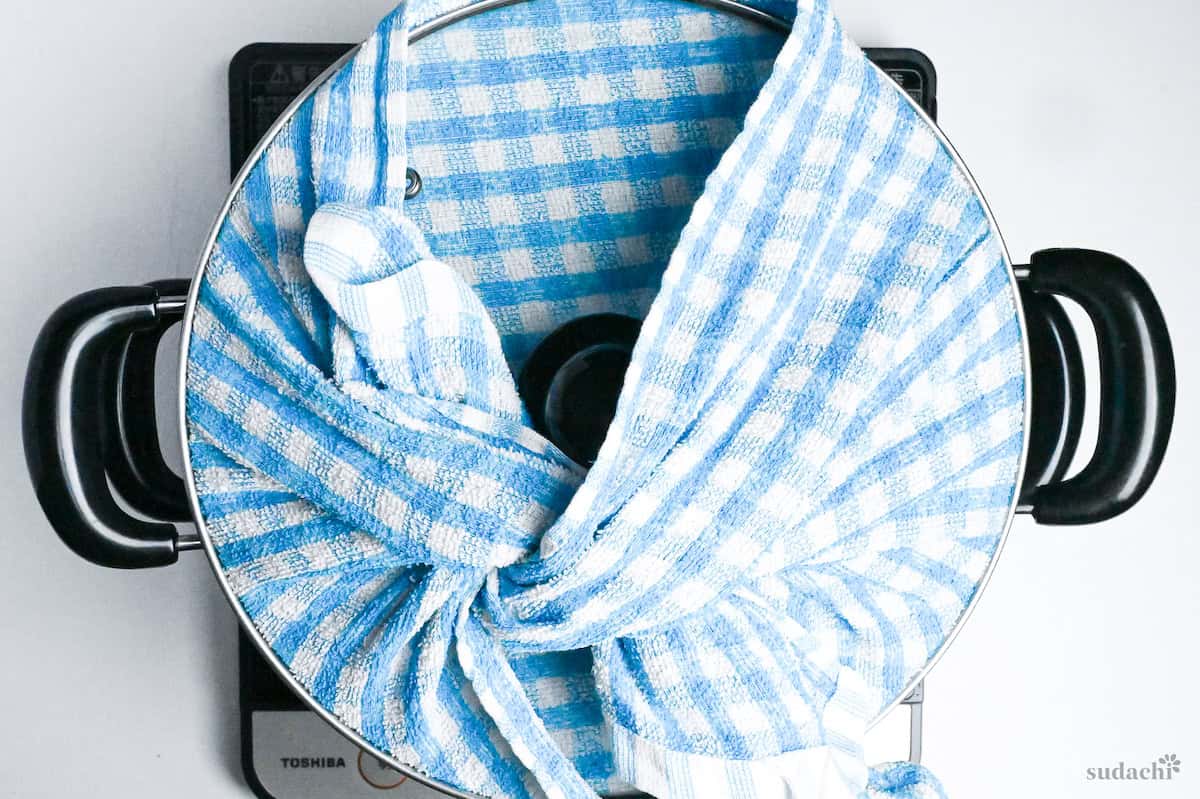
Fill your steamer with water and heat it on high. Wrap the lid with a clean kitchen towel to prevent water droplets falling on the mushi pan.
If you don’t have a steamer, you can also use a deep frying pan with a lid.
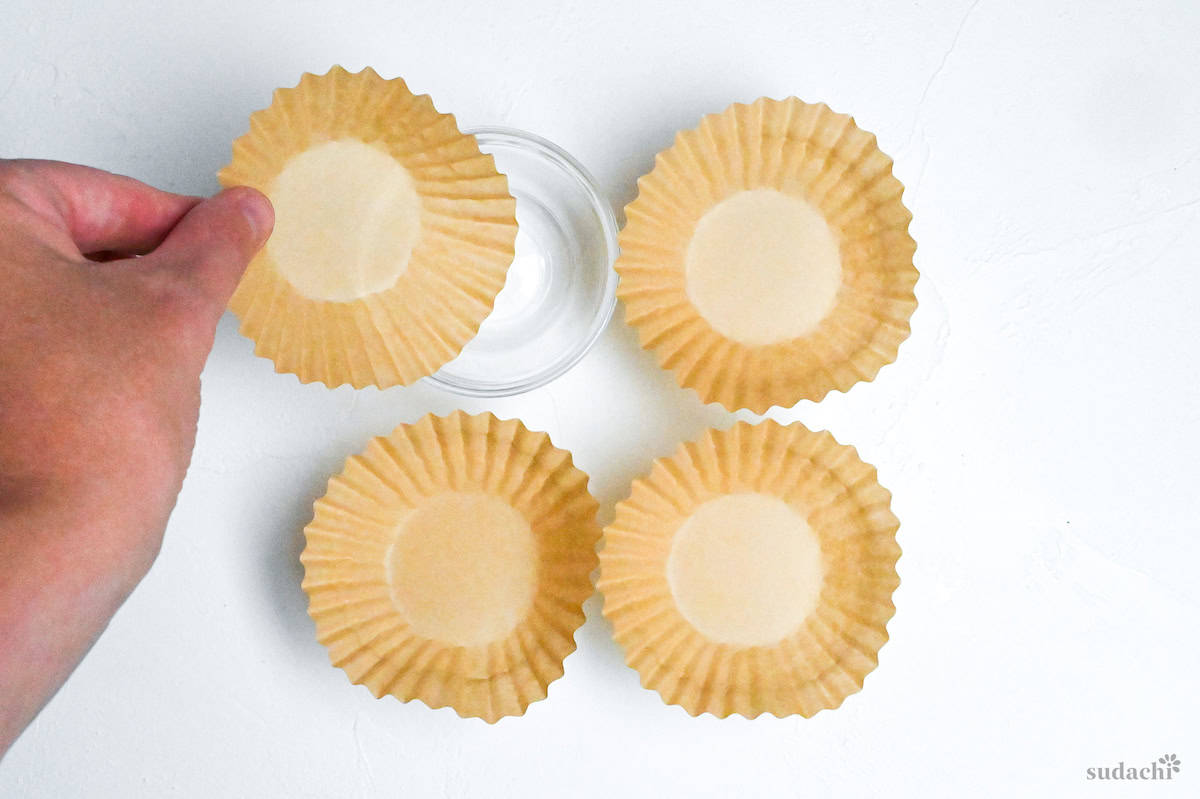
Line heatproof ramekins with cupcake cases. I use small glass containers.
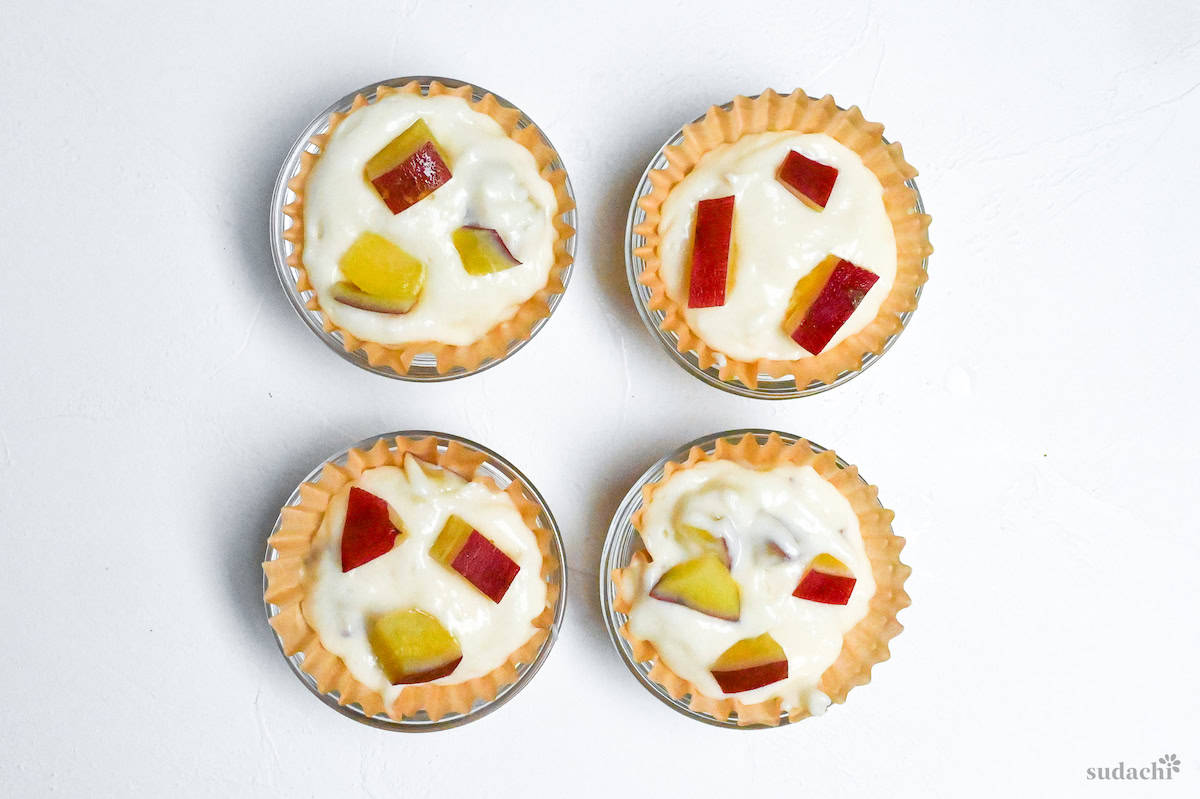
Spoon the batter into the cupcake cases and place the leftover sweet potato cubes on top.
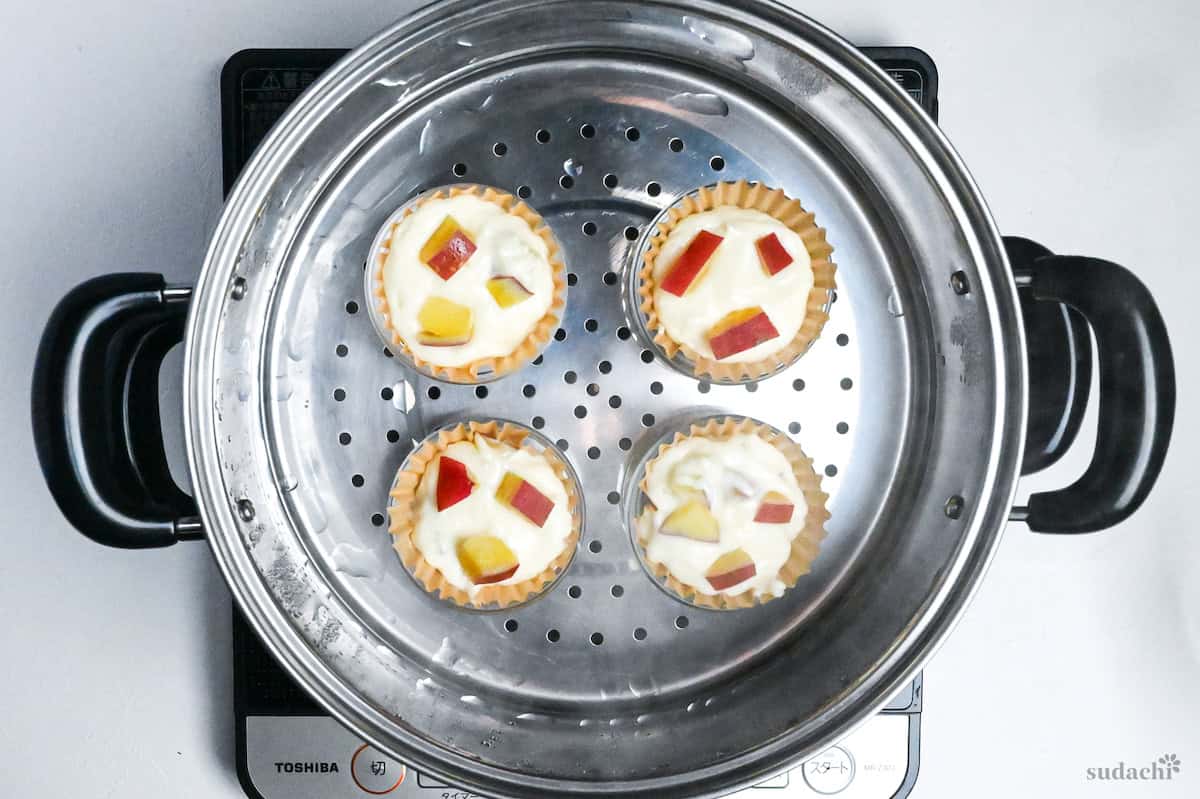
Place the ramekins in the steamer leaving space between each one. Be careful of the steam, wear oven gloves or use tongs to place them in the pot safely.
Also, be careful not to over-crowd the pot as they will expand and stick together. Steam with the lid on high for 12 minutes.
If making multiple flavors, you can prepare the batter while the first batch cooks.
Once cooked, transfer to a wire rack and leave to cool before eating or storing.
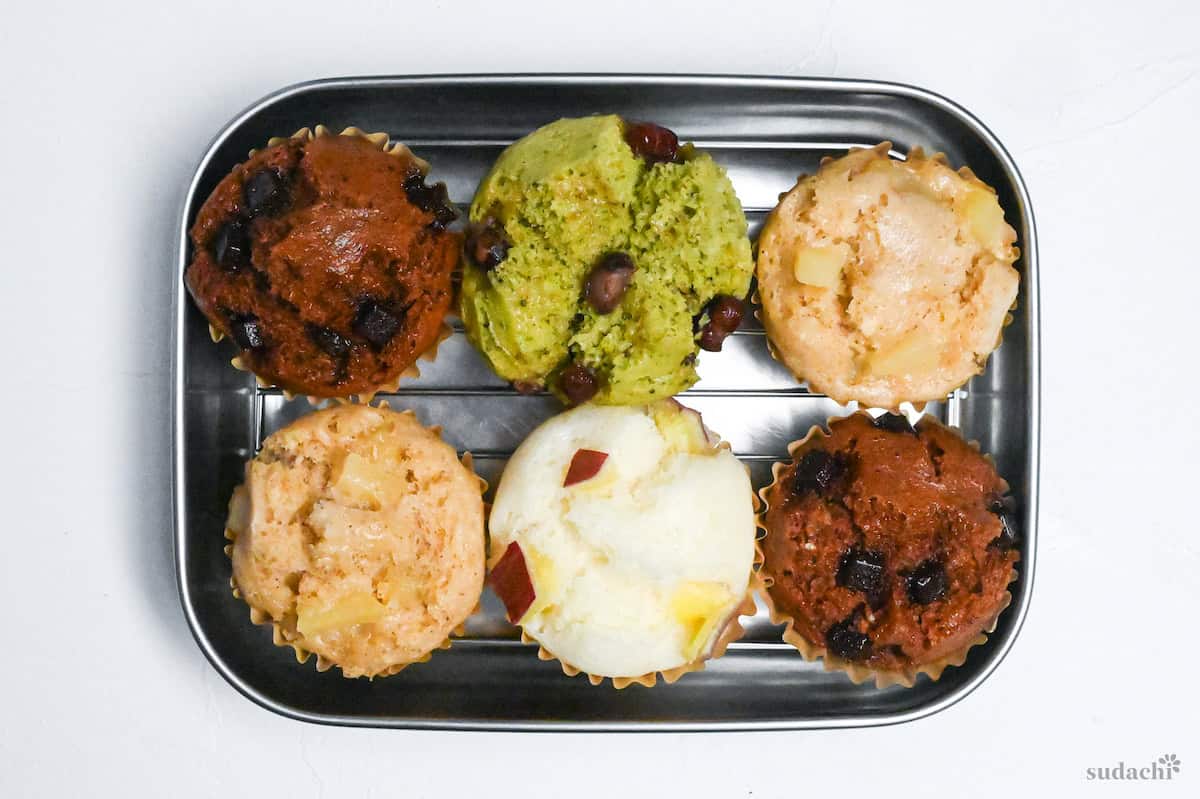
Enjoy!
Jump to Full Recipe MeasurementsHow to Store
These mushi pan can be stored in an airtight container for 2-3 days depending on the climate where you live. Mushi pan with fresh fillings (like sweet potato or apple) should be consumed as soon as possible, preferably in 1-2 days. Keep in mind that refrigerating them will dry them out, so you will need to revive them either by microwaving them for 10-20 seconds, or steaming them again for a a few minutes.
You can freeze them for up to 1 month. Store in an airtight container or freezer bag and thaw at room temperature. (If you want to defrost in a hurry, 20-30 seconds in the microwave also does the trick!)
Troubleshooting
The key raising agent in this recipe is baking powder. Baking powder can become inactive if stored for a long time. To test your baking powder, add a spoonful into a bowl and pour a few tablespoons of boiling water over the top. If it fizzes and bubbles, it is still fine to use. If nothing happens then you will need to replace it. Another reason can be that you didn’t steam at a high enough temperature, steam on high for best results.
One reason can be inactive baking powder (see info above). Another reason could be adding too much flour. I recommend using scales for accuracy. If using cup measurements, sift the flour before measuring to avoid adding too much. Overmixing can also cause gluten to form which can make the texture doughy.
Deflated mushi pan can be caused by two things. One is inactive baking powder (see info above), the other is not cooking it for long enough and removing the lid too soon. If you remove the lid before the mushi pan is fully cooked then the steam will escape and the pressure inside the pot will change, causing the top to collapse.
I’ve tried this recipe with an equal amout of rice flour and it works, although the texture is a little more dense. I will update this section when I test the recipe with other flours.
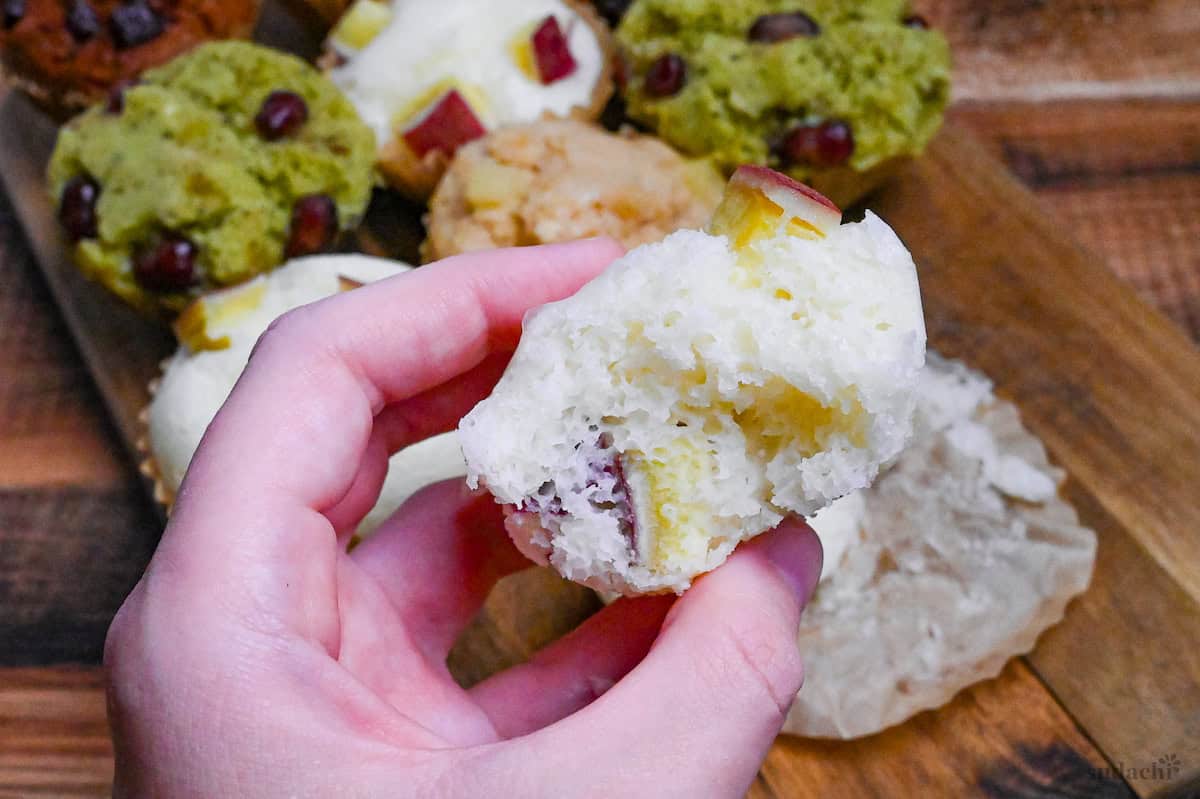
I hope you enjoy this Mushi Pan recipe! If you try it out, I’d really appreciate it if you could spare a moment to let me know what you think by giving a review and star rating in the comments below. It’s also helpful to share any adjustments you made to the recipe with our other readers. Thank you!
More Recipes Like This
Japanese Steamed Cakes (Mushi Pan)
Ingredients
Sweet Potato (optional)
- 80 g Japanese sweet potato (satsumaimo) or your chosen fruit/chocolate/filling of choice.
- 1 tbsp sugar
- water
Mushi Pan
- 60 g cake flour or rice flour
- 2 tbsp cornstarch for chocolate, swap for an equal amount of cocoa powder. More matcha, sub half for matcha powder.
- 1 tsp baking powder
- 1 pinch salt
- 80 ml milk or soy milk
- 40 g sugar
- ½ tbsp cooking oil neutral flavored
- vanilla essence or flavoring of choice
My recommended brands of ingredients and seasonings can be found in my Japanese pantry guide.
Can’t find certain Japanese ingredients? See my substitution guide here.
Instructions
Sweet Potato (If using a different filling, skip these steps)
- Cut 80 g Japanese sweet potato (satsumaimo) into small cubes, then place in a bowl of cold water for 5 minutes to remove the excess starch.

- Drain and place the cubes in a saucepan with 1 tbsp sugar. Add enough water to just about cover and simmer without a lid for about 5 minutes or until par-boiled. (Be careful not to cook too much or they will break when mixed with the mushi-pan batter.)

- Drain any excess liquid and set aside for later.

Mushi Pan
- Mix 60 g cake flour, 2 tbsp cornstarch, 1 tsp baking powder and 1 pinch salt together in a bowl. For chocolate mushi pan, swap the cornstarch for cocoa powder. For matcha mushi pan, half the starch and replace with matcha powder.

- In a separate bowl, add 80 ml milk. (If flavoring with tea, warm the milk and steep the tea for 2-5 minutes or until strong enough to your liking then strain.) Add 40 g sugar, ½ tbsp cooking oil and a few drops of vanilla essence (or flavoring of your choice) and whisk until the sugar has dissolved.

- Sift the dry ingredients into the wet ingredients and whisk until smooth.

- Fold in about 3/4 of the sweet potato (or filling of choice), saving the other 1/4 to place on top.
- Fill your steamer with water and bring to a boil over a high heat. Wrap the lid with a clean kitchen towel to prevent water droplets falling on the mushi pan. (If you don't have a steamer, use a deep pan with a lid and place a wire rack or similar to elevate the mushi pan.)

- Line ramekins with cupcake cases and then spoon the mixture inside. Place the remaining sweet potato pieces (or filling of choice) on the top.

- Once the water in the steamer is boiling rapidly, carefully place the mushi pan inside the steaming basket (be careful of the steam, use gloves or tongs to protect your skin). Leave space between them to prevent them from merging together when they expand. Cover with the lid and steam for 12 minutes on high.

- After 12 minutes, turn off the heat and remove the mushi pan from the steaming basket. I used tongs and a spatula to remove them. Transfer to a wire rack and leave to cool.

- Enjoy!



Detail is very clear and understanding. Make me want try to do it.
Thank you so much! I hope you will enjoy! 🙂