

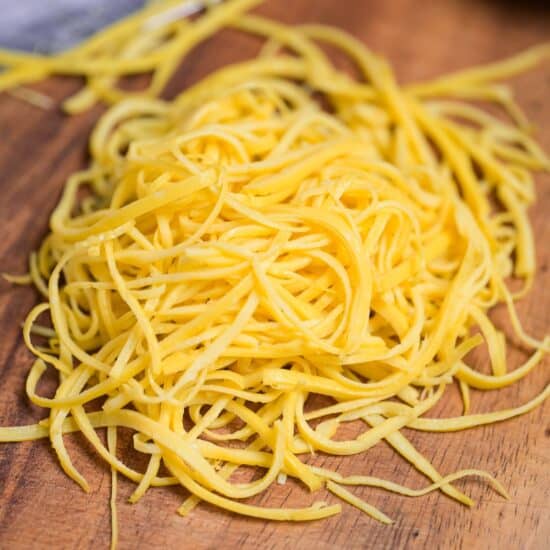


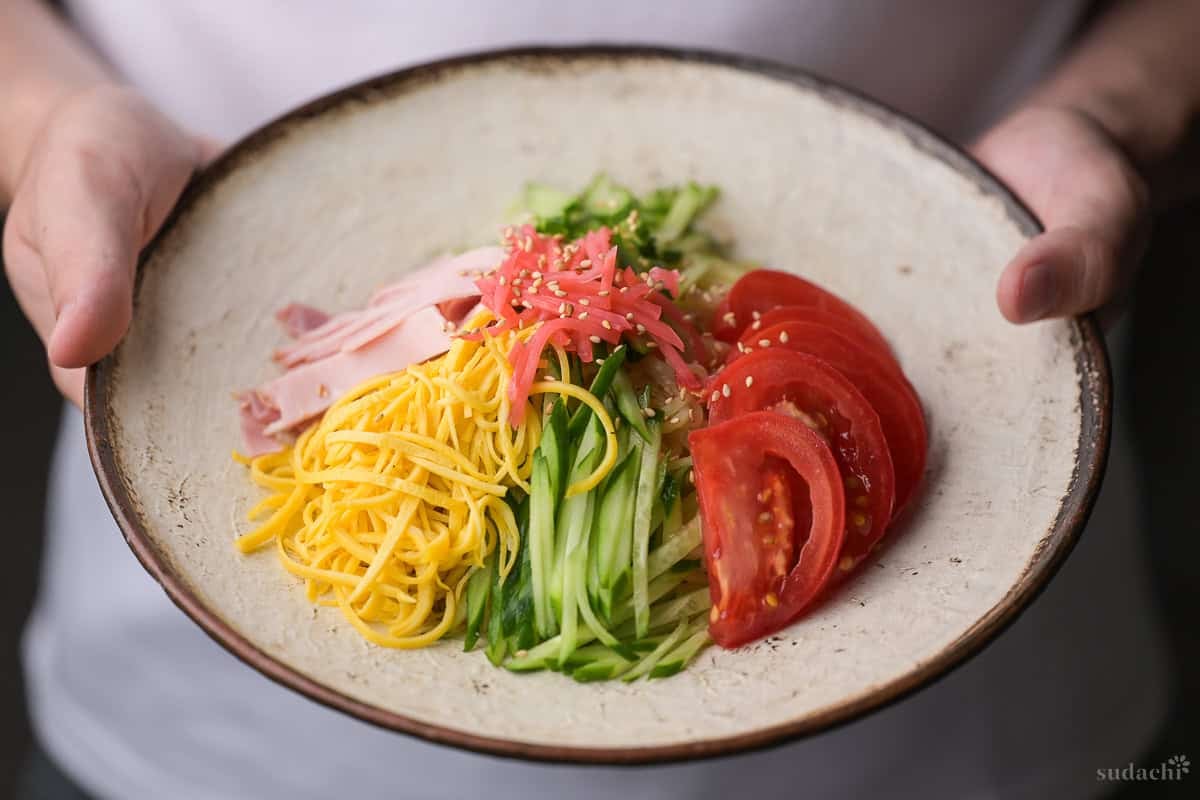
I think of kinshi tamago as color before I think of it as food. It is the gold that makes a bowl of chirashizushi or hiyashi chuka look like a celebration, and it is far easier than it looks.
A single thin sheet of egg, kept tender and free of brown, then sliced into threads. That is the whole thing. Stay with me and the one sheet that used to tear on you will stop tearing for good.
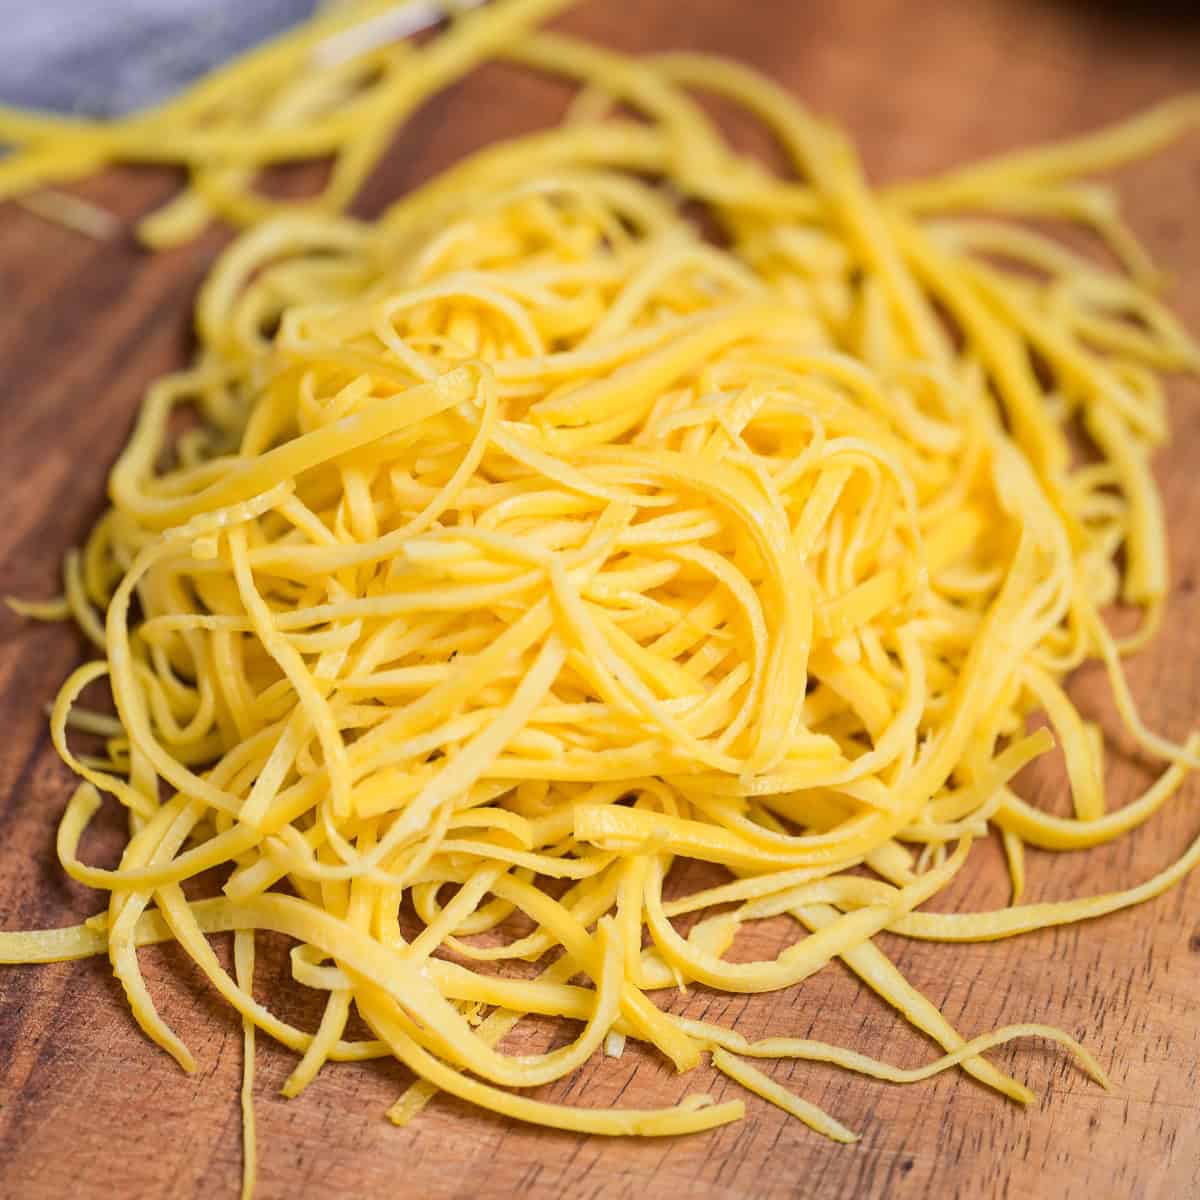
Kinshi Tamago
Recipe Snapshot
- What is it? A finishing garnish rather than a standalone dish. Lightly salted and sweetened egg is cooked into a paper-thin sheet (usuyaki tamago), then shredded into delicate gold strands that crown chirashizushi, hiyashi chuka, and other colorful bowls.
- Flavor profile: Almost neutral by design, faintly tender and barely sweet, built to add color and a soft accent without competing with the seasoned dish underneath.
- Why you will love this recipe: It is built to give you a clean, gold kinshi tamago with the odds of failure cut down, since the water-and-starch slurry kept the sheet from tearing even as pan size and egg size changed, and the no-flip lid keeps the color from ever browning.
- Must-haves: A small frying pan, a fine-mesh sieve or tea strainer for the egg, and a water-and-potato-starch slurry as the insurance against tearing.
- Skill level: Easy, and under 10 minutes start to finish. The only real skill is keeping the heat low enough that the sheet stays gold, and reaching for a deeper-yolk egg gives you the prettiest color.
Summarize & Save this content on:
What is Kinshi Tamago?
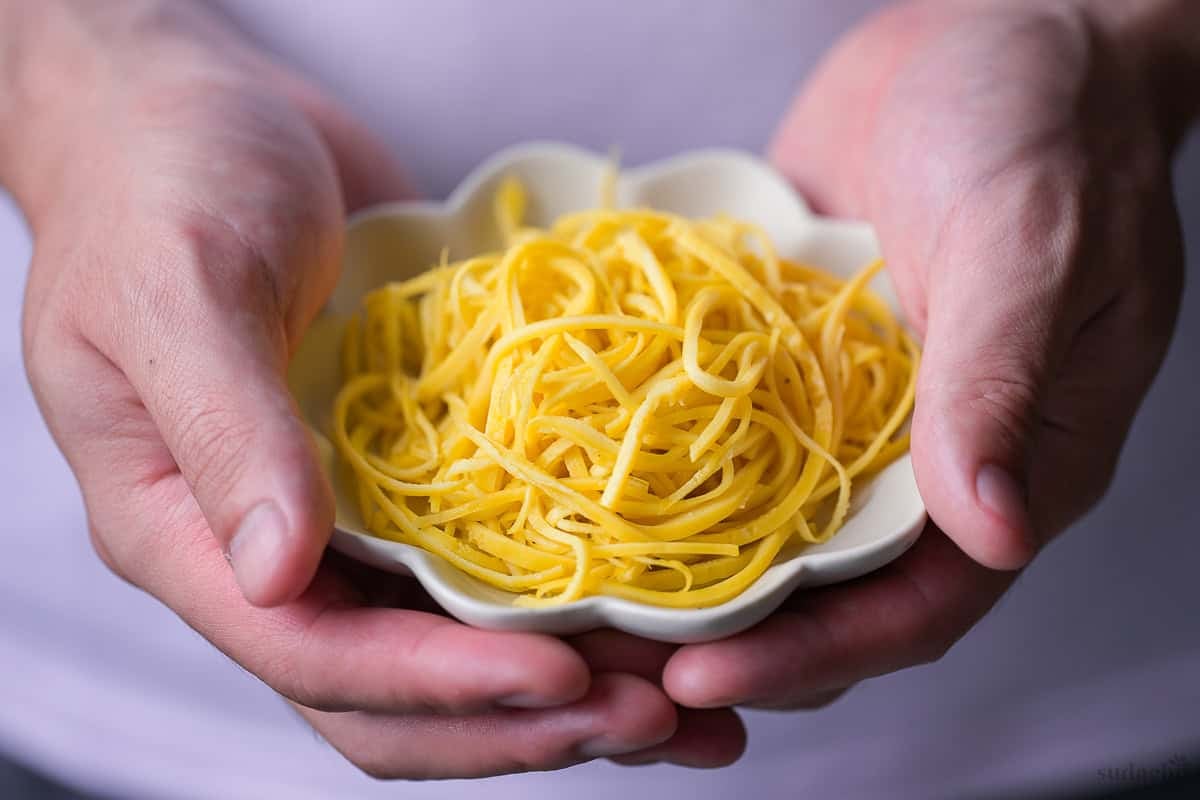
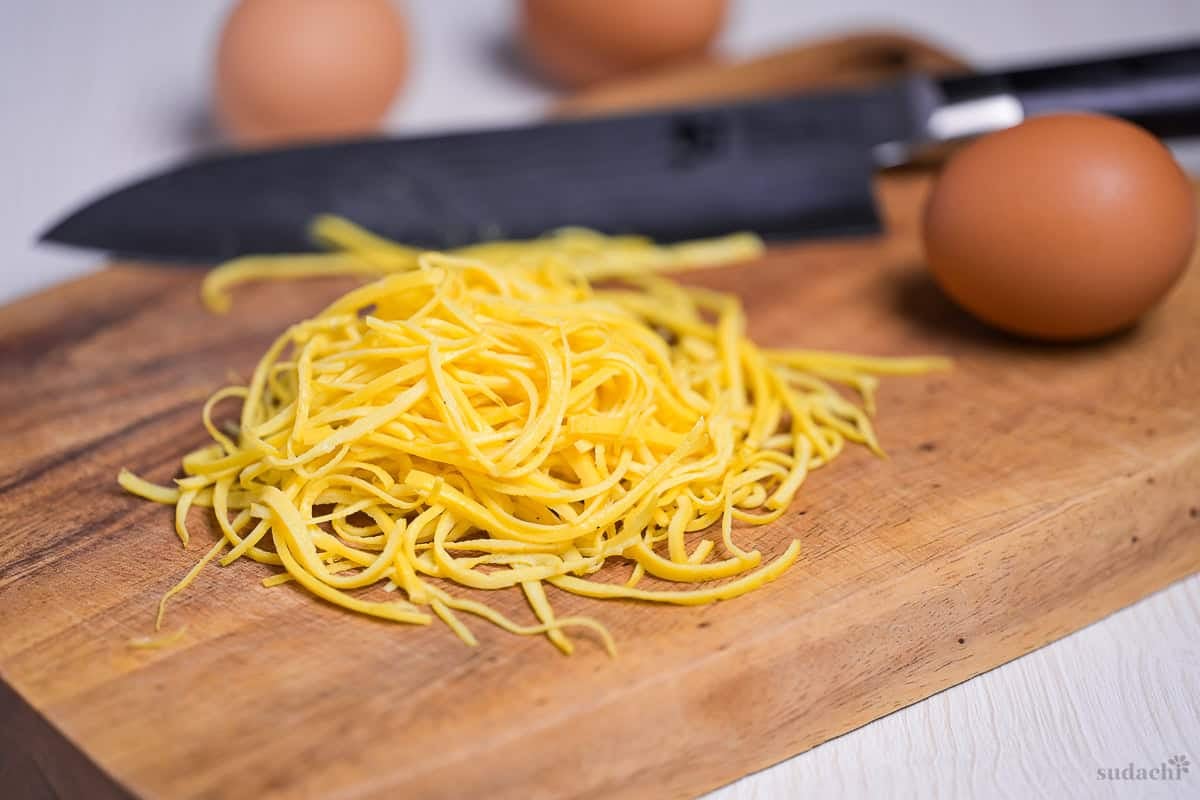
Kinshi tamago (錦糸卵) is a thin sheet of egg, cooked like a crepe and sliced into fine golden threads. The name means “golden brocade threads”. It is a garnish, not a dish, the gold that lands on top of chirashizushi and hiyashi chuka or temari sushi.
A quick note, because the names trip people up. Kinshi tamago is shredded thin omelet. Nishiki tamago (錦玉子) is a completely different dish, a steamed double-layer loaf of sieved egg you meet at New Year. Similar sound, no relation.
There are some machine-dried commercial products, shelf-stable and built for convenience, but treat that as a genuinely different thing. The one I make at home is fresher, moister, and it tastes better, full stop. It looks a touch more rustic, but that is a trade that I’m pretty happy with.
Kinshi Tamago Ingredients
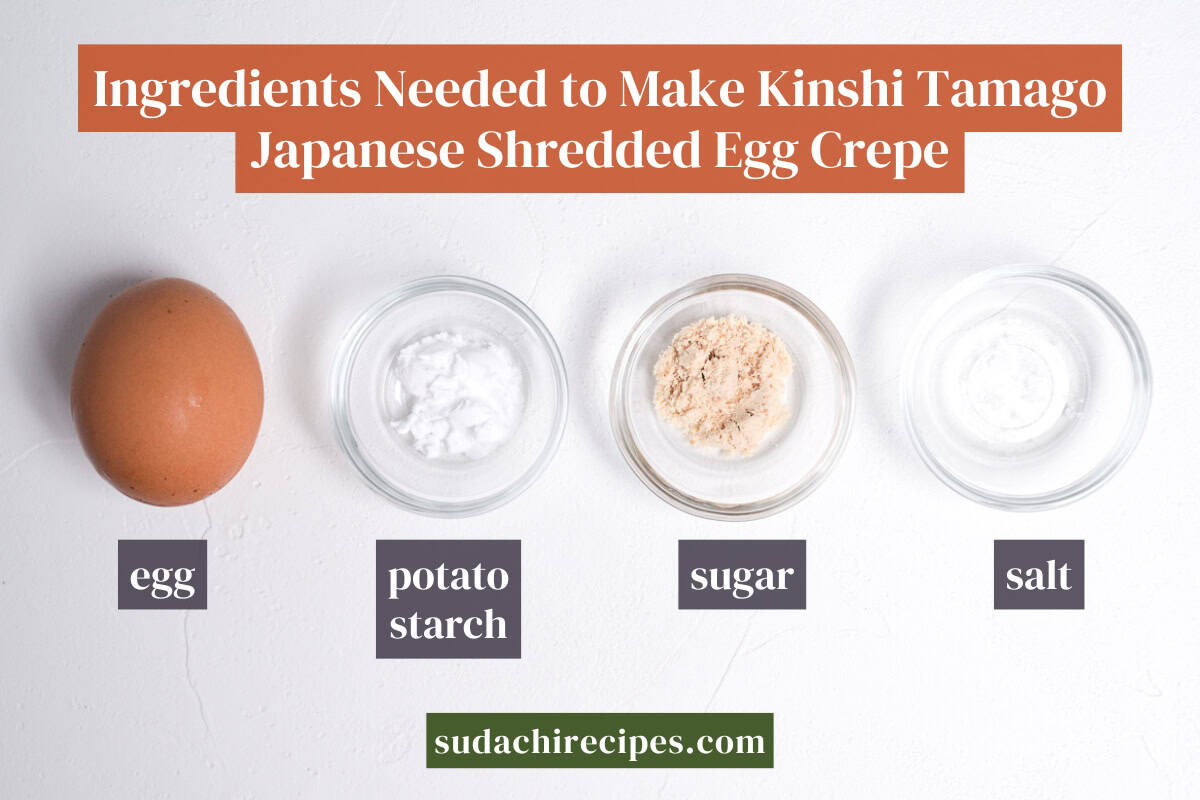
- Eggs: The yolk color is the one thing worth choosing for. The finished thread is the color of the yolk you start with, so a deeper, richer yolk gives a more vivid gold. Any fresh egg makes good kinshi tamago, but a darker yolk simply comes out prettier, so if you have the choice, reach for the richer one.
- Potato starch: This is the neat little trick that prevents tearing. Mixed into a slurry with a splash of water, the cooked starch threads through the egg like a second net, giving the thin sheet the strength to lift, fold, and slice without splitting.
- Neutral cooking oil: Use a flavorless, colorless oil like canola or rice oil, and use it only to release the sheet from the pan.
Substitution Ideas
- Potato starch → Cornstarch: These behave the same way in this batter, so swap one for the other at a 1 to 1 ratio. Either way, mix it into a slurry with water first, never sprinkle it in dry, or it clumps.
- Sugar → Mirin: Mirin stands in for the sugar and brings a softer, glossier sweetness along with a little moisture. You can also leave the sweetener out and lean on salt alone for a plainer, more neutral thread.
- Cut width by use: The threads are not all the same size. For chirashi sushi, cut them fine, around 1 to 2mm. For a rice bowl or hiyashi chuka, go a touch wider, around 2 to 3mm, so they have more presence against heartier toppings.
Have trouble finding Japanese ingredients? Check out my ultimate guide to Japanese ingredient substitutes!
How to Make My Kinshi Tamago
If you prefer to watch the process in action, check out my video of this kinshi tamago recipe!
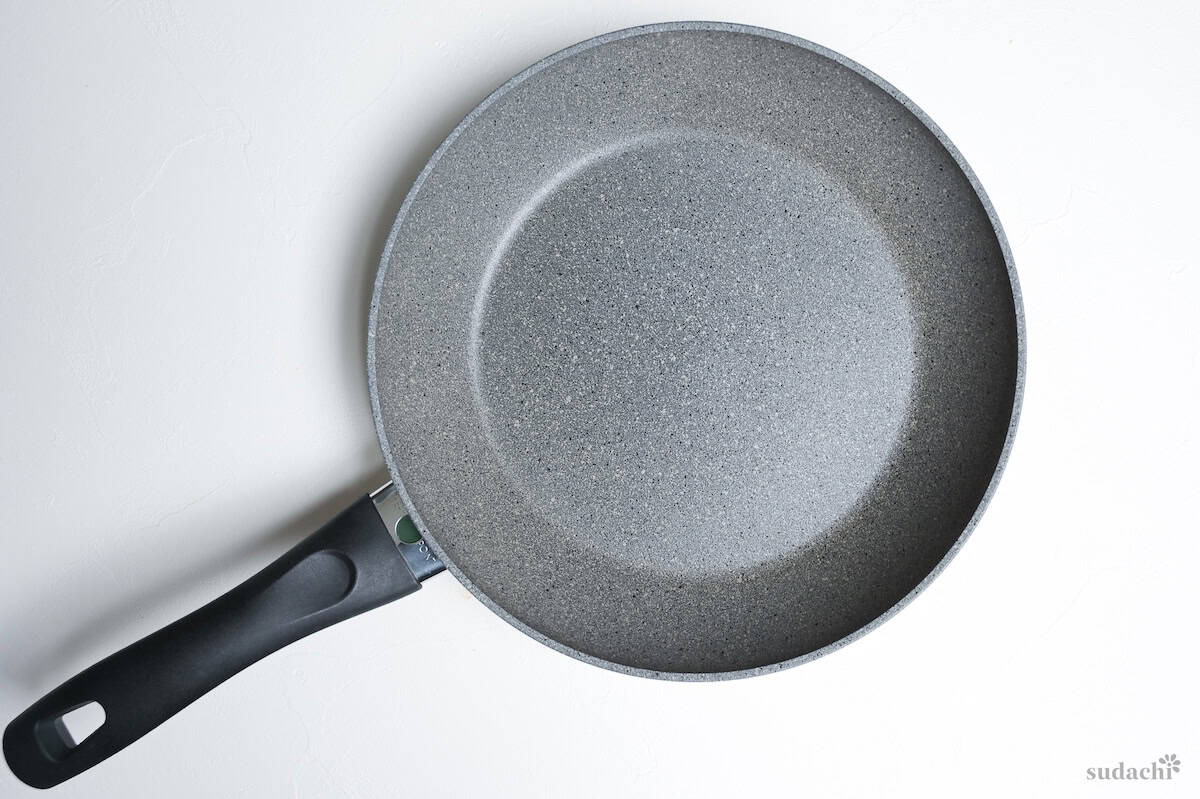
To develop this kinshi tamago recipe, I used a 26cm nonstick frying pan.
i. Crack the eggs into a bowl, add the salt and sugar, and stir until everything dissolves. Mix with chopsticks in a side-to-side cutting motion rather than whisking, so you do not beat air into it. If you have a few minutes, let it rest.
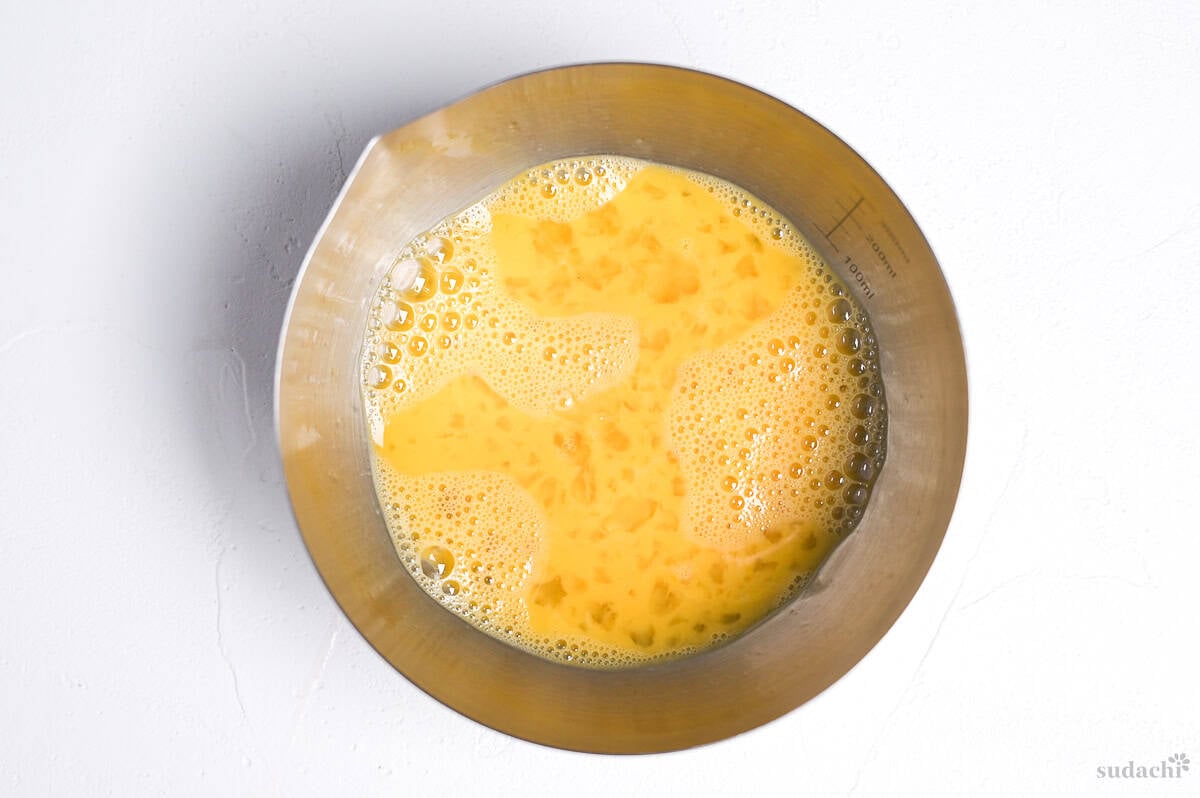
Letting the salt and sugar dissolve and the batter settle lets the proteins relax, so they do not contract hard when they hit the heat. That keeps the gold even and free of browning. Whisking in air is the opposite move. Bubbles puff the sheet, make it uneven, and turn into weak spots that tear. If you are in a hurry, you can skip the rest, but never skip the gentle mixing.
i. Pour the egg through the fine-mesh sieve once. This catches any stubborn lumps of white.
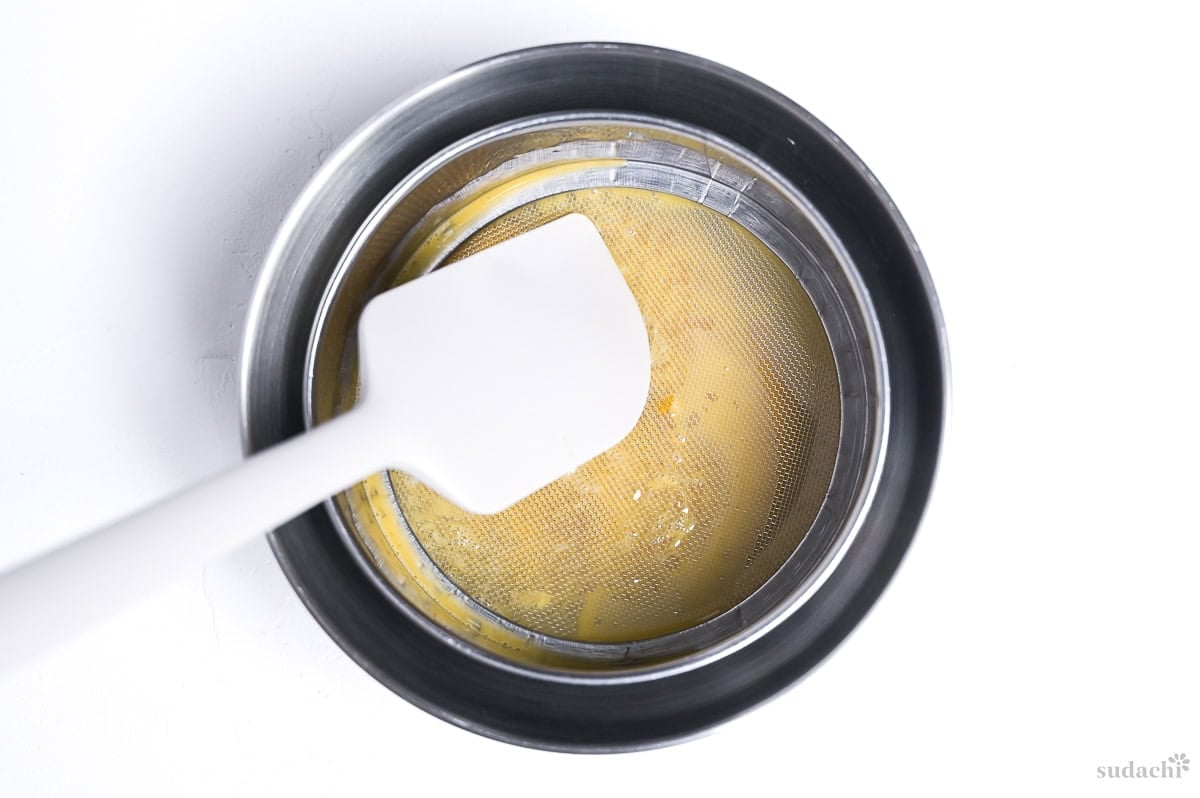
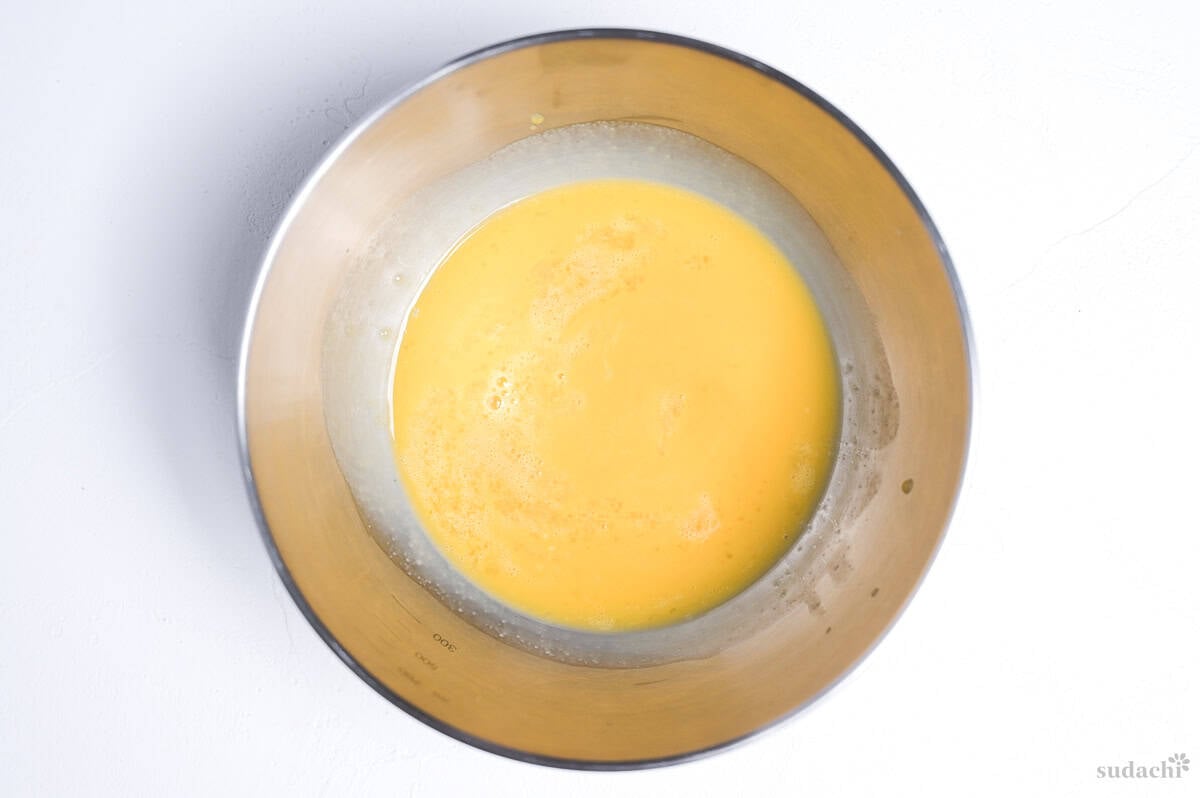
ii. Now stir the starch slurry into the strained egg. Give it another stir right before you pour, since the starch settles to the bottom.
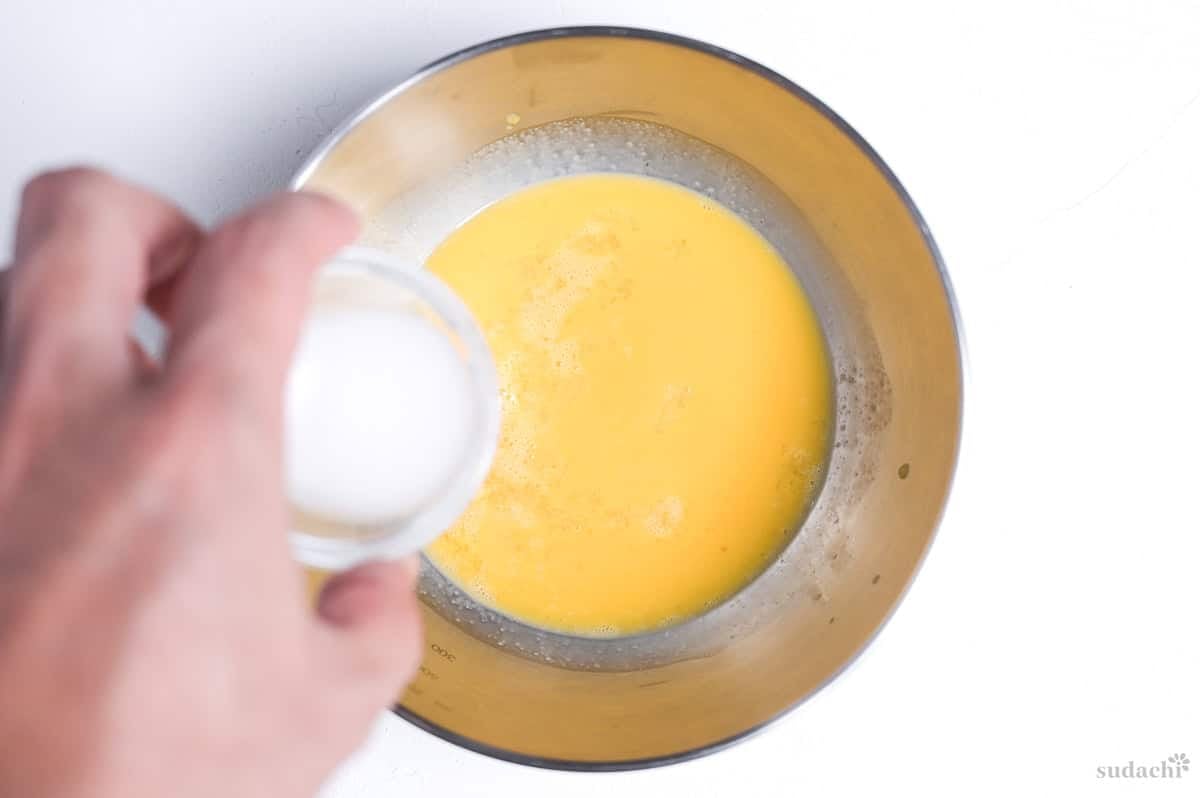
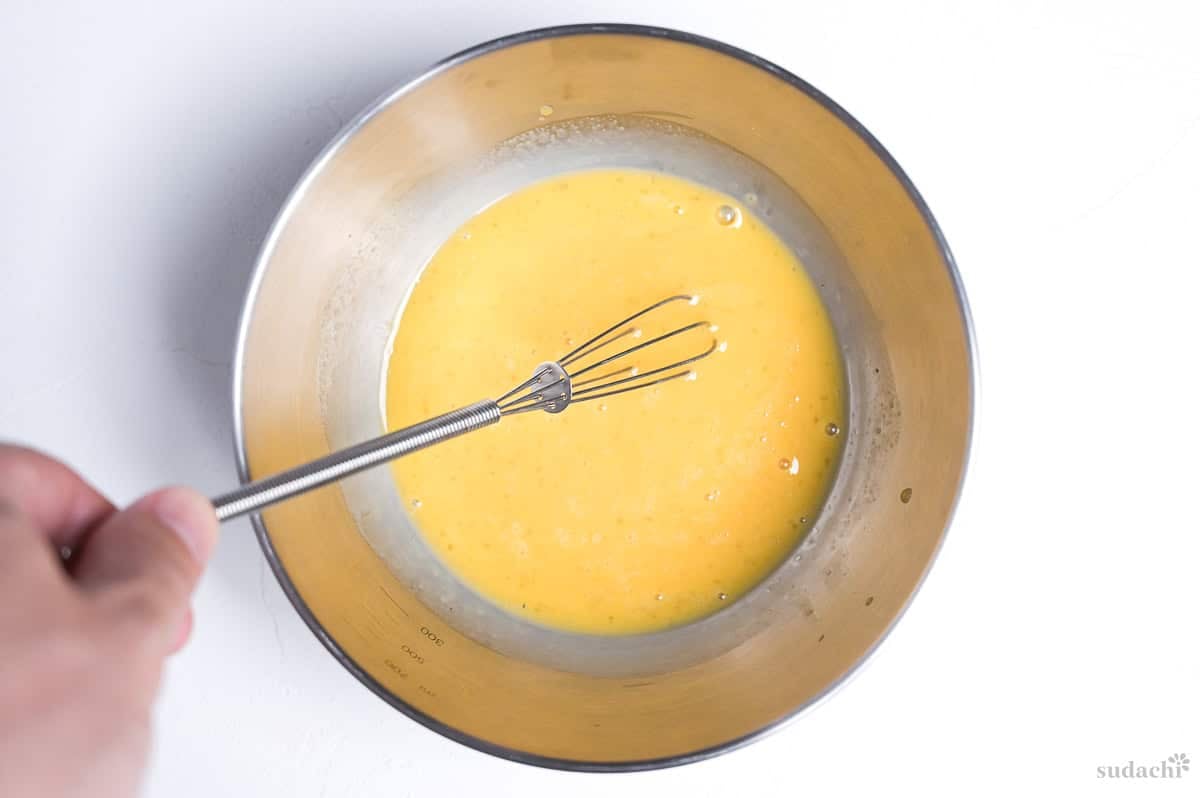
Undissolved clumps of white are what leave pale, blotchy patches in the finished sheet, the exact thing that breaks the all-gold look. Straining clears them so the color stays uniform. Cut the white up well as you mix and the straining has less to do. You strain before adding the starch, by the way, so the mesh does not catch the starch you just slurried.
i. Warm a small frying pan over medium heat. A smaller pan is easier here, since 1 egg needs to spread into a thin, even layer rather than a wide, fragile one.
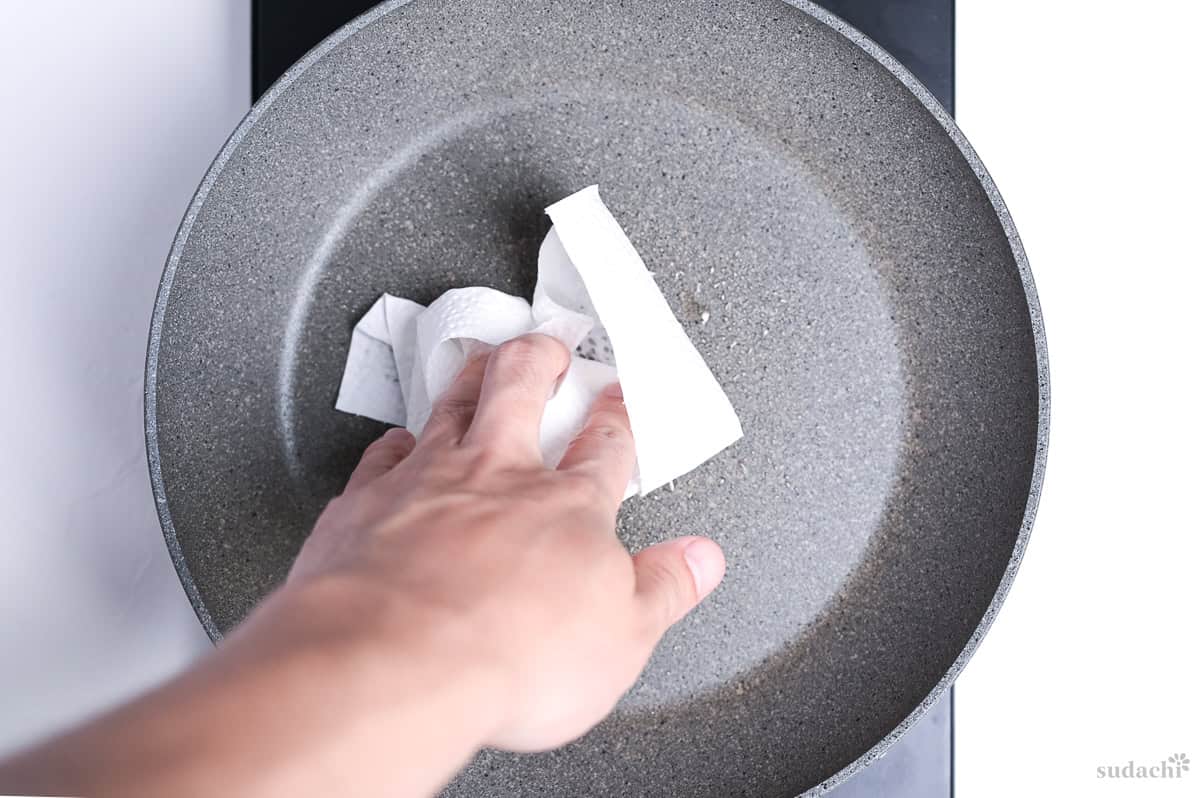
ii. Wipe the pan with a thin film of oil, then take a paper towel and wipe most of it back off. You want a barely-there film.
i. Lower the heat to a low-to-medium-low, pour the batter in, and swirl quickly so it coats the pan in a thin, even layer.
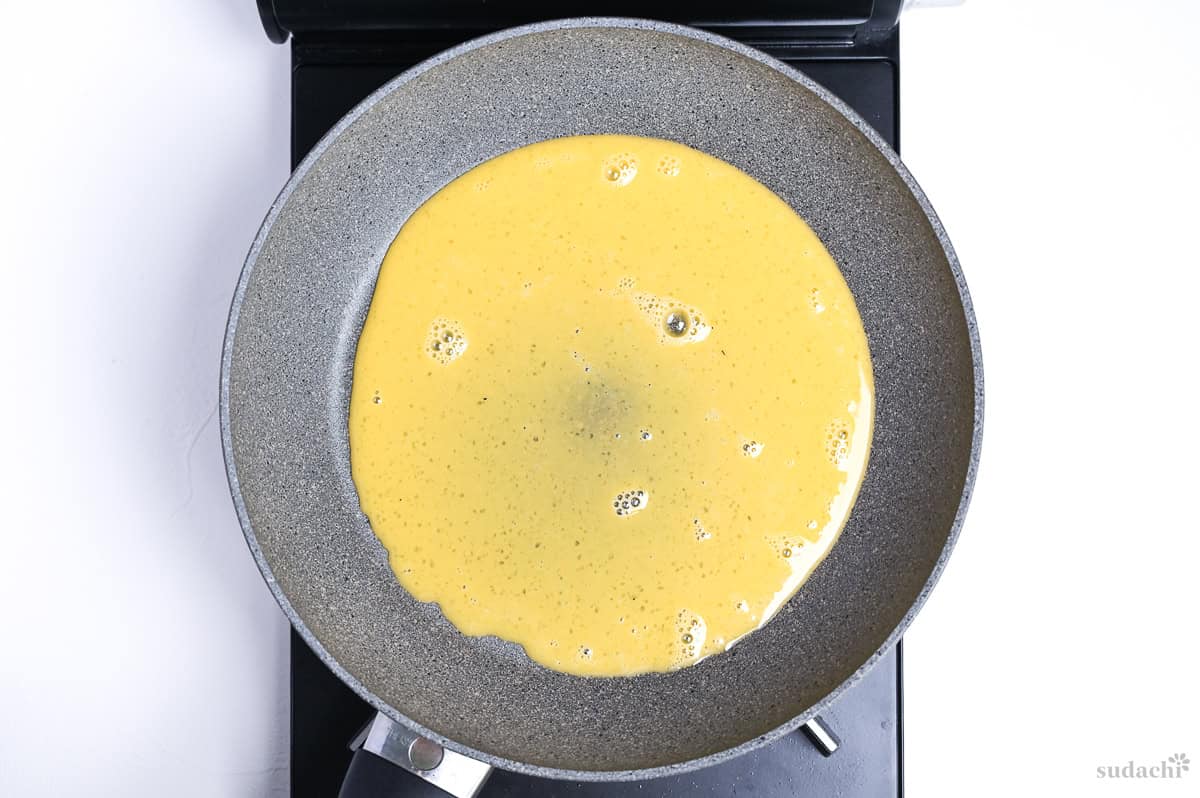
ii. Once it is spread, do not touch it. Poking or nudging the sheet while it sets is the fastest way to tear it.
i. When the shiny wet look on top has mostly faded, lay a lid or a sheet of foil loosely over the pan for 20 seconds.
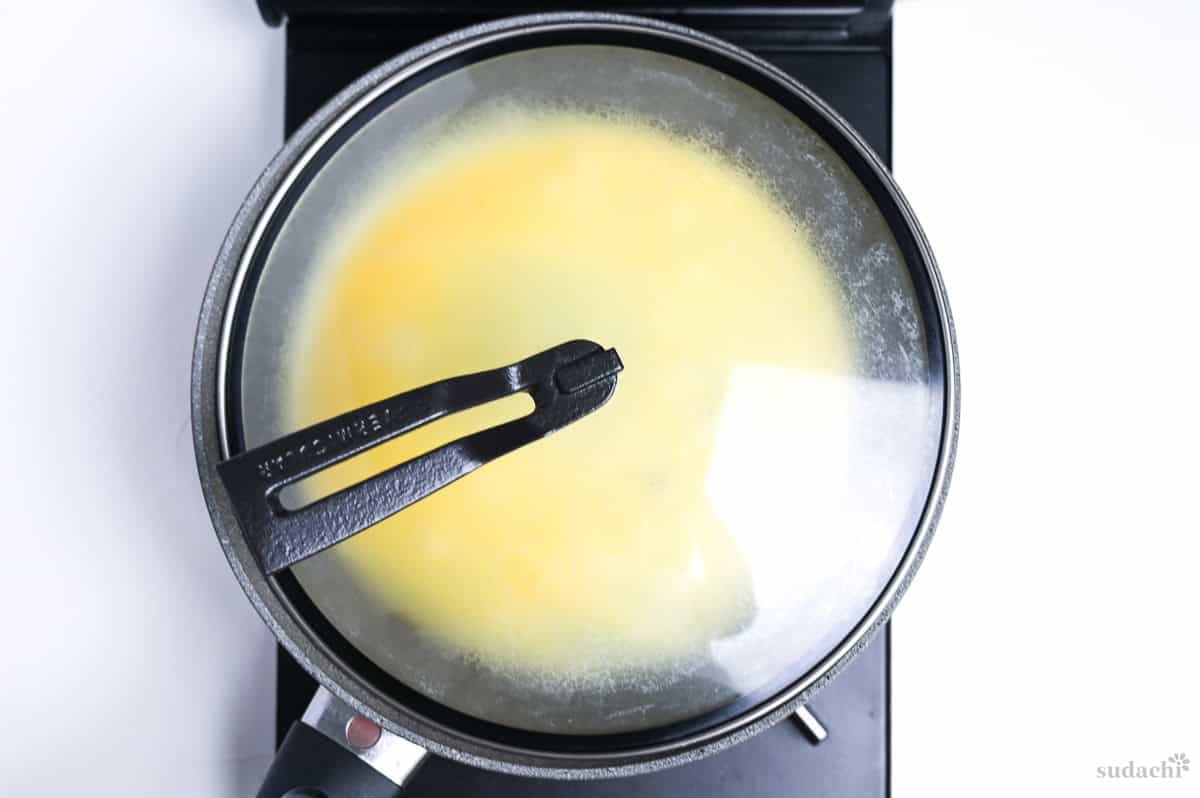
ii. Turn off the heat and let it sit, covered, off the burner. The trapped steam and residual heat finish the top surface for you. Do not flip it.
i. Slide chopsticks under an edge to give you something to hold onto, then pull the loose edge with your fingers and gently peel the sheet free. Avoid scooping it out with a spatula, this is a sure way to tear the thin egg.
ii. Lay the sheet out flat, without overlapping, and let it cool all the way down.
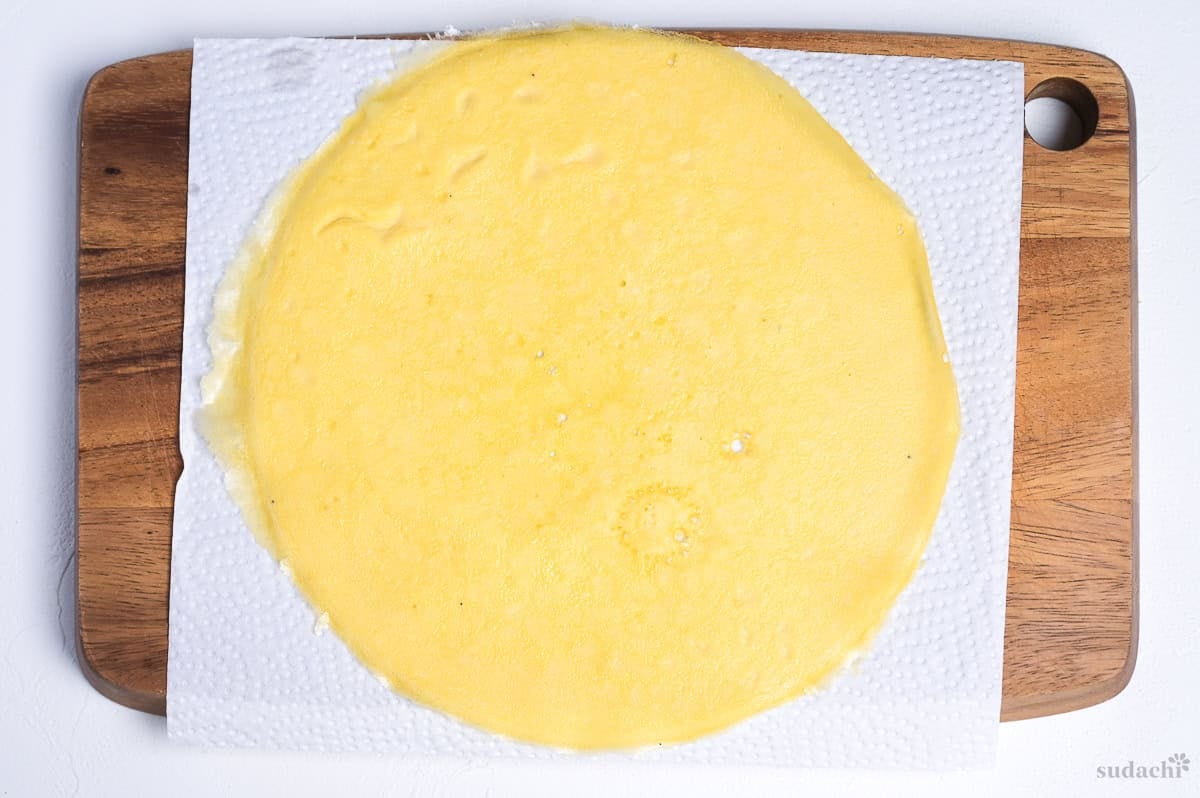
While the egg is warm, the protein bonds are still soft, so a knife crushes and crumbles the sheet instead of cutting it. Once it cools, those bonds firm up and the sheet gains the strength to slice cleanly. Cooling the sheets in a stack traps steam and dampens them, which is why you spread them out flat instead.
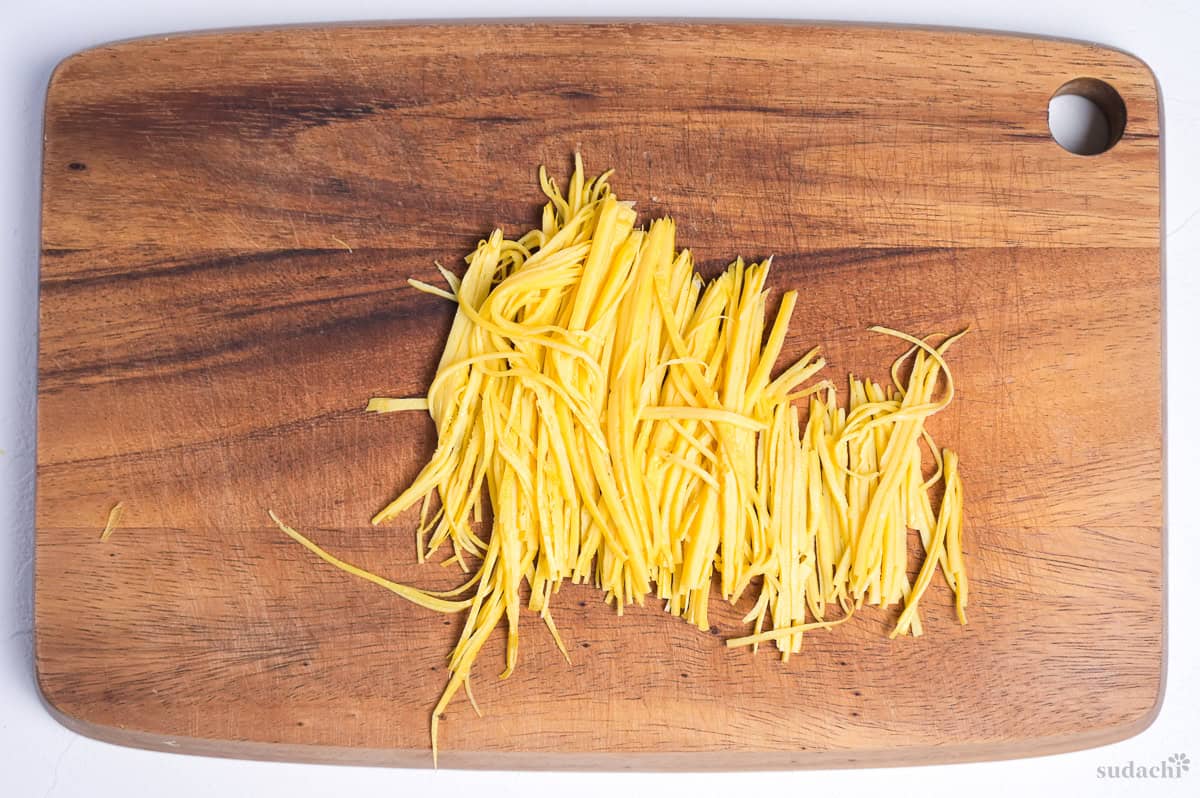
i. Loosely stack a few cooled sheets, or roll them up tight for the most even threads.
ii. Slice thin, matching the width to how you are using them. Draw the knife through rather than pressing straight down, then fluff the threads apart with your fingers.

Essential Tips & Tricks
- Lean on the water-and-starch slurry and the tearing just stops. The thin sheet wants to split when you lift it, fold it, or slice it, and that is where most people lose a batch. Once I started stirring a little potato starch slurry into the egg, the tears stopped, even when I changed pan sizes and egg sizes batch to batch.
- Keep the heat low so the gold never turns brown. Browning is the Maillard reaction, and it starts in earnest somewhere around 140 to 165°C (284 to 329°F), so a pan that runs hot will scorch the egg the moment it lands. Cook over gentle heat, and rest the pan bottom on a damp cloth for a few seconds before you pour to settle the temperature. Then finish with the no-flip move, where you cover the pan, cut the heat, and let the residual warmth set the top.
- Cut up the white and strain the egg before it ever hits the pan. Those pale, blotchy patches that ruin the all-gold look are undissolved clumps of egg white. Break the white up well as you mix, then pour the egg through a fine sieve once to catch the stubborn bits and the chalaza. Do this before you stir in the starch, so the mesh does not steal the slurry you just made.
- Peel, don’t scoop: The thin sheet is very delicate. If you try and scoop it out of the pan with a spatula, it’s sure to tear even with the starch trick. The best way to remove it is to loosen one edge with chopsticks or a spatula, then grab the loose edge with your fingers and slowly peel the sheet out of the pan in one direction. If it starts to feel like it’s going to tear, try again from another direction.
- Let the sheet cool all the way down before you slice it. This is the patience step, and the one I used to rush. While the egg is still warm the protein bonds are soft, so the knife crushes the sheet into ragged crumbs instead of clean threads.
Get the slurry in and the heat low, and a sheet that used to tear and brown turns into clean gold thread every time.
Storage & Meal Prep
Fridge: Keep the threads in an airtight container for 2 to 3 days, wrapped close so they do not dry out or pick up other smells from the fridge. Like any cooked egg, do not leave them sitting out at room temperature for prolonged periods.
Freezer: Freezing is a good move here, and kinshi tamago handles it unusually well for an egg, since the sheet is so paper-thin that it loses almost no texture. Portion it into single uses, wrap each one tight, and press the air out before it goes in. Freeze the sheets rolled and slice them after thawing, or freeze them already cut, and use within about 2 to 3 weeks for the best quality, up to a month at the outside.
Meal prep: This is a make-ahead garnish worth keeping on hand. Make a big batch when you have the pan out, freeze it in portions, and you have golden thread ready for the next bowl that needs dressing up.
Reheating: Thaw frozen threads in the fridge for the best texture. Slice just before serving when you can.
What to Make With Kinshi Tamago
- Chirashizushi (Scattered Sushi)
- Hiyashi Chuka
- Unagi Donburi (Grilled Eel Rice Bowl)
- Temari Sushi (Bitesize Sushi Balls)
Kinshi Tamago Troubleshooting
A thin egg sheet with nothing to reinforce it tears at its weak spots, and the usual culprits are no starch in the batter, a sheet poured too thin, or air bubbles that puffed up and left fragile patches. Stir a potato starch slurry into the egg to give the sheet elasticity, which is the fix that solves this most reliably. Beat the egg side to side without whisking air into it, and peel the cooked sheet out of the pan with chopsticks and your fingers, rather than scooping it out with a spatula.
Those patches are clumps of egg white that never blended into the yolk, so they cook up pale and stand out against the gold. Before you cook, break the white up well as you mix, then strain the egg through a fine sieve once to catch the stubborn lumps and the chalaza. Strain before you add the starch slurry, otherwise the mesh catches the starch you just mixed in.
Brown spots are localized scorching, and they mean the pan was too hot when the egg landed, since browning kicks in around 140 to 165°C (284 to 329°F). Drop the heat to gentle, and rest the pan bottom on a damp cloth for a few seconds before you pour to settle the temperature. Wipe away any browned bits before you cook the next sheet, and skip the flip entirely so the surface never sees direct high heat.
More Japanese Egg Recipes
- Dashimaki Tamago (Rolled Omelet)
- Silky Onsen Tamago
- Tamago Kake Gohan (Egg Over Rice)
- Niratama (Chive and Egg Stir-Fry)
If eggs are your comfort zone in the kitchen, browse my full collection of Japanese egg recipes for your next favorite.
Did You Try This Recipe?
I would love to hear your thoughts!
💬 Leave a review and ⭐️ rating in the comments below. 📷 I also love to see your photos – submit them here!
Kinshi Tamago (Shredded Egg Crepe)

Ingredients
- 1 egg the finished thread is the color of the yolk, so for a vivid gold pick a deep-yolk fresh egg
- 1 pinch salt
- ½ tsp sugar for water-holding
- ½ tsp potato starch (katakuriko) cornstarch works 1 to 1
- 1 tsp water
- 1 tsp cooking oil a neutral, flavorless oil like canola or rice oil, for release only
The ingredient brands and tools I trust are in my Japanese pantry guide and my cooking tools guide.
Can’t find certain Japanese ingredients? See my substitution guide here.
Instructions
- Crack 1 egg into a bowl and add 1 pinch salt and ½ tsp sugar. Stir with chopsticks in a side-to-side cutting motion, so you do not beat air into it.

- Start preheating your pan on medium. Mix the egg once more, then pour the mixture through a fine-mesh sieve to catch any lumps.
- Mix ½ tsp potato starch (katakuriko) and 1 tsp water together in a small bowl, then stir it into the egg mixture. Avoid vigorous mixing, we want few air bubbles as possible.
- Grease the hot pan with 1 tsp cooking oil. Wipe the excess out with kitchen paper.
- Pour the egg mixture into the pan and tilt to spread it into a thin even layer and let it cook undisturbed until about 80% done.
- When the top is no longer wet, cover with a lid. After 20 seconds, turn off the heat and let the residual heat finish cooking the surface. This usually takes about 1 minute 30 seconds.
- Once the surface is fully set, push chopsticks or the corner of a spatula under one of the edges. When it comes loose, hold it with your fingers and slowly pull it in one direction to remove it from the pan. Place it on a piece of kitchen paper to absorb any excess oil.
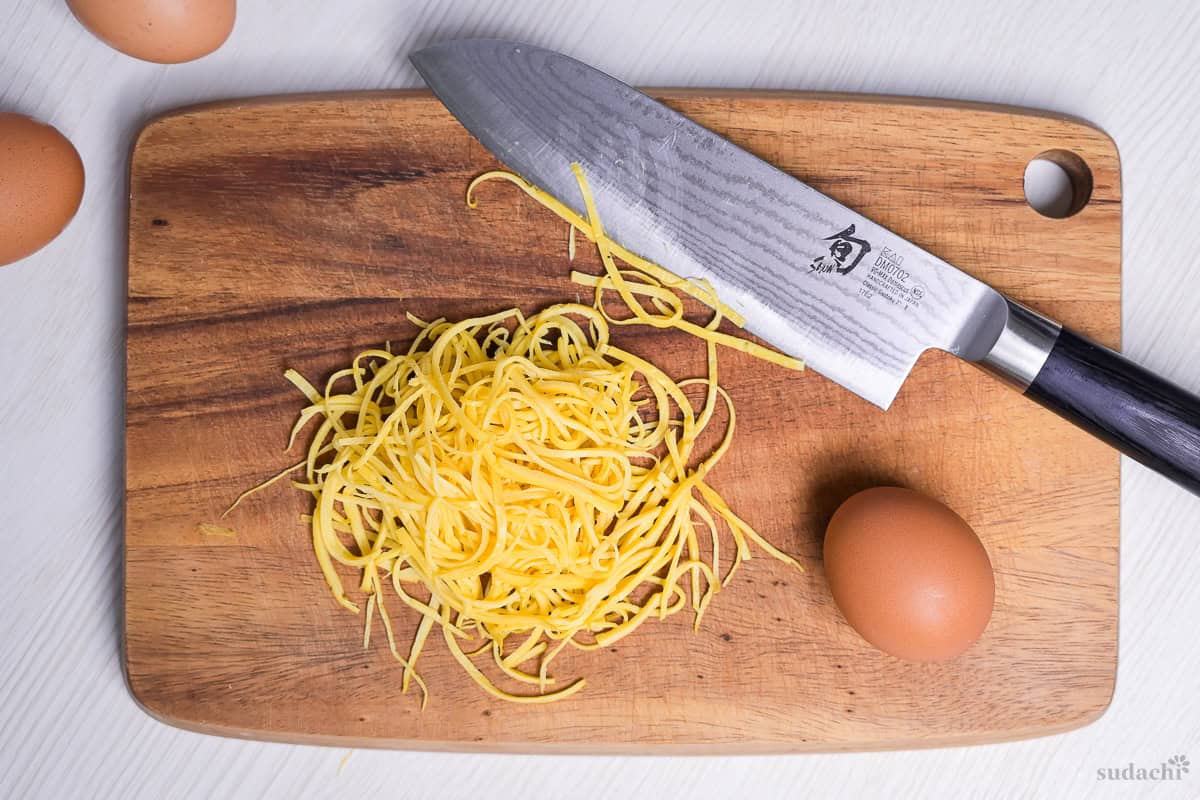
- For shorter strands, cut the kinshi tamago into halves or quarters, then stack the pieces and thinly slice. For longer strands, roll it up gently and slice.
- Fluff it up, then serve on rice or noodles, enjoy!


Leave a rating and a comment